
Mastering Light and Shadow
How Fill Boards Elevate Your Scale Model Photography
When photographing scale models, achieving realism is about controlling light and shadow. Fill boards—simple reflective surfaces placed opposite your primary light source—can dramatically improve your photos. They soften harsh shadows, highlight intricate details, and reduce distracting contrast, ensuring that the subtle craftsmanship of your model shines through. Whether you’re capturing the gritty texture of a weathered tank or the sleek curves of a jet, fill boards help balance the scene, creating depth and dimension. Elevate your photography by mastering this essential tool, and let your scale models tell their story with clarity and impact.
How to Construct Fill Light Boards for Scale Model Photography
When photographing scale models, lighting is critical to showcasing the details of your hard work. One technique that can significantly enhance your photos is using fill light boards. These boards help reflect and diffuse light, softening shadows and creating a more balanced illumination. In this guide, you’ll learn how to create affordable, effective fill light boards using white foam board, sheets of white polystyrene, or wrinkled aluminum foil, commonly used for scratch-building and crafting. These boards are versatile, inexpensive, and can be customized to suit any photography scenario.
Materials and Tools Needed
- White Foam Board or Polystyrene Sheets: Available at Sunward Hobbies.
- Wrinkled Aluminum Foil: This is used to create high-contrast, metallic reflectors.
- Metal Ruler or Straightedge: Ensures precise cuts.
- Sharp Craft Knife (Excel Hobby Blade or Utility Knife): For accurate cutting without tearing.
- Excel Blade Cutting Mat: Protects your work surface and aids precision.
- Double-Sided Tape or Glue (optional for reinforcement): For securing layers together.
- Clamps or Mini-Tripods (for holding boards in place): Helps with stability and positioning.
- Alpha Abrasive Fine-Grit Sandpaper (400-600 grit): Optional for smoothing edges.
- Toothpicks or Dowels: These are useful for creating small reflectors or props.
These tools and materials are easy to source and can be used for multiple photography projects.
Step-by-Step Instructions
Step 1: Select Your Material
- Foam Board: Foam board typically has a polystyrene core sandwiched between two sheets of white paper. It’s lightweight, rigid, and easy to cut. It works well for larger boards and holds its shape during extended shoots.
- Polystyrene Sheets: Thinner and more flexible than foam board, white polystyrene sheets are popular among scale modellers for scratch-building. They are easy to cut, bend, and shape, making them ideal for smaller, more intricate boards or reflectors.
- Wrinkled Aluminum Foil: Provides a different reflective quality than foam board or polystyrene. Due to its textured surface, aluminum foil reflects light more intensely and creates subtle, sparkling highlights. It’s ideal for achieving a more dynamic, high-contrast look.
Foam board and polystyrene sheets work well for soft, diffused light, while aluminum foil reflectors add more contrast and punch to your lighting setup.
Step 2: Determine the Size of the Fill Board
Decide the dimensions of your fill boards based on the size of the models you’ll be photographing and the type of light coverage you need:
- Small Models (1/72 or smaller): 6×6 inches (15×15 cm) boards are sufficient for illuminating small details.
- Medium Models (1/48 or 1/35 scale): 8×10 inches (20×25 cm) offers good coverage for vehicles and figures.
- Large Models (1/16 or Dioramas): 12×12 inches (30×30 cm) or larger boards may be necessary for dioramas or large-scale builds.
- Custom Sizes: Consider making a few odd-sized boards (e.g., long, narrow strips) for specialized tasks like lighting narrow corridors or vehicle tracks.
Step 3: Cut the Fill Boards
- Place your material on a cutting mat. Ensure you have enough space to work safely and accurately.
- Using a metal ruler or straightedge, measure and mark the dimensions of your fill board with a pencil. Double-check your measurements before cutting.
- Score along the lines with a sharp craft knife. Use gentle pressure on the first pass to avoid tearing the material. Repeat the scoring until the cut is complete.
- Subsequent cuts should be made until you’ve completely cut through the foam board or polystyrene sheet. For thicker foam boards, multiple light passes with the knife are better than a single deep cut.
For aluminum foil, cut a piece slightly larger than the board you intend to cover. To provide structure, glue or tape it to foam board or polystyrene.
Tip: Ensure your knife blade is sharp for clean, smooth cuts. Dull blades can tear or crush the foam, reducing the quality of your board.
⚠️ Always use a cutting mat.

Step 4: Smooth the Edges (Optional)
For a more professional finish and to avoid stray fibres or rough edges:
- Sand the edges lightly with fine-grit sandpaper (400-600 grit) if you’re using polystyrene sheets. This helps achieve a clean, smooth edge.
- Clean off any dust with a soft cloth or compressed air.
Step 5: Reinforce with Double-Sided Tape or Glue (Optional)
If you want to strengthen your fill board or create thicker, more rigid panels:
- Apply double-sided tape or a thin bead of colle along the edges or the back of the board.
- Press the layers together gently to ensure a firm bond. If using glue, hold it in place for a few minutes to let it set.
This step helps maintain the board’s structure, especially if you plan to transport or store them frequently. You can also attach wooden dowels or cardboard strips along the back for additional rigidity.
Using Wrinkled Aluminum Foil as a Reflector
Aluminum foil offers a different set of benefits compared to white foam board or polystyrene. When wrinkled, the foil creates multiple reflective angles, scattering light and producing a dynamic, textured effect. This can be useful for:
- Adding Contrast: Aluminum foil reflectors can enhance highlights and provide more punch to your lighting setup.
- Creating Sparkle: The irregular surface of wrinkled foil adds subtle sparkling highlights, making surfaces like metallic parts, engines, or armoured vehicles pop.
- Filling Shadows: While foam boards diffuse light softly, aluminum foil can bounce stronger, concentrating more light into shadowed areas.
How to Create a Foil Reflector
- Cut a Piece of Foil: Slightly larger than the board you want to cover.
- Wrinkle the Foil: Gently crumple the foil, then unfold it. The wrinkles create texture for scattering light.
- Attach to Board: Use double-sided tape or glue to adhere the foil to a foam board or polystyrene for rigidity.
- Smooth or Adjust Wrinkles: Depending on the desired effect, you can flatten the foil slightly or add more texture.
White vs. Aluminum Reflectors:
- White Reflectors: Provide soft, diffused light, ideal for subtle fill and shadow reduction.
- Aluminum Reflectors: Offer brighter, more directional light with added contrast and texture.
Experiment with both reflectors to see how they influence your model’s lighting. Combining them can yield balanced, dynamic results.

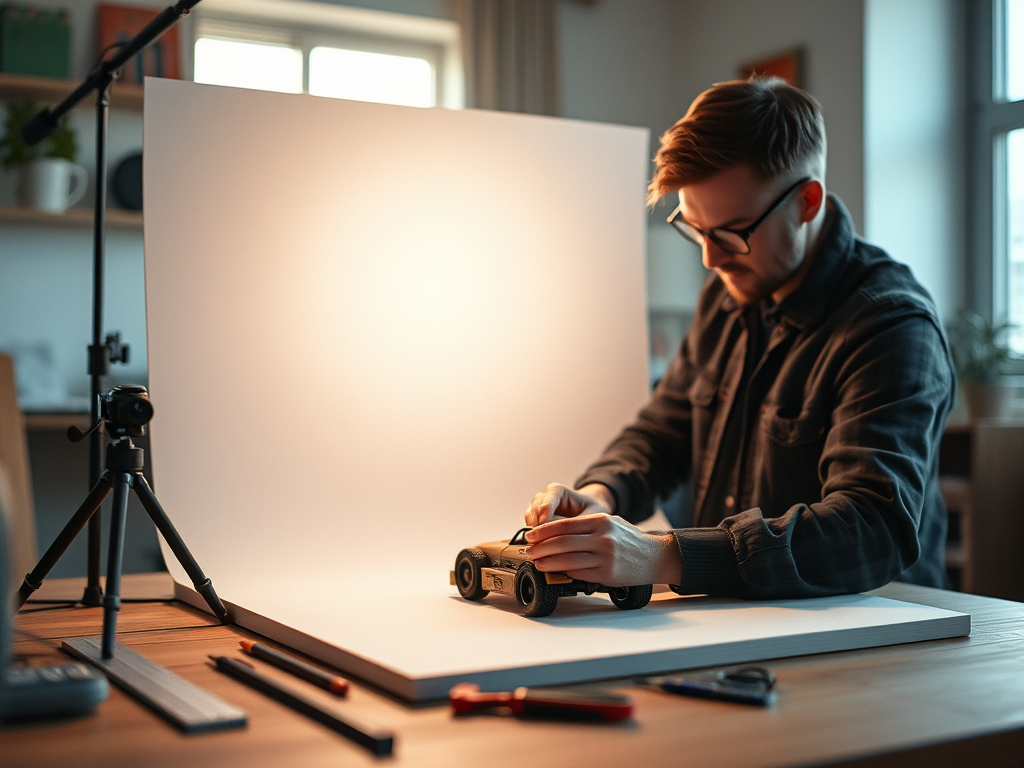
How to Create an Impromptu Photo Box with Styrofoam and a Desk Lamp
Great photography doesn’t always require fancy equipment. Whether you’re showcasing your latest model build, small product, or craft project, you can achieve clean, professional-looking photos with materials you likely have lying around. Here’s how to create an easy and effective photo box using four pieces of styrofoam, a white paper backdrop, and an overhead desk lamp.
Materials You’ll Need:
- 4 Pieces of Styrofoam (equal-sized panels work best; white, dense, and smooth styrofoam provides the best light reflection)
- White Paper (large enough to serve as a seamless backdrop)
- Overhead Desk Lamp with LED Daylight CRI 95+ Lightbulb
Step-by-Step Setup
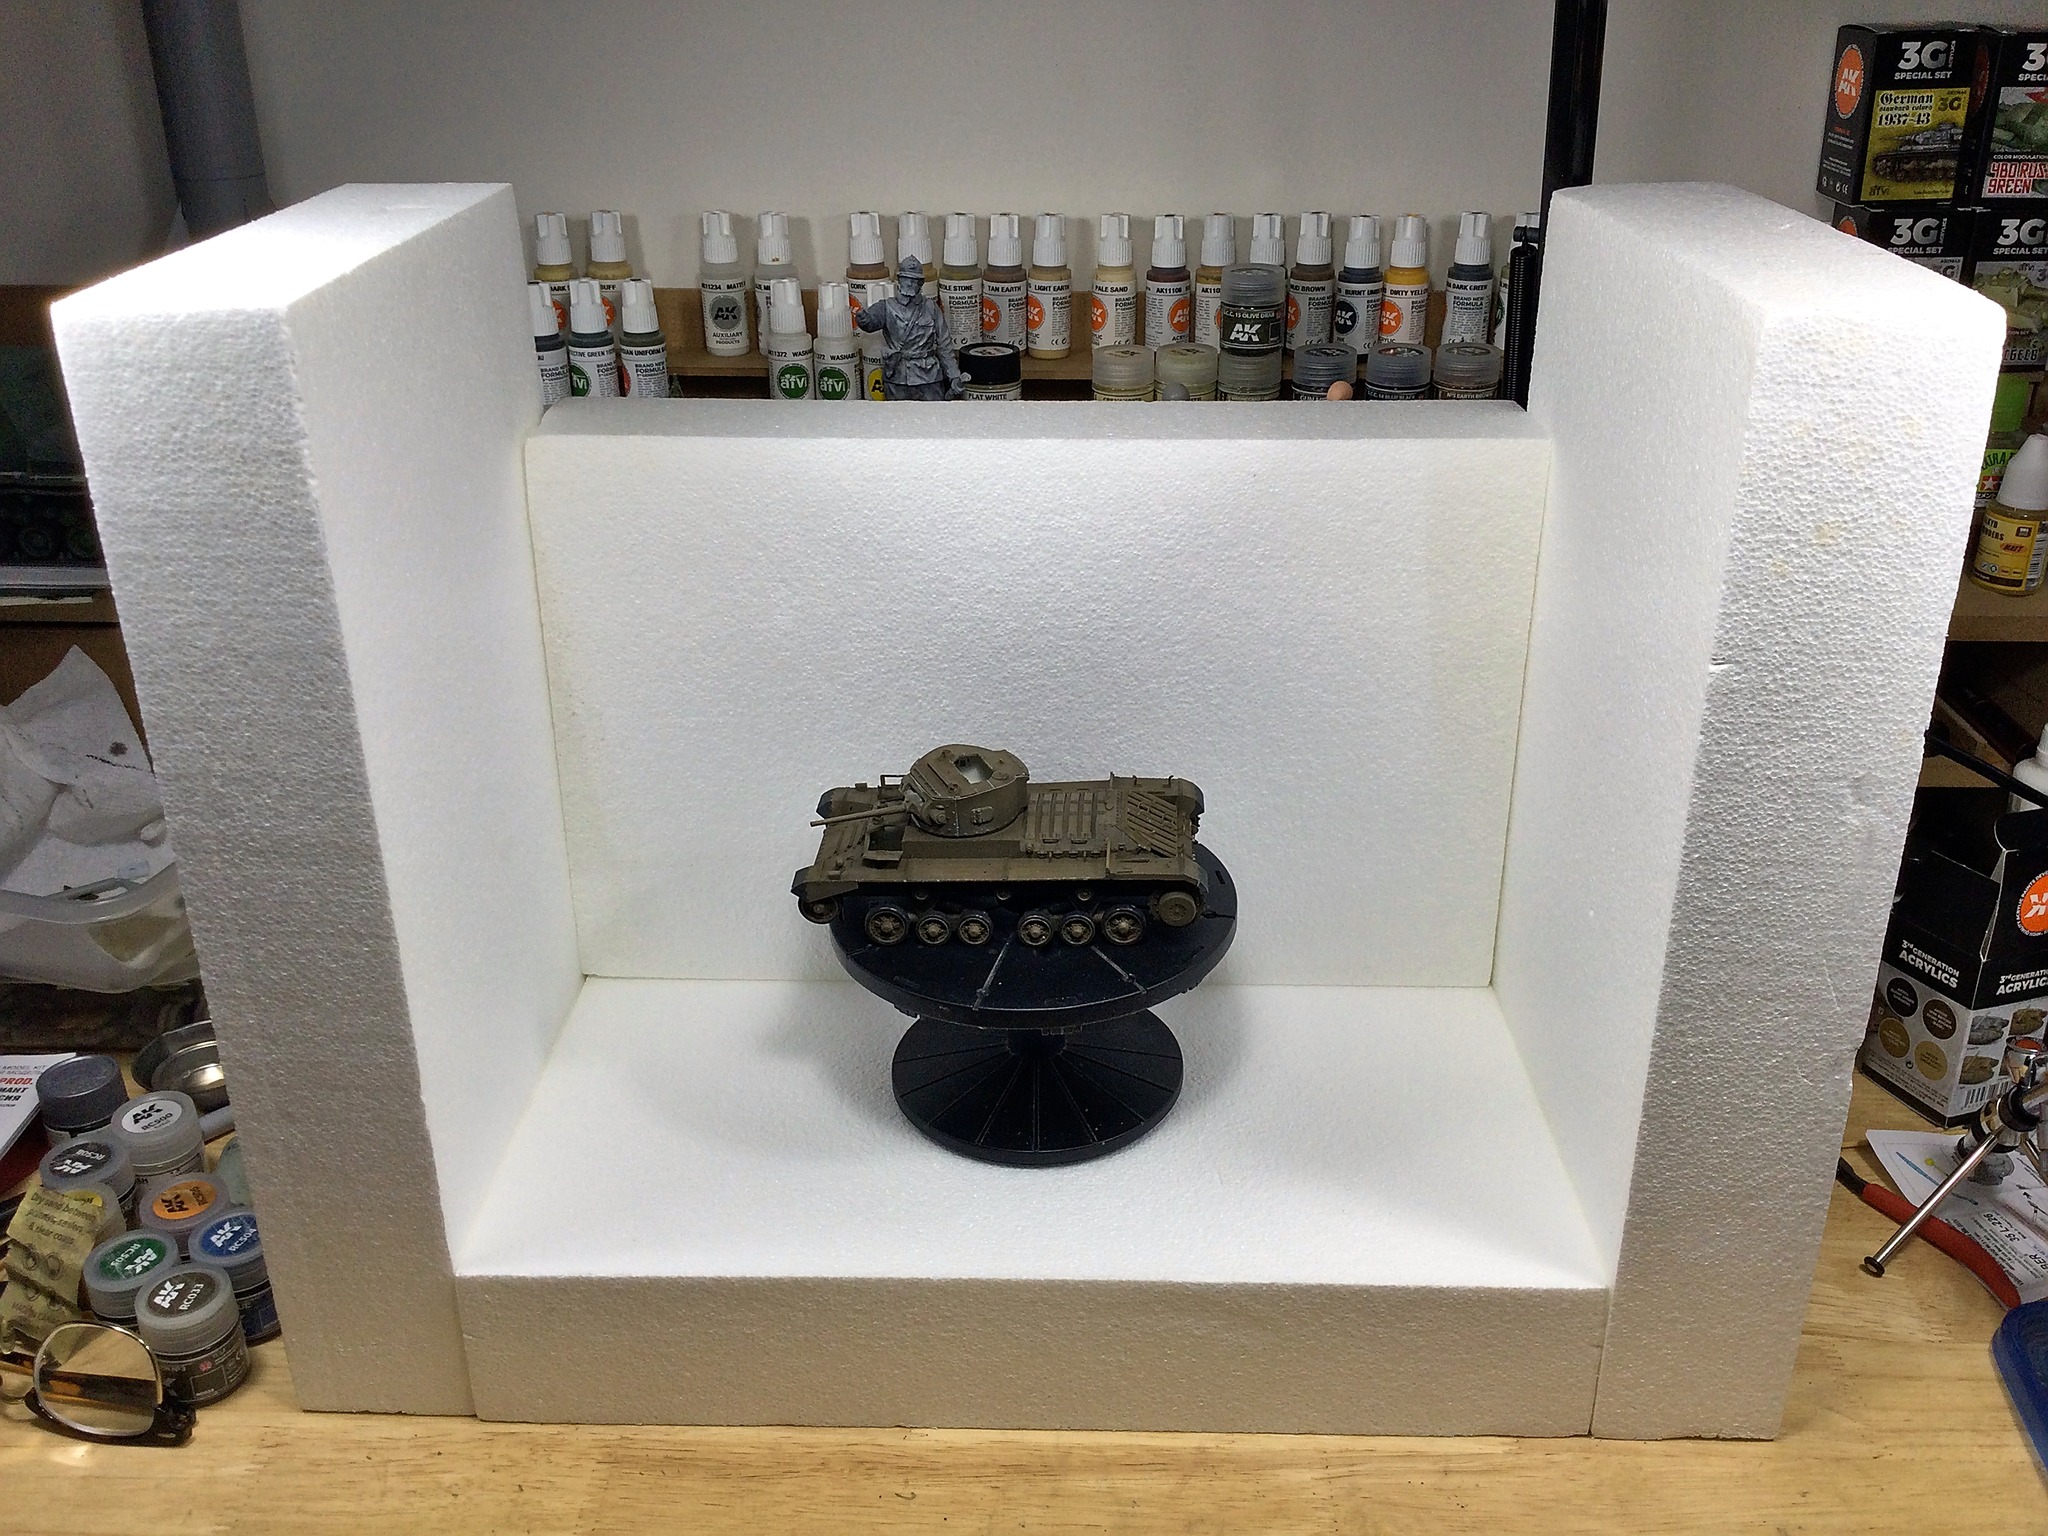
- Create Your “Walls” and Base: Arrange three Styrofoam pieces to form a three-sided structure. Two pieces will act as the left and right walls, the third as the base, and the fourth as the back. This open-front structure will serve as the core of your photo box.
- Add a Seamless Backdrop:
Tape or prop a piece of white paper against the back of the Styrofoam wall. Let the paper curve gently where it meets the base to eliminate harsh angles, creating a seamless “infinity” background. - Use Reflector Boards: A piece of styrofoam can be an adjustable reflector. Position it opposite your light source to bounce light back onto your subject. This helps fill in shadows and evenly distribute light. You can even use smaller styrofoam or white cardboard bits to fine-tune reflections.
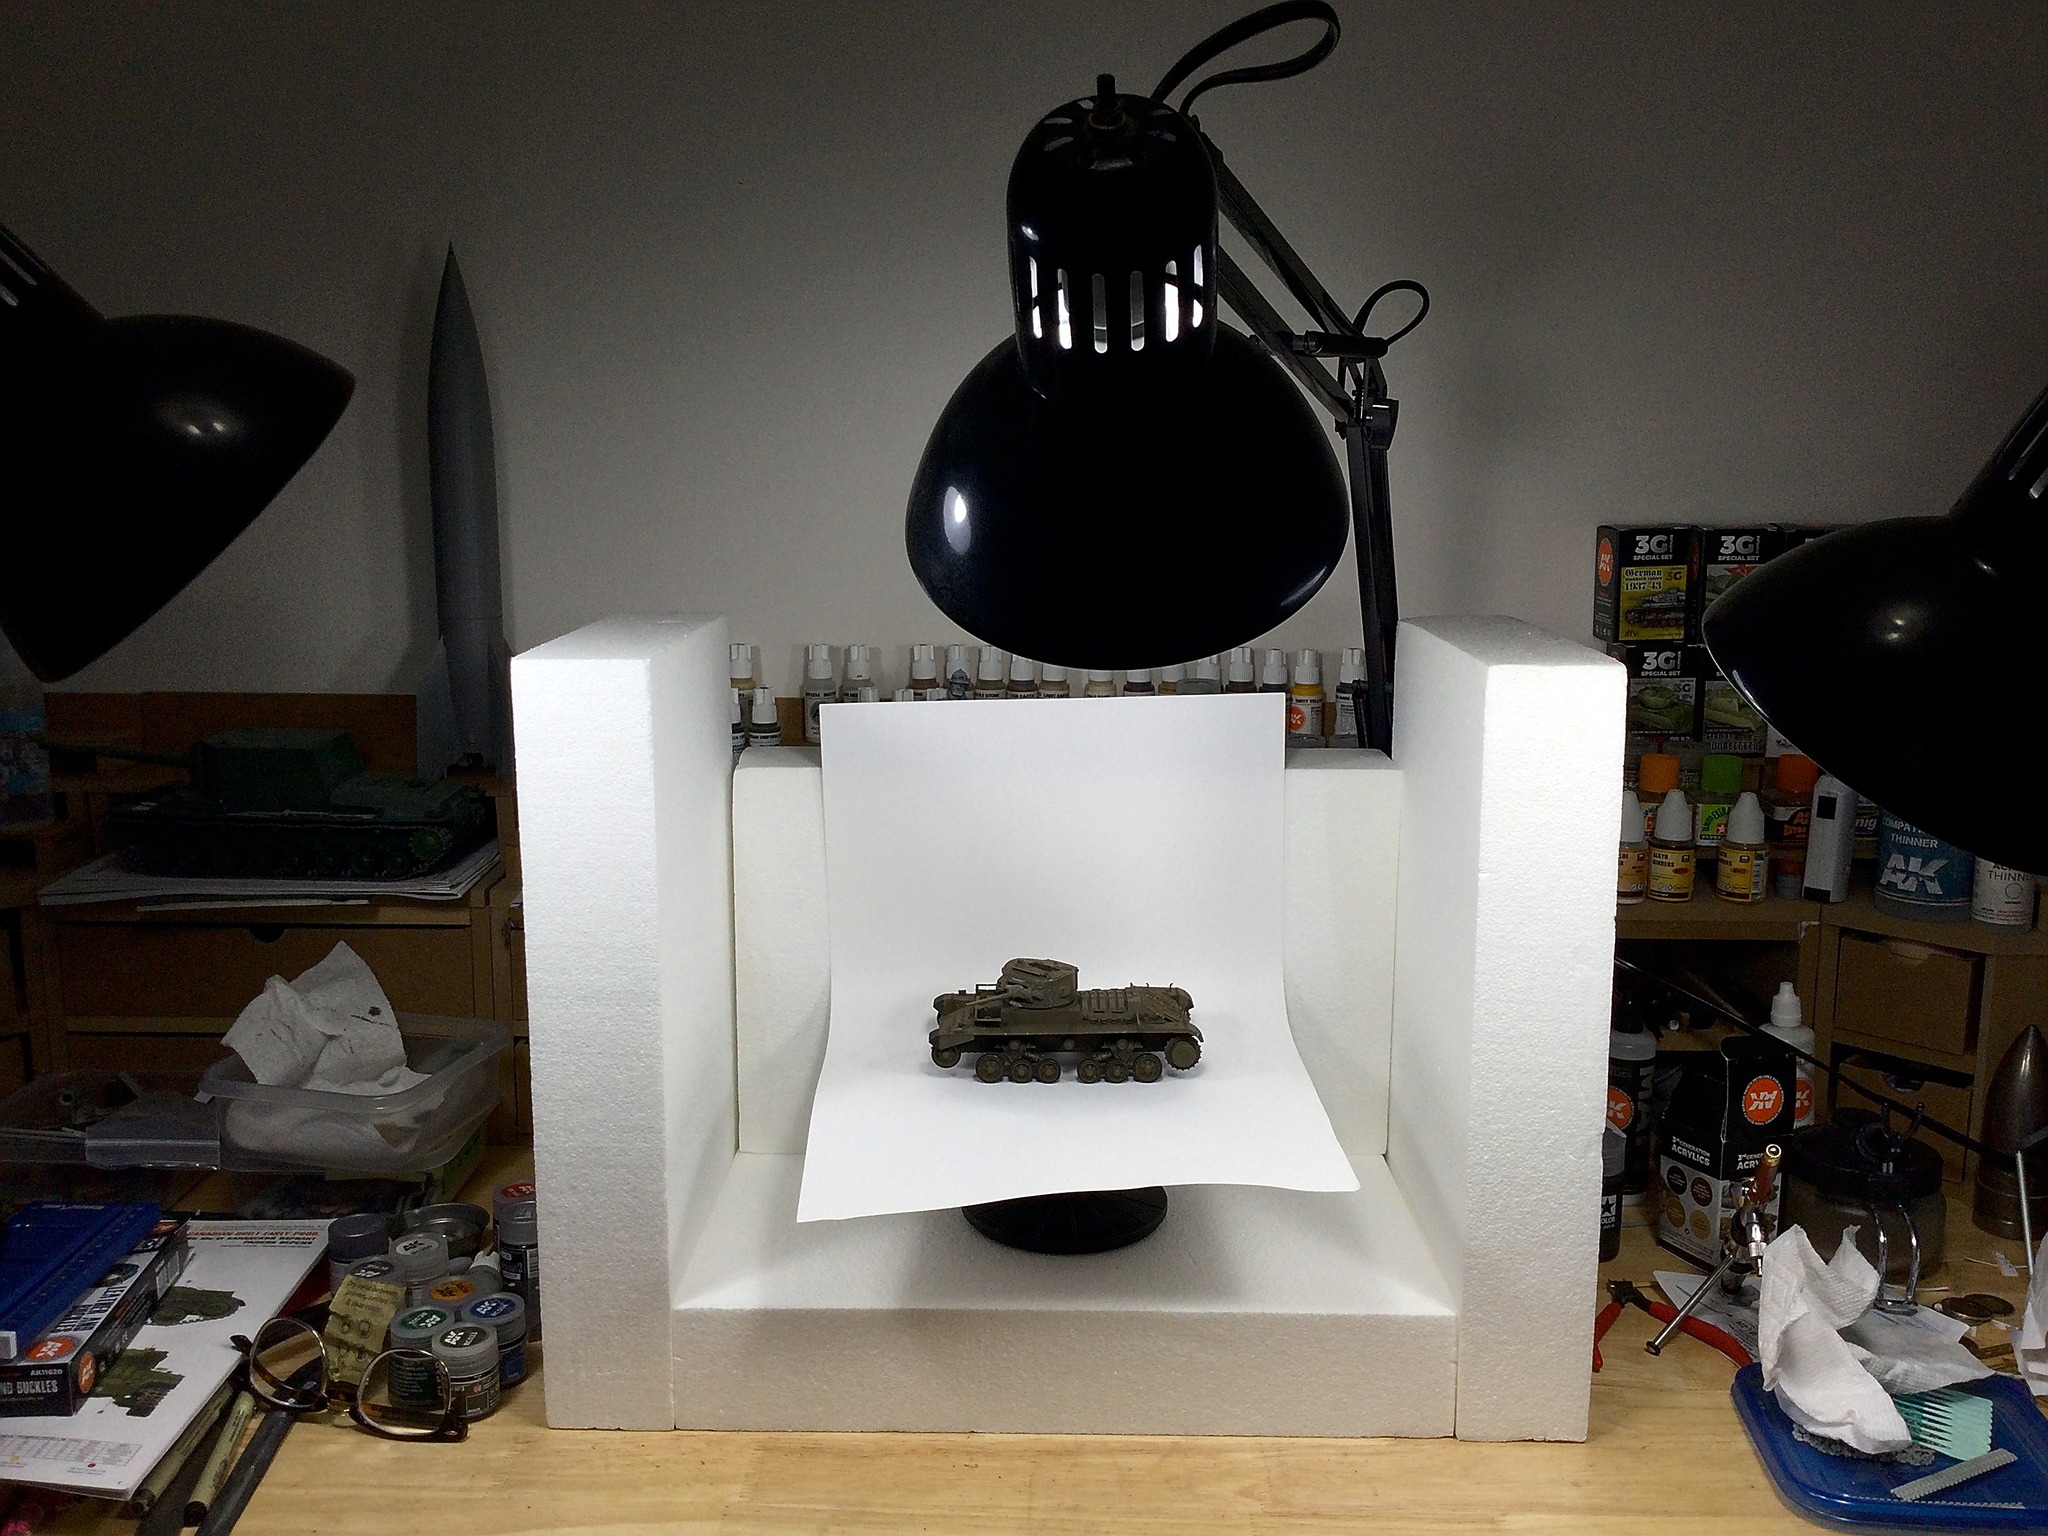
- Position Your Lamp:
Place the overhead desk lamp above and slightly in front of your setup. Angle it so the light falls naturally on your subject. If your lamp is adjustable, experiment with the height and angle for the best lighting. - Refine the Light and Reflectors:
Adjust your reflector boards as needed. The goal is to minimize harsh shadows and ensure your subject is evenly lit from multiple directions. White Styrofoam works beautifully for bouncing light without adding unwanted colour.
Bonus Tips
- Diffuse the Light: If the light is too harsh, tape a sheet of tracing paper or parchment paper over the lamp to soften it.
- Experiment with Angles: Try moving the reflectors closer or further away to see how the light changes.
- Stabilize the Setup: Use clips or weights to keep the styrofoam pieces steady if needed.
Snap Away!
With this simple setup, you can take clean, professional-looking photos. Whether you’re photographing a detailed model tank or a handmade product, this DIY photo box will make your work shine. Happy shooting!
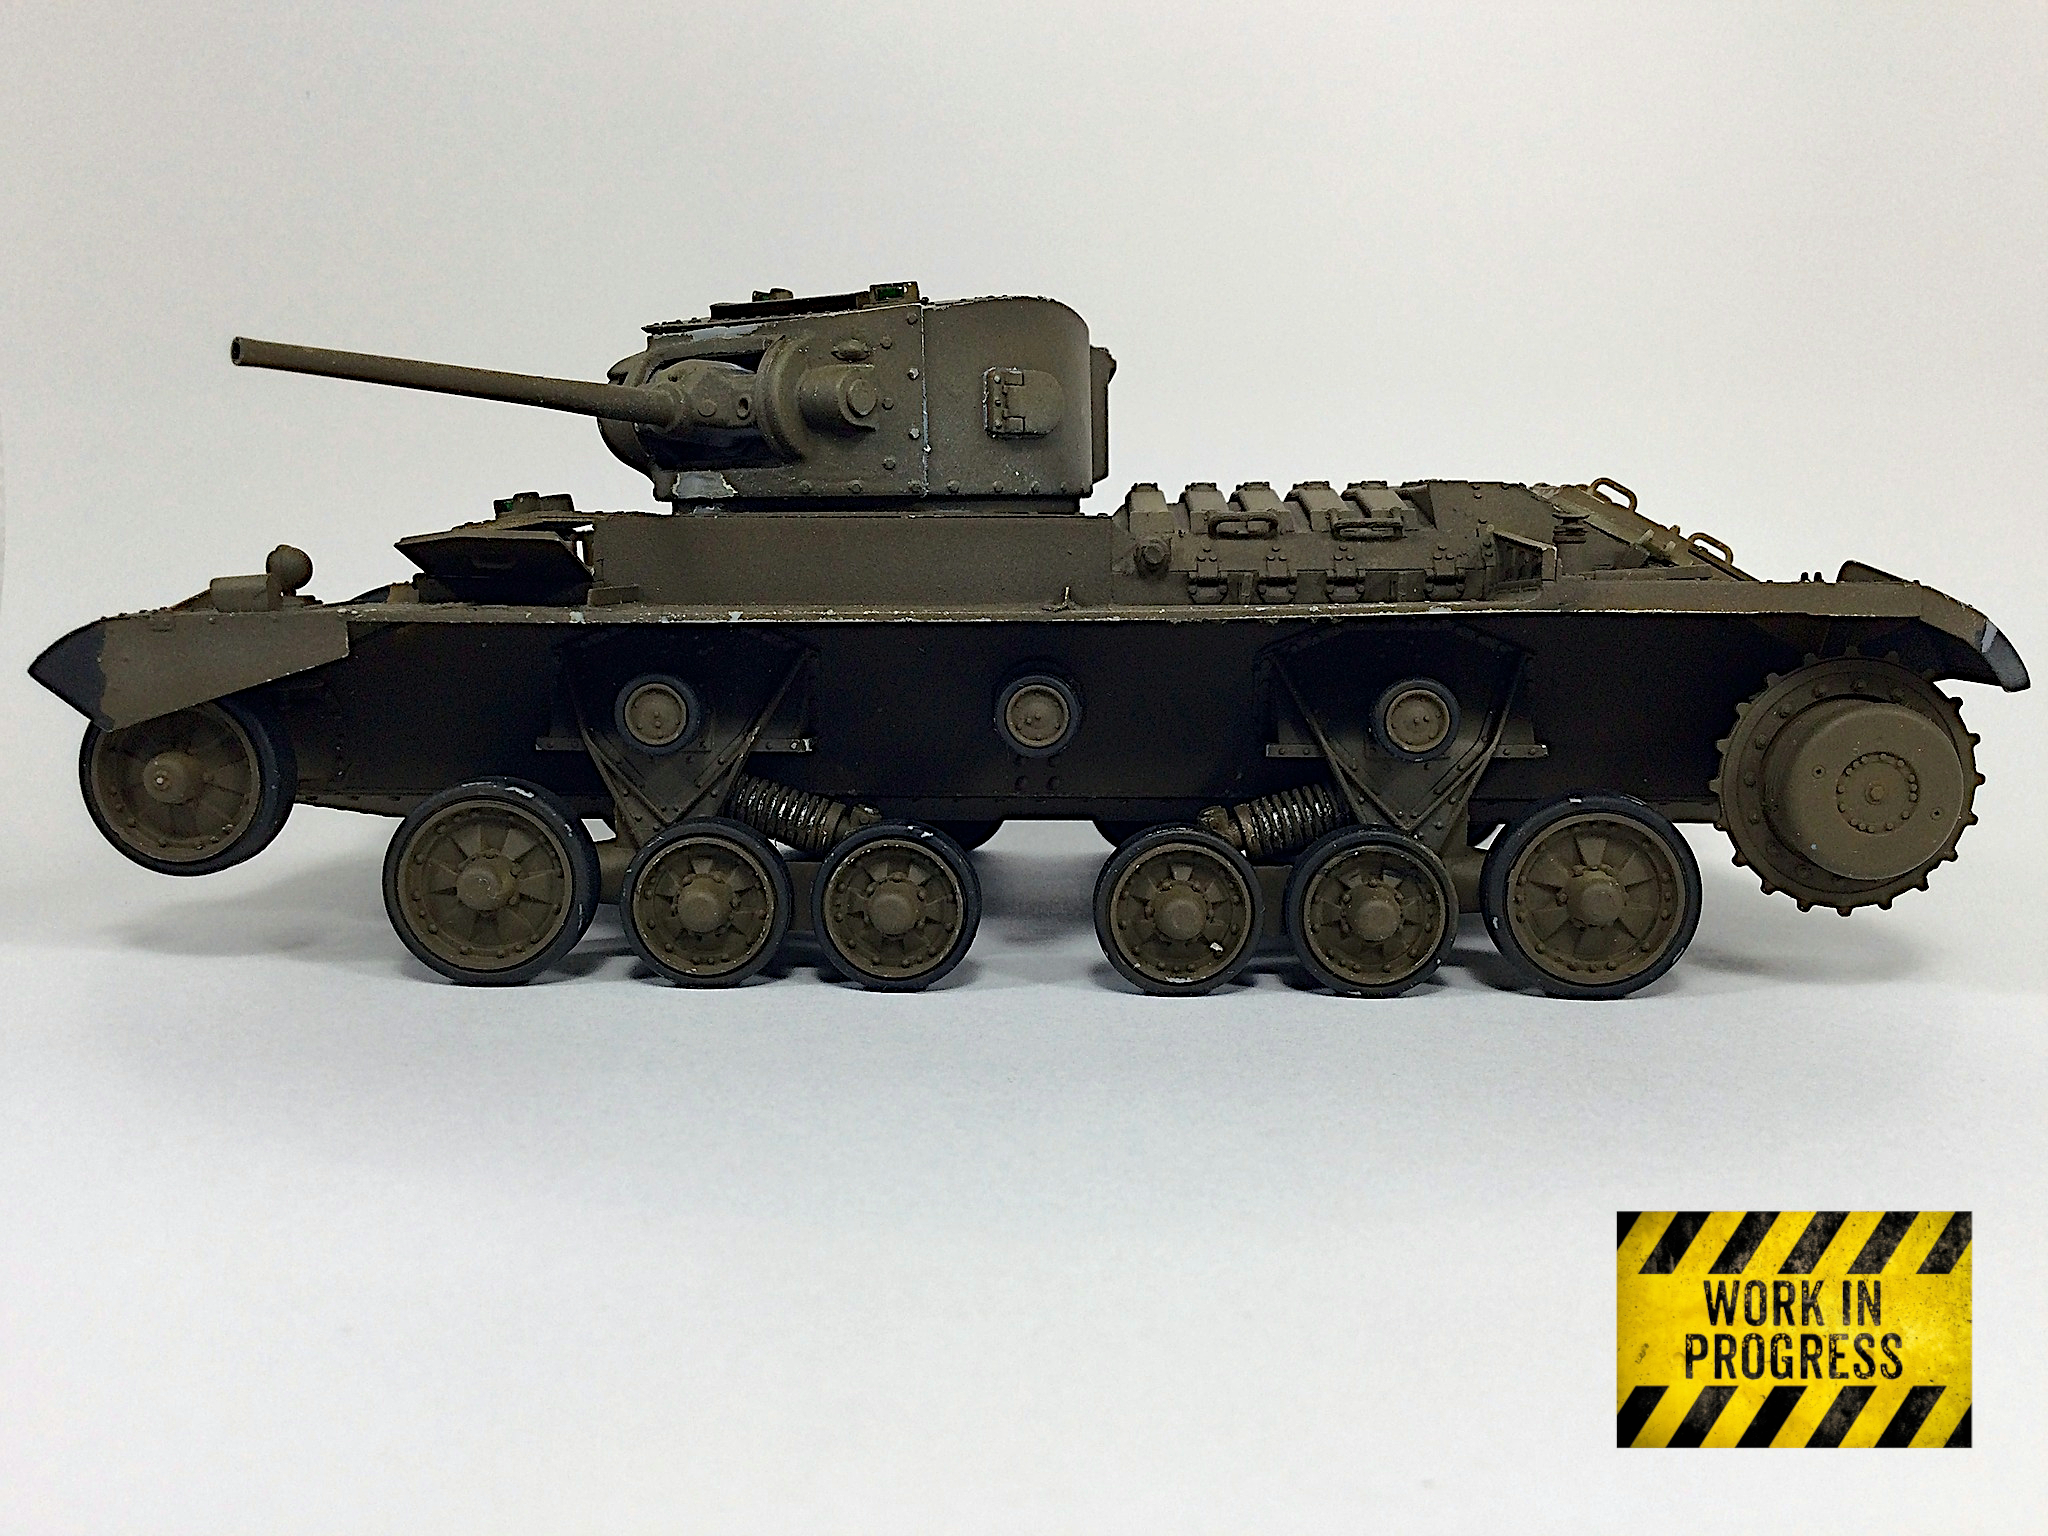
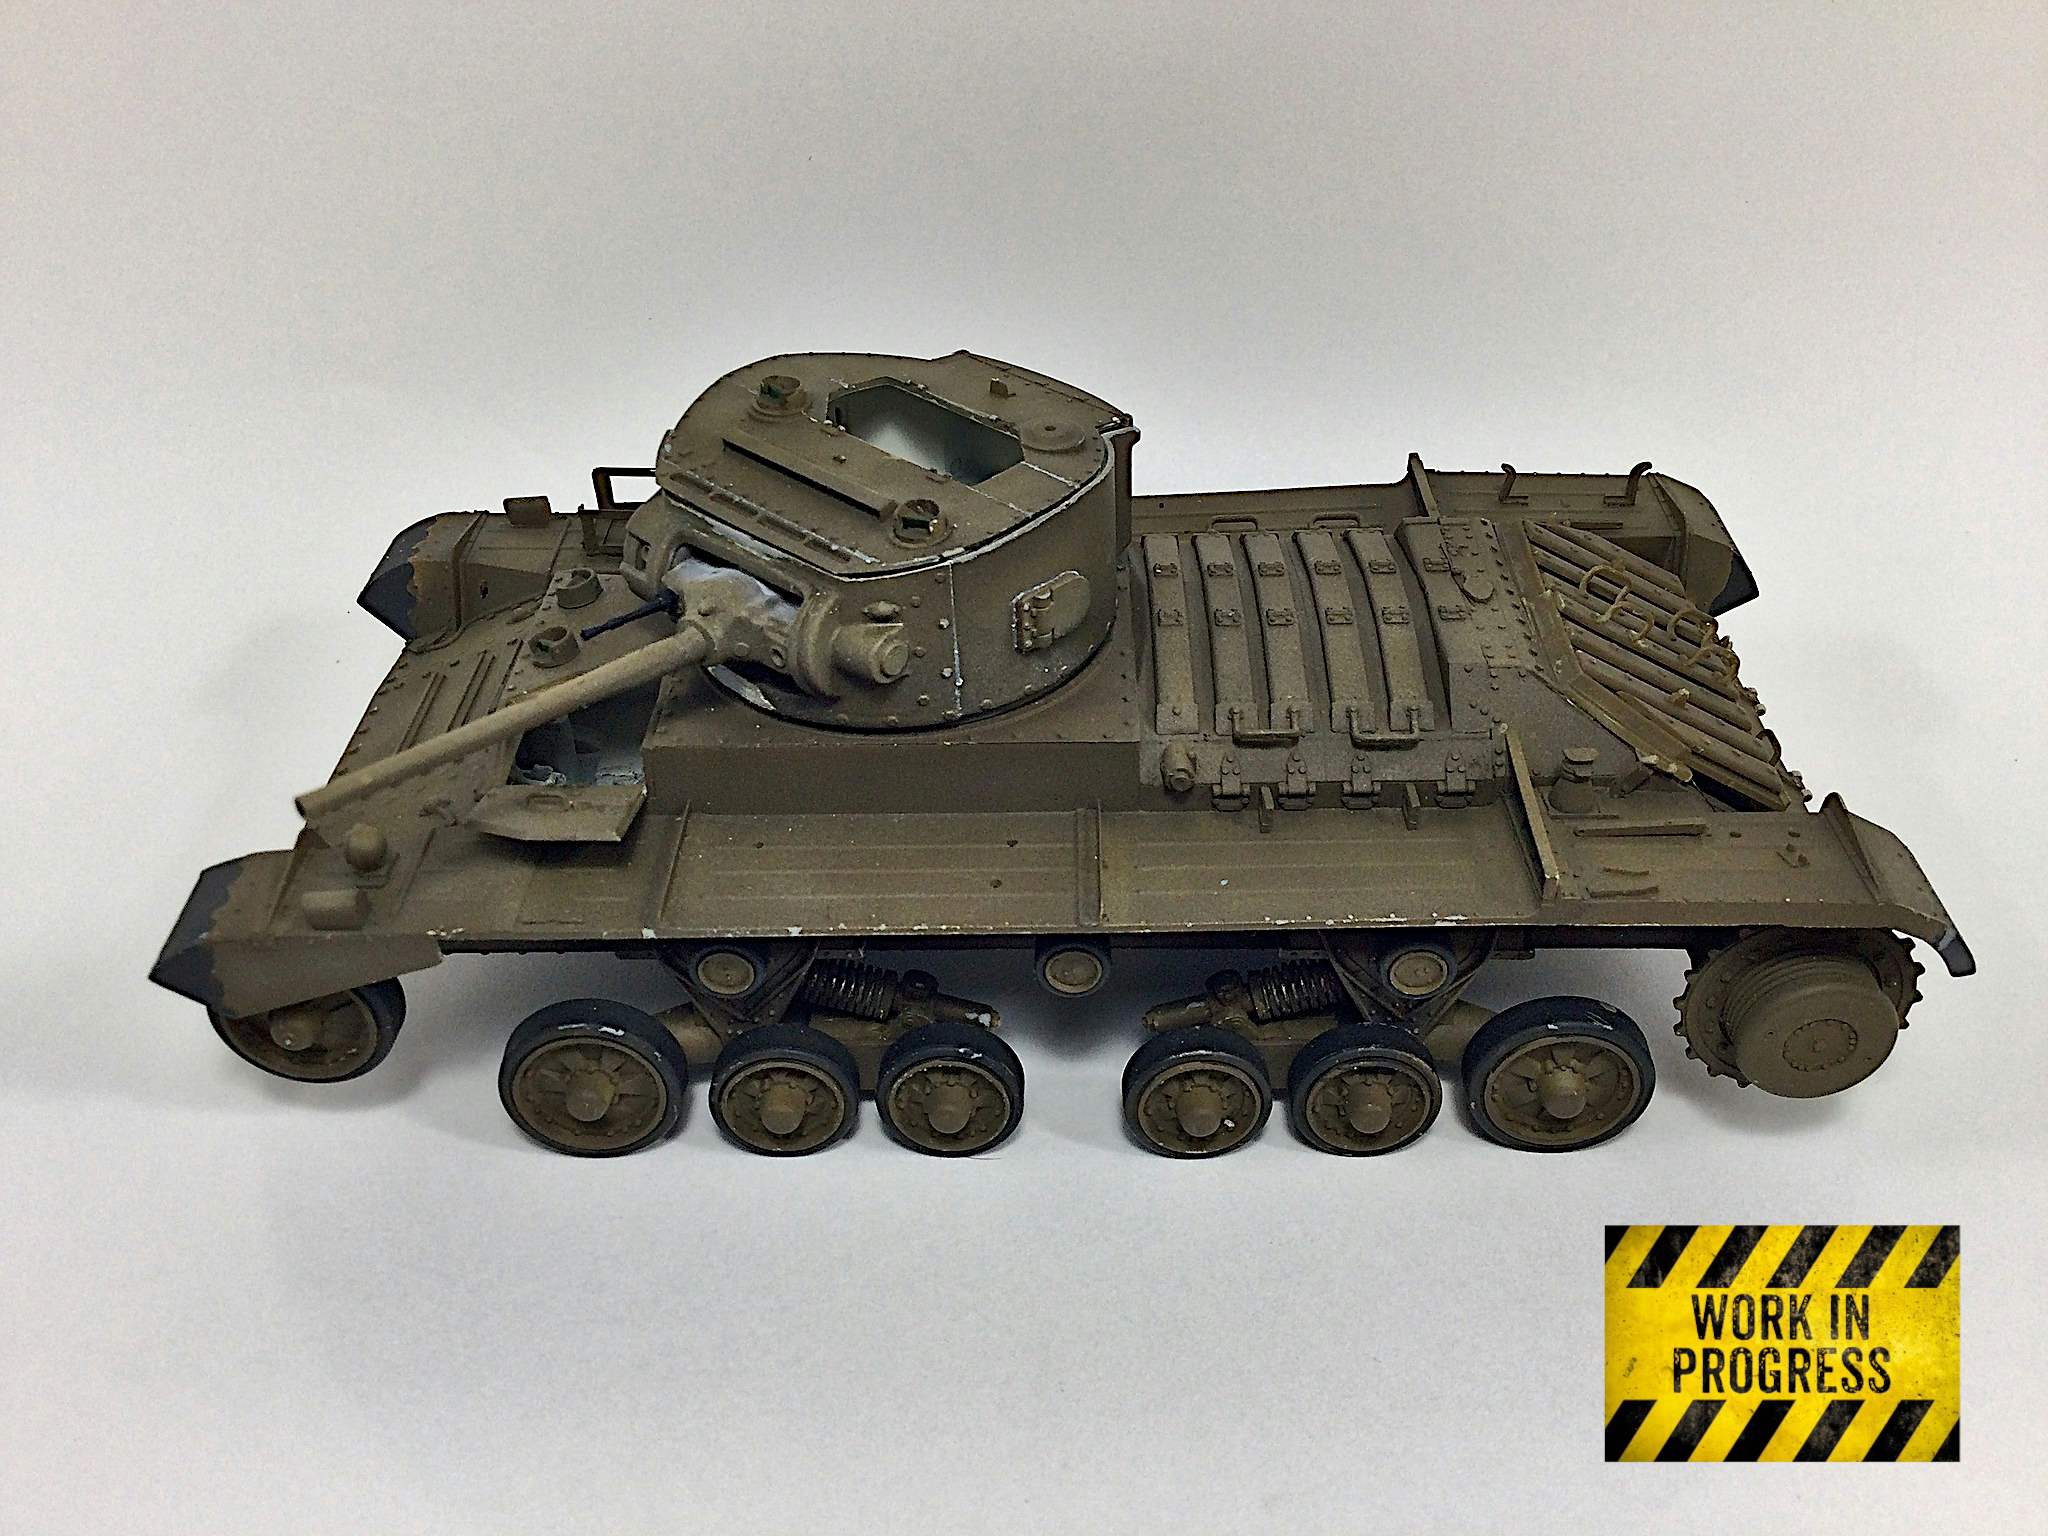
Valentine Mk.VI CANADIAN-BUILT Early Prod. Colours
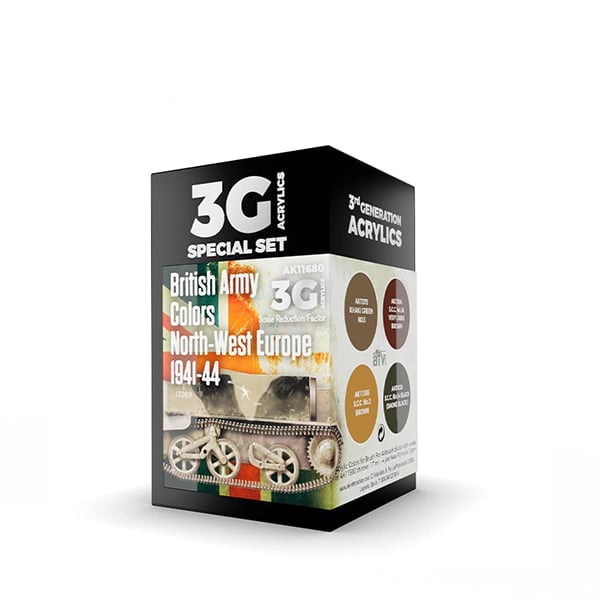
3G ACRYLICS
BRITISH ARMY COLORS
NORTH-WEST EUROPE
1941-1944
This is a special set of third-generation acrylic paints, including the four camouflage colours most commonly used for painting vehicles of British and Commonwealth forces deployed in North-West Europe from 1941 to 1944.
These colours were used by the Canadian, Australian, New Zealand and https://www.sunwardhobbies.ca/ak-interactive/other armies during the same period.
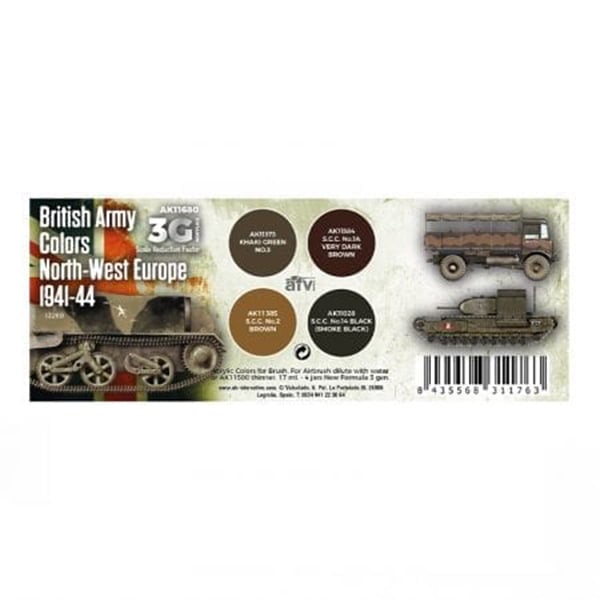
3G ACRYLICS
COMMONWEALTH ARMIES
The Canadian, Australian, New Zealand and other Commonwealth Armies used these colours during the same period.
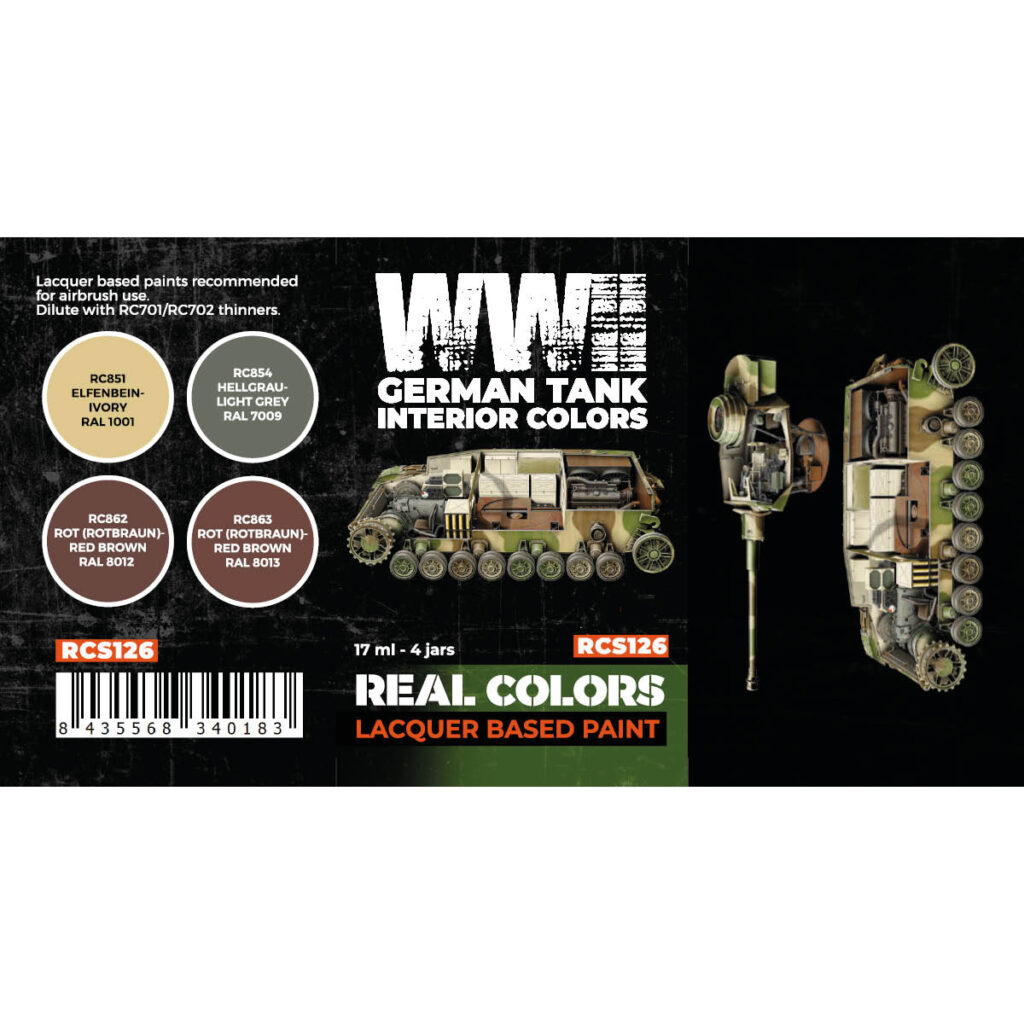
Tiger I Early Pz.Kpfw.VI Ausf. E Colours

REAL COLORS
1937-1944 PANZER COLOURS
REAL COLORS
WWII GERMAN TANK
INTERIOR COLORS
Using White Styrofoam for Fill Light Reflector
White Styrofoam can also be a versatile tool for fill lighting. It’s lightweight, easy to shape, and provides excellent reflective properties. You can use pieces of white Styrofoam as impromptu fill light boards by strategically placing them around your model to bounce light into shadowed areas. This is especially useful when working with smaller models or dioramas with limited space.
💡 White, rigid, closed-cell extruded polystyrene foam, or XPS, is best because it does not crumble or degrade quickly when handled.
Advanced Application Ideas for Styrofoam
- Carve Custom Shapes: Use a craft knife to carve styrofoam into different shapes, such as wedges, rectangles, or curves. This allows you to direct light into specific areas, such as tight spaces under vehicle tracks, around buildings, or within cockpit interiors.
- Stacked Blocks: Stack and glue styrofoam blocks to create tiered reflectors. This technique works well for multi-level dioramas or scenes where you must simultaneously light different heights.
- Foam Panels for Diffusion: Place thin sheets of styrofoam before light sources to use as diffusers. This softens harsh light, creating a more even glow across your model.
- Mini Reflectors: Attach small styrofoam pieces to toothpicks or skewers. These can direct light precisely onto tiny details like rivets, decals, or miniature figures.
Setting Up Your Fill Light Boards
Using Clamps or Mini-Tripods
- Attach clamps to the board’s edges and position them near your model for stability.
- Use mini-tripods to prop up smaller boards or reflectors for more precise light direction control.
Clamps and tripods offer flexibility, allowing you to make quick adjustments without disturbing your scene.
Ideal Placement
- Primary Light Source: Position your key light (like a desk lamp or studio light) at a 45-degree angle to the model. This creates natural shadows and depth.
- Fill Light Boards: Place the fill boards on the opposite side of the primary light source to reflect light into the shadows. You can experiment with various angles and distances to soften or sharpen the shadows.
Experiment with distances and angles to achieve the desired lighting effect. For large dioramas, strategically positioned fill boards may be needed to balance the lighting across the scene.
Conclusion
Creating fill light boards using white foam board, polystyrene, styrofoam, or wrinkled aluminum foil is a simple and cost-effective way to elevate your scale model photography. With a few essential tools and some experimentation, you can achieve professional lighting effects, highlighting every detail of your build. Happy modelling and photographing!📱 📷 📹
Key Takeaways
- Purpose of Fill Boards
- Reflect and diffuse light opposite your key light to soften shadows, reveal details, and create depth.
- Balance contrast so textures and fine model work stand out clearly.
- Material Options
- White Foam Board / Polystyrene: Soft, even diffusion for gentle fill.
- Wrinkled Aluminum Foil: Textured reflector for punchy highlights and subtle sparkle.
- White Styrofoam (XPS): Lightweight, easy to shape, excellent for small-scale setups.
- DIY Construction Essentials
- Tools: Metal ruler, sharp craft knife, cutting mat, double-sided tape or glue, clamps/mini-tripods.
- Sizing:
- Small models: ~6×6″ boards
- Medium models: ~8×10″
- Large/dioramas: ≥12×12″
- Custom strips for tight spots
- Building Steps
- Select Material & Size based on model scale and coverage needs.
- Cut Precisely using a straightedge and multiple light scoring passes.
- Optional Finishing: Sand edges, reinforce layers, or mount dowels for rigidity.
- Foil Reflectors: Crumple foil, smooth to desired texture, and adhere to board.
- Setup & Placement
- Key Light at ~45° to model to create natural shadows.
- Fill Boards Opposite to bounce light into shadows—adjust angle/distance for soft vs. sharp fill.
- Combine Boards: Use multiple boards or mixed materials for dynamic, balanced lighting.
- Impromptu Photo Box
- Use four styrofoam panels and a white paper backdrop for a DIY light tent.
- Overhead LED desk lamp + side reflectors = clean, seamless shots without specialized gear.
- Advanced Applications
- Carved Shapes & Mini Reflectors: Direct light into tight areas or highlight tiny details.
- Diffusion Panels: Layer thin foam or tracing paper in front of lights for ultra-soft illumination.
- Stacked/Tiered Boards: Light multi-level dioramas evenly.
By crafting and positioning simple fill boards, you can control shadows, enhance detail, and achieve professional-quality scale model photographs using everyday materials.
James Wooldridge
James is a dedicated scale modeller, researcher, and amateur historian whose expertise elevates every project he undertakes. Specializing in super detailing and the application of authentic colour schemes, his scholarly articles have been published in esteemed platforms such as Scalemates and have been recognized through inclusion in Google Featured Snippets. As an active contributor to a distinguished Facebook group, he disseminates innovative techniques and forward-thinking ideas within a vibrant community of enthusiasts. Moreover, James presents informative video content for a prominent Scale Modelling Club, further demonstrating his commitment to advancing the craft. His leadership is underscored by his role as a founding executive member of both KSM–IPMS and Kawartha Scale Modellers, thereby solidifying his influential position within the scale modelling field..💡📏 📐📱🎬 📷 🎥