
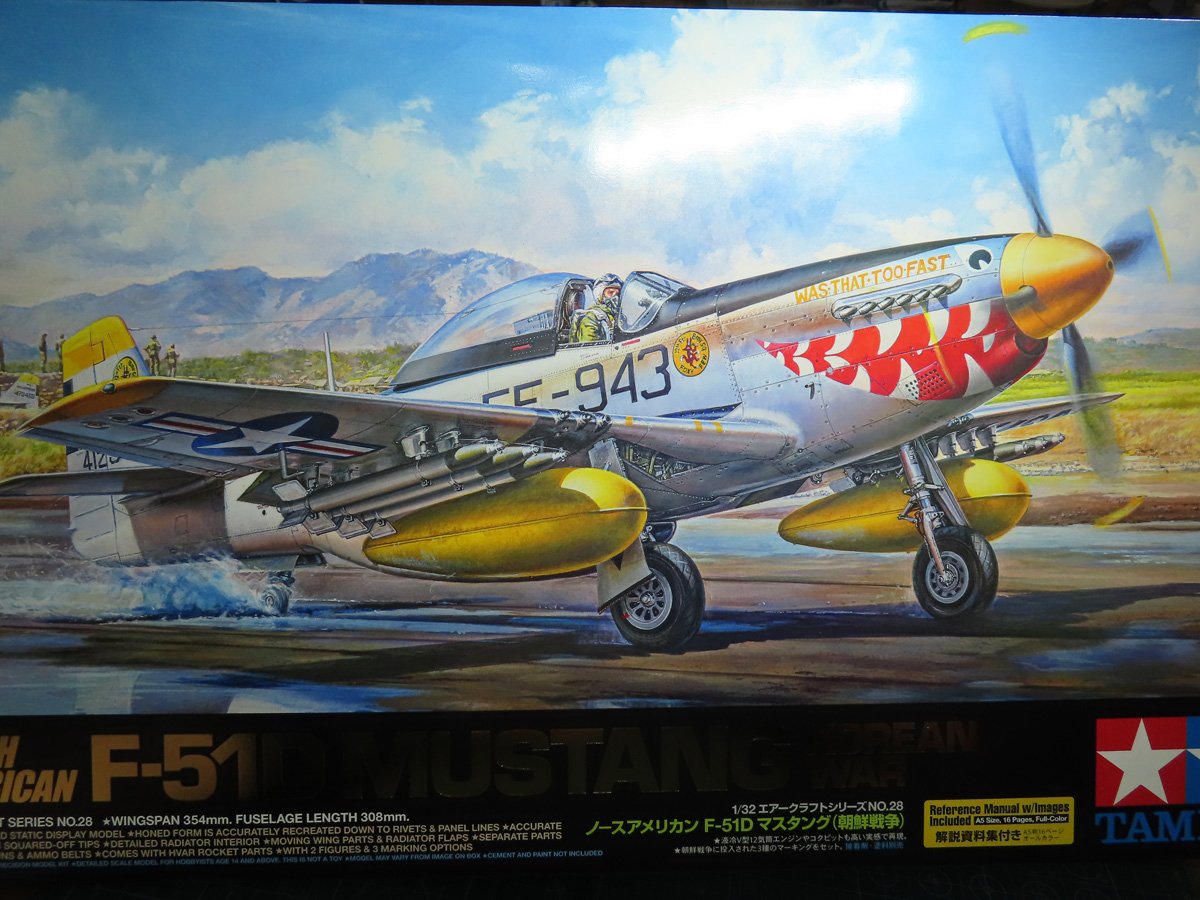
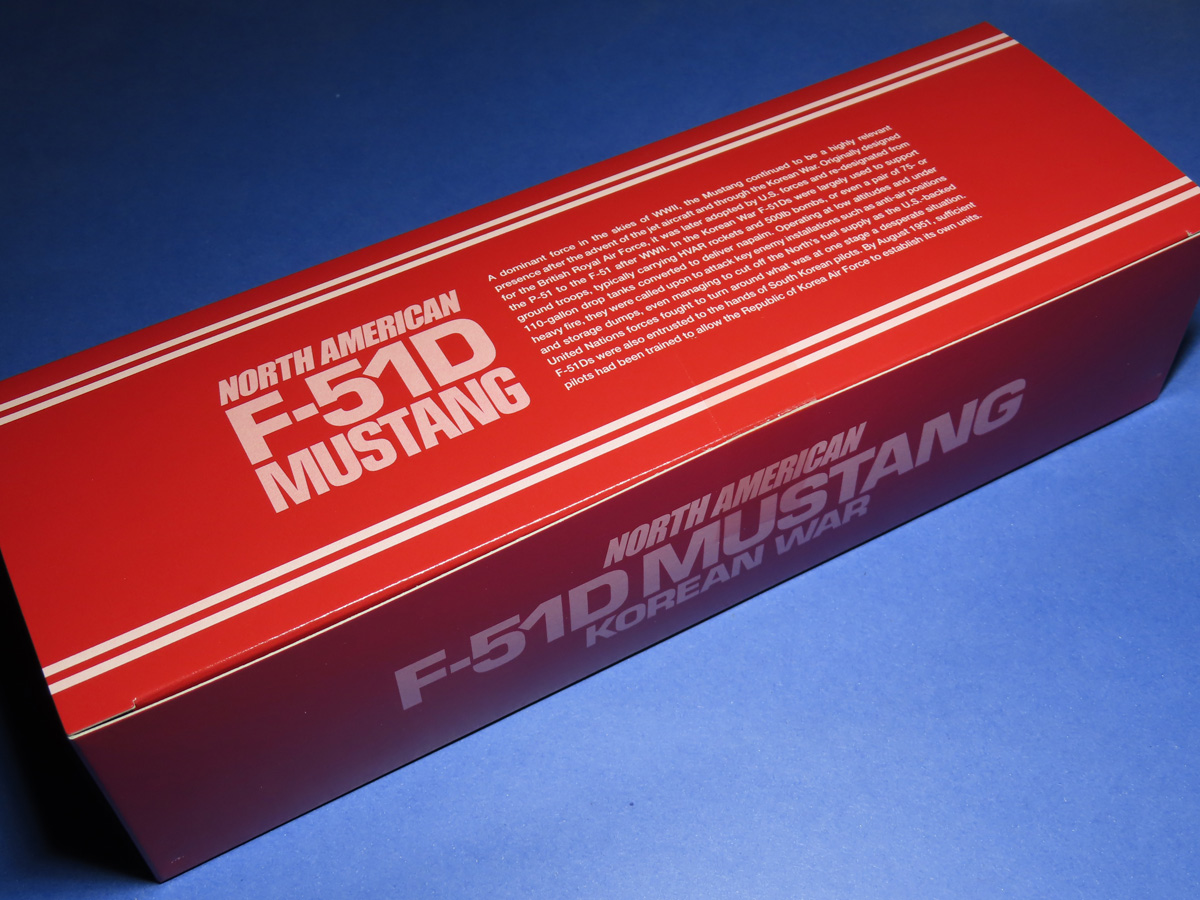
Tamiya North American F-51D Mustang
This is the first part of the Tamiya North American F-51D Mustang Korean War 1/32 Scale 60328 with RCAF Markings.
Tamiya first released the P-51 Mustang back in 2011, which was to further expand on their 32nd scale range of kits, which already included the A6M Zero and Supermarine Spitfire. I built the P-51D shortly after it hit the hobby store, and I recall it being such an amazing and very impressive build. Tamiya really put their best efforts forward with this kit, and over a decade later, this kit is still the king of Mustang models.
The cowling parts were removable to show a detailed engine. The canopy slides back to reveal a very detailed interior cockpit. And the gun bay panels were removable to show off the 6 Browning 50.cal machine guns and ammunition belts. And if that wasn’t enough, the landing gear is removable, and the model can be posed in flight.
A few years later, Tamiya would again release the Mustang, this time the P-51D/K “Pacific Theatre”, which featured some new parts like a different propeller and spinner, and new weapons to be added under the wings. It also had an option to build an F-6D, which is a photo reconnaissance version of the Mustang.
And in 2020, Tamiya surprised us once again with the reveal of the F-51D “Korean War”, which featured some more new parts for later Mustangs, as well as rockets for the wings.
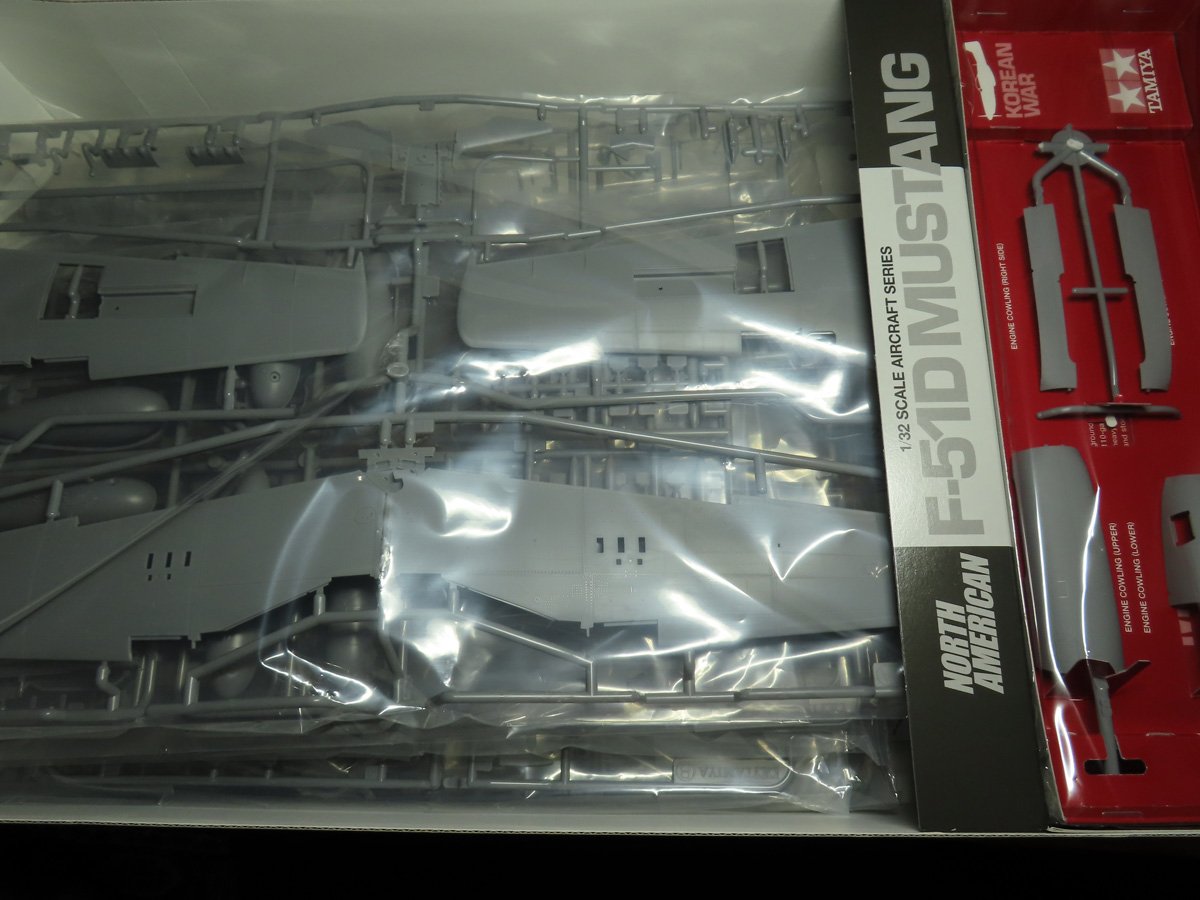
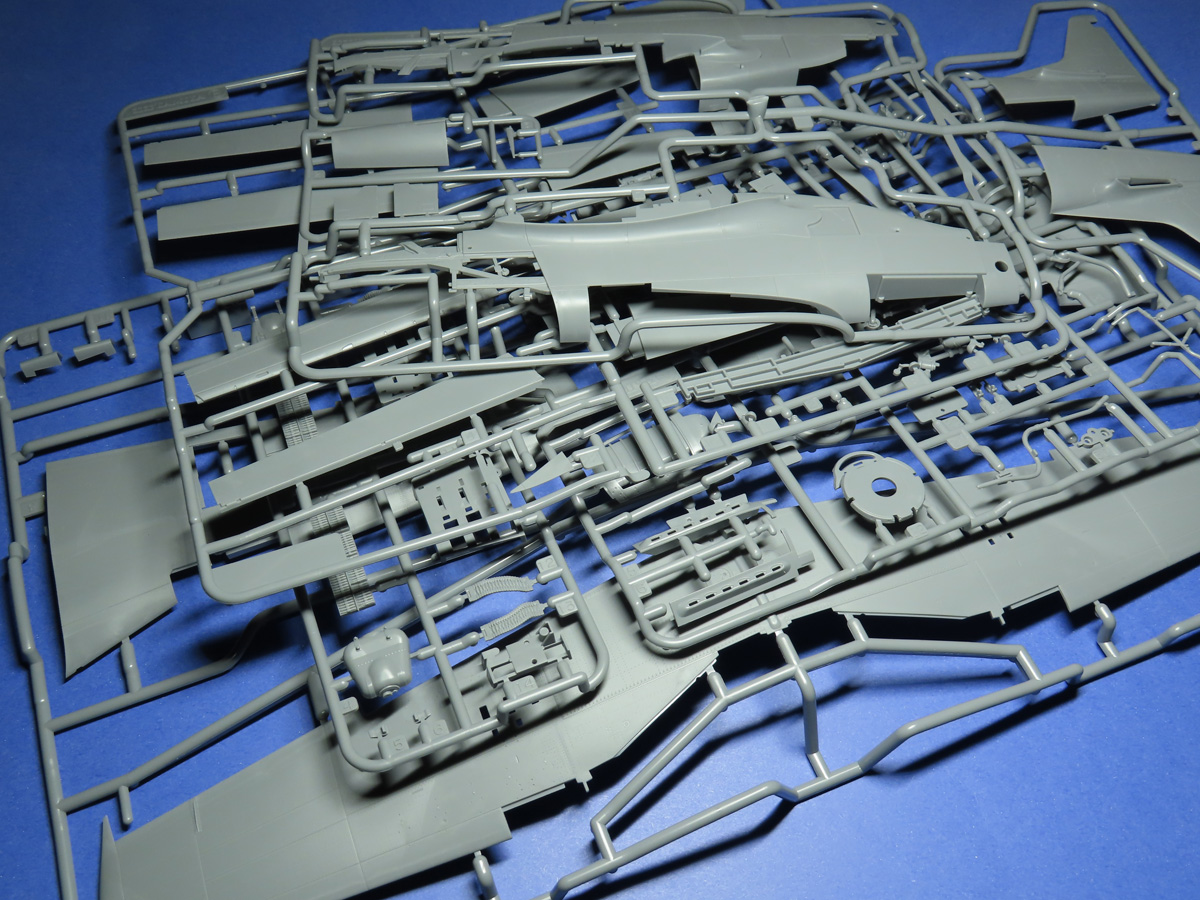
This is what you are greeted with when you open the box. There are a lot of parts to go through with this kit, so I’m going to focus on the important parts for this post.

Starting off with Sprue A, we have the upper and lower wing sections. The styrene frame around the wings has also been reinforced to prevent the large lower wing section from warping.

Here is a closer look at the underside of the wingtip. You can see the recessed panel lines as well as the finely detailed rivets, which are all over the aircraft.
The wings of the P-51 were filled in on the real aircraft to help improve airflow over the wings. But with the detail being this nice, I’m going to leave the rivets and panel lines bare to allow these details to be seen upon completion.
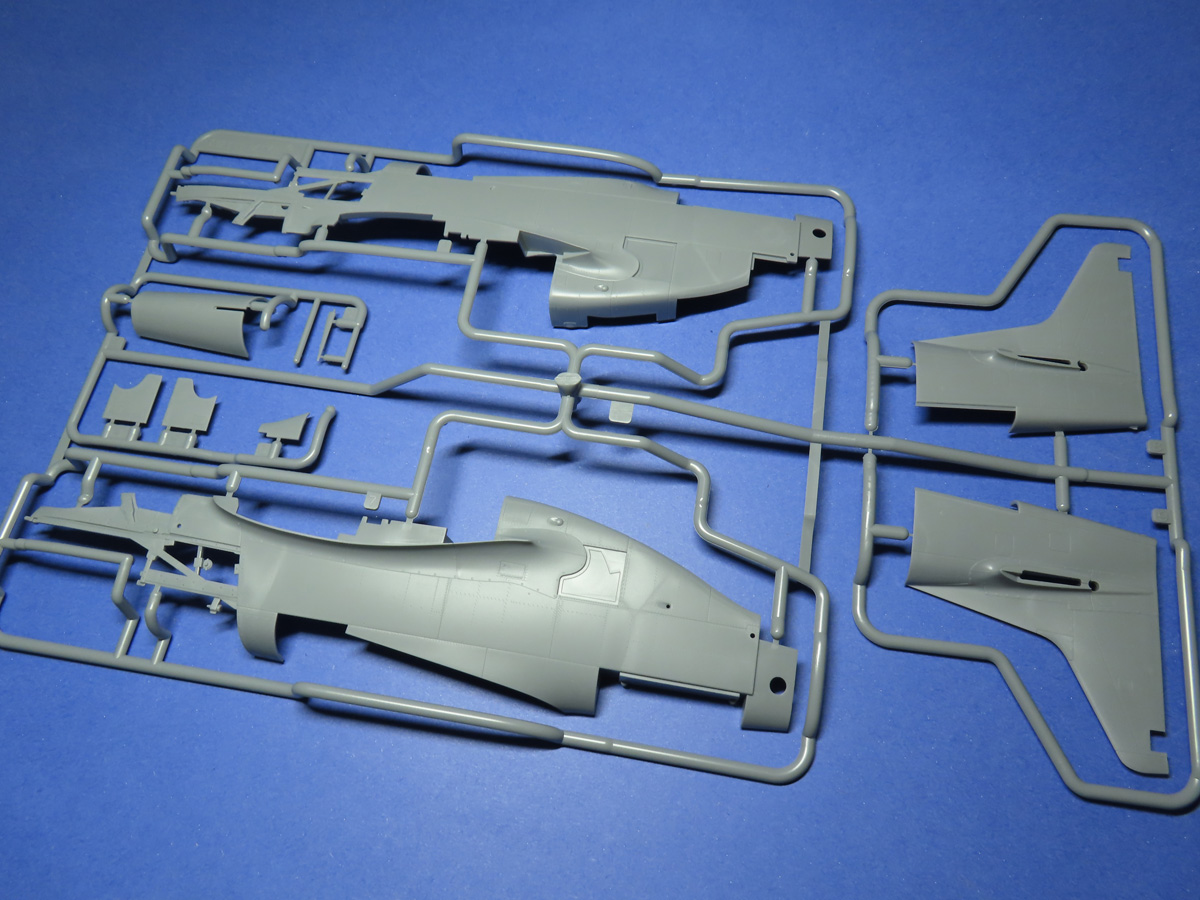
The fuselage is broken into many parts, and here you can see the exposed engine frame. The tail section is separate because the alternate tail without the fin can be used. But these parts are only included with the P-51D (60322).

Sprue B has most of the control surfaces, which are all posable, including the landing flaps. Towards the bottom of the sprue, just below the wing spar, you can see 5 tiny parts. These aren’t mentioned in the instructions, but they are the mirrors for the canopy in various styles. It’s just a small addition to the kit, but nice to know that Tamiya has the modeler in mind.

Sprue V and W contain some of the parts for the engine, and more parts for the engine frame, as well as the gun bays.

Sprue H has the parts for the mighty Merlin engine. It’s beautifully detailed and has many parts that are meant for the Spitfire kits.

P-51 Mustangs were powered with the American-built Packard Merlin engine, and so Sprue E has these new parts.

Most of the cockpit parts are held on Sprue D, and there are many alternate parts that you can choose from, which is very useful if you have a specific P-51 build in mind.

Sprue F has the landing gear and the gear bay. On the far right side of the sprue, you can see the closed door section, which can be attached for in-flight display.

For the exhaust stacks (both long and short stacks are included), slide molding was used to hollow out the stacks. These parts are on Sprue J.

This is the included display stand and small bar plaque. I’m not really a fan of display stands, as from past experiences I’ve found them to be fragile and unbalanced. But I can speak from experience in this case, that this stand is very sturdy. With my P-51D, I tried to see if I could get it to fall over, and I’ve got to hand it to Tamiya, even with me shaking the display case, this stand stood firmly in place.

Here are some of the new parts for this kit: Sprue DD, which has the later version propellers, as well as the new radio, which will sit behind the pilot.

Also new is Sprue CC. This small section holds the 4 rockets that will go on either side of the wings. Slide-molding was also used on these parts to hollow out the rockets, and a small photo-etch circle will then be added.

In a separate tray, the engine cowling is housed. This is something really cool that Tamiya invented; these cowling parts are created using a thinner styrene so that the model will stay true to scale.
They are more delicate than normal parts, and they have a bit of a flex to them. But the styrene is quite tough, so don’t stress too much when you are handling them.
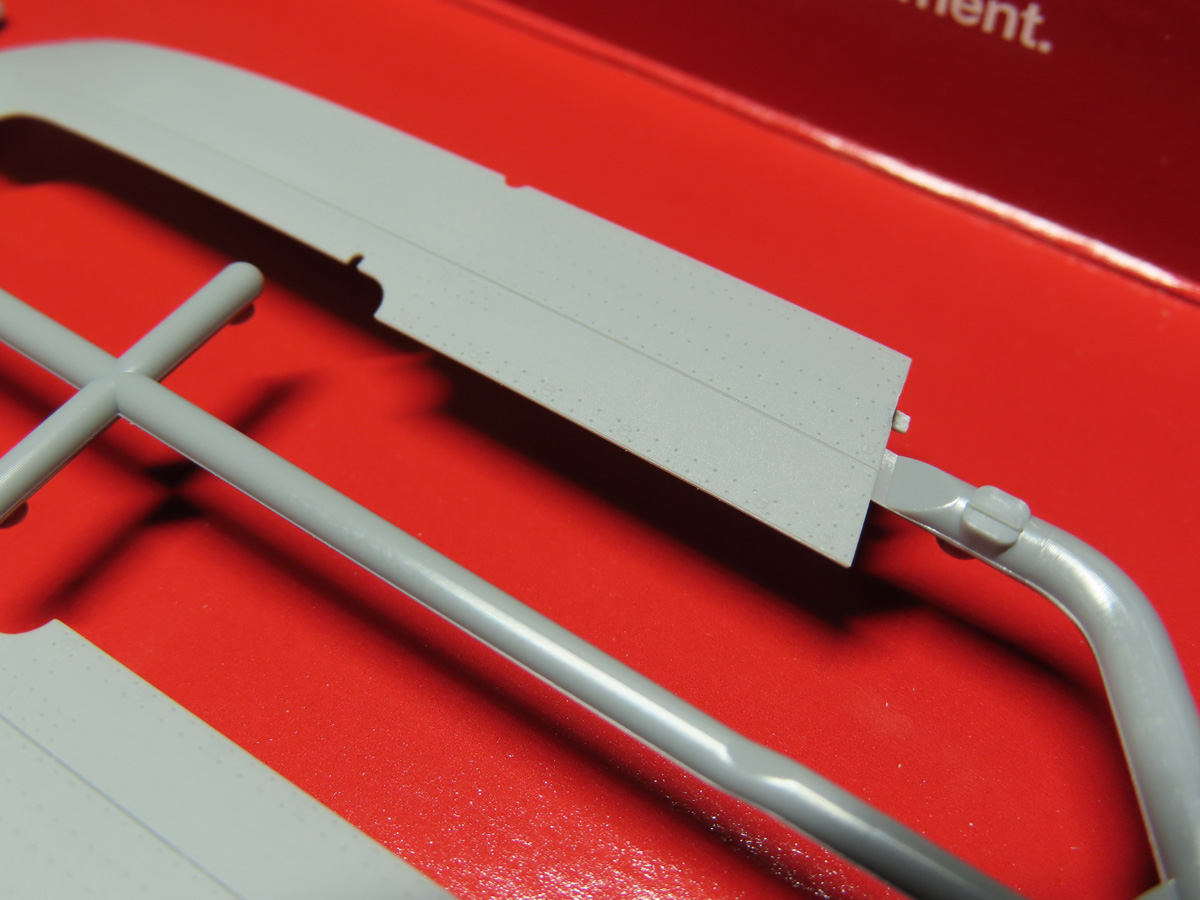
Here is a close look at the cowling, and you can really see how thin this plastic is. It’s a slightly lighter styrene than the rest of the kit, but it takes paint and primer just the same.
Underneath the tray with the colwing, you’ll find this box, which contains the rest of the smaller parts. I really love the extra effort Tamiya put into packaging this model; it really makes the kit feel a bit more special.
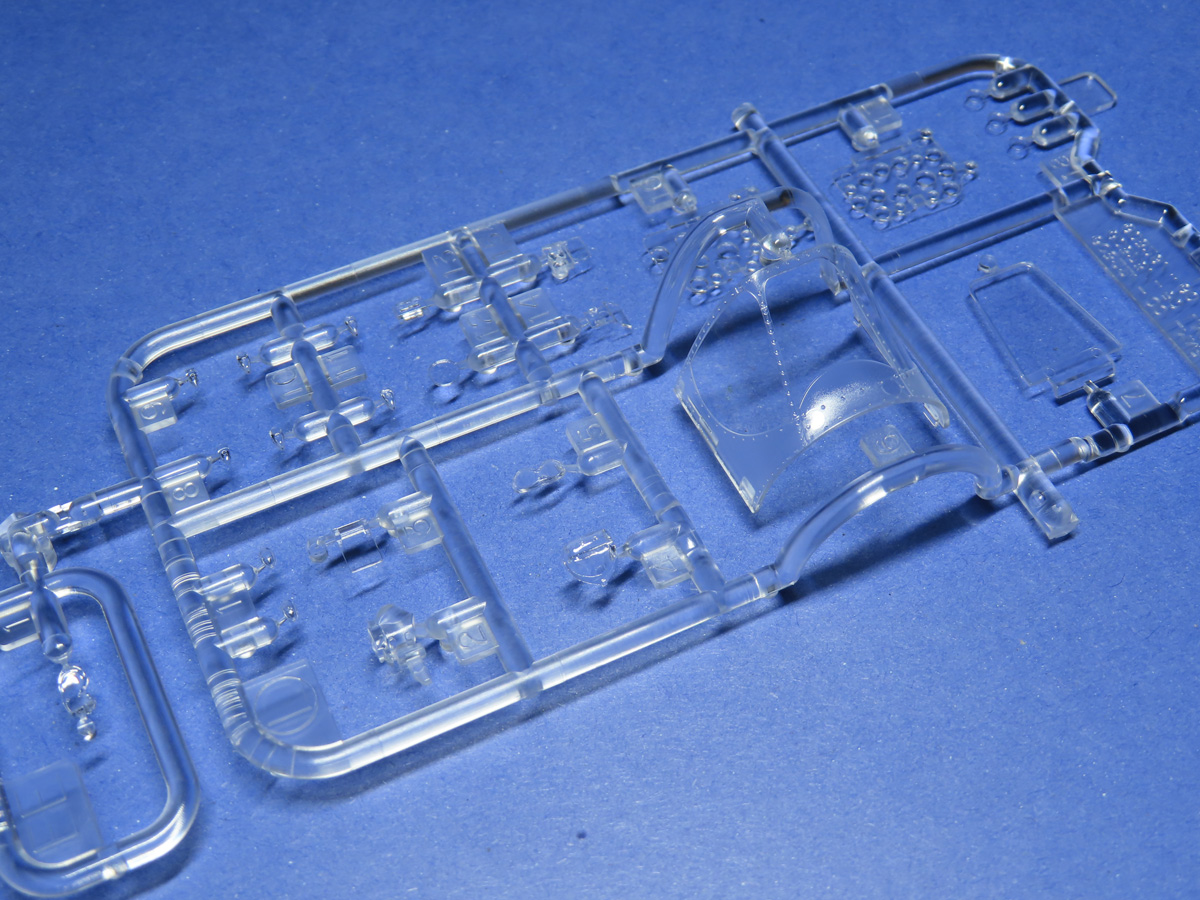
The clear parts are amazingly clear. I don’t quite know how Tamiya does it, but they just do it so well!

You also get 3, yes, that’s right, 3 different styles of tear drop canopies.

Polycaps and rubber tires are included, and I think that these tires are okay. They have a nice tread detail to them, but they might be a bit difficult to weather. I know that rubber tires aren’t a favourite among some modelers, so you might consider replacing these with aftermarket.
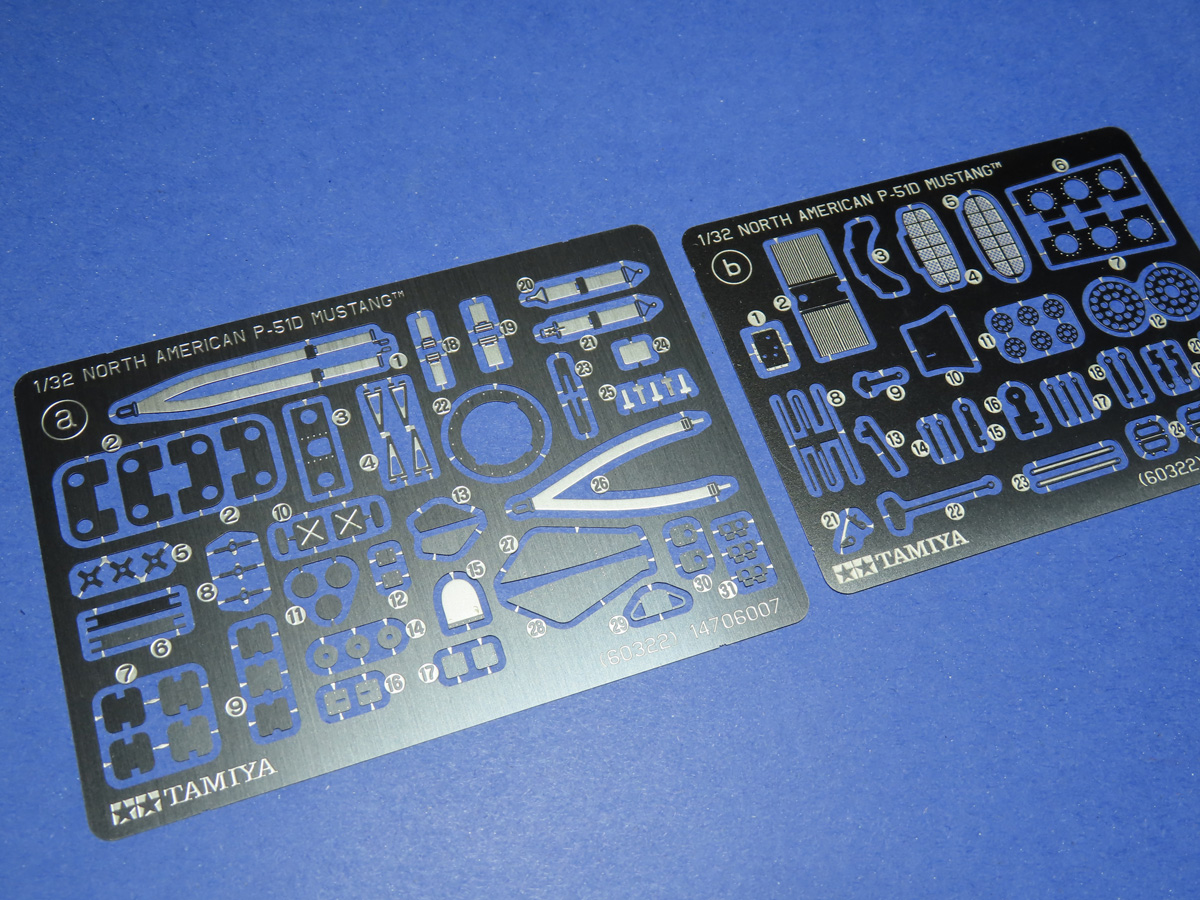
Two sheets of photoetch are included for a lot of the thinner details. These frets are made out of steel, and the details on them are excellent.
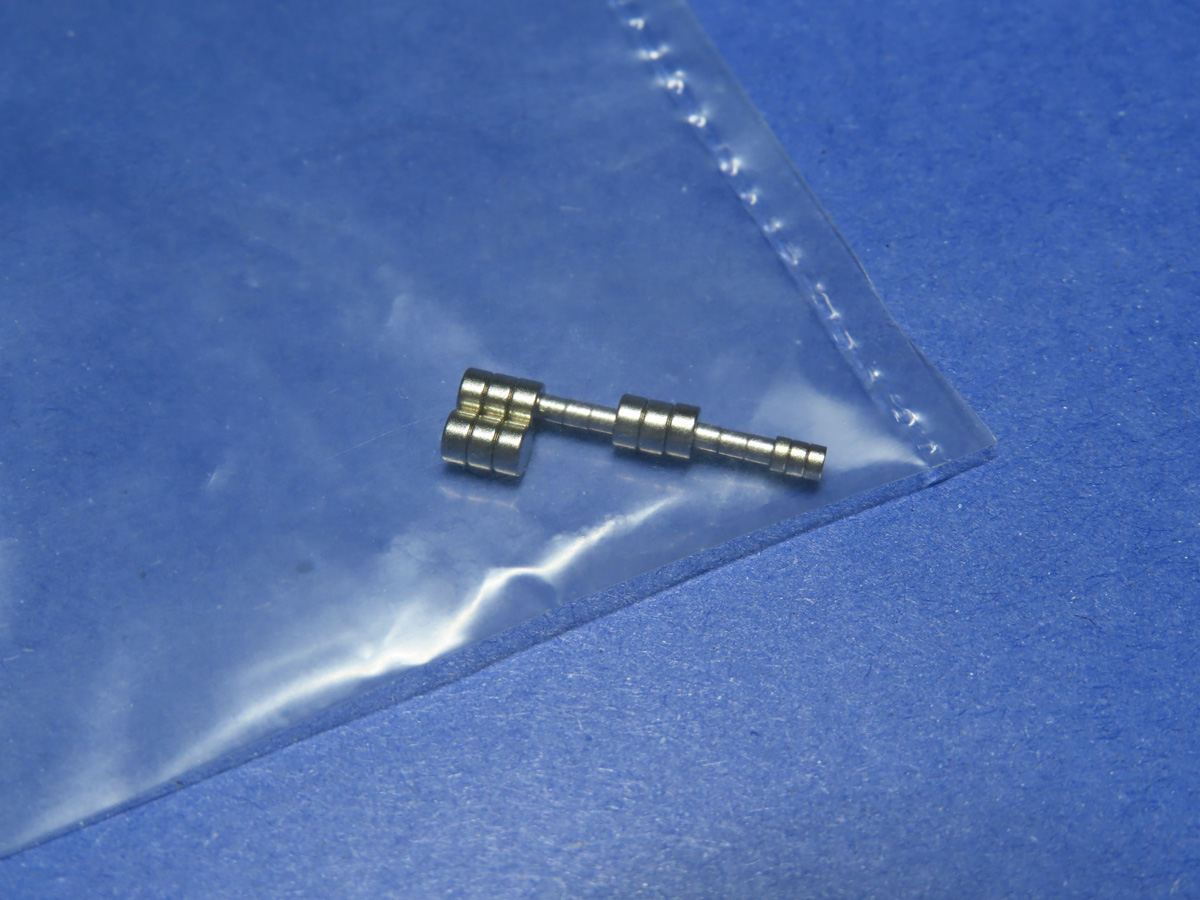
This bag contains the small magnets that are used for some of the functions, such as helping the cowling panels stay attached to the engine frame.
These magnets are very strong, and it would be wise to invest in a set of brass tweezers to ease their placement process.
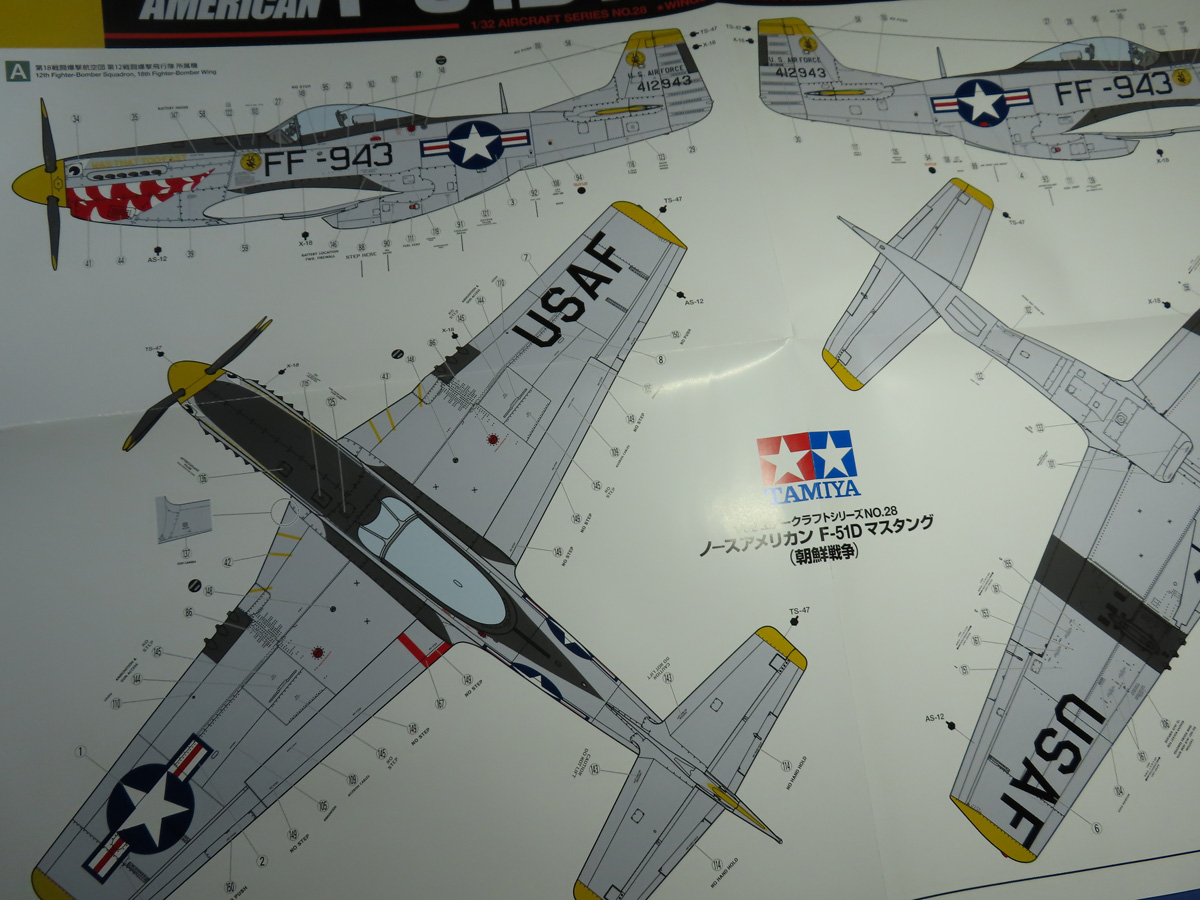
A large color guide and decal placement poster is included, and this print looks so great you’ll want to hang it up when you are done. On the other side, there are guides for options B and C.
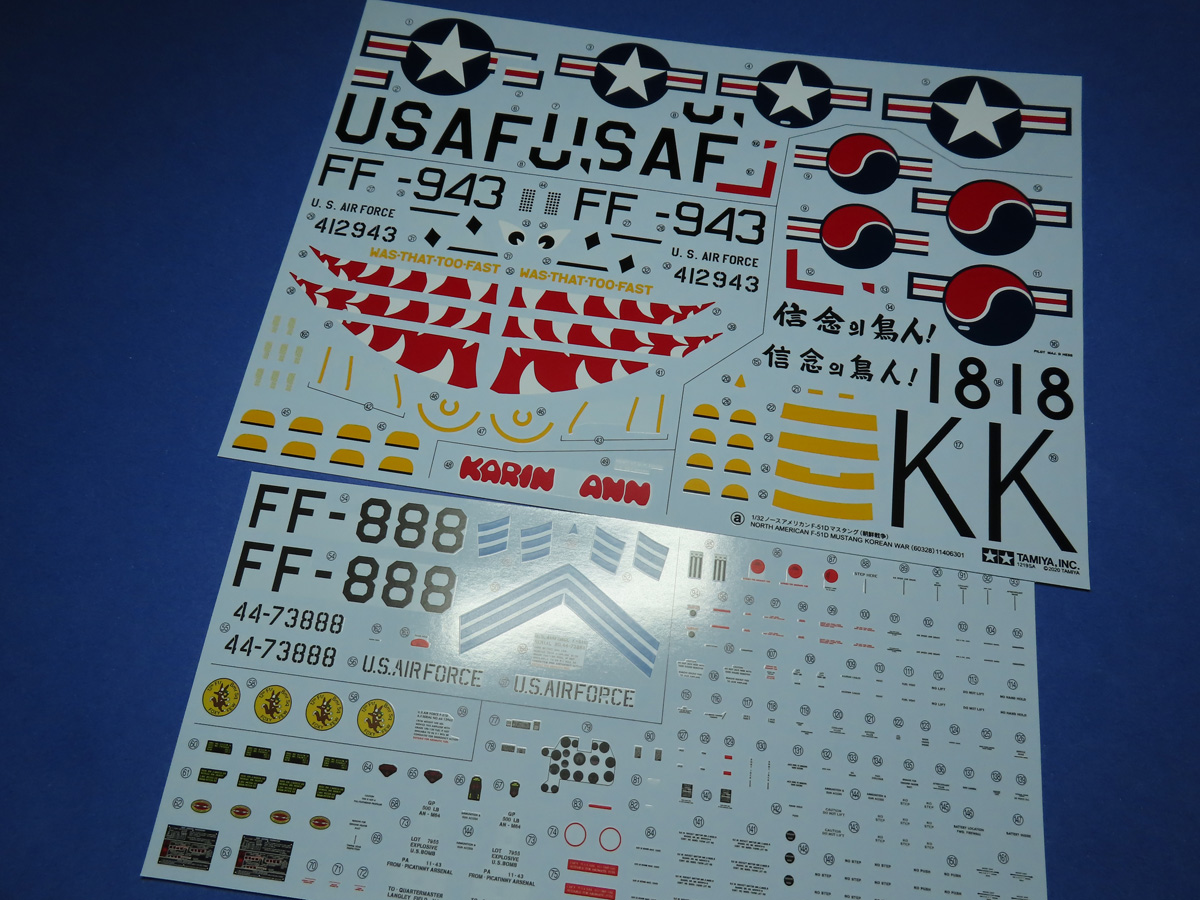
The decals are beautifully printed and spread across two sheets. Many modelers have found Tamiya decals to be difficult, as they are quite thick and don’t conform too well. However, I’ve found that with some care and Tamiya Mark Fit (Super Strong) decal solvent, that you can have good results with these decals.

Window masking and a metallic data sticker are included, however, the maskings are not cut out, only printed on, so you will have to cut them out yourself.

The instruction book is very comprehensive and 35 pages long. But everything is well laid out and very easy to follow. Even a beginner could follow along with this build without any issue. I do suggest that you study through this book a few times before beginning the project.
I love these 1/32nd Tamiya kits, and I have a collection of built and unbuilt kits. They are a lot of work with all of the parts and details, but they are so satisfying to build!
And I’m so excited to get to build this version of the Mustang with you. This will be my third time building this model, and I’ve already got a lot of ideas on how I’m going to tackle this project.
I will admit, the first time I built this kit all of those years ago, I was really nervous, but Tamiya has built and designed such an amazing model, you’ll just watch the parts fall together right in front of you.
If you find this kit to be too ambitious, then I hope that following along with these upcoming posts will help you gain the confidence to take on this project. Trust me, by the end of this project, you’ll understand what all of the hype is about.
To be continued…
Jared Demes is a modeler from southern Alberta. He has been building models since he was 4 years old when his Dad first introduced him to the hobby. He has written for several magazines including, Fine Scale Modeler, Scale Aircraft Modeling, Phoenix Scale Models, and others. He has an interest in all modeling subjects, with a focus on WWII Japanese aircraft and Science Fiction.
Jared has won several IPMS awards for his modeling, and currently operates his YouTube channel rebelsatcloudnine, where he showcases model builds and product demonstrations.
Next Post: Part 2
Last Post: Part 19 – Last Post
Completed Images: Part 20