
Tamiya North American F-51D Mustang
This is the tenth part of the Tamiya North American F-51D Mustang Korean War 1/32 Scale 60328 with RCAF Markings.
I realized that it’s the last week of August, and that means for most people, summer is over. As I looked around the supermarket last week, I noticed all of the school supplies that were on the shelves, and I was immediately reminded of that smell of freshly sharpened pencils in my pencil box. My mom was frantically making sure we had everything ready for the new school year. And the slight dread I felt that the summer season was now over, and I was to be confined to a classroom.
Not to try and jinx anything, but this summer has been pretty great, especially since I’ve been able to work on such a kit as this. As the days get shorter and the nights cooler, even with this current heat wave, I can feel a slight change in the air. Sitting here working on this Mustang, with just my thoughts, and vigorous cricket noisily outside my window.

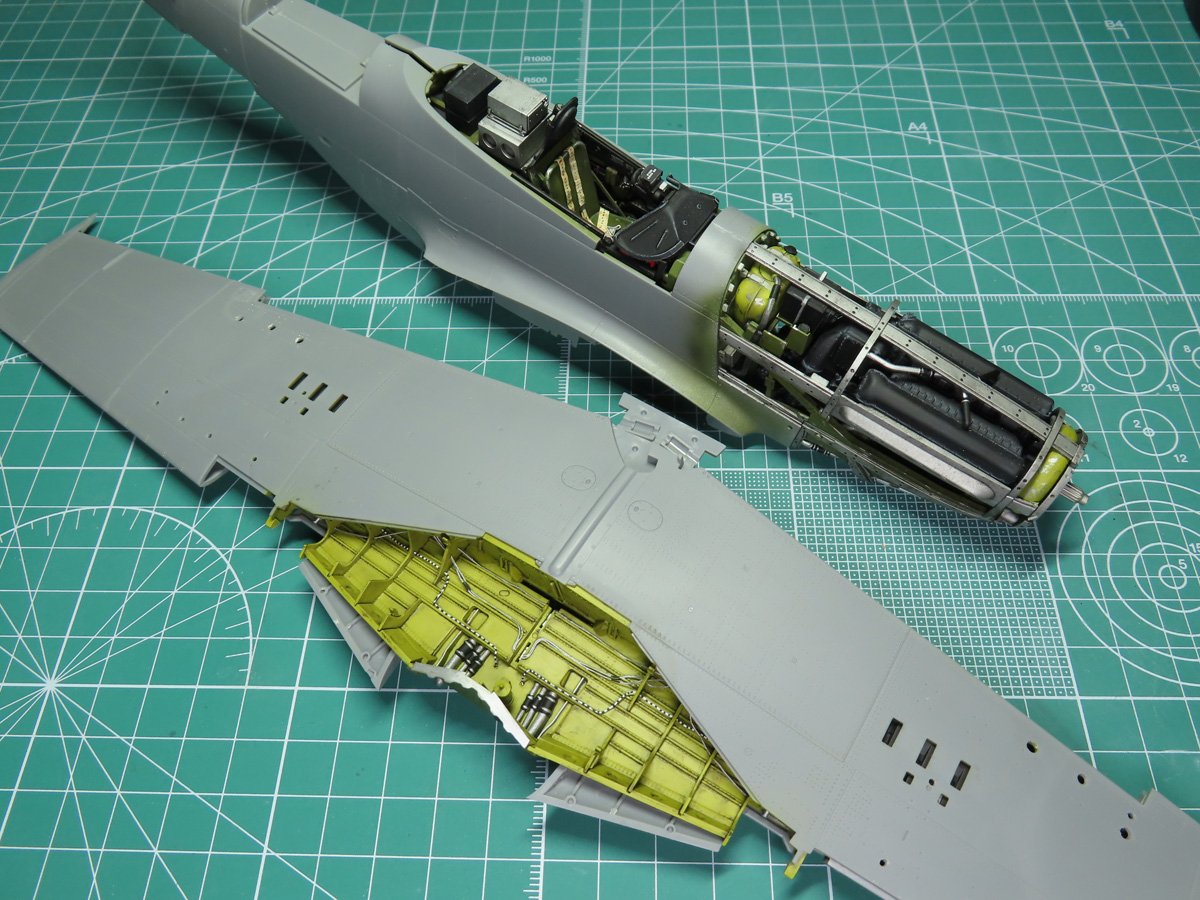
The first thing I did was glue the upper wing sections to the lower wing. I used a thin amount of Mr. Cement SP and carefully brushed along the edges. Afterwards, I sanded the wing edge with Tamiya 600 Sanding Sponge, and this revealed a few thin gaps along the wing.
Filling in these gaps was going to be easy. I used Mr Surfacer 1200 and carefully painted it along the wing edge. I decided to cover all of the wing, just in case there were gaps hiding that I couldn’t see. And once that had dried, I again sanded everything with the Tamiya 600 Sanding Sponge.
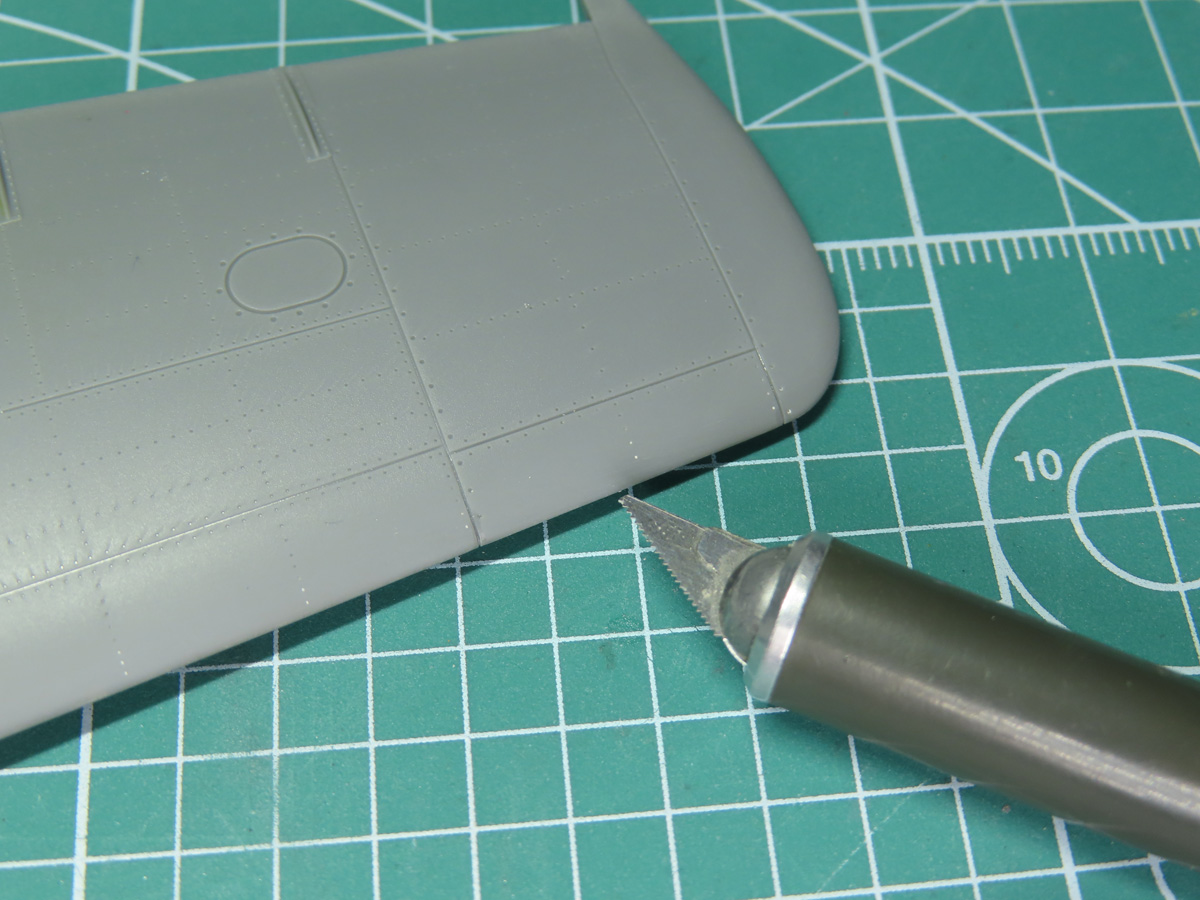
During the sanding process, some of the panel lines on the wing edge were softened or completely removed. I used my Tamiya Scribing Saw 74097 to carefully cut out and redefine the panels. This will really stand out on the completed model.
Once I was satisfied with the newly carved panels, I brushed in a small amount of Mr. Cement S to smooth out the panel line further.
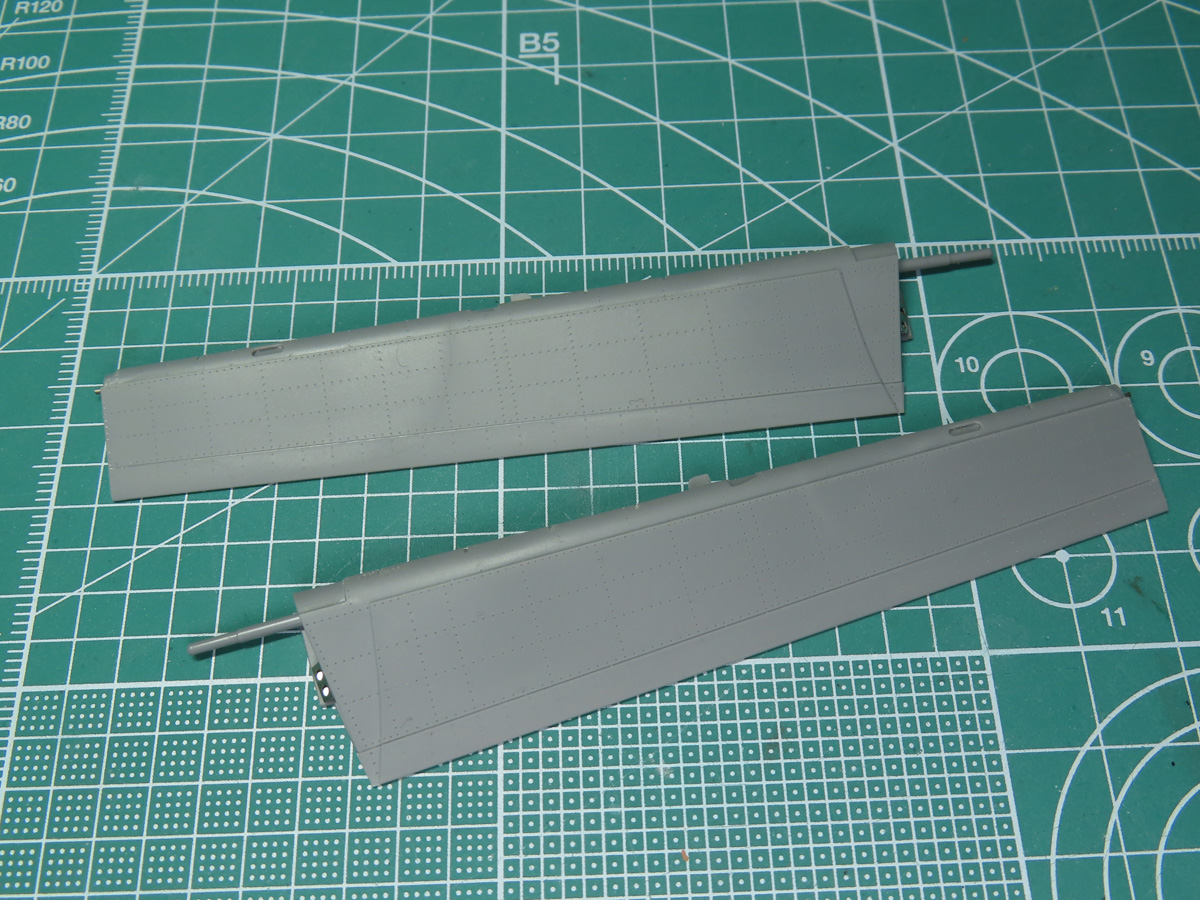
Next, I built the landing flaps and the ailerons. I’m going to keep these parts off the model for now, as it will be easier for me to paint and detail them while they are separated from the model.
Since these are designed to be posable, the entire section will need to be painted, as well. On the right flap will be a decal placed that measures how low the flaps are. Speaking from personal experience, it’s harder to add this on while the flaps are connected to the wing.
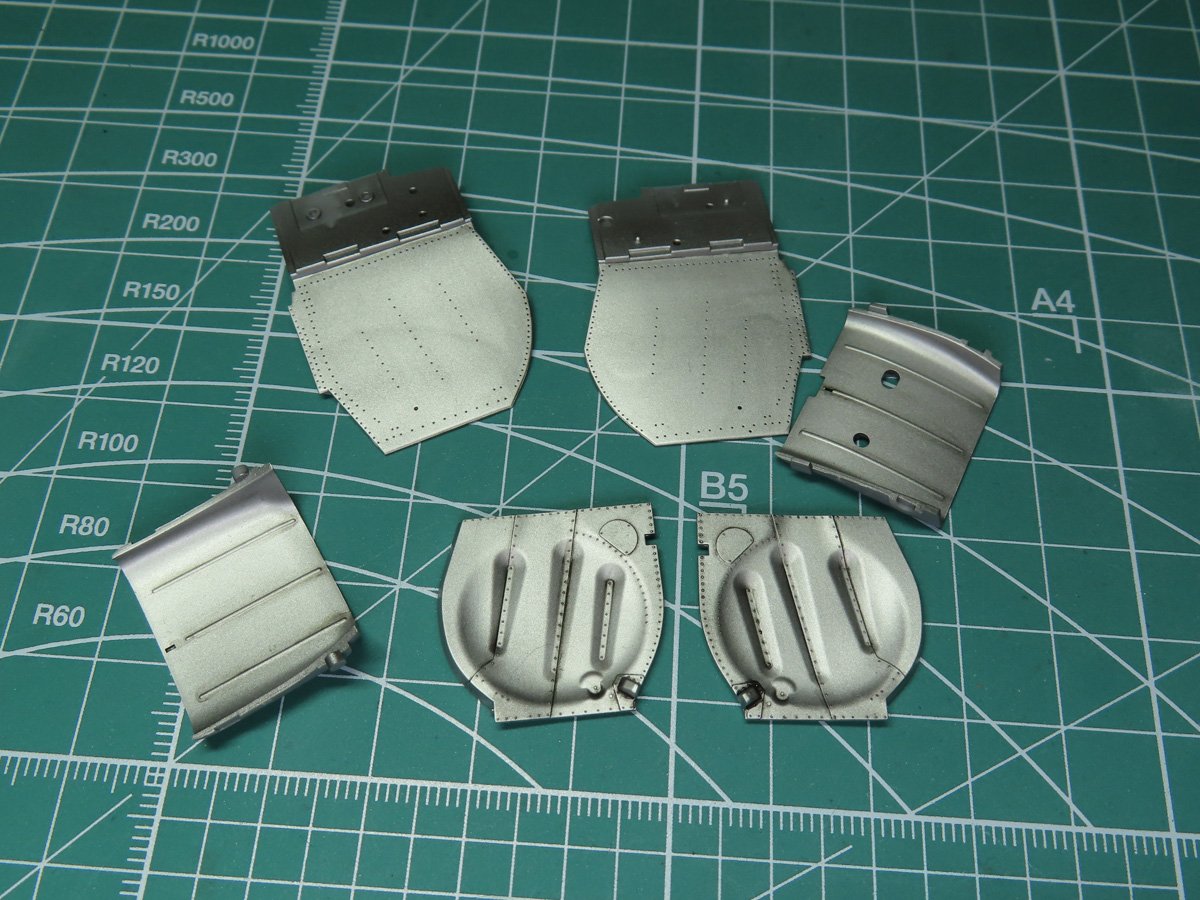
Moving on to the underside of the aircraft, I painted several of the parts, like the intake scoop and the landing gear doors, with Tamiya AS-12 Bare Metal Silver. To highlight the details, I used Tamiya Panel Line Accent color Black 87131 and sealed the parts with Mr Color C181 Semi Gloss Black.
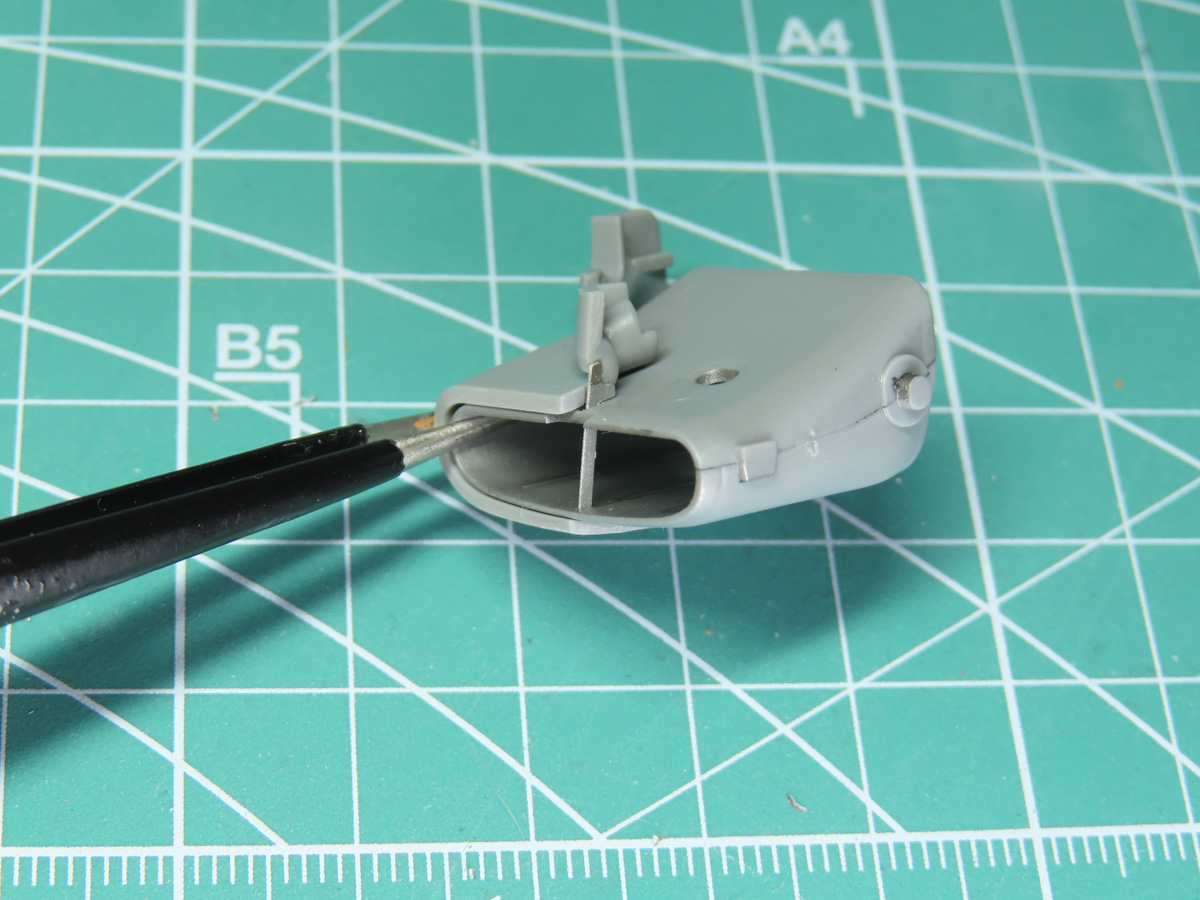
I glued the inner section of the intake to the outer half of the intake. At this stage, don’t forget to add the small photoetch center support.

There was a bit of a gap between parts R12 and R13. It’s an unusually poor fitting part for such an exemplary model. But the gap had been filled in and sanded over, which removed all of the nice recessed rivet details.
To add the rivets back, I used the Trumpeter Rivet Maker 09910. And though you can’t really see them in this picture, I assure you that they are there, and they blend in quite well with the Tamiya rivets.
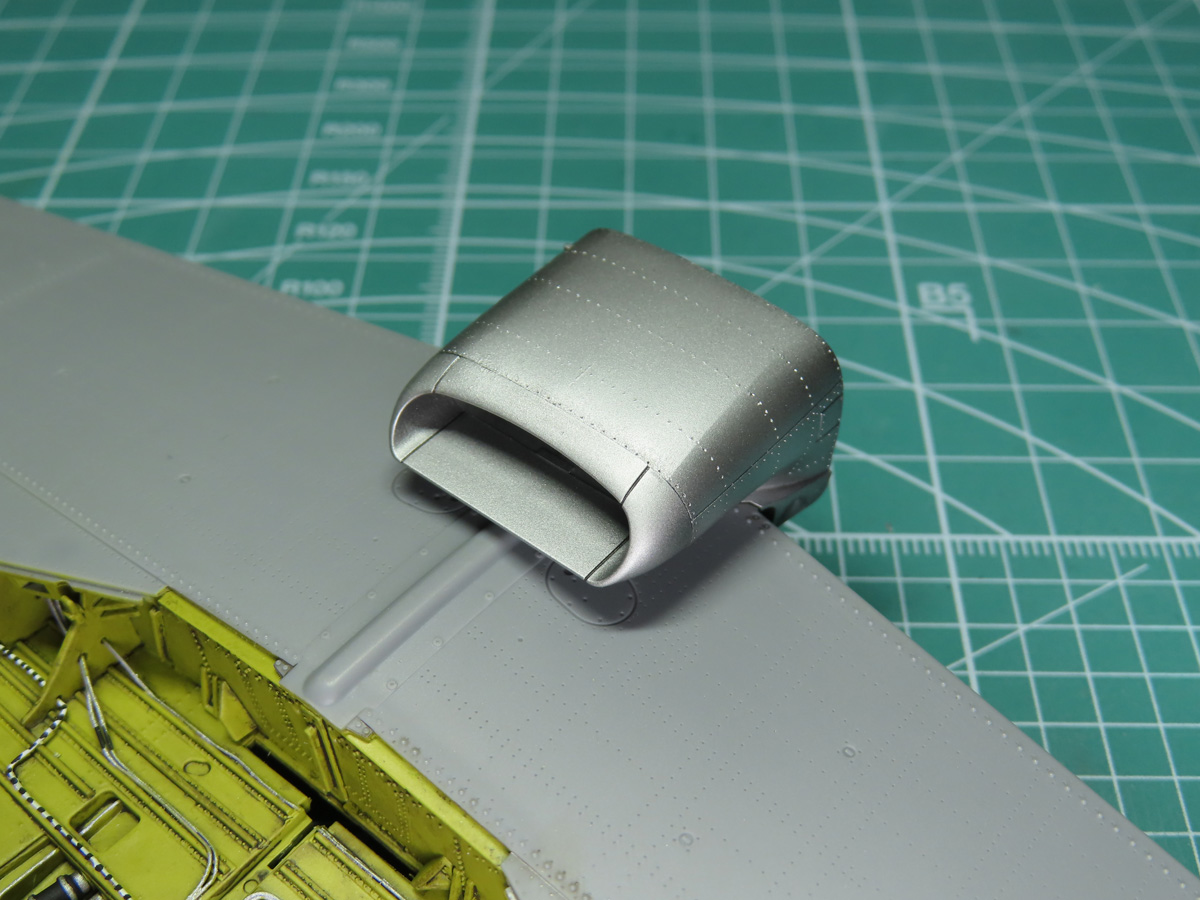
I painted the exterior with Tamiya AS-12 Bare Metal Silver, and I’ve temporarily placed it on the wing section. This piece will also be added to the model later, as it will be easier for me to paint and weather the details underneath it.
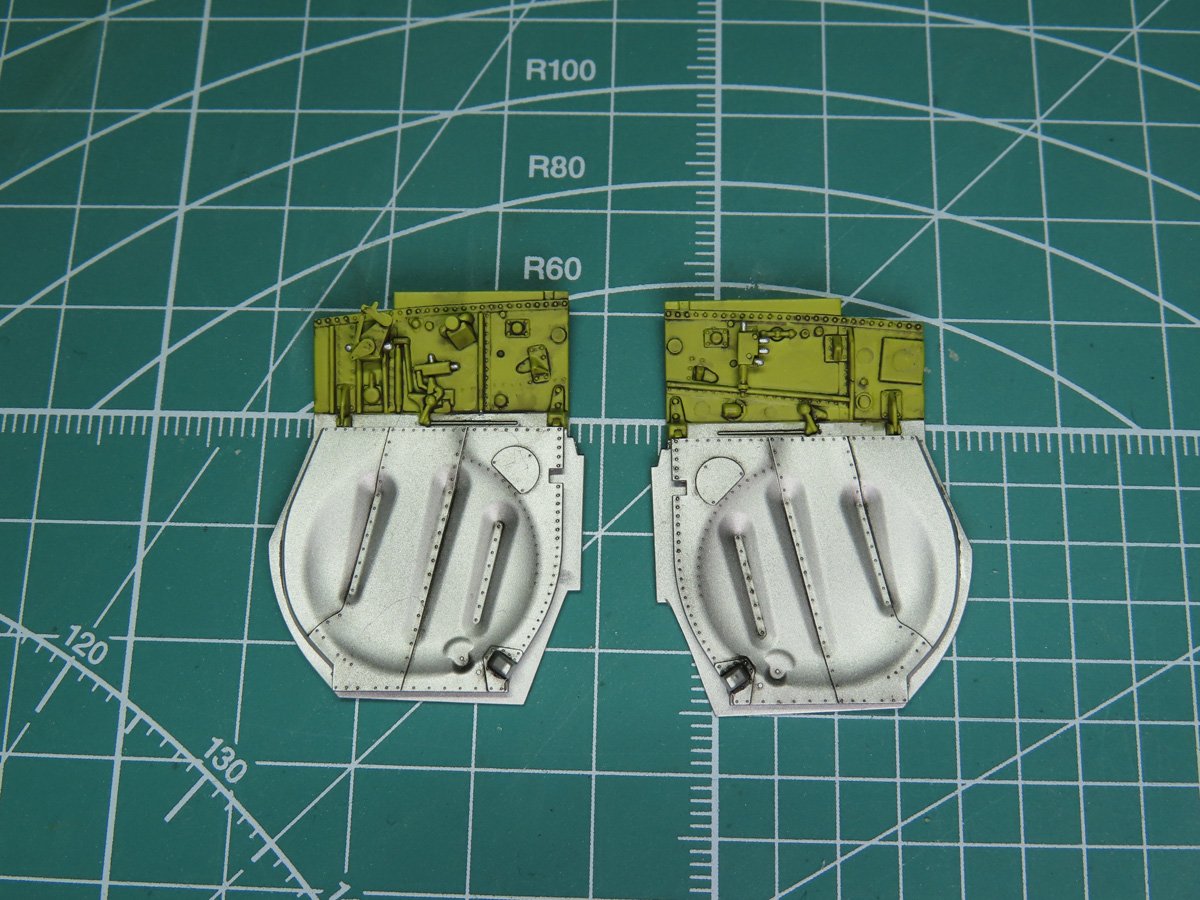
I masked off the gear doors and painted the inner wheel bay sections with Tamiya XF-4 Yellow Green, and gave it a wash with Tamiya Panel Line Accent Color Dark Grey 87199. The outsides of the doors were also painted with AS-12, as it will be very difficult to paint these once the parts are together.
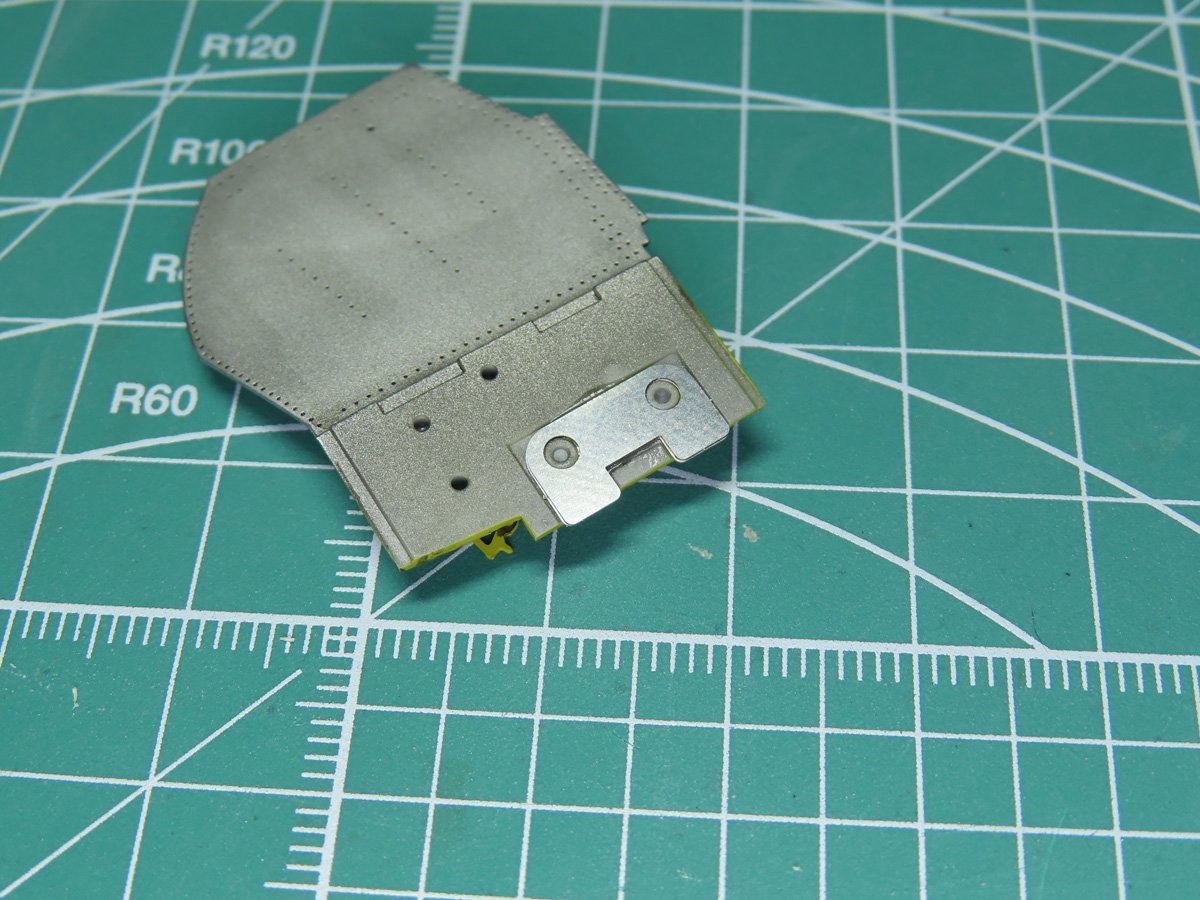
Before cementing the doors together, it’s crucial to add the photoetch supports to the center. The magnets that we added to the gear bay will help this section stay in place and not fall off the model.
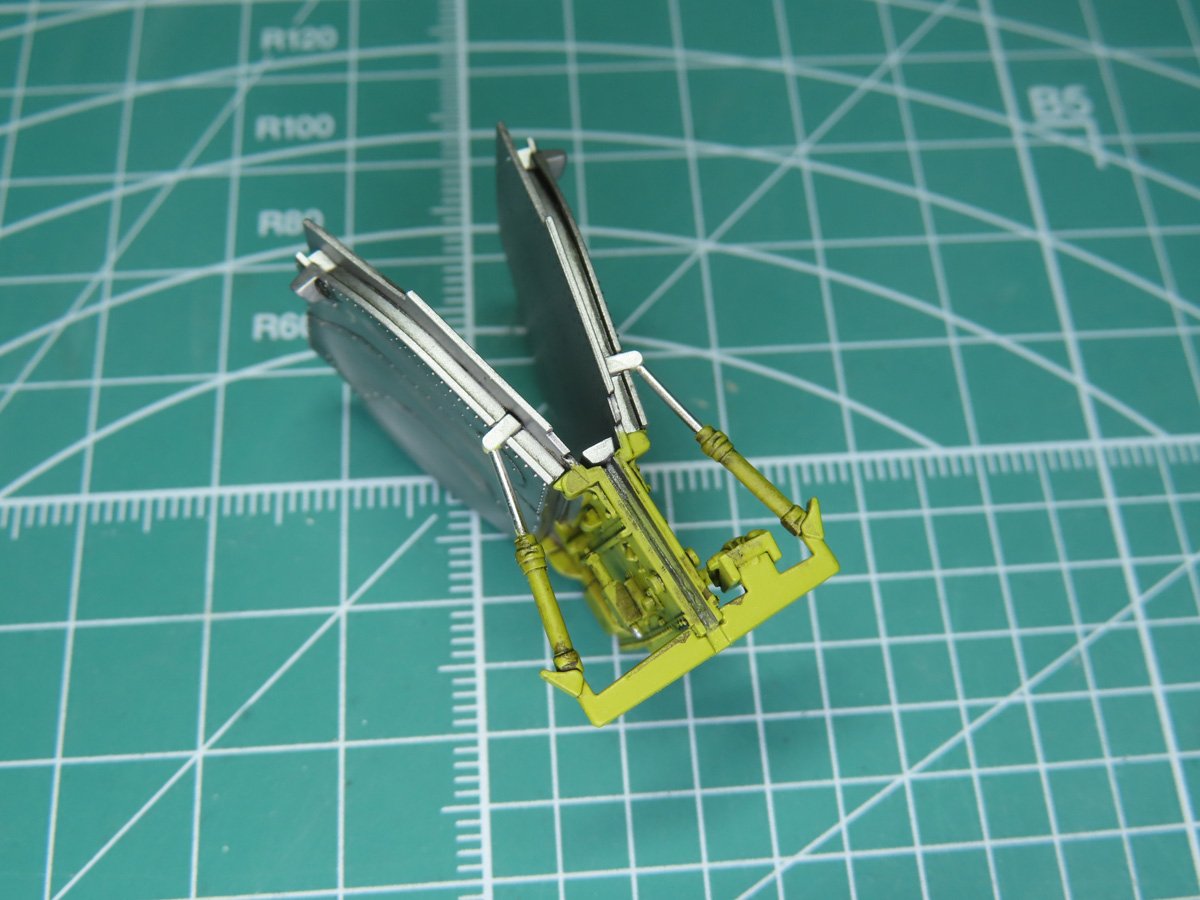
Lastly, the hydraulic supports were added, completing the lowered gear doors. The piston rods were painted with Tamiya LP-48 Shining Silver, and they stand out nicely against the Yellow Green and Bare Metal Silver. Now that this section is completed, we can test it out and add it to the model.
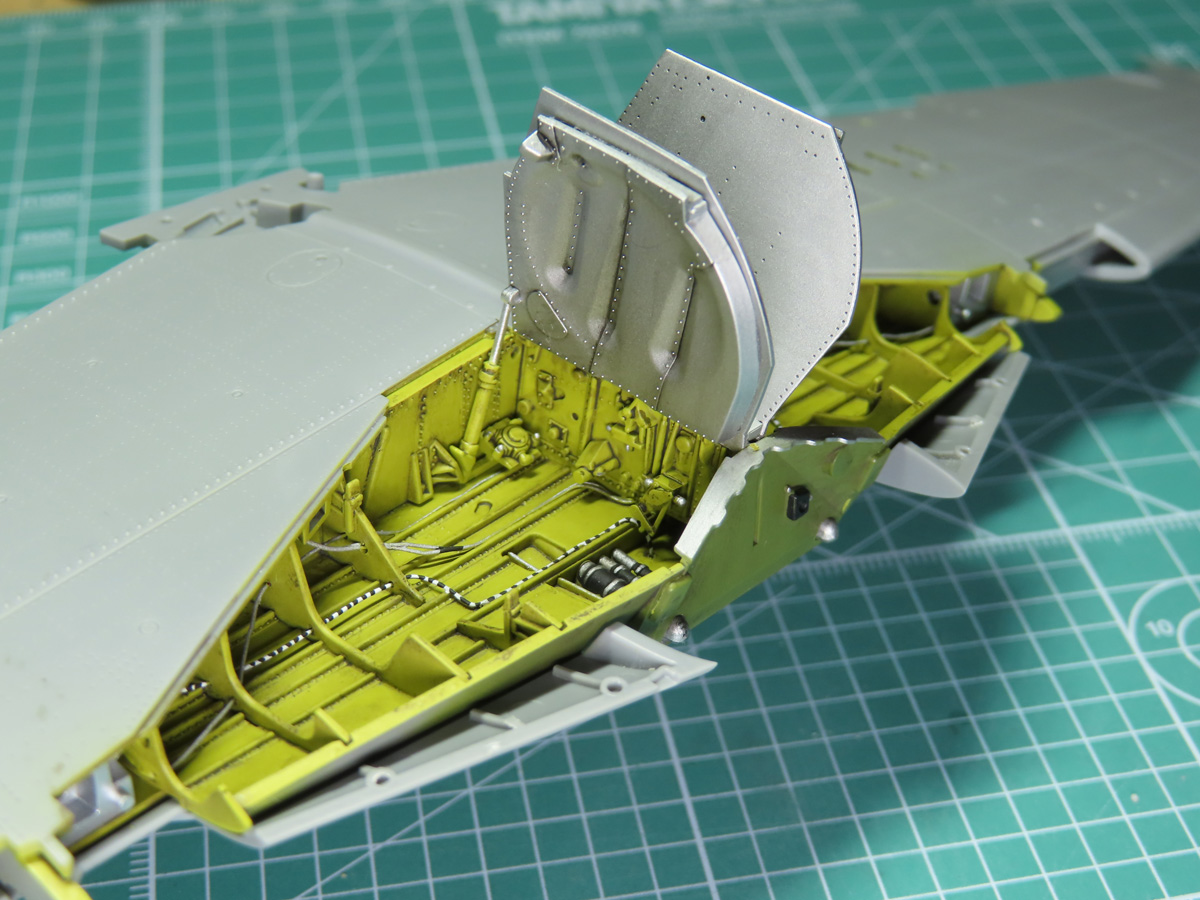
I needed to trim a bit of plastic in the gear bay to widen the section out for the back brace (Part F21), which holds the hydraulic cylinders. But after some careful cutting, the gear doors easily slid into place.
I’m really pleased with how well everything looks together, especially with the extra wires that were added in.
I had hoped to get some more done on it this week, but I went to test some paint that I needed, and it had turned clumpy. I also decided to get some replacement parts that will greatly improve the model. So at this moment I’m at the mercy of the postal system, and I hope that it will arrive this week and avoid the long weekend.
Either way, the work on the Mustang will continue, and next time I’ll finally be ready to glue the wings to the fuselage and finish off some of the smaller parts.
Enjoy this last bit of summer 🙂
To be continued…
About the Author:
Jared Demes is a modeler from southern Alberta. He has been building models since he was 4 years old when his Dad first introduced him to the hobby. He has written for several magazines including, Fine Scale Modeler, Scale Aircraft Modeling, Phoenix Scale Models, and others. He has an interest in all modeling subjects, with a focus on WWII Japanese aircraft and Science Fiction.
Jared has won several IPMS awards for his modeling, and currently operates his YouTube channel rebelsatcloudnine, where he showcases model builds and product demonstrations.