
Tamiya North American F-51D Mustang
This is the twelfth part of the Tamiya North American F-51D Mustang Korean War 1/32 Scale 60328 with RCAF Markings.
A common issue you can run into with modeling is using the same color all of the time. I run into this issue mostly with sci-fi subjects, with a large portion of subjects being a slightly different shade of light grey. And with military subjects, you can quickly find out how drab Olive Drab really is.
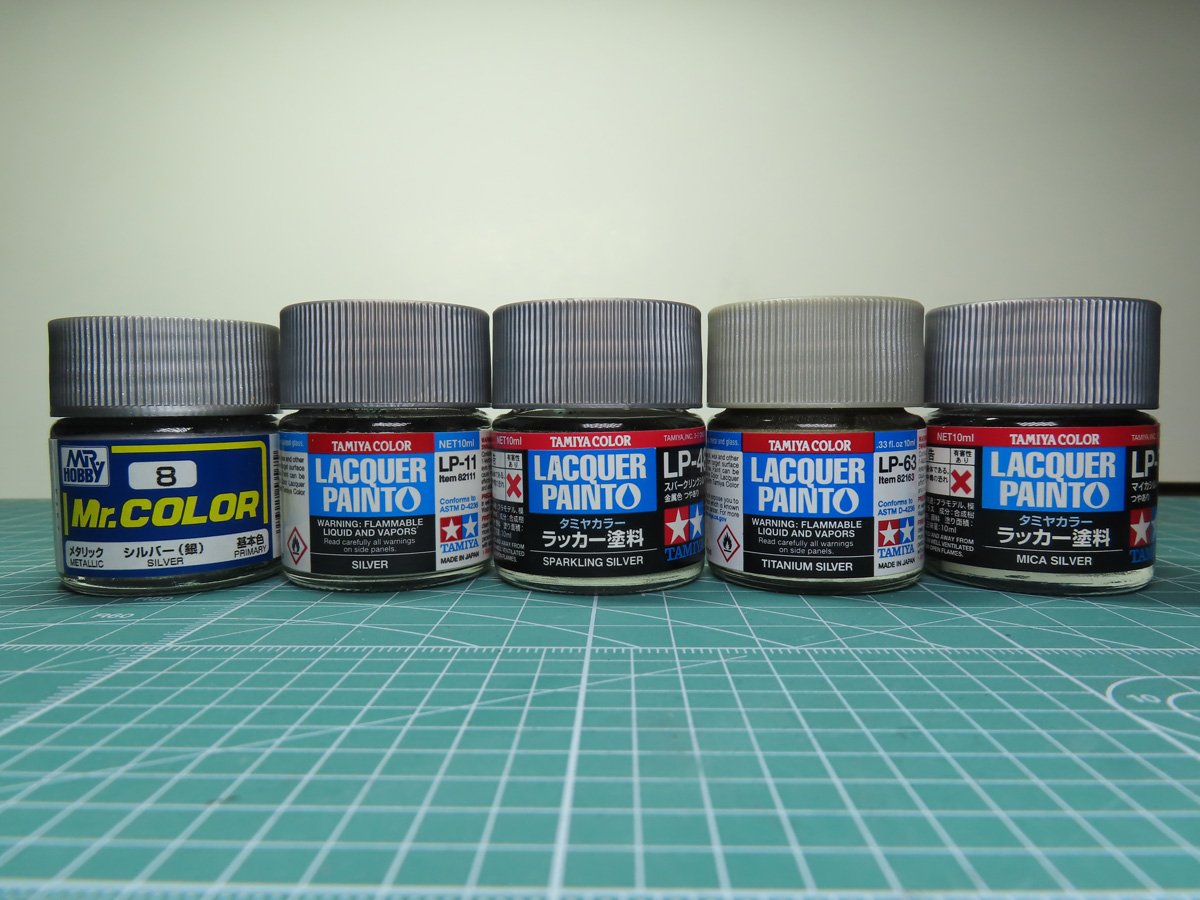
This monotony is also something to be aware of with Natural Metal Silver subjects. I find that it’s nice to get a range of various silver paints to use, and I try to keep most of these on the duller side, and save the shinier paints for very select components, as you will see later on in this post.
I think you’ll be impressed with your own projects as you see the different silver colors around the model. Whether you want to be more outrageous with the color or subtle is completely up to you. But the next time you are in the hobby store, consider adding a few extra silver paints to your cart, and you can start experimenting to see how different tones affect the end result of your model.
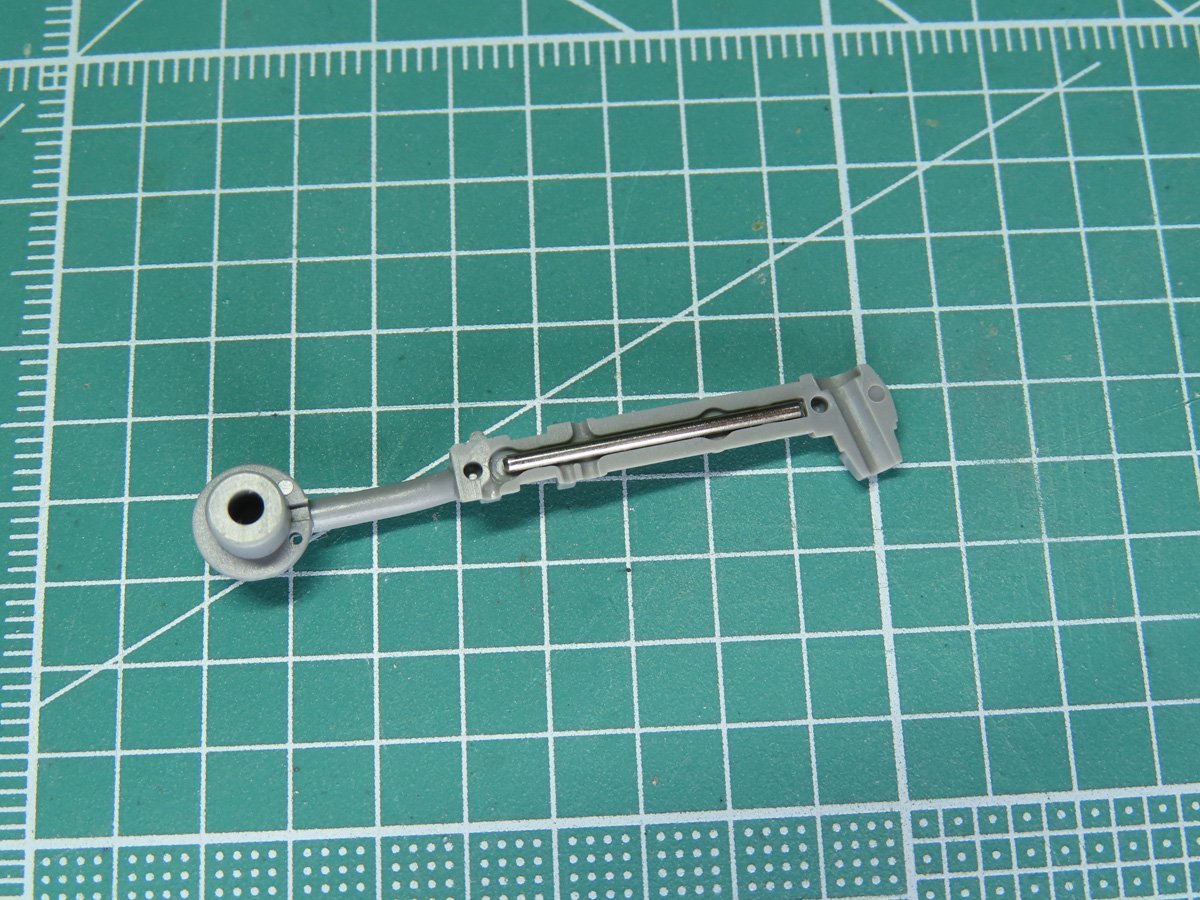
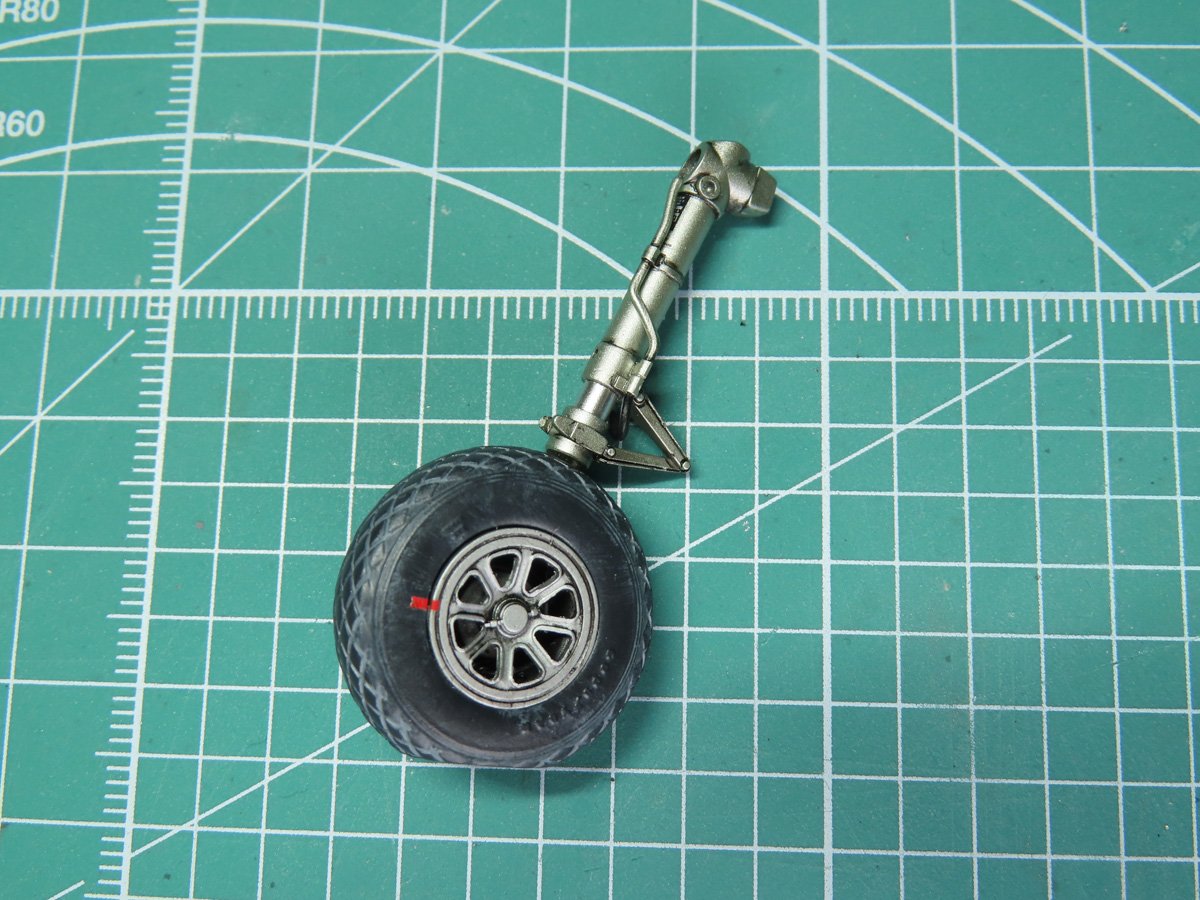
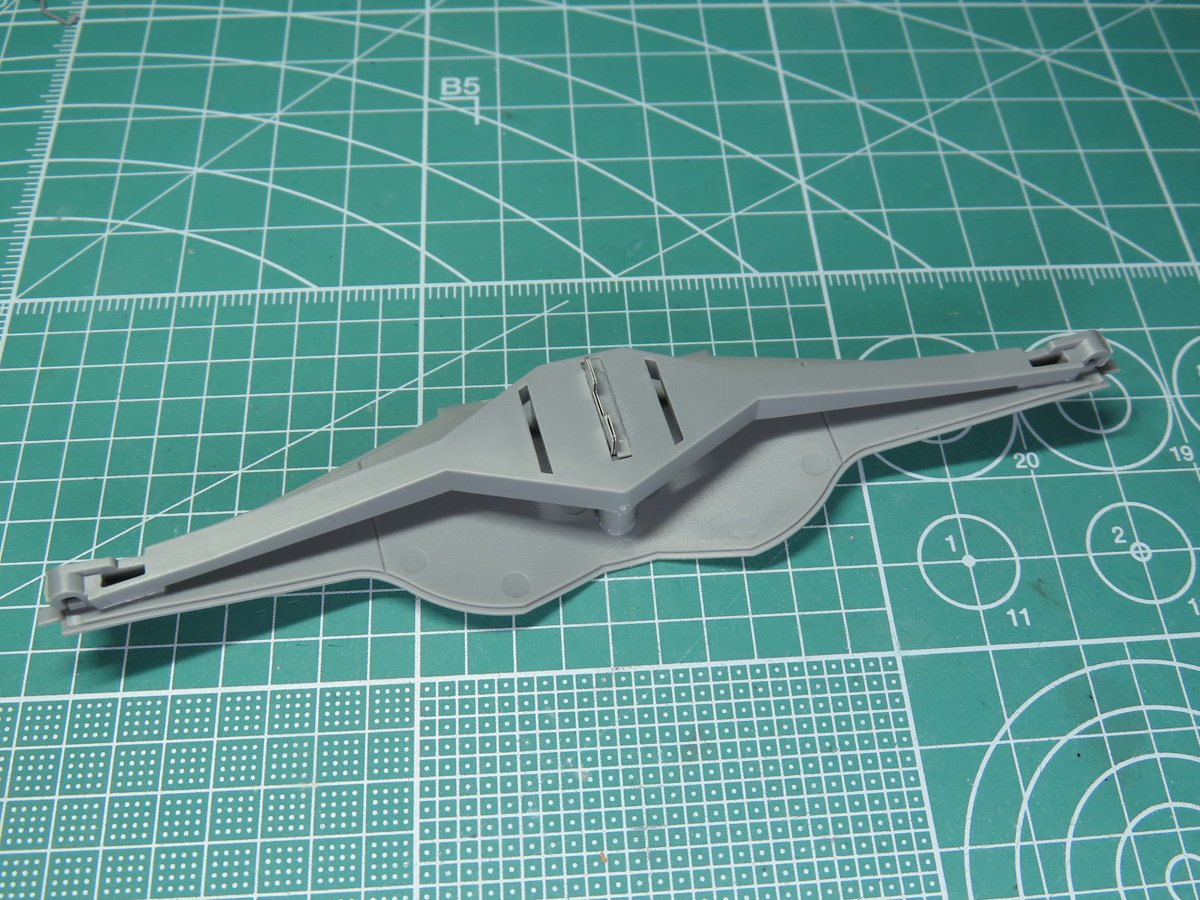
We’re going to build the main landing gear in this post. To start, I’ve added a metal support rod to the center of the gear, which will provide additional support to the model.
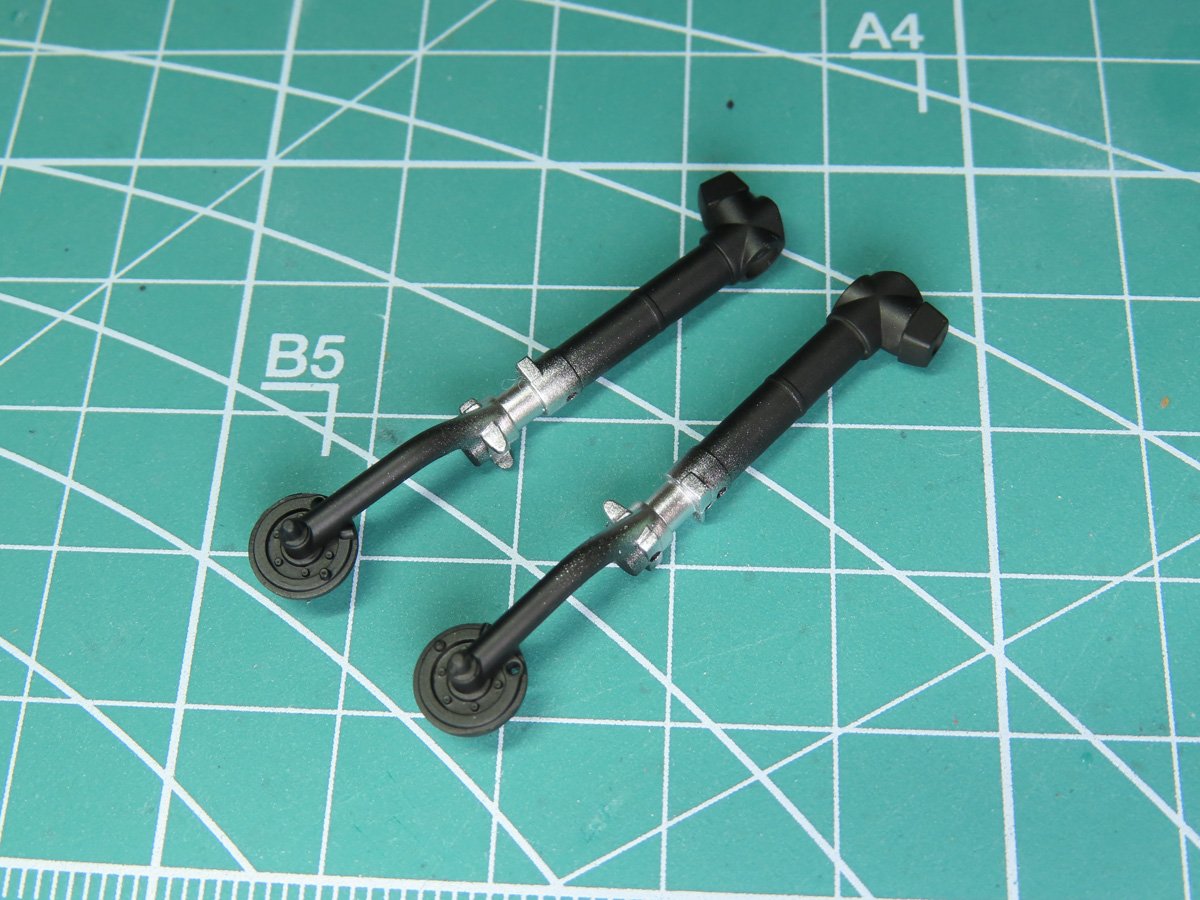
Once the halves were glued together, I sprayed the parts with Mr Surfacer 1500 Black. I then painted Tamiya LP-48 Sparkling Silver on the center piston section. Once this was dry, I masked it off with some Tamiya 1.0mm Masking Tape.
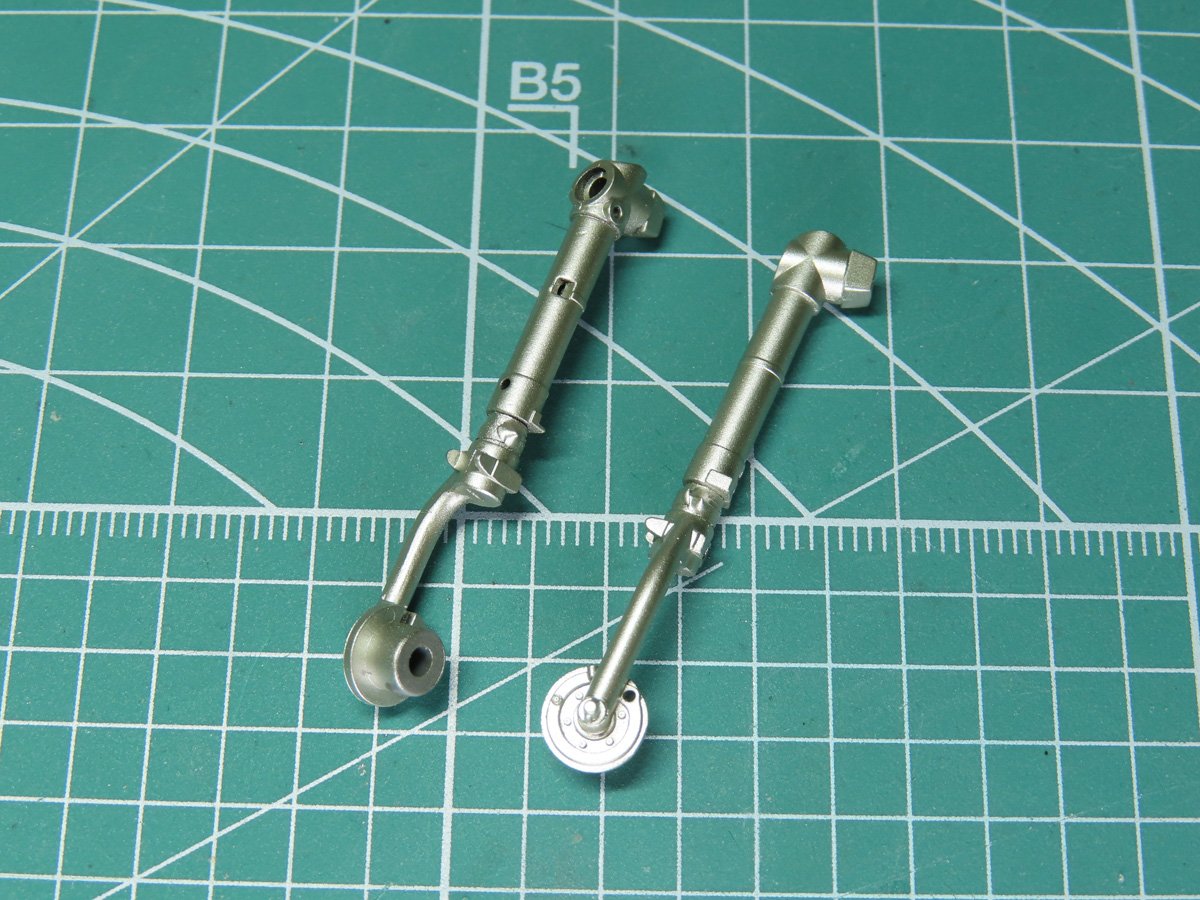
For the rest of the landing gear, I painted Tamiya LP-63 Titanium Silver. I like to use this color for landing gear in particular, as it’s a cool, dull color and it’s a close match to a lot of real aircraft.
At this stage, I also painted LP-63 on the scissors and the smaller parts that make up the brake lines.
I temporarily attached the landing gear to the model and then added the wheels. Because of the flat bottoms on the tires, it’s important at this step to get them flat with the ground. The Édouard wheels were a bit snug with the Tamiya parts, but with some careful persuasion, I managed to get the wheels in the correct position.
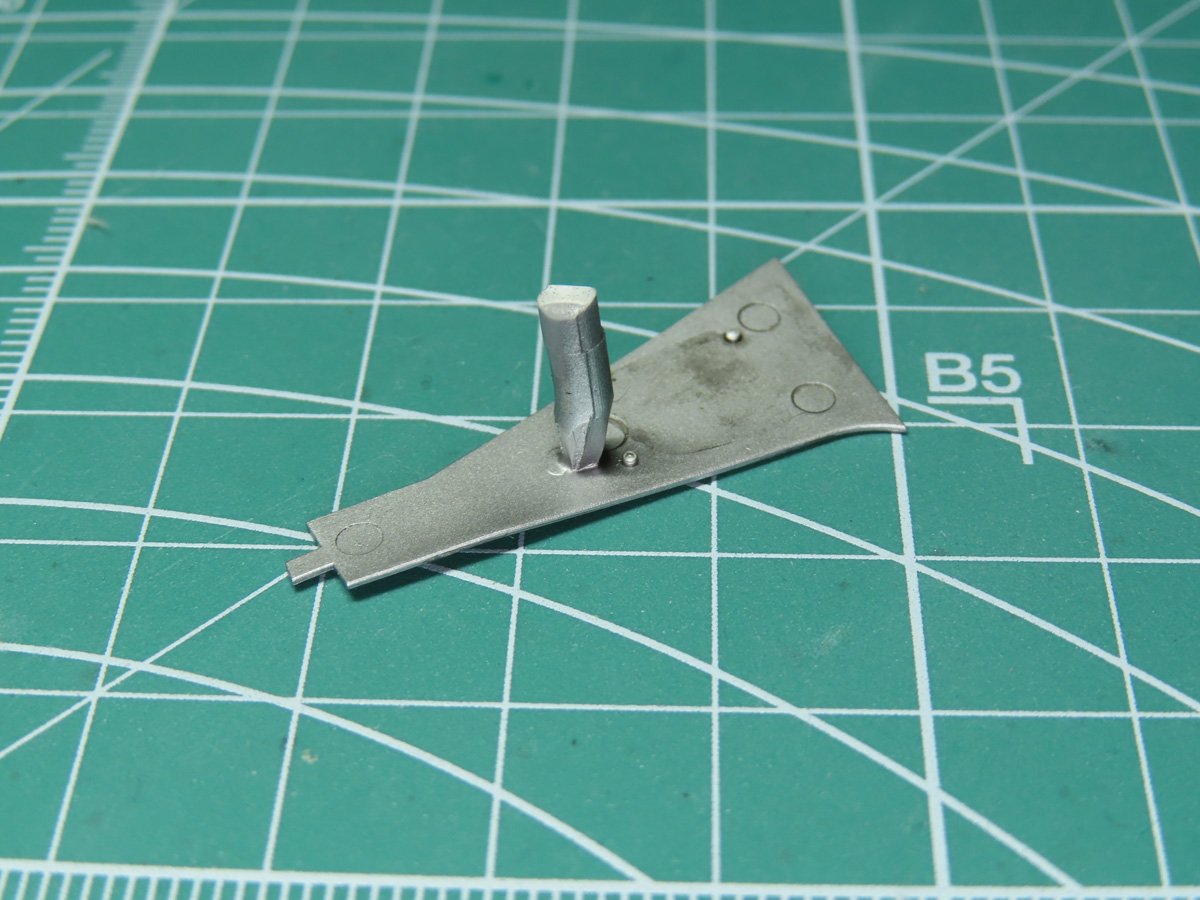
A trick I learned from my younger brother allowed me to paint the gear doors with ease. I cut up some spare bits of plastic from the runners and flattened the front edge. I could then glue the sprue to the part, keeping in mind to glue to a section that won’t be visible.
Once this had dried, I could clamp down on the parts, and I painted these sections with Tamiya AS-12 Bare Metal Silver. And when I was ready to assemble the doors, I simply cut off the sprue with my cutters.
My brother showed me this method years ago when he was painting the smaller parts of his Warhammer 40k Space Marines, and every now and then, it becomes a very useful trick.
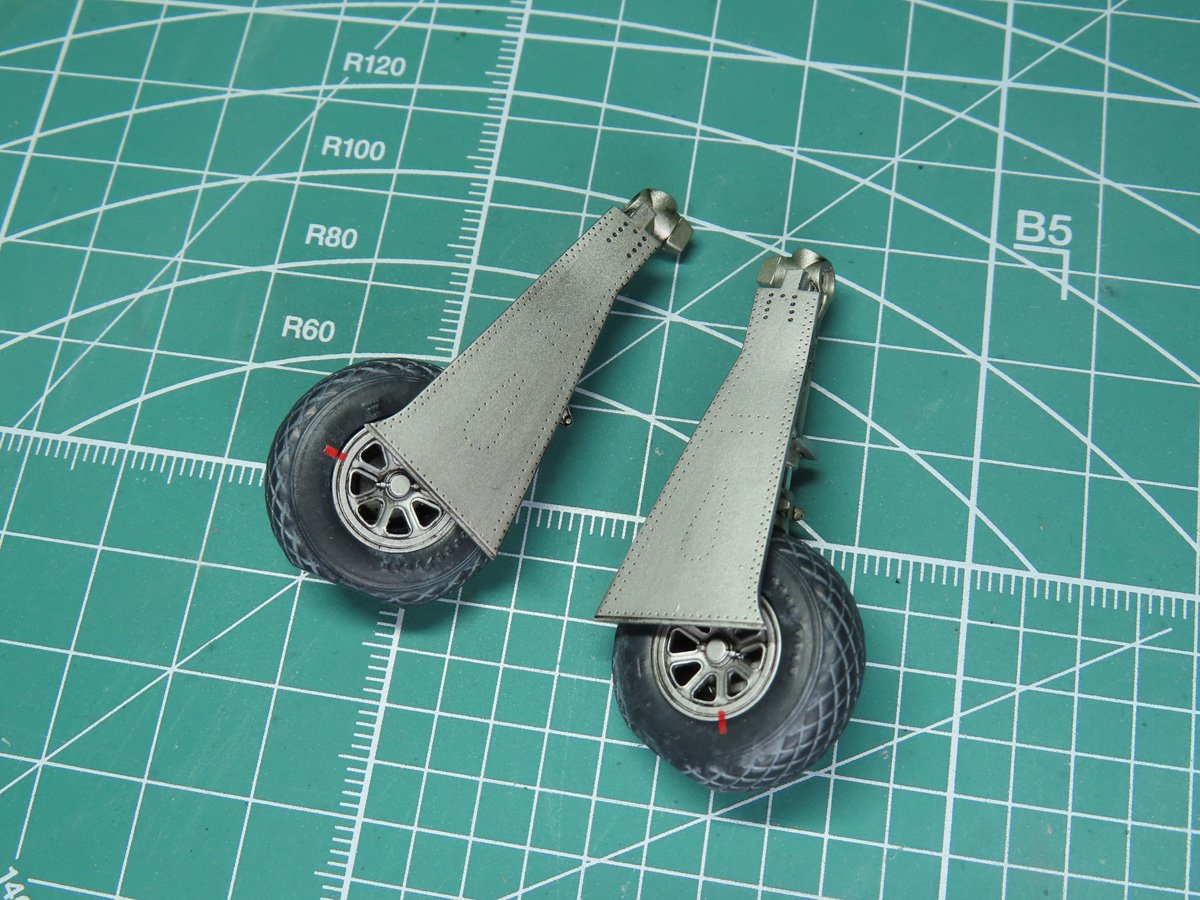
With the gear doors completed, I was able to add them to the landing gear and complete this section.
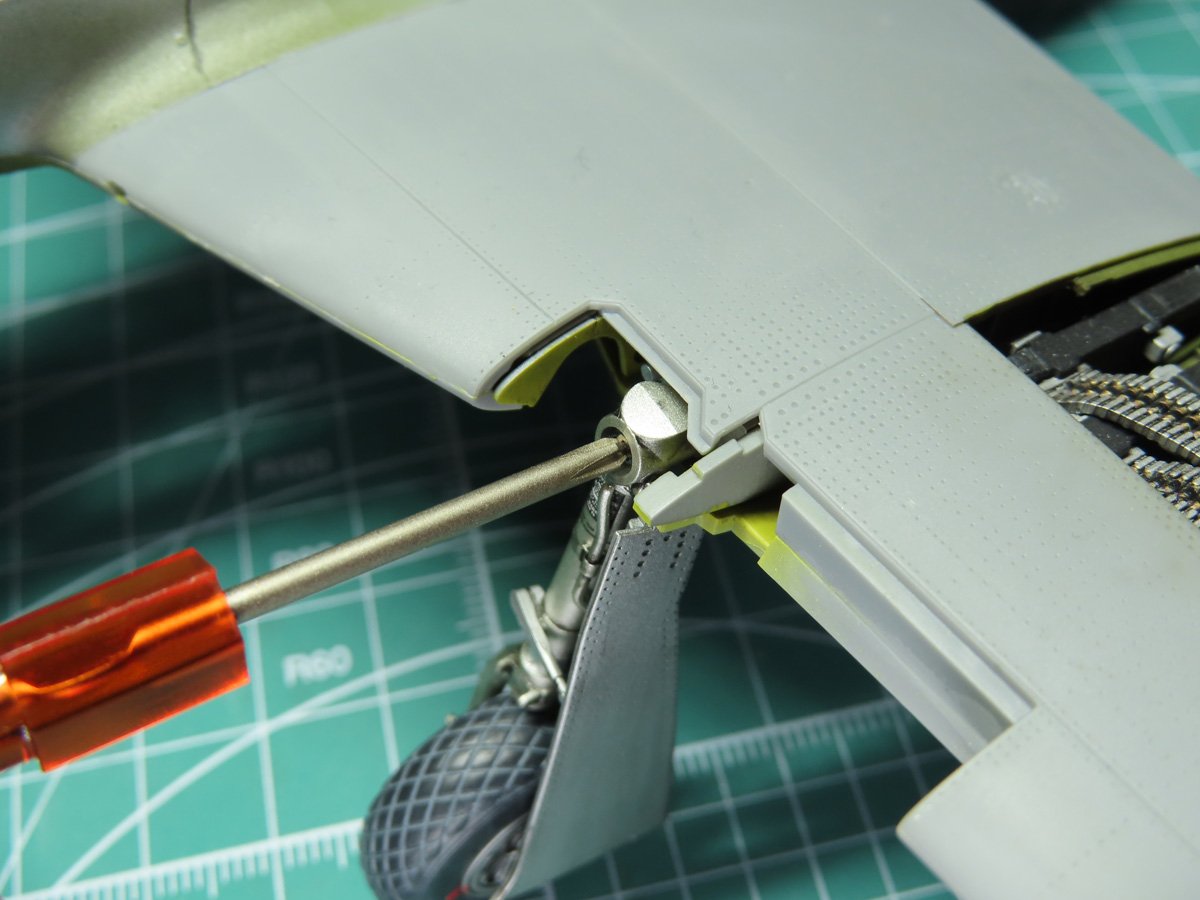
The landing gear are removable parts, and they fit into a square socket in the wing. Using the provided screwdriver, you can quickly remove a small screw to extract the lowered landing gear.
Be careful not to over-tighten the screw, as you could damage the plastic parts.
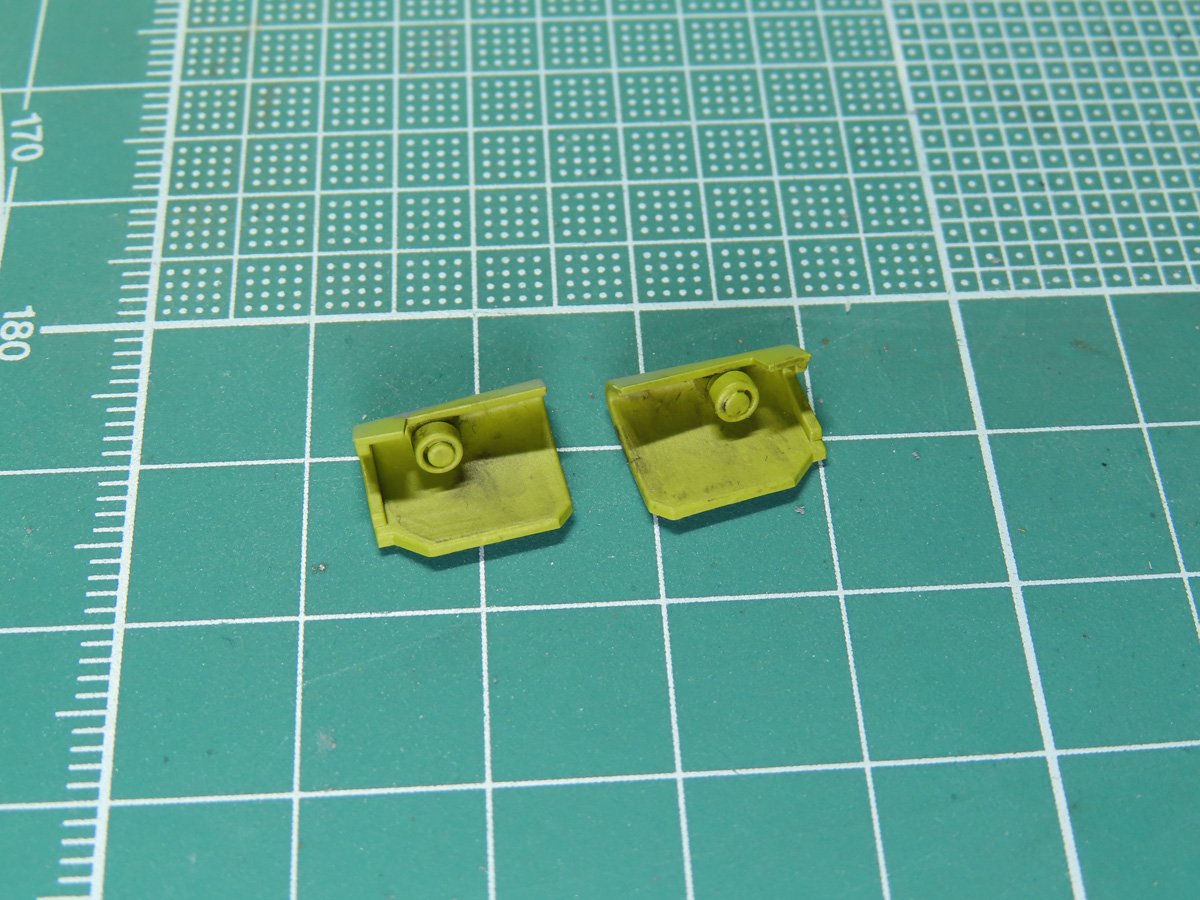
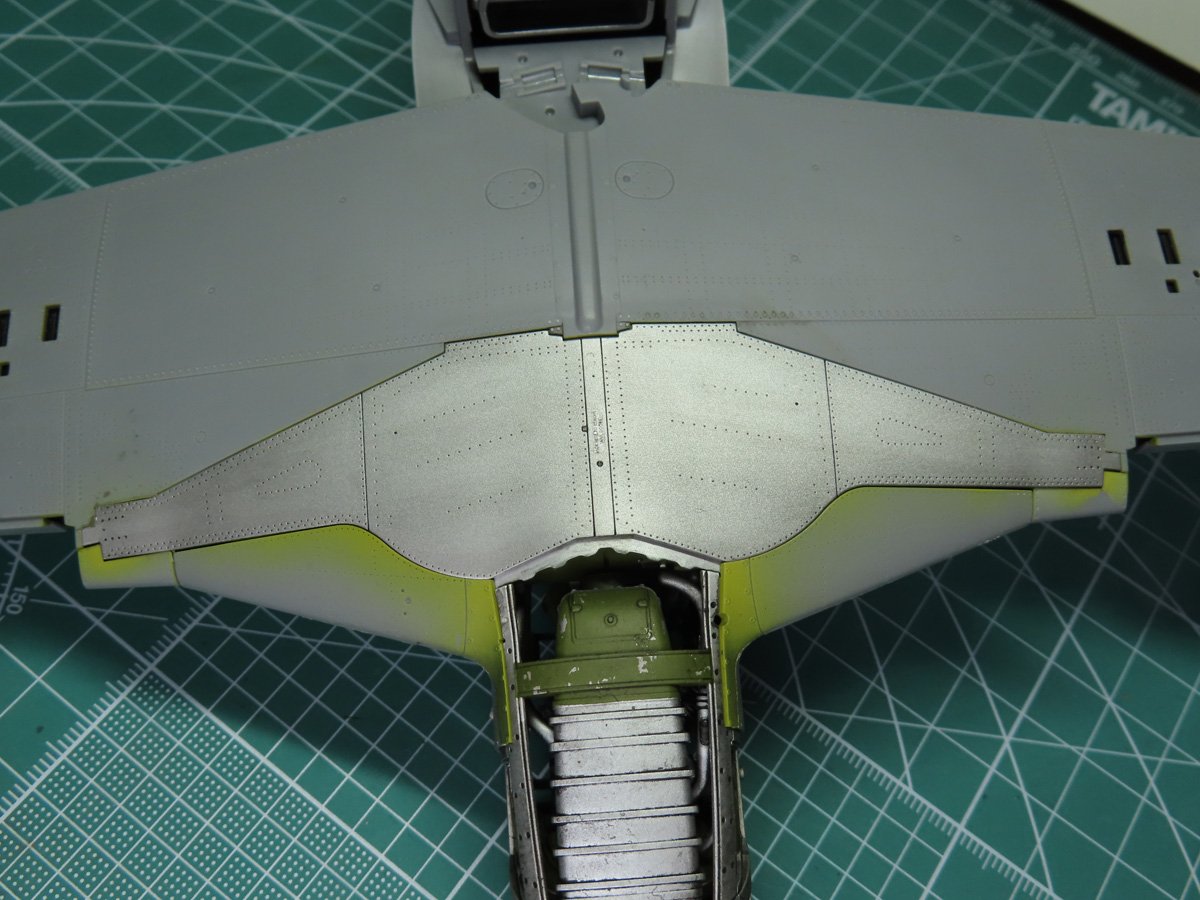
Another clever feature Tamiya added to this kit are these small removable panels that fit in front of the landing gear. In the center are small magnets which are attracted to the screws.
I painted this interior section with Tamiya XF-4 Yellow Green, which will match the rest of the gear bay.
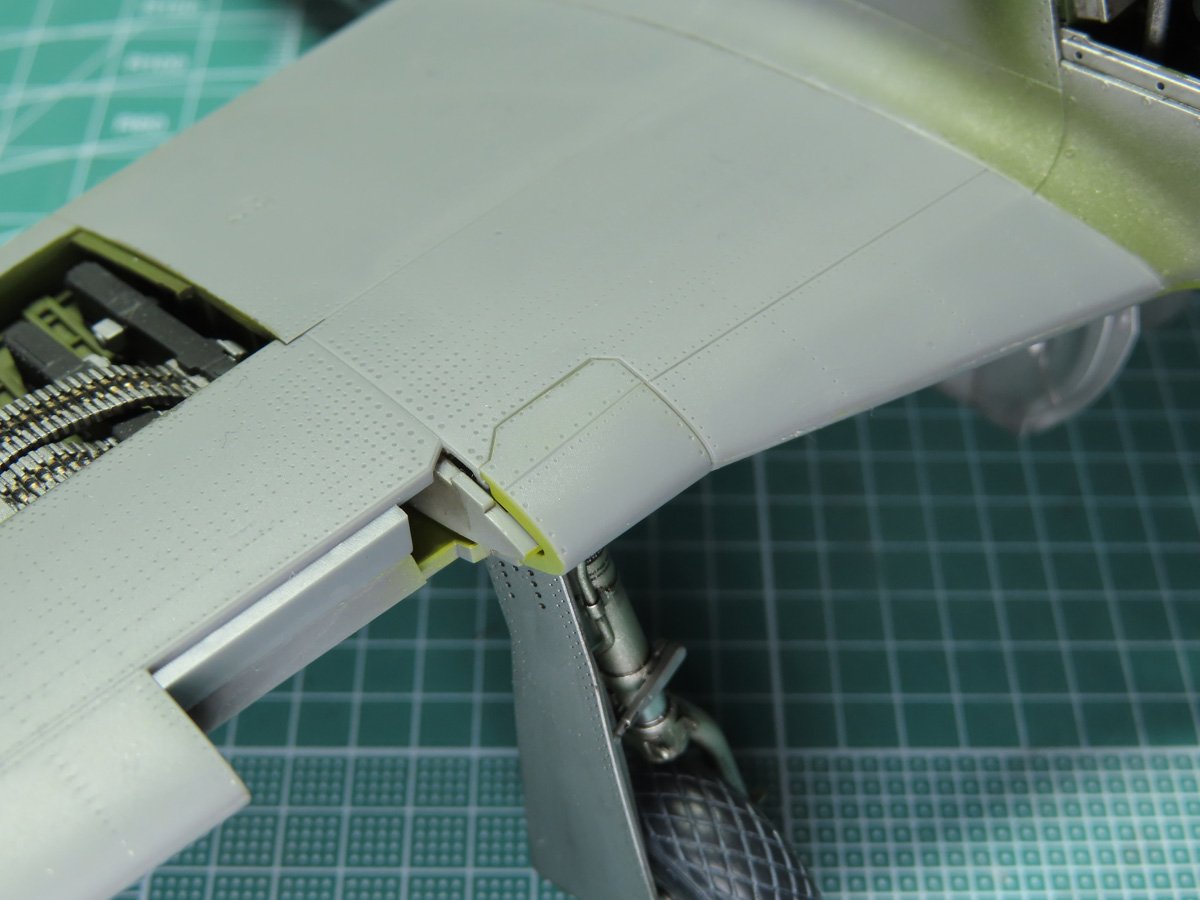
And just like that, the panel is attached to the model, following along pre-existing panel lines so you’d never know that it was a removable part.
Now to build the closed gear doors for flight. This is a really simple part, but it’s important not to forget to add the photo-etch to the middle section, as this will fit with the magnets inside the gear bay.
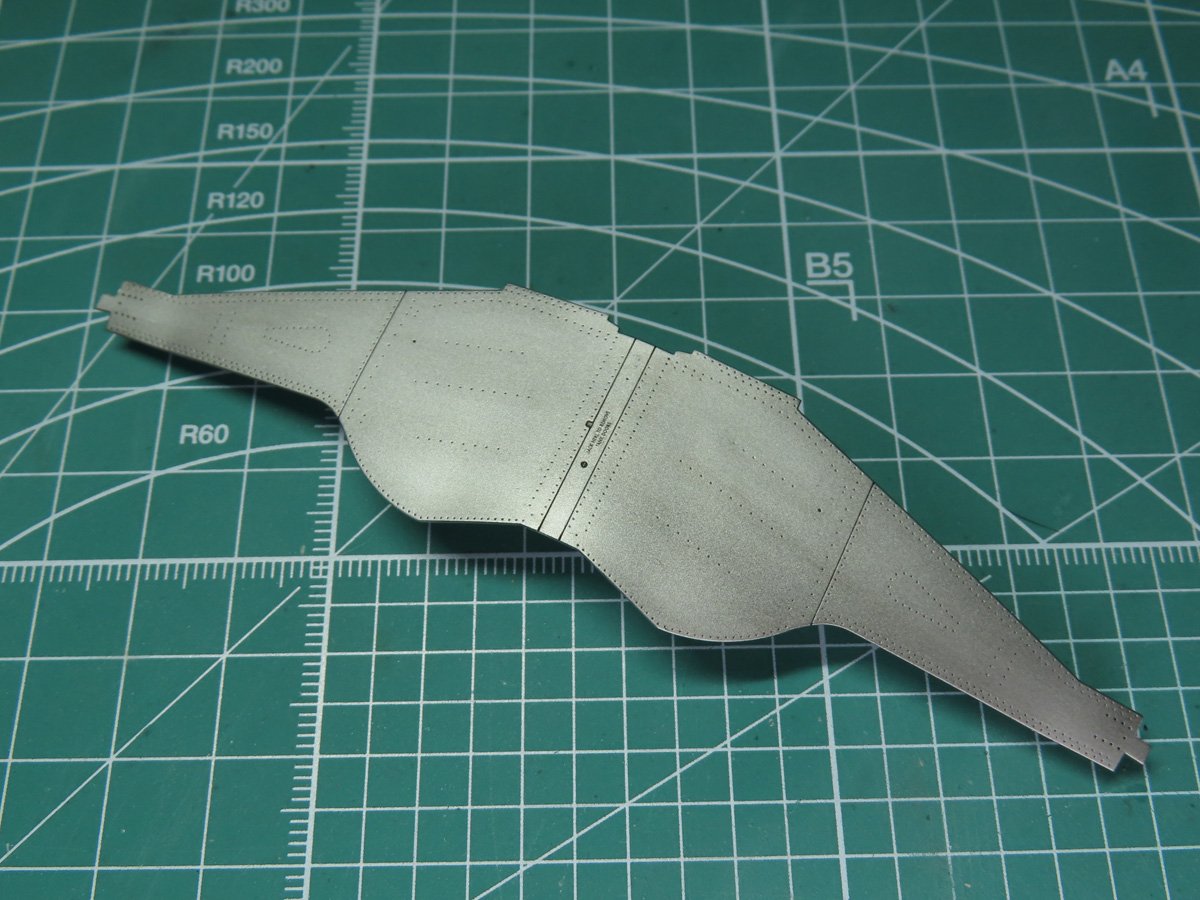
I painted the entire section with AS-12 Bare Metal Silver and added the small stencil to the center bar. And once the decal was dry, I gave the part a wash with Tamiya Panel Line Accent Color Black. After everything was cleaned up, I added a clear coat with Mr Color C181 Semi-gloss Clear.
Now that the Semi-gloss Clear had dried, I could add the raised gear doors to the model. With the help of the center magnets, it fits in really well. You also need to add the screws from the landing gear, as the magnets inside will help those panel covers stay in place.
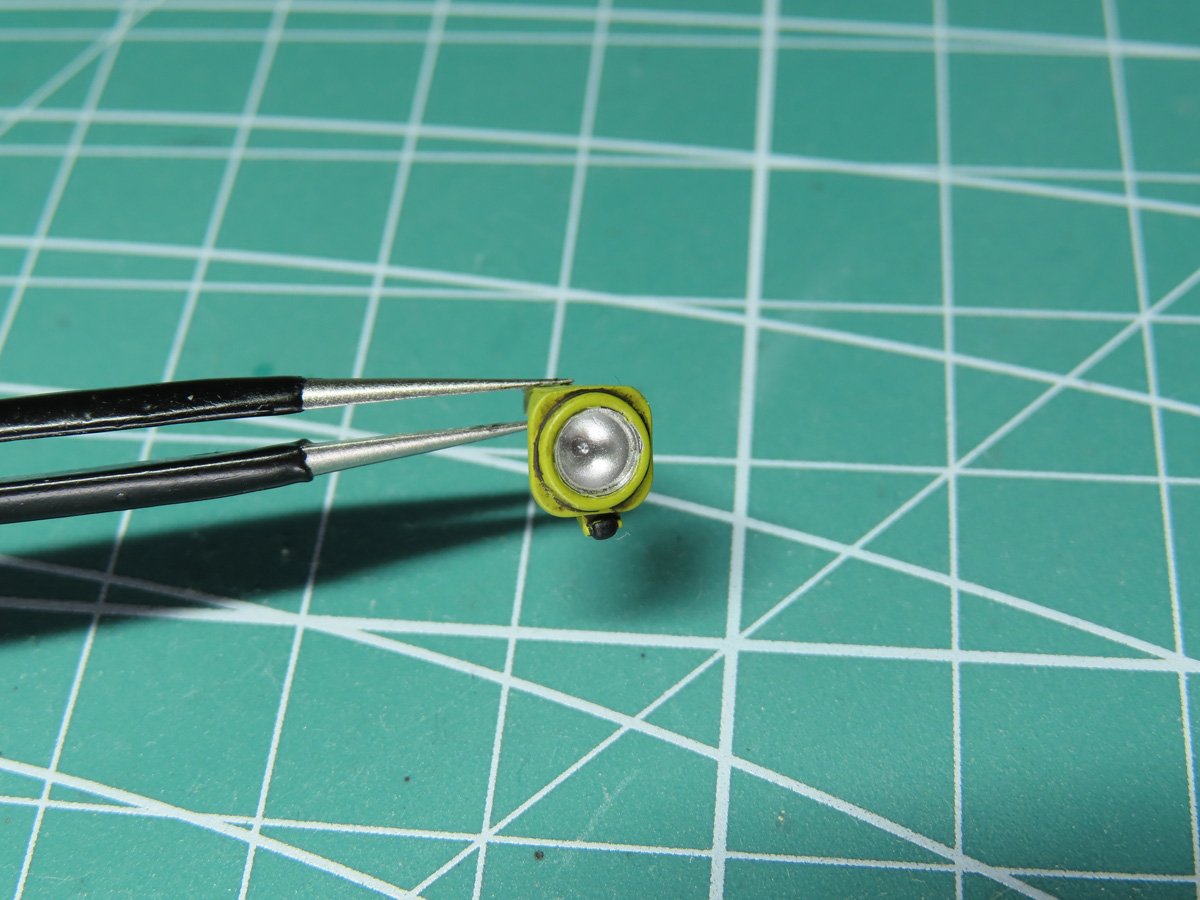
I almost forgot to add the landing light. This is another removable part, and it has a small strip of etched metal on top that will be secured to the gear bay with a magnet.
I first painted the inside with Tamiya LP-48 Sparkling Silver. After that, I carefully glued in the clear glass with a small drop of Mr. Cement S.
With the clear dried, I cut out a small circle out of tape and placed it on the lens. I painted the rest of the part with Tamiya XF-4 Yellow Green, and weathered it with Tamiya Panel Line Accent Dark Brown
Lastly, I painted the small roller wheel underneath with AK Interactive Intense Black AK11029, and sealed everything with Mr Color C182 Flat Clear.
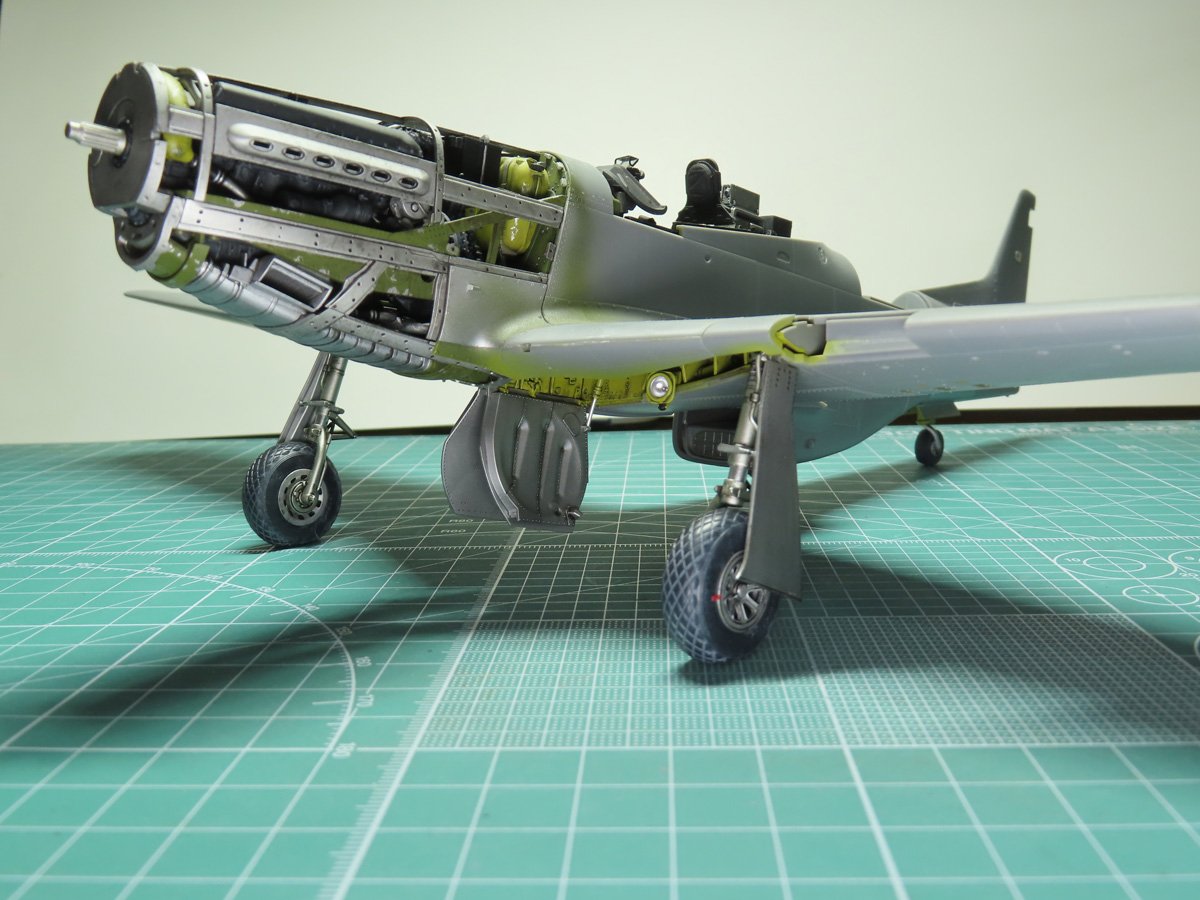
It’s an exciting stage in any aircraft build to finally have the model standing on its own. And I’m really glad that the Titanium Silver finally arrived so that I could get the model to this stage. And you can now really see how well those Eduard tires fit with the rest of the model.
Standing on its own now, the model does feel like it’s take on a life of its own. Minus the grey plastic at this point, it starts to resemble a restoration warbird like something out of an Air Classics magazine.
I’m looking forward to the next stages as we’ll be working on the propeller assembly and getting to those thin cowling sections. It will be nice to finally see a more streamlined Mustang.
To be continued…
About the Author:
Jared Demes is a modeler from southern Alberta. He has been building models since he was 4 years old when his Dad first introduced him to the hobby. He has written for several magazines including, Fine Scale Modeler, Scale Aircraft Modeling, Phoenix Scale Models, and others. He has an interest in all modeling subjects, with a focus on WWII Japanese aircraft and Science Fiction.
Jared has won several IPMS awards for his modeling, and currently operates his YouTube channel rebelsatcloudnine, where he showcases model builds and product demonstrations.
First Post: Part 1
Previous Post: Part 11
Next Post: Part 13