
Tamiya North American F-51D Mustang
This is the fourteenth part of the Tamiya North American F-51D Mustang Korean War 1/32 Scale 60328 with RCAF Markings.
Before we get into the bulk of this post, I wanted to correct a small issue from the last post. As you might recall, I discovered that the propeller/spinner assembly didn’t fit as flush to the aircraft as I had expected. And that I would have to correct this so that the tabs on the cowlings would fit properly inside the spinner.
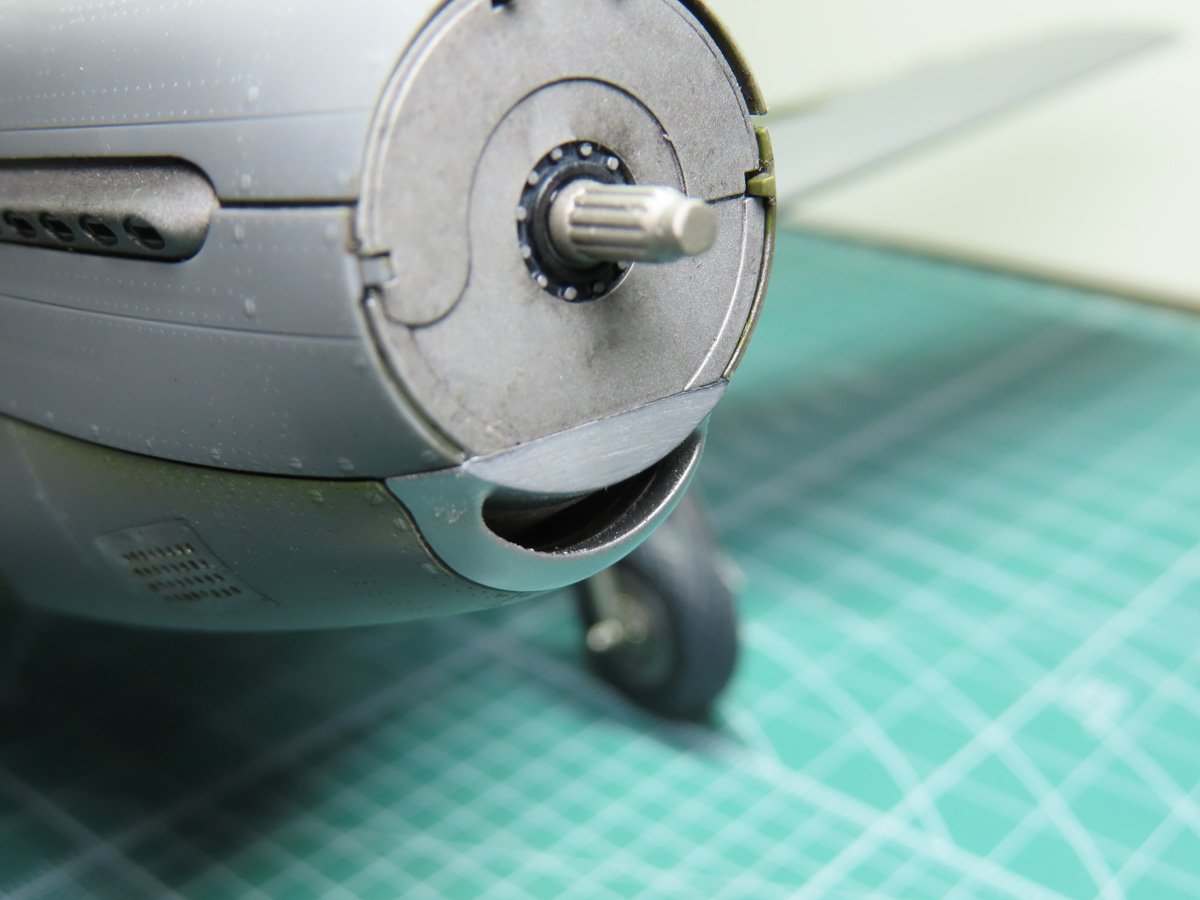
The culprit was the small edge on the supercharger intake (Part R21). Since I hadn’t glued this part on yet, it was an easy fit of popping off the part and sanding the front edge down until it was flush with the front plate. You can see here the newly sanded grey styrene, which will eventually need to be repainted.
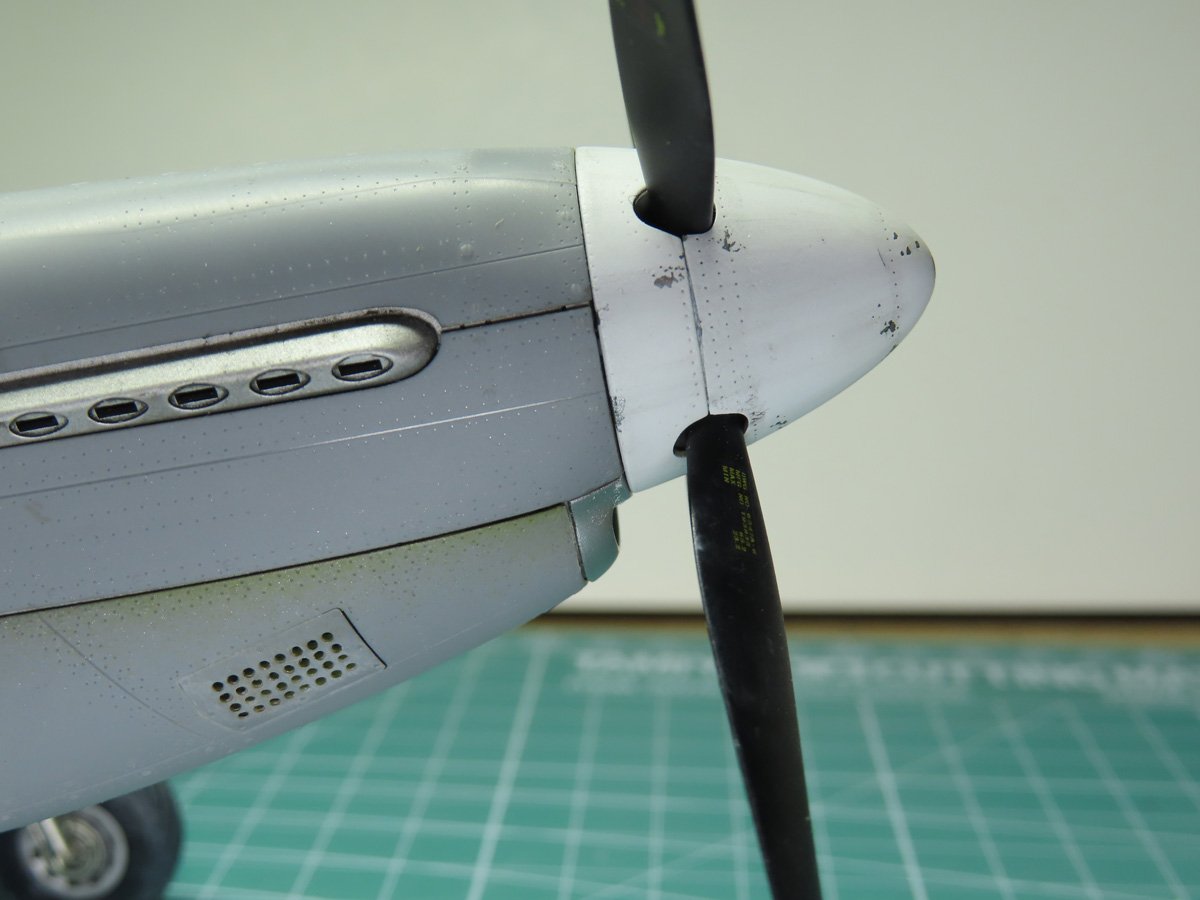
And just like that, the propeller now sits properly, and we have a much more streamlined aircraft again.
Now I have noticed that there are some slight fit issues with the cowlings, and I think that this happened when I was cleaning the parts. Because they are so thin, they are easily bent, and once they are painted and finished, I’ll go back and carefully bend them back into a more flush shape.
It will be an easy and quick fix, but something to be aware of when you are building the kit.
Now to get on with the build. In this post, we’ll be working on the clear parts that make up the canopy.
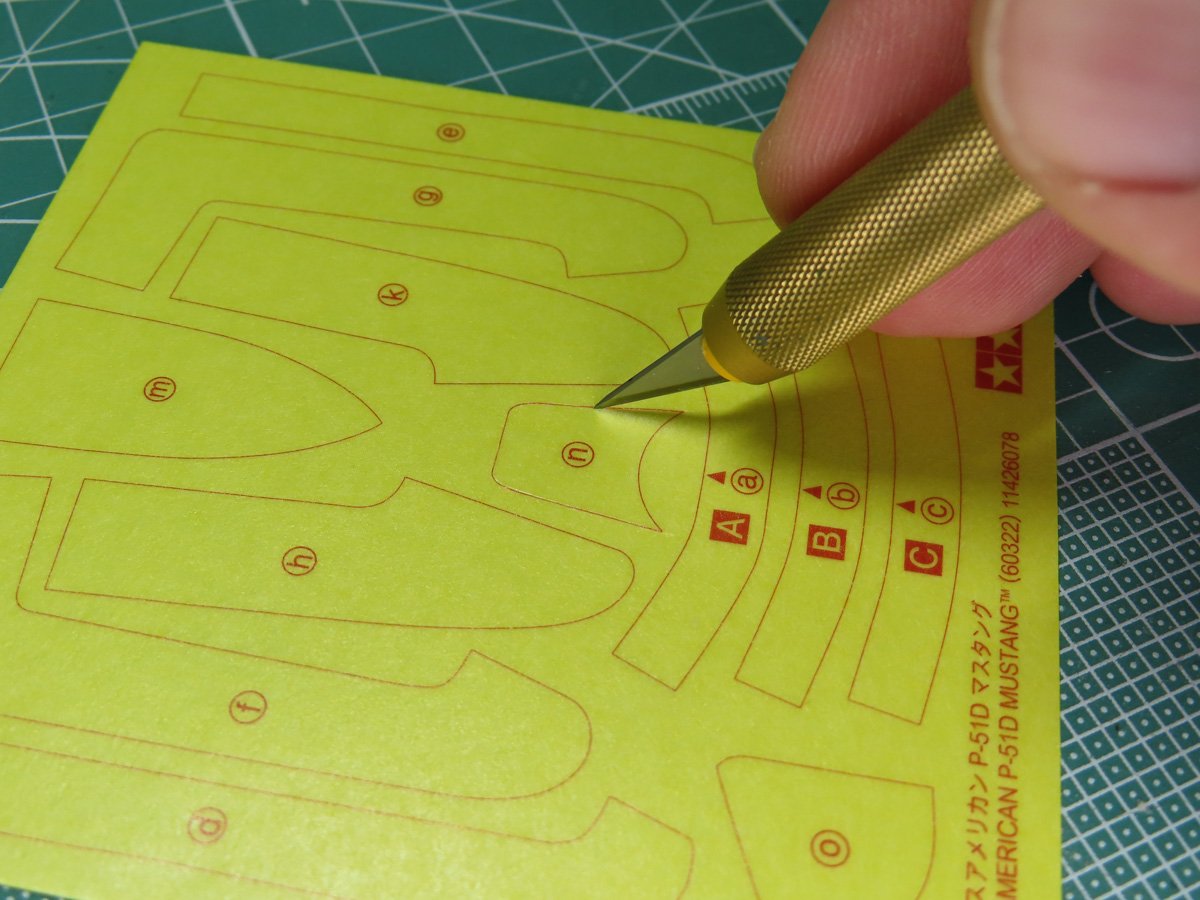
Tamyia have included a yellow masking set for the canopy. This is an excellent inclusion; however, for some, there is a downside: you have to cut the maskings out yourself with a hobby knife.
Using a new blade, I carefully cut out the shapes for the forward section of the canopy. The curves were a bit tricky, but I didn’t find things too difficult. That being said, I do completely understand why modelers still prefer to purchase pre-cut canopy maskings.
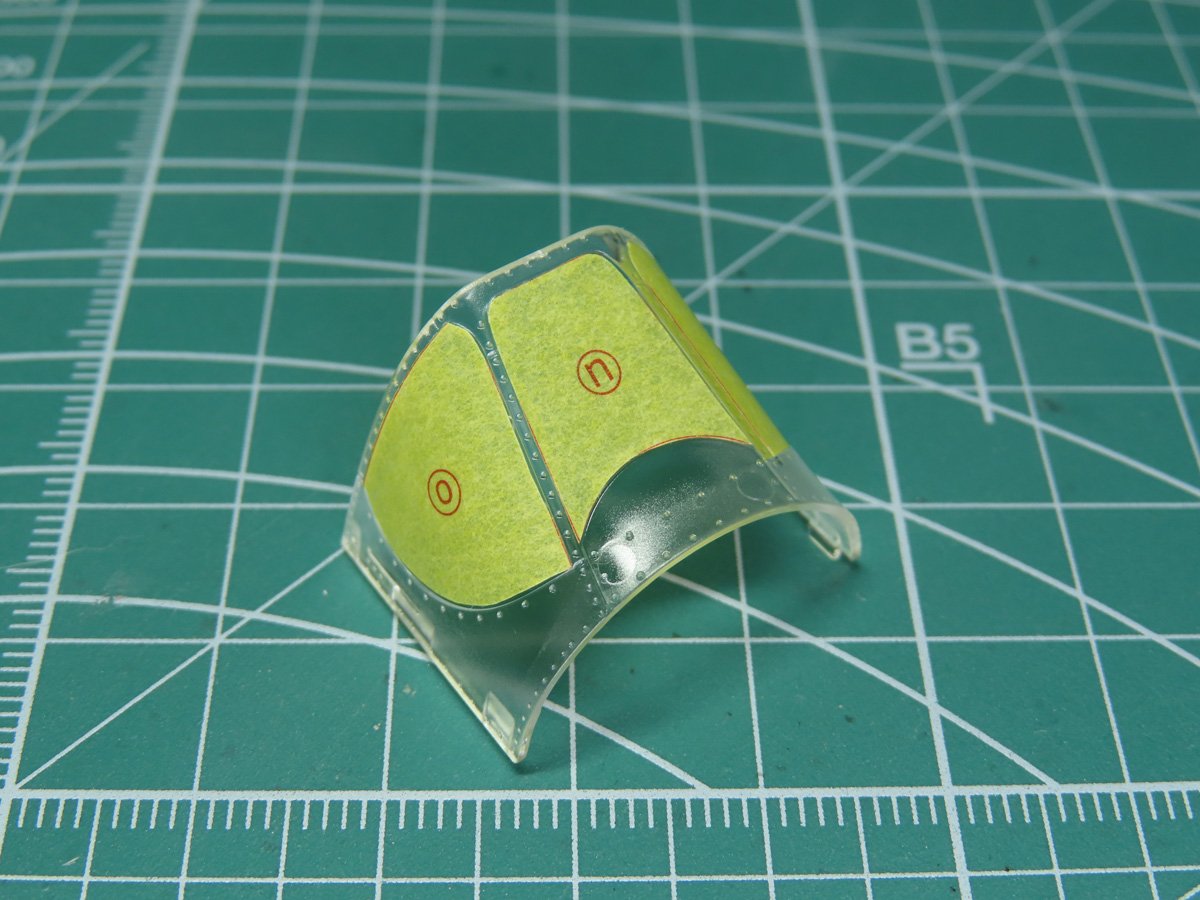
The fit is pretty good, and it does save me a lot of time trying to mask this section off myself. The canopy frames have a slightly rough texture to them, and this is so that the clear parts will match the rest of the exterior of the aircraft. It also gives the paint something better to grip into.
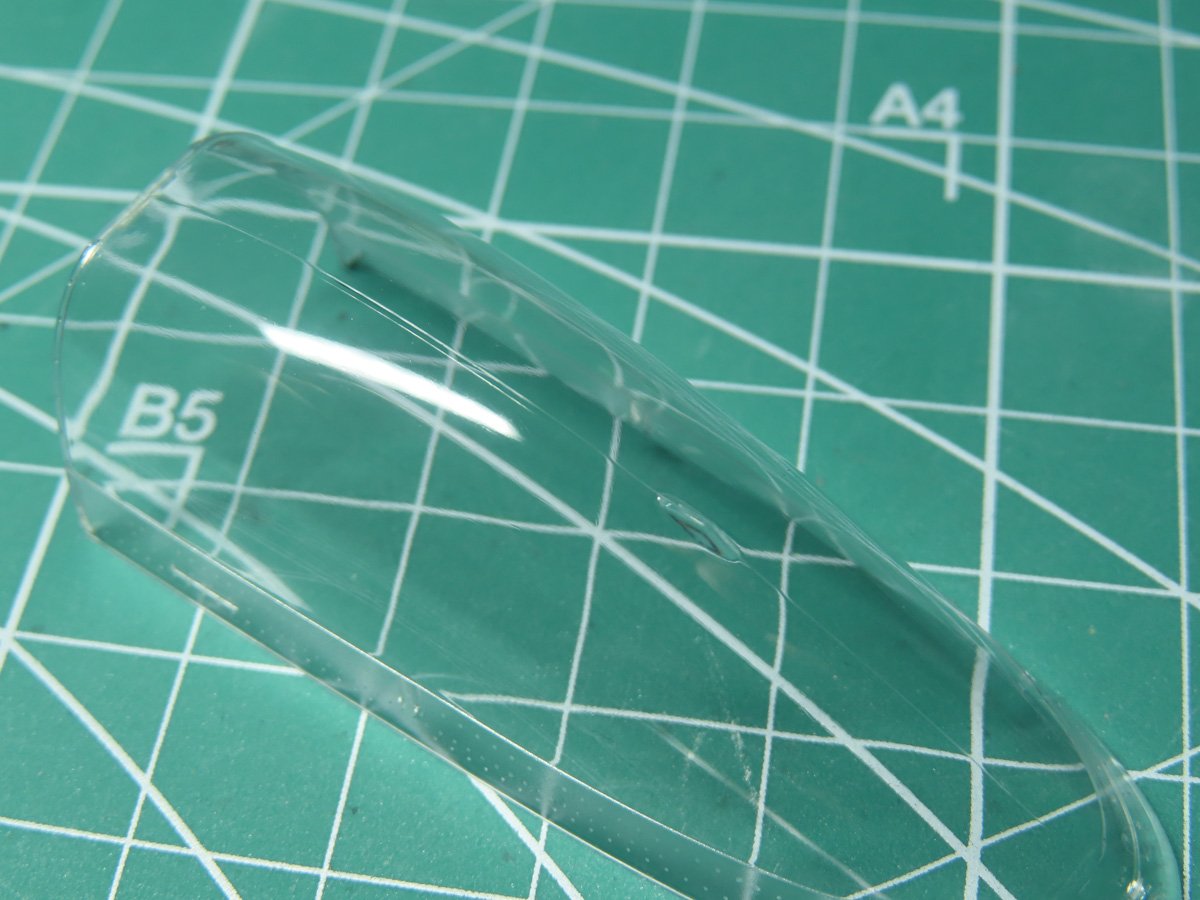
The back section or the teardrop canopy is a beautiful piece, and Tamiya used slide molding to get the correct rounded shape along the canopy frame. As impressive as this slide molding is, there is a slightly raised seam line running along the top of the canopy.
Now, you might decide when you are building this kit that this seam line doesn’t bother you and proceed with the build. But I’m going to show you how to remove the seam line and restore the canopy as if that seam line had never existed at all.
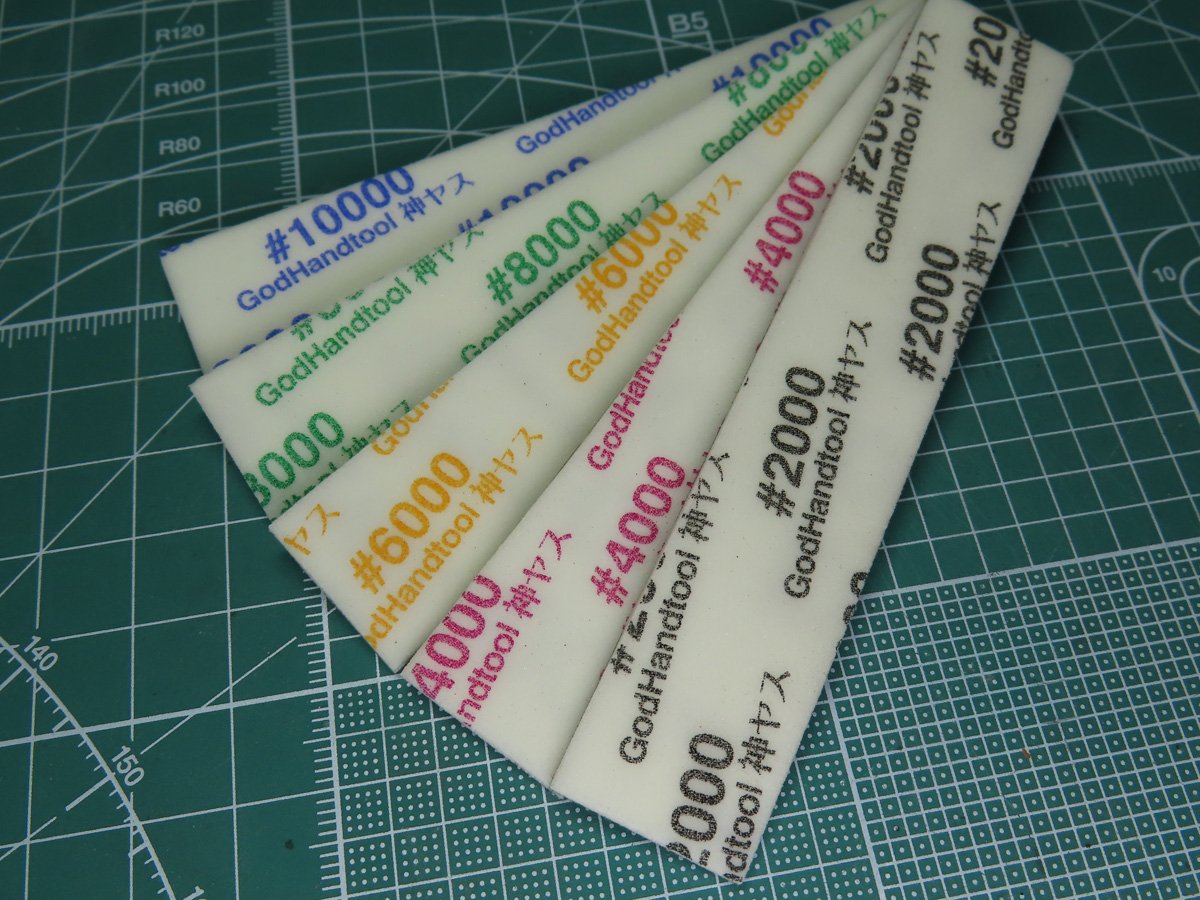
For this process, I’m going to be using these sanding pads from God Hand. These are fairly common in hobby shops, and you don’t need these exact sanding pads for this process. The important part is the grit, which starts with 2000 and ends with 10,000.
What we need are very fine grits for sanding and polishing, and this is essential to restore the clear parts.
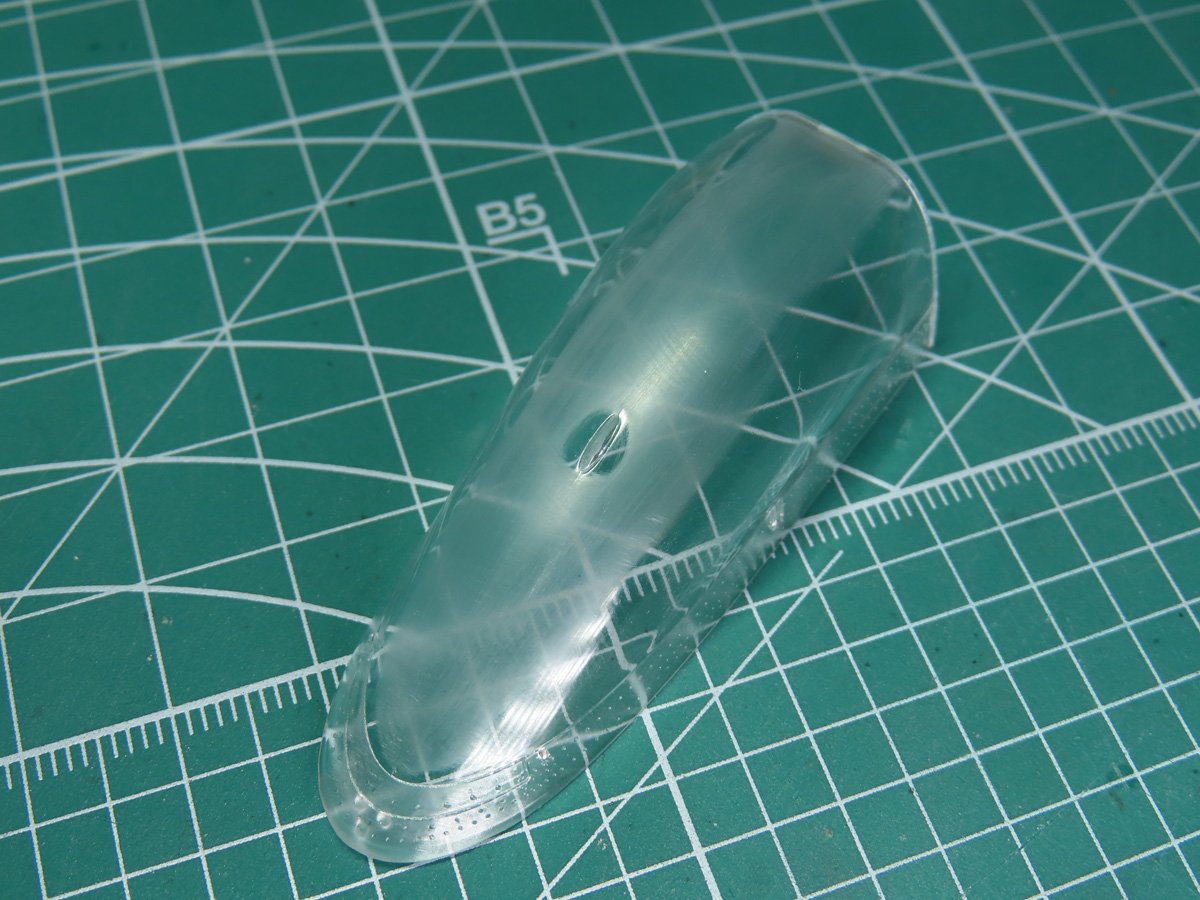
Starting with the 2000 grit, I sanded away the seam line until I was left with a nice, smooth canopy. When I had finished sanding, this was the end result: a very foggy canopy.
With the 2000 pad, I carefully sanded Left to Right, slowly removing the seam line. Now that I was finished, I needed to remove those scratches, and I moved onto the 4000 grit. This time I sanded Up and Down, and this way I could effectively remove the previous sanding.
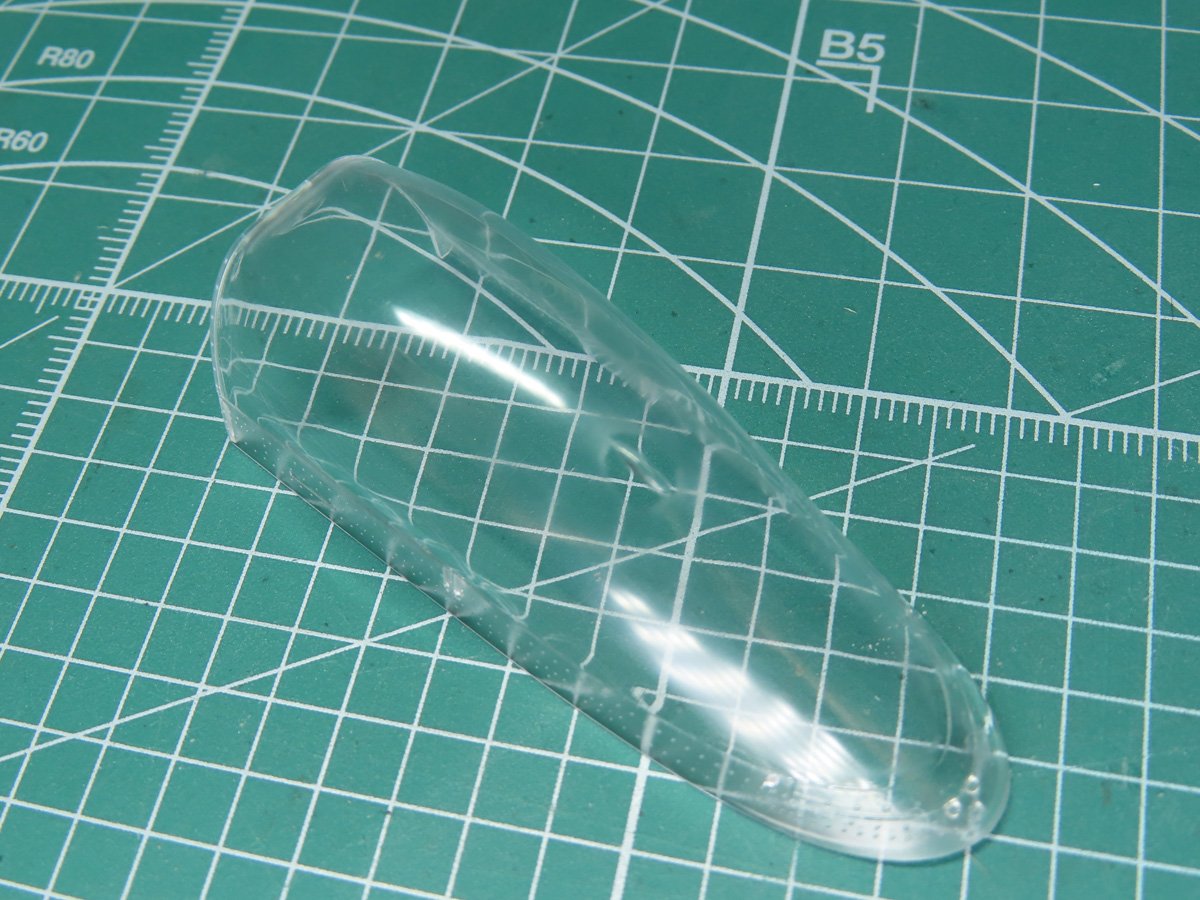
I progressed through the sanding pads, alternating the direction with each grit, until I reached the final 10,000 pad. Sanding with this almost brought the canopy back to its former clarity, and I want to add that this is tricky work, as clear parts are very fragile and can easily be cracked.
So you need to sand carefully and slowly, and avoid any temptations to apply a lot of pressure. I should also mention that there are many types of clear styrene, and they will react differently. Some of the softer, clear styrenes I’ve used tend to heat up when you are sanding, so it’s a good idea to take a break and allow the styrene to cool down a bit to avoid possibly damaging the part.
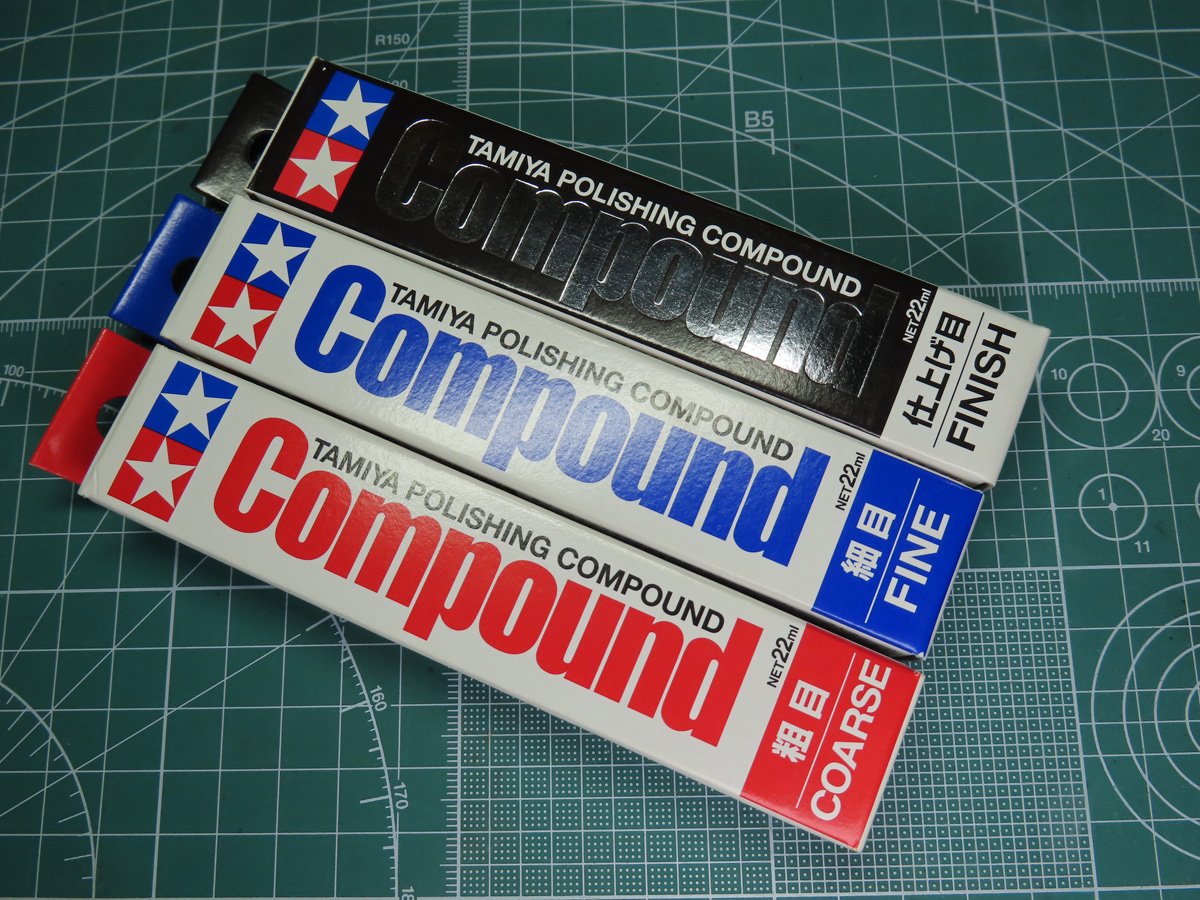
To finish the process, I’m going to use Tamiya Polishing Compounds: Coarse, Fine, et Finish.
These are a fantastic polish that will easily restore and complete the canopy.
And if you happen to find a small scuff mark on any of your clear parts, these 3 products might just be all you need to repair your windows. This is especially useful to clear parts that have been rolling around the box unprotected.

Just as before, I’m working my way through the Polishing Compounds, starting with Coarse, and as seen in the picture, ending with Finish. I applied a liberal amount of the polish, and using a cotton bud, I pushed the polish around in small circles.
I took my time with the Finish Compound so that I could really bring out the original clarity of that Tamiya styrene. When I was done, I removed the excess compound, and I gently gave the canopy a final polishing with a microfiber cloth for cleaning glasses.
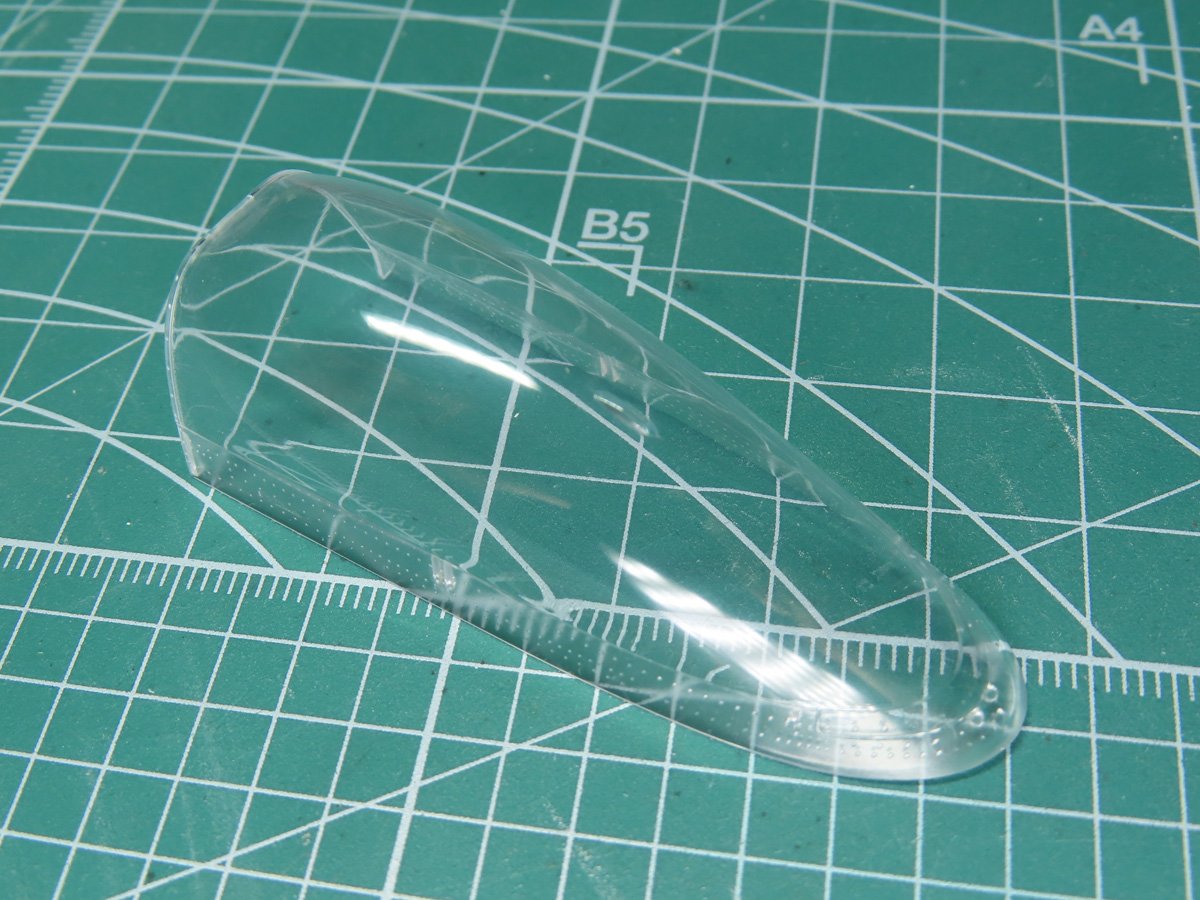
It takes time to get the cleaning right, and you will likely discover stray scratches here and there and need to repeat the process. But you will be rewarded with a beautiful and seamless canopy.
Now the part is ready for masking and painting.
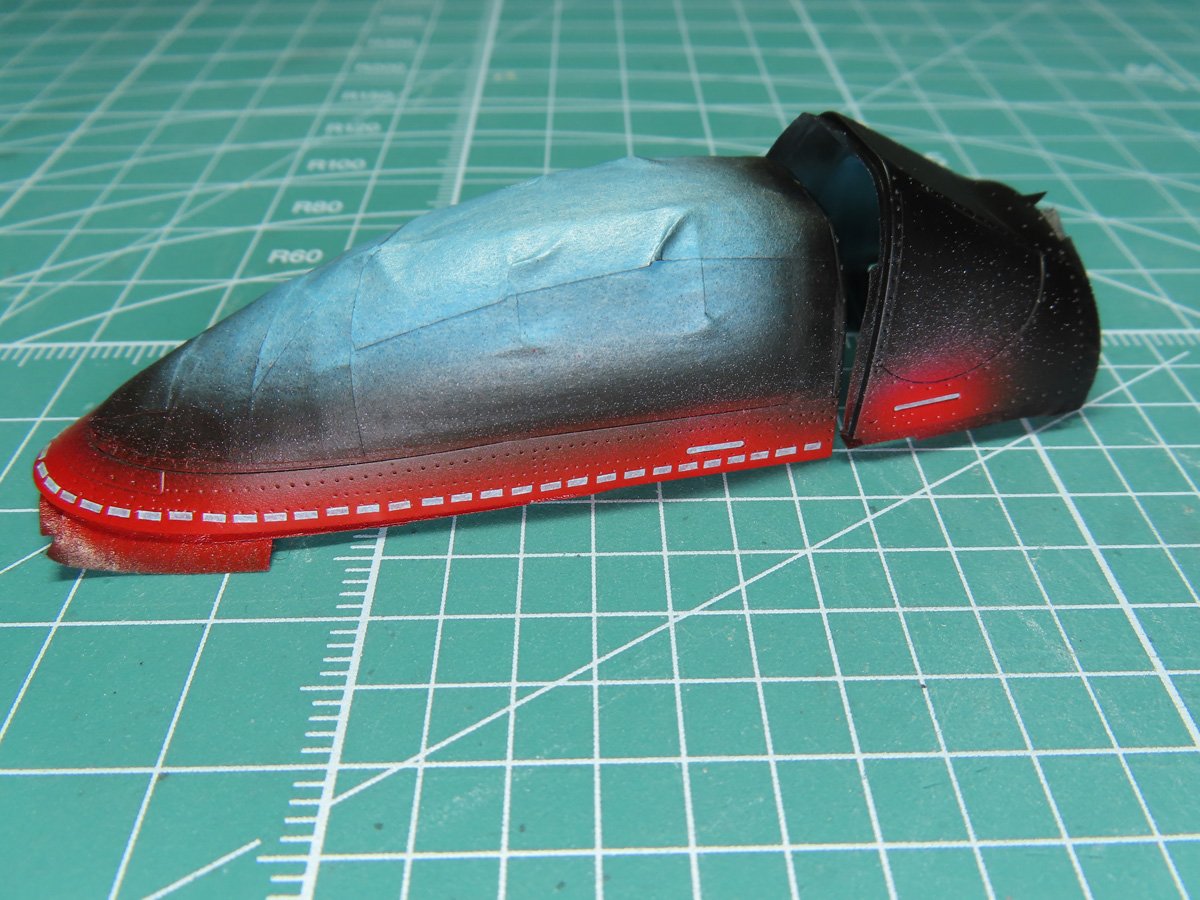
I started by painting the canopy with Mr Surfacer 1500 Black. Afterwards, I painted a thin layer of Tamiya XF-2 Flat White, before painting Mr. Color 3 Red.
Once the paint had dried, I began masking the outer emergency handles and the red dotted line that runs around the edge of the frame. I’m not totally sure what these are, but the Calgary P-51s all had them. I think they are a cutting line in case the emergency handles don’t work.
What I do know is that it takes 63 pieces of tape to go around the canopy.

I painted the rest of the canopy with Tamiya AS-12 Bare Metal Silver and gave the parts a wash with Tamiya Panel Line Accent Color Black. Once I cleaned up the excess wash around the recessed details, I sealed everything together with Mr Color C181 Semi-Gloss Clear.
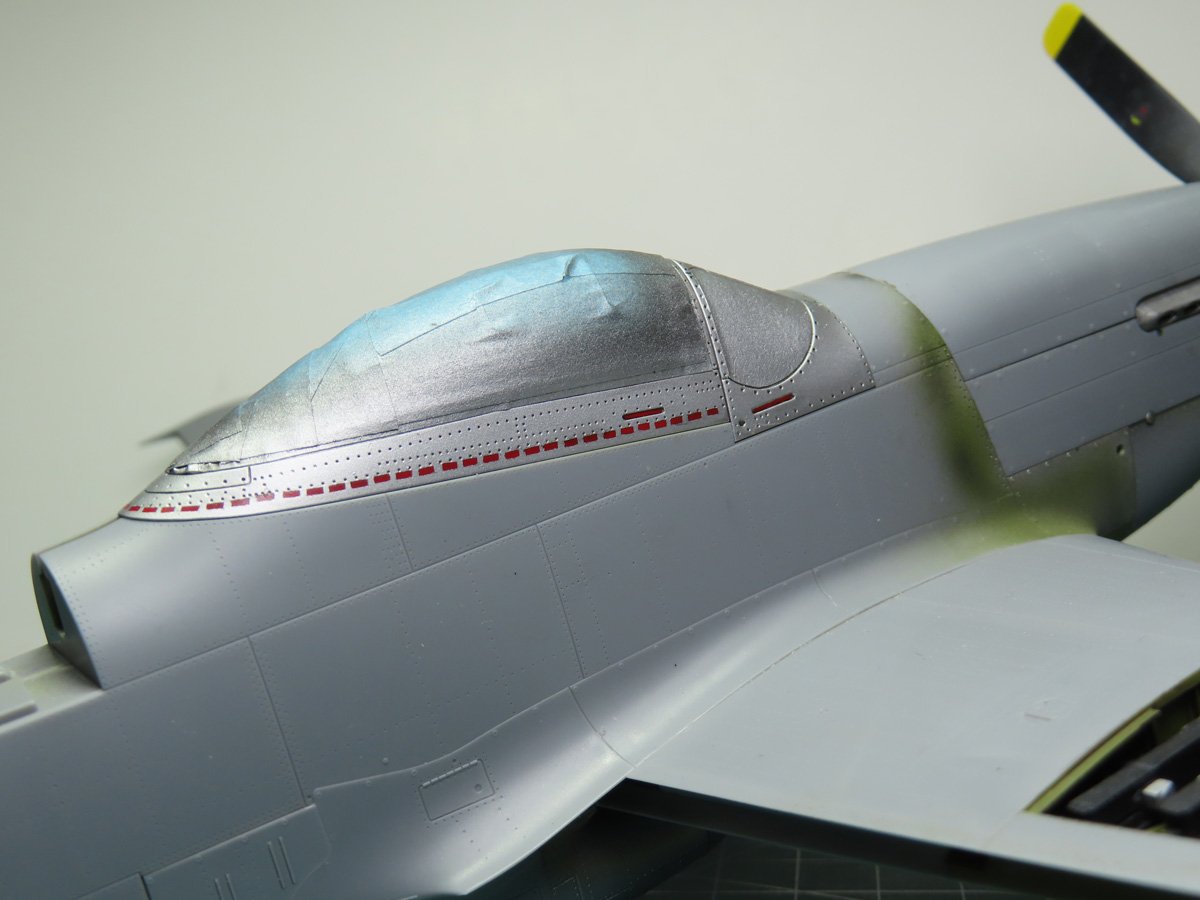
I’ve test fitted the canopy parts to the Mustang, and I’m really pleased with how that red dotted line turned out. I think it looks pretty close to the reference material I found. Perhaps a bit smaller, but then I’d be fussing with extra small tape, and this was small enough.
I hope that this demonstration on fixing clear parts can be useful for you. I will admit the first time I ever tried this method was on my first Tamiya 1:32 P-51D, and I was very nervous about the idea of damaging the clear parts. But once you see the process through, you will become much more comfortable with the idea and begin using it on other projects.
It’s also very useful on clear parts that are distorted, which is common on vintage models. You can sand both sides down and polish them out to an amazing clarity. It’s an easy way to boost the realism of a model.
Though I featured Tamiya Polishing Compounds in this post, there are many others out there, like Novus. I’ve used Novus before, and it’s fantastic. And I still use Novus 1 with all of my projects, as Novus 1 is a plastic cleaner that will easily remove fingerprints and really makes the clear parts shine.
To be continued…
About the Author:
Jared Demes is a modeler from southern Alberta. He has been building models since he was 4 years old when his Dad first introduced him to the hobby. He has written for several magazines including, Fine Scale Modeler, Scale Aircraft Modeling, Phoenix Scale Models, and others. He has an interest in all modeling subjects, with a focus on WWII Japanese aircraft and Science Fiction.
Jared has won several IPMS awards for his modeling, and currently operates his YouTube channel rebelsatcloudnine, where he showcases model builds and product demonstrations.
First Post: Part 1
Previous Post: Part 13
Next Post: Part 15