
Tamiya North American F-51D Mustang
This is the second part of the Tamiya North American F-51D Mustang Korean War 1/32 Scale 60328 with RCAF Markings.
During WWII, the P-51 Mustang secured its place in aviation history. The fighter was very well received by its pilots, and to many it was a game changer to the war efforts. The P-51 served in all theatres, from Europe to the Pacific, where it quickly achieved legendary status.
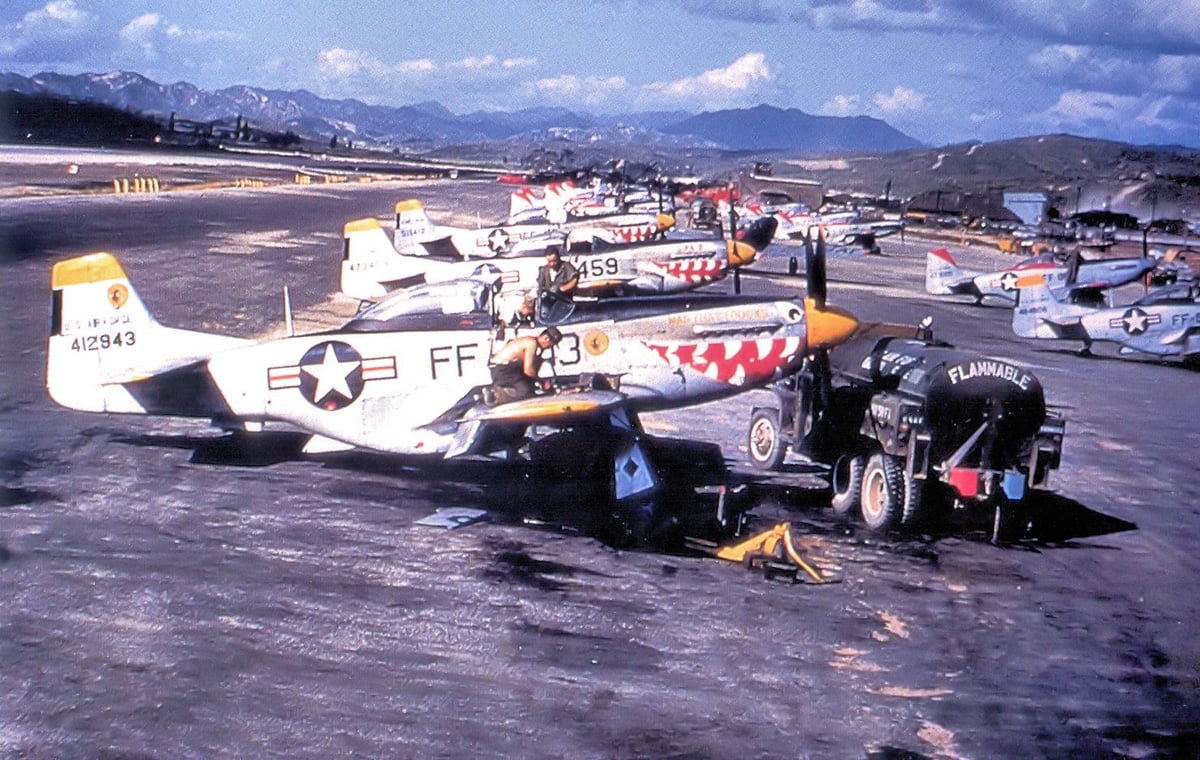
After WWII, the P-51 was redesignated from P (Pursuit) to F (Fighter), and in 1950, the Mustang would once again see combat in the Korean War. The F-51D was vital to the conflict, serving various roles similar to those in WWII, with many being used for ground attack. These F-51s could carry rockets, bombs, and napalm. All of these weapons are included with this kit.
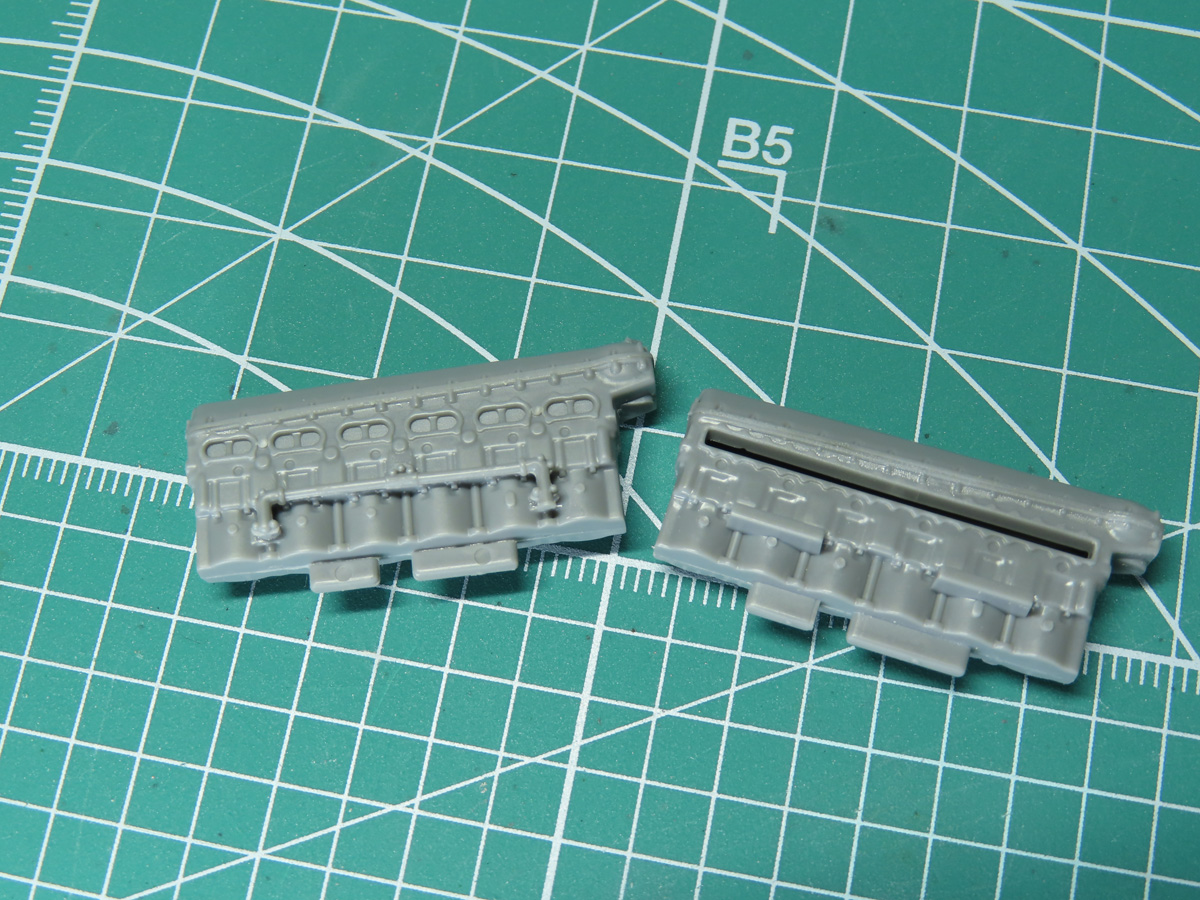
Typically, with aircraft models, you start by building the engine. However, Tamiya has us starting by building the Packard Merlin engine. I’ve started by building the engine’s cylinders. Take note of the instructions at this stage, as there are some parts that need to be removed as they were originally for the Supermarine Spitfire.

Next, I’ve built the engine block and added the intercooler pump to the side. There is a tubular frame inside the engine, Part H200, and this piece will help keep everything straightened up for an accurate fit.
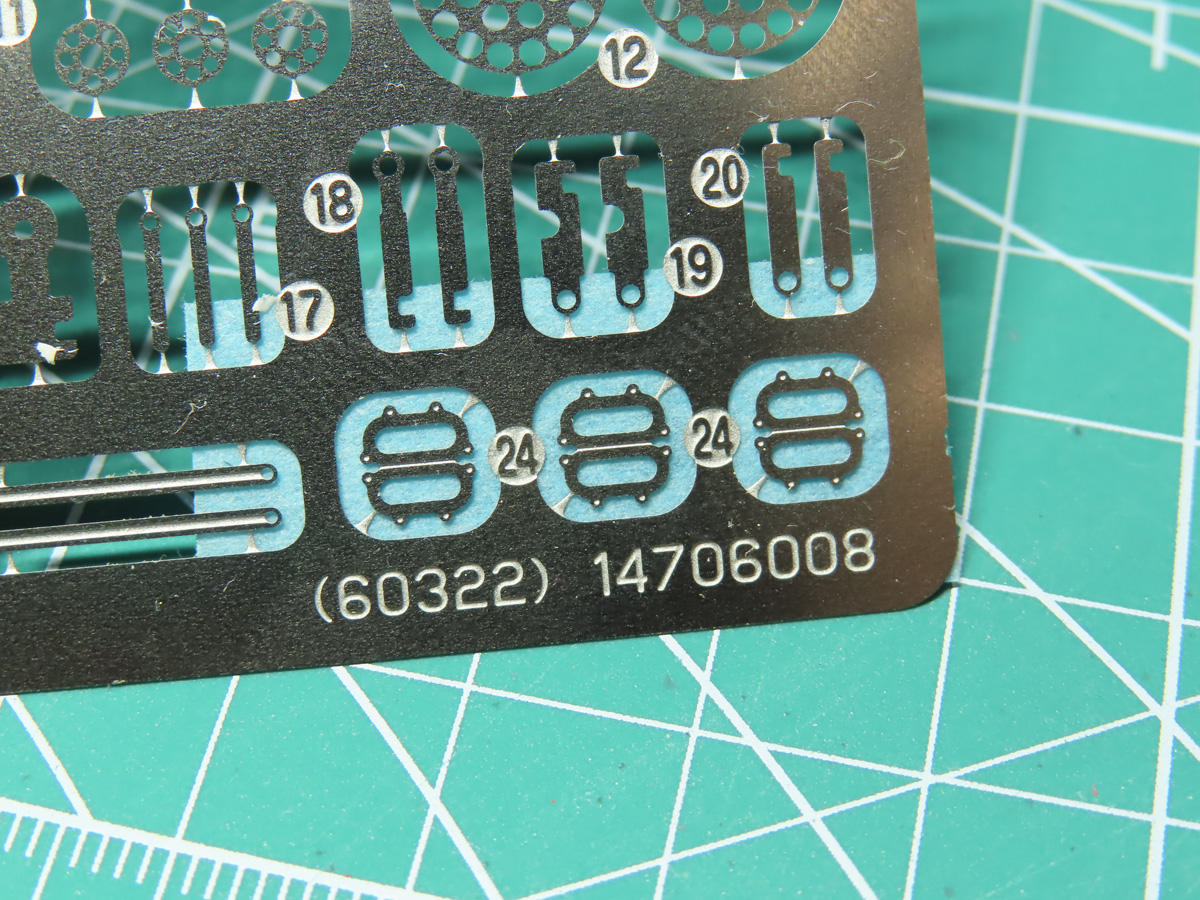
Now we need to remove the photoetch gaskets, and I know that the idea of even looking at photoetch can be off-putting to some modelers. So I’m going to show you some of the things I use to make working with etch a bit easier.
I’ve placed some masking tape behind the parts and then pressed the parts firmly into the tape. This is to prevent the parts from flying away when we cut them out. You can also leave the etch inside the bag and cut the parts through the bag. I’ve done this as well, but I’ve found that the parts can become damaged when you remove them from the bag.
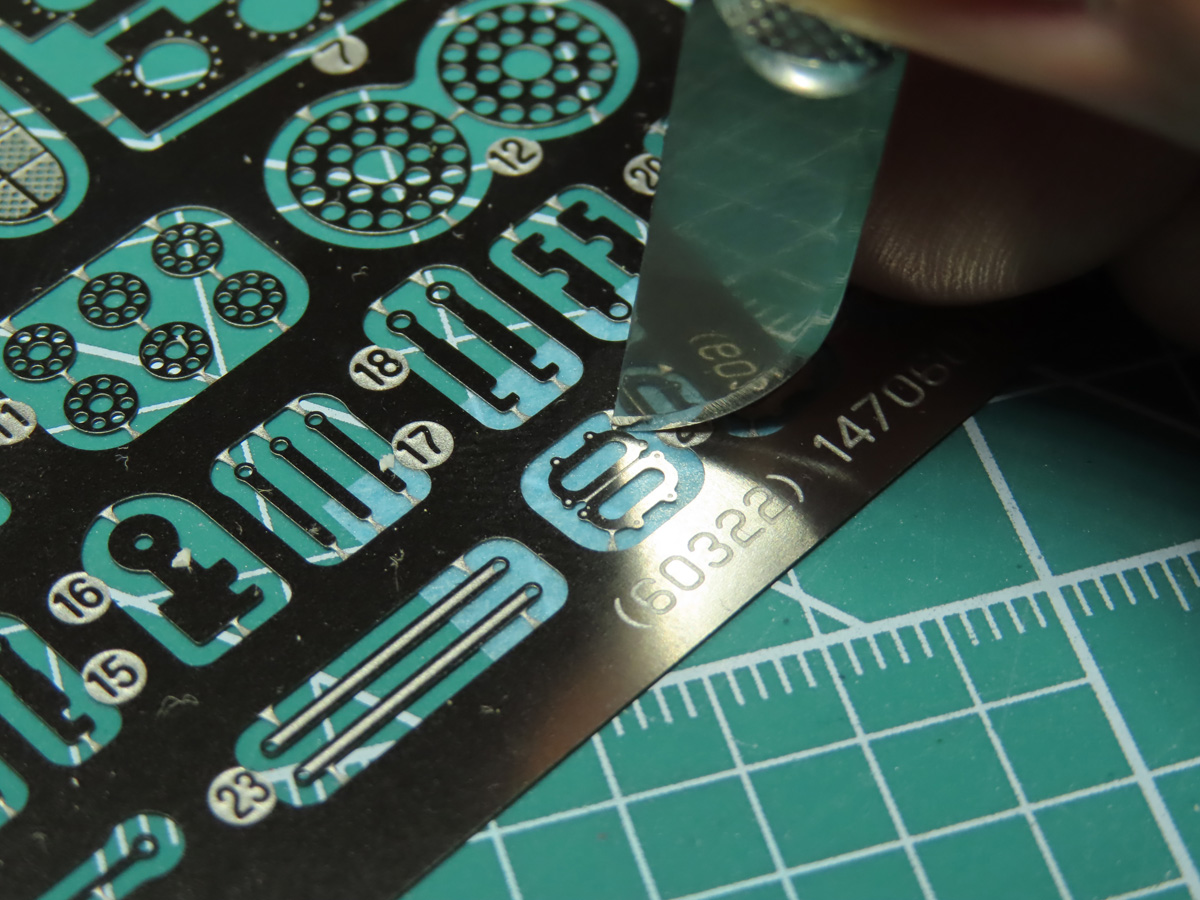
Using an Excel Hobby #22 Curved Edge Blade, I can apply pressure easily, separating the parts from the fret. The curved blade does an excellent job at this, and the blade edge is so small that it doesn’t damage the parts.
And thanks to that masking tape, I can now easily remove the parts without the fear of losing them to the carpet monster.
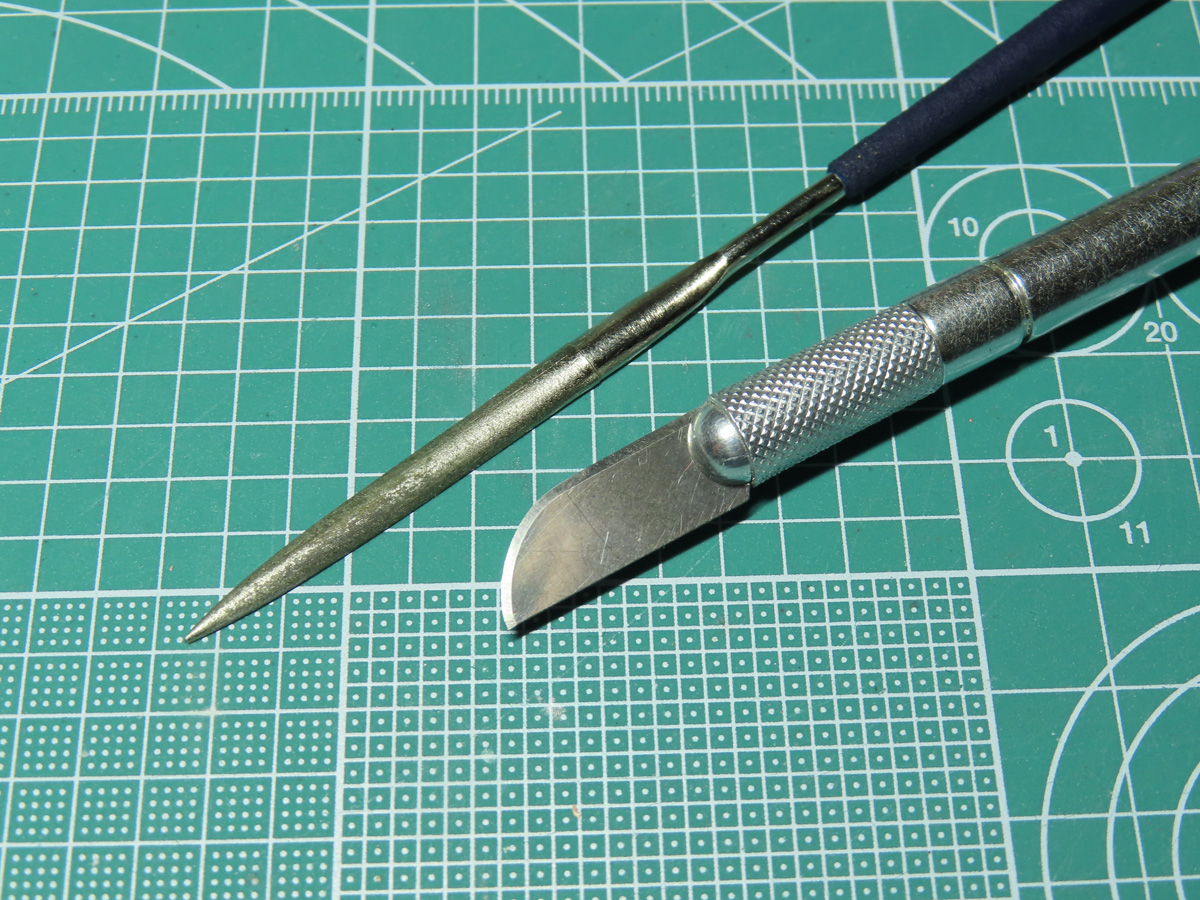
To clean the burs on the etch, I use a Tamiya Diamond File for Photoetched Parts 74066. You can use a standard metal file, but this Diamond File has been an excellent investment. I purchased this when I built the Tamiya 1:32 Spitfire Mk IXc, and this file easily removes the excess metal with just a few quick passes. And the fine grit doesn’t cause as many vibrations on the parts, which is great if you happen to be using a more delicate metal like brass.
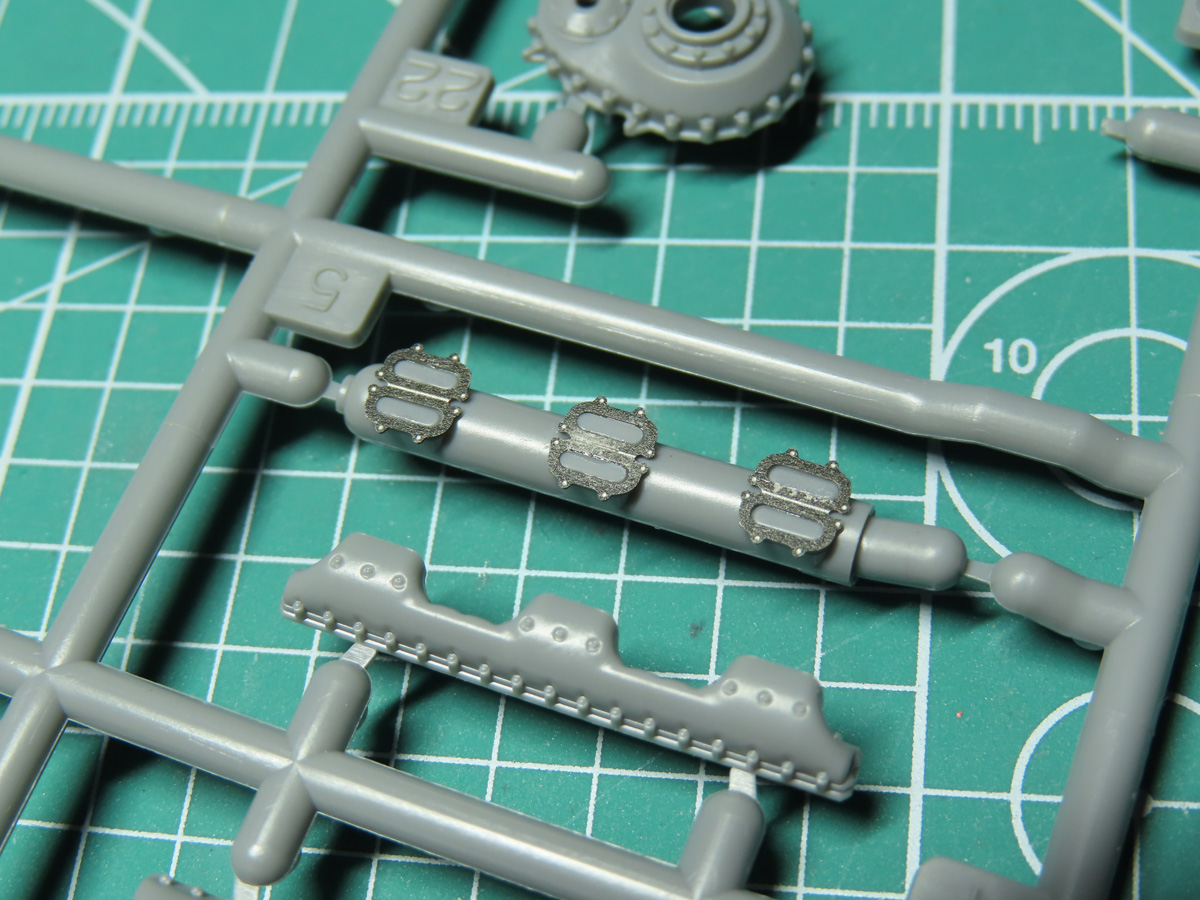
With the gaskets now clean, I super-glued them in place, and now this part will be placed between the engine cylinders.
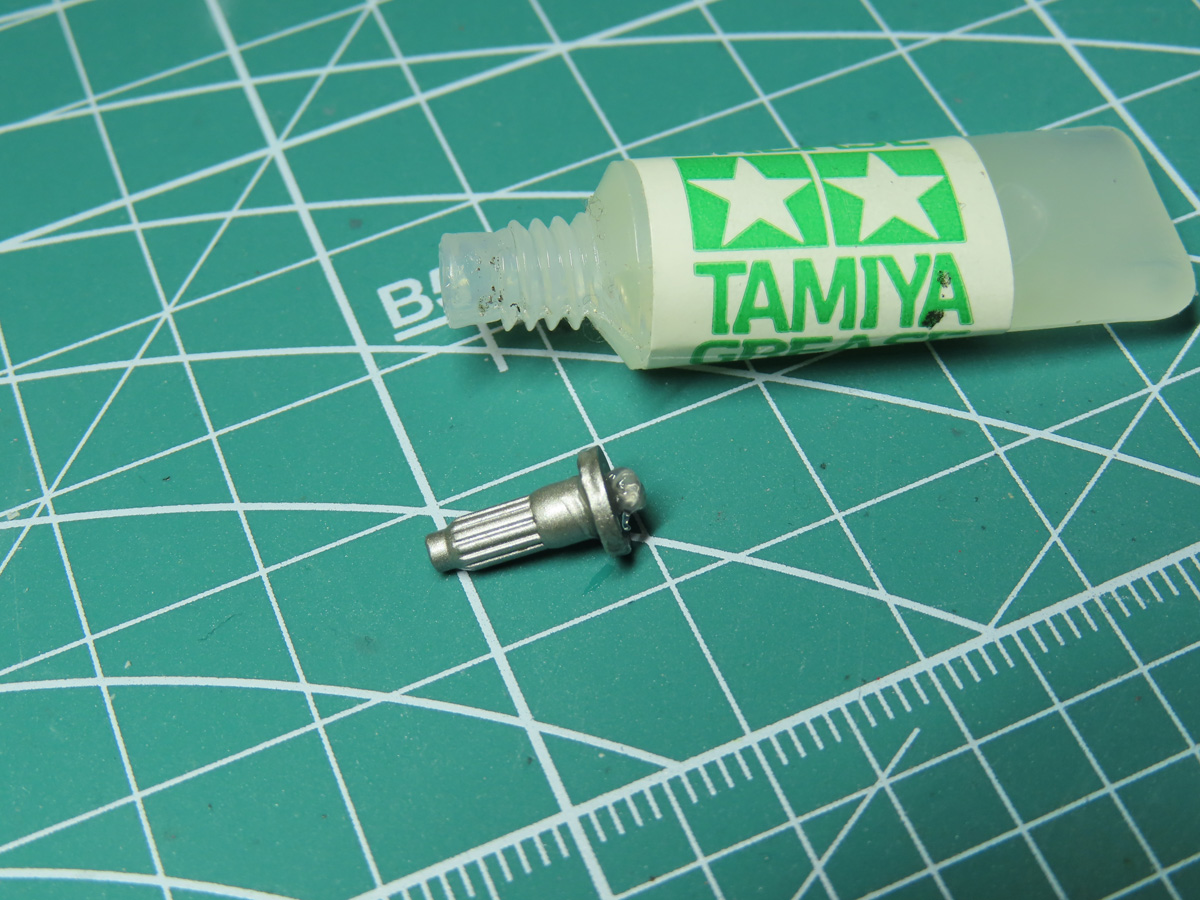
I painted the propeller shaft with Tamiya X-32 Titanium Silver. Before I added the shaft to its housing, I applied some Tamiya Grease that I had from a previous project, Tamiya 1:35 Male Mk. IV Tank. This will help the shaft to spin more freely once the propeller is added.
With just that little bit of grease, I can see a huge difference in how the shaft spins. If you don’t have Tamiya Grease, airbrush lubricant will work as well.
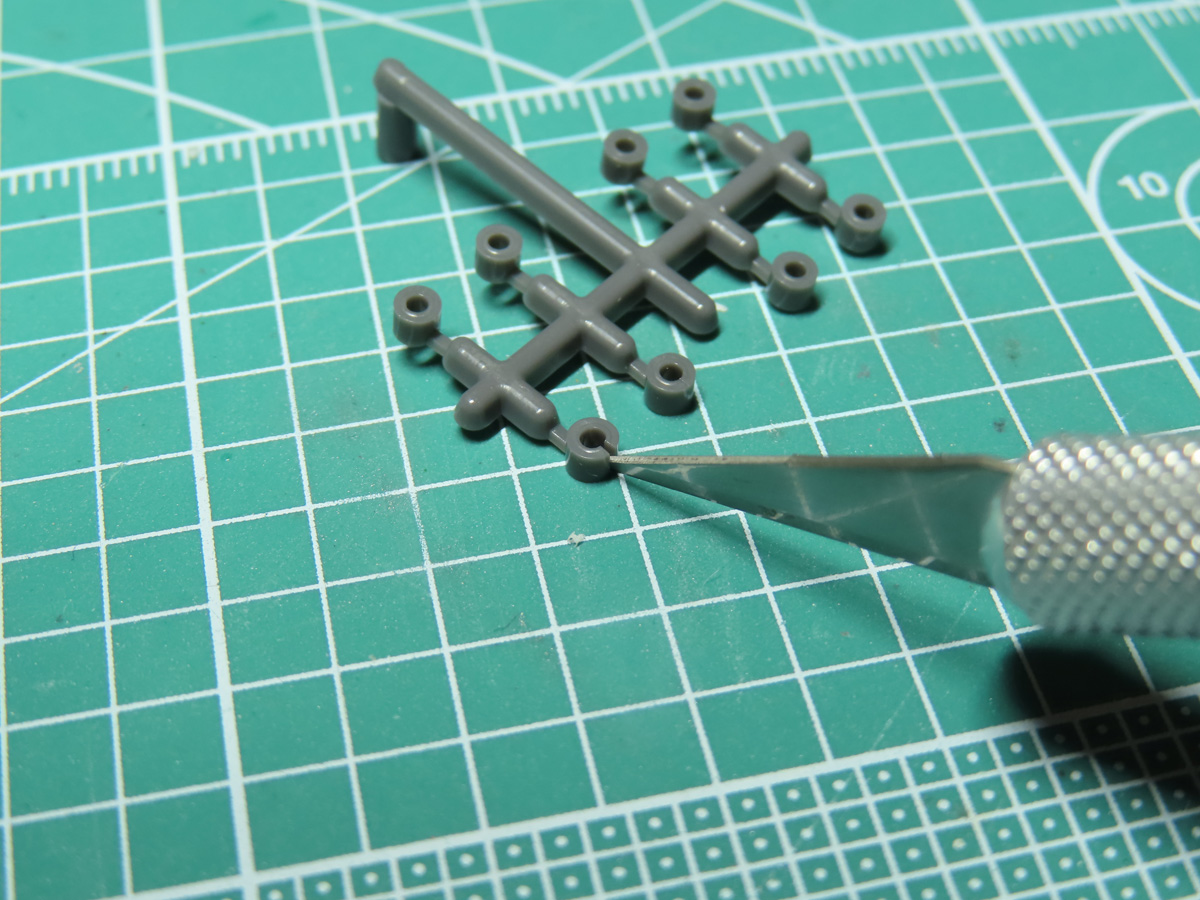
Next, we need to split the smaller polycaps. These will be used later on to hold the lower cowling section in place. When I built the P-51D years back, Tamiya didn’t suggest doing this, and as a result, that lower cowling is really difficult to remove.
This will allow the part to be removed more easily, and still have enough friction to keep the part in place.
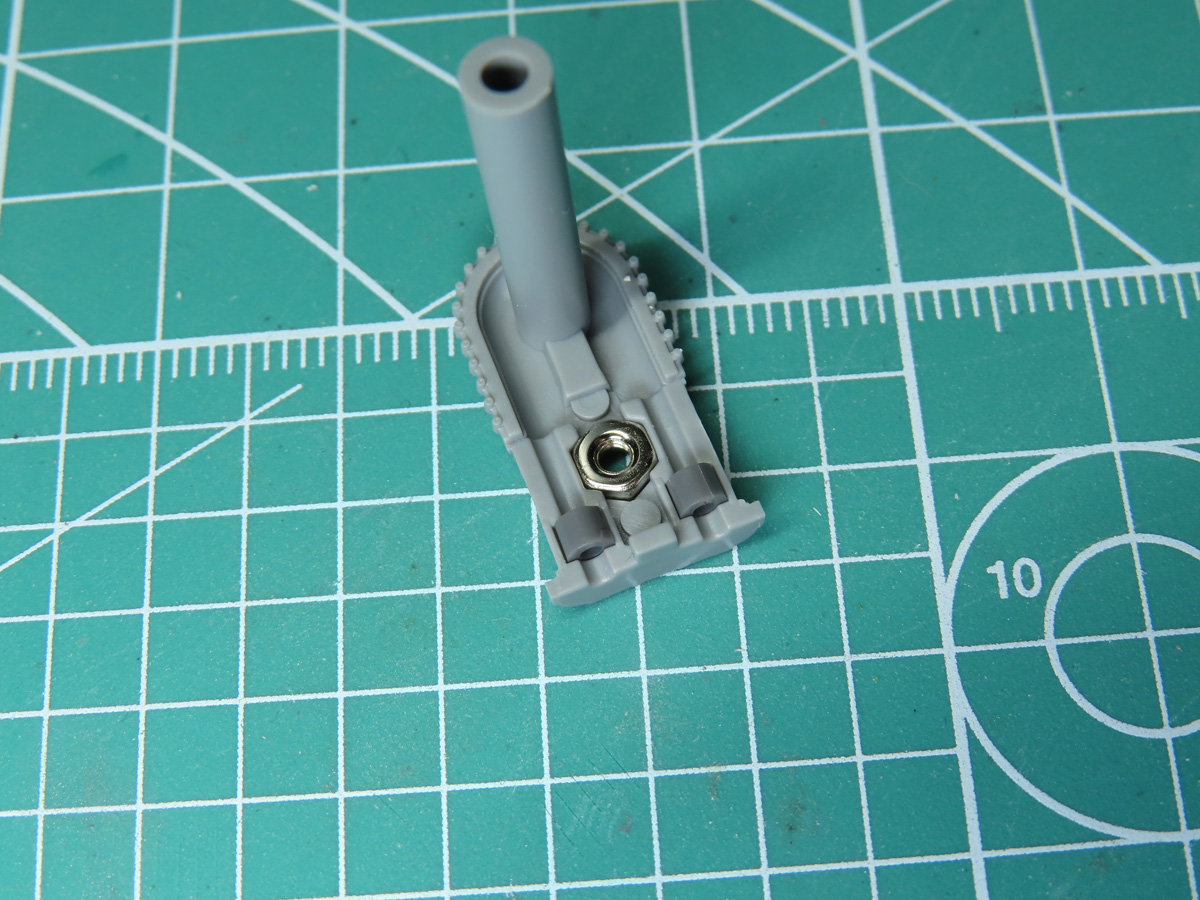
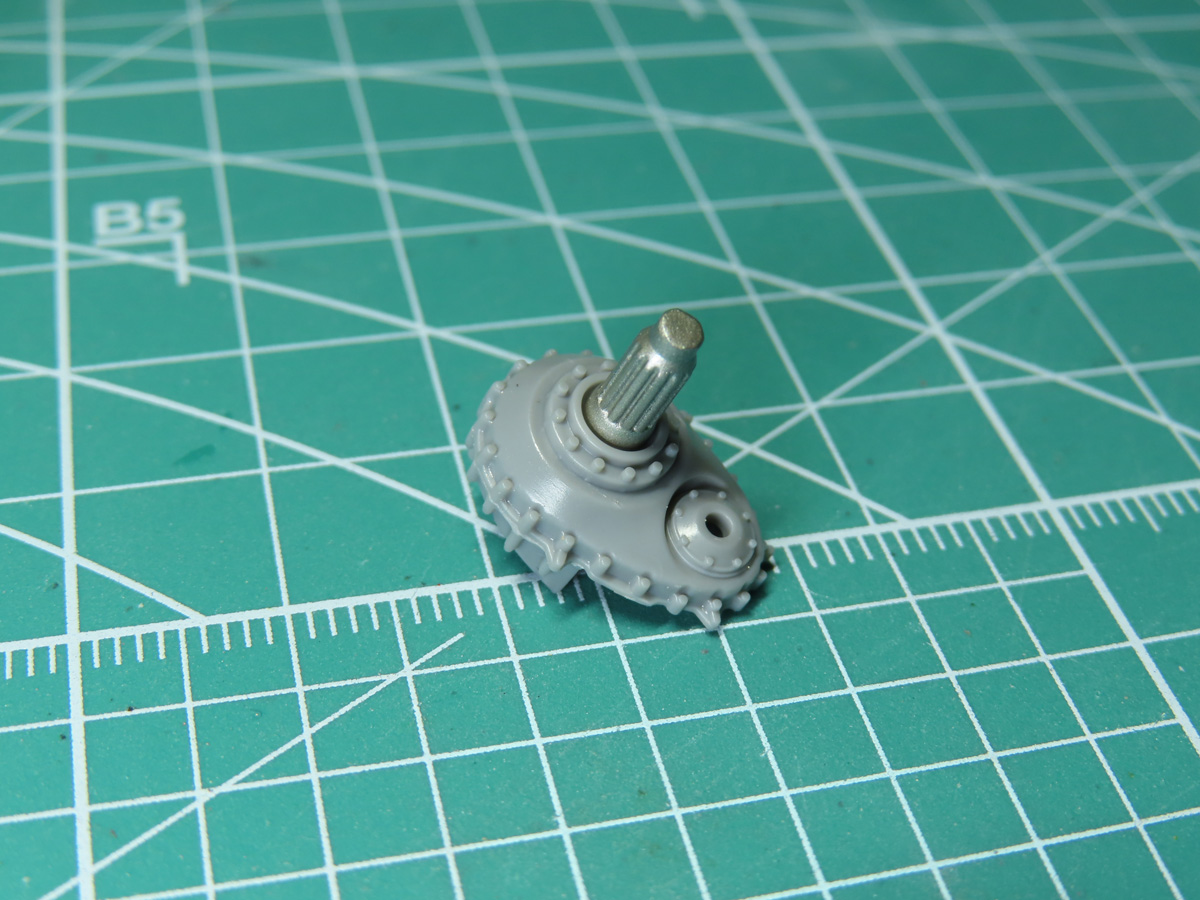
The polycaps are now added to the inside of the carburetor. It’s important at this stage to also add the nut to the center section, as this will be necessary when we attach the engine to the firewall.
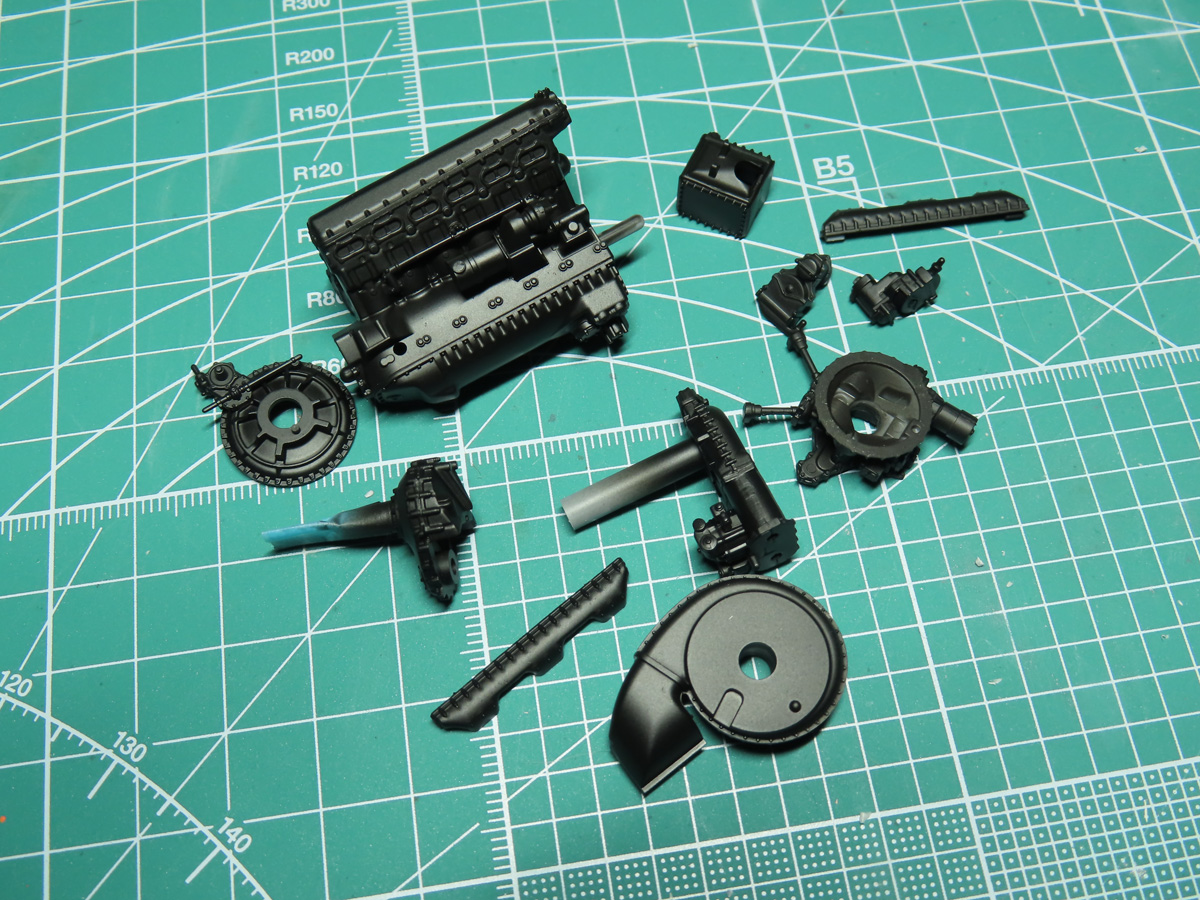
With the engine parts all completed in sub assemblies, I painted them with Mr Color 92 Semi-Gloss Black.

The magnetoes, and the screw heads around the propeller shaft were painted with Tamiya LP-11 Silver.

The back section of the engine was now assembled. This includes the carburetor, magnetos, intercooler, and supercharger.

Unfortunately, the engine frame on the P-51 covers up a lot of the details of this engine. So I’ve decided not to add a lot of the plumbing as it really won’t be seen. One thing we can do to add some more detail is add a wash to help highlight the details. For this, I’ve painted on Tamiya Panel Line Accent Color Gray.
Once the wash had dried, I took some Tamiya Enamel Thinner and removed the excess wash with a brush.
Lastly, the parts were sprayed with Mr Color 182 Flat Clear to seal everything together.

This is where I’ll leave the project for this post. Unfortunately, a product I need for the next steps didn’t arrive until this afternoon, but I think with the engine now completed, this is a good place to pause.
I really love these engine assemblies; they are so beautifully detailed that Tamiya could almost package these as a separate kit. I really like how a simple gray wash shows off those details, and I think that this is going to look really great once it’s housed in the engine frame.
Next, we’ll be working on some more of the engine details, and we’ll then be able to add this engine to the firewall. Until next time, keep on modeling!
To be continued…
Jared Demes is a modeler from southern Alberta. He has been building models since he was 4 years old when his Dad first introduced him to the hobby. He has written for several magazines including, Fine Scale Modeler, Scale Aircraft Modeling, Phoenix Scale Models, and others. He has an interest in all modeling subjects, with a focus on WWII Japanese aircraft and Science Fiction.
Jared has won several IPMS awards for his modeling, and currently operates his YouTube channel rebelsatcloudnine, where he showcases model builds and product demonstrations.