
Tamiya North American F-51D Mustang
This is the fourth part of the Tamiya North American F-51D Mustang Korean War 1/32 Scale 60328 with RCAF Markings.
In 2016, my brother and I had the rare privilege of being introduced to Herb Spear. Herb was a former RCAF P-51D pilot, flying out of Calgary with 403 Squadron. I had the chance to talk to him about the Mustang, and he was more than happy to answer my many questions. One story he told me was about the time his plane malfunctioned and he had to bail out in a hurry.
On the side of the cockpit is a red lever (I’ll point this out further in the build). When this is pulled, it detaches the rear canopy from the rails, and the wind should lift the canopy away, giving the pilot time to bail out.
Herb informed me that this was actually a terrifying ordeal, as the canopy had a tendency to sway to the side instead of upwards as intended, and that this had killed many pilots.
As Herb explained, “You needed to duck down as low as you could, pull the lever and pray that it lifted away.”
Herb, of course, survived this event. He kept on flying and was one of the founding members of West Jet Airlines.
Sadly, Herb passed away on March 2nd, 2024, just a few weeks after his 100th Birthday.
Herb was an incredibly kind man, easily living up to the title “an officer and a gentleman.” He even gifted me and my brother books on the P-51, and it was a pleasure to talk to him. This Mustang will be built in his memory.
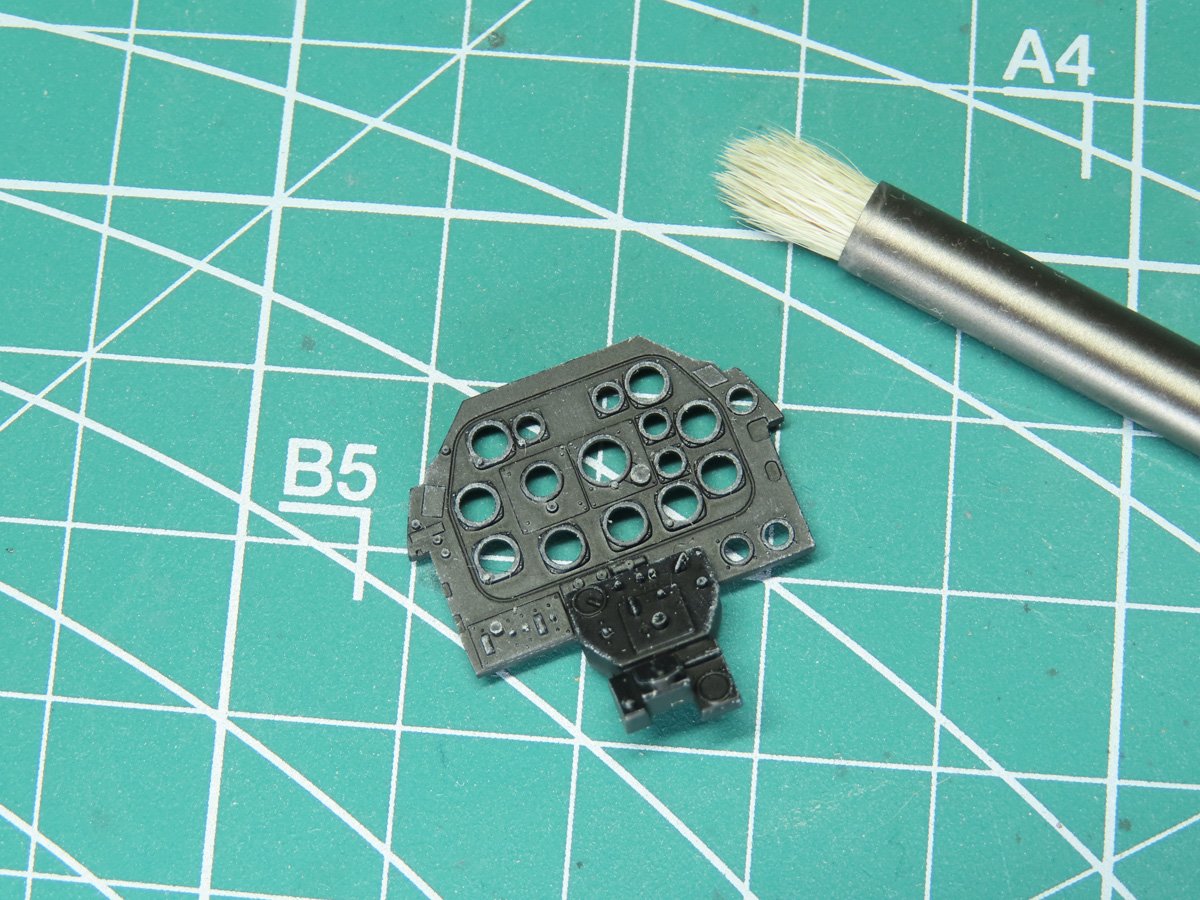
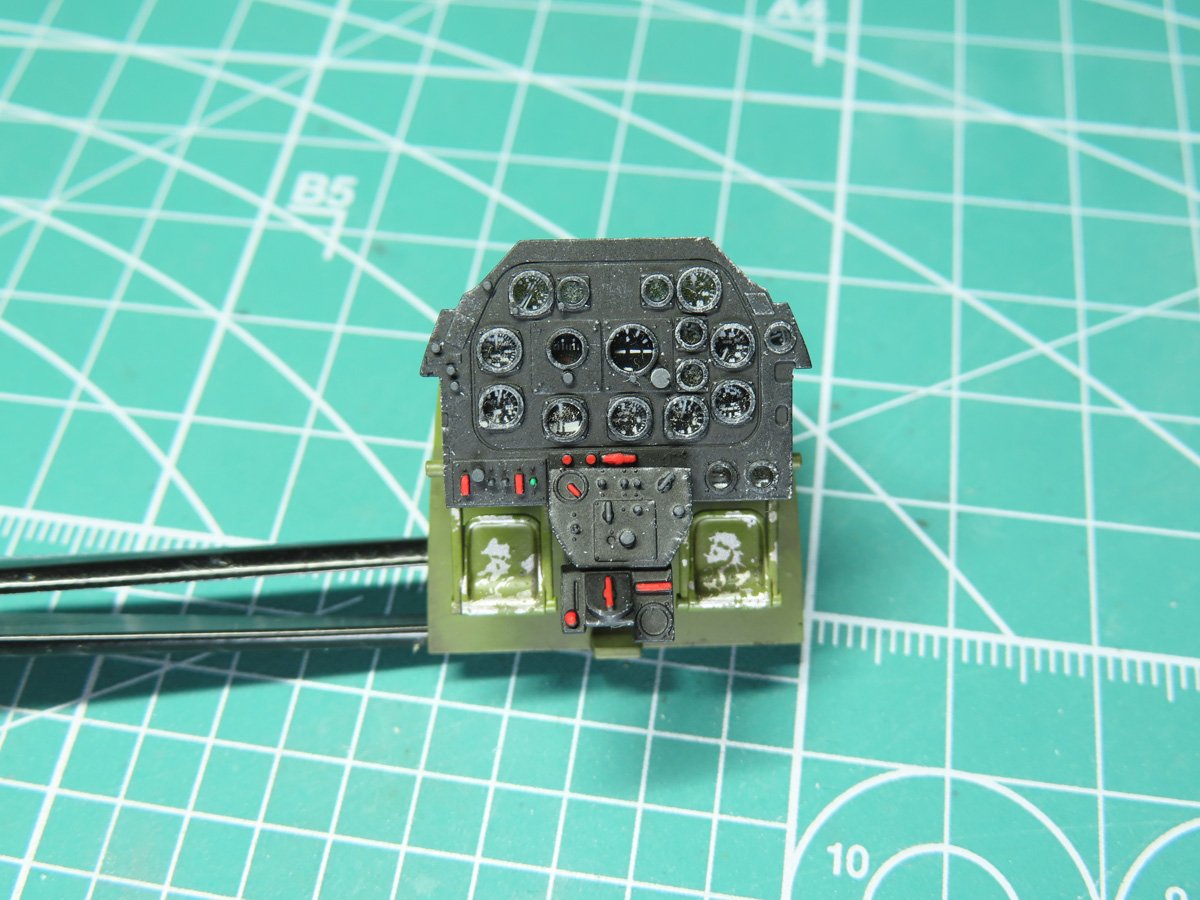
I’m starting off this week by building the instrument panel. I first painted the panel with Mr Color C92 Semi Gloss Black. And then I decided to test out my new Vallejo Dry Brush BO7990.
I loaded the brush with some Tamiya XF-19 Sky Grey and lightly painted the raised details. In particular, I wanted to paint around the instruments to help these stand out more once the panel was set inside the model.
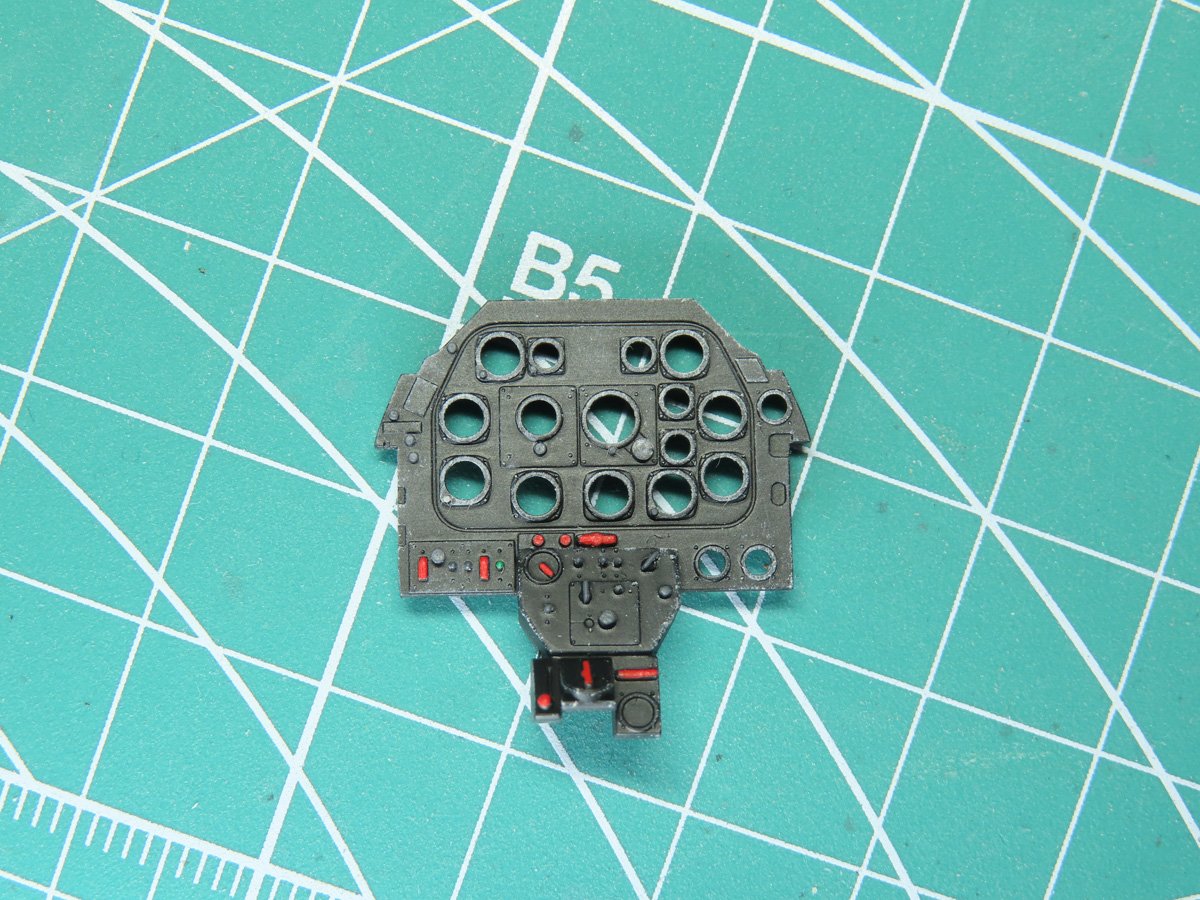
I then painted some of the smaller buttons. For the red sections, I used AK Interactive Scarlet Red AK11087.
Instead of leaving the black buttons as they are, I prefer to paint them a dark grey, as this will help them stand out on the model while ensuring they won’t look out of place. I carefully painted these with AK Interactive Dark Grey AK 11022. After the paint had dried, I sealed everything with a Flat Coat.
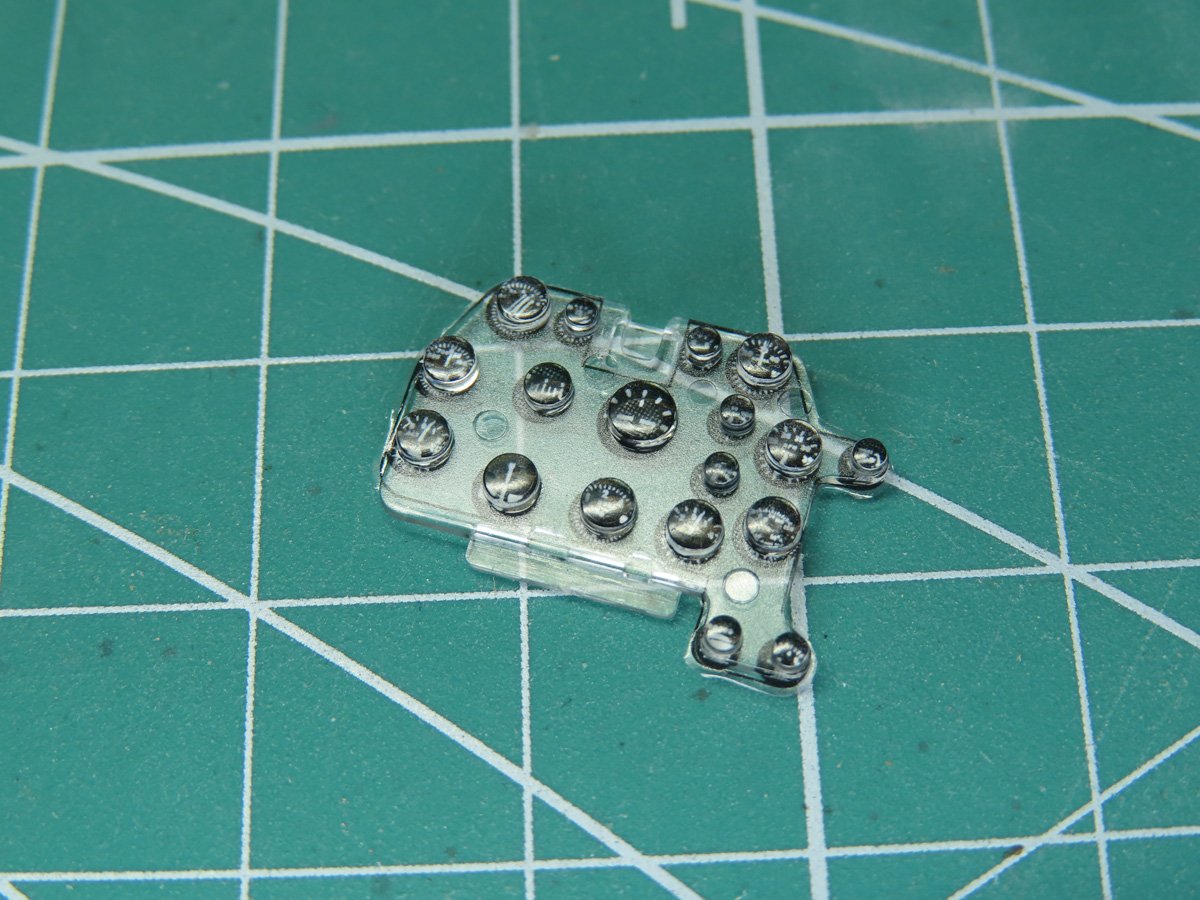
Now, for the dials, Tamiya has done something very unique. On the back of a clear section, you add the decals. On first glance, these look like a black blob, but once the decal is in place, you flip the part over to see that Tamiya printed these in reverse so you only see the dials.
I used Tamiya Mark Fit Super Strong 87205, decal solvent to seal the decal to the part.
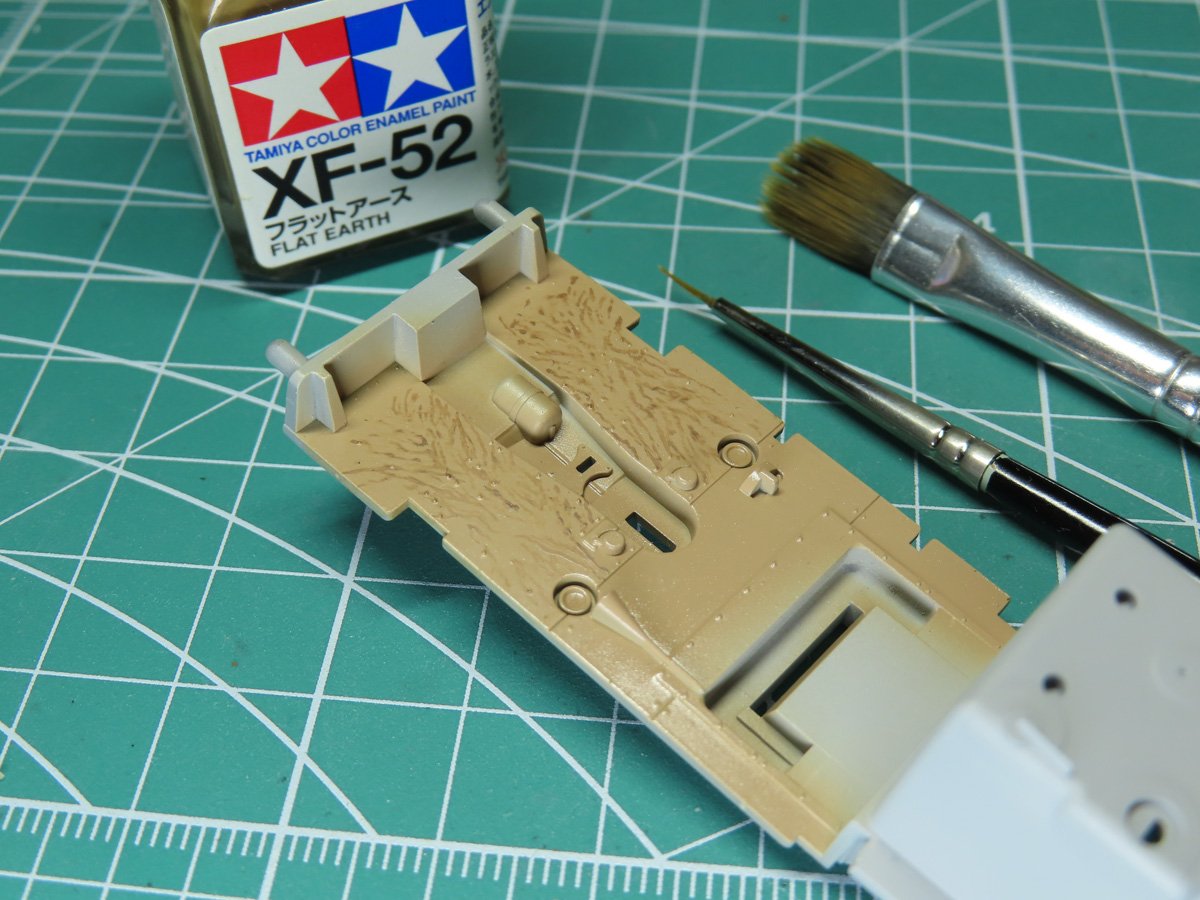
I wanted to replicate the worn wooden floors that you sometimes see on Mustangs. I started by painting the floor with Tamiya XF-78 Wooden Deck Tan, and then a gloss coat.
To create the wood grain, I carefully painted on Tamiya XF-52 Flat Earth Enamel with a fine pointed brush. This paint was also thinned with Tamiya Enamel Thinner to help the paint flow.
Once the wood grain was painted, I used my wide flat brush, gently coated with a tiny amount of Enamel Thinner, and I lightly dabbed at the grain to make the grain lines a bit softer.
The nice thing about using Enamels over top Acrylics and Lacquers is that if you don’t like the first painting, you can wipe it off and try again.
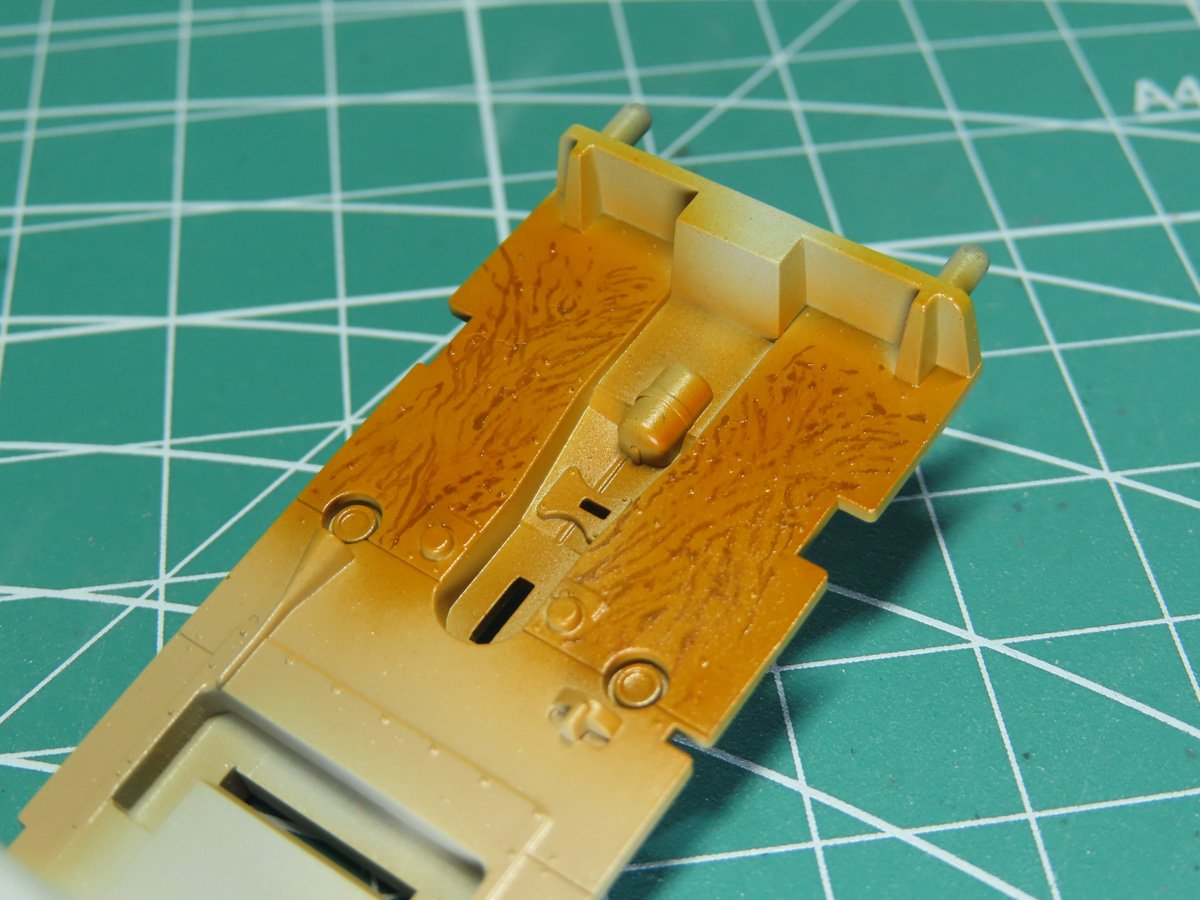
To replicate the varnish, I sprayed on a few thin layers of Tamiya X-26 Clear Orange.
The color could also be a lot lighter than this, and it depended on the Mustang. If you prefer a lighter color I would suggest using Tamiya X-24 Clear Yellow.
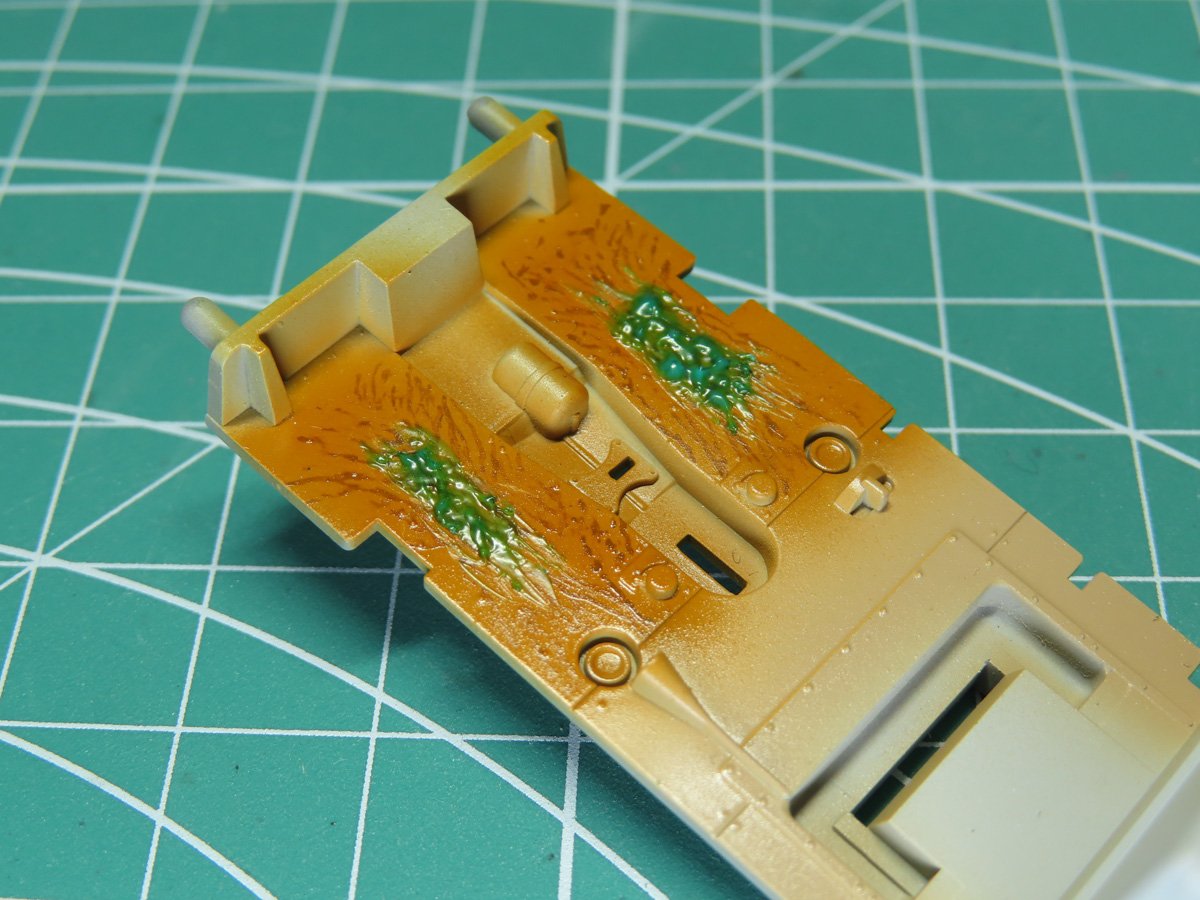
To mask up the wood, I applied Mr. Masking Sol Neo. And to create the scuffed pattern, I used my new Rubber Tipped Brushes from AK Interactive AK 9088.
I purchased these on my last Sunward Hobbies order, and I end up using these brushes all of the time and for things I wouldn’t normally consider, like moving decals around or here spreading the Masking Sol Neo. I’d highly suggest adding these to your next order.
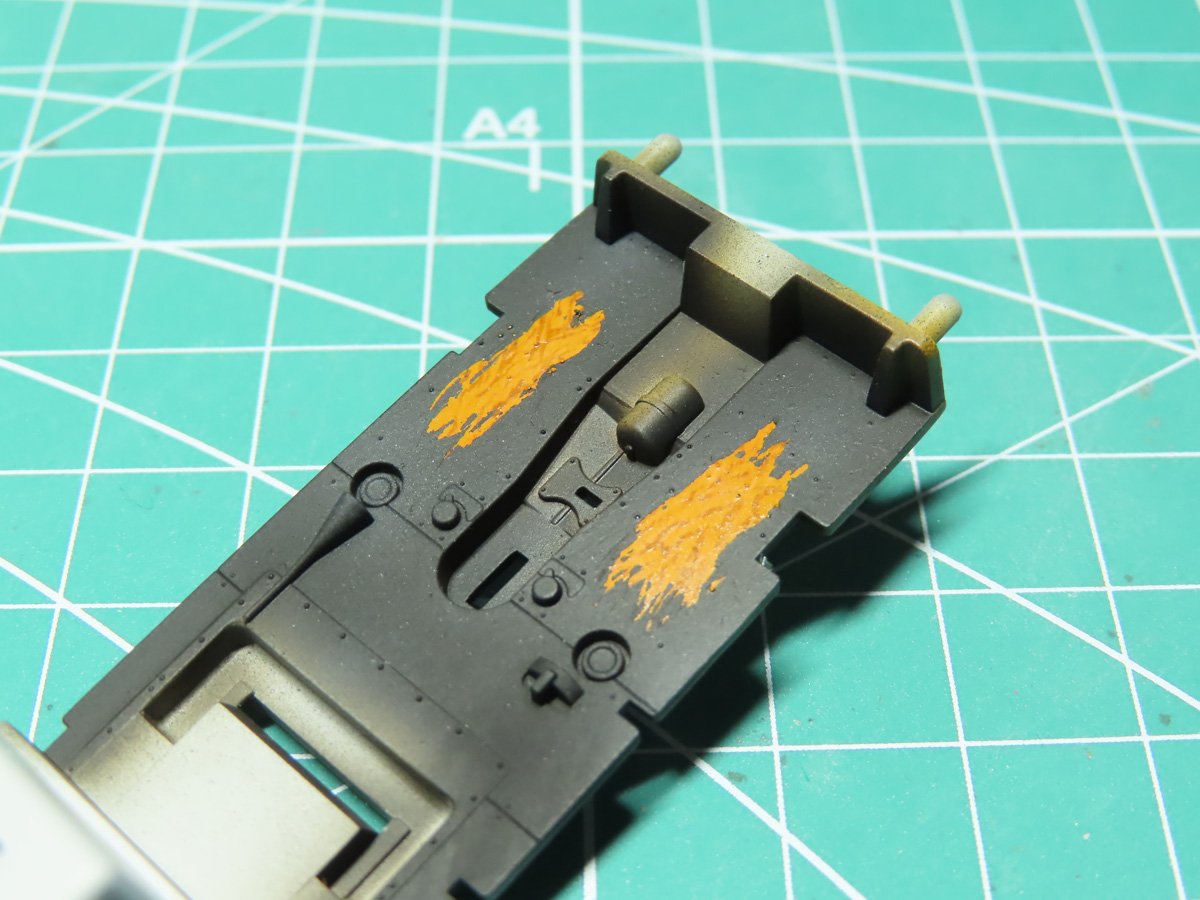
I painted Tamiya XF-1 Flat Black to replicate the anti-slip on the floor. I then lightly spray some very thin XF-19 Sky Gray to give a more faded appearance.
When the paint had dried, I removed the Mr Masking Sol Neo to reveal the bare wood.
I’m really pleased with this result and impressed with the effect those Rubber Tipped Brushes provided.
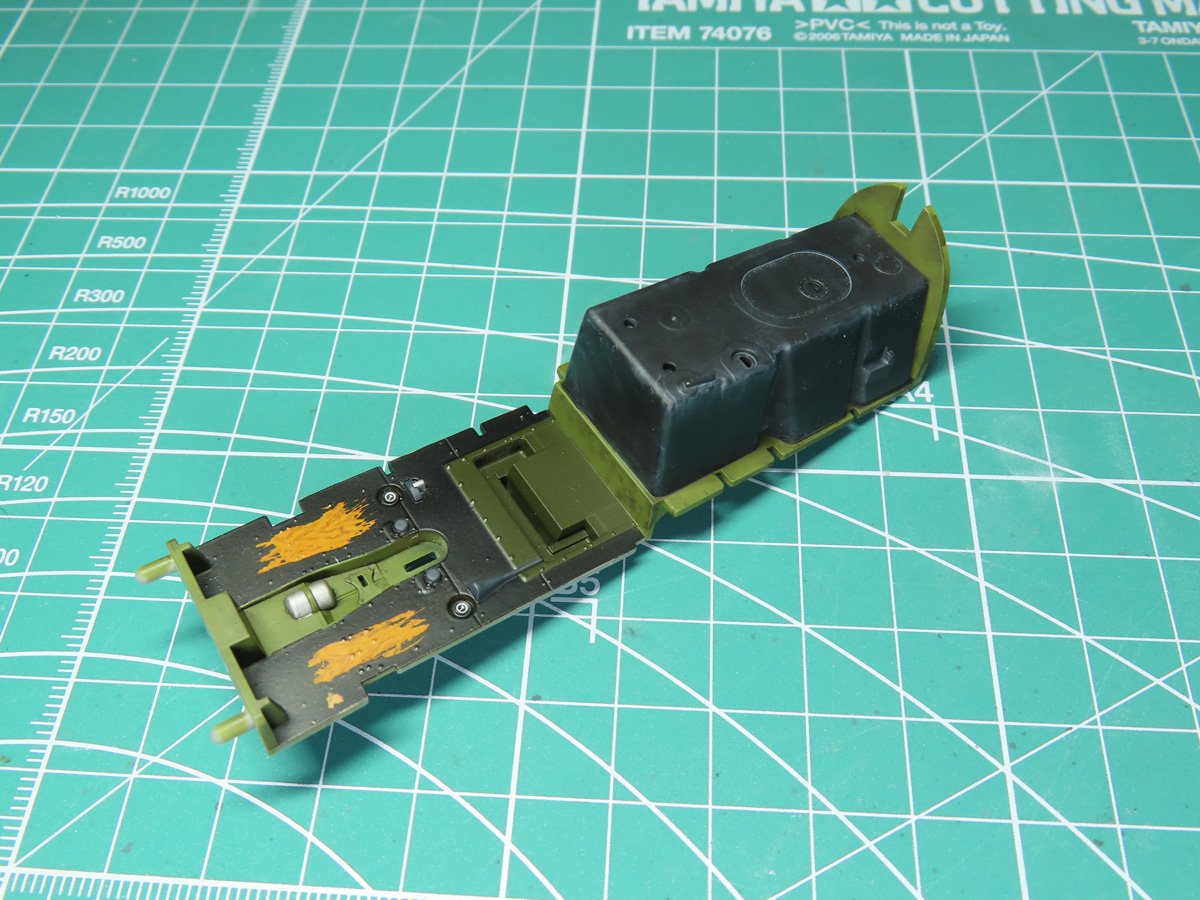
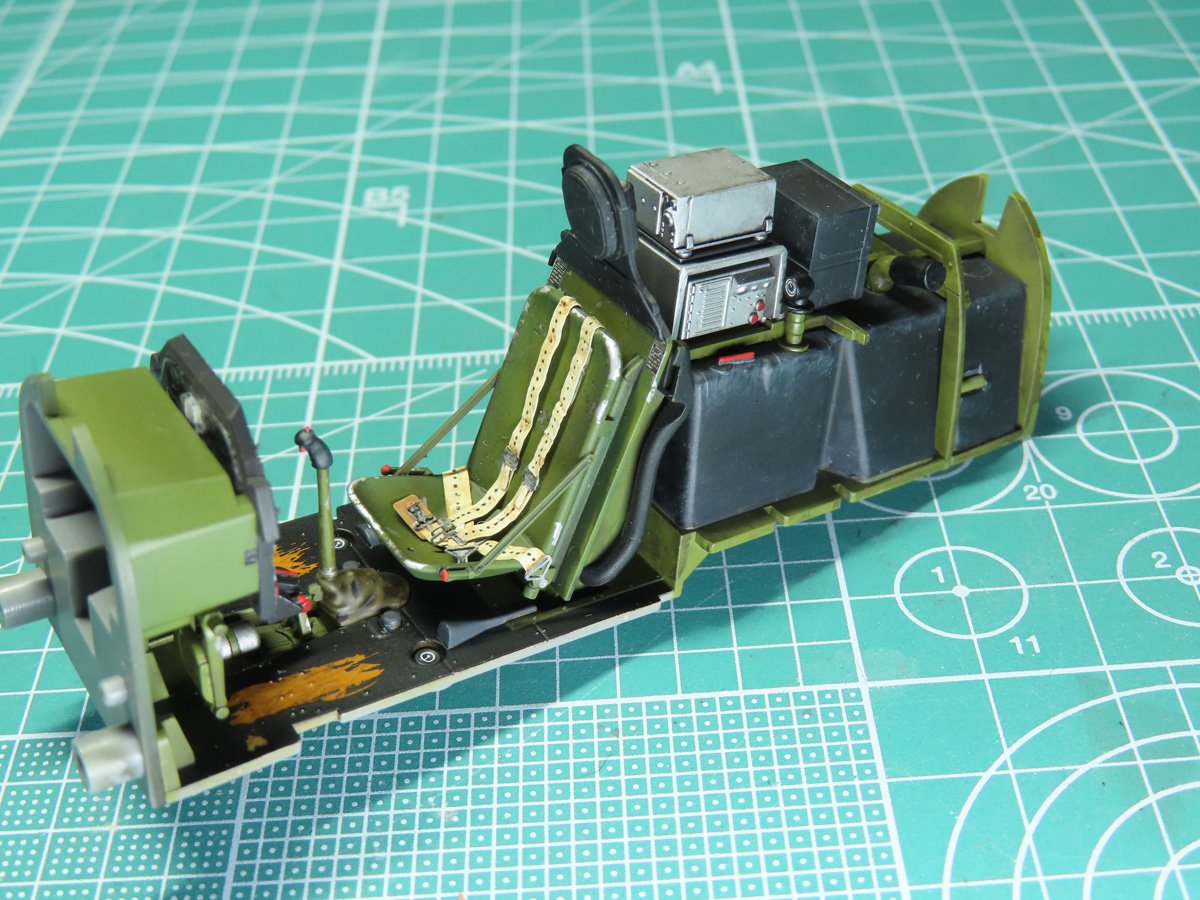
Now it was time to paint the rest of the cockpit floor. The section below the seat was painted with Tamiya XF-62 Olive Drab. And the fuel tank was painted with Mr Color 92 Semi Gloss Black, and given a light wash using Tamiya Panel Line Accent Color (Gray).
The rest was painted with Mr Color 351 Zinc Chromate Green, and weathered with Tamiya Panel Line Accent Color Dark Brown 87140.
For the fuel gauges on the floor, I used aftermarket decals, as these are sadly not included with the kit.
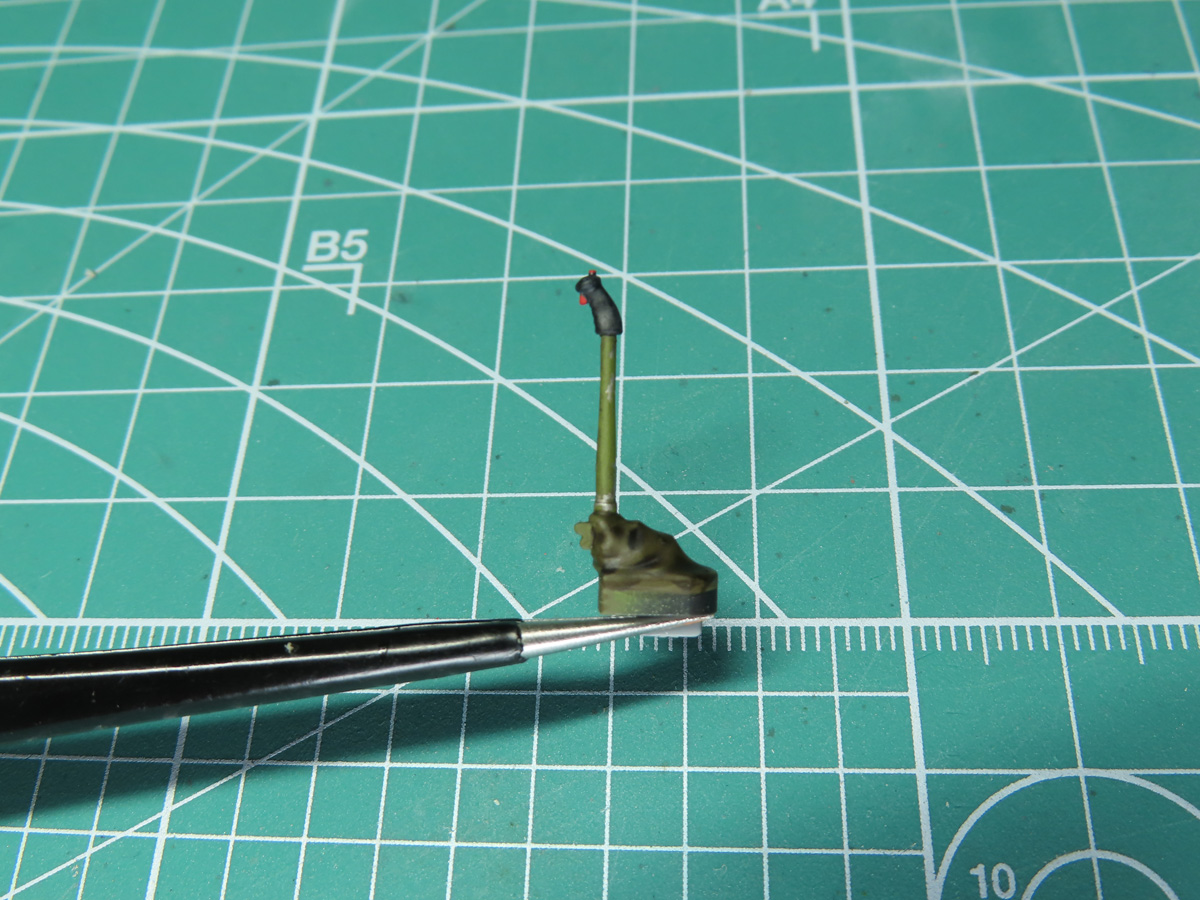
For the base of the control stick, I painted Vallejo US Olive Drab 70887, and covered it with Citadel Agrax Earthshade 24-15 to pool in the recesses of the canvas.
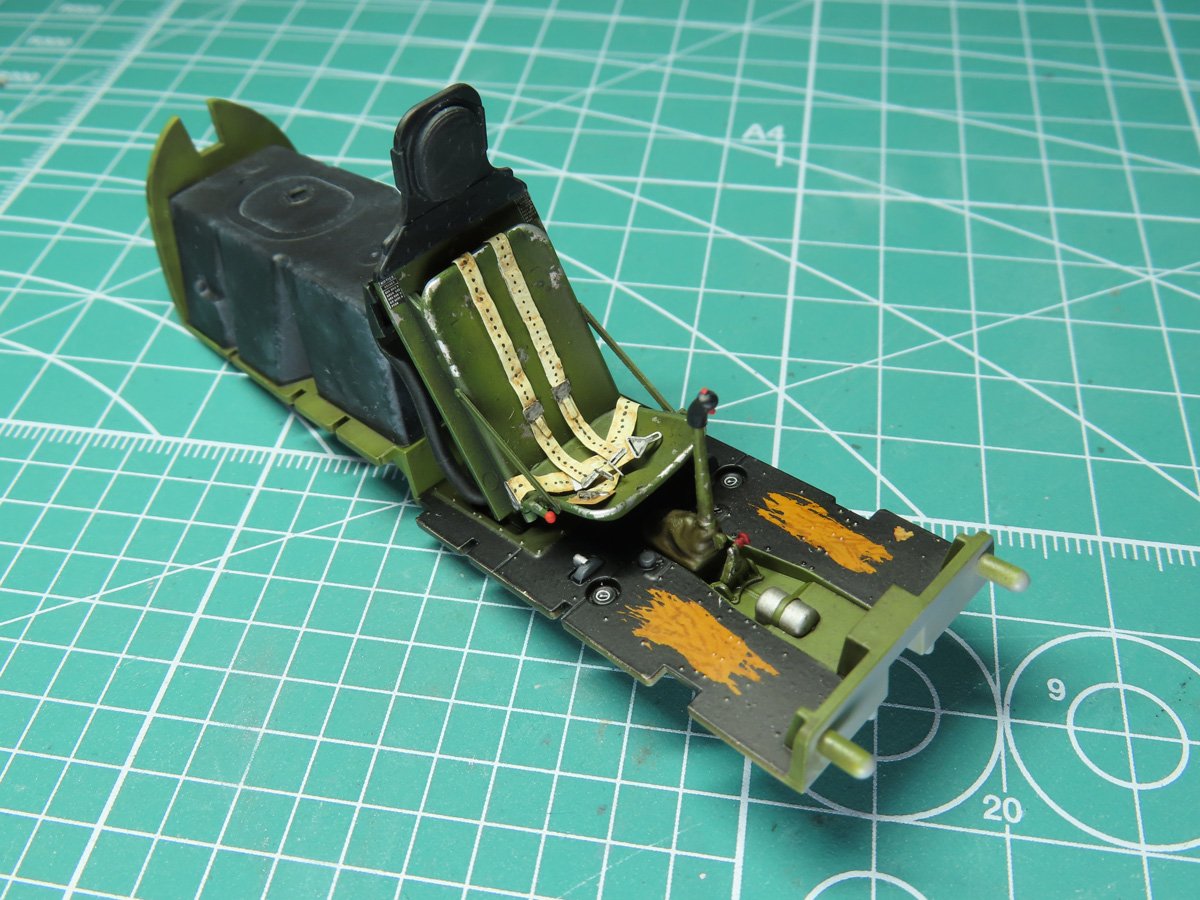
After the control stick was added, I carefully pressed the seat in place. I had to carefully wiggle the chair into place, but I think it looks great now that it’s set.
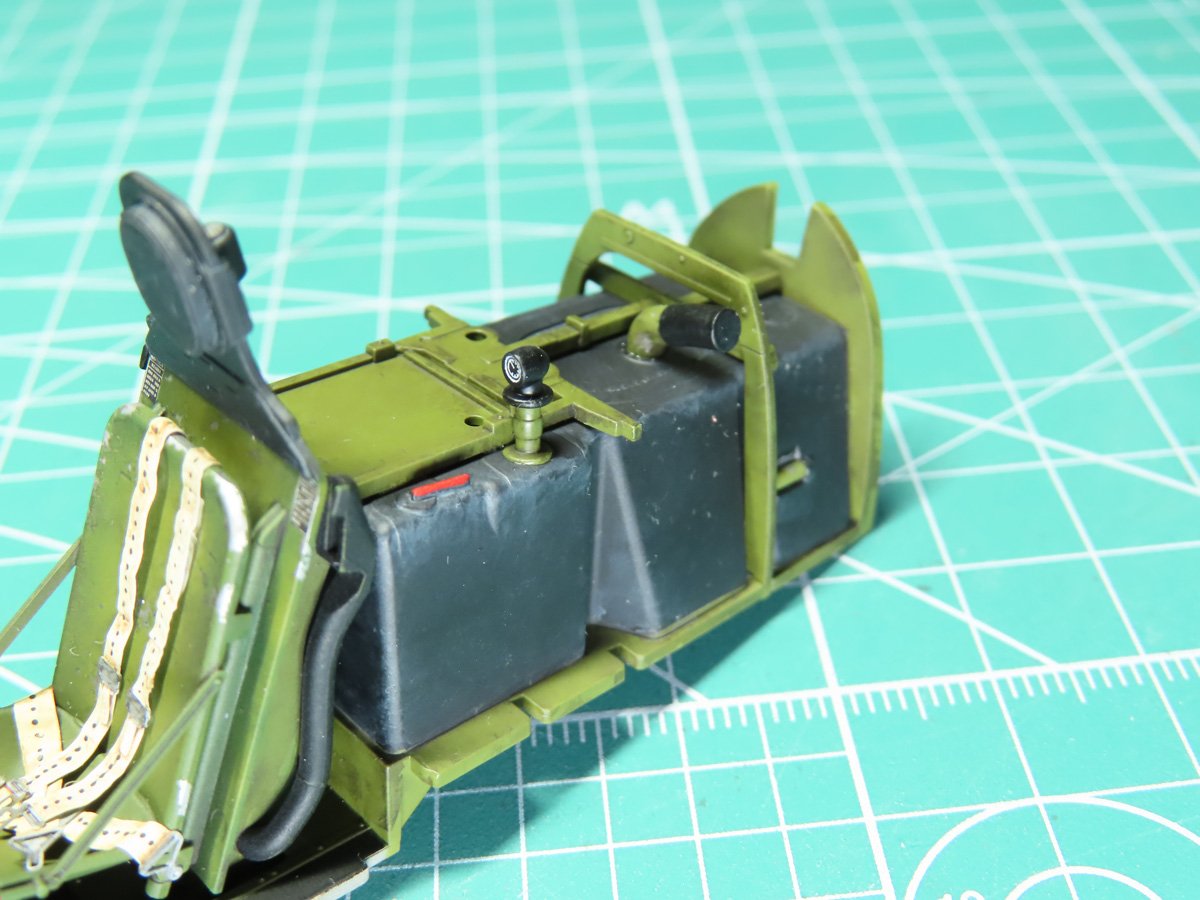
Now it was time to add the details on top of the fuel tank. The fuel gauge and hose easily fit in place. Once again, I added an aftermarket decal for the fuel gauge. It’s not totally accurate, but I think it’s pretty close. Lastly, I placed down the tray that will hold the radio.
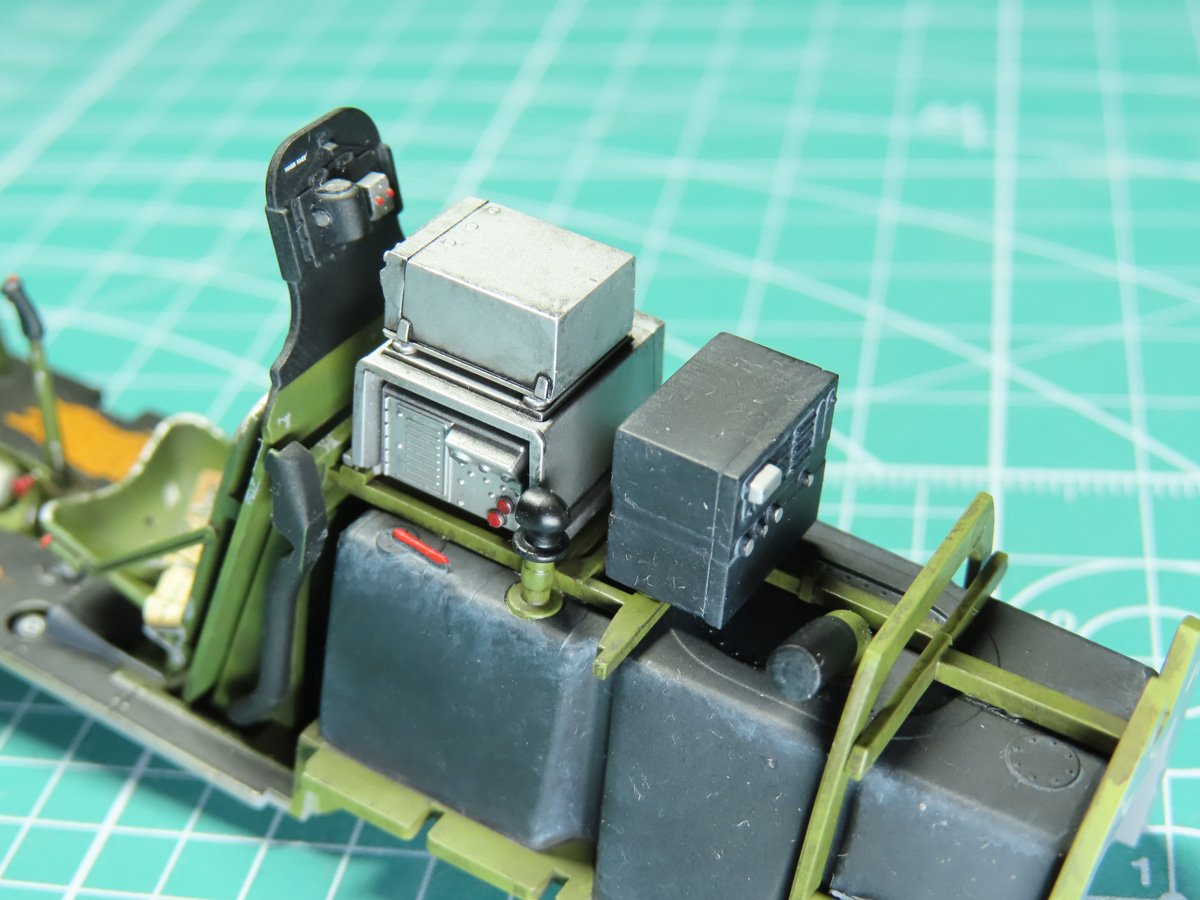
The radios were painted with Mr Color 8 Silver, and at this point, I would like to mention I don’t know if these exact radios are accurate for this version of the P-51.
As I researched online, I found conflicting reports on what radios were used, and I think many were citing Mustangs during WWII. One picture I found of a P-51 from 403 Squadron had a very large radio behind the seat, so I decided to use the parts from option A, and hope that I got it correct.
The instrument panel was added to the bulkhead along with the foot pedals. The pedals were first painted with Tamiya LP-72 Mica Silver and then coated with Mr Masking Sol Neo.
I applied quite a bit of Masking Sol Neo as I wanted the pedals to have a very worn-down appearance.
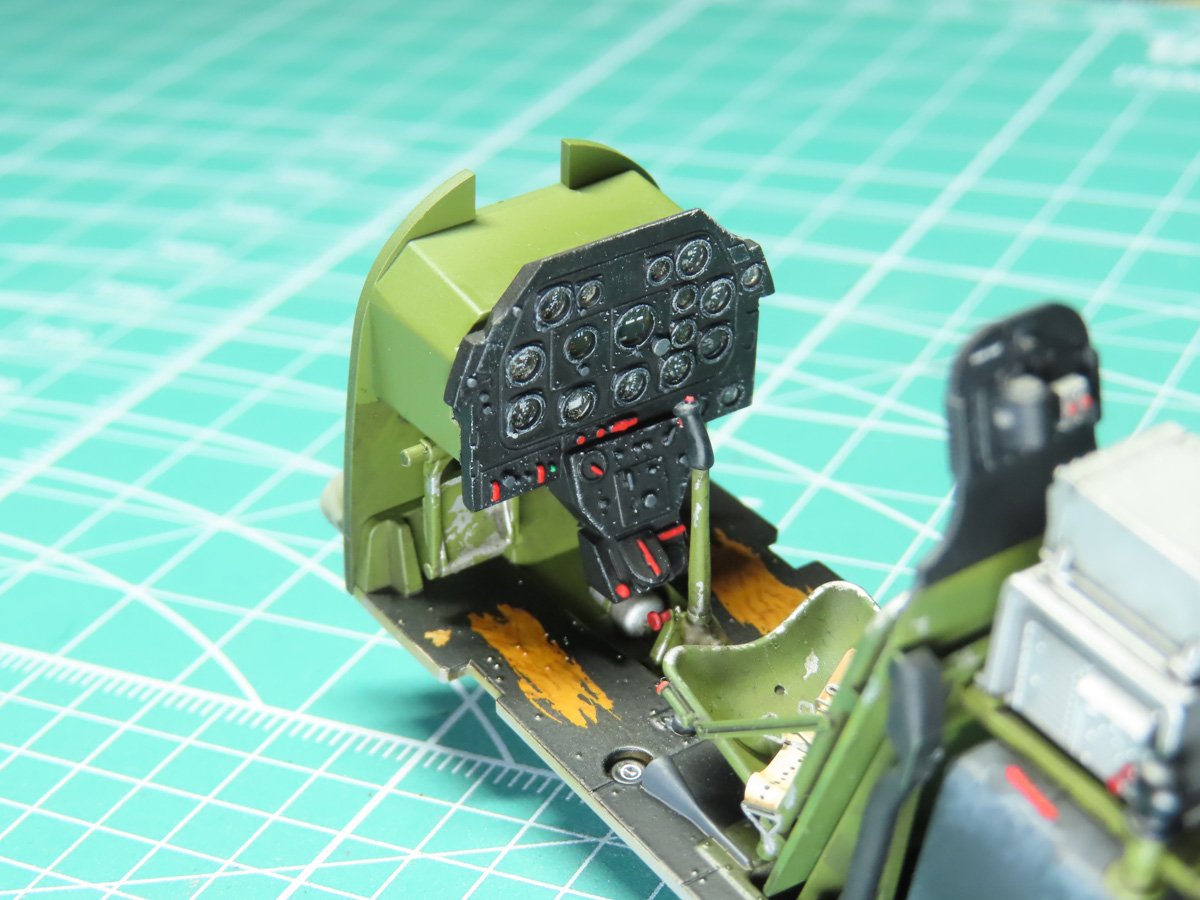
I temporarily set the panel in the front of the cockpit, and I think this is going to look great when you see it through the completed model. I particularly like how the scratches on the floor look next to the pedals.
There is a huge satisfaction in building these big-scale Tamiya kits, and I think a lot of that is the fact that the parts are so well detailed, and they are big enough that you will still enjoy them once the model is completed.
As I worked on the kit this week, I couldn’t help but think about Canada Day coming up, and all of the Canadian aircraft being flown across the country today in celebration. Perhaps someday we’ll see a P-51 from 403 Squadron.
I hope that you have a great Canada Day, whether with friends or family, or just alone in the solace of your hobby room. I wish you all the best.
Happy Canada Day!
To be continued…
About the Author:
Jared Demes is a modeler from southern Alberta. He has been building models since he was 4 years old when his Dad first introduced him to the hobby. He has written for several magazines including, Fine Scale Modeler, Scale Aircraft Modeling, Phoenix Scale Models, and others. He has an interest in all modeling subjects, with a focus on WWII Japanese aircraft and Science Fiction.
Jared has won several IPMS awards for his modeling, and currently operates his YouTube channel rebelsatcloudnine, where he showcases model builds and product demonstrations.