
Tamiya North American F-51D Mustang
This is the sixth part of the Tamiya North American F-51D Mustang Korean War 1/32 Scale 60328 with RCAF Markings.
I feel that I should start this post acknowledging the recent passing of Tamiya Chairman Shunsaku Tamiya. I was very saddened by this news as I’ve seen him in interviews before, most notably at the Shizuoka hobby shows, proudly showing the newest models in the Tamiya collection.
I recently purchased his book “Master Modeler, Creating the Tamiya Style”, and though I haven’t had the time to properly read through the book, so far, it’s been an impressive study into the Tamiya corporation. And to know that the excellence Tamiya strives for with their kits is because of people like Shunsaku, who are such fans of scale modeling that they want to create the best kits possible, not just for the consumer, but so that they can enjoy the models as well.
Working on this P-51, I can’t help but imagine that Shunsaku was delighted seeing such a kit come together. All of the planning and work that they put into creating such a precise and complicated model. Building something new and radical that the modeling world hadn’t seen yet. Constantly pushing the boundaries of what scale modeling could achieve.
That’s the Tamiya legacy for you.
We’ll start by building the inner section that will hold the radiator. This is one of two flaps you will need to build, and it will likely be the most difficult part of the build. These flaps are designed to fold downward in an open position, and there is a small metal rod under the etched plate that allows the T-shaped arm to sway.
I strongly suggest using some sturdy Excel Hobby tweezers to hold the parts, and some slow acting BSI CA Glue, or UV Glue, to allow you proper time to get all of the parts in place.
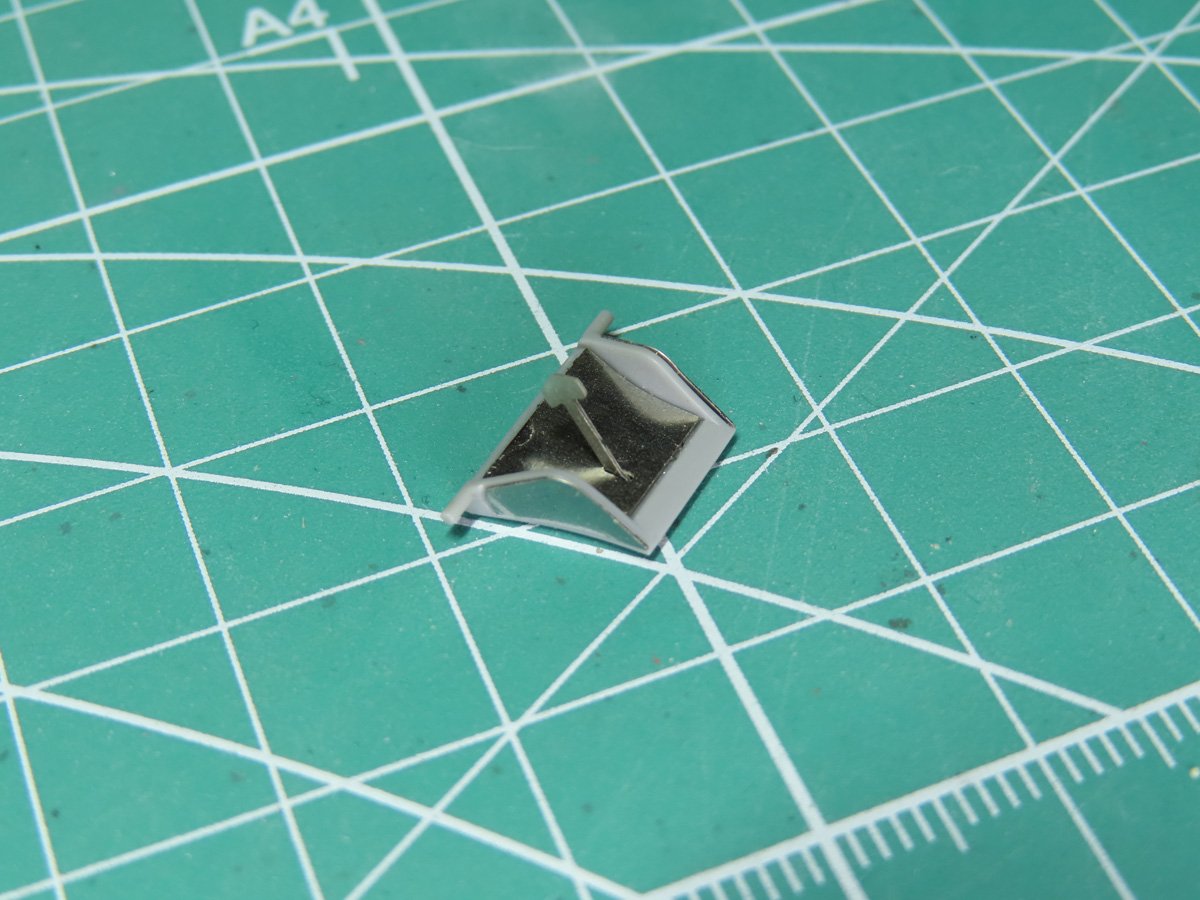
I painted the insides of the radiators with Tamiya XF-56 Metallic Grey, and then I painted on Tamiya Panel Line Accent Color Black 87131 to highlight the details. These 3 sections were then masked off and the frames were painted with Mr Color 8 Silver Metallic.
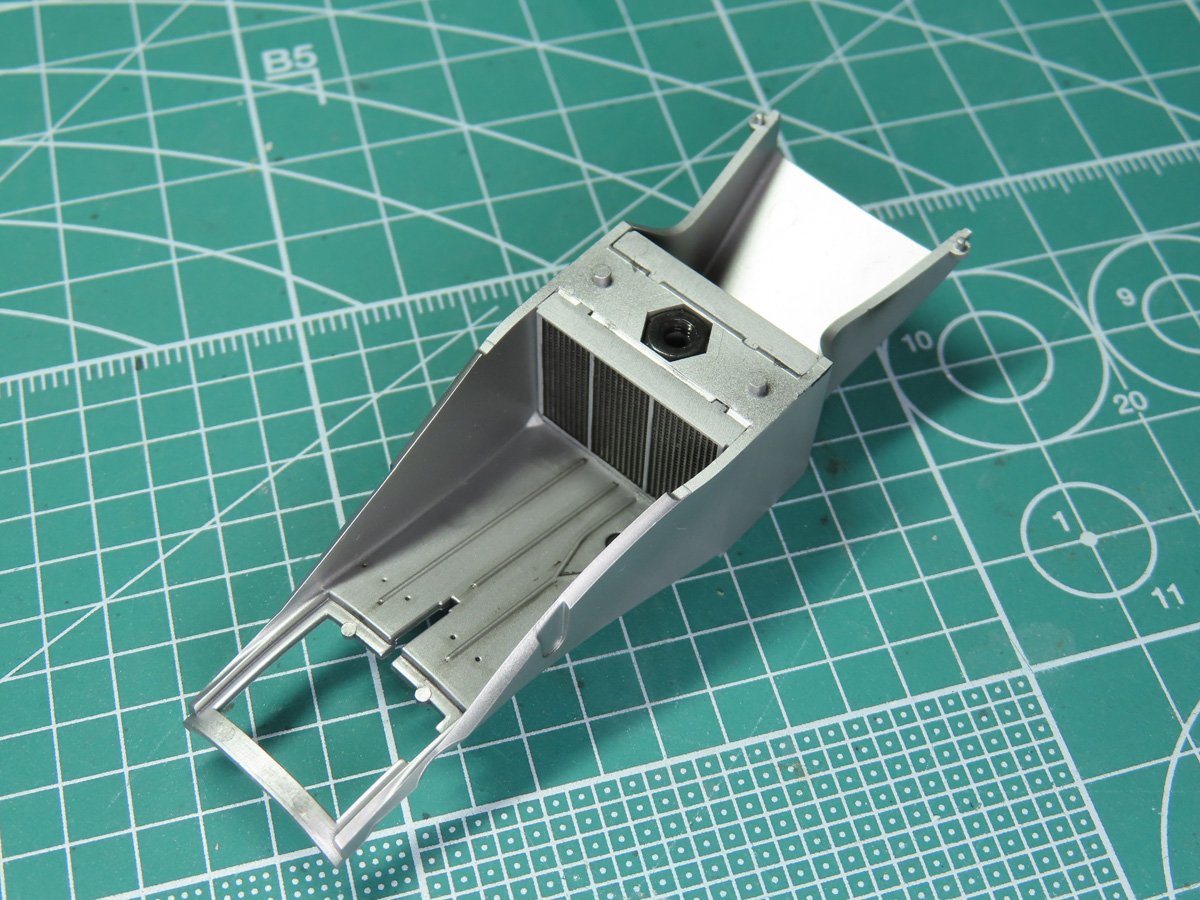
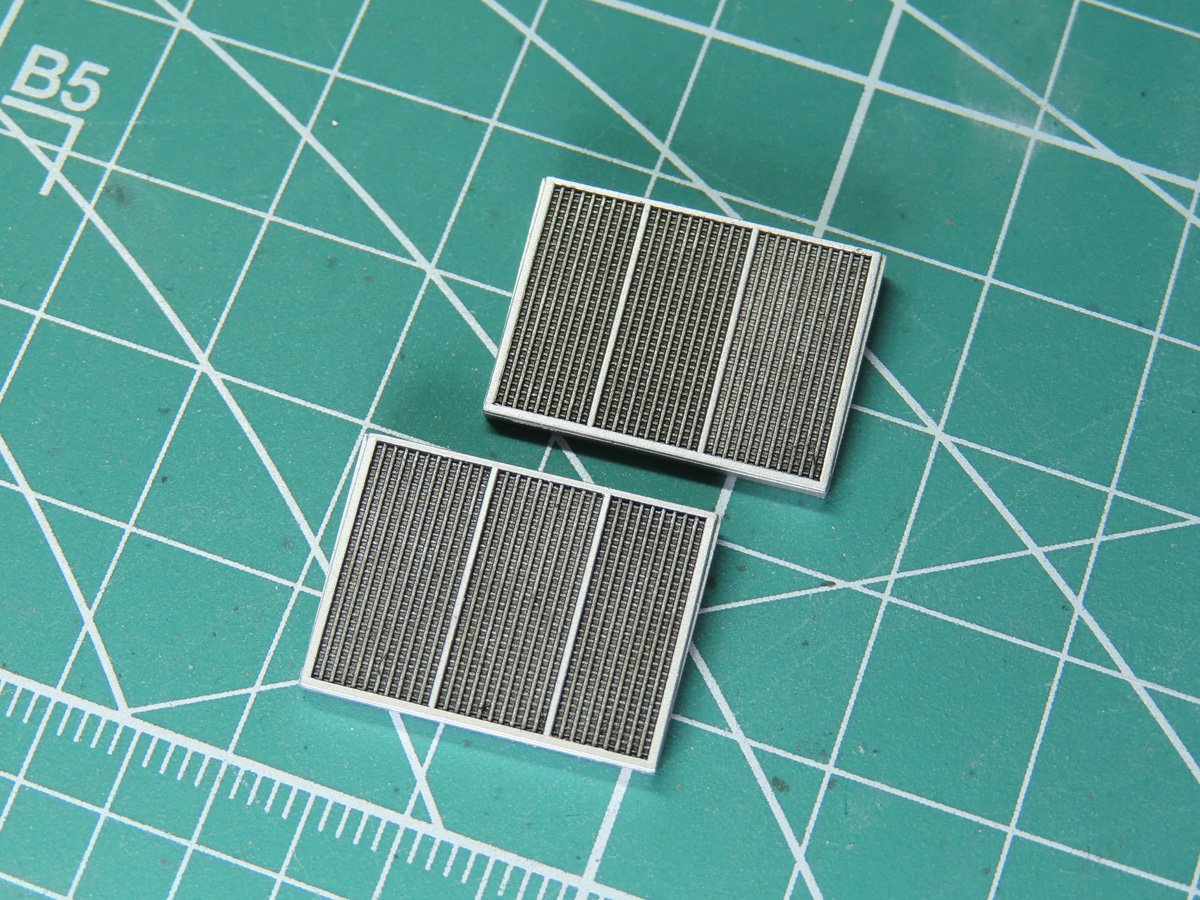
Here is the housing piece for the radiators. I’ve added the radiators inside, and you can see the exposed outer section of the Mustang. I first primed this section with Mr Finishing Surfacer 1500 Black, and then painted the main exterior silver Tamiya AS-12 Bare Metal Silver. Lastly, I added a bit of a black wash to further highlight the details.
I painted these parts now, as it would be difficult to do later on in the build. It’s also important at this stage to add the small nut to the center section. This part is very important later on to fix the model to the display stand.
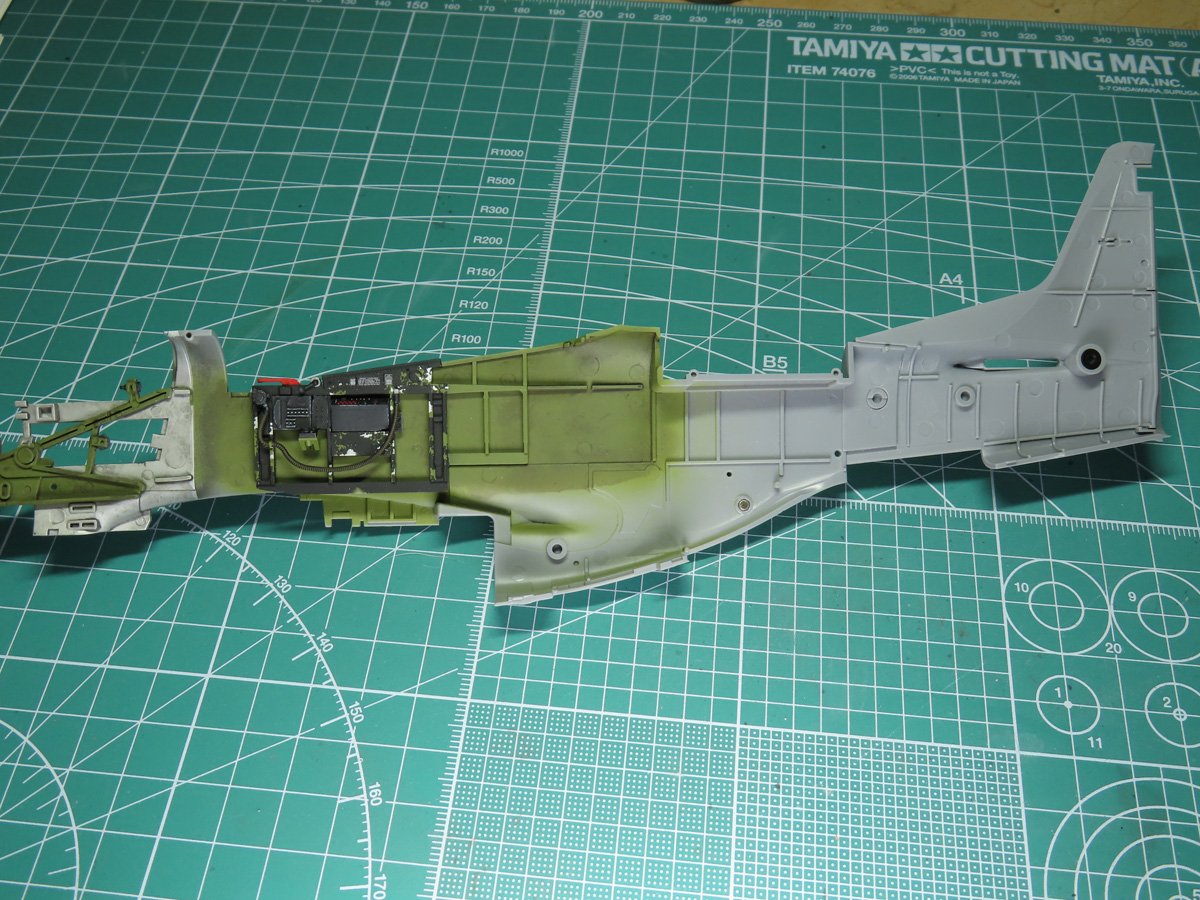
With the radiator section completed, it’s now time to finally assemble the fuselage. I started by adding the tail sections, and on this side, you will need to add the small polycap to the back, which will allow you to pivot the elevators. Be careful, as this polycap likes to fall out.
Next, I glued on the sidewalls, and here you’ll need to pay attention that they are glued flush with the fuselage.
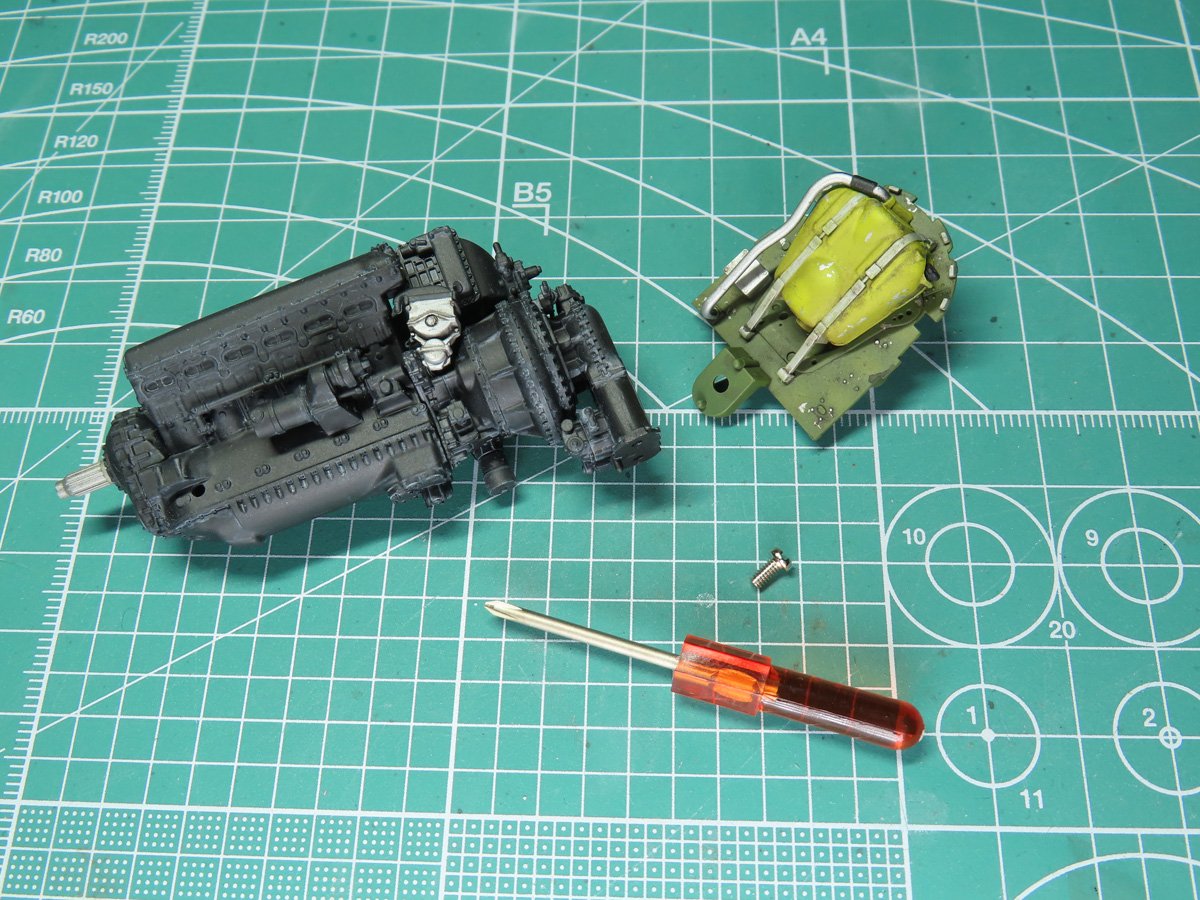
Now I’ll use the small screw to attach the firewall to the engine. Tamiya even include a small screwdriver.
I’m working a bit out of order from the instructions here, but I’ve now glued the instrument panel bulkhead to the oil tank bulkhead.
Normally, the instrument panel bulkhead is first attached to the cockpit floor, but this allowed me to have a more secure fit without potentially damaging the cockpit sections.
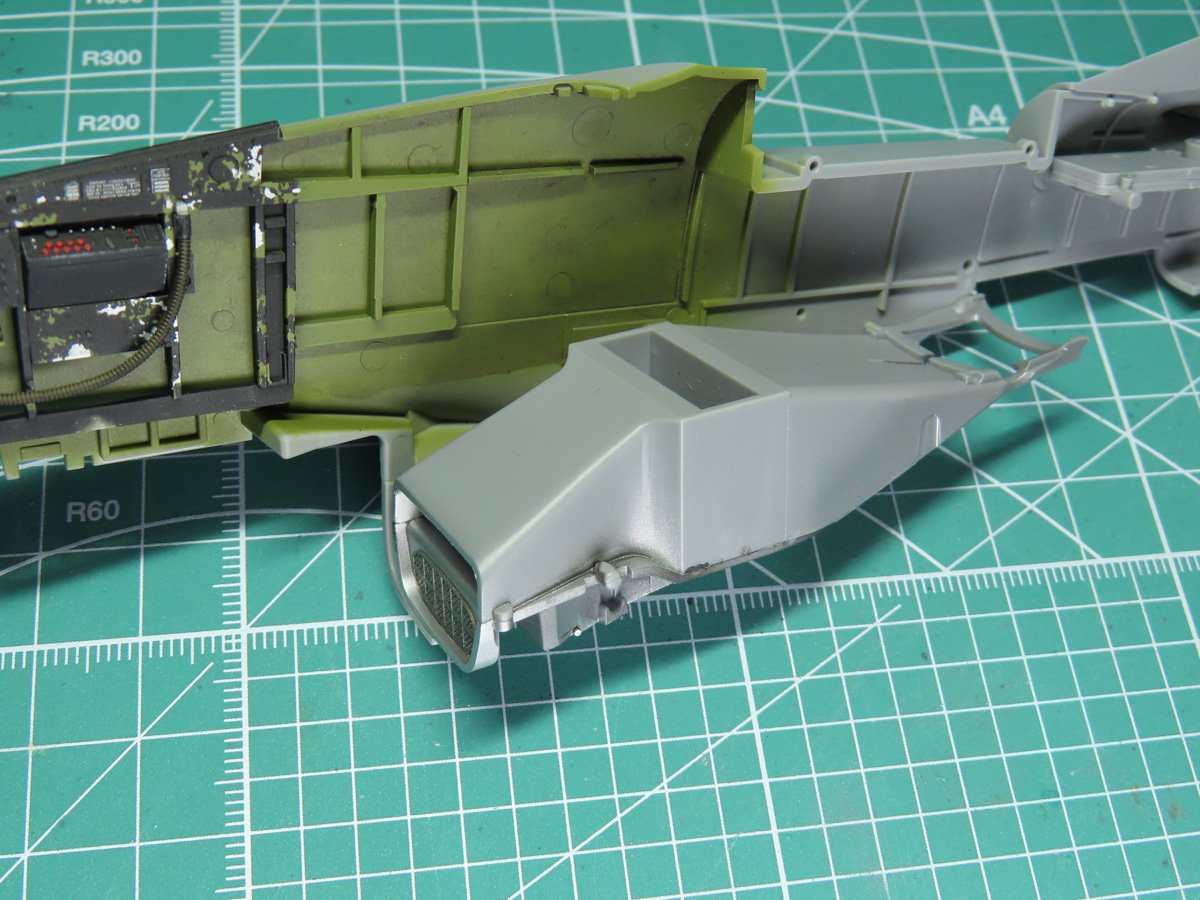
While the bulkhead dried, I glued in the radiator intake to the lower section of the fuselage.
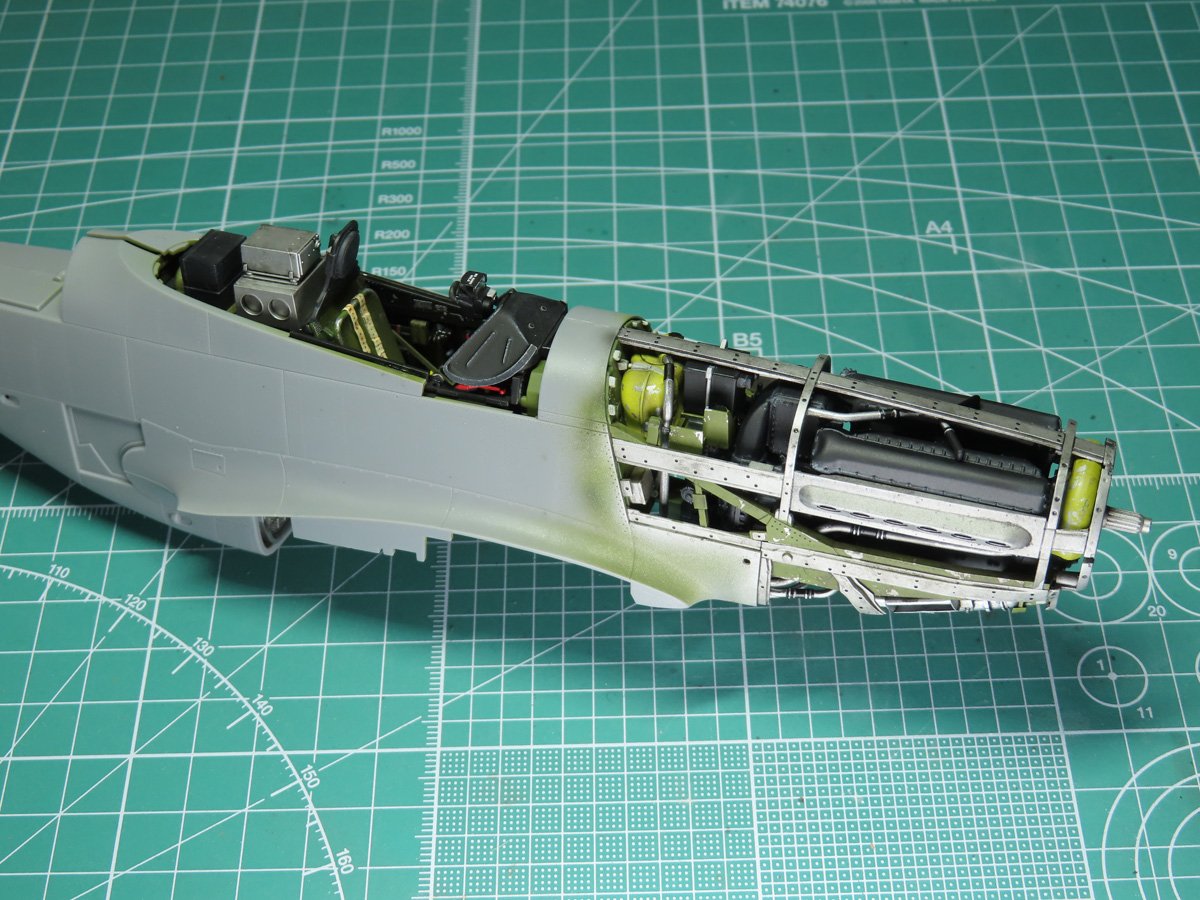
Now the cockpit was glued to the instrument panel. I find this stage of the build to be very impressive; everything fits together with amazing precision.
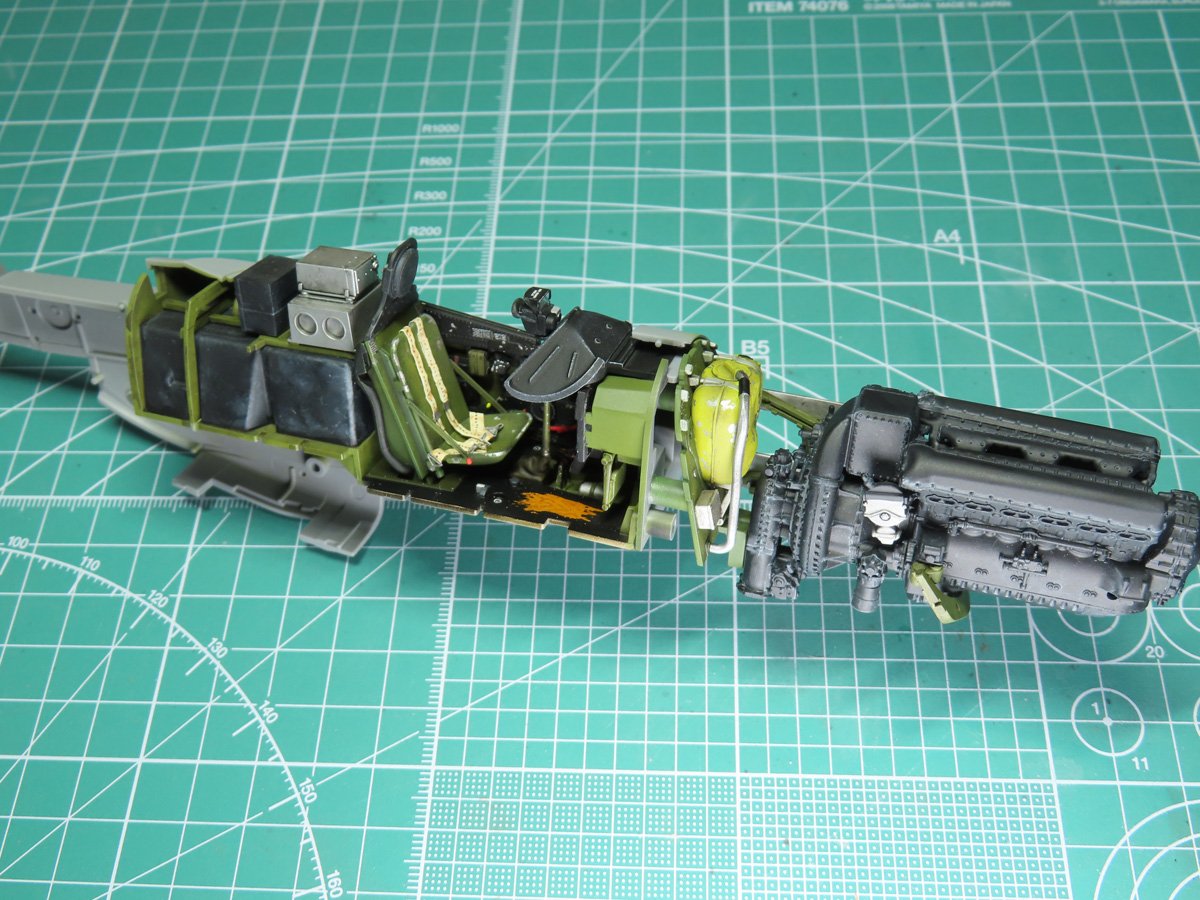
Before you add the cockpit, you first need to add a U bracket to the engine frame; this piece is painted green. Then you need to carefully place the engine inside the bracket, and the rest of the interior should slide into place. If you have any fit issues, check that the fuselage sidewalls are properly fitting into the grooves on the cockpit floor.
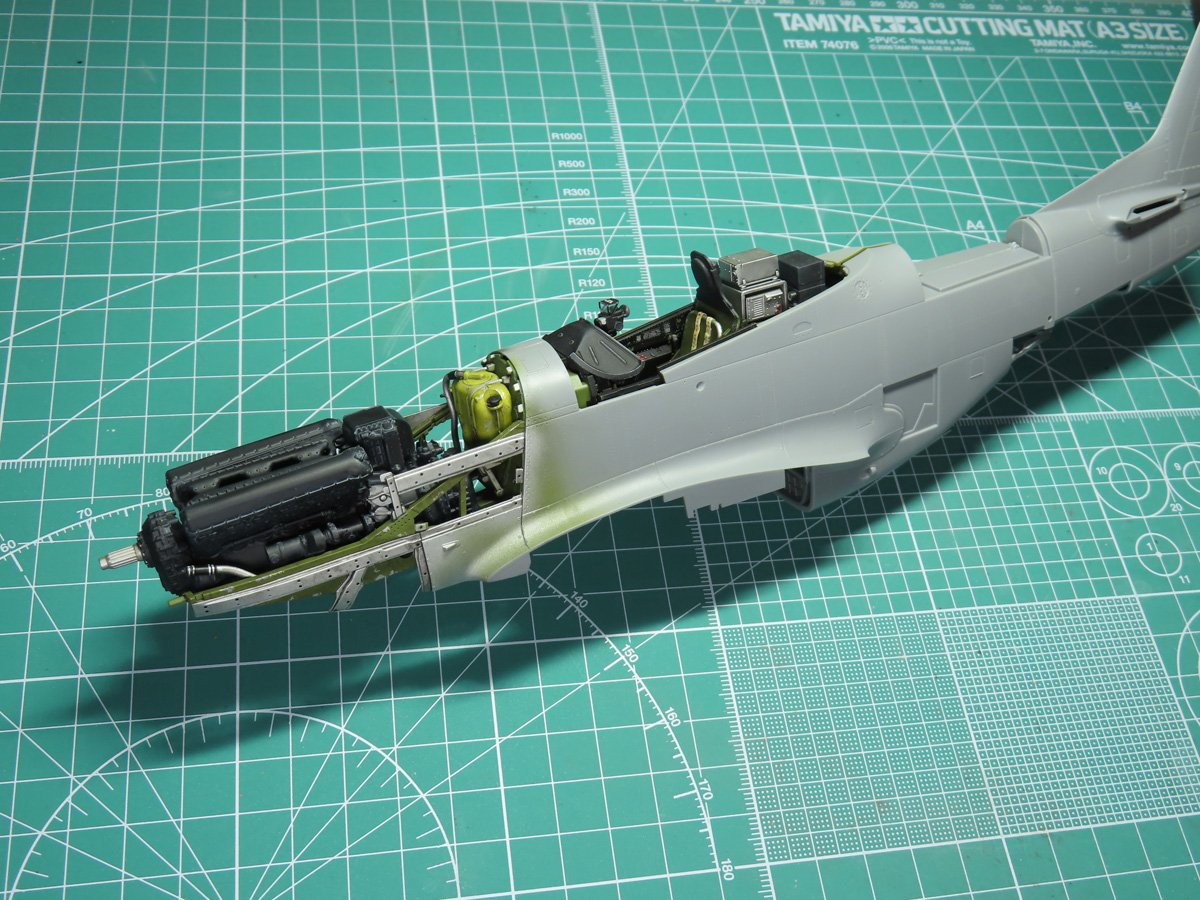
Now I could merge the fuselage halves, and I have to say things went together with ease. I was now able to glue the fuselage together using Mr. Cement SP. I glued in small sections to make sure that everything fit properly.
I made sure that the cockpit floor and bulkheads were well cemented and ensured a tight fit to these sections
This next step in the build is critical as the fit needs to be tight; this will avoid any gaps in the cowling sections later on.
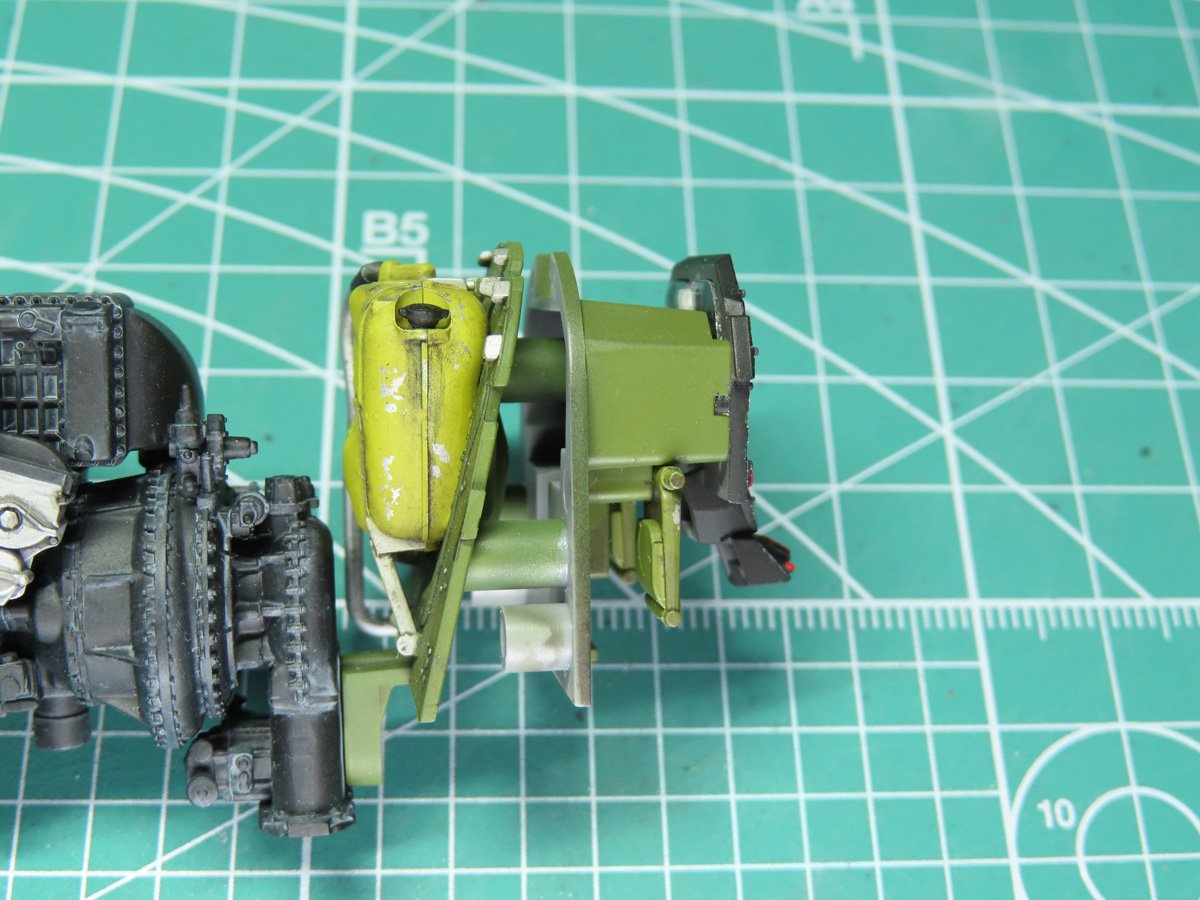
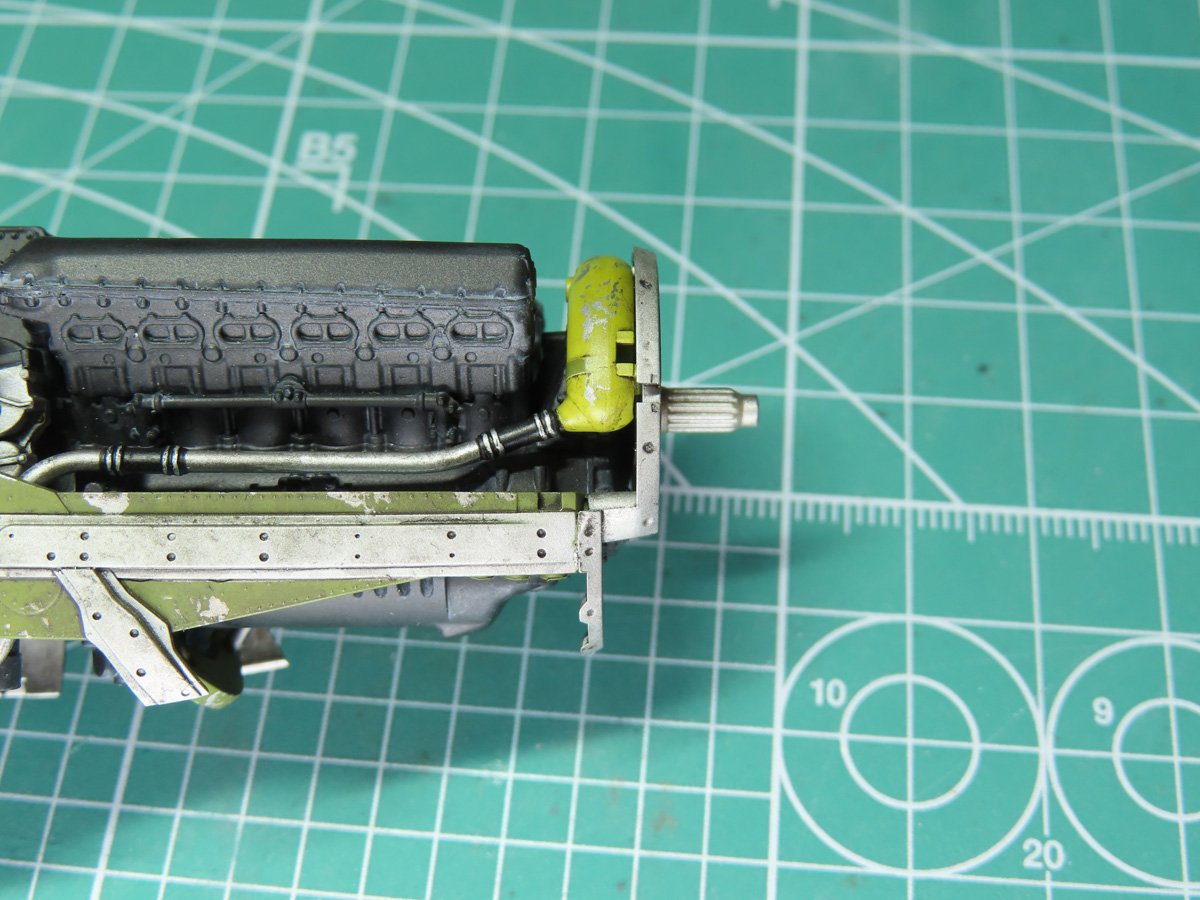
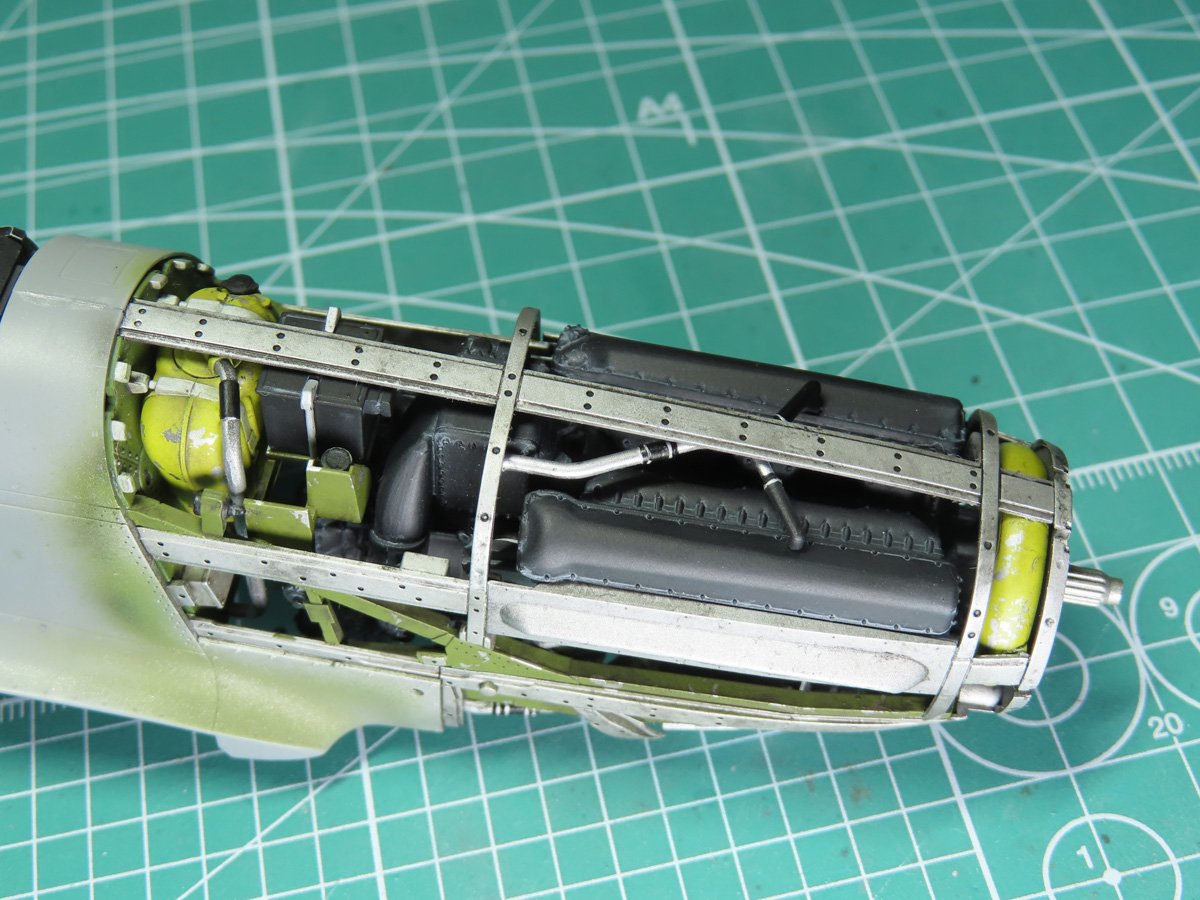
Part V22, which is part of the engine frame, fits around the engine and into the sides of the engine frame. You need to make sure that it’s pushed into the pegs as far as it can go, and I would suggest holding this part while it dries.
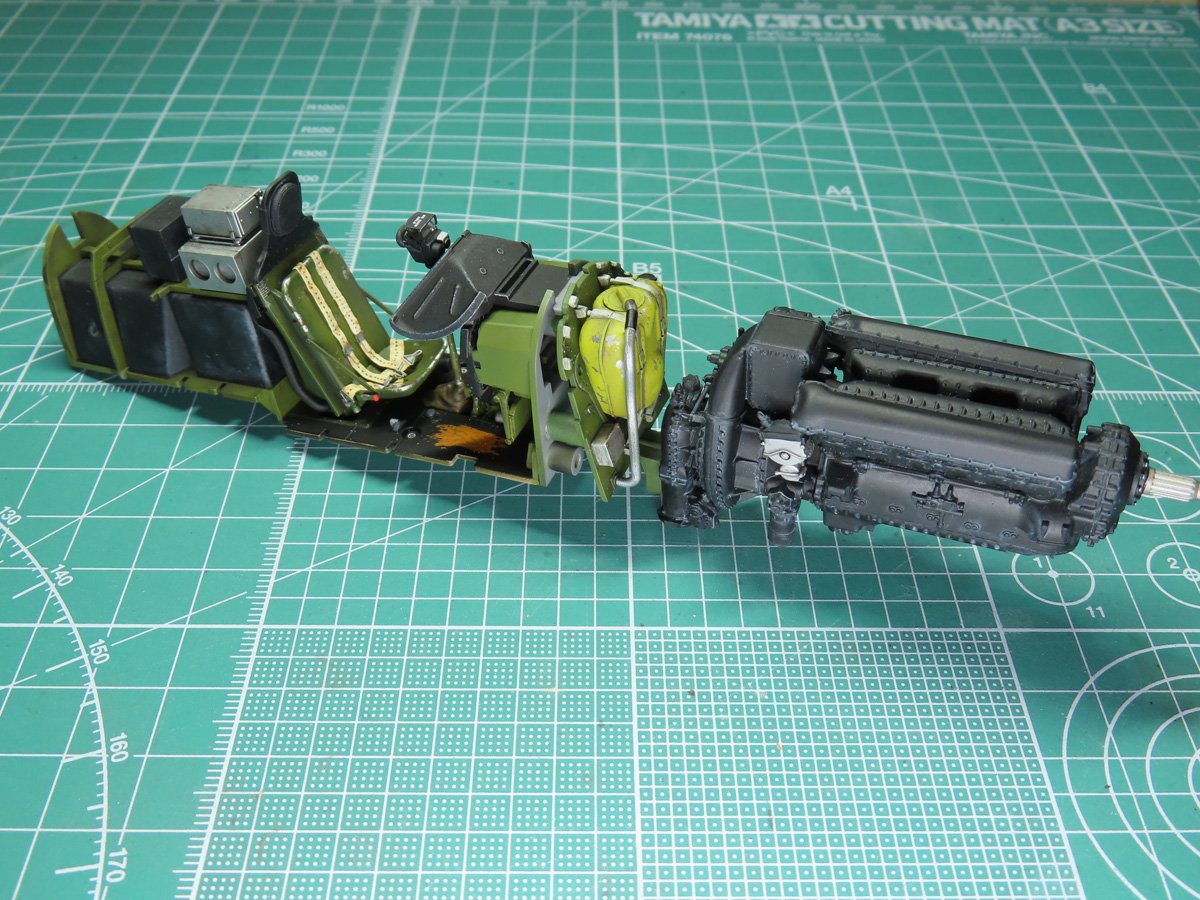
The engine header tank, painted with Tamiya XF-4 Yellow Green, should easily fit into the pipes on either side of the engine.
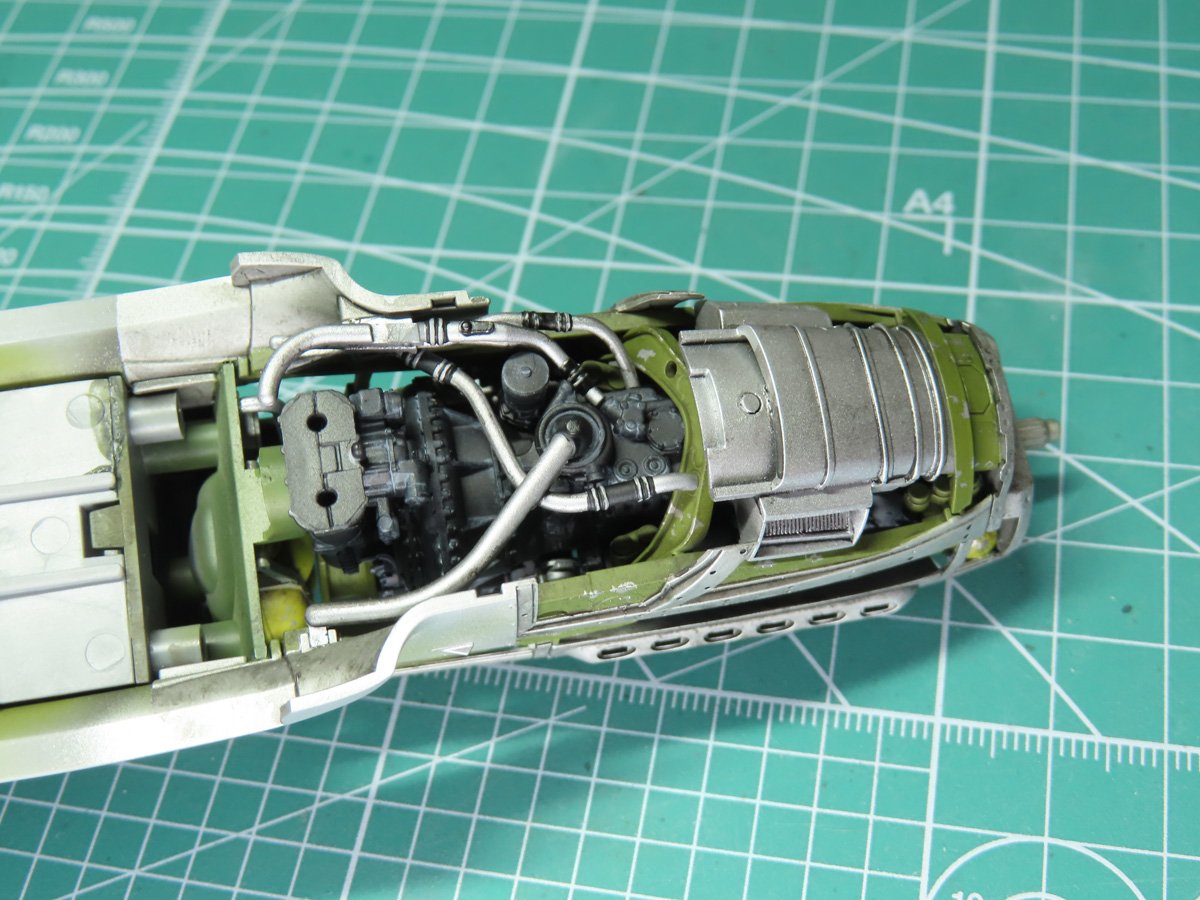
Moving to the underside of the engine, you now need to add the various tubes. Sadly, a lot of these won’t be seen on the completed model once the rest of the lower intake is added.
Back to the top of the engine, I added the battery between the engine and oil tank, and then the engine frame was placed over top.
It’s kind of strange now, for a few weeks I’ve had all of these parts collected in boxes, and now they are all together properly assembled.
This stage of the build is the most challenging. A lot can go wrong if you aren’t careful. And this happened to me years ago with my first build. When I put the fuselage together, I was a bit too nervous, and I broke the pin on the oil cooler flap.
But it can be the most rewarding as well. You look at all of those parts and think that they can’t possibly fit together, and then like magic, you’ve got a completed fuselage!
To be continued…
About the Author:
Jared Demes is a modeler from southern Alberta. He has been building models since he was 4 years old when his Dad first introduced him to the hobby. He has written for several magazines including, Fine Scale Modeler, Scale Aircraft Modeling, Phoenix Scale Models, and others. He has an interest in all modeling subjects, with a focus on WWII Japanese aircraft and Science Fiction.
Jared has won several IPMS awards for his modeling, and currently operates his YouTube channel rebelsatcloudnine, where he showcases model builds and product demonstrations.