
Tamiya North American F-51D Mustang
This is the seventh part of the Tamiya North American F-51D Mustang Korean War 1/32 Scale 60328 with RCAF Markings.
I thought that I’d post a few pictures of last week’s work, so that you can see how many of the details are visible before the canopy sections are added. To be honest, I wasn’t too sure how well the etched steel seat belts would look, but I’m very glad I decided to use them, as they turned out a lot nicer than I had expected.
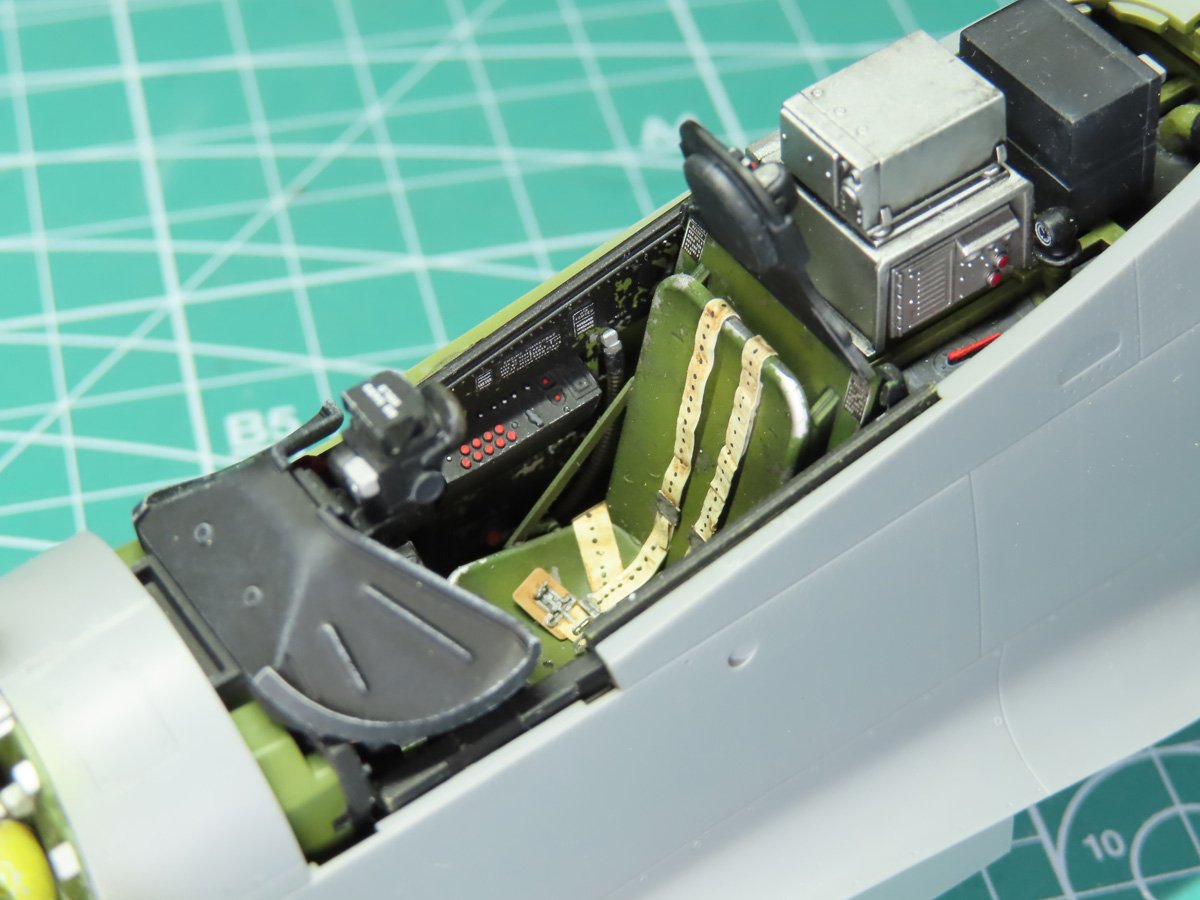
When painting cockpit details, I like to try and use brighter colors, like the red buttons you can see on the radio controls. This will help them to stand out more in the crowded space.
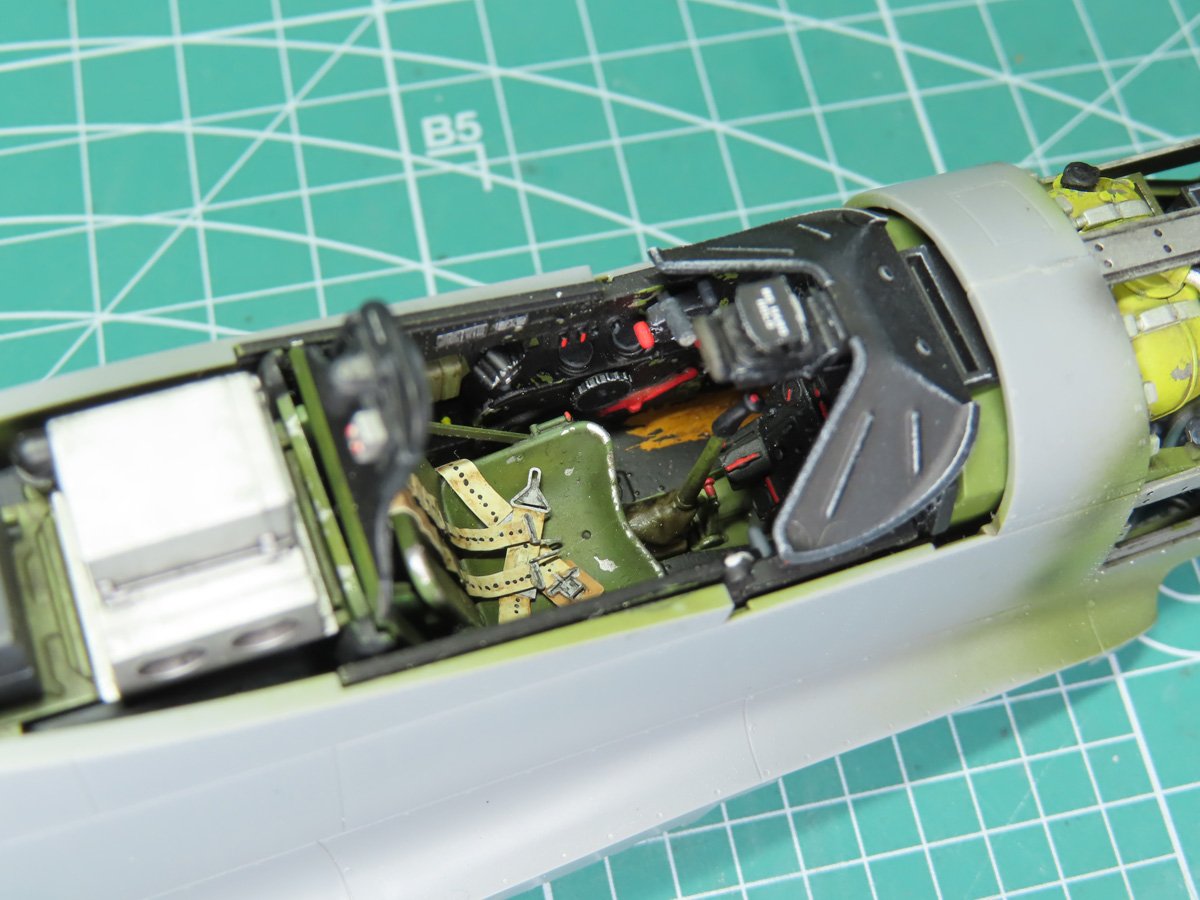
One section that really stands out when you look inside is the sections of the worn-down floor. I really like the feeling of use that it gives to this Mustang. Also, the chipped sections of black paint that reveal the Zinc Chromate Green.
I had contemplated adding the seated pilot to this build, and I’m glad that I decided against it. I do think it would be fun to add a pilot someday, but I can’t get over looking at all of these fantastic details that Tamiya have beautifully replicated.
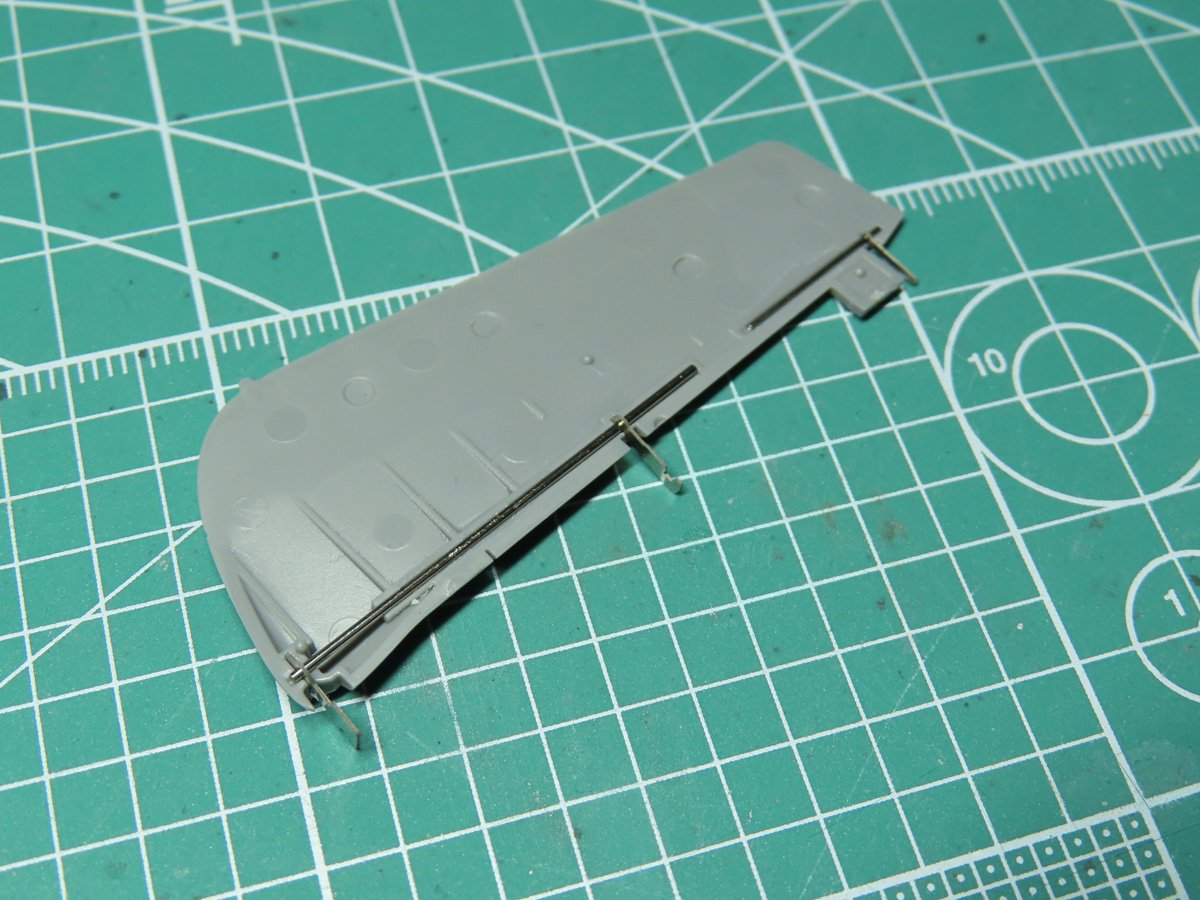
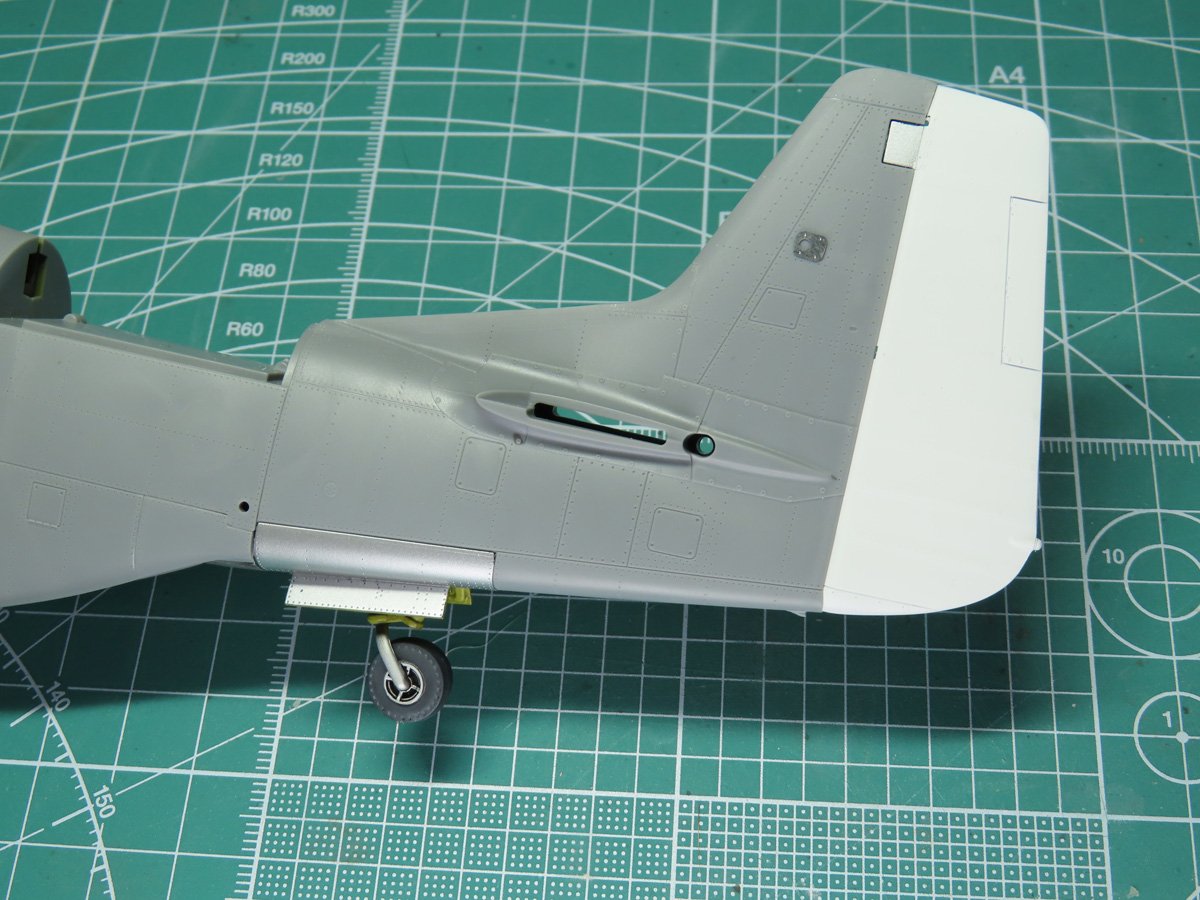
This week, we’ll be working near the rear end of the aircraft. Starting with the rudder. The rudder, along with the other control surfaces, is designed to be movable. To allow this function, Tamiya has included thin rods and small photo-etch brackets that will fit into the model.
These can be fussy to fit into place, so I used a tiny amount of BSI Cyanoacrylate CA super glue to hold down the rods. I placed a small drop of super glue on the end of a cockpit stick, and this allowed me to easily guide the glue along the rods. After that, I was able to add the other half of the rudder.
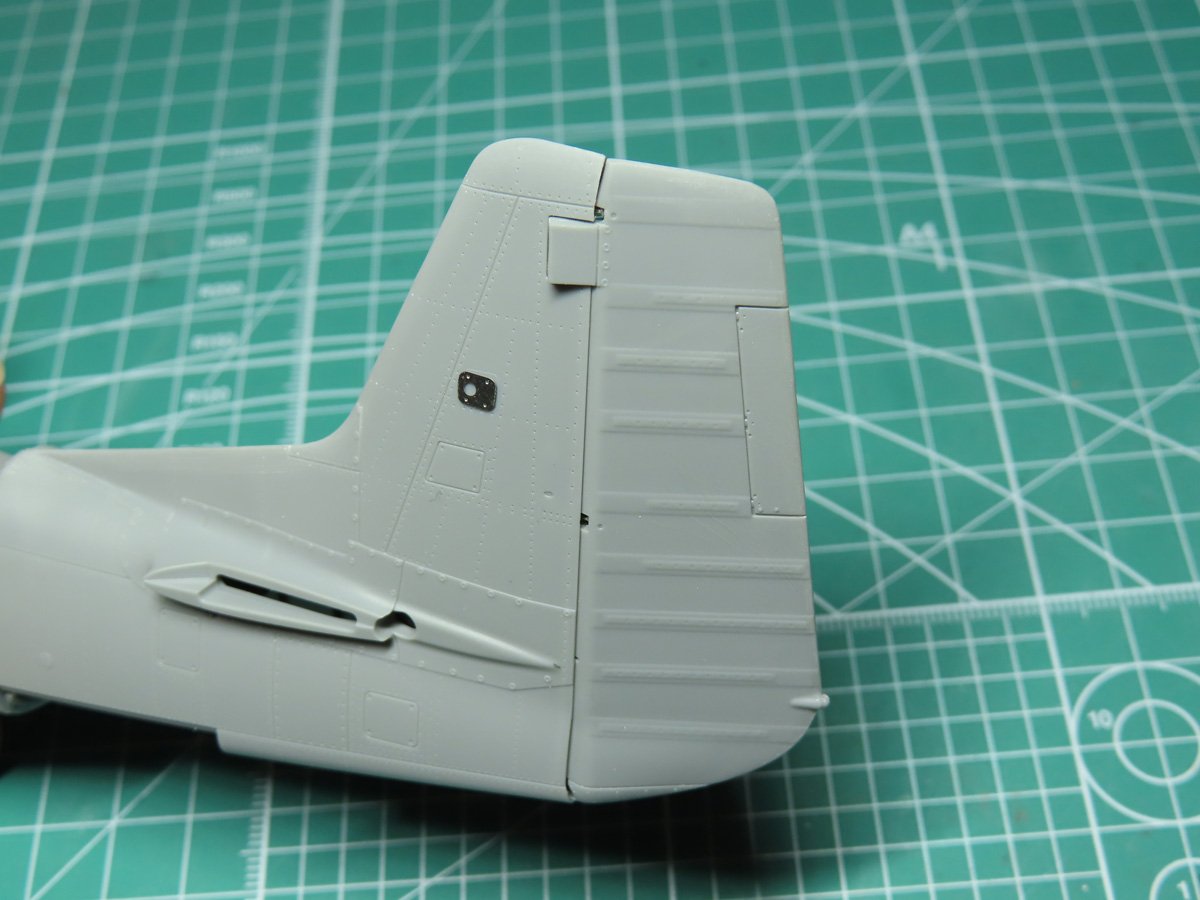
I’ve placed the rudder into the model to test the fit of the parts. Everything fits well, and the rudder can easily sway side to side. I’ll be leaving this and a few other parts off the model until it’s near completion, as it will make things like painting and applying decals easier.
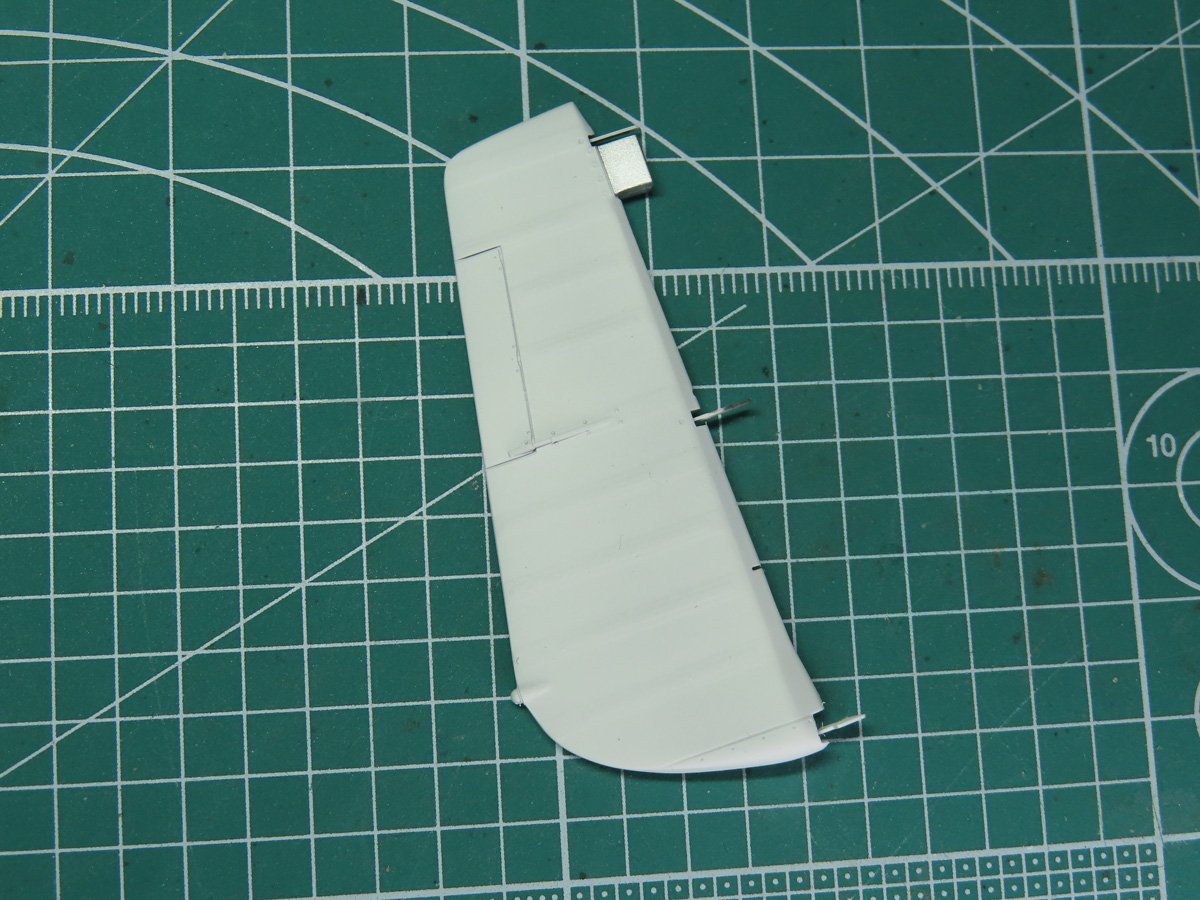
I started painting the counterbalance on the rudder with Tamiya AS-12 Bare Metal Silver. I then masked off this section and painted the rest with Mr. Color 62 Flat White.
I mainly use Tamiya XF-2 Flat White, but there are times it can be a difficult color to build up to a nice white. I’ve tried Mr Hobby Aqueous 11 Flat White, and I’ve had unsatisfactory results with that paint. So I decided to try Mr Color Lacquer, and with just 2 thin coats, I had a very beautiful and uniform white rudder.
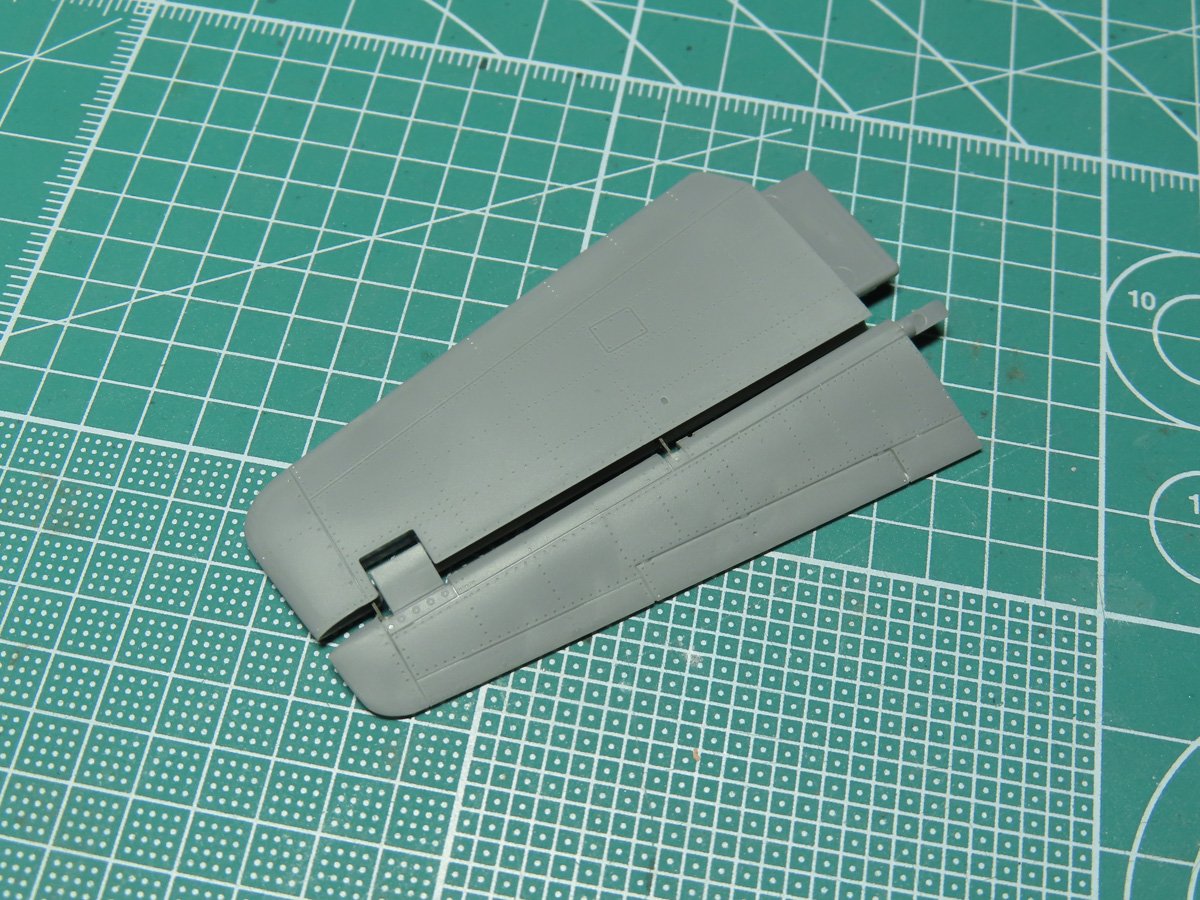
Next, I assembled and test-fitted the elevators and horizontal stabilizers. These parts will be painted AS-12 Bare Metal Silver, but I’ll do this later on when I paint the rest of the aircraft.
The elevators will connect and move together through the polycap that was added to the tail in the previous post.
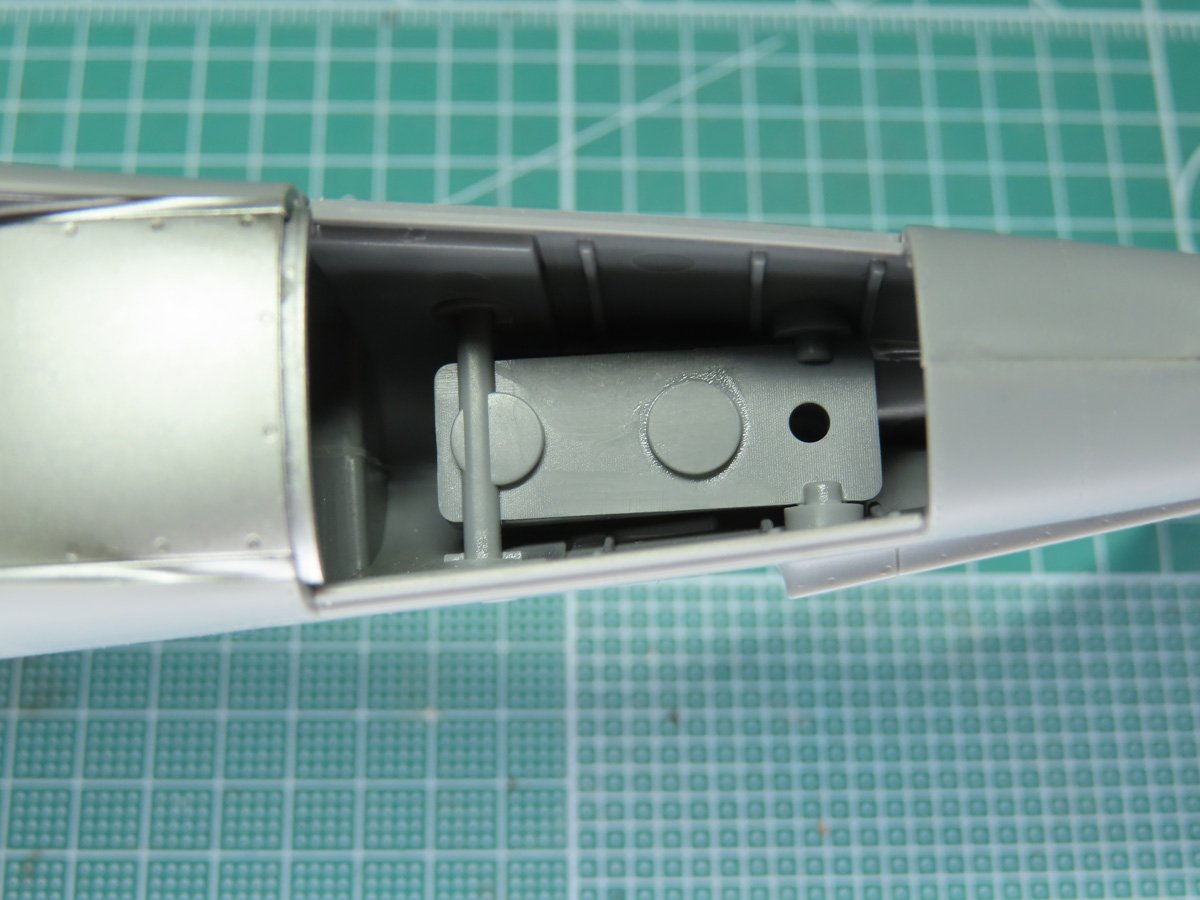
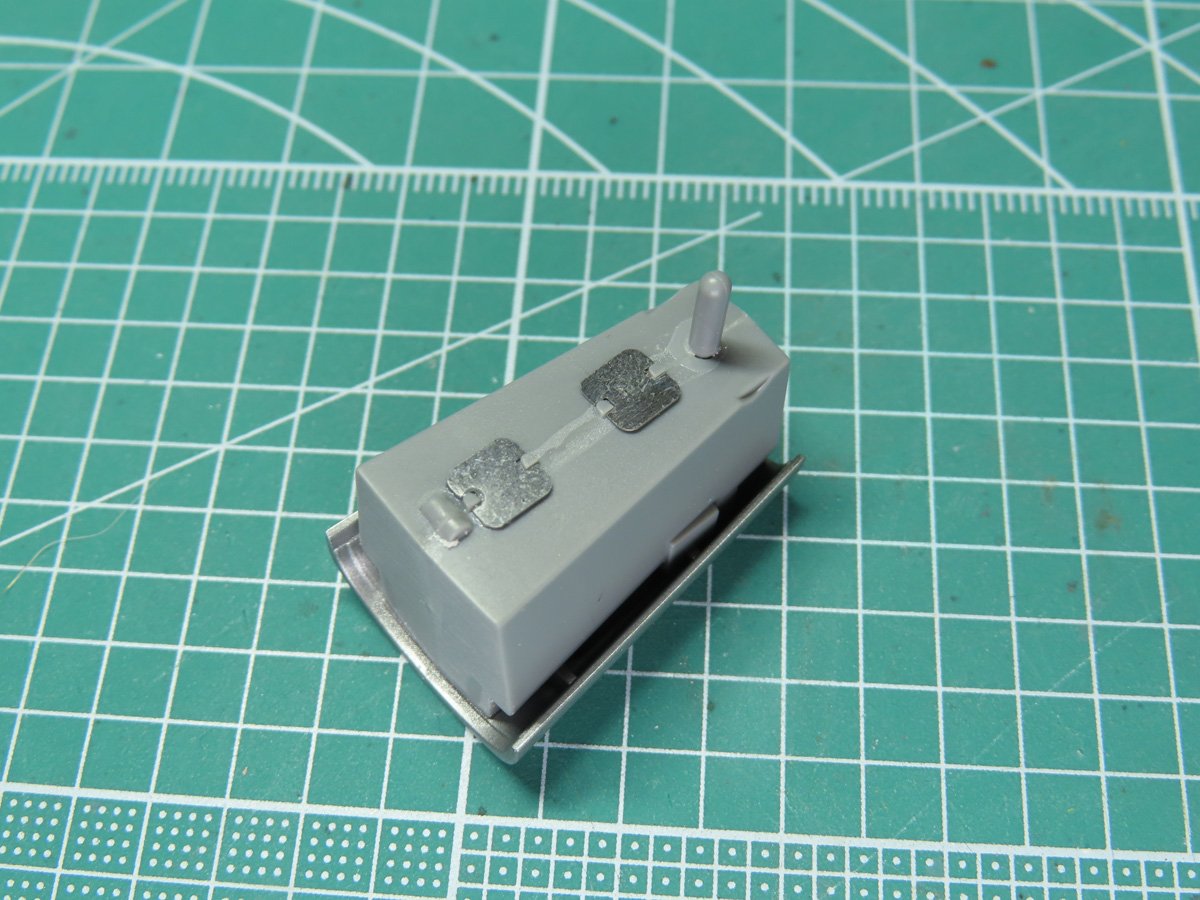
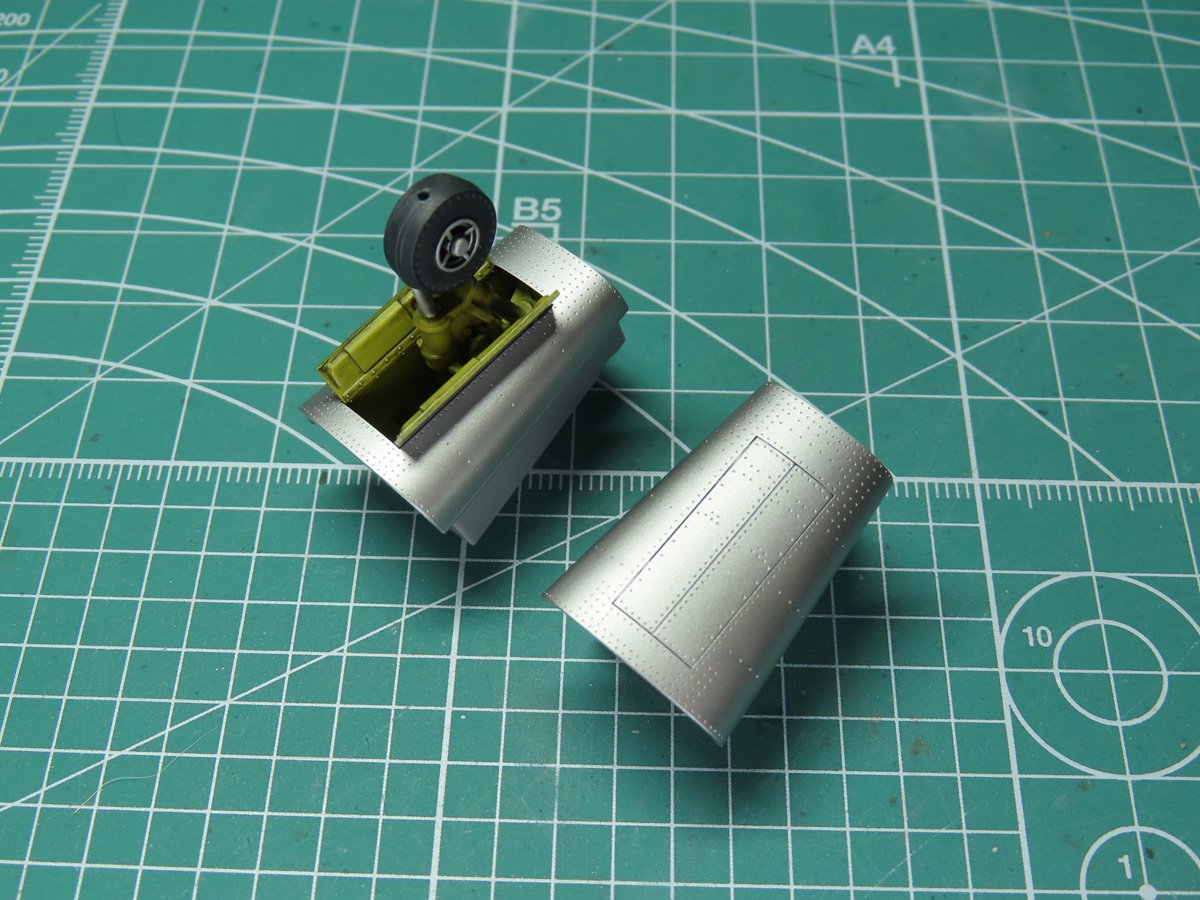
Moving to the tail wheel section, inside the fuselage is a plate, the 2 circles contain magnets, and these are going to assist in keeping the removable tail wheel sections in place.

Tamiya has included 2 metal rods inside the tail wheel to assist in strengthening the part.
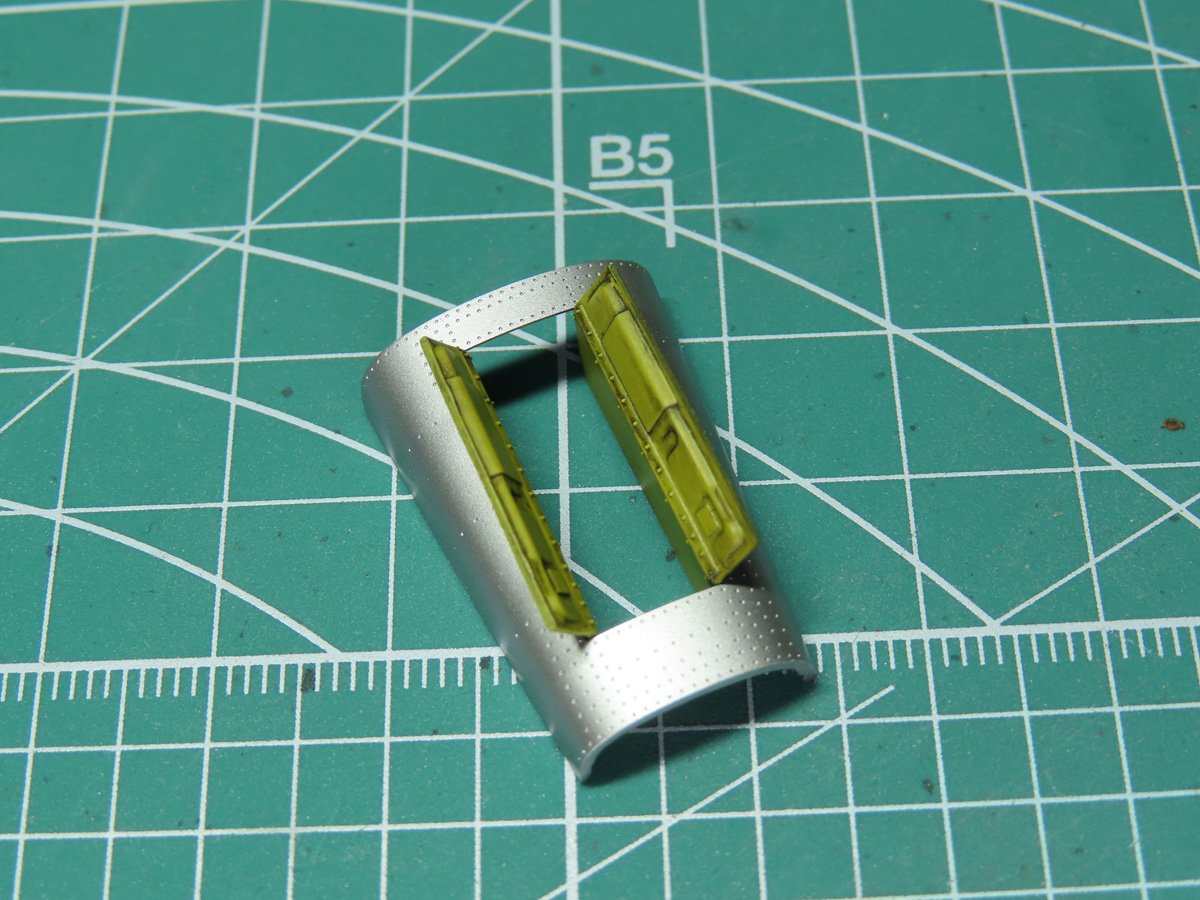
I decided to paint the interior of the gear bays Zinc Chromate Yellow, to add a bit more color to the model. I used Tamiya XF-4 Yellow Green for this, and then I added a brown wash using Tamiya Panel Line Accent color Dark Brown 87140 to dirty up the insides.
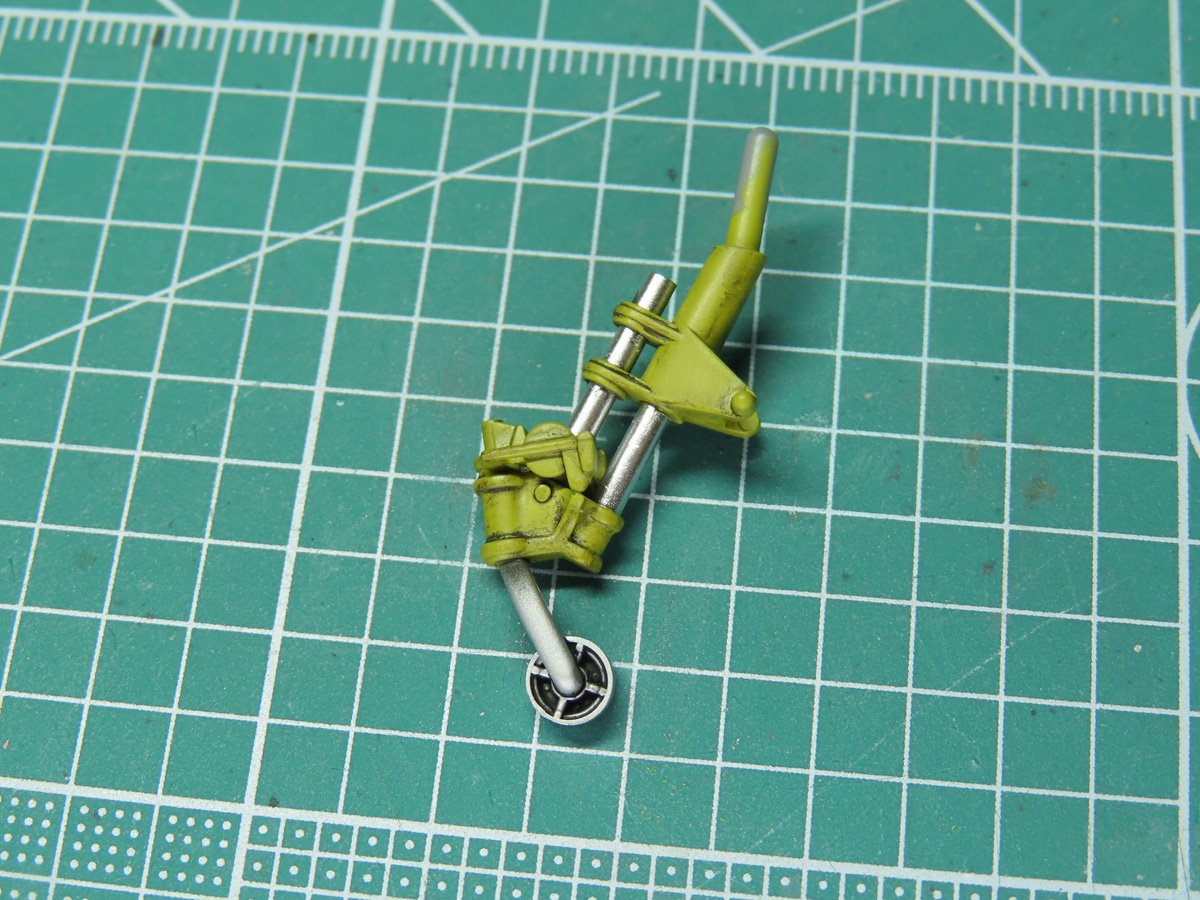
For the tail wheel support, I first painted Tamiya LP-48 Sparkling Silver. This is a really beautiful, shiny, and reflective paint. It’s also very thin straight out of the bottle, so only a few drops of thinner are needed for airbrushing.
I then masked off the Sparkling Silver and painted the lower section AS-12 Bare Metal Silver. This was also masked off, and the rest was painted with XF-4 Yellow Green.
Now the strut was ready to be glued into the gear bay. I’m a bit sad that much of that Sparkling Silver won’t be seen.
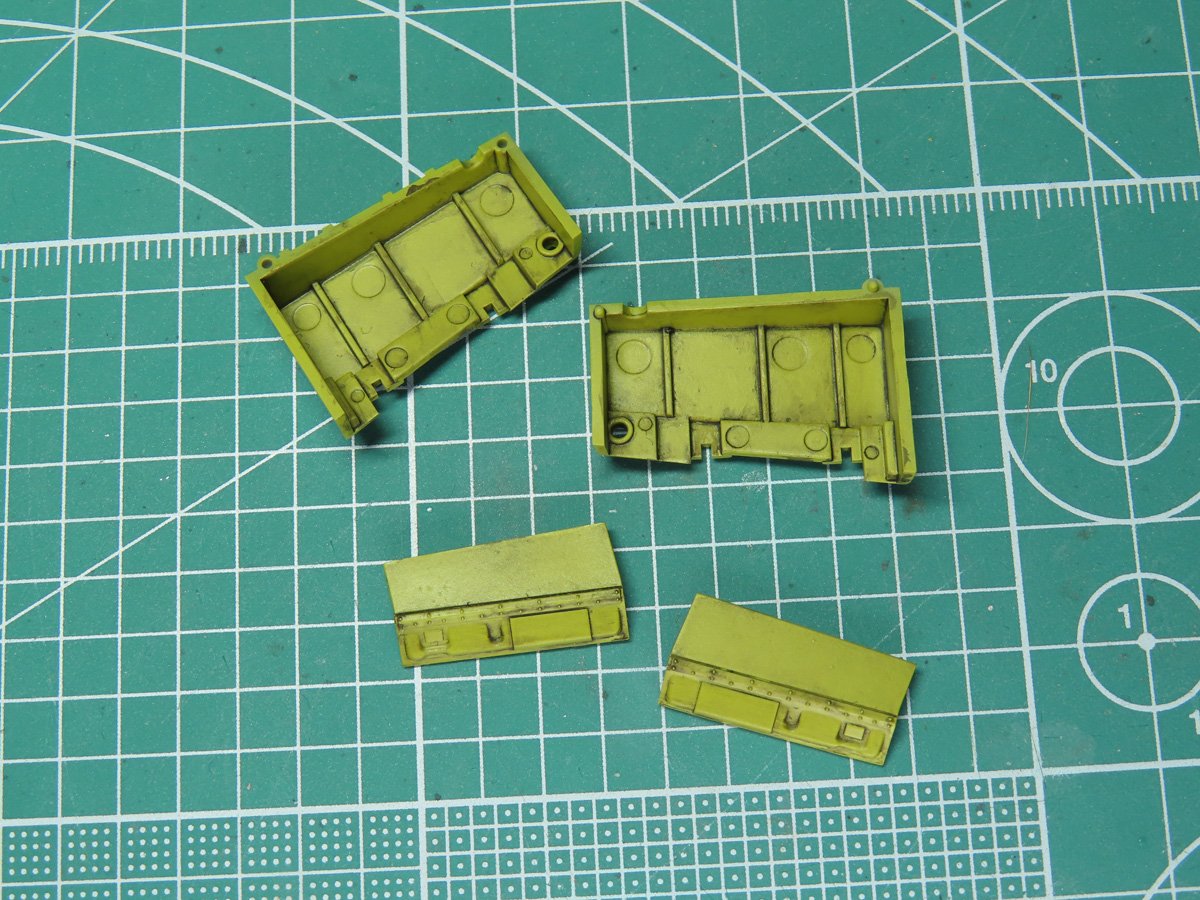
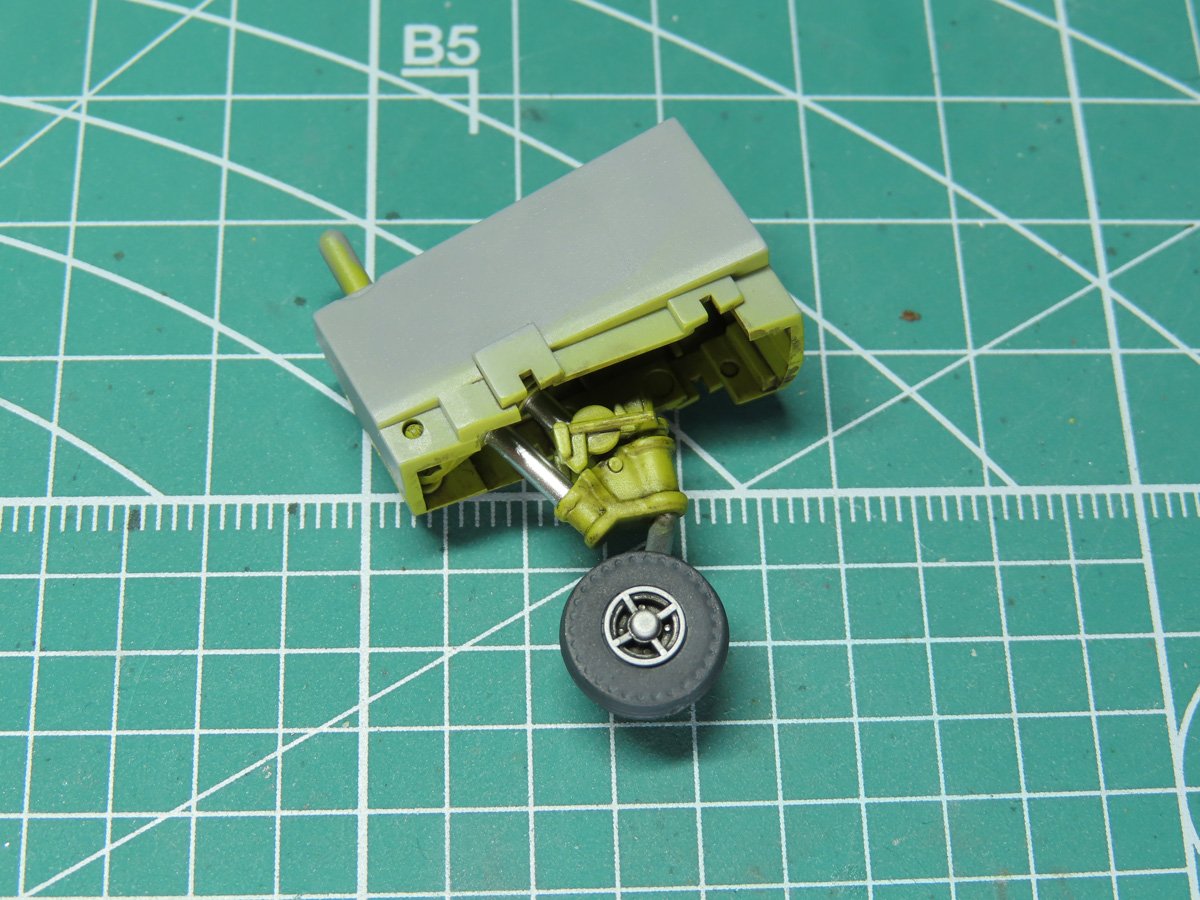
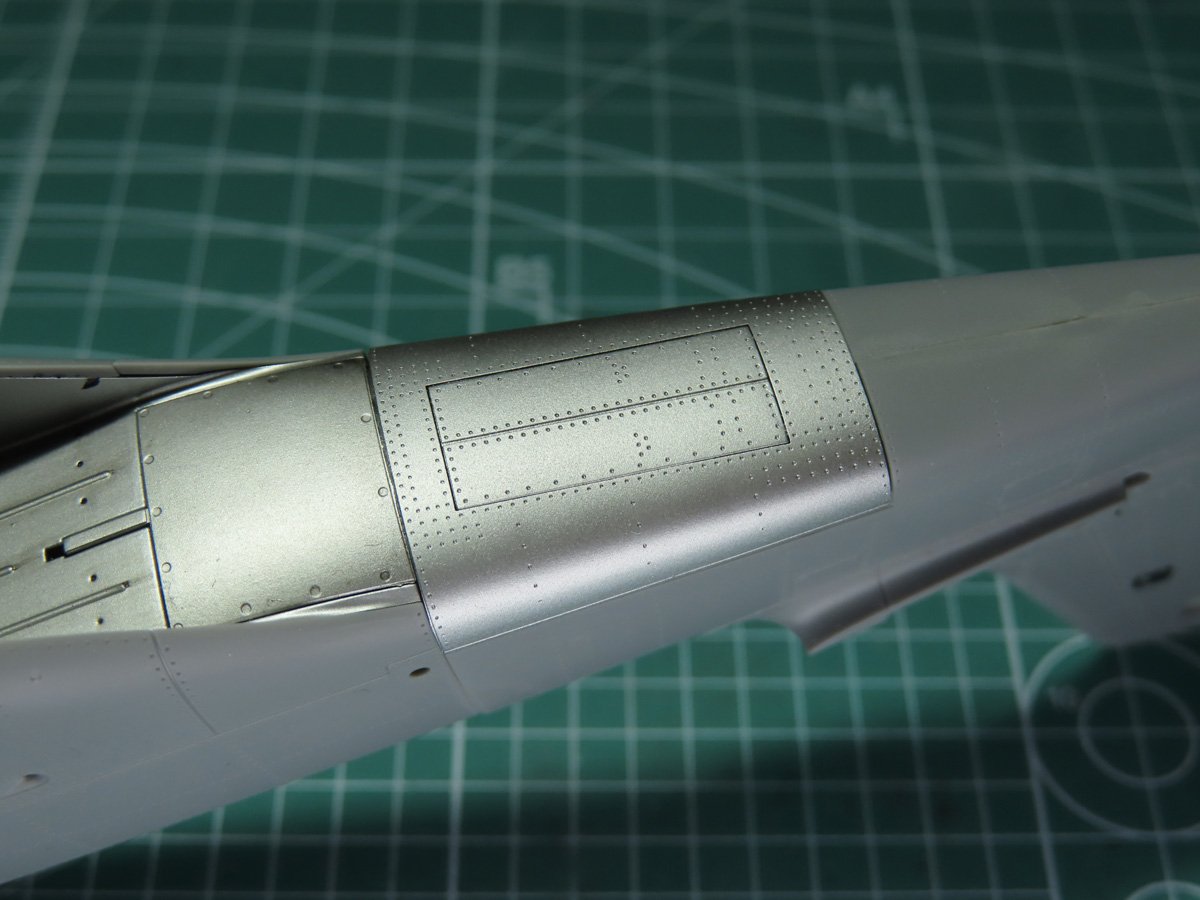
I carefully glued the doors to the outer section of the fuselage. It was easier at this stage to paint everything with AS-12 Bare Metal Silver. This was when I need to paint the rest of the fuselage, I can simply remove the tail wheel bay, and I don’t have to worry about masking this section.
The last parts to add are these photo-etch tabs on the top of the gear bay. The magnets inside will be attracted to the etch and help keep the tail wheel section secured to the model.
And here are the completed open and closed tail wheel sections. They aren’t totally completed yet, later on in the build I’ll add on a wash to the exterior silver.
I drilled out the small hole in the tail wheel so that I could insert a cocktail stick, which allowed me to hold the part for painting. Since it’s on the bottom and not likely to be seen, I decided I didn’t need to fill it in.
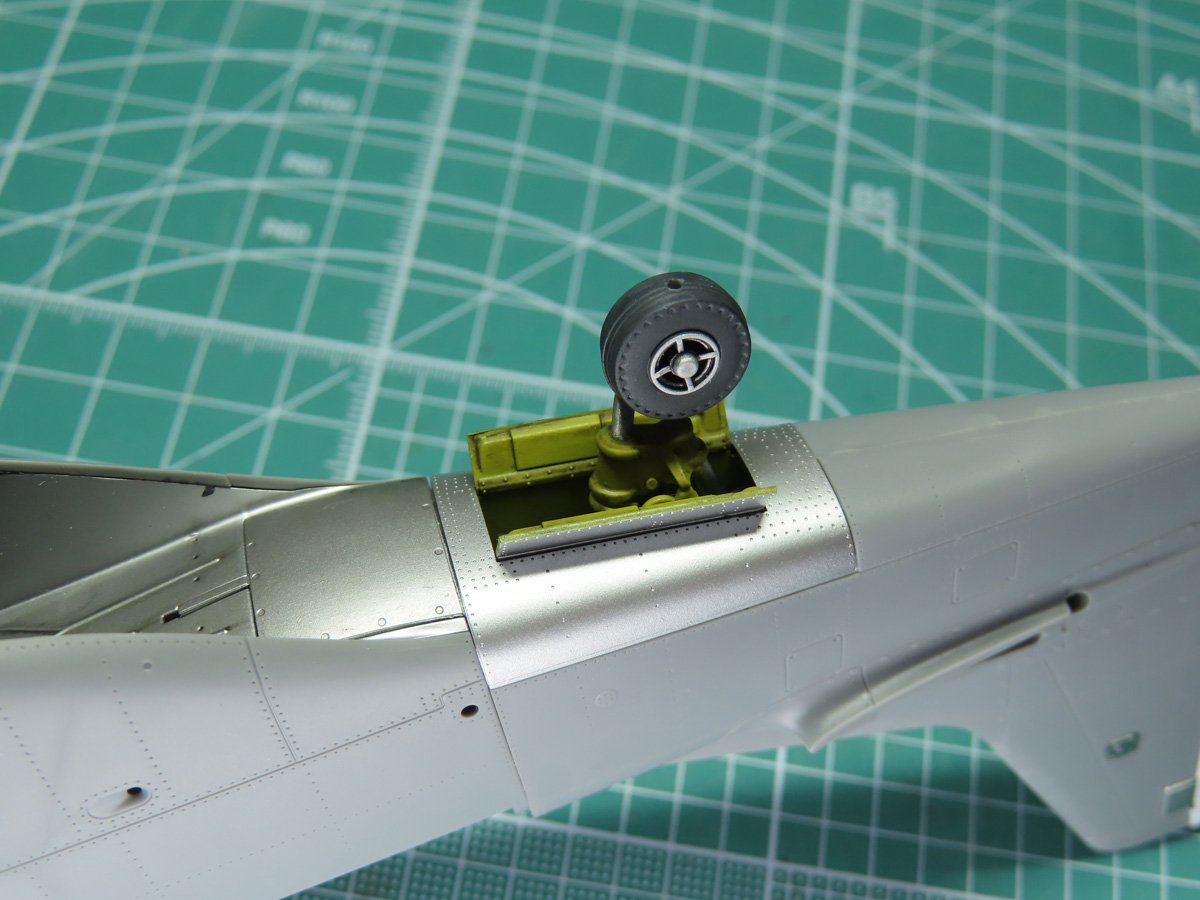
Here you can see how easy and seamless the tail wheel sections fit into the fuselage. I really love how Tamiya followed along the panel sections of the P-51 so everything looks natural.
I know that these gimmicks might not be the most appealing to modelers out there, but trust in Tamiya to get it right. They have turned this from an interesting idea to a proper function of the model.
And if you aren’t interested in any of this, you can easily glue the sections in place, and you will still find this to be an extremely fun and satisfying build.
Next, we’ll be working on the main gear bays, as well as the gun bays. This part might be a bit longer, as I’m still deciding whether to add some extra plumbing to help speed up those interiors. It looks really good, but it is fussy work. But I guess you’ll just have to wait for next time to find out.
To be continued…
About the Author:
Jared Demes is a modeler from southern Alberta. He has been building models since he was 4 years old when his Dad first introduced him to the hobby. He has written for several magazines including, Fine Scale Modeler, Scale Aircraft Modeling, Phoenix Scale Models, and others. He has an interest in all modeling subjects, with a focus on WWII Japanese aircraft and Science Fiction.
Jared has won several IPMS awards for his modeling, and currently operates his YouTube channel rebelsatcloudnine, where he showcases model builds and product demonstrations.