

Seeing the Results
I’ve been using Tamiya Acrylics for a very long time now. I really love their paint range, as they mix well, have great coverage, and are easy to thin down for airbrushing.
However, they are notoriously difficult when it comes to hand brushing. I’ve had limited success hand brushing them in the past. I’ve tried Tamiya Acrylic Thinner, Acrylic Retarder, and Isopropyl Alcohol all to limited success.
That’s when I stumbled on a video demonstration by Calvin Tan. If you don’t recognize the name, you’ve no doubt seen his work at one point or another. Calvin Tan is a famous figurine painter from Singapore who has created multiple articles, videos and live painting demonstrations teaching how to create realistic skin tones.
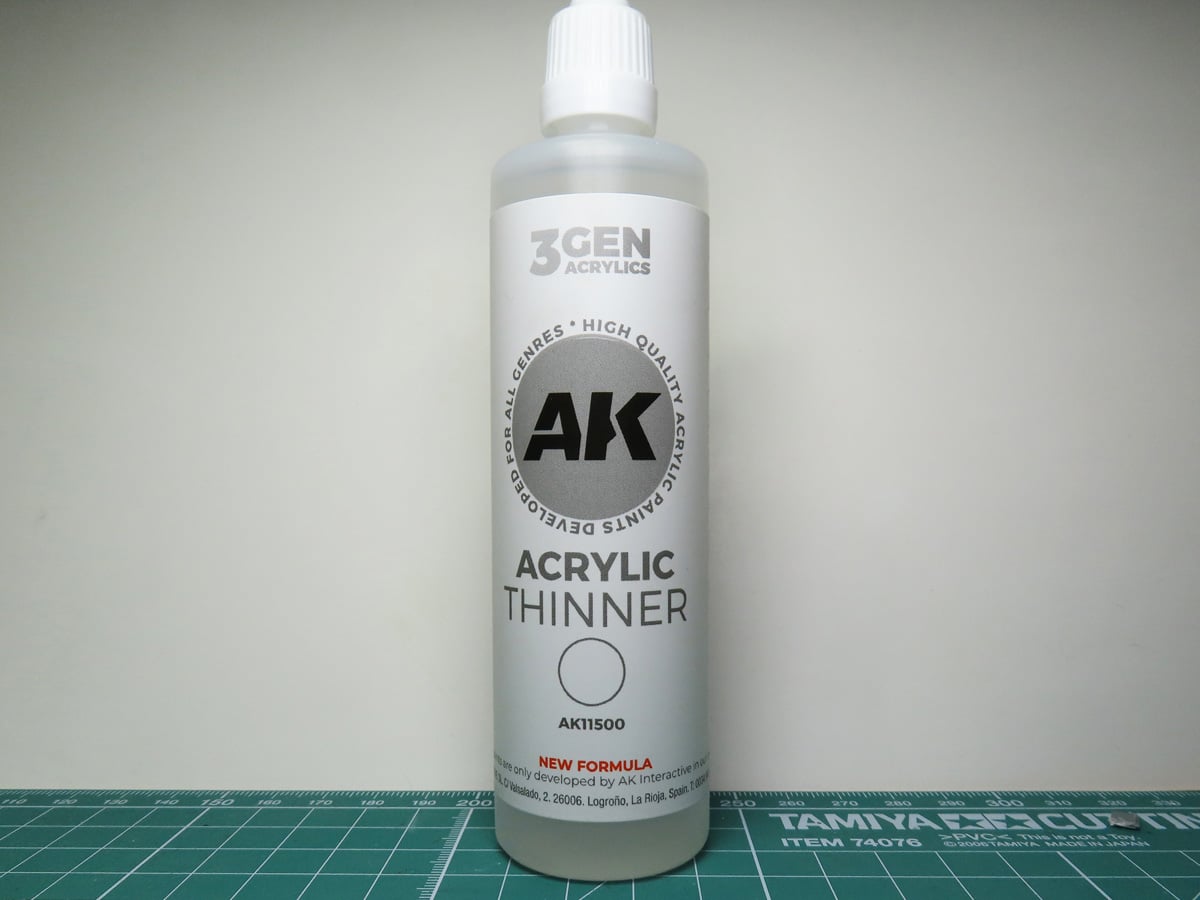
In the video, Calvin demonstrated that he was using the new AK Interactive Acrylic Thinner to thin Tamiya paints and that they brushed on with the same ease as Vallejo, Warhammer Colour (Citadel), or AK Interactive Acrylics.
Seeing his results, and how easily he painted with the Tamiya Acrylics, I was impressed. I immediately went out and bought a bottle of the AK Acrylic Thinner AK11500. Check that you buy the bottle labelled “New Formula” near the bottom in orange.
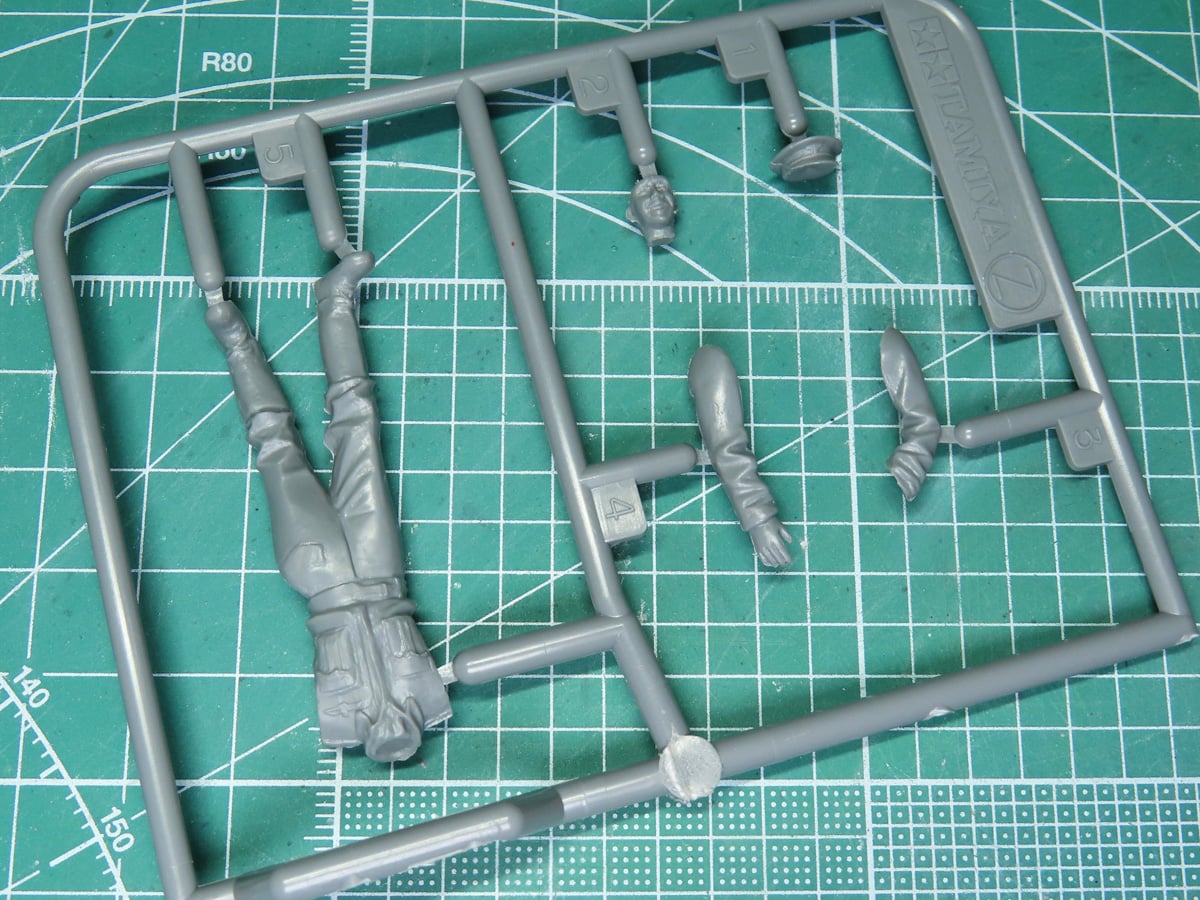
For a painting subject, I decided to use the 1/32 scale standing RAF pilot that was included with the Tamiya 1/32 Spitfire Mk IXc 60319.
I should mention here that I’m not trying to achieve the same painting results as Calvin Tan. But I’m testing to see if the AK Thinner will, in fact, make Tamiya easier to paint.
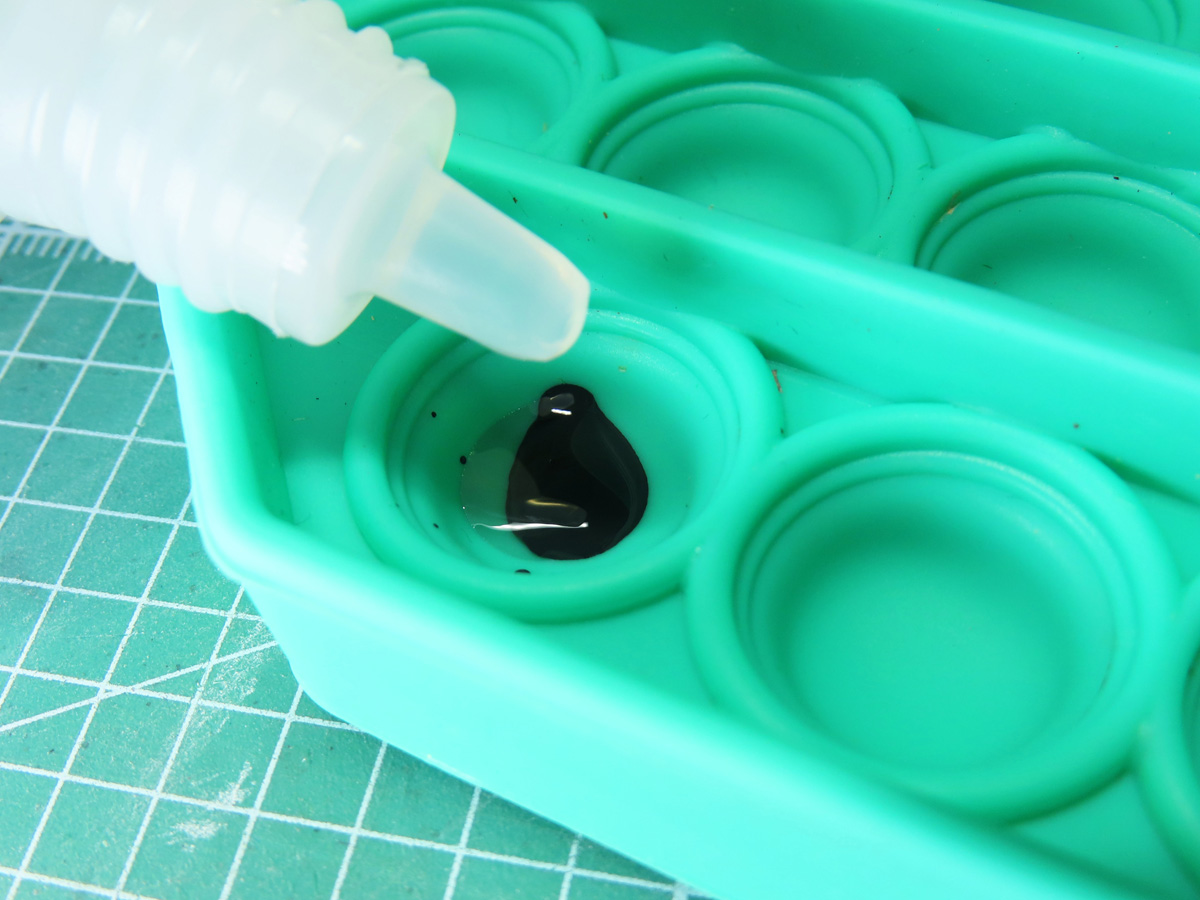
One more thing I purchased was a “Fidget Popper”. I’ve seen a lot of miniature wargamers use these as an easy painting tray. Here I can easily mix the paints in small batches. I found that most Tamiya paints mixed well at a 1:1 or 2:1 ratio. I generally had about 15-20 minutes to use the paint before it started to dry. Given the size of my subject, I had more than enough time to use up the paint.
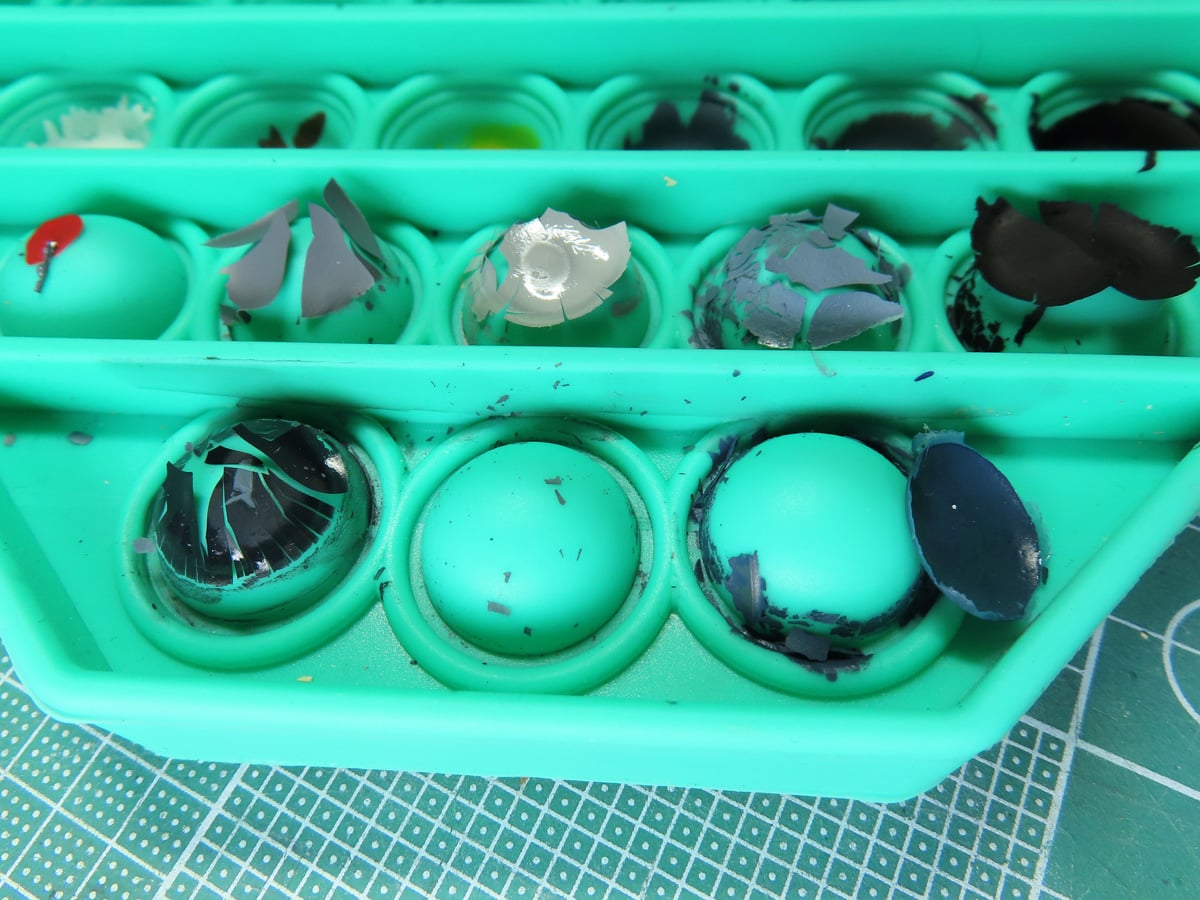
Because the popper/tray was made of silicone, the paint didn’t stick to the surface. I simply “popped” the bubbles upward, and I could easily remove the paint. Any bits that were left behind were easily cleaned up with a bit of isopropyl alcohol.
AK Interactive makes their own version, the Pop It Bubble Zip-Up Case MCHD032.
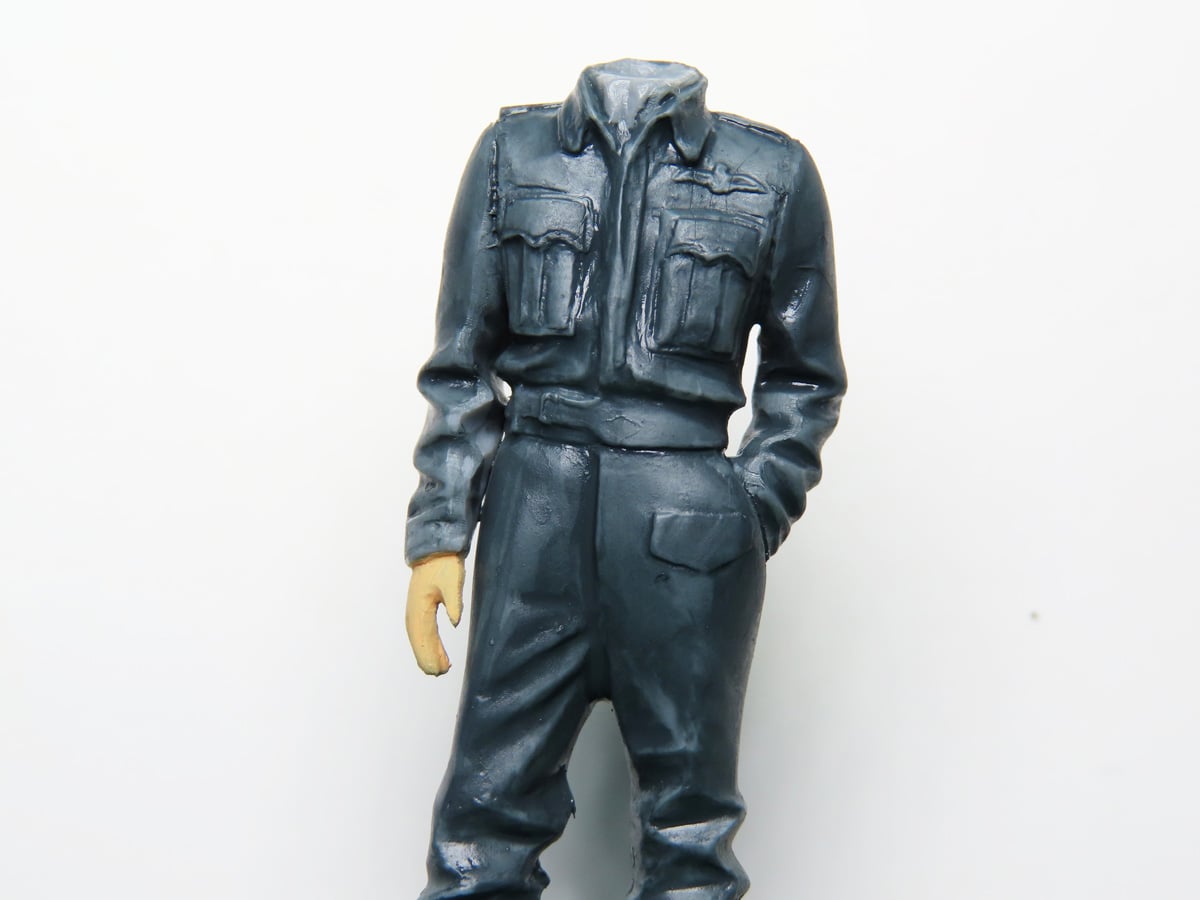
I started by painting the uniform with a base layer of Tamiya XF-50 Field Blue. This was a 1:1 mixture, and you can see how some of the grey plastic is still visible.
Already with one coat of paint, I was amazed at how well the paint flowed. This was odd, as the paint wasn’t behaving as Tamiya normally had over the years that I’ve used it. No, this was a new sensation; it was indeed flowing better. It was wonderful, easy to use, and a totally new experience!
All I could think of was “WOW”. This was how I’ve always wanted Tamiya Acrylics to behave. I had to adjust my old way of thinking when I’d hand brush these paints onto a new, stress-free way of relearning how to use these paints.
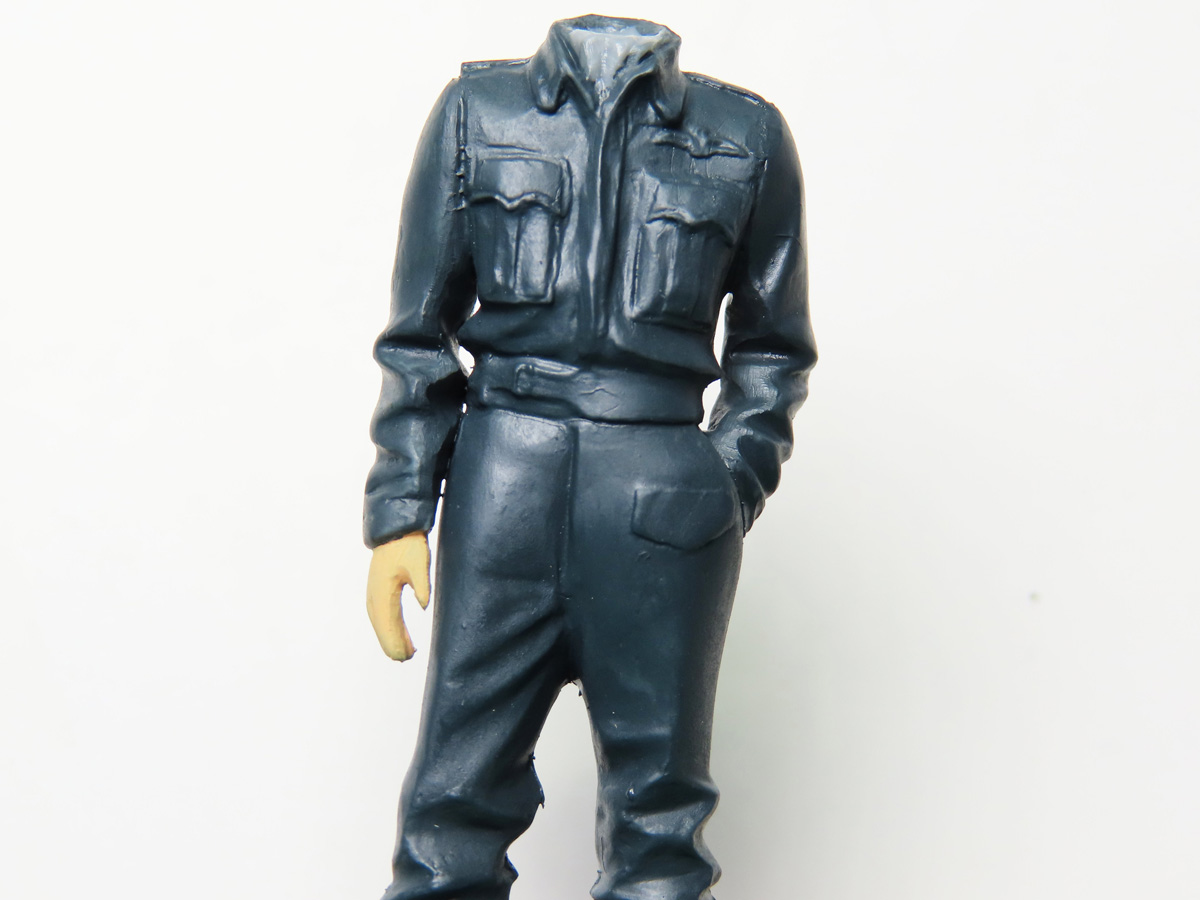
Here I’ve painted on a second layer of the XF-50. The coverage is excellent, and I’m really impressed by how the AK Thinner has leveled down the paint, and the details in the uniform are still sharp.
I think I waited around 5-10 minutes before I applied this second coat. This is a very similar drying time to other acrylics.
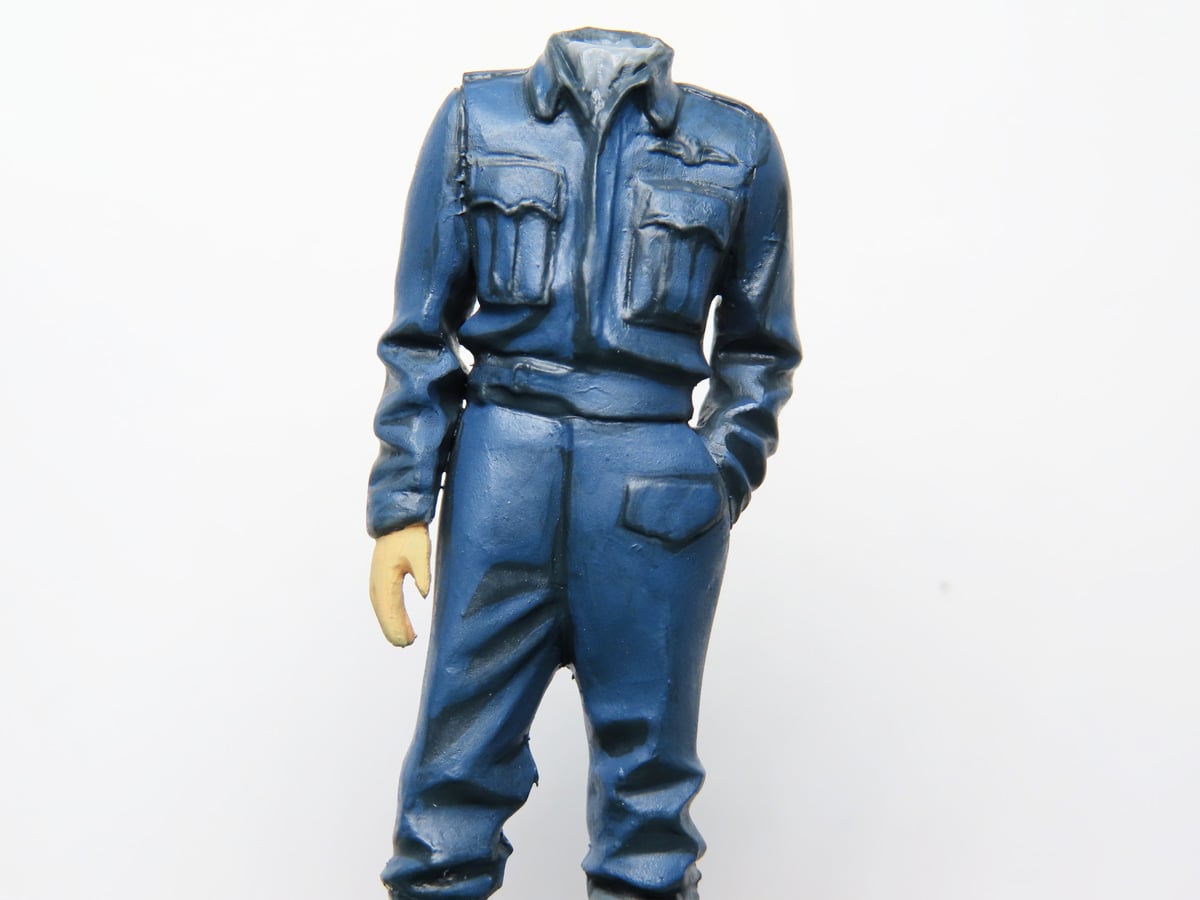
I felt that the uniform color was too dark, so I painted on a custom lighter blue with XF-50 lightened with XF-2 Flat White. I added a small drop of XF-8 Plat Bleu to the mix, as the paint had turned a bit gray.
I painted this over all the more raised sections of the uniform. Keeping the original Field Blue in the darker wrinkles to create a contrast.
I used my Tamiya Pointed Brush 87048 to paint in the details. And again, it was amazingly easy and fun to sit there and paint in these sections.
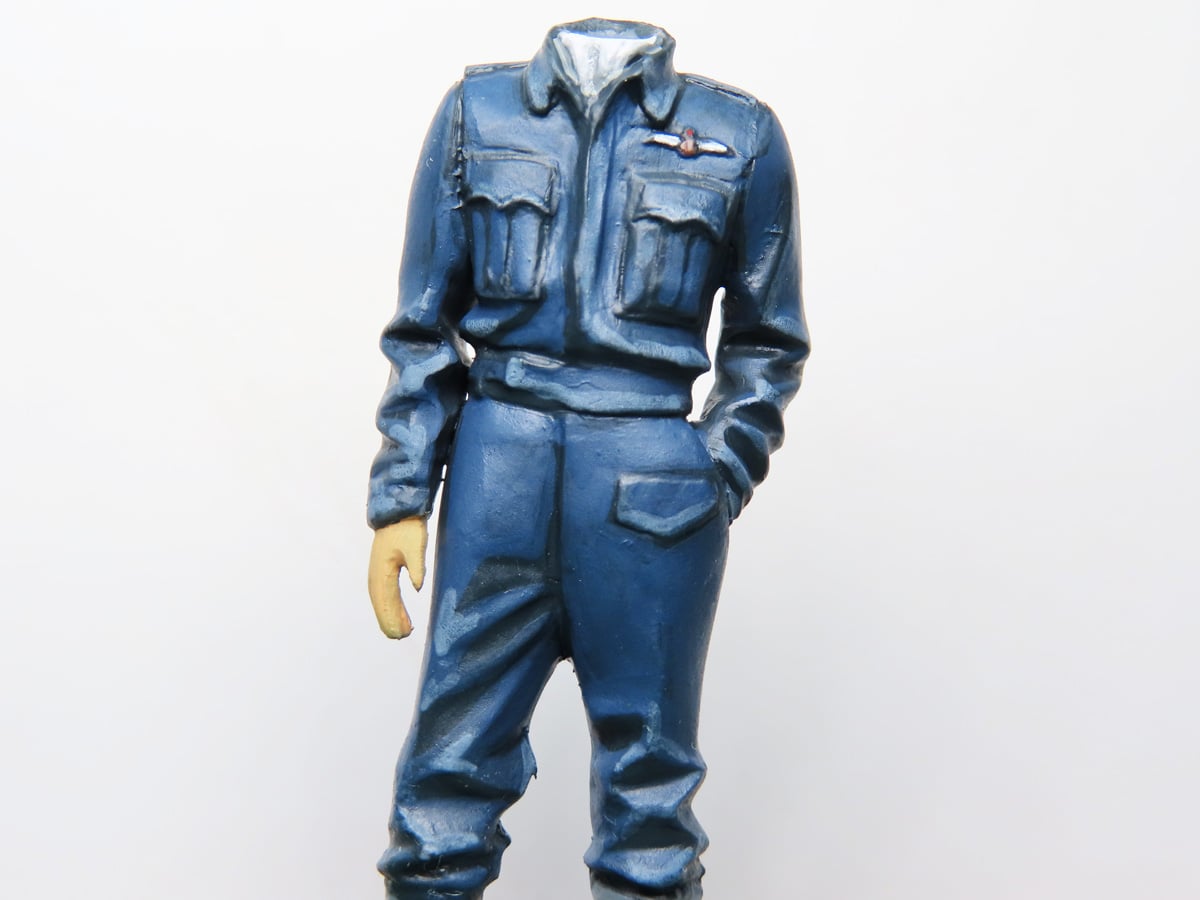
Lastly, I painted some highlight details to the most raised sections of the uniform with XF-18 Bleu moyen and a bit of XF-2 Blanc Mat.
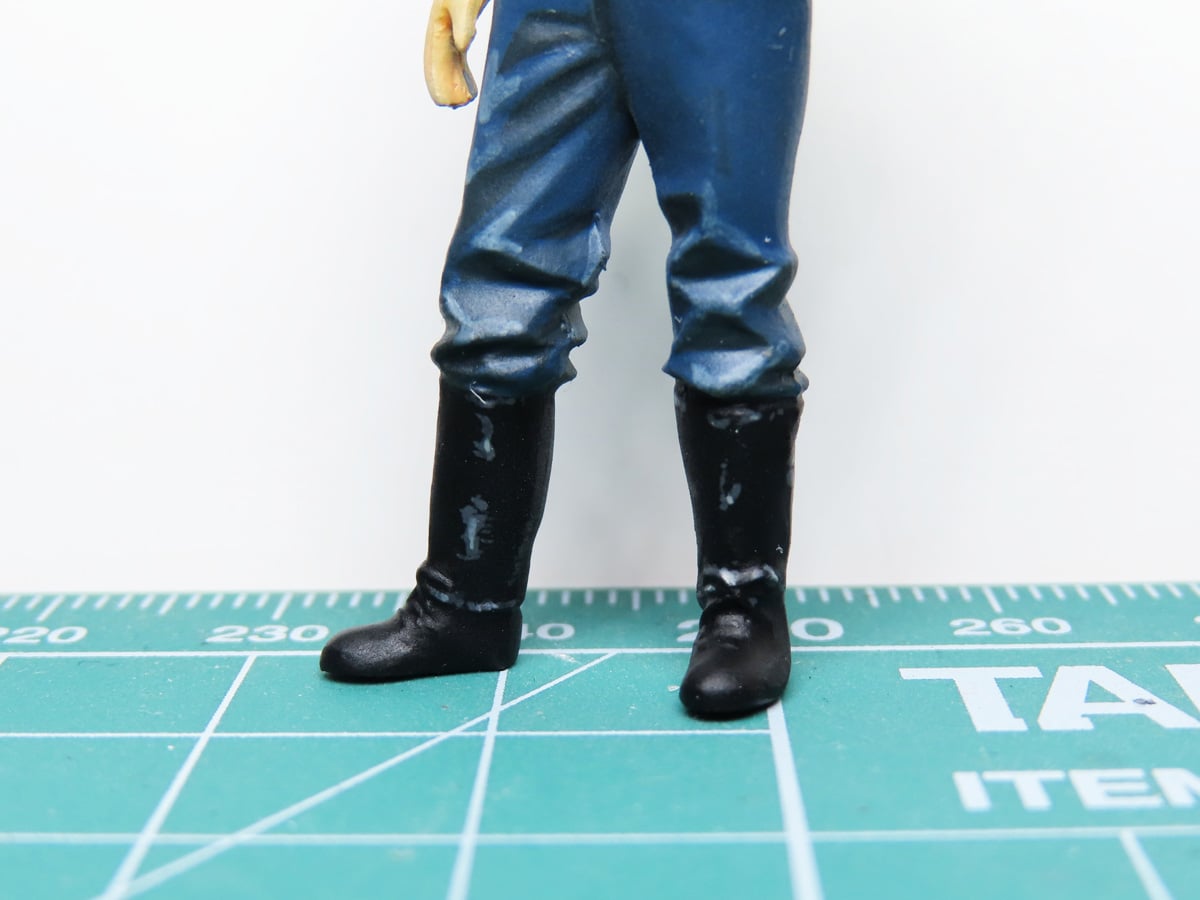
The boots were painted with XF-1 Noir mat. XF-24 Dark Grey was used to paint the wrinkled areas of the boots. Small bits of XF-83 Medium Sea Grey were used to replicate the shinier sections.
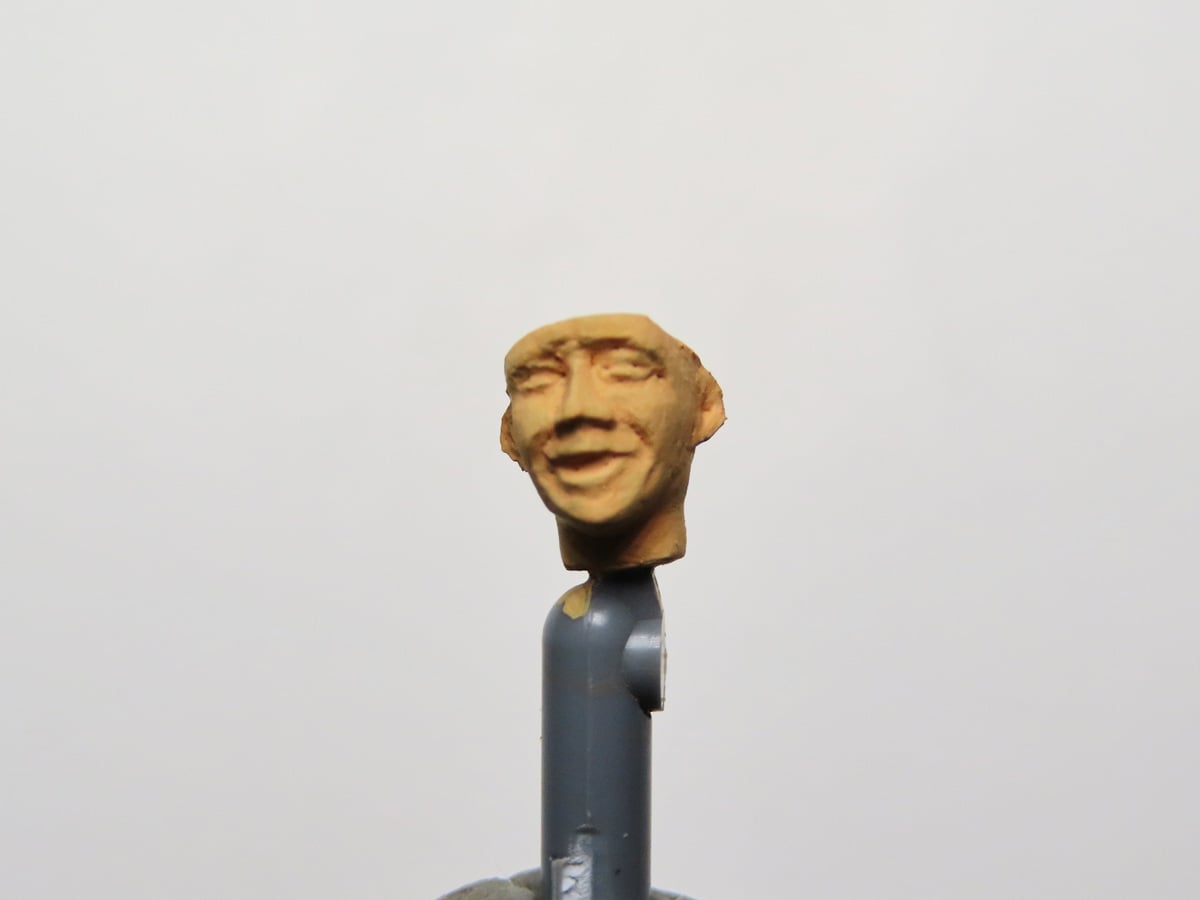
For the face, I’m going to be keeping things simple. Nothing extravagant, nor to the detail Mr. Tan can produce. But nice enough that it will look good posed next to the model. I’ve painted on a base layer of XF-15 Chair Plate.
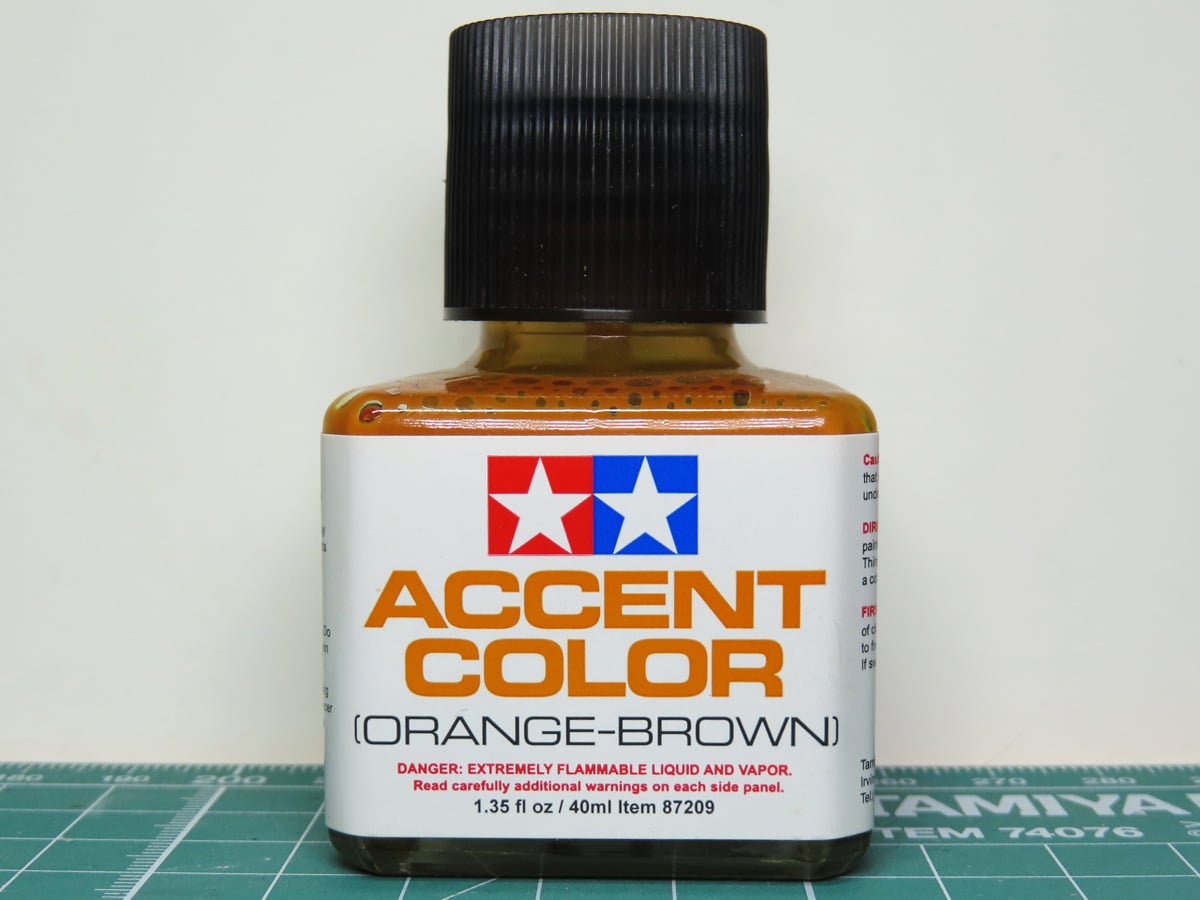
To quickly highlight the details around the face. I’m using Tamiya Accent Color Orange-Brown 87209. This is just like the Tamiya Panel Line Accent Colors, it’s an enamel wash designed to flow around and highlight the details.
Tamiya makes another version, Pink-Brown 87201, which you might prefer to the orange effect.
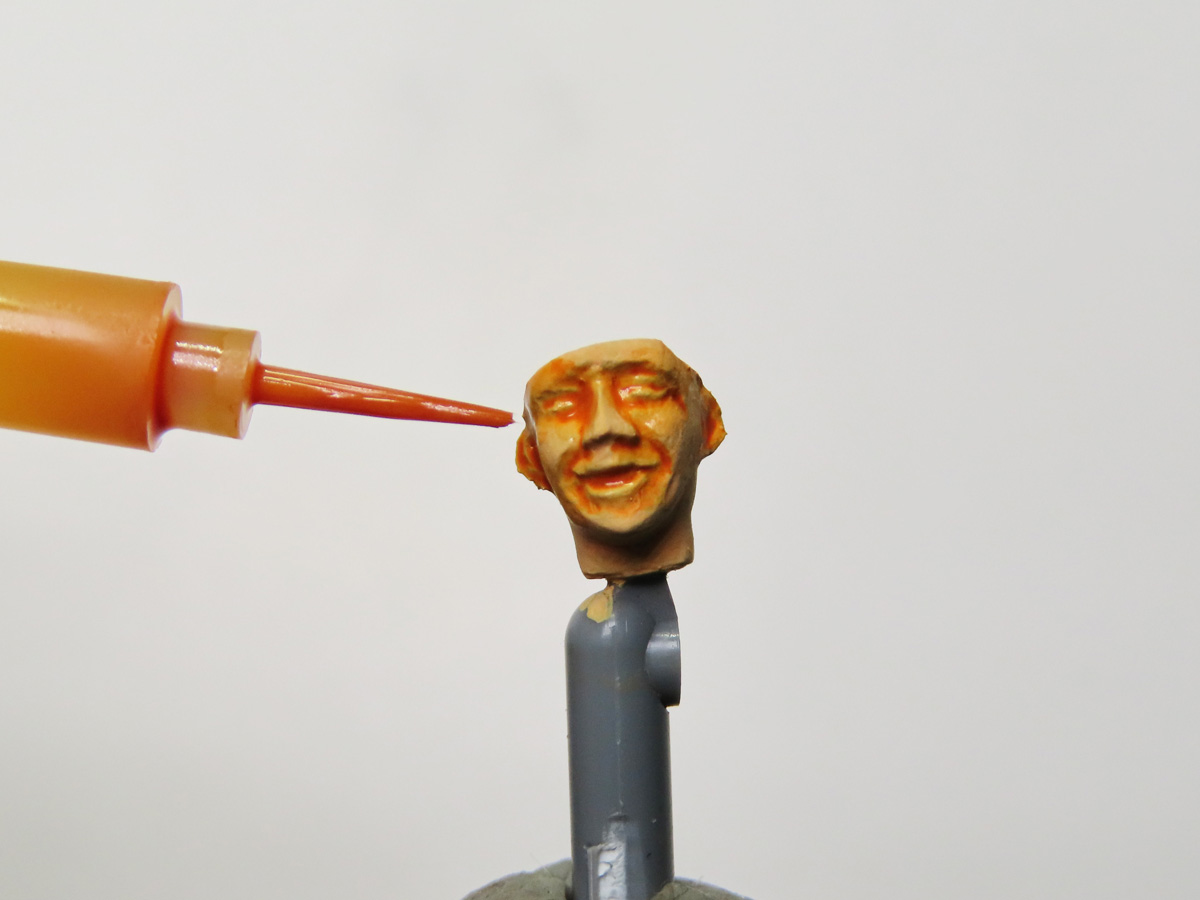
It doesn’t take much paint to see what a difference the Orange-Brown makes. This paint can be used with all scales, and it’s an excellent way to show off facial details without a lot of very careful painting.
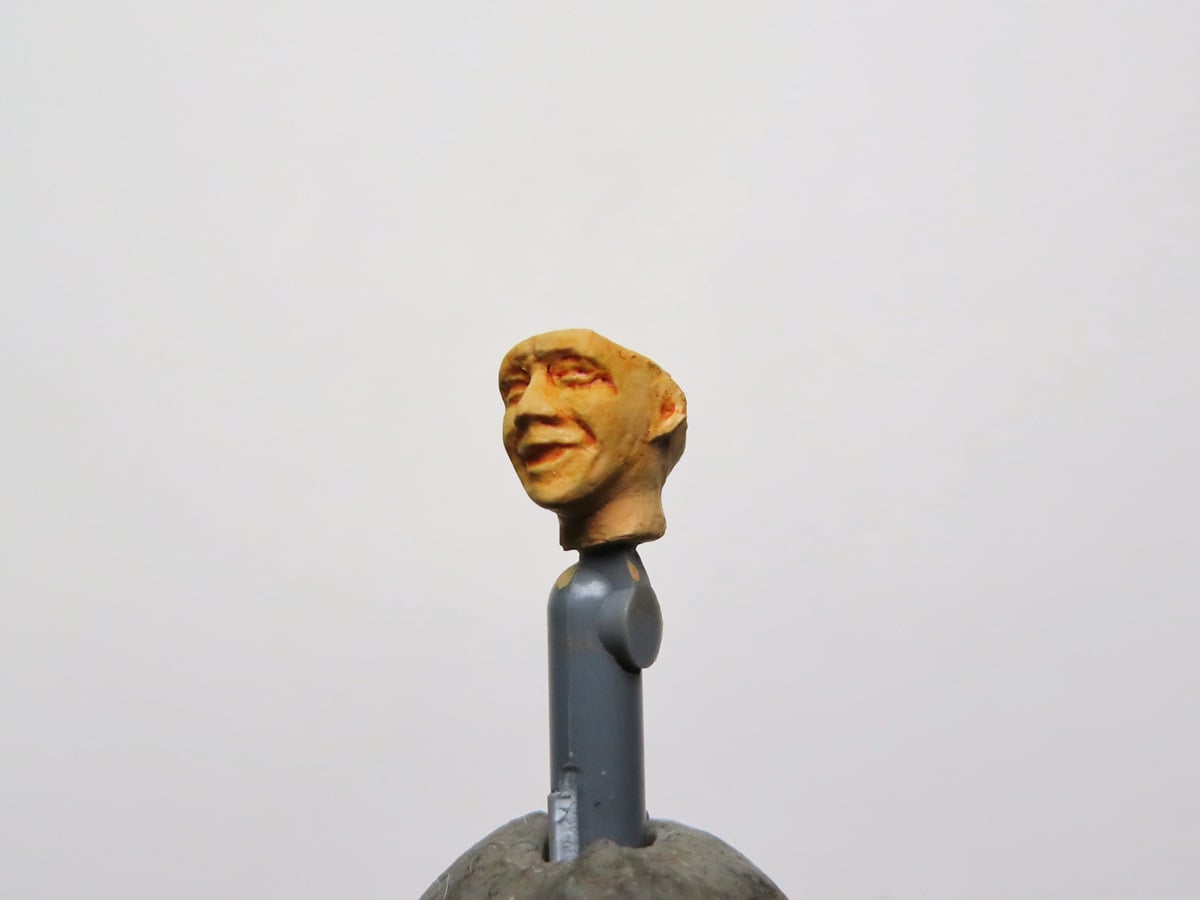
Once the wash had dried, I took a brush and dipped it in Tamiya Enamel Thinner. I brushed away the excess wash and kept it in the sections I wanted darker.
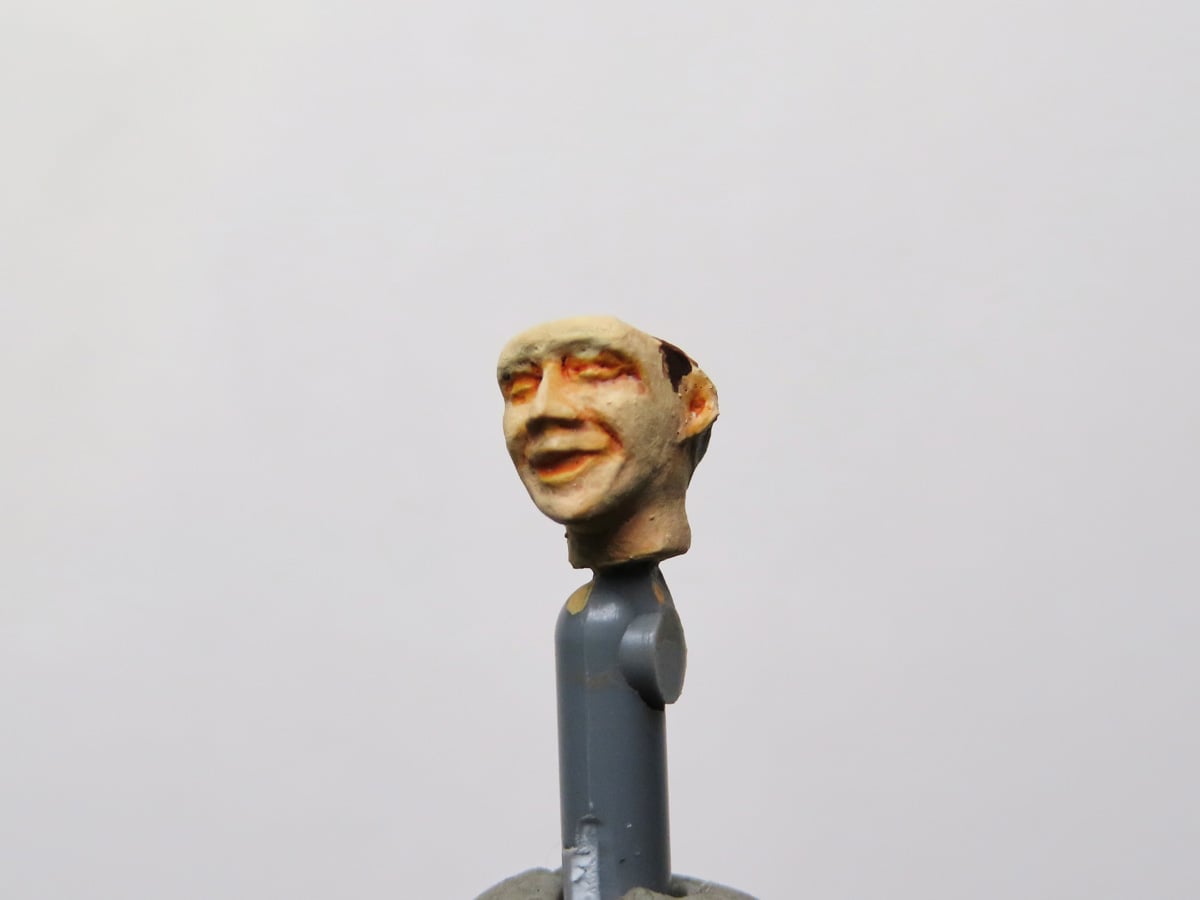
I wanted a brighter flesh tone, so I mixed some Flat White with the Flat Flesh, and this is where I ran into a bit of an issue.
Calvin Tan had cautioned that you should use Tamiya paints that are new, or at the very least no more than 2 years old. My bottle of XF-15 was too old; this hindered my painting, and I lost the effect I wanted.
You can use your older paints, but it will require more thinner to make it brush-able. This will result in a lot more thin layers, and after about 5-10 minutes, you’ll see the paint get thicker and sort of turn grainy or start to harden and turn gummy. At this point, it will be unusable as the paint dries a lot faster and really sticks to the brush.
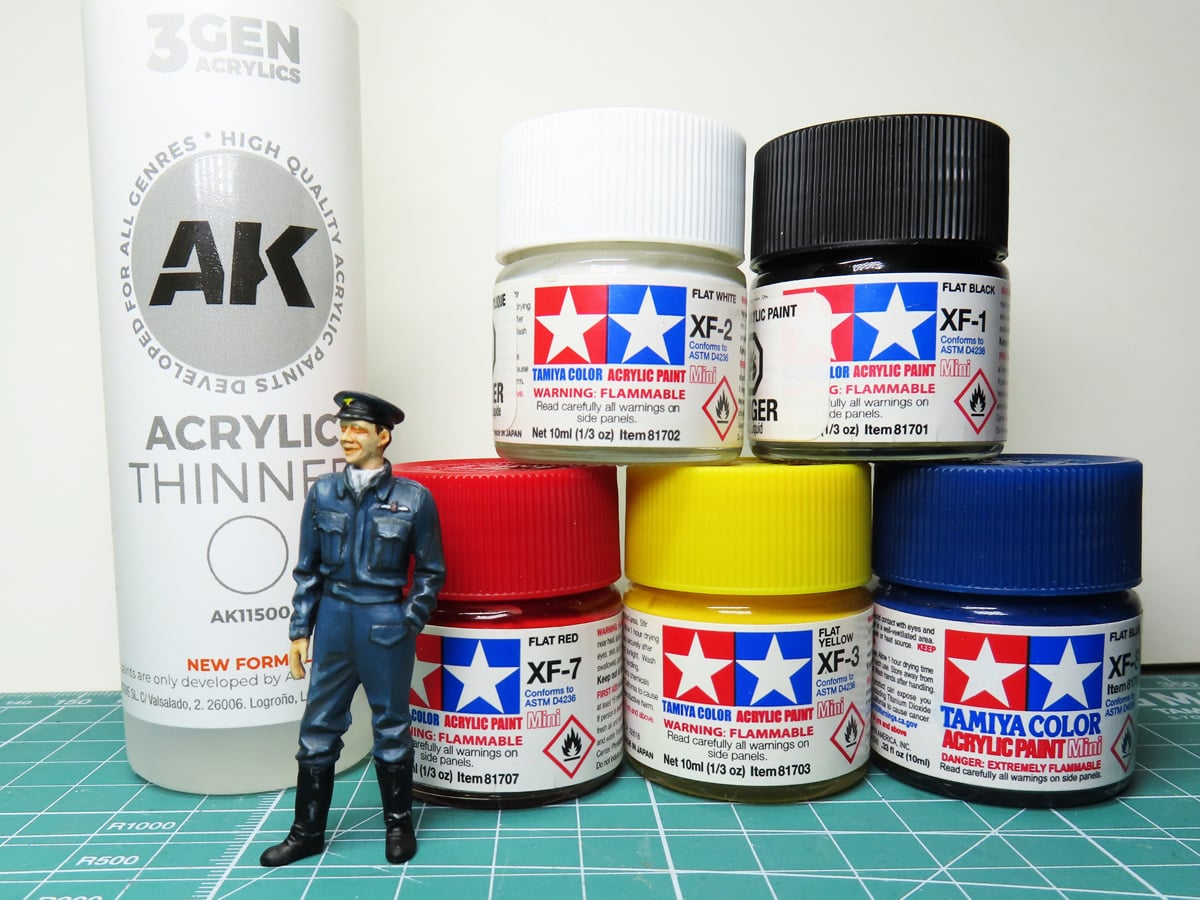
This was a fun side project, and one that I’m so glad I decided to try. I’ve tried and seen many modellers try to get the best results out of Tamiya paints, and none of them have really had satisfying results… that is until now.
I used to really like painting the odd figure here and there. But since the majority of my paint collection is Tamiya, I haven’t really wanted to invest in other paint lines. And now, thanks to the AK Acrylic Thinner, I don’t have to. I can easily use my Tamiya paints and spend more time with confidence learning how to properly blend and layer on colors. This will be especially useful with other aspects of modeling where I need to paint small details like aircraft cockpits.
This is actually my second bottle of AK Thinner. I bought one, and while I waited for the Fidget Popper to arrive, I lent the bottle to my brother. He paints a lot of Warhammer 40K figures, with Vallejo, Peintre de l'armée, and more.
He tried out the thinner, not really expecting too much, but he showed me his latest miniature where he painted a large gold section. It looked like it was airbrushed on, and not painted by hand, which was all the more impressive given how difficult some acrylic metallics can be. Since then, he’s only used this thinner, and it’s taken his painting up another level. At that point, I knew I’d lost a bottle, and I’d have to get another bottle of thinner for myself.
This stuff is a big game changer for me. It’s opened a lot of new doors and new potential for me. And as a bonus, this thinner can easily be used for airbrushing. I haven’t tried that yet, but given the success I’ve had painting by hand, I’m eager to see what else this AK Acrylic Thinner can do.
About the Author:
Jared Demes is a modeler from southern Alberta. He has been building models since he was 4 years old when his Dad first introduced him to the hobby. He has written for several magazines including, Fine Scale Modeler, Scale Aircraft Modeling, Phoenix Scale Models, and others. He has an interest in all modeling subjects, with a focus on WWII Japanese aircraft and Science Fiction.
Jared has won several IPMS awards for his modeling, and currently operates his YouTube channel rebelsatcloudnine, where he showcases model builds and product demonstrations.