

Trailer Chassis and Axle
This is the fourth part of the AMT Fruehauf FB 40 Foot Reefer Trailer Watkins 1/25 Scale 1421
Hi everyone, I hope that you’ve all had a good long weekend. We had a lot of rain here, and it was a wonderful way to spend the day sitting and working at my hobby table. Usually, on the Labour Day weekend, I listen all night to cars coming back home from a long day of hiking.
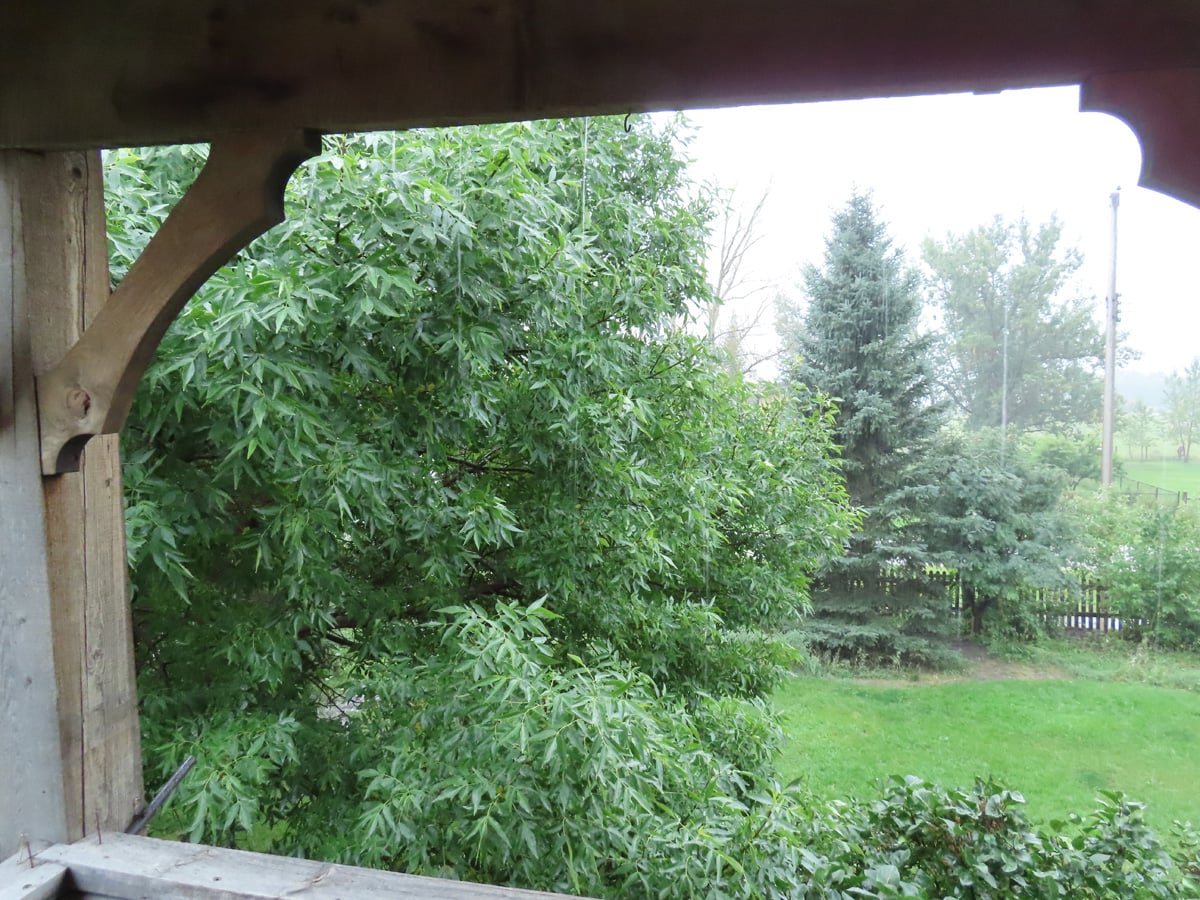
But this year, I got to enjoy the ambience of the rain falling on the roof. The sweet smell of the rainfall and a slight cold breeze through my window. After a chaotic week and recovering from a rather persistent virus, it was a perfect day.
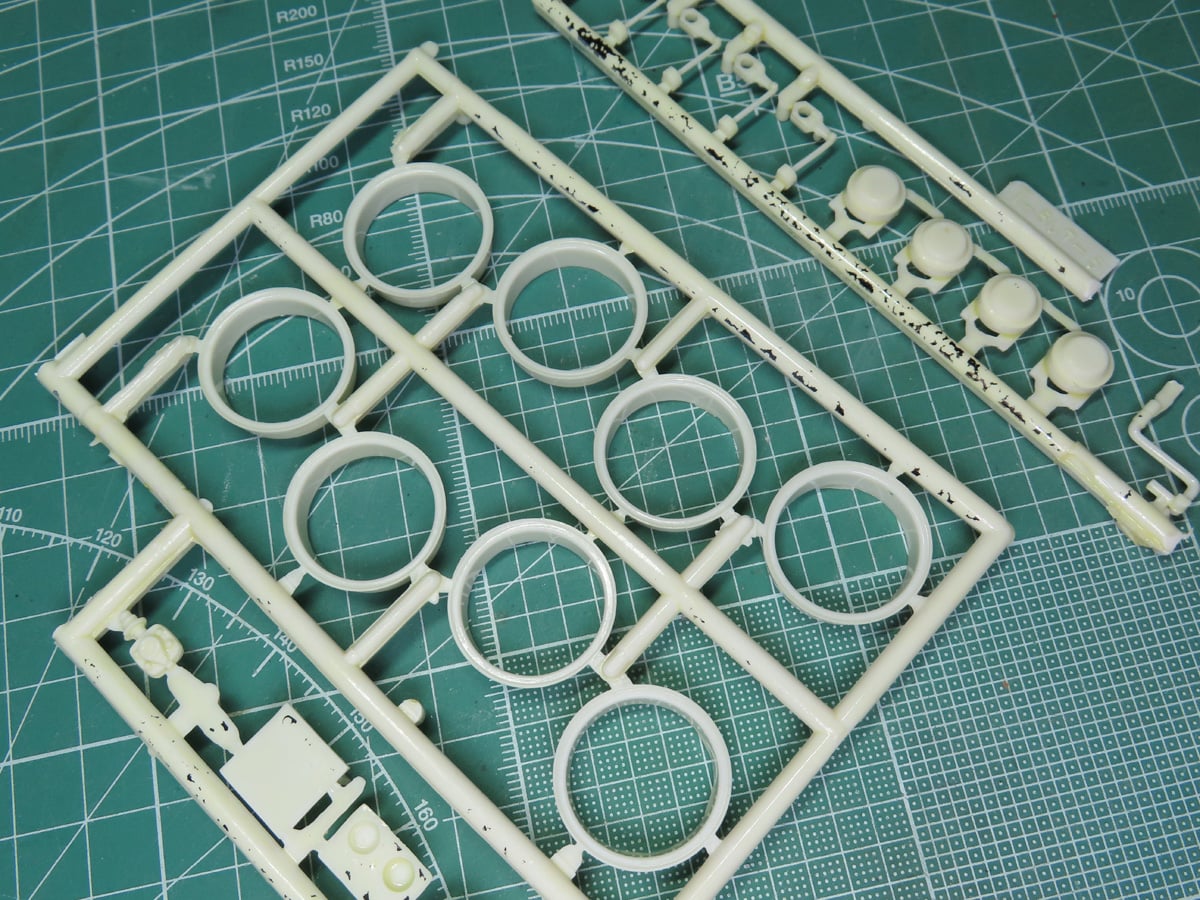
I’m returning to the underside chassis this week, and this meant I needed to strip down the chrome parts, as I’d need them for the next steps. I soaked the chromed parts in Super Clean Degreaser (Purple Bottle found in most automotive departments).
The chrome didn’t take too long to remove this time; within an hour, the majority of the chrome was gone, and I felt the parts were now usable. I washed each of the parts with soapy warm water and an ultra-soft toothbrush to finalize the cleaning.
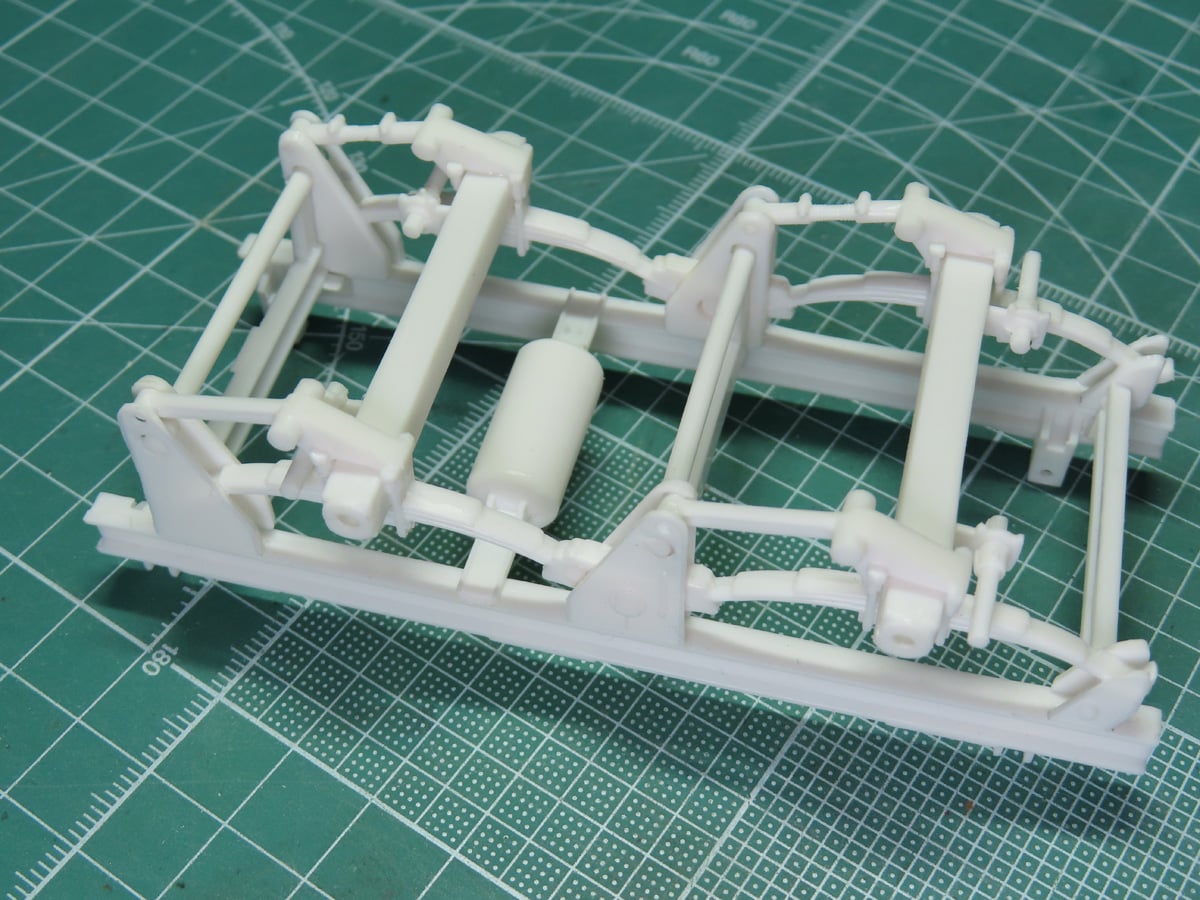
I cleaned and added the rest of the smaller parts to the chassis. It’s a bit cramped, but everything fit together quite well. With the exception of the center air tank needing a bit of extra sanding and polishing to get to the correct shape.
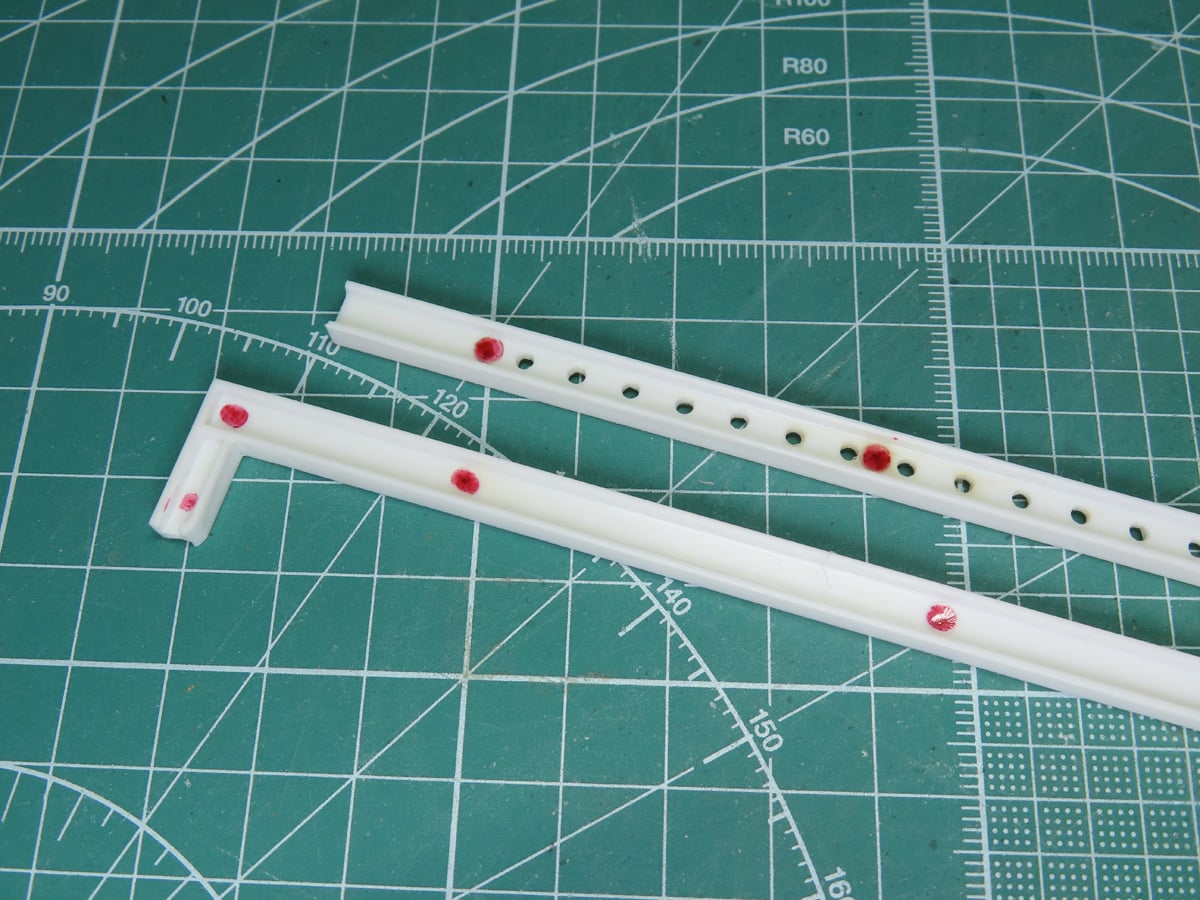
These are the underside frame rails that allow the chassis to be repositioned. I’ve highlighted the ejector pin marks in red, as these need to be removed. With the past few vintage kits I’ve built, I’ve gotten a bit bothered by the tedium of sanding away all these pin marks, so I purchased something to help speed up the process of eternal sanding.
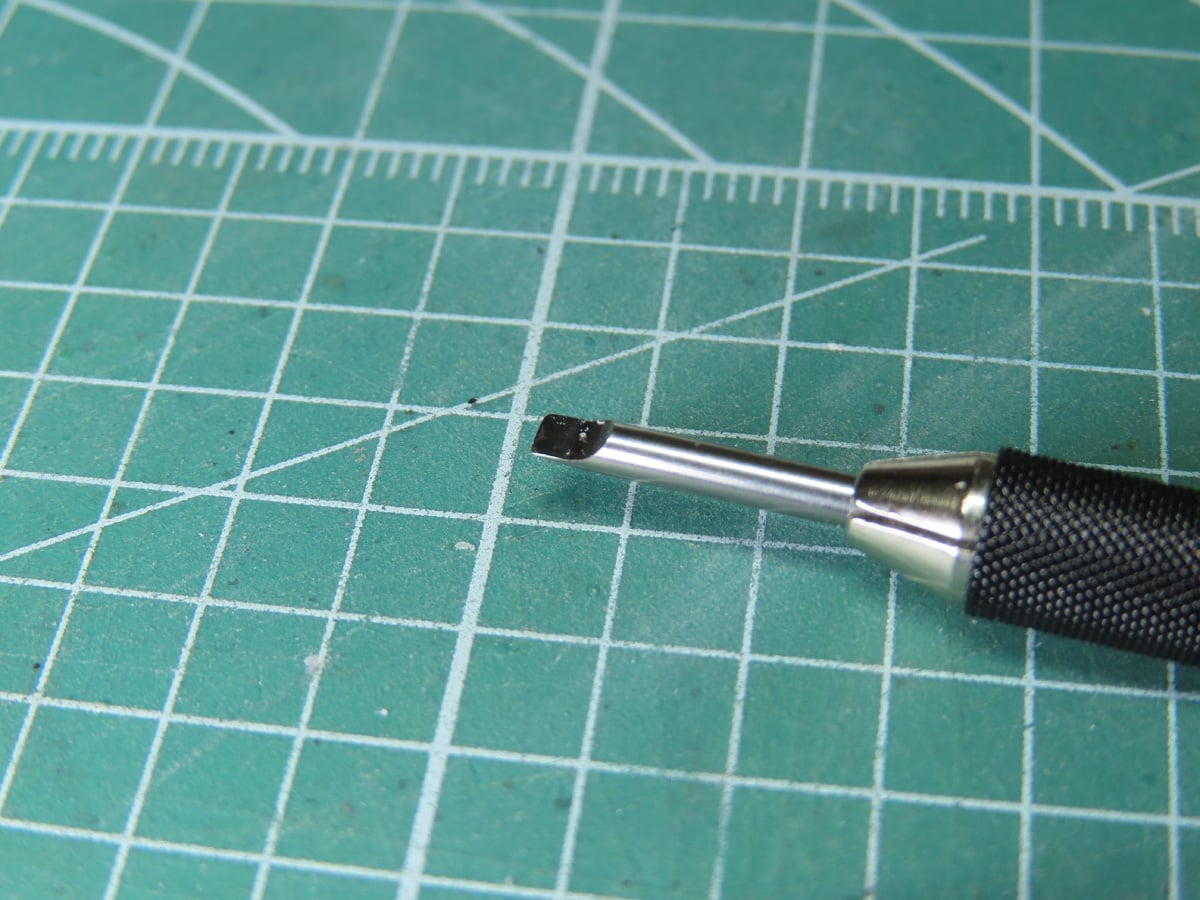
This is the new(ish) Tamiya Flat Chisel Blade 74143 2mm. I’d had my eye on this for a while now. It fits into the Tamiya Engraving Blade Holder 74139, but it can fit into a pin vise as well. Since I’ve purchased several of the Engraving Blades, this seemed like a good investment. The bottom side of the chisel is flat to cut into the raised plastic, and the top is slightly curved to help toss away the excess plastic.
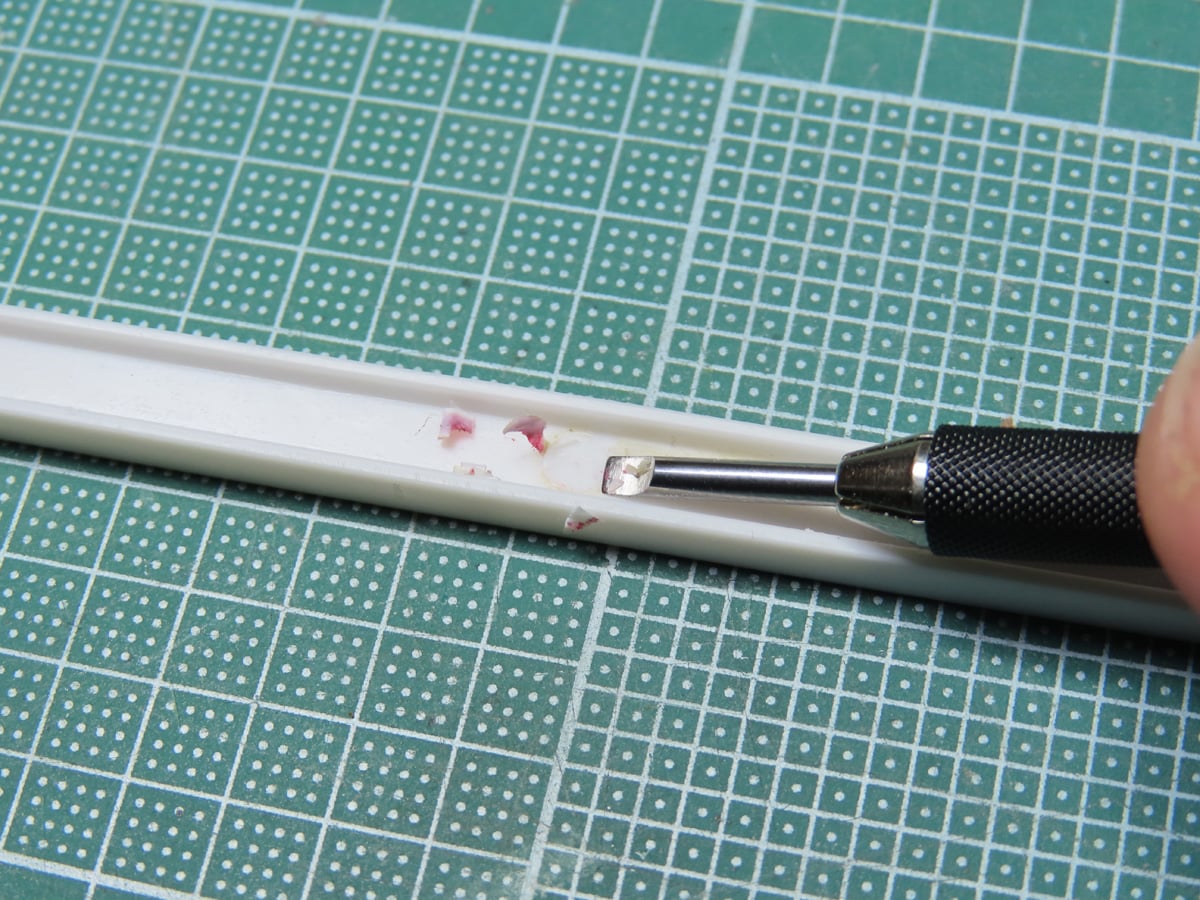
The chisel was really easy to use, and it made removing the pin marks very quick work. Once the plastic was removed, I passed over the part with a bit of sanding sponge just to level and smooth out the plastic.
The chisel is also sharp enough to easily remove the plastic, but not sharp enough to cut myself. Granted, if you applied excess pressure and it slipped, it’s definitely sharp enough to stab you that way. It will take me a bit more time to get the hang of this tool, but so far I’m glad I purchased it, and I wish I had done it sooner, as this would have saved me a lot of time with past projects.
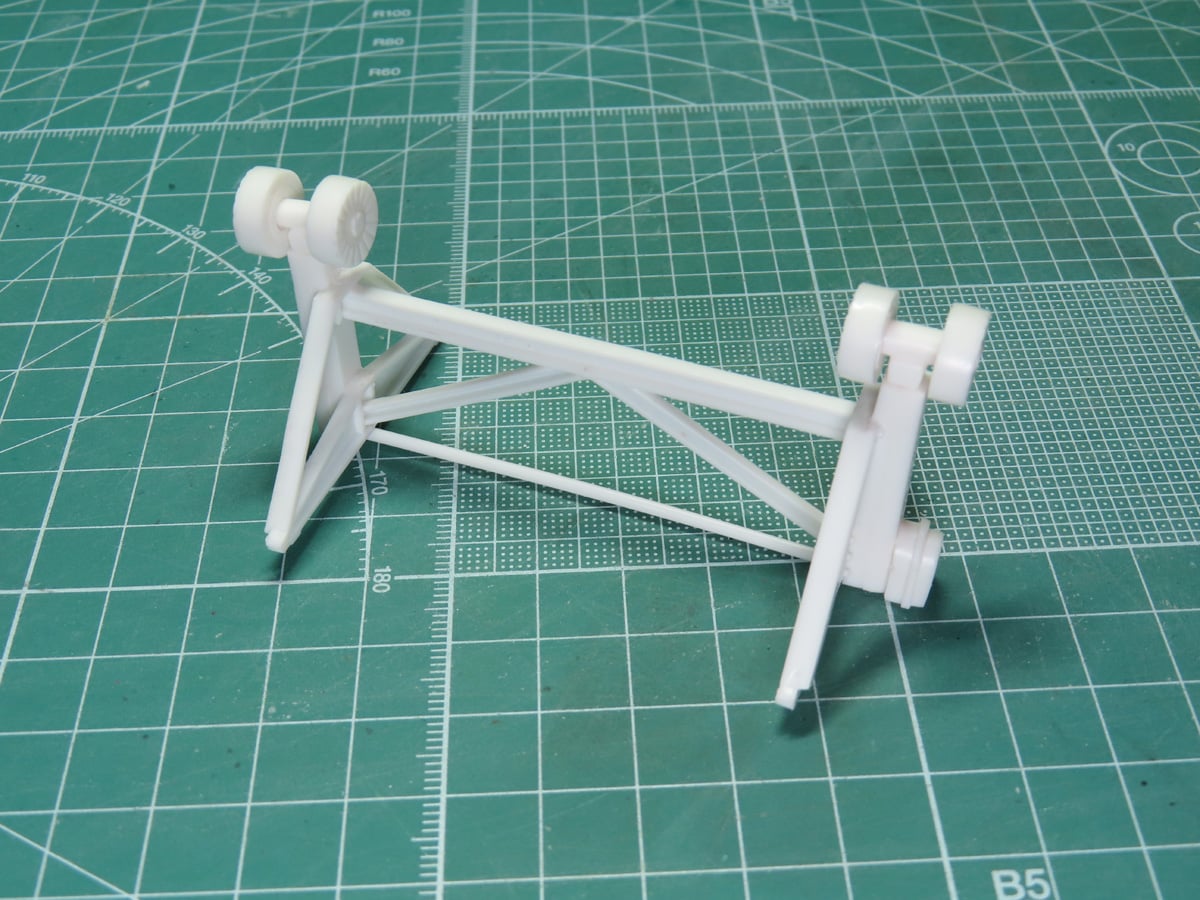
It took a bit of time to remove all of the seam lines, but I got everything cleaned and glued together for the support legs. There are alternate parts for the wheels to be longer and lowered, but since this is going to be stationed behind the truck, I used the raised legs.
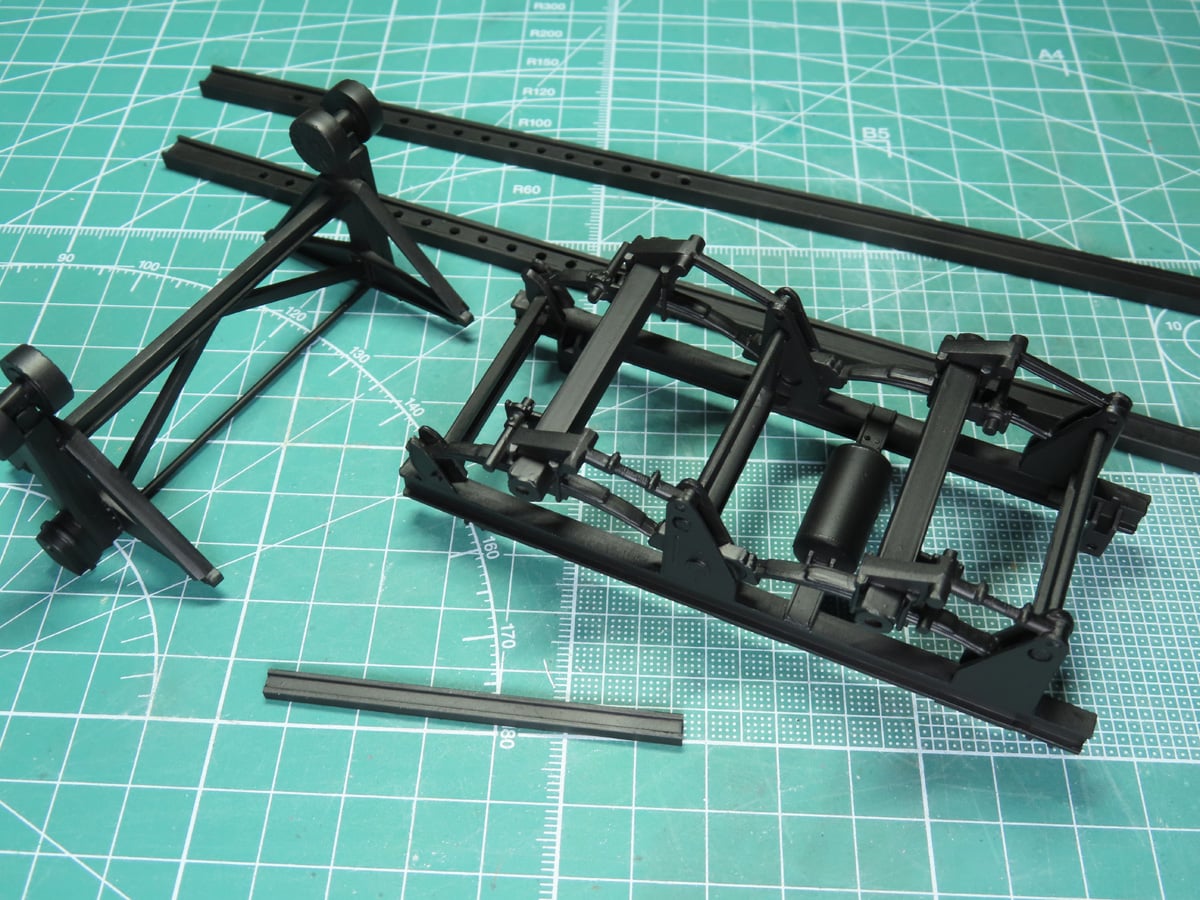
With everything assembled, I painted the parts with Tamiya LP-5 Semi-Gloss Black. It was a bit tricky to paint the chassis now that everything was together, but with some careful painting, everything was nicely coated.
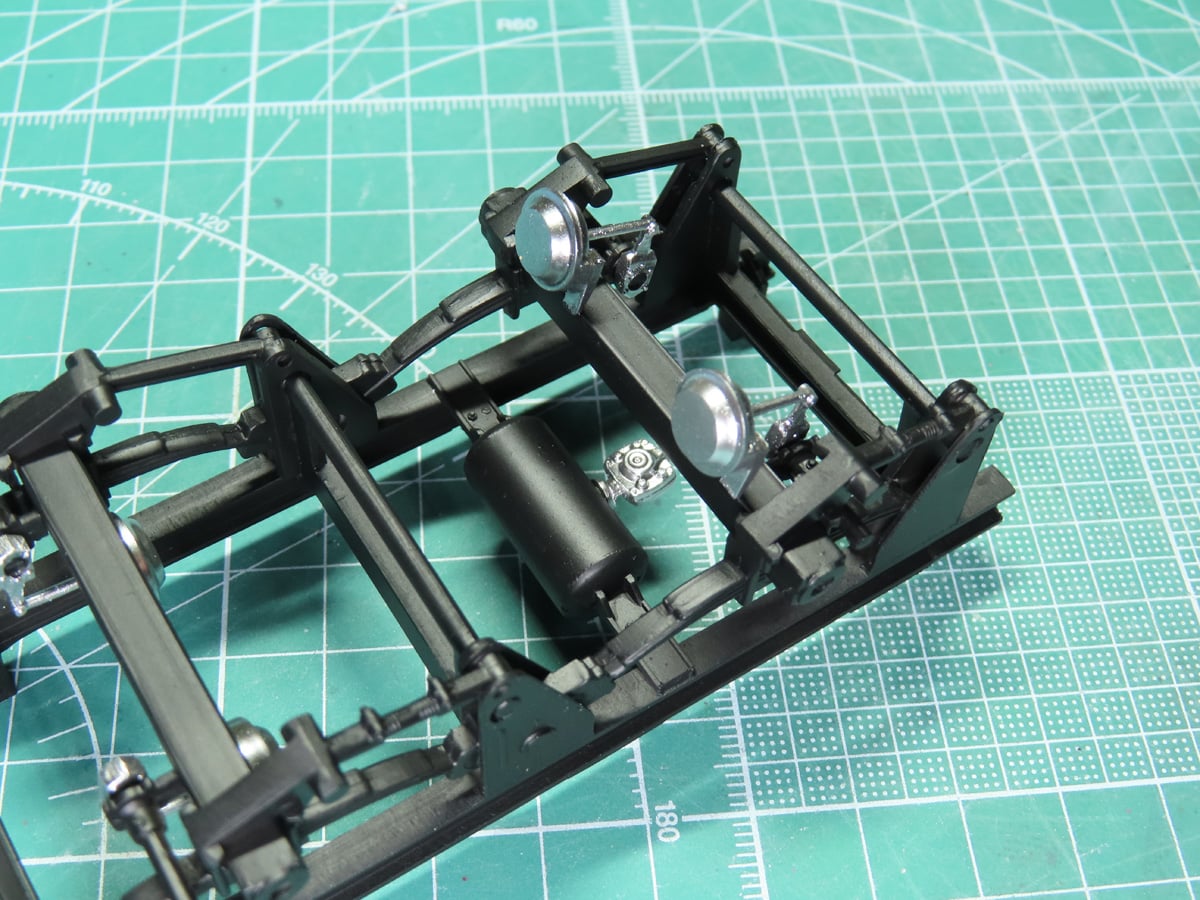
For the air chambers, air gauge, and chrome on the wheels, I decided to use Tamiya LP-48 Sparkling Silver instead of Alclad Chrome. The reason for this is that I needed something that would dry faster than the Alclad, but still have a chrome-like shine.
I thinned the paint about 50-50 with Mr Rapid Thinner T117. Then I lowered the pressure in my compressor to about 15 PSI. I sprayed the parts from a distance, just as I would with the Alclad. The end result was a beautiful reflective finish that was more hardy than the Alclad.
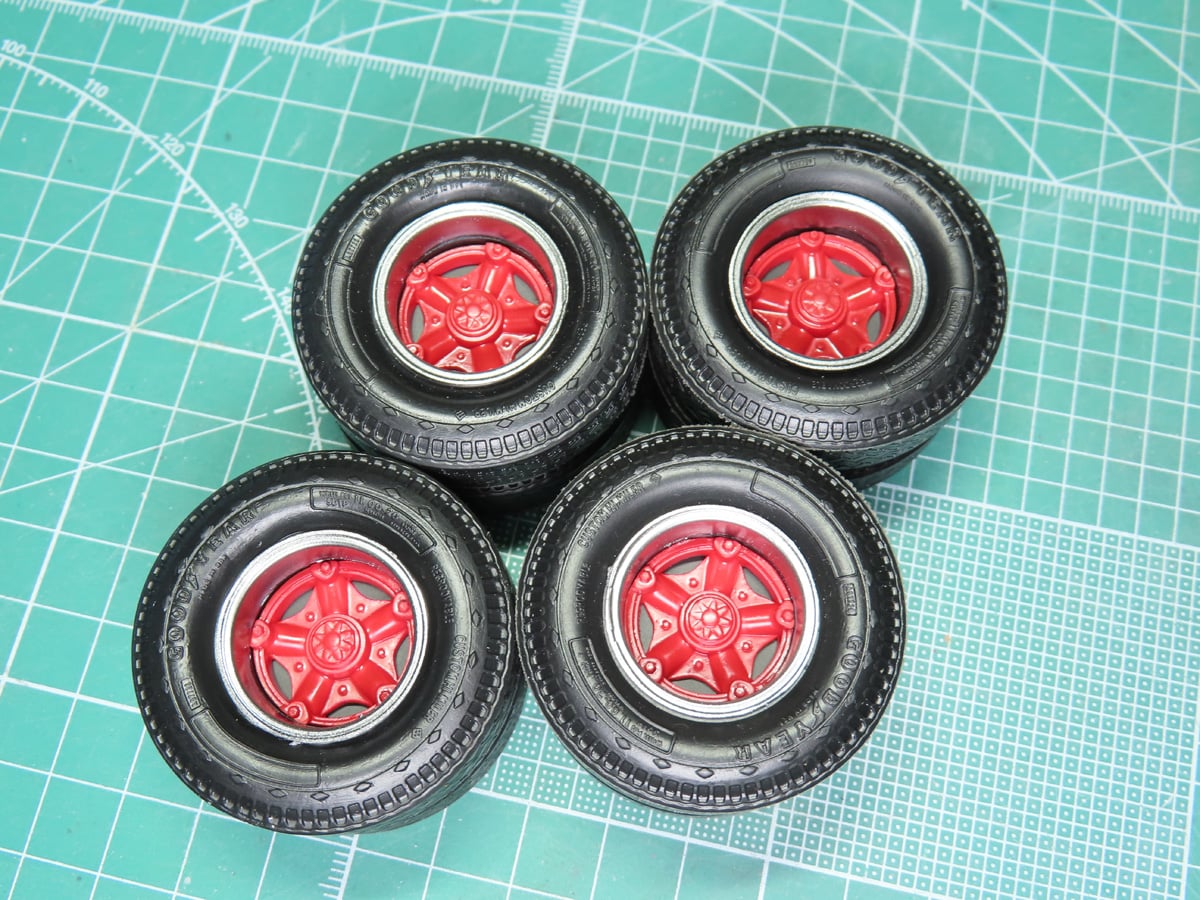
The tires and hubs fit together really well and were easy to build. I liked the dark red-brown that was shown on the box, so I used Mr Color Aqueous C33 Russet. This is a paint I’ve had for a long time but have never really had the chance to use. I really like this darker color, and I think it goes well with the chromed rims.
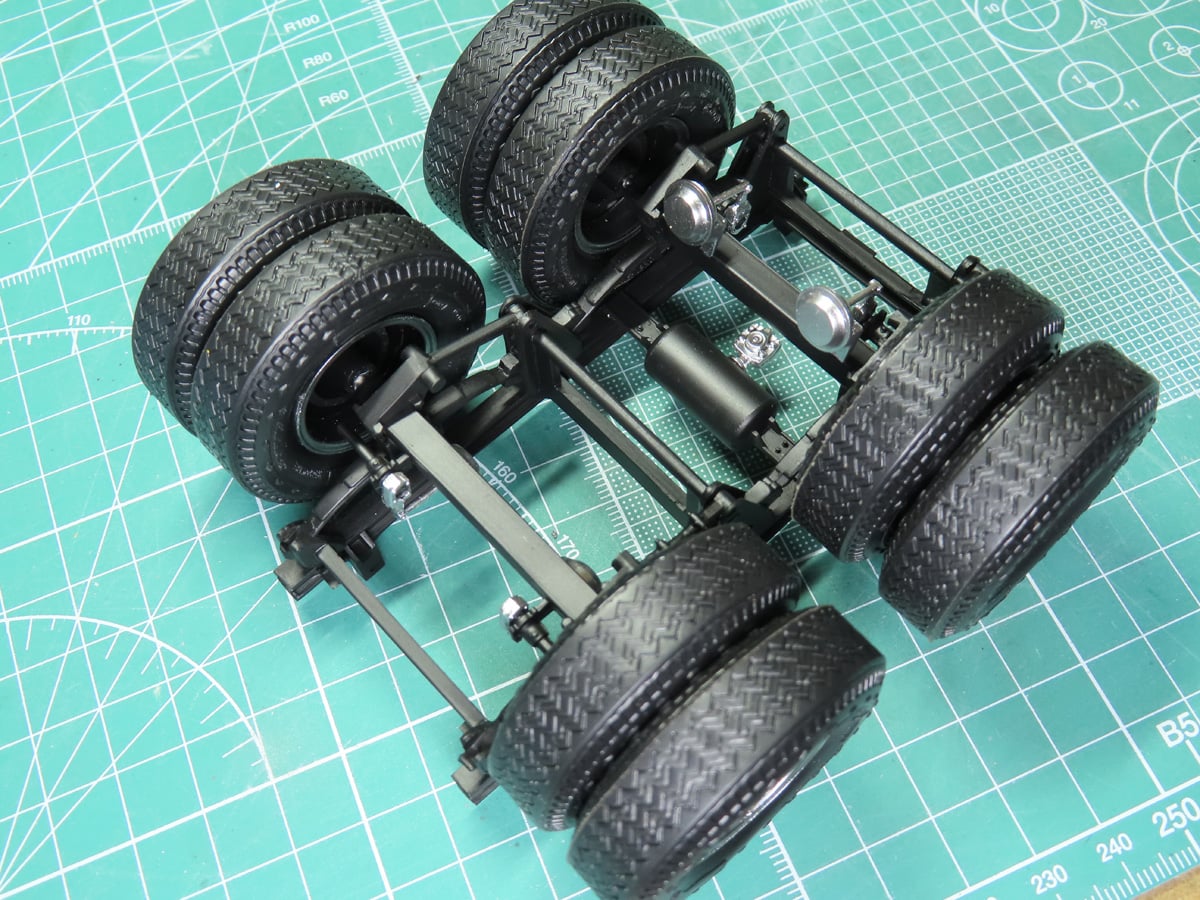
I inserted the metal axle rod through the chassis, and with a bit of super glue at each end, I was able to fix each of the wheels.
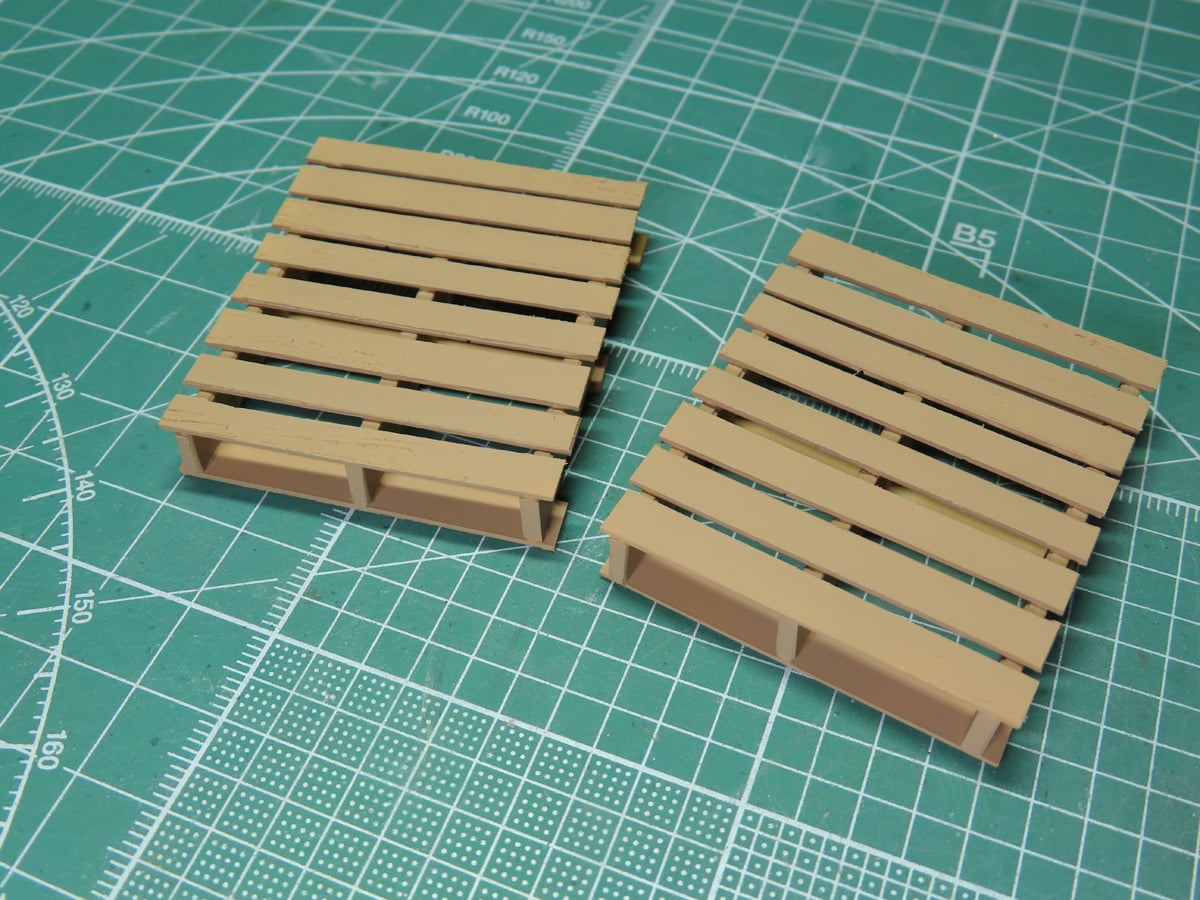
Turning back to the interior of the trailer, I wanted to add some pallets. I built these out of some Evergreen 1mm styrene sheet. The parts were glued together with Mr Cement Deluxe MC127. I then painted the pallets with Tamiya XF-78 Wooden Deck Tan.
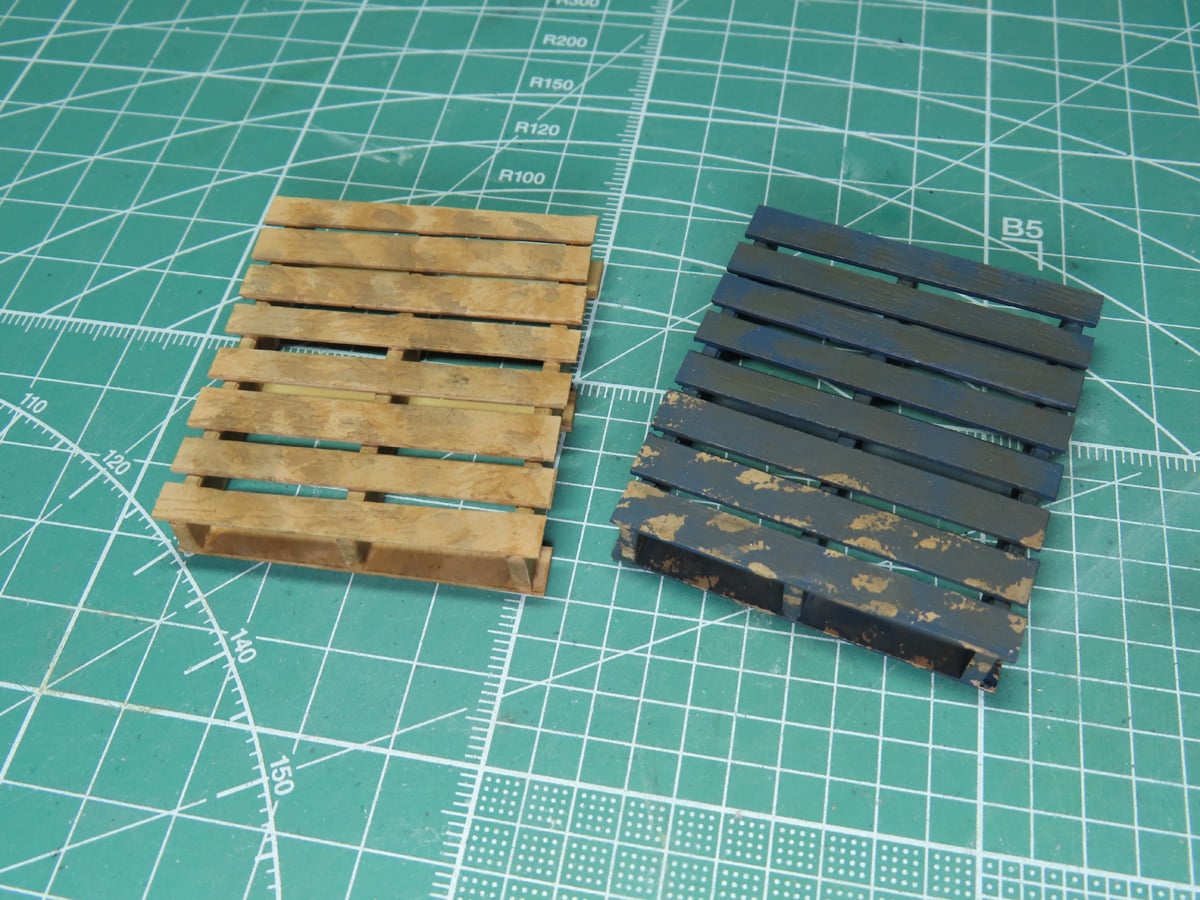
I coated one of the pallets with Mr Masking Sol Neo M132, and then I painted it with a 50-50 mix of Tamiya XF-8 Flat Blue and XF-50 Champ Bleu. After the masking was removed, I dirtied up the pallets with Tamiya Panel Line Accent Colors, Brown and Grey.
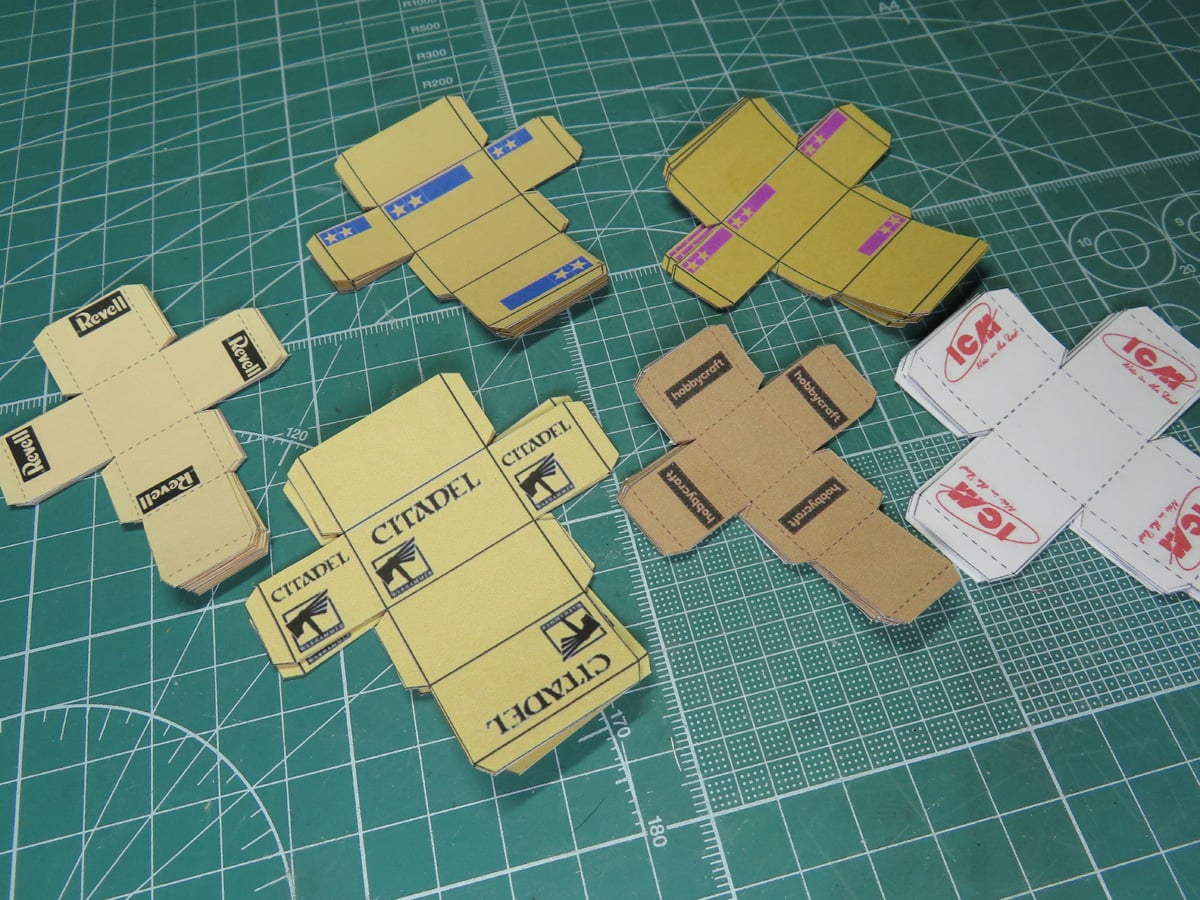
I spent a bit of an evening designing various boxes that would go onto the pallets. I had quite a bit of fun creating all of these. Some are real, like the Tamiya and Hobbycraft boxes. And others are more or less inspired by what I could find.
The logos are a bit bigger than they should be, but I wanted them larger so that viewers could easily identify them when they looked inside the trailer.
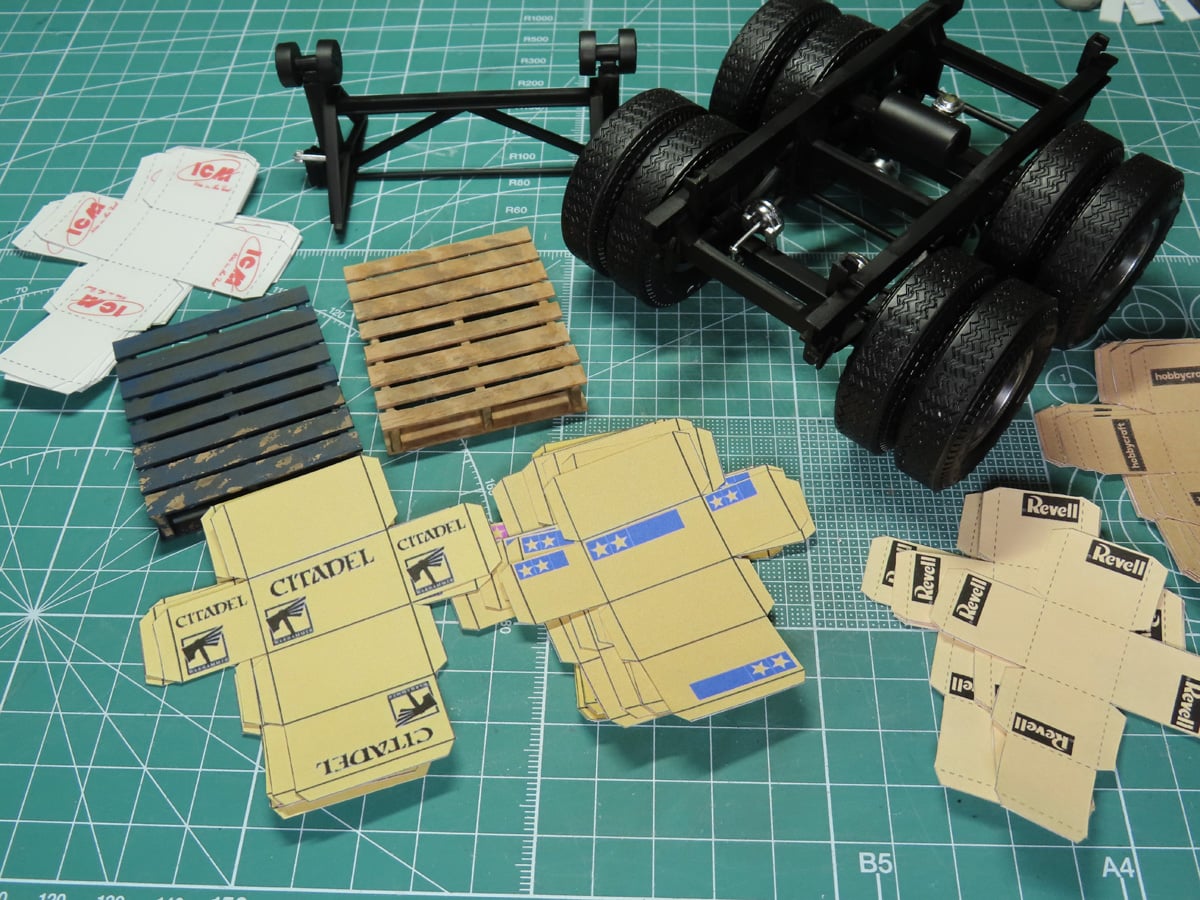
Unfortunately, this is where I ran out of time, so I couldn’t complete all of the boxes. That will have to wait for the next post. But I’m glad that I’ve gotten everything built, painted and completed for the underside.
I’ll be adding these to the trailer after the final painting and detailing is completed. This will make things easier for me to move around and paint. Plus, that chassis is quite heavy now that the tires are added, and knowing me, that’s an accident waiting to happen.
I was pleased with how much work I was able to get done this week, and I think that this next post might be the last. All that’s really left to do is paint the exterior and then add all the parts together. I can’t wait to see it, especially when you open the doors and see all of those boxes full of kits!
To be continued…
About the Author:
Jared Demes is a modeler from southern Alberta. He has been building models since he was 4 years old when his Dad first introduced him to the hobby. He has written for several magazines including, Fine Scale Modeler, Scale Aircraft Modeling, Phoenix Scale Models, and others. He has an interest in all modeling subjects, with a focus on WWII Japanese aircraft and Science Fiction.
Jared has won several IPMS awards for his modeling, and currently operates his YouTube channel rebelsatcloudnine, where he showcases model builds and product demonstrations.