
Frame Assembly
This is the third part of the AMT Kenworth Aerodyne Cabover Tractor Truck 1/25 Scale 1463
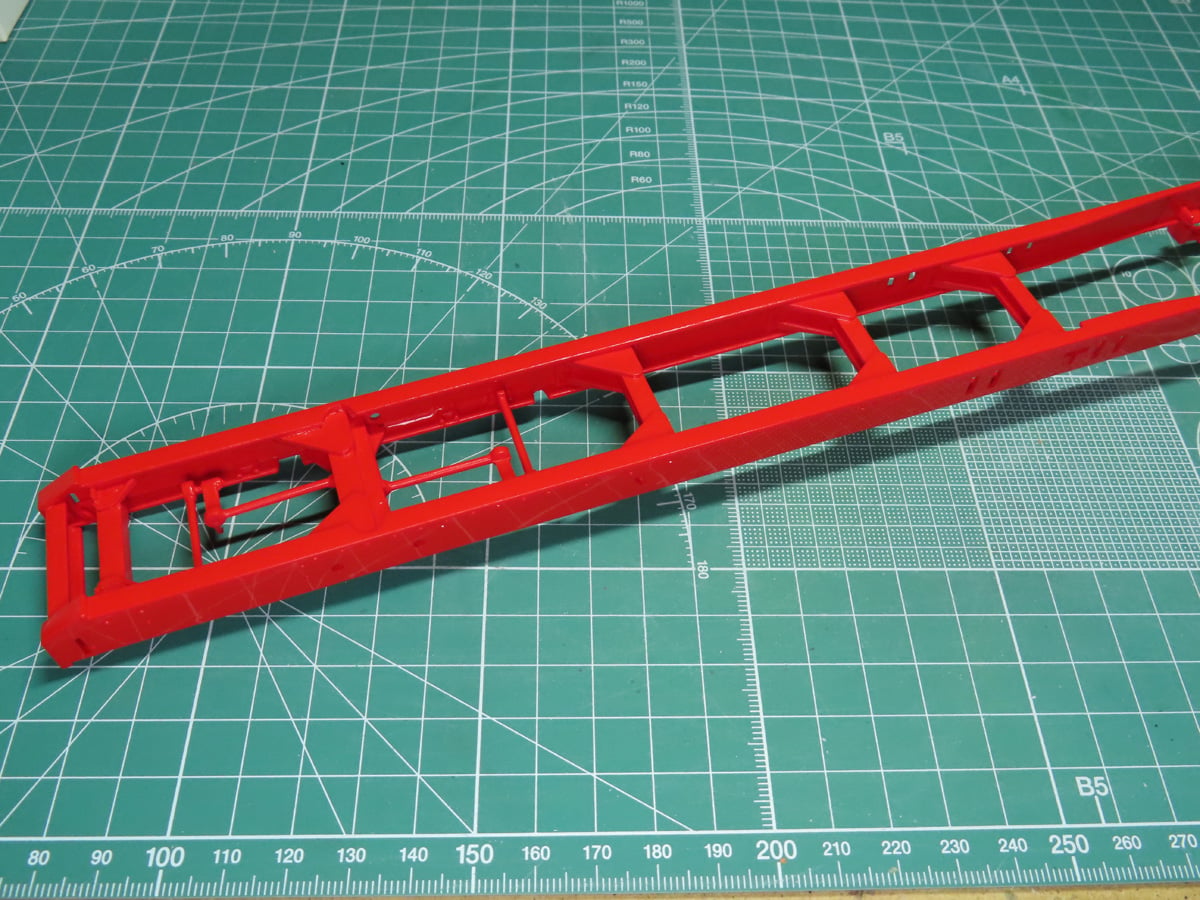
This week I’m going to be working on the frame for the Aerodyne. And I want to do my best to get everything as straight as I can for a proper alignment. The frames were a bit twisted to begin with, and there are a lot of flash and ejector pin marks to clean up. This actually took up the majority of my work this week.
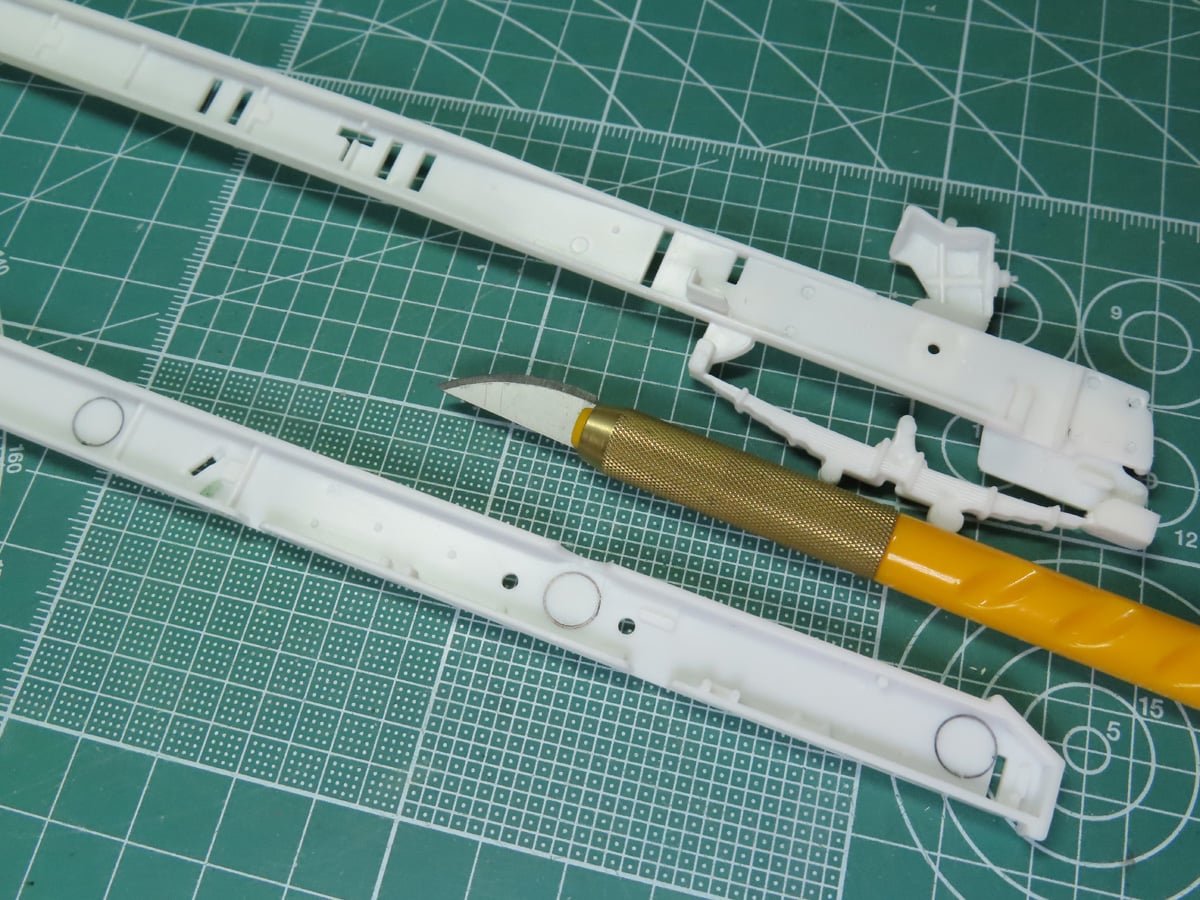
I started by removing the large ejector pins in the centers of the frames. On the lower frame, I’ve highlighted the pins with a marker. I found them easy to scrape off with a curved blade in my hobby knife.
Once the ejection pin marks were removed, I sanded the edges of the frames to remove any remaining seamlines.
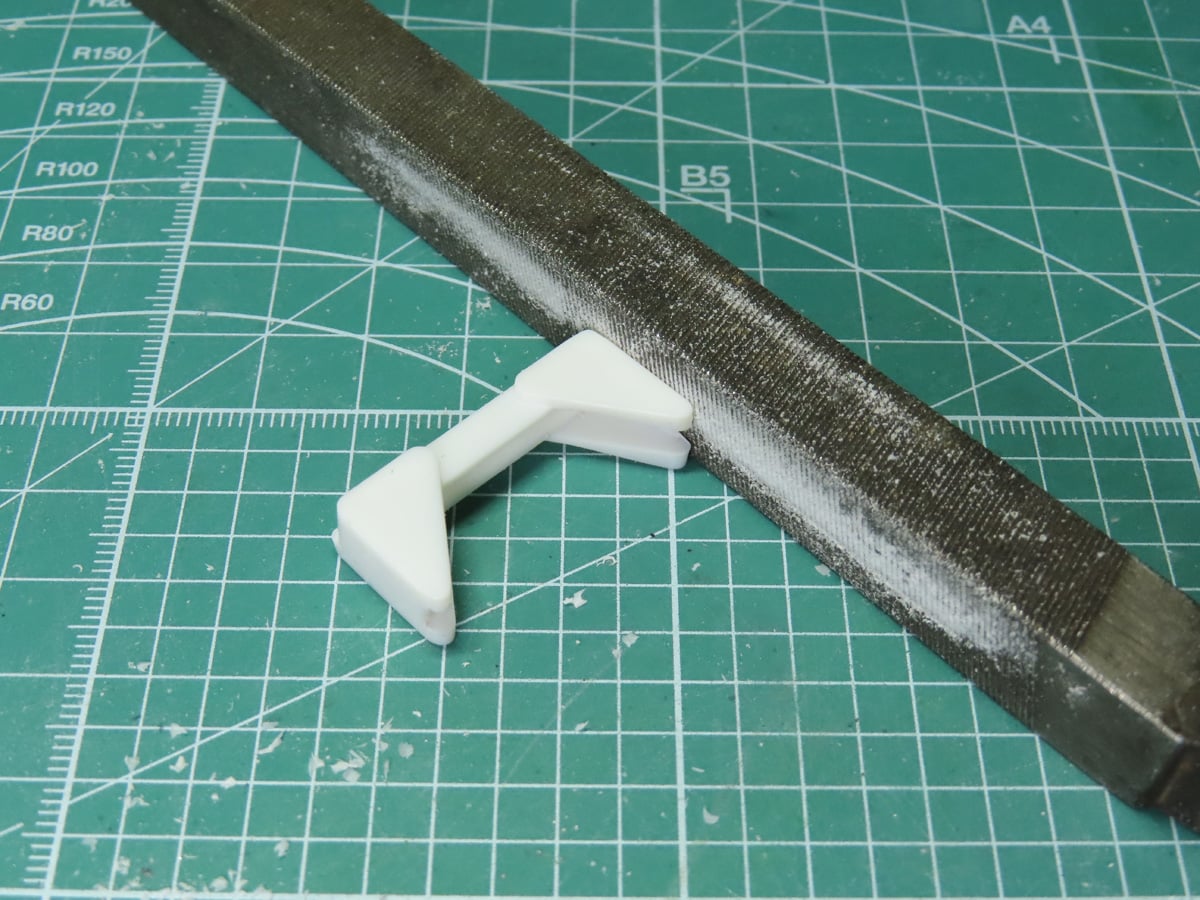
The center brackets were quite uneven, and I needed to straighten the sides so that the frames would be straight. I used a heavy metal file that had a good 90 degree angle, and I carefully sanded the bracers until they were straight.
These took a bit of time to properly sand down, but it was essential to the construction.
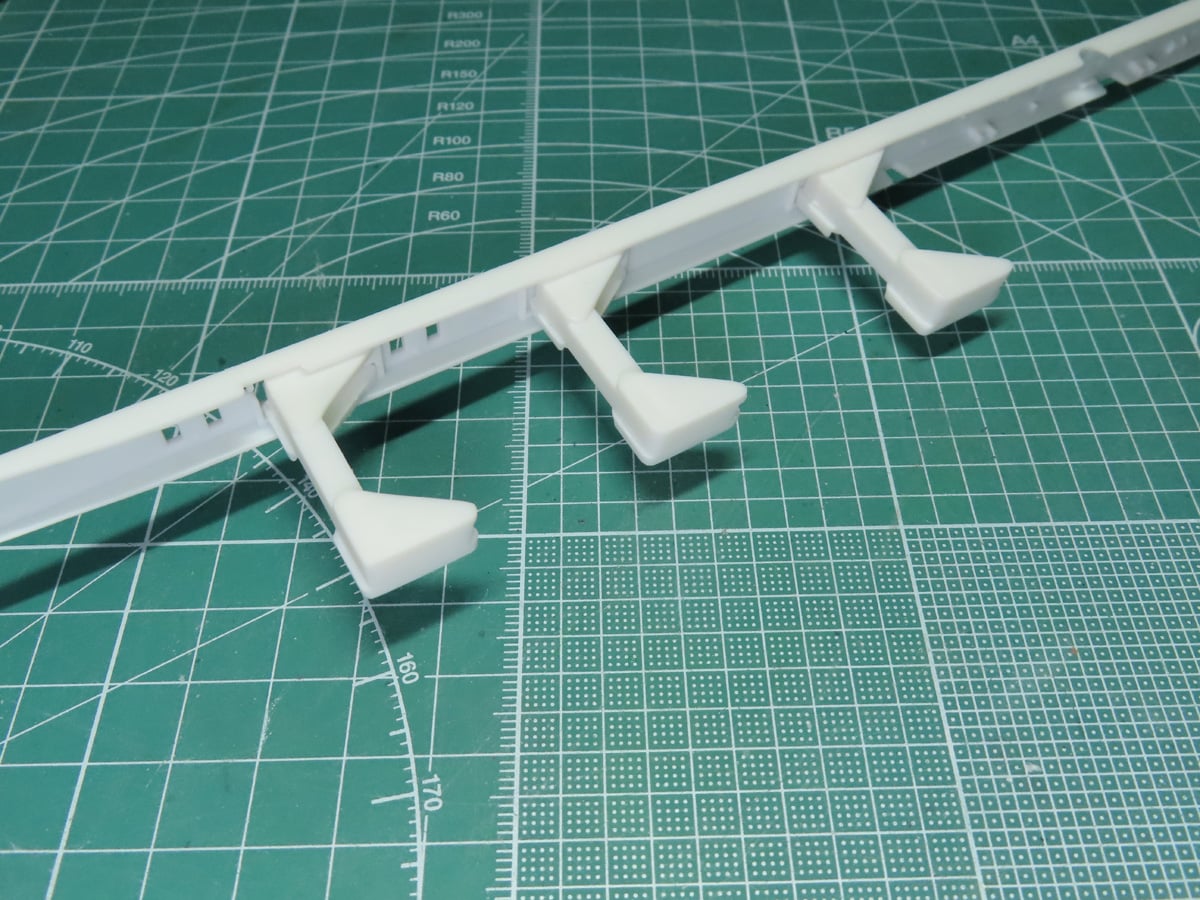
I glued the three main bracers to the inside of the frame with Mr Cement Deluxe. I bought this cement to see how it compared to the standard Mr Cement, and I was impressed by the strong bond it made with this styrene.
With these 3 braces now in place and at the proper angle, I’m feeling confident to glue on the other side of the frame.
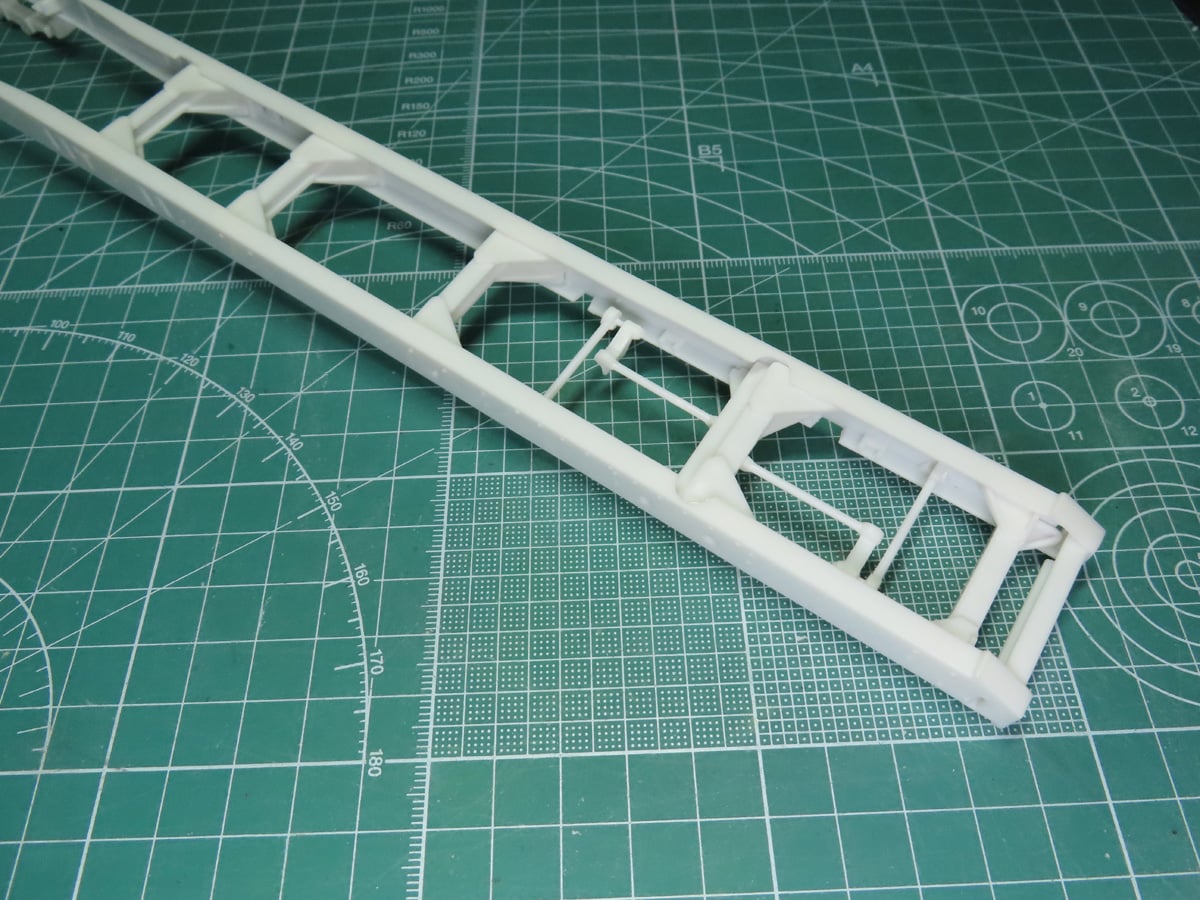
With the other side of the frame secured, everything was now set, and I could add in the rest of the smaller bracers and not have to worry about the alignment. This made things a lot easier for me, and I was impressed with how strong the frame had become now that it was assembled.
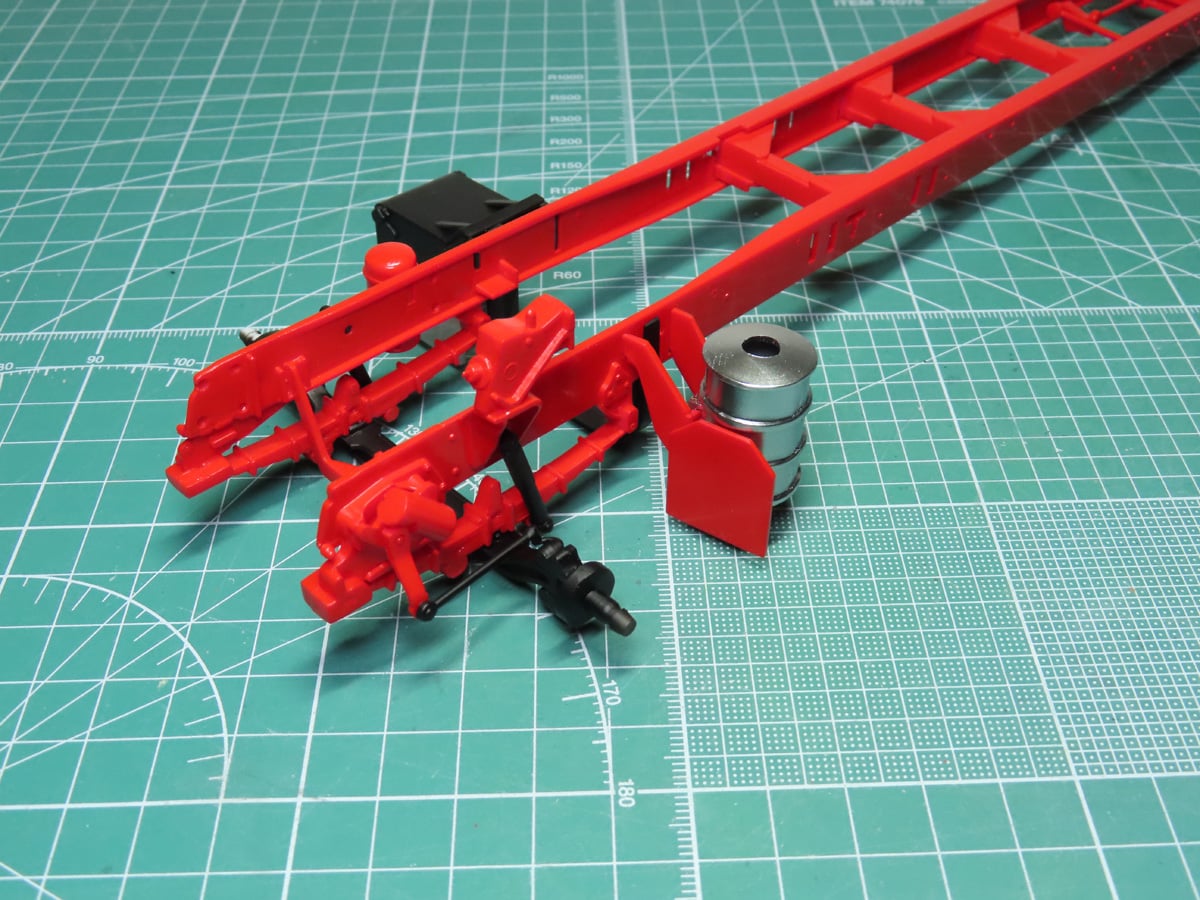
To paint the frame, I decided to use Tamiya LP-7 Pure Red, and my goodness, this is one beautiful color! I sprayed on a single base coat, which made the entire frame a bright pink color. And after that base coat had dried for a bit, I applied a second coat, which gave me this brilliant red.
Once the paint had dried a bit further, I wanted to add one final coat to give everything a nice uniform gloss. I thinned the Pure Red with more thinner, so that I could apply a wet coat. It was just a quick spray, and everything turned into a nice gloss.
This is my first time really using the Tamiya LP paints. I’ve had limited success with them, and I really like their metallics. But I admit I’ve had troubles with them in the past. With the Tamiya Acrylic range or the Mr. Color Lacquers, I can thin these paints down about 50-50 and spray with no issue.
However, the LP range is a bit different, and some of the paints are as consistent as others. They are thinner than you’d expect, and they almost feel like pre-thinned paints. But I’ve learned that they don’t need a lot of thinner to get going. They do need some thinner, but I only added in 10-20% thinner, and with that, they sprayed wonderfully.
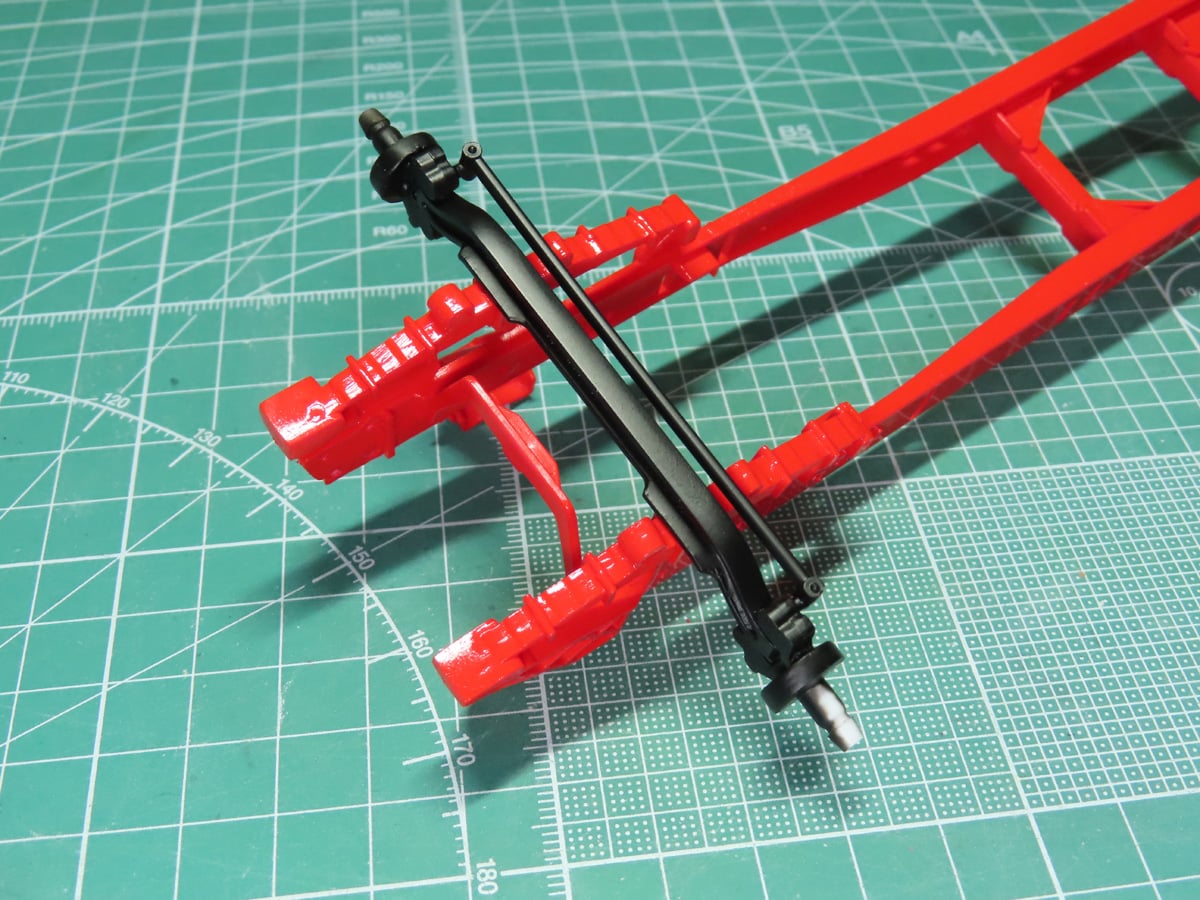
For the front axle, I sprayed Tamiya LP-5 Semi-gloss Black. And then the axle was super glued with BSI 101 CA Glue to the frame, to ensure a solid bond of the parts.
I decided to try out the Tamiya Semi-Gloss as I usually use Mr Color C92 Semi- Gloss Black. The Tamiya has a bit more of a sheen to it than the Mr Color, and I quite like this effect.
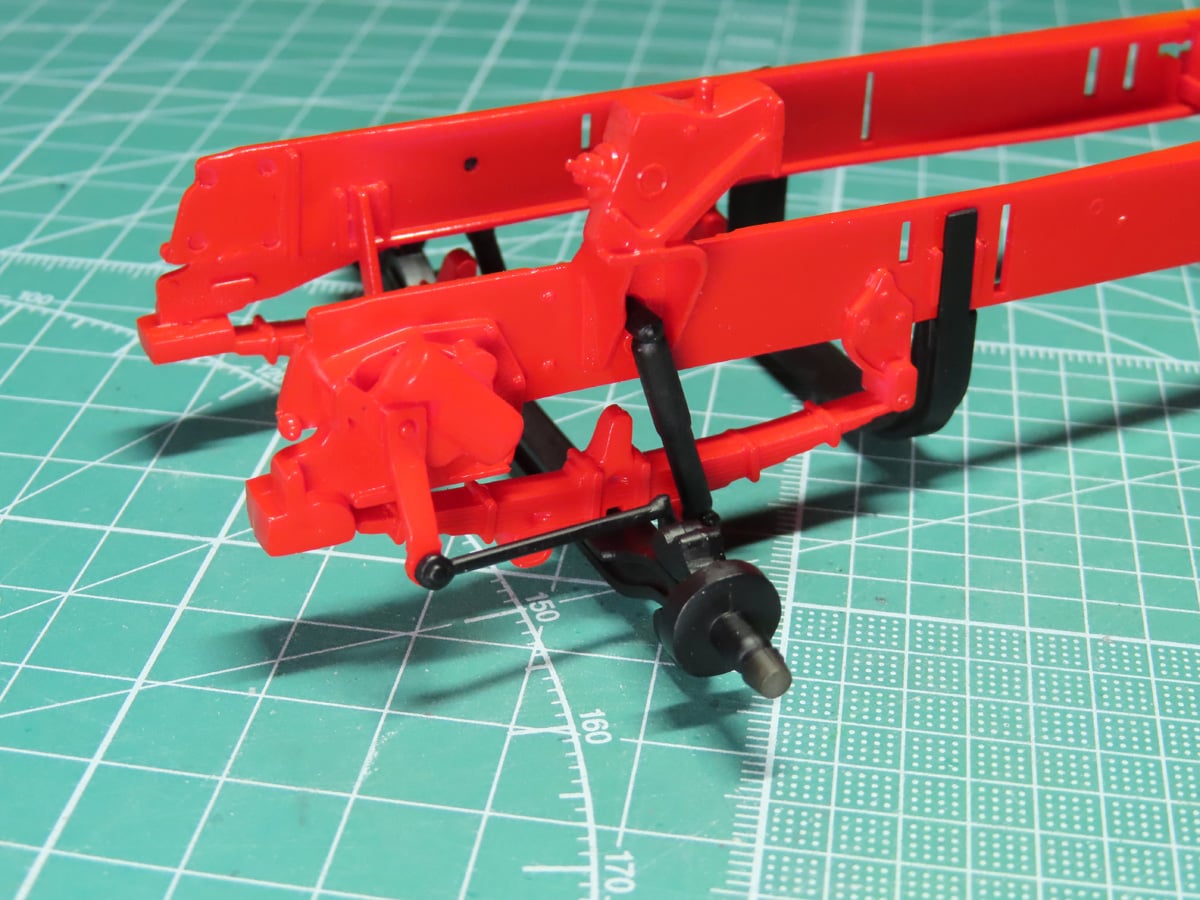
Next, I added the shocks that connected to the leaf spring suspension. I searched for quite a while online, and I couldn’t figure out what parts 42,31, and 32 were. Or what color they are supposed to be, as they are not listed in the instructions.
Based on references I could find, most of these parts were painted the same as the frame.
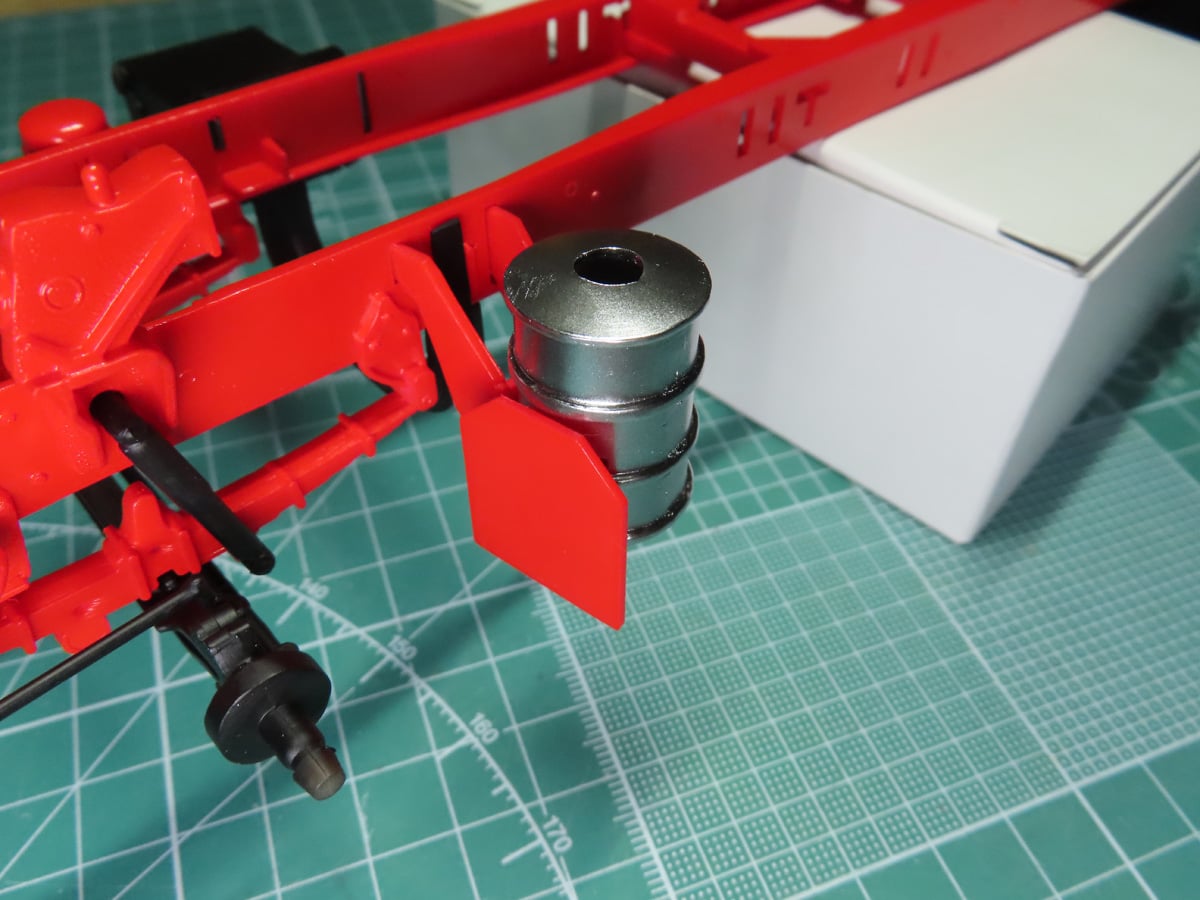
The air filter was painted with a thin, light coat of Tamiya LP-48 Sparkling Silver. I wanted this to be a bright silver and not chrome, and that Sparkling Silver turned out great. I’ve never gotten it this reflective before.
The filter was glued to the mounting bracket on the frame, and the red shield was added to the front.
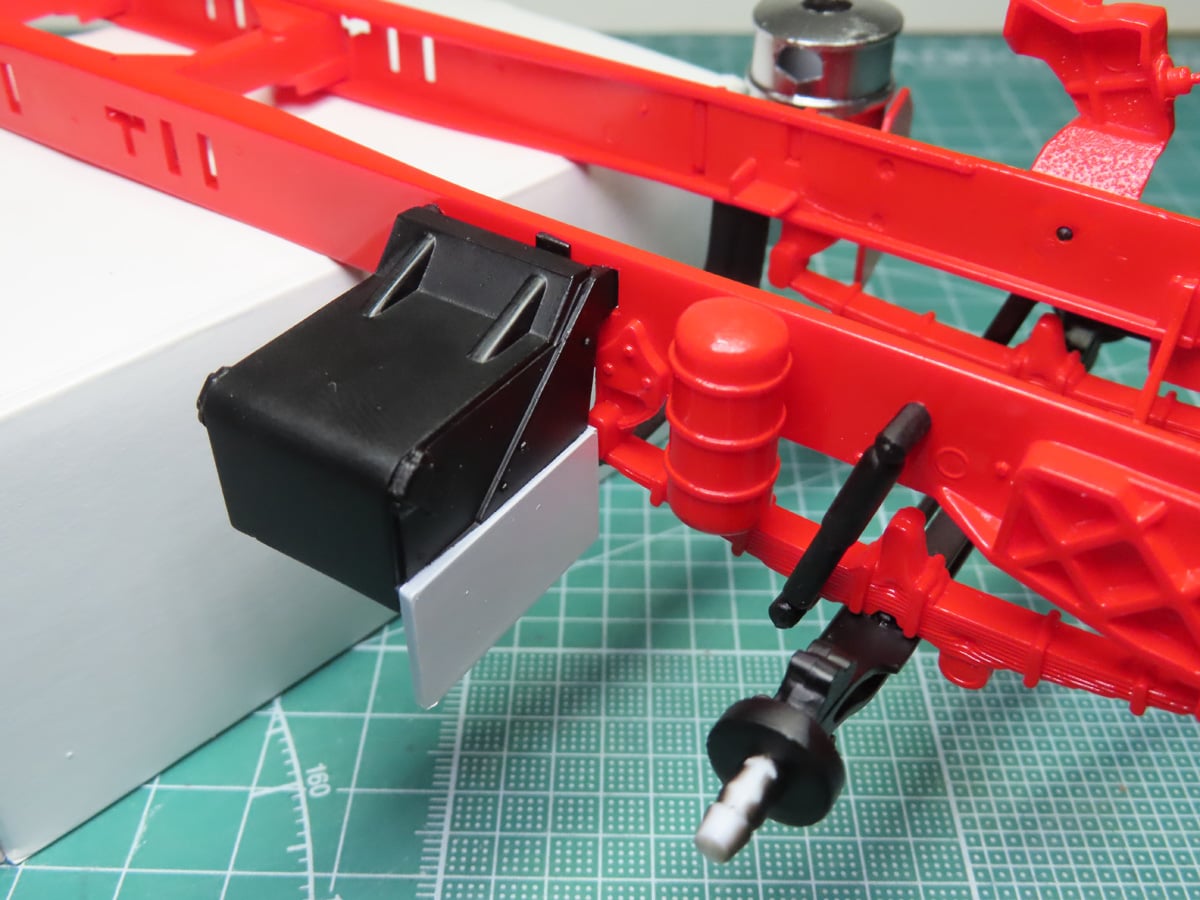
Onto the other side, I added the battery compartment and painted it, Semi-Gloss Black. There is a fully detailed battery on the inside that sadly won’t be seen. I painted this black as the instructions directed, but most that I’ve seen online are usually the same color as the rest of the frame.
I also added the cylinder to the right, and I found some conflicting data on what it is. It might be either a fuel filter or a Lubifier. This seems to change depending on who owns the vehicle.
This is where I’ll leave things for the moment. In the next post, I want to try to finish the frame, and that will require adding the suspension to the back. And that part is going to be a lot of fun, and I’m looking forward to painting on more red.
I’m considering at this stage to add on a panel wash to highlight some of the details that are all hidden within all the red. A lot of the parts are blending together, and it would be nice to show some of the details. I’ll have to consider this before I proceed further with the build, as a lot more parts are going to be added.
I’m glad that I took the extra time to properly clean and align the parts. It’s paid off, and things look a lot nicer as a result. Mind you, I was expecting this sort of thing to happen with the kit being this old. But I’m very impressed with the quality AMT put into designing this model. I imagine a lot of youth had fun building a miniature replica of the rigs their dad’s got to drive.
To be continued…
About the Author:
Jared Demes is a modeler from southern Alberta. He has been building models since he was 4 years old when his Dad first introduced him to the hobby. He has written for several magazines including, Fine Scale Modeler, Scale Aircraft Modeling, Phoenix Scale Models, and others. He has an interest in all modeling subjects, with a focus on WWII Japanese aircraft and Science Fiction.
Jared has won several IPMS awards for his modeling, and currently operates his YouTube channel rebelsatcloudnine, where he showcases model builds and product demonstrations.