
Engine and Frame Assembly
This is the fourth part of the AMT Kenworth Aerodyne Cabover Tractor Truck 1/25 Scale 1463
This past week, things just kept piling on and on. And it makes you start to think that things will never slow down. An unexpected event this week meant that I was delayed further from working on this project. And with the weekend on the horizon, I was really looking forward to getting some modeling done.
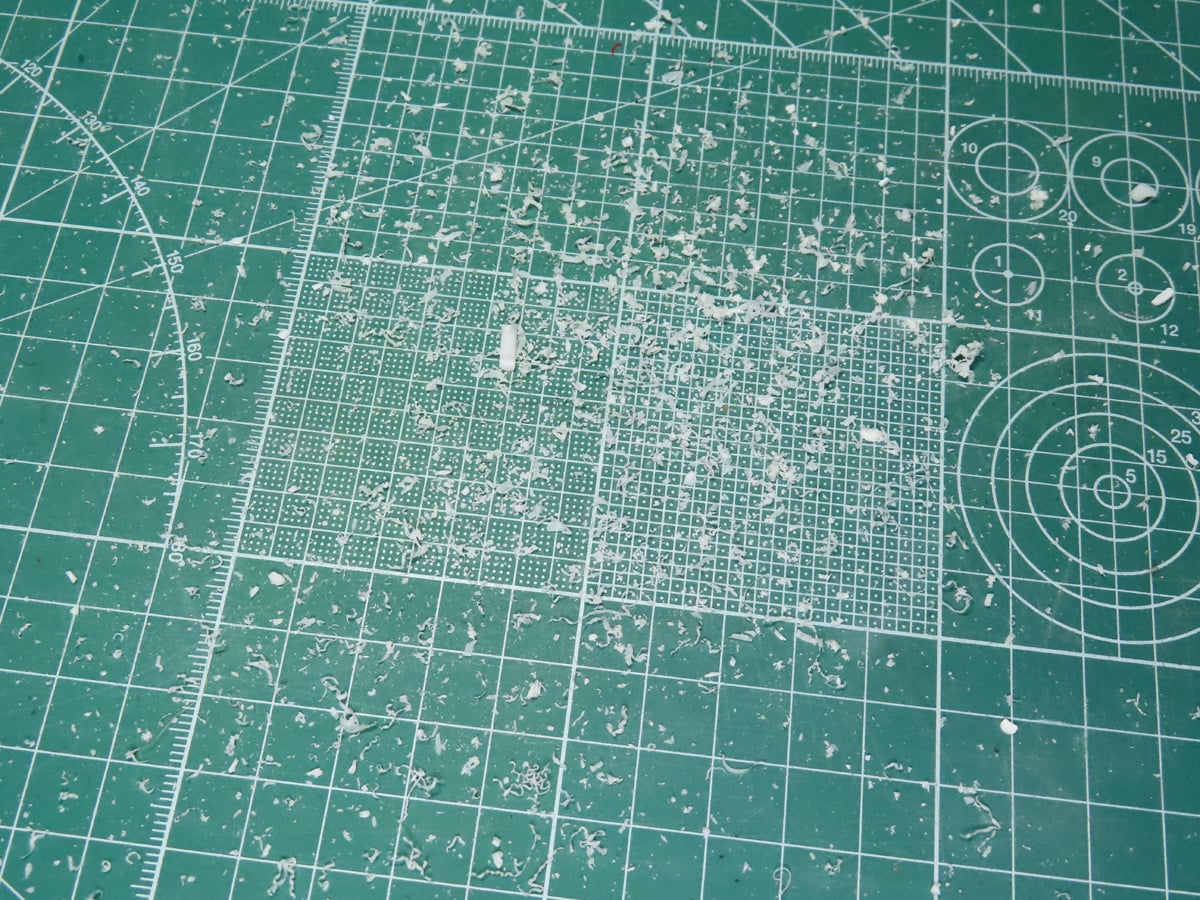
As I contemplated the busy week I was having, and even the model show that I had missed, I cut the parts off the sprues and began the long process of cleaning the parts. With some relaxing jazz in the background, I quickly became lost in a mess of styrene shavings, and I quickly forgot about the past troubles. Kind of amazing how scale modeling can do that.
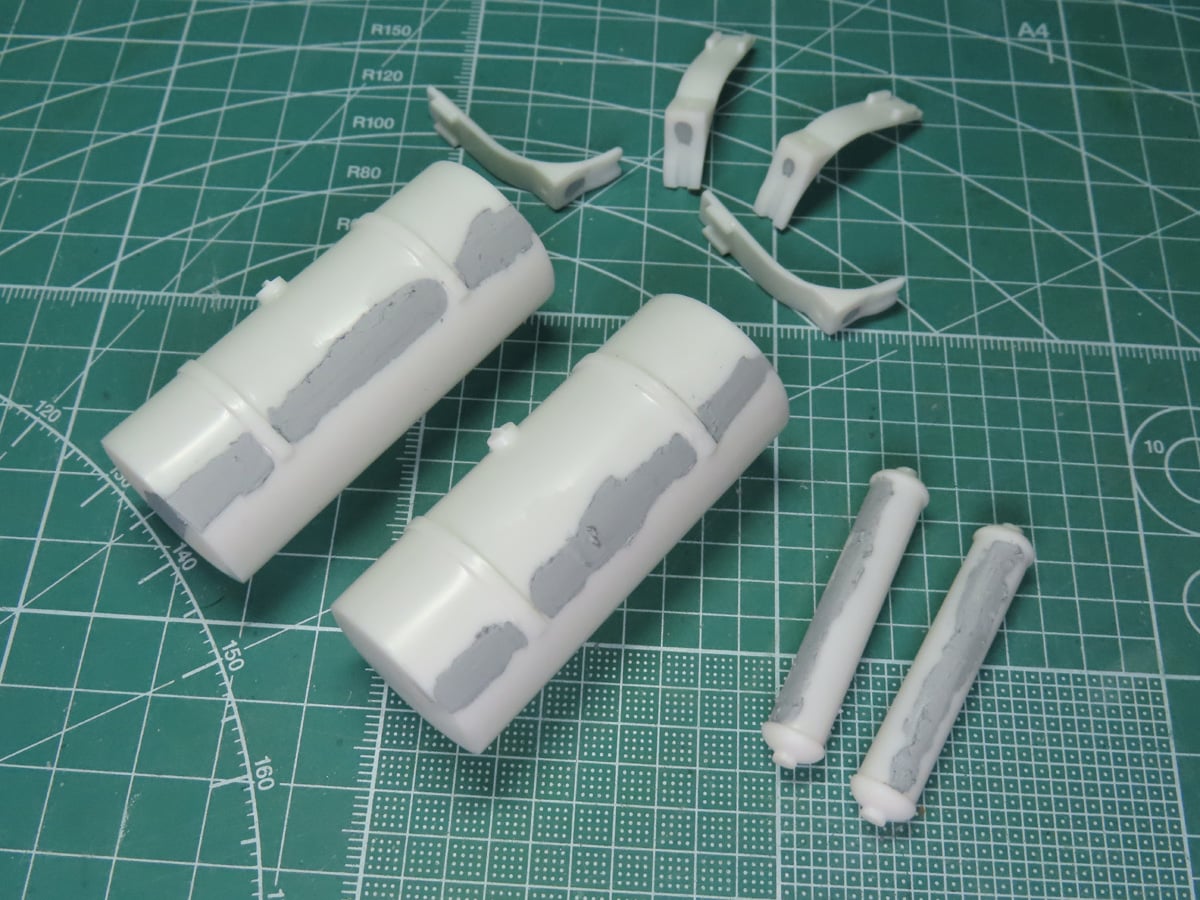
Some of the parts needed filler. I applied Tamiya Basic Putty to the fuel and air tanks. The fuel tanks were going to be chromed, so I needed them as clean and polished as possible. Any scratches will be quickly visible on a silver finish.
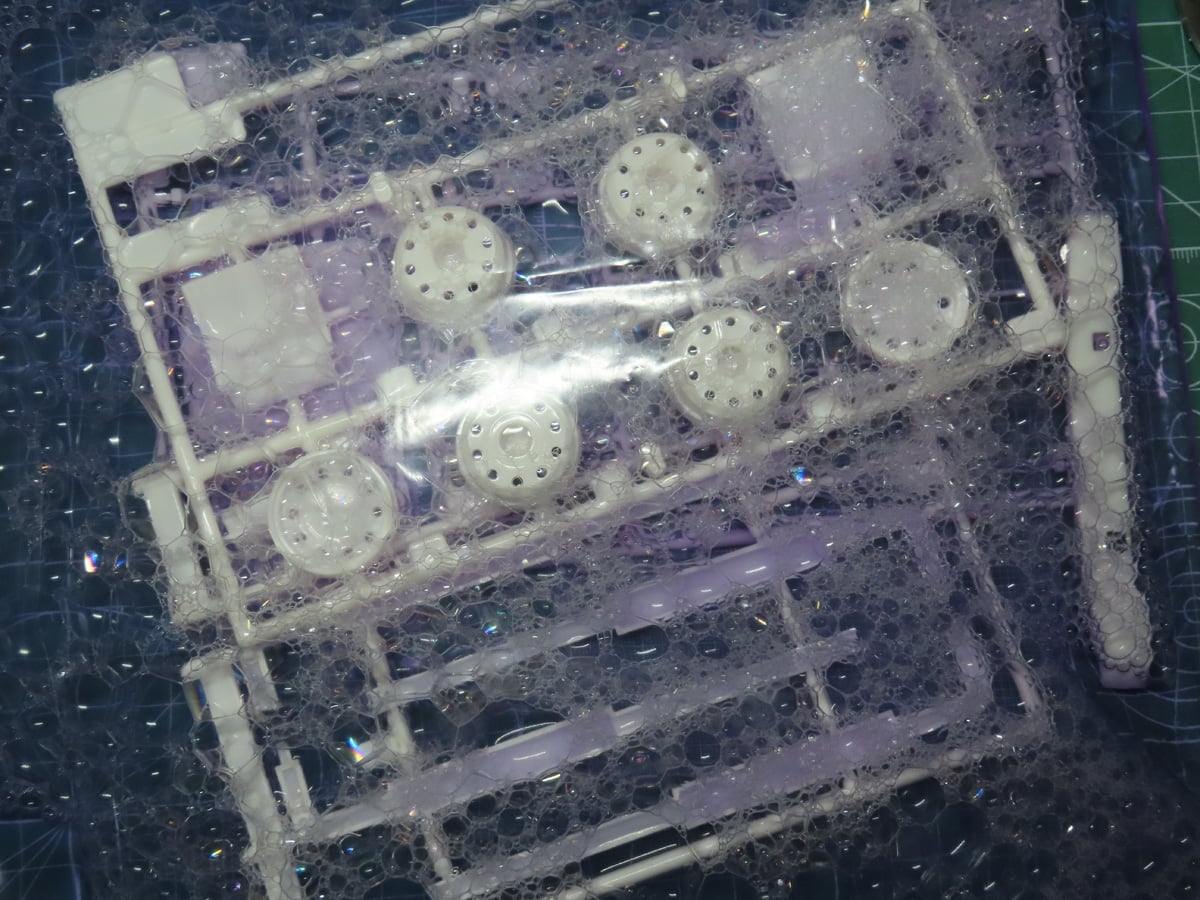
I wanted to strip the chrome from the parts. As there are sink marks and flash on many of these parts, it will be easier for me to repaint them myself.
To start, I needed to remove the chrome. I placed the sprues in a large bag and poured in a bottle of Super Clean (Purple Bottle, found in most automotive sections).
When I had done this previously, the chrome came off the parts in a few minutes. I’m not sure what Chrome AMT is using, but this took over 8 hours to remove.

Once the chrome was removed, I scrubbed the parts with dish soap. I was concerned that leaving the parts in the Super Clean for so long would damage the parts and make the plastic brittle. But I was relieved to see that the parts kept their integrity, and I was now able to use these parts.
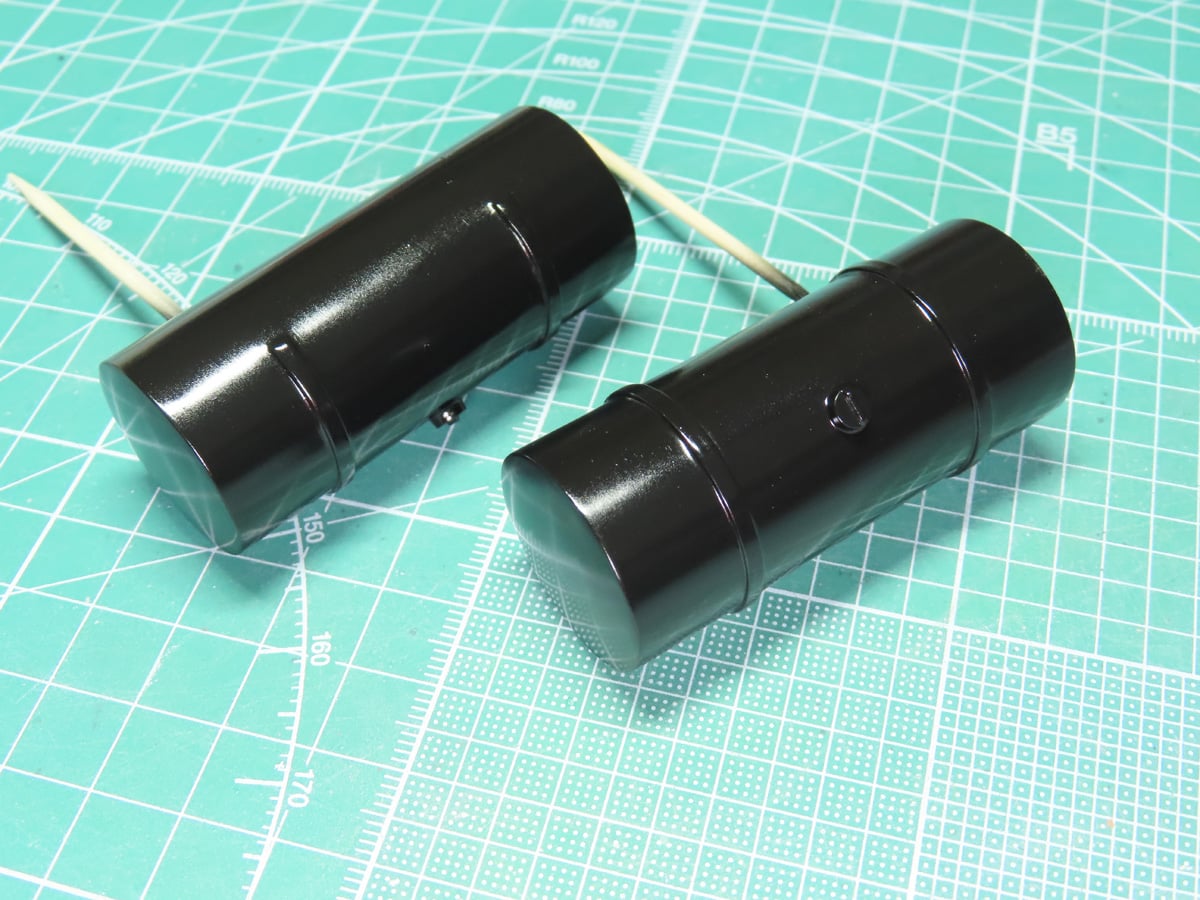
I painted the fuel tanks with Mr Color C2 Gloss Black. This paint has a very nice reflective quality that I’ll need before applying the chrome.
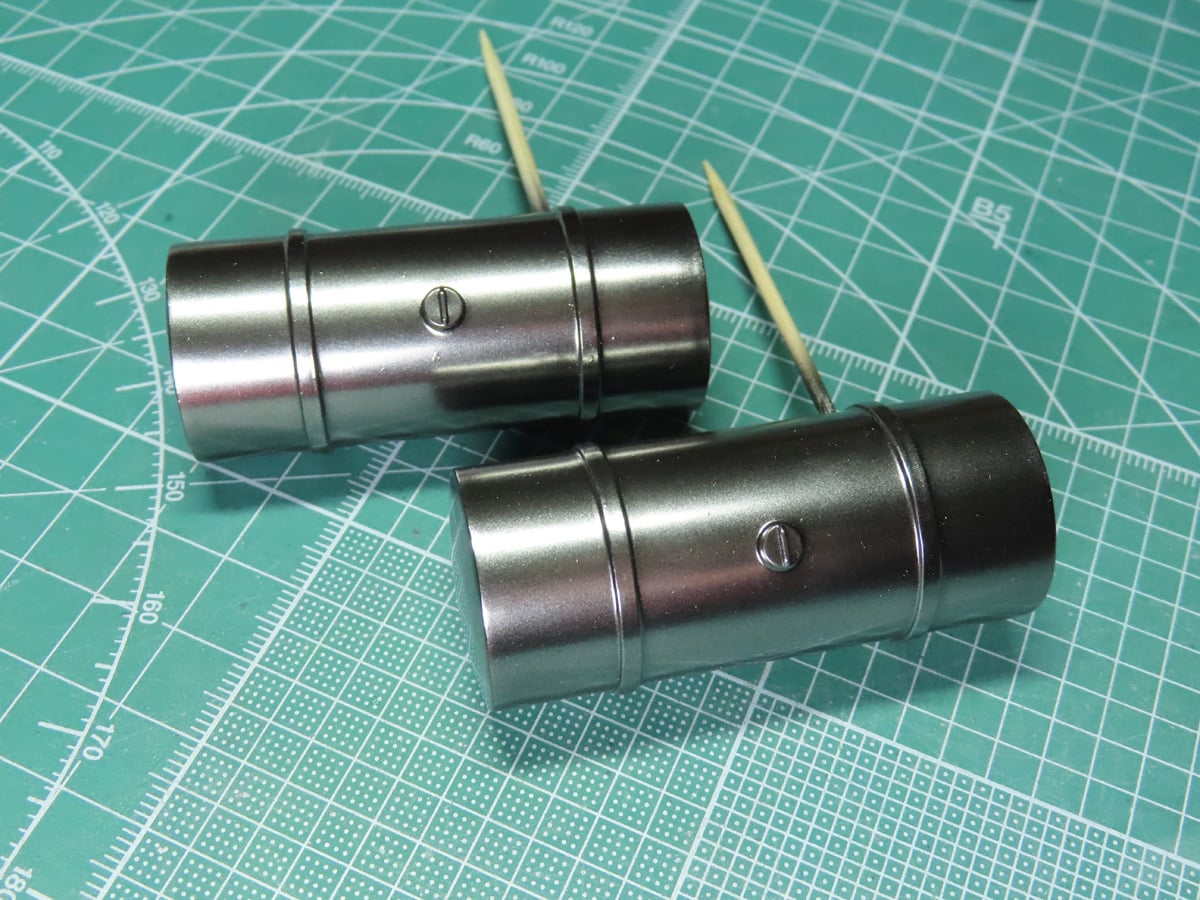
For a chrome finish, I used Alclad Chrome ALC 107. This paint is applied with very low pressure, about 5-10 PSI. And it’s lightly misted onto the parts. It doesn’t take much of a coating, and a wonderful chrome finish will appear. These will be left to the side until later as I’m concerned I might damage them at this stage in the build.
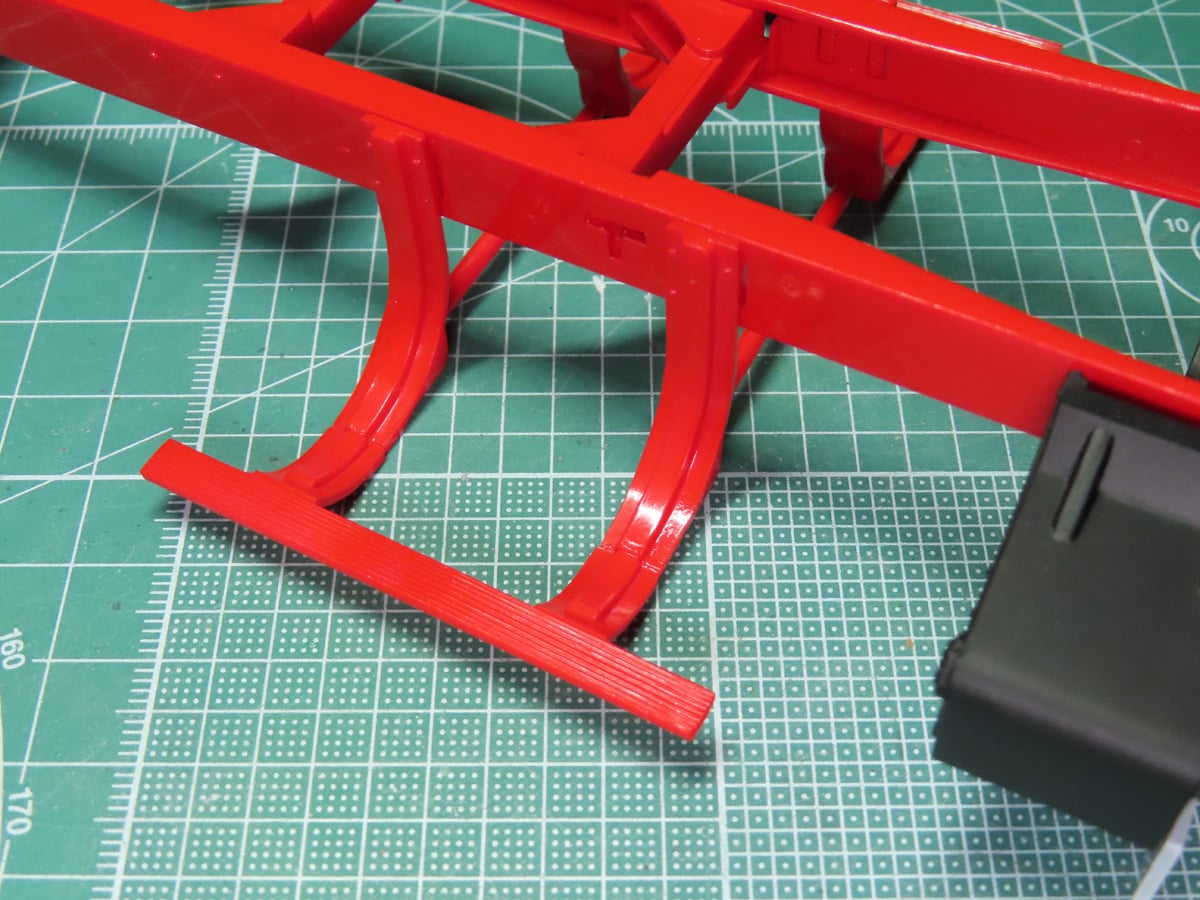
The resting arms that hold the fuel tanks to the frame come in 3 parts, and were a bit tricky to assemble and keep straight. I painted them Tamiya LP-7 Pure Red to match the rest of the frame. These were glued to the side, and the rods (Parts 130 and 128) were placed in between. Make sure that you don’t mix up the rods, as 130 is slightly bigger than 128.
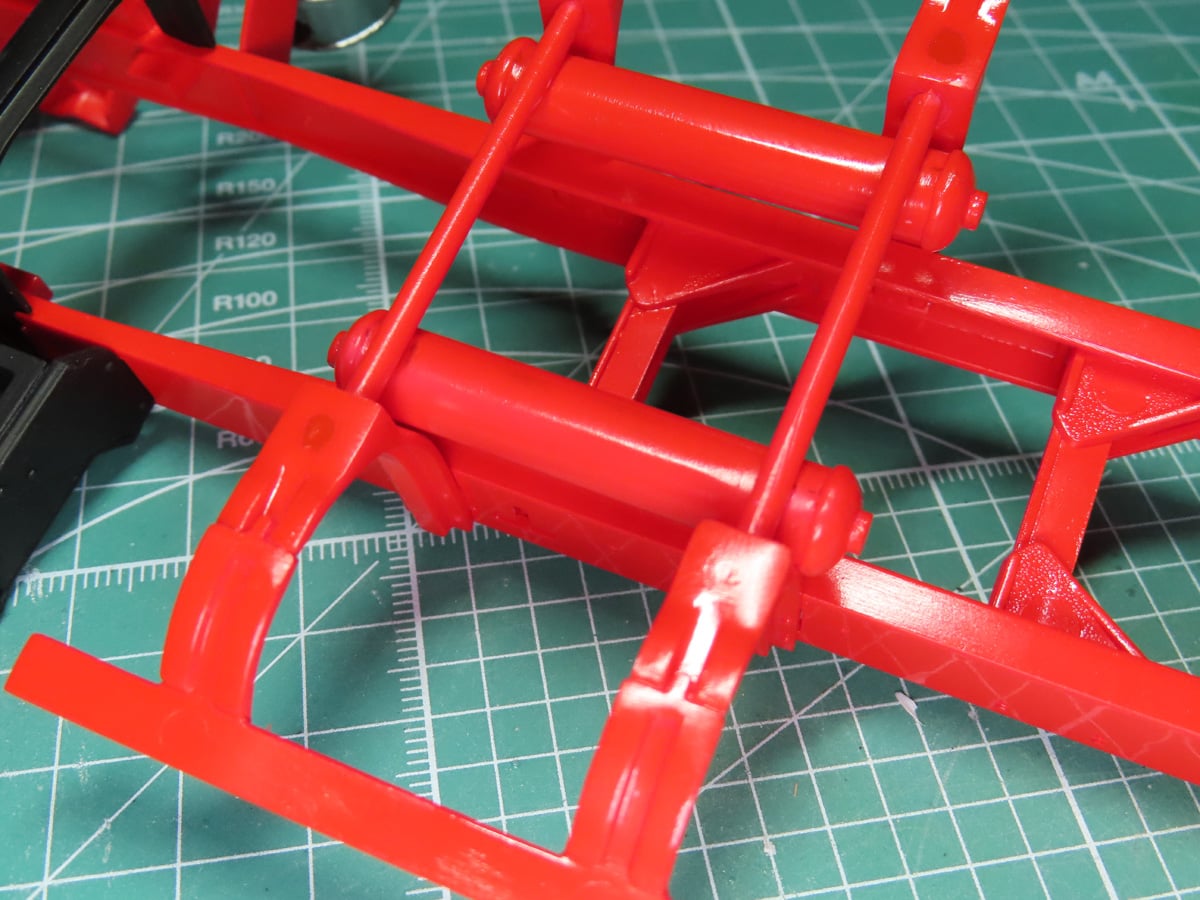
I flipped the frame upside down, and with a few small drops of BSI CA Cement, I very carefully glued the air tanks to the rods.
Moving to the back of the frame, I glued on the 4 suspension brackets. I saw that some had the rubber boots left unpainted, and I decided this might be a nice added detail. So I painted these Tamiya XF-85 Rubber Black.
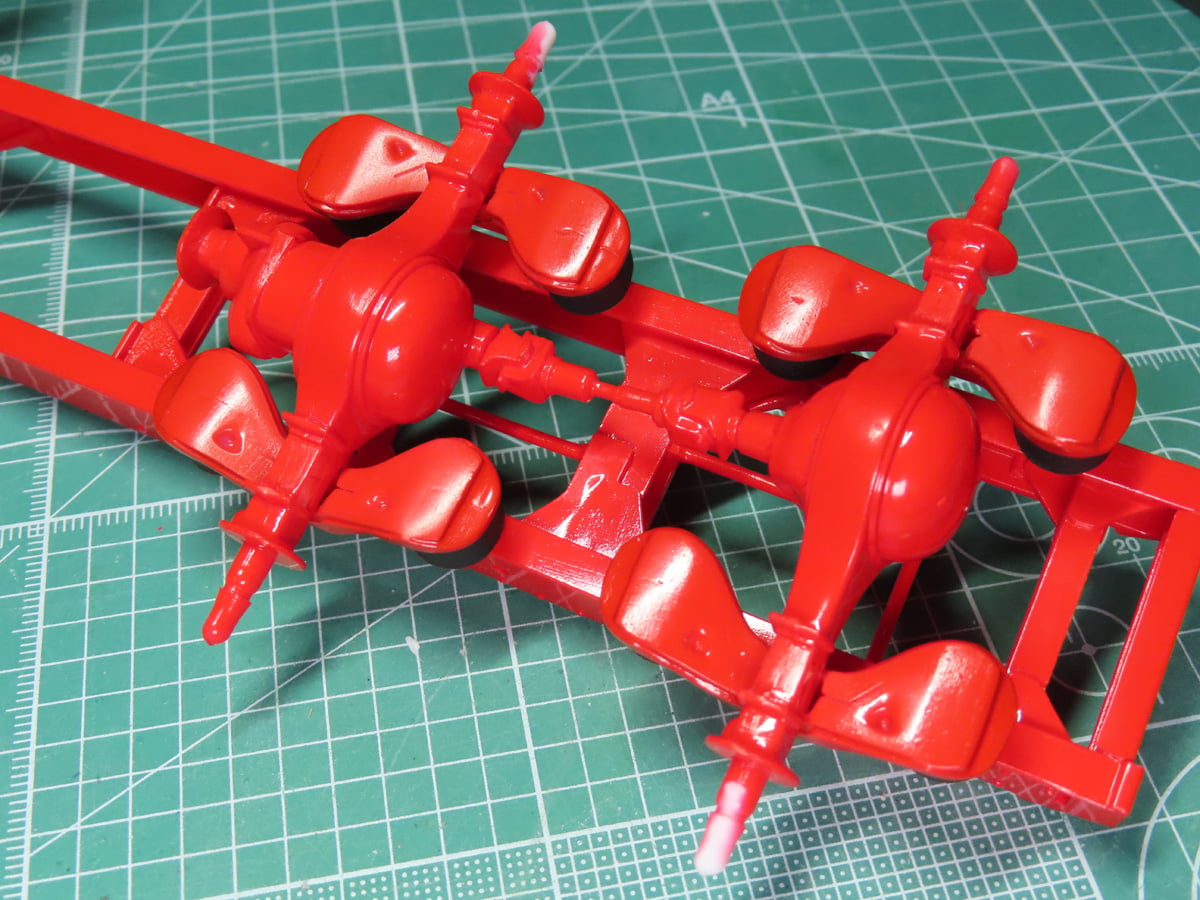
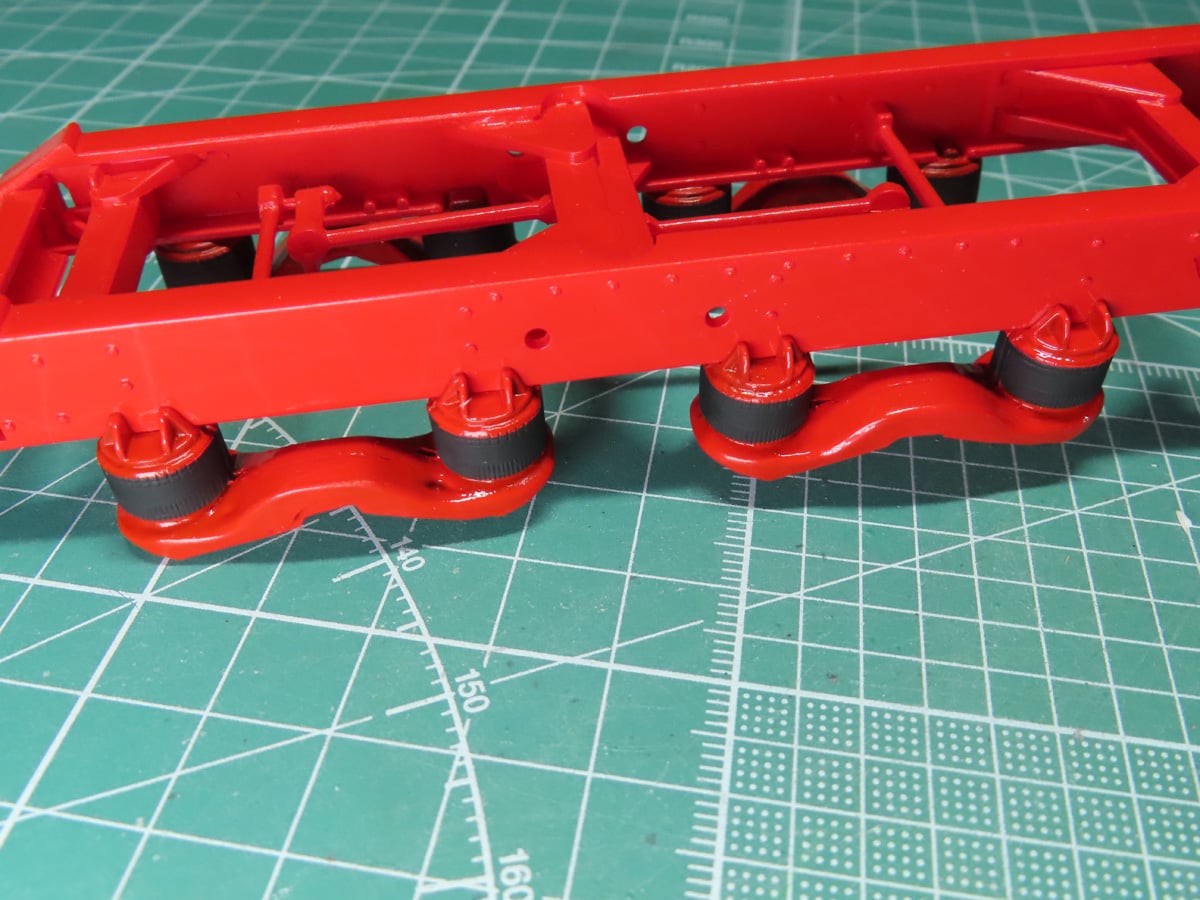
Next, I was ready to add on the axles. Take note when you are gluing these on, as they rest at a slightly tilted angle. The axles were quite easy to add on, but it was a bit tricky to also fit in that small drive shaft part.
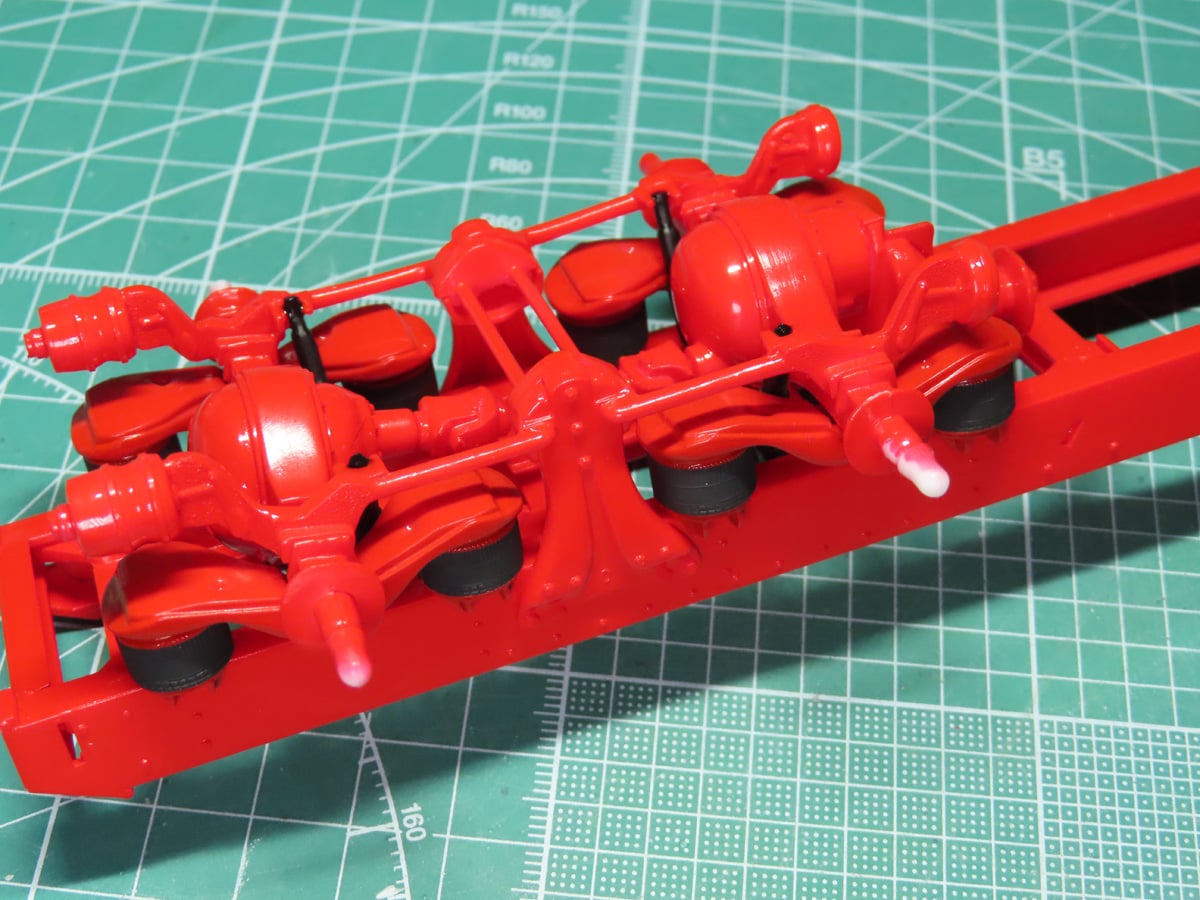
The rest of the suspension parts were added around the axle, and the bond of these parts is quite strong. I decided to paint the 4 shocks Semi-gloss Black to match the ones at the front of the frame.
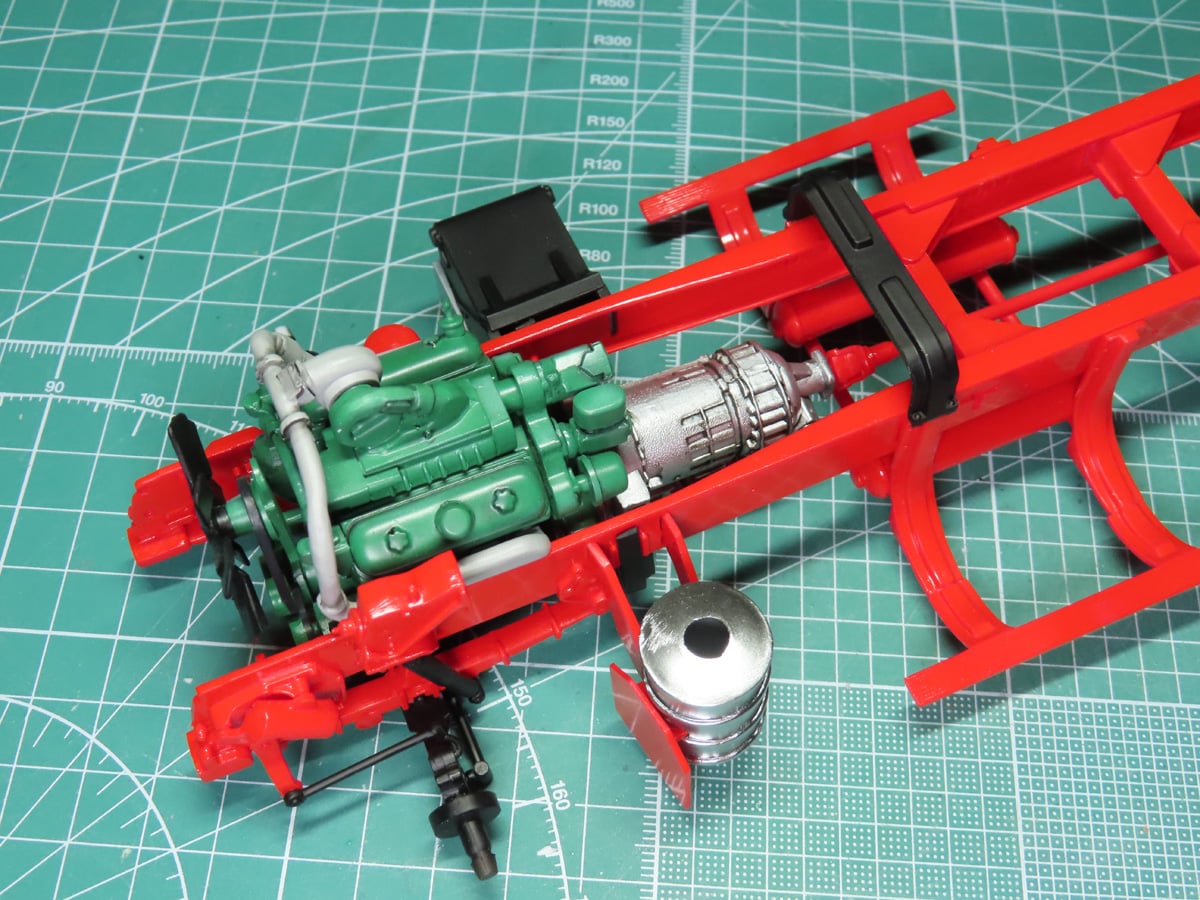
Returning to the front of the frame, I glued in place the engine and the main drive shaft that connects to the rear axles.
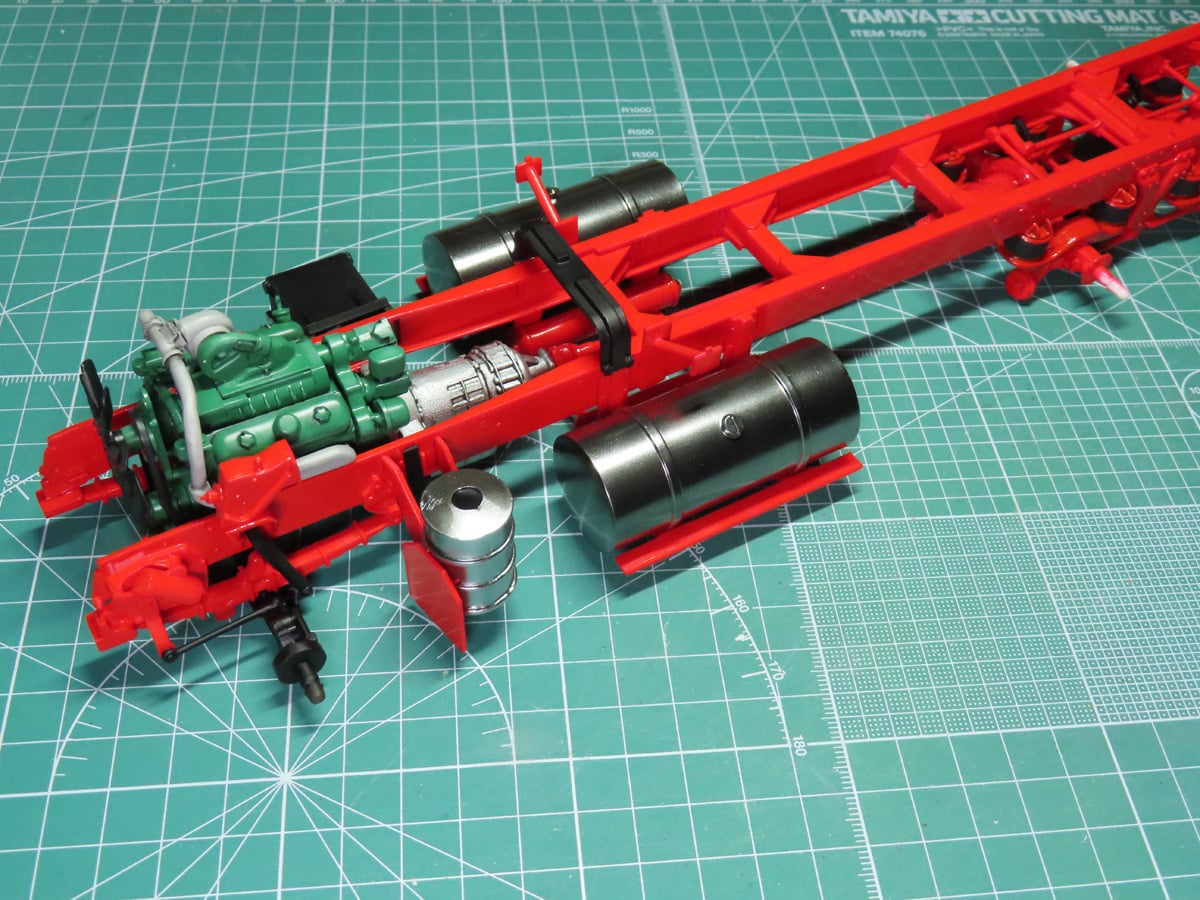
I’ve placed the fuel tanks temporarily to show how they will look once they are added. They need some more paint on them, and I want to let the chrome dry a bit longer before I attempt masking those parts. The frame has gotten quite a bit heavier now, and I think the next step will be to add on the wheels.
I wish that I had more time this week to work on this section, but I’m actually very pleased with how far I was able to get. I think next time I’ll finish the parts and be ready to complete the frame. So far, the parts have fit together quite well, and everything feels quite sturdy. And at the moment, as I look at everything that has been accomplished, I feel quite relaxed and satisfied.
To be continued…
About the Author:
Jared Demes is a modeler from southern Alberta. He has been building models since he was 4 years old when his Dad first introduced him to the hobby. He has written for several magazines including, Fine Scale Modeler, Scale Aircraft Modeling, Phoenix Scale Models, and others. He has an interest in all modeling subjects, with a focus on WWII Japanese aircraft and Science Fiction.
Jared has won several IPMS awards for his modeling, and currently operates his YouTube channel rebelsatcloudnine, where he showcases model builds and product demonstrations.