
Re-Chroming Plastic Kit parts
This is the ninth part of the Revell 1969 Camaro Z/28 3in1 1/12 Scale 85-2812.
This week, we’re going to be looking at removing chrome and spraying on Alcald Chrome Paint 107 for plastic. I did discuss the process for removing chrome in an earlier post, but I thought it would be best to create an entire post rededicated to this subject.
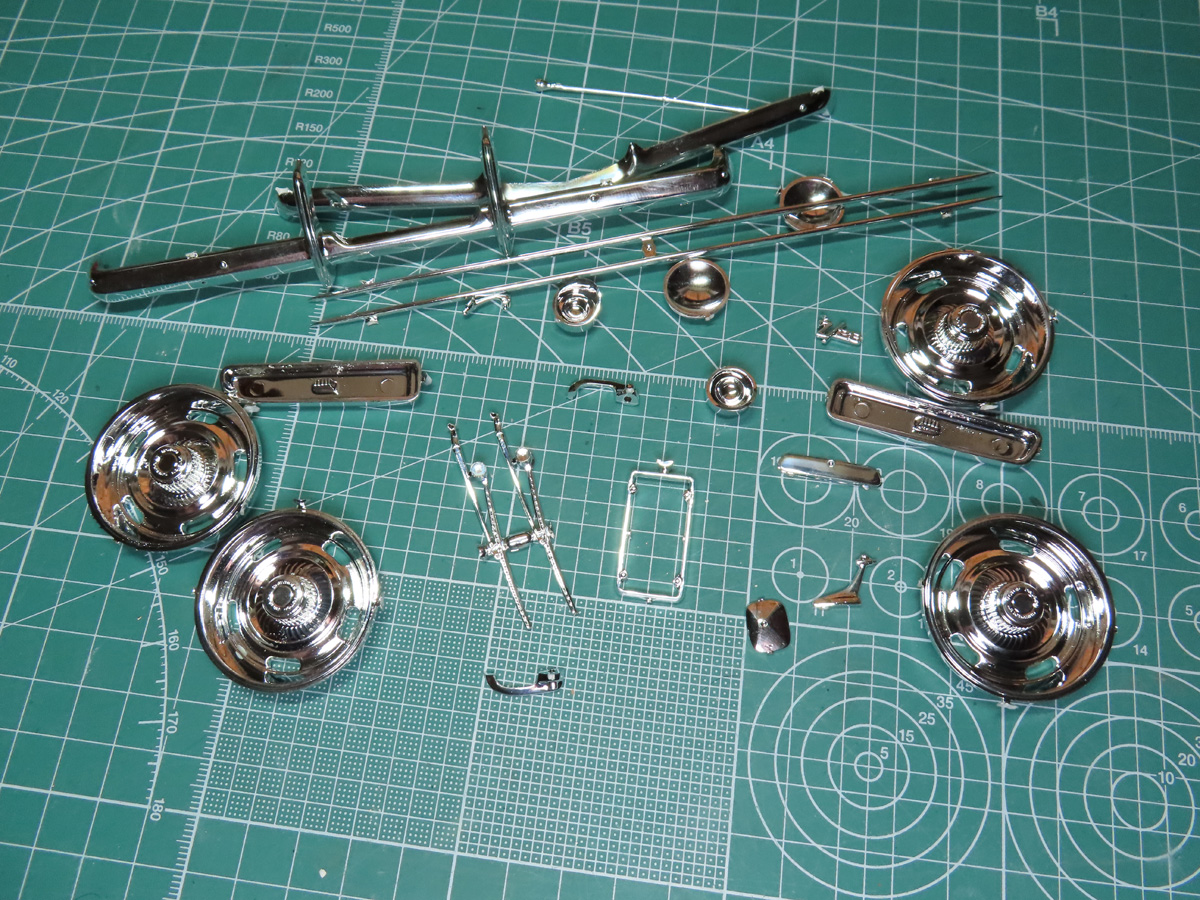
I’ve cut out all of the chrome parts that I’ll need to complete the rest of this build. I’m personally not a fan of this type of chrome, as I just don’t think it looks the part for scaled down car models. Worst of all is trying to clean the parts, as there might be defects that need to be sanded off, or in the case of some vintage kits, the parts could have been rolling around the box for years and are now all scratched.
This process is pretty simple and fairly painless, but it will require the use of an aérographe.

I’ve placed the parts in a tub, and I’ve coated them with Super Clean degreaser. This is an easy product to find in most automotive sections in a purple bottle. I poured in just enough to cover the tops of the parts. The Super Clean will quickly remove the chrome, and it’s safe to use on the plastic. I’d be careful not to leave the parts soaking overnight as a long exposure could cause the parts to become brittle.
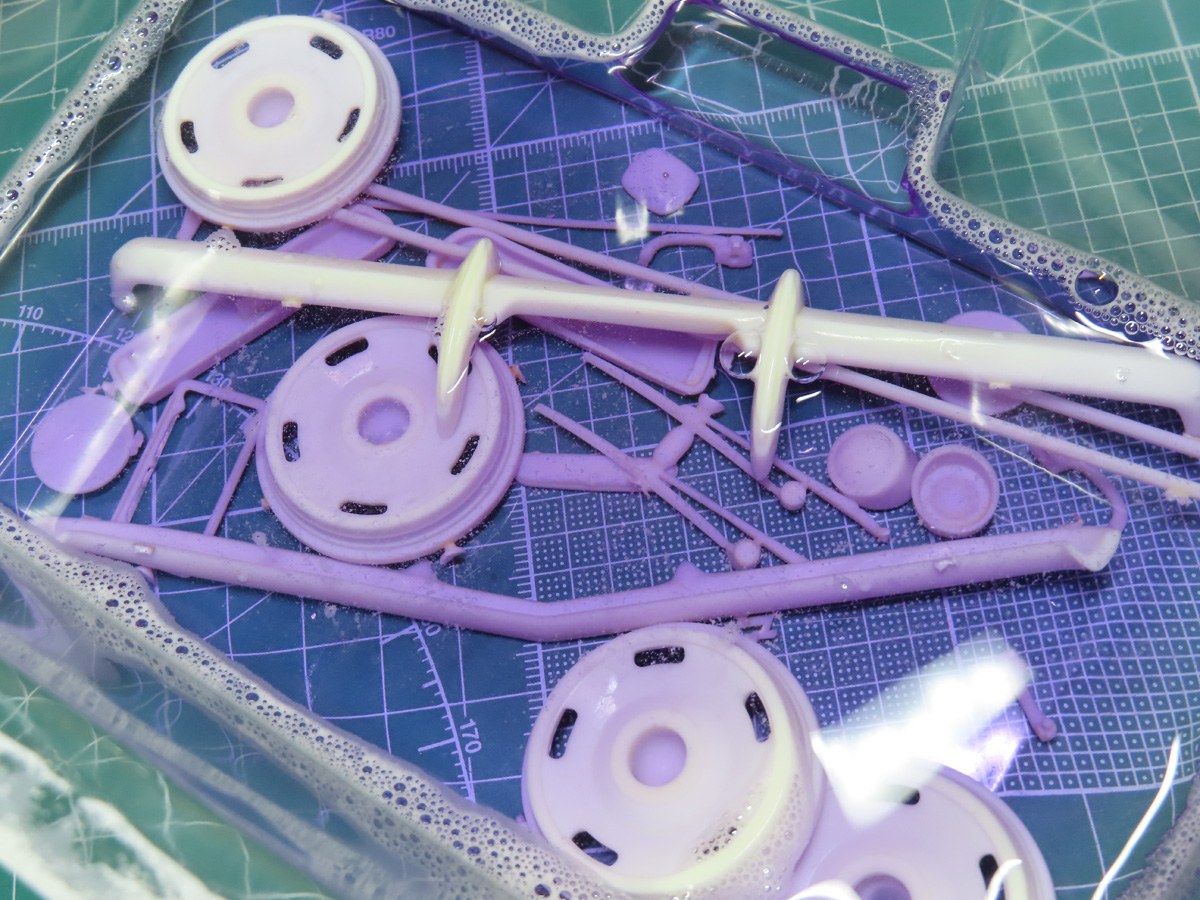
Literally about 3-4 minutes later, the Super Clean has removed all of the chrome from the parts. Partway through the process, I flipped over some of the bigger parts just to make sure everything was coming off evenly.
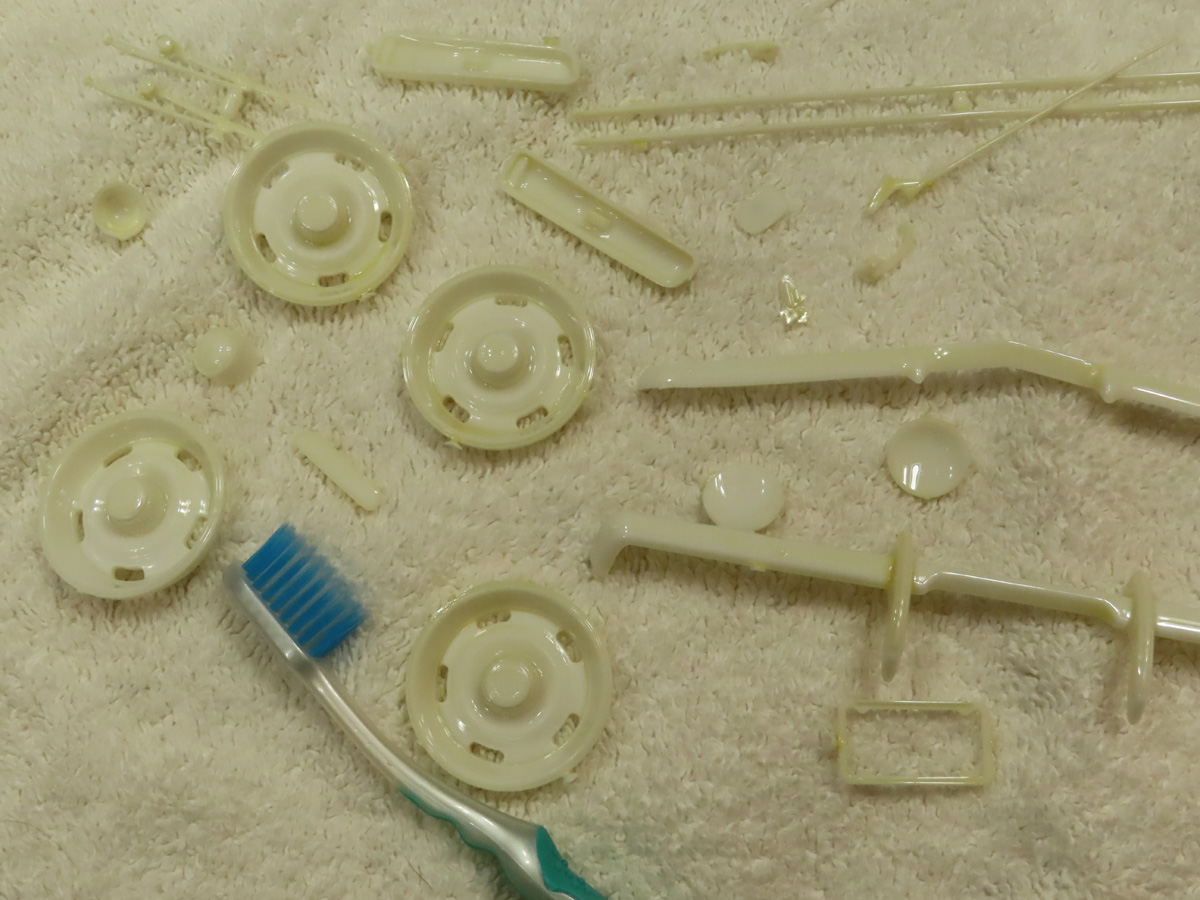
I drained the rest of the Super Clean, and using some dish soap and a soft brush, I scrubbed each of the parts thoroughly to remove any of the excess Super Clean. The parts were lastly rinsed with hot water and left to dry.
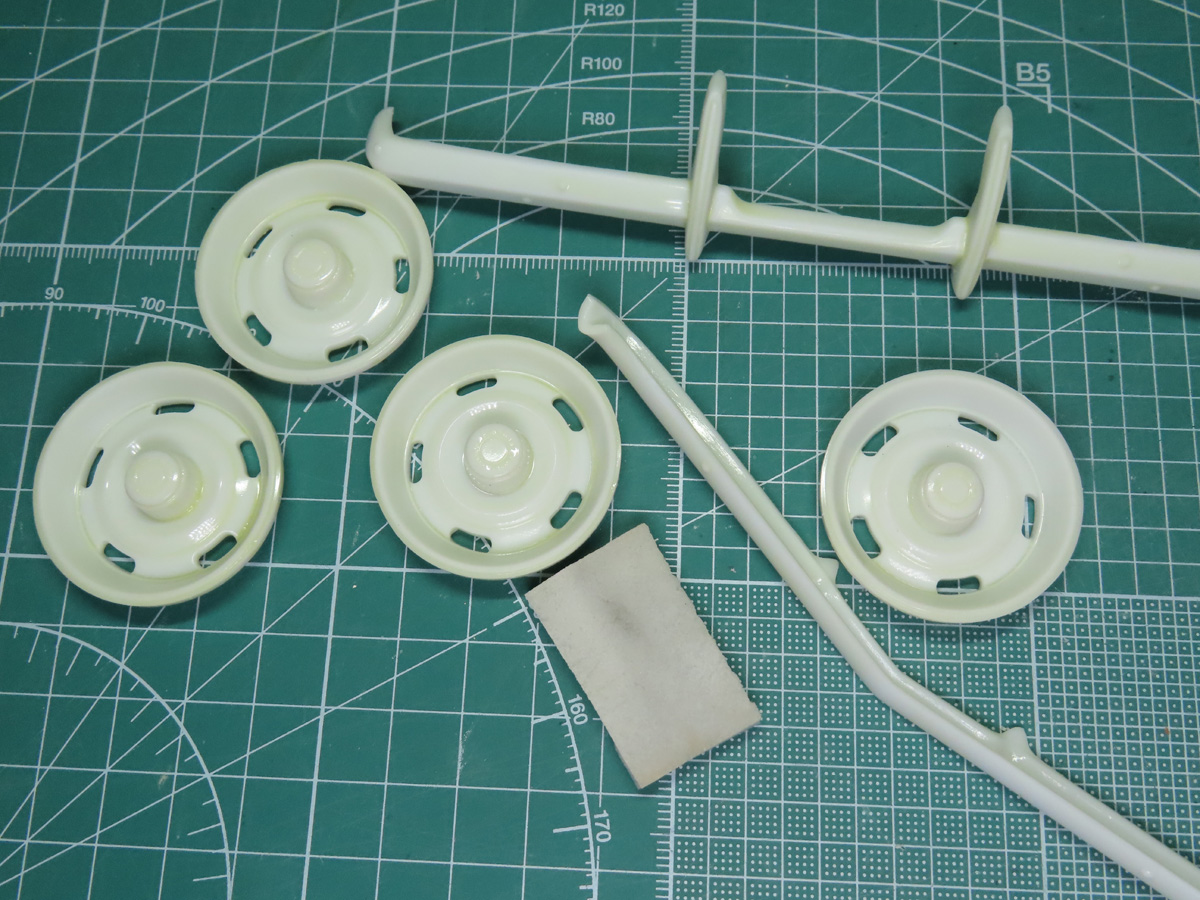
I checked the parts and removed any excess flash or sharp edges. Once I was satisfied with the cleanup, I took some Tamiya 1000 grit Sanding Sponge 87232 and I lightly sanded the surface of every part. This would slightly dull the plastic finish, but it would provide a better grip for the paint to adhere to while still remaining very smooth.
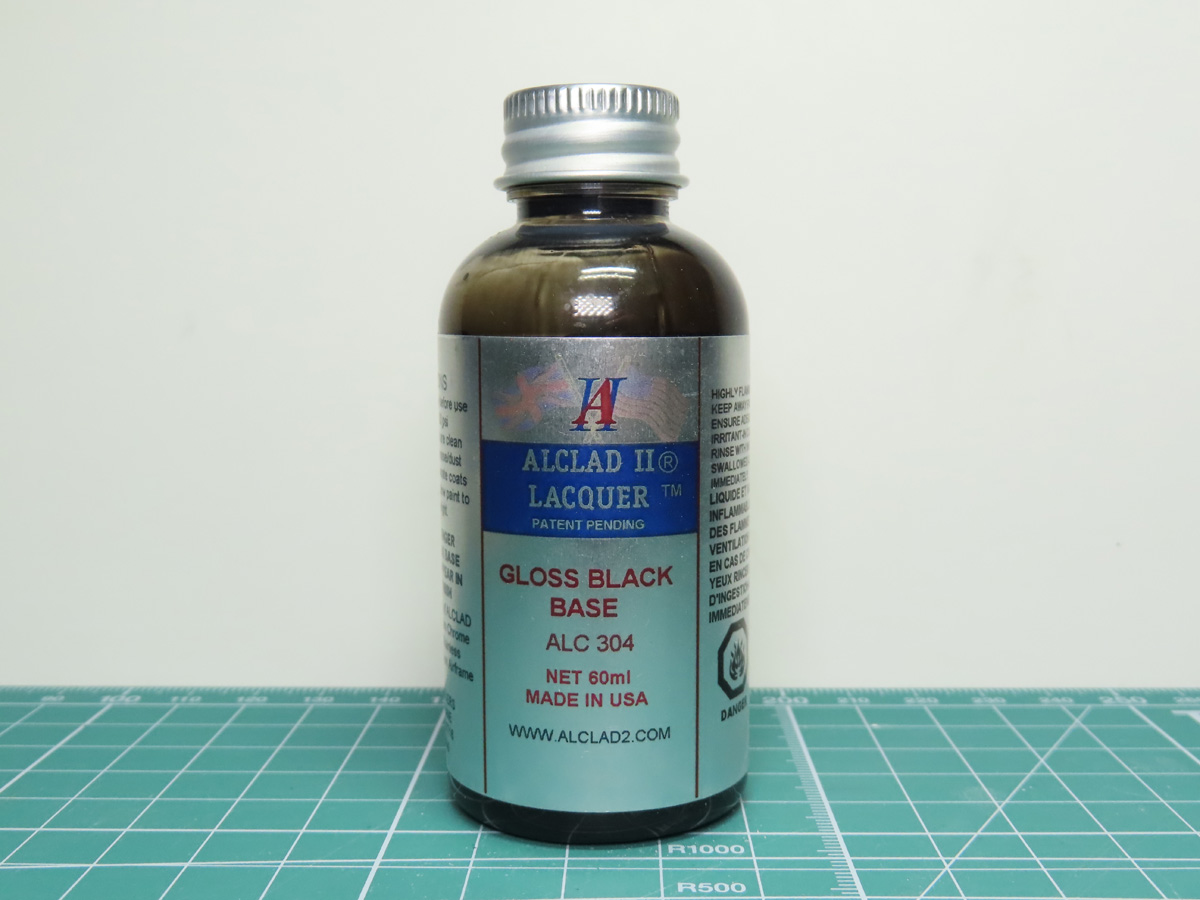
Now we’re ready to base coat the parts with a black primer, and since we’re painting chrome, we’re going to need a good gloss coat. Alclad Gloss Black Base ALC 304 is an easy to use product; simply shake the bottle and pour directly into your airbrush.
Alclad suggest lowering the pressure to about 15 PSI, but I’ve found it to work well at higher pressures.
The Gloss Black sprayed on really well to the parts; it only took a few passes to create a high gloss. One thing Alclad suggests is leaving the Gloss Black alone to dry for 24 hours. I think this is because they’ve added a retarder to the paint, which will slow down the drying time. This will help the paint level out and be a lot smoother, and will also produce a higher sheen to the gloss.
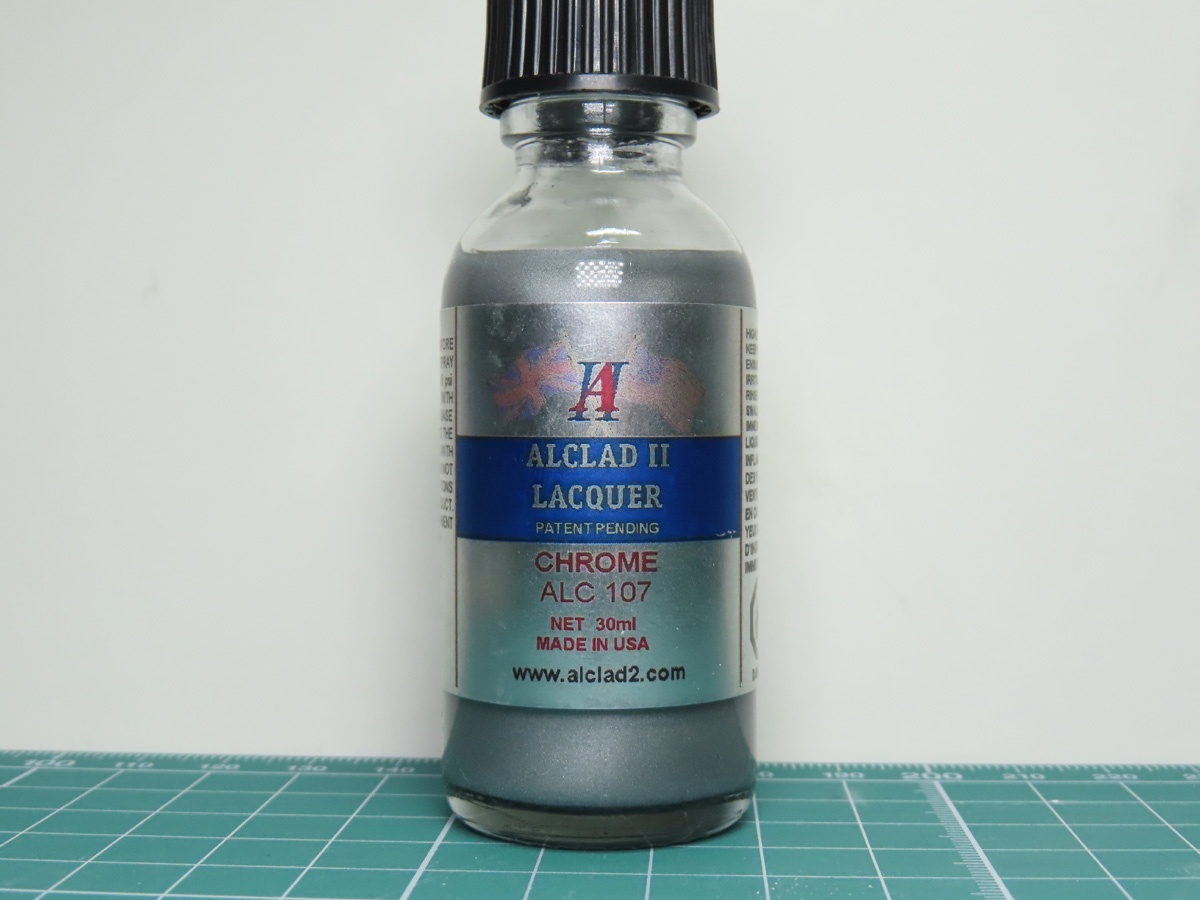
With the Black dried, we can now move on to spraying the Alclad Chrome ALC 107. There are specific instructions to follow with this paint, and they might seem a bit daunting at first. But with some practice, you’ll quickly figure out how this paint works and how easy it is to use.
First, lower the PSI on your compressor to around 12-15. This isn’t exactly like painting directly on the parts; you need to be 2-3 inches away from the parts, and you sort of let the Chrome fall onto the parts.
Now you’ll need to gently layer the Chrome onto the parts. The first coat looks like an interesting metallic Black, and a second coat will reveal a more chromed appearance. I found that 3 light passes were all that I needed to get the desired effect.
This is very delicate painting, and I would strongly suggest testing on some spare parts or plastic spoons. Once you figure out how to lightly paint it onto the parts, you’ll be painting a lot quicker than you realize.
Also, try to avoid spraying too much Chrome onto the parts. Instead of a nice reflective chrome, you’ll be left with a shiny silver.
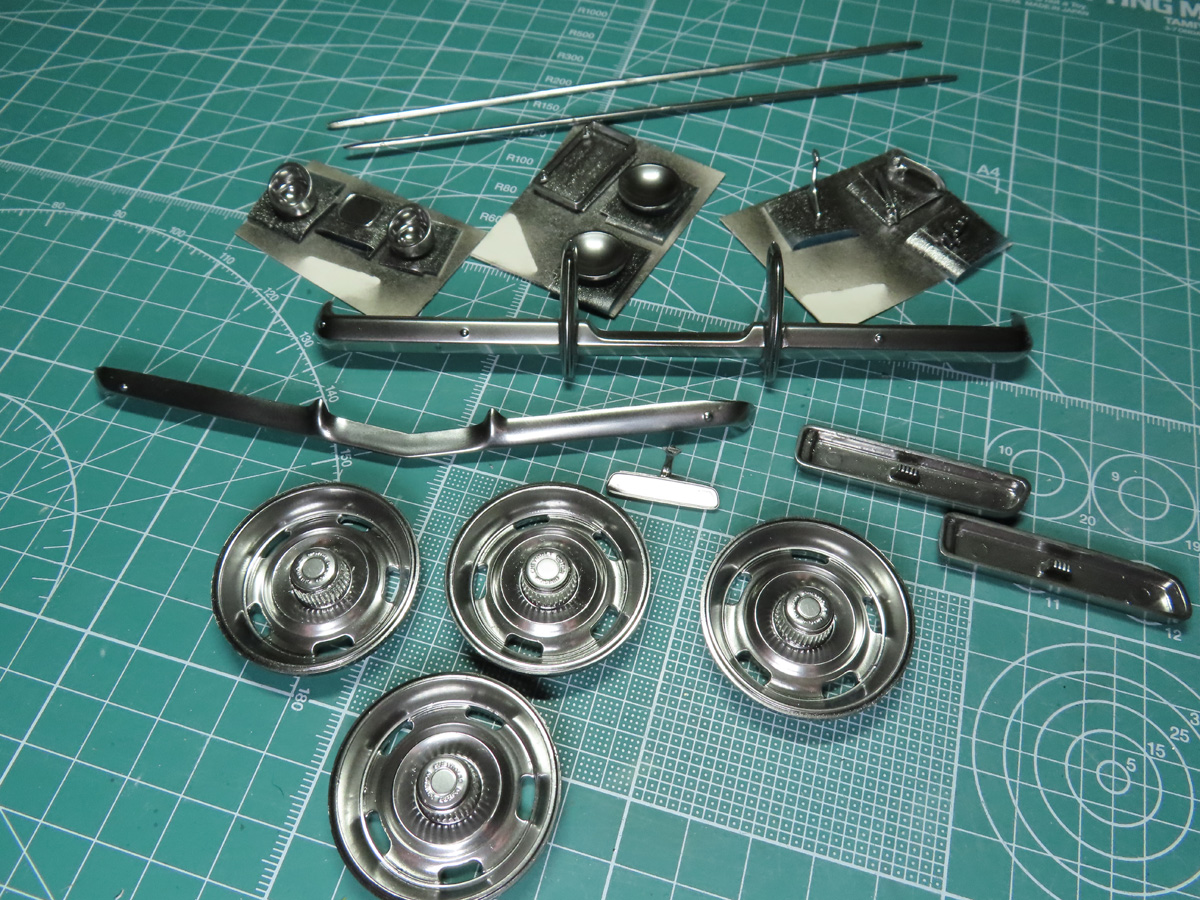
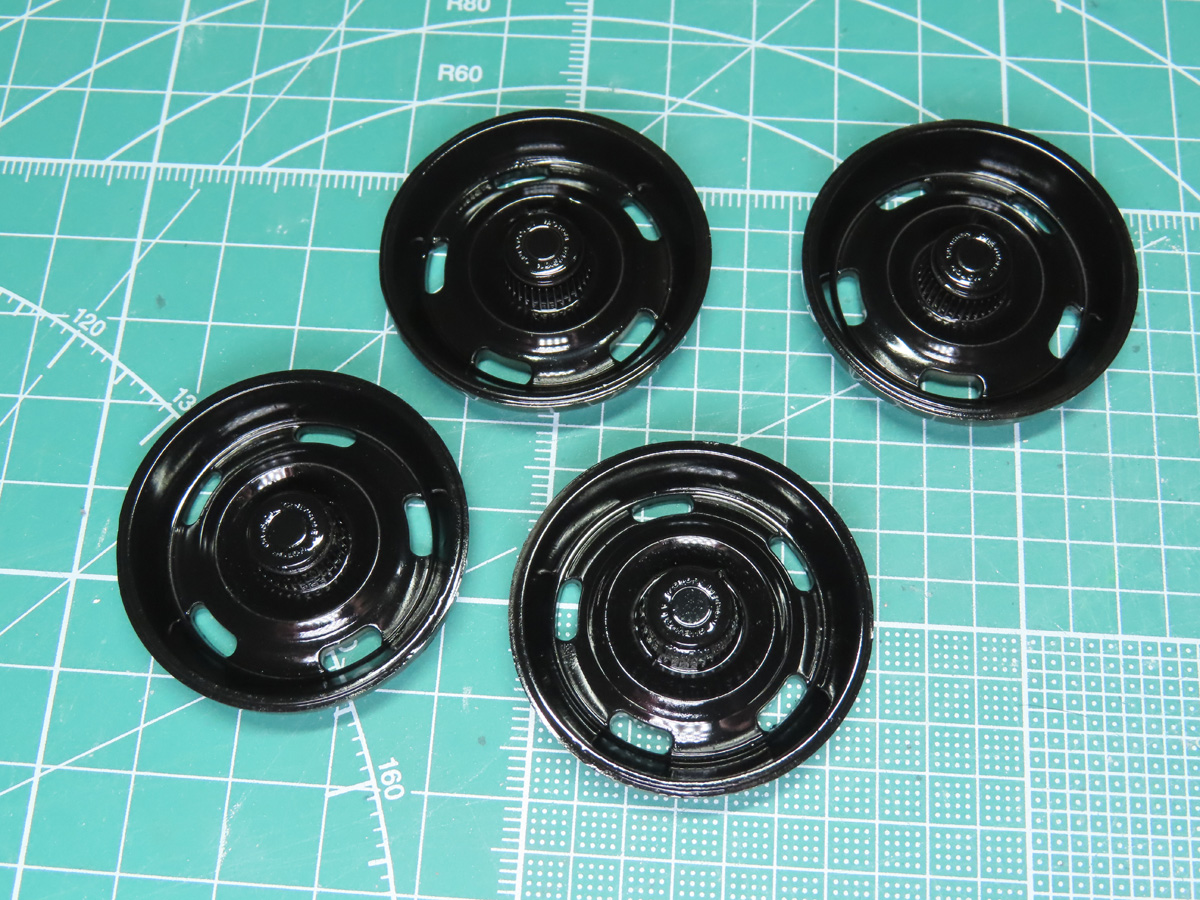
Here are the parts all painted with the chrome. It’s a bit difficult to see in this picture, but they have a really nice finish, and when I test fitted the bumper onto the car, I was very impressed with the result.
Since this chrome is lacquer based you can handle the parts. Alclad does produce a gloss for these parts, Alclad Aqua Gloss ALC 600. But I think that the chrome is a pretty sturdy paint, and if you aren’t handling it too much, you should be fine leaving it bare.
Still, I would recommend caution as I’ve mentioned before, this paint is very thin and can be delicate as a result.
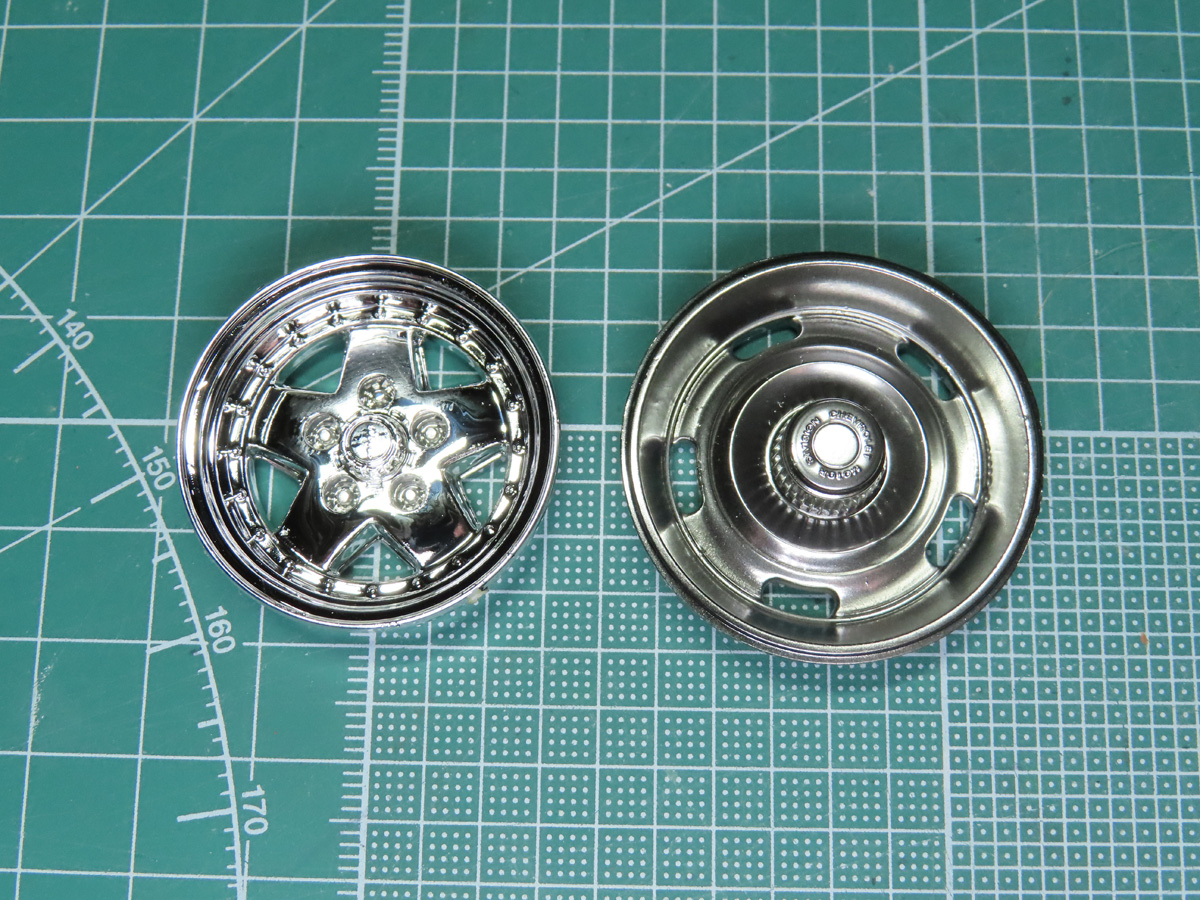
On the left, I have one of the alternate hubs left with the kit-supplied chrome, and on the right, you can see the newly chromed Alclad hub. Of course, the option to re-chrome the parts is completely up to you, the modeler, but I really love the effect of this Alclad, and I think it will be an excellent enhancement once the model is completed.
There are quite a few chromes on the market right now, and all of them have their strengths and weaknesses. There are chrome paints out there that are more reflective than Alclad, but a lot of those are Alcohol based paints, and they can take a very long time to dry, or really never fully dry. I also like how much more sturdy the Alclad is compared to some of the alcohol based paints I’ve tried.
Another option for those of you who don’t use an airbrush would be Revell Chrome Spray (39628). I haven’t tried this one out personally, but I know of another modeler and he’s achieved some excellent results with this spray.
Next time, disaster strikes! The once beautiful green finish is in need of repair. I wish it weren’t so, but I’m hoping this setback will be a good learning opportunity.
To be continued…
About the Author:
Jared Demes is a modeler from southern Alberta. He has been building models since he was 4 years old when his Dad first introduced him to the hobby. He has written for several magazines including, Fine Scale Modeler, Scale Aircraft Modeling, Phoenix Scale Models, and others. He has an interest in all modeling subjects, with a focus on WWII Japanese aircraft and Science Fiction.
Jared has won several IPMS awards for his modeling, and currently operates his YouTube channel rebelsatcloudnine, where he showcases model builds and product demonstrations.
Next Post: Part 10
Previous Post: Part 8
First Post: Part 1