
Tamiya North American F-51D Mustang
This is the fifteenth part of the Tamiya North American F-51D Mustang Korean War 1/32 Scale 60328 with RCAF Markings.
Masking this model was a particular challenge, as there are so many parts to this model it leaves a lot of spaces open. And with all of the work that’s been done so far, the last thing that I want to have happen is some paint bleeding through.
I began by masking over the bare engine frame. This took time, but it was manageable due to the frame, and once it was masked over, I felt really confident that nothing would bleed through.
The canopy was temporarily held in place with Mr Masking Sol Neo. Afterwards, I taped over this section, and I was ready to begin priming.
I’ve seen many modelers who say they struggle with Natural Metal finishes on a subject. I’ve even met a few who, in their entire modeling career have only built 2-3 models with a silver finish. If you are one of these modelers, or you want a general idea of how to achieve a nice silver coating, then I hope that this post will be useful to you.
I’ve primed the model with Mr Surfacer 1500 Black. I like this primer as it dries very level with the surface of the model, and it preserves a lot of the detail. Since it’s a lacquer based primer, it also bites into the plastic.
A black base coat will help the Silver have a richer and more uniform tone. If you want something of a more polished or glossy metal, it’s better to use a Gloss Black as a base.
This Surfacer was thinned with Mr Levelling Thinner, which slowed down the drying time, allowing the paint to slowly dry into all of the small details. This was thinned about 50-50.
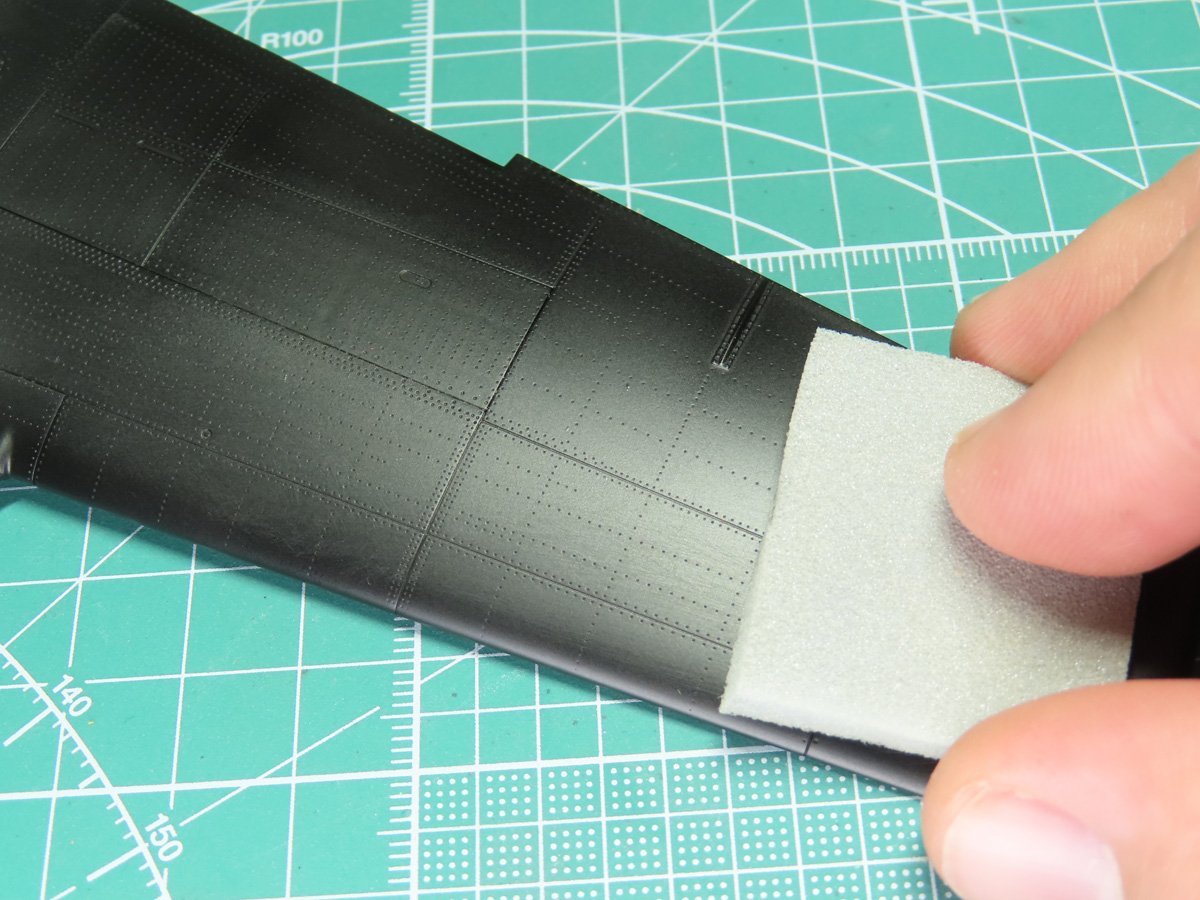
Because the silver paint is so shiny, it will show off every detail and imperfection in the model. Before painting, I took a piece of Tamiya 1500 Sanding Sponge, and I gently sanded out any imperfections or small pieces of debris that landed while the primer was still wet.
Before I show the newly painted silver Mustang, I wanted to go through my process for painting. I’ll try to be as descriptive as I can, and for this, I’ll be painting with Lacquer paints. Lacquer paints are a lot tougher than Acrylic or Enamel, and they have richer lustre/finish to their quality.
As stated earlier, I’ve sprayed on a primer coat of Mr Surfacer 1500 Black. If you can’t find Mr Surfacer, you can use a Semi Gloss Black from Tamiya LP-5 or Mr Color C92.
This was thinned with Mr Levelling Thinner, about 50-50, and mixed thoroughly before spraying. I kept the airbrush compressor pressure around 30 PSI. It was sprayed on in 3 light layers, which built up the final color.

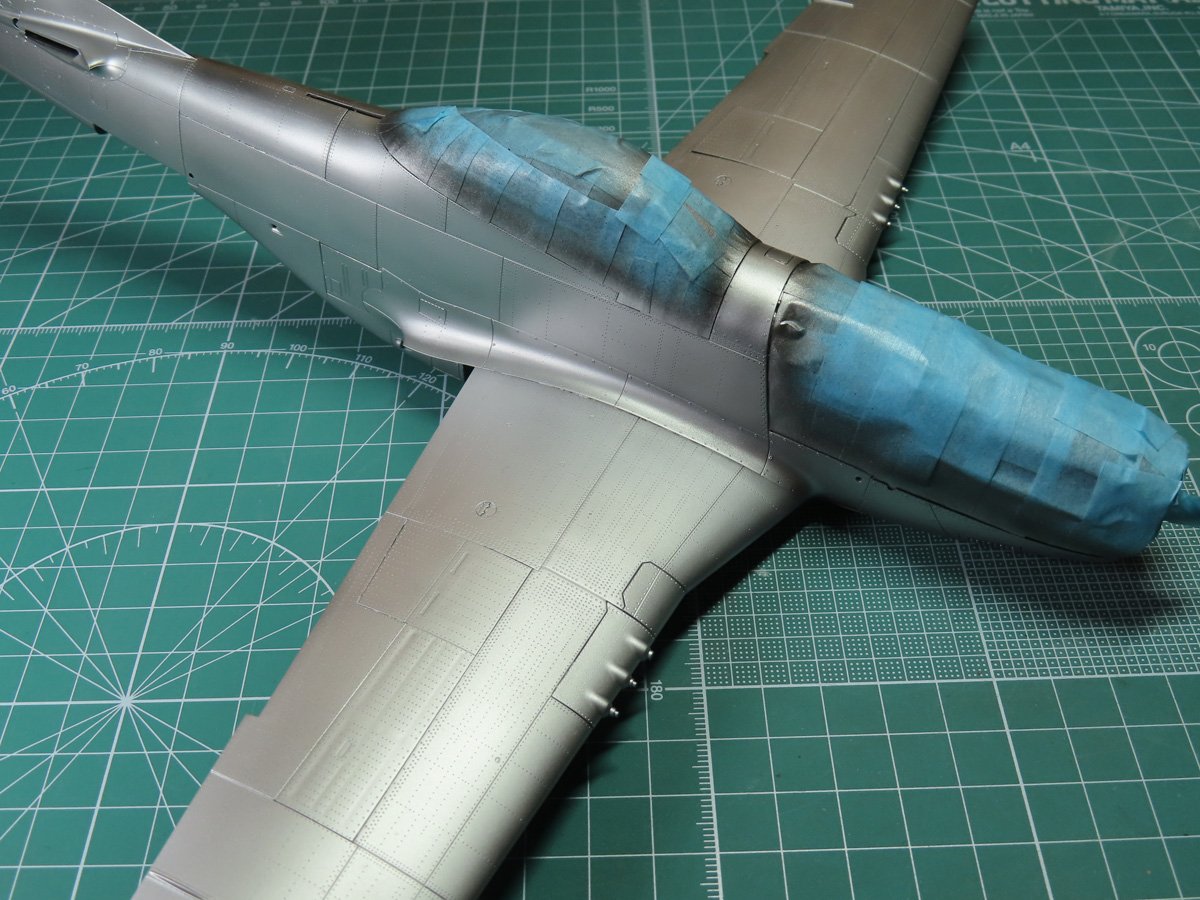
For this project, I’ll be using Tamiya AS-12 Bare Metal Silver, but you can use whatever silver you would like for your project. A close substitute for AS-12 is Tamiya LP-11 Silver.
I’m going to spray the Silver in 2 light coats, but preparation is essential at this stage. I’m going to thin the paint with Mr Rapid Thinner. This thinner has an accelerator in is which speeds up the drying time, and with Metallic paints, is reorganizes the molecules to produce a very even coating with a beautiful finish.
I want this paint to be very wet, so I’ve thinned it a bit more than I usually would, about 45-55, or even 40-60 (Paint to Thinner), depending on the paint. This wet coat is applied very lightly, and at this stage, you can still see a bit of the black primer. It sort of looks like a gunmetal color.
I let the first coat dry for just a few moments, and then I was ready to spray on a second wet coat, and this was all I needed to have the painting completed. The pressure for this again was about 30 PSI, but you might want to lower the pressure if you feel that the paint is too thin for your liking.
I will caution that with the paint thinned down, it can easily run. So take caution not to stay in one spot too long, or try lowering the pressure on your compressor.
This is also where you want to make sure your masking is tight. Some paints, especially Tamiya, have a high fleck count, and so silver dust can get everywhere, and it can be difficult to clean out of areas you didn’t want silver.
Here you can see the Mr. Rapid Thinner in action, as the AS-12 is subtly reflecting the wing in the fuselage.
If you don’t want to go down the route of Lacquer based paints, I can’t say as I blame you. Though they can have excellent results, they can be mischievous at times, and very smelly!
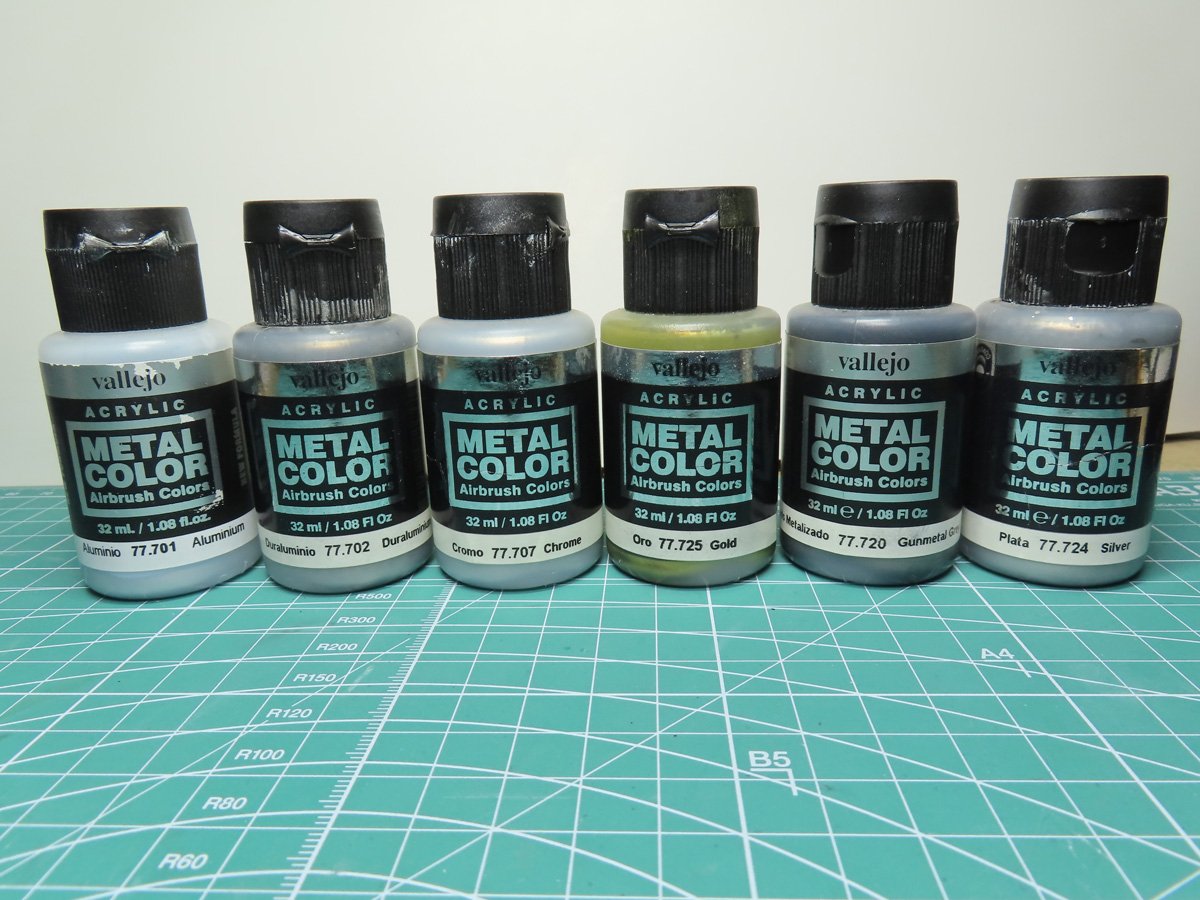
Nowadays, there are many Acrylic Metallic paints, like these Vallejo Metal Color paints. These are prethinned paints, and all you need to do is shake up the bottle really well, pour it in your airbrush and go!
I paint these against a black base coat, and about 2-3 light coats are all you need to achieve a beautiful finish. Vallejo has several tutorials for these on their website, and they even state that they can be hand painted.
They are really easy to use, and I’ve only ever had one instance where the paints lifted. I would suggest painting these at a higher PSI, as the paint can dry out at the airbrush needle.
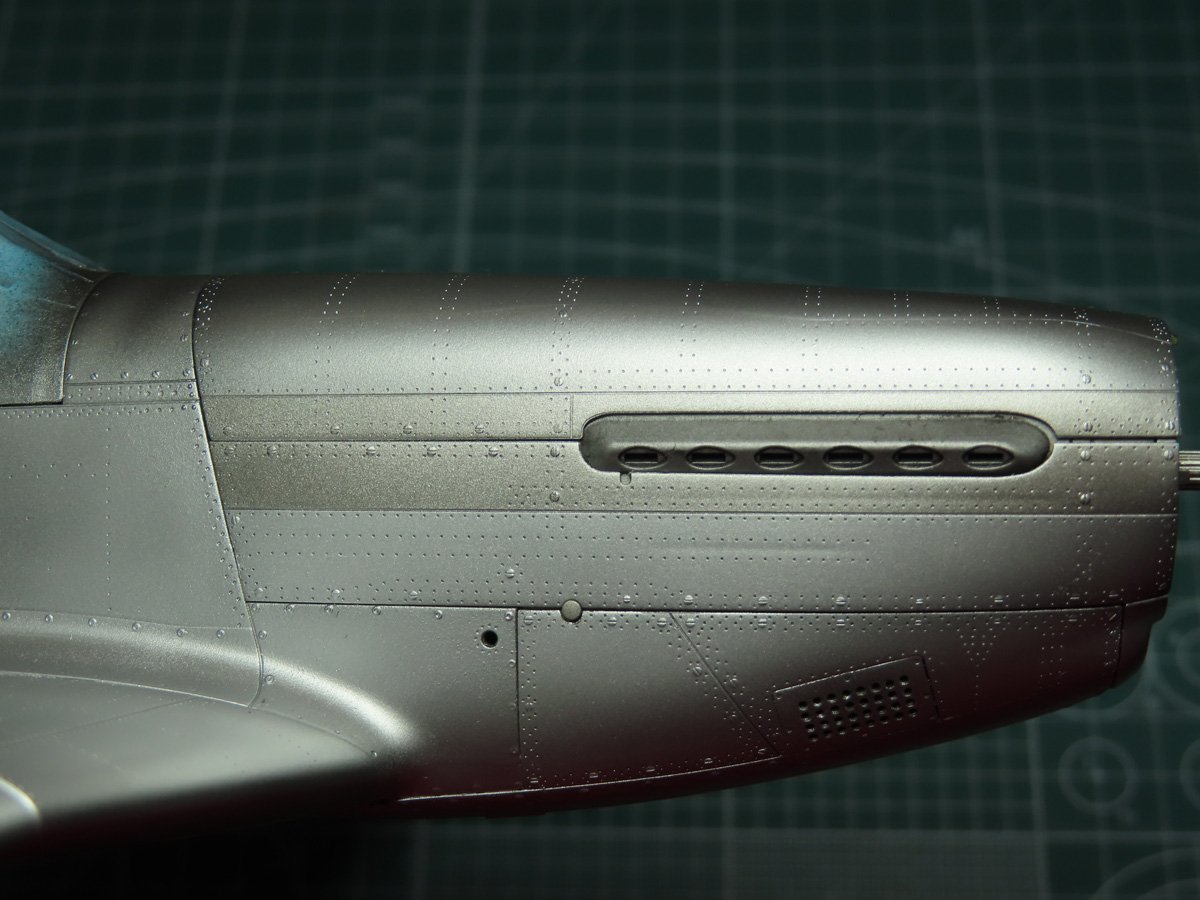
Around the exhausts is a more heat-resistant metal, and typically these are a darker color of silver than the rest of the aircraft. I decided to use Vallejo Metal Color Duraluminum 77702 for this section. And I think that the color does a nice job at complementing the Bare Metal Silver.

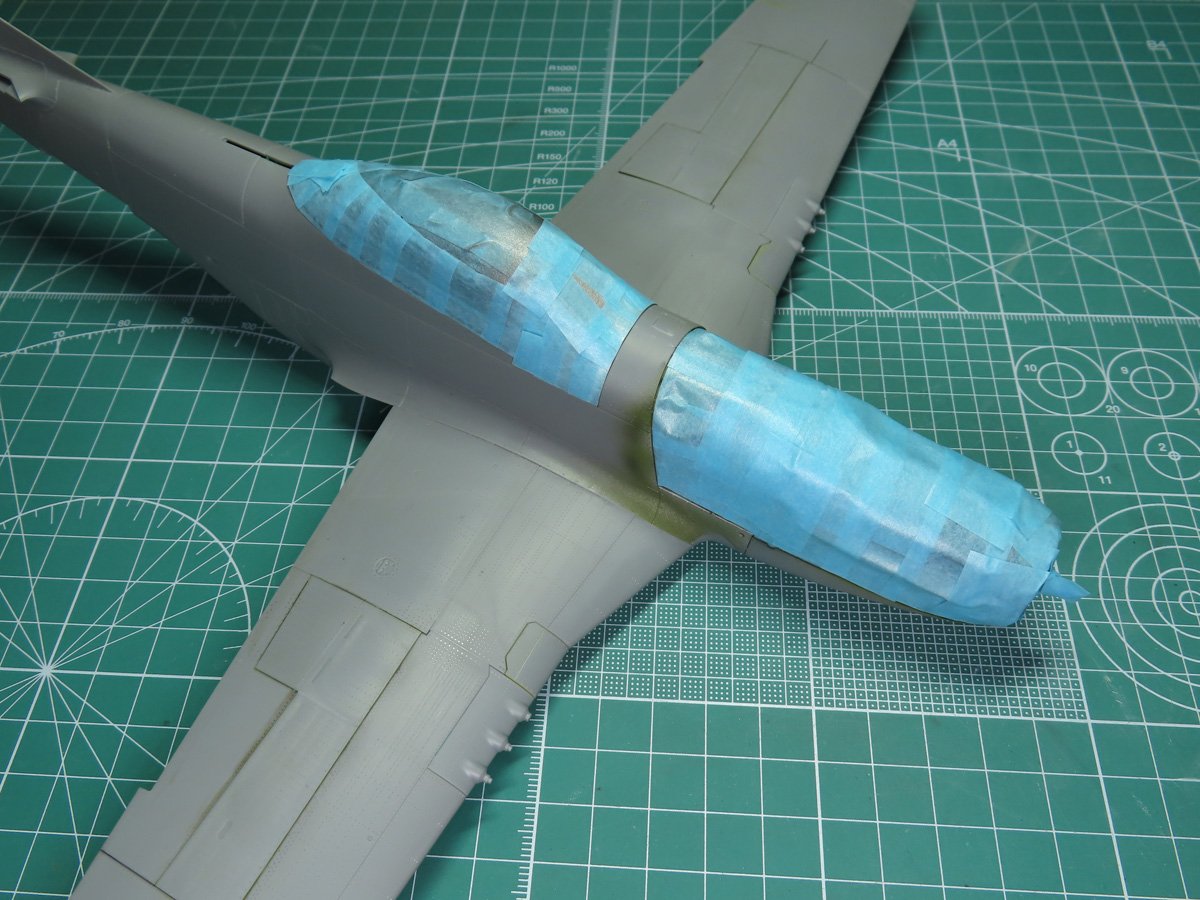
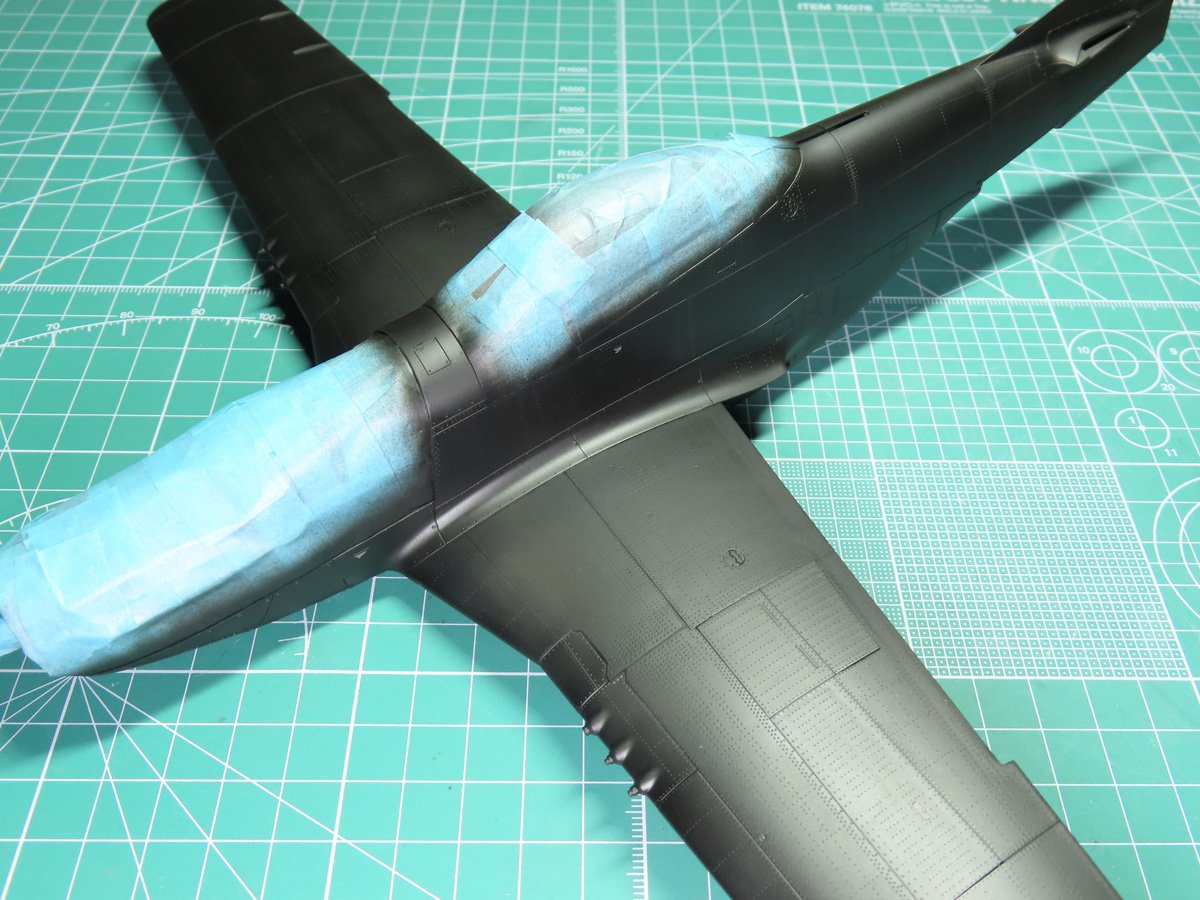
I needed to mask off the anti-glare panel that runs down the nose, and because this is black, I run the risk of paint over spray into sections I want to keep silver.
For quick masking, I’m using Tamiya Masking Tape with Plastic Sheeting 87164. On the top edge is some Tamiya Tape, and once it’s in place and can unroll the plastic sheeting and protect the model.
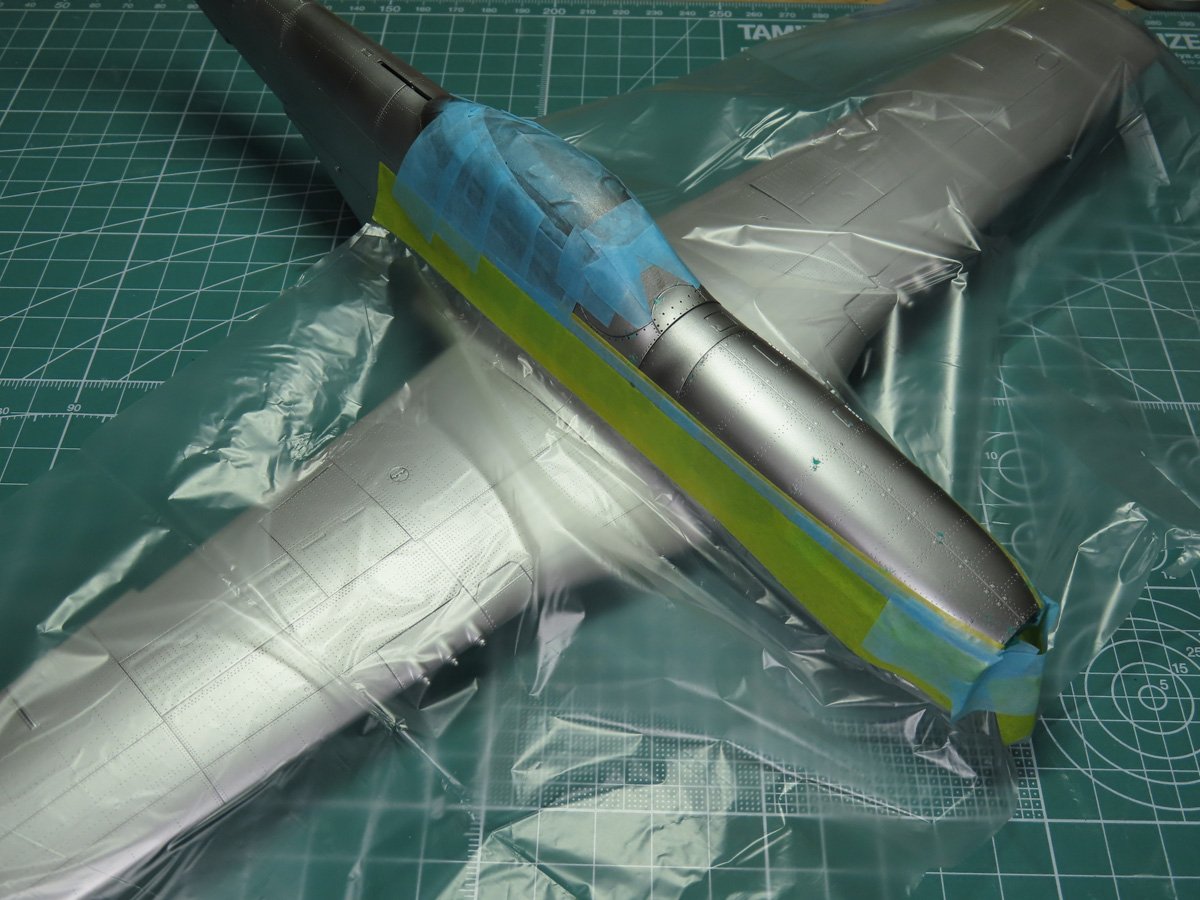
Here I have the nose section all ready to be painted, and the plastic is doing an excellent job at protecting the wings, so I don’t have to worry about the paint. I sponged on some Mr Masking Sol Neo to create some chipping, and then I painted the nose with Mr Color C92 Semi-gloss Black.
I would like to mention that my roll is quite a bit old, so some of the tape had lost its adhesion. This was an easy fix by adding a quick layer of masking tape on top.
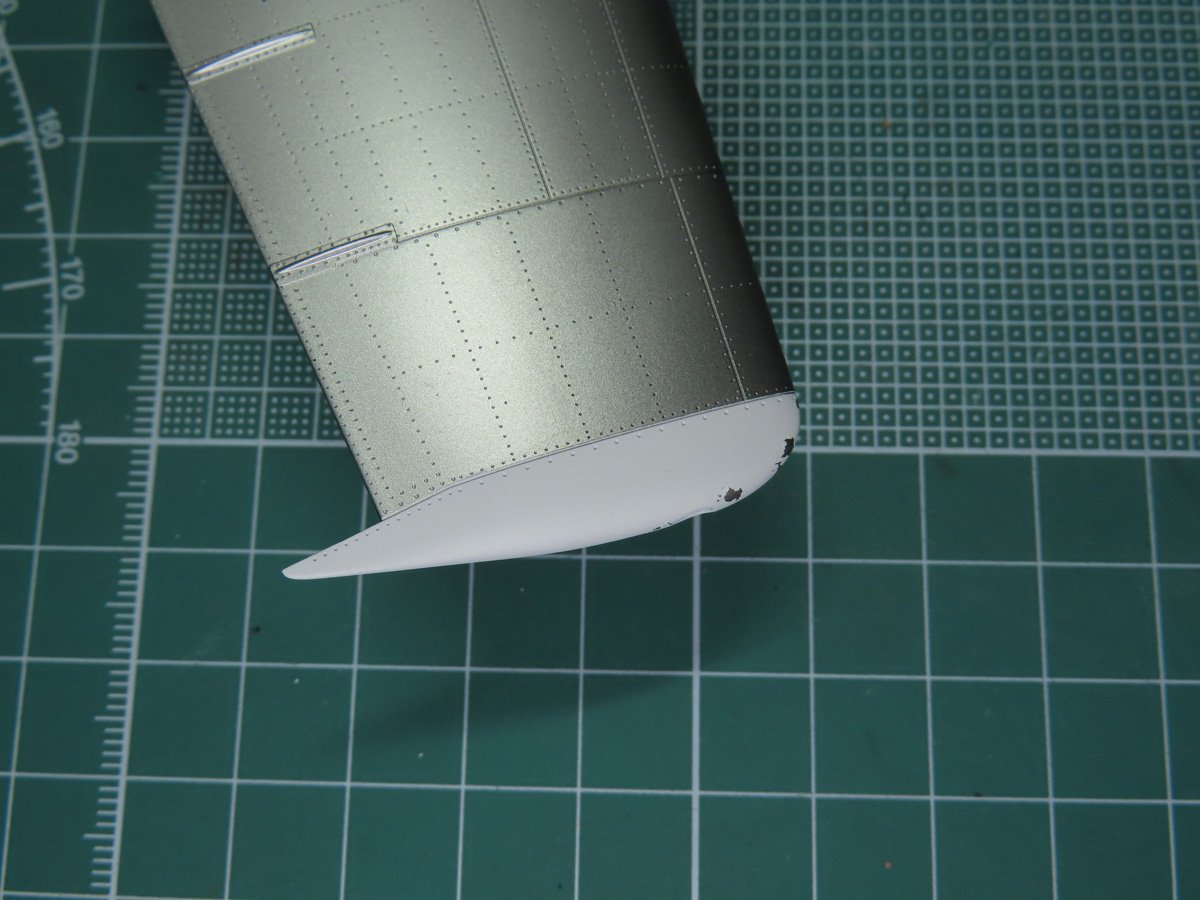
Lastly, I added some more Masking Sol Neo to the edges of the wing tips, and then the tips were painted with Mr Color C62 Flat White.
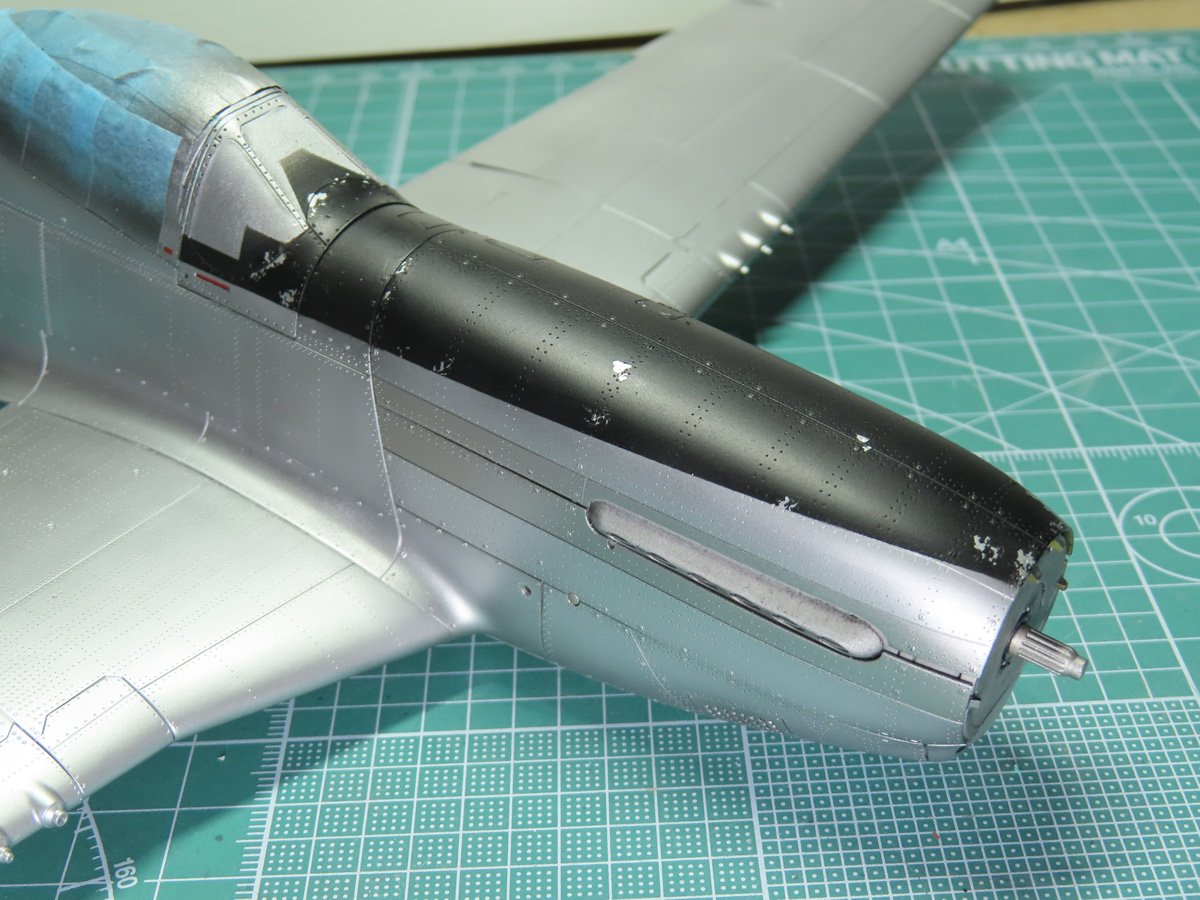
And just like that, this Mustang is now all painted up! I have to admit it’s really cool to see this finally painted and not just small sections that are painted.
I hope that this painting guide has been useful for your projects. And all I can lastly add on is whatever paint you decide to use for your model, test it out a few times to really understand how the paint works and reacts. I see modelers who will test out a new paint directly on their model, and this is just asking for something to potentially go wrong.
And if you aren’t interested in lacquer based metallics (which is very understandable), I do highly suggest trying the Vallejo Metal Color range or Monument Hobbies. My brother has been using Monument Hobbies paints, and their metallics are very impressive for an acrylic paint.
In the next part, we’ll be going through the process of painting on the stencils and markings. And I can’t tell you how excited I am to see those maple leaf roundels added onto this model.
To be continued…
About the Author:
Jared Demes is a modeler from southern Alberta. He has been building models since he was 4 years old when his Dad first introduced him to the hobby. He has written for several magazines including, Fine Scale Modeler, Scale Aircraft Modeling, Phoenix Scale Models, and others. He has an interest in all modeling subjects, with a focus on WWII Japanese aircraft and Science Fiction.
Jared has won several IPMS awards for his modeling, and currently operates his YouTube channel rebelsatcloudnine, where he showcases model builds and product demonstrations.
First Post: Part 1
Previous Post: Part 14
Next Post: Part 16