

Truck Cab Assembly
This is the sixth part of the AMT Kenworth Aerodyne Cabover Tractor Truck 1/25 Scale 1463
I’m very excited to dive back into this project and to start working on the interior. I looked up several Aerodyne trucks for reference, and it seemed there wasn’t really a standard set of colors. All of them appeared to be customized in one way or another.
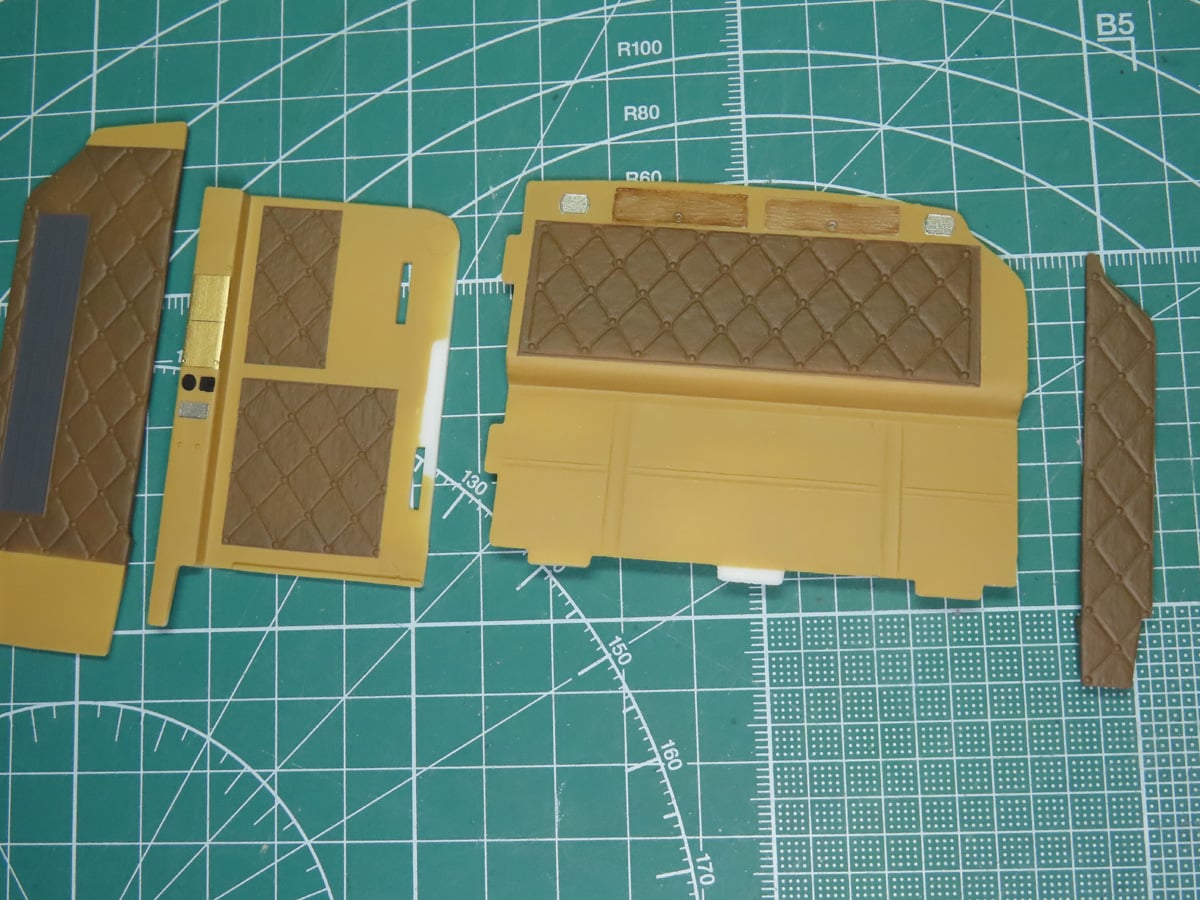
I wanted to keep a bit of an 80-90s feel, so I decided to paint the walls with Mr Color C19 Sandy Brown. And for the padded diamond textured sections, I used Mr Color C22 Dark Earth. And I think that these paints complement each other really well.
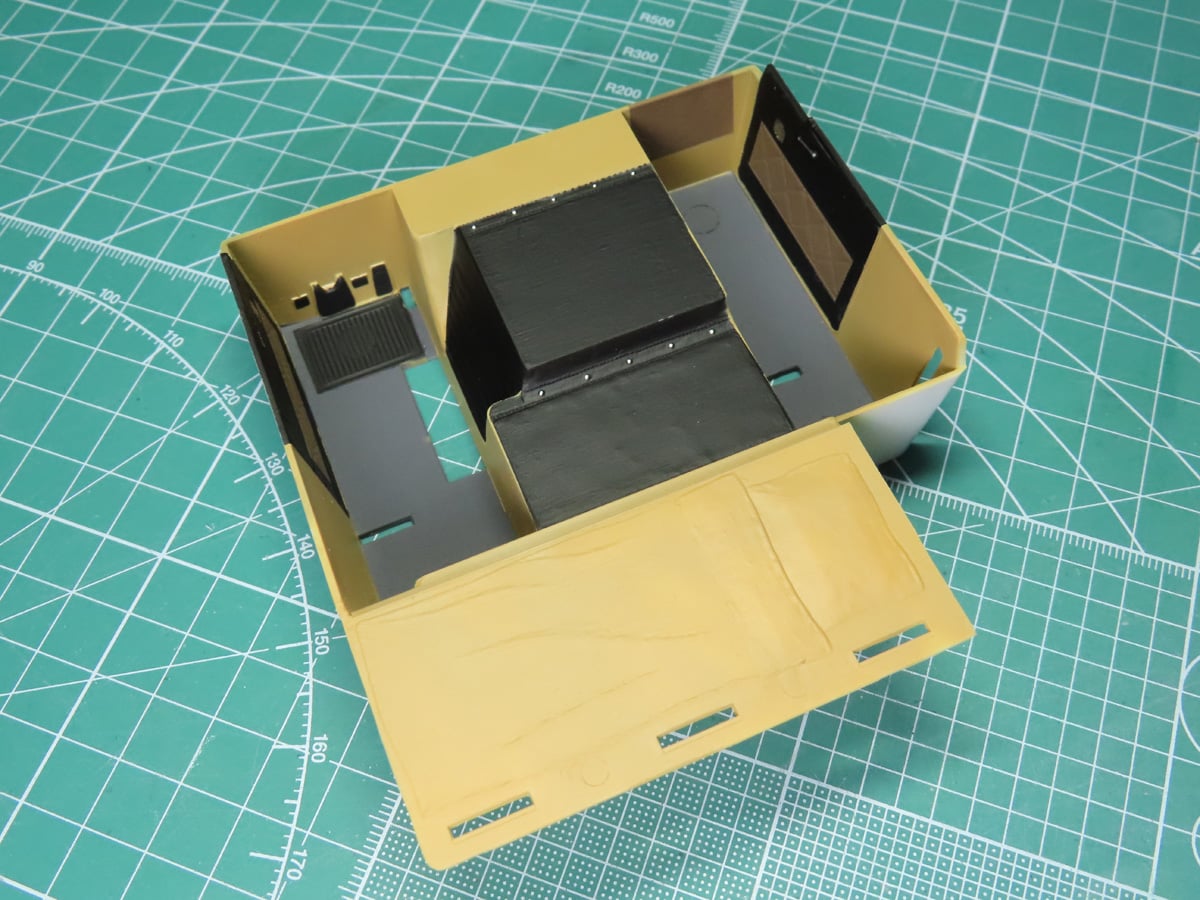
For the interior tub, I started by painting the floor with Tamiya XF-24 Dark Grey. The center section and the doors were painted with Tamiya LP-5 Semi-Gloss Black, and I painted the rest with Sandy Brown.
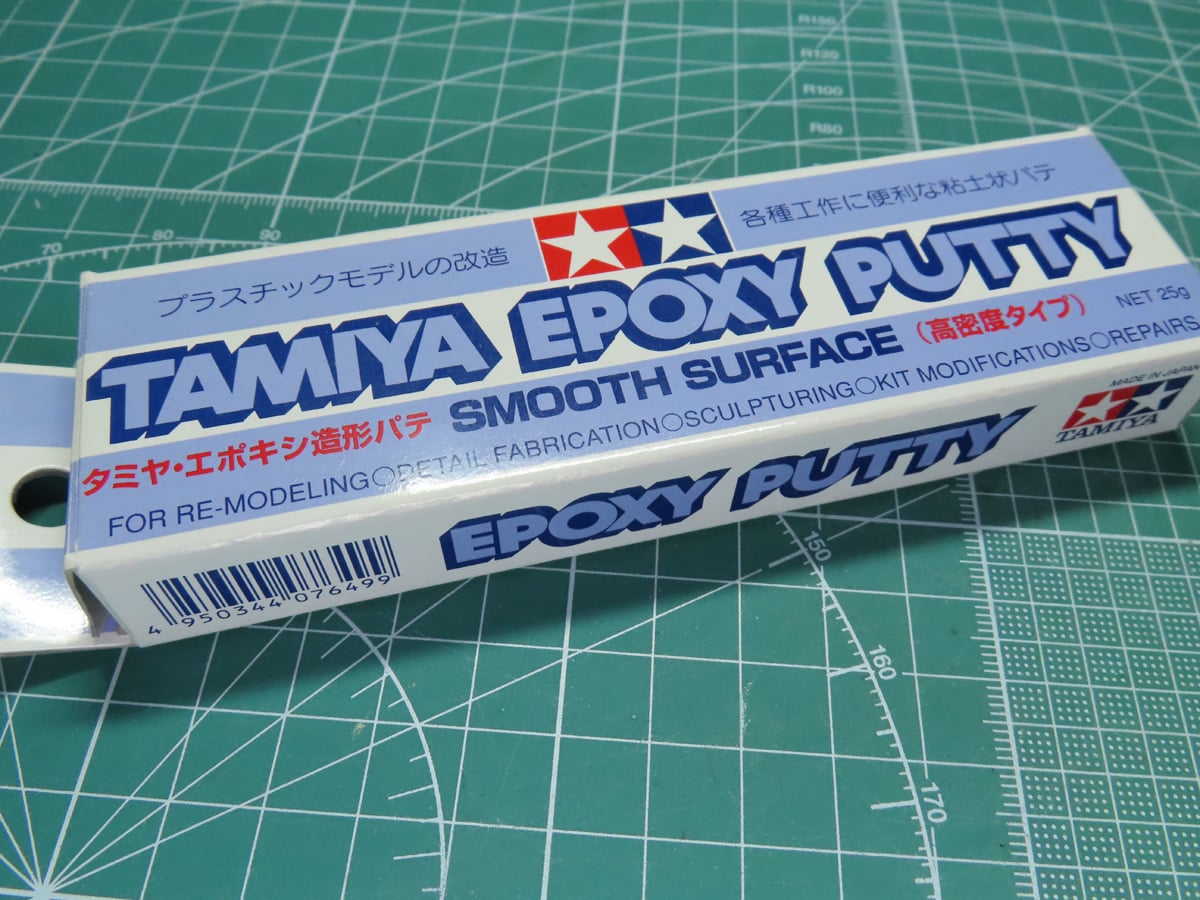
I thought that the bed in the back, though a nice feature, was too flat and lacked sufficient detail. I decided I would sculpt some new details, and I used Tamiya Epoxy Putty Smooth Surface 87052. This is a 2-part epoxy clay; one section is a hardener, and so this putty needs to be mixed thoroughly to get the proper consistency.
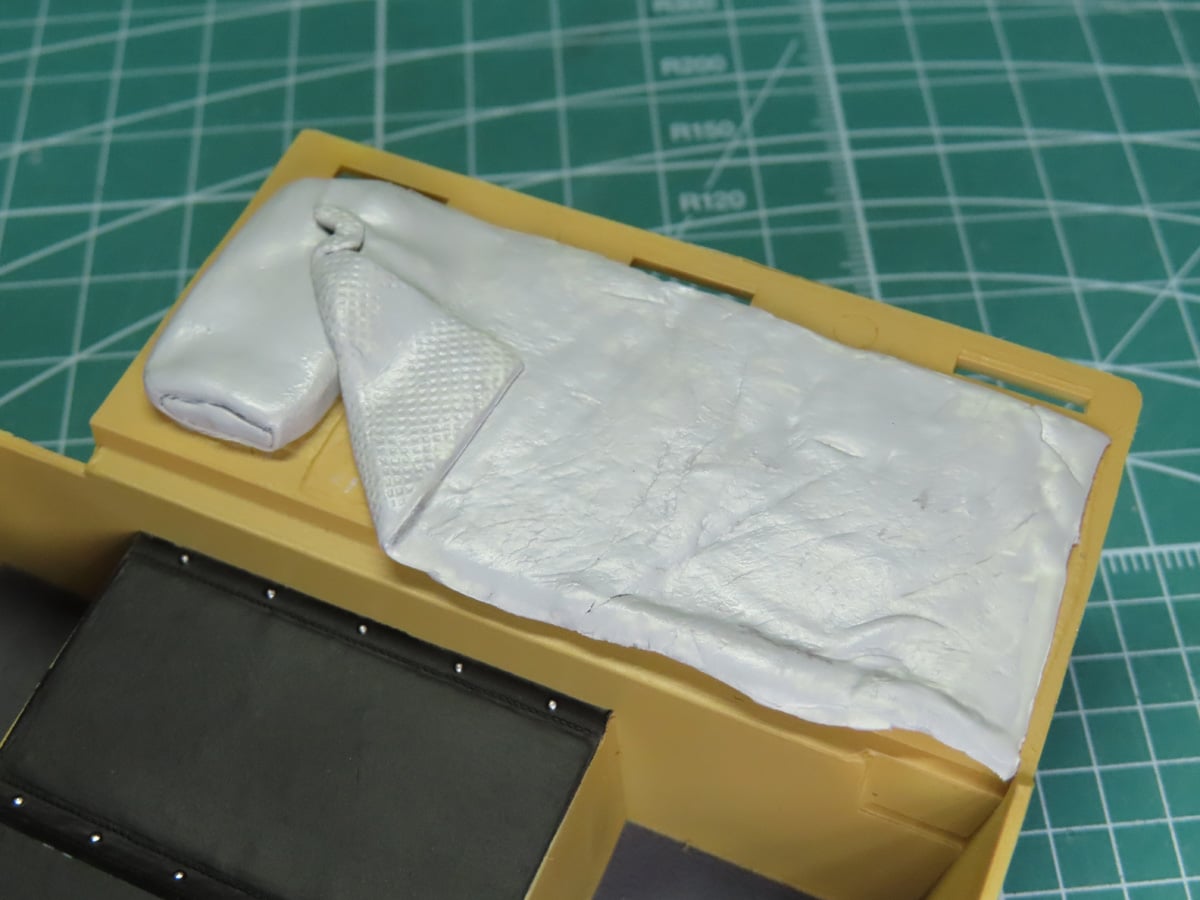
I sculpted a new pillow and a more detailed blanket. I’m very pleased with how much nicer these look, and they were very fun to sculpt. I’ve coated them with some Tamiya Liquid Surface Primer 87075 that I painted on by hand. This added Lacquer Primer has helped the putty dry quicker.
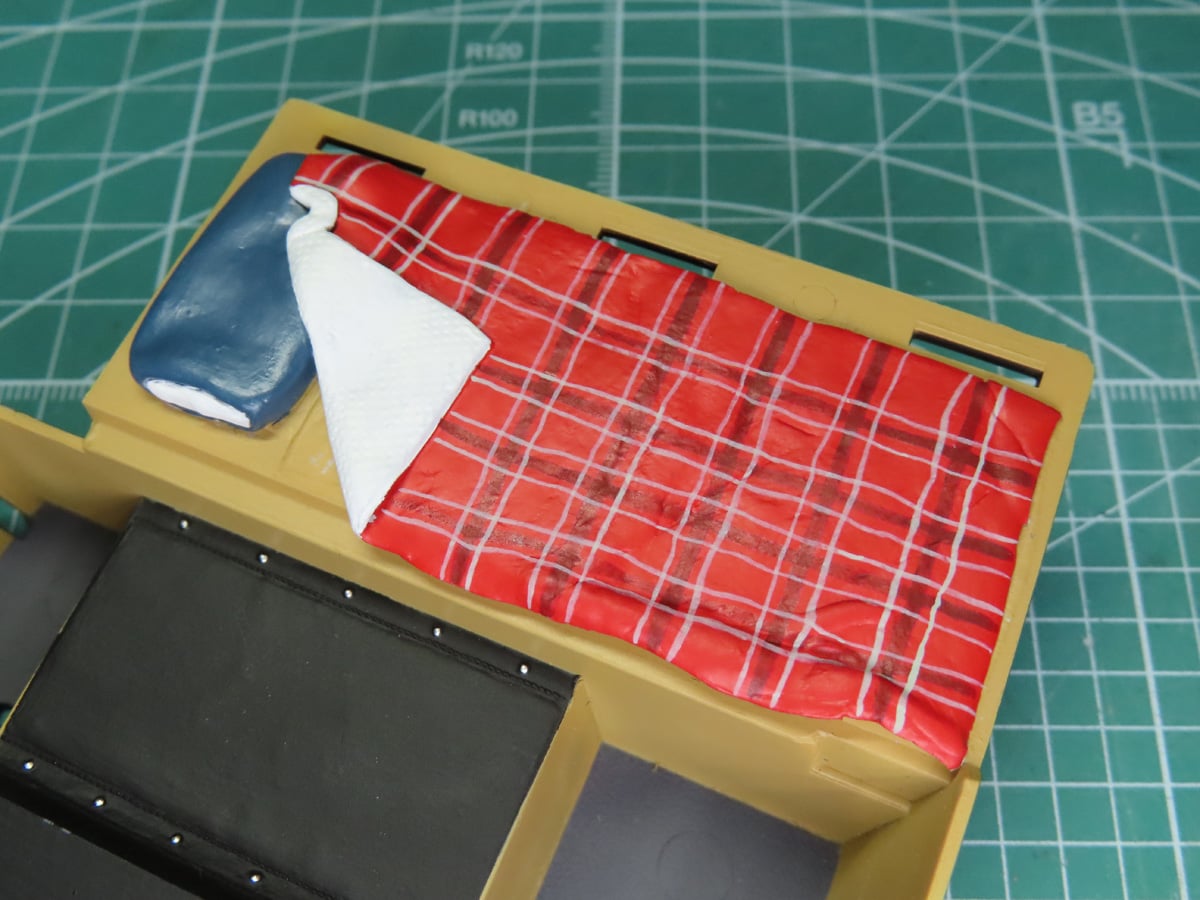
Next, I painted them with various acrylics from AK Interactif and Vallejo. I kept the colors on the brighter side so that they would still be easily seen through the windscreen.
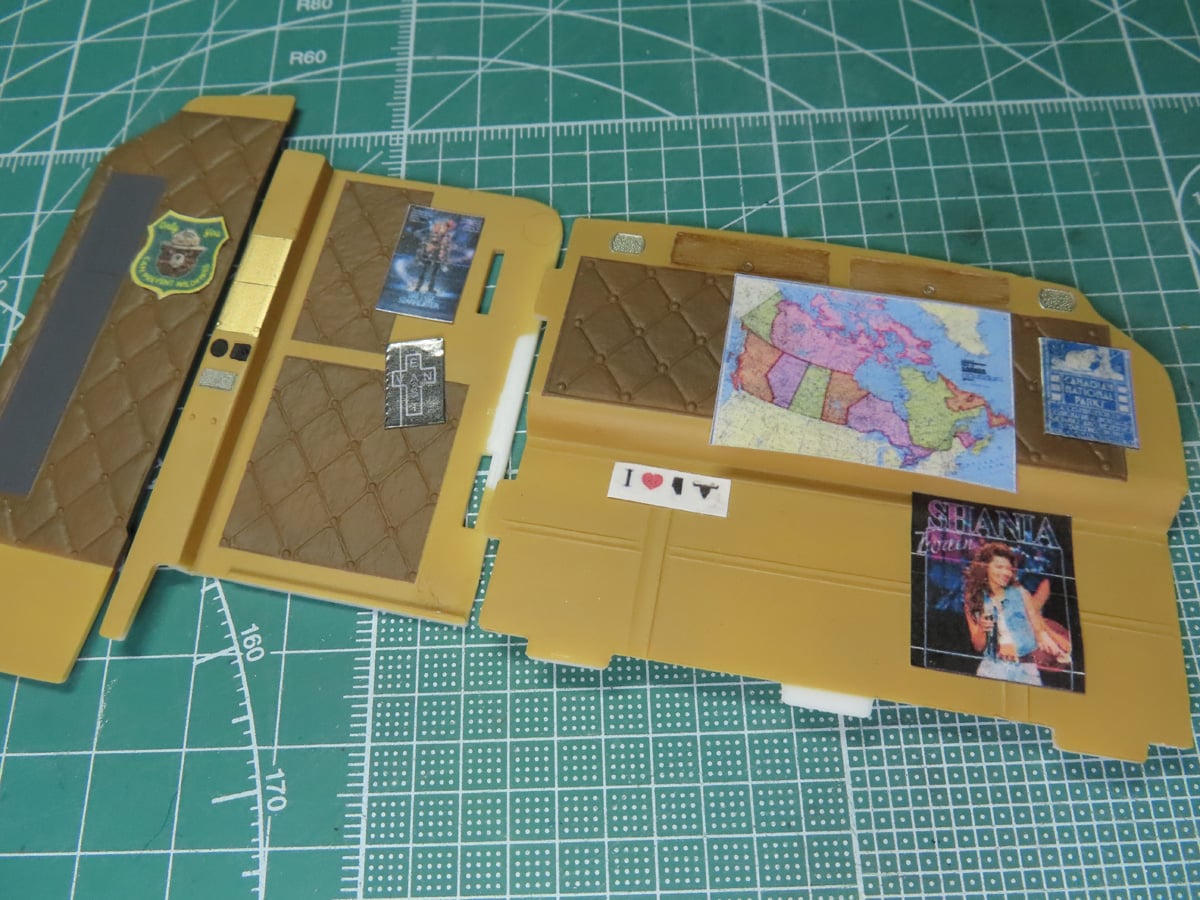
Returning to the interior walls, I wanted to create a more lived in effect, so I printed off various posters of things from around Canada. I found these images online and glued them in with Tamiya Multipurpose Cement 87188. This cement dries slowly, but once it hardens, it creates a very sturdy join.
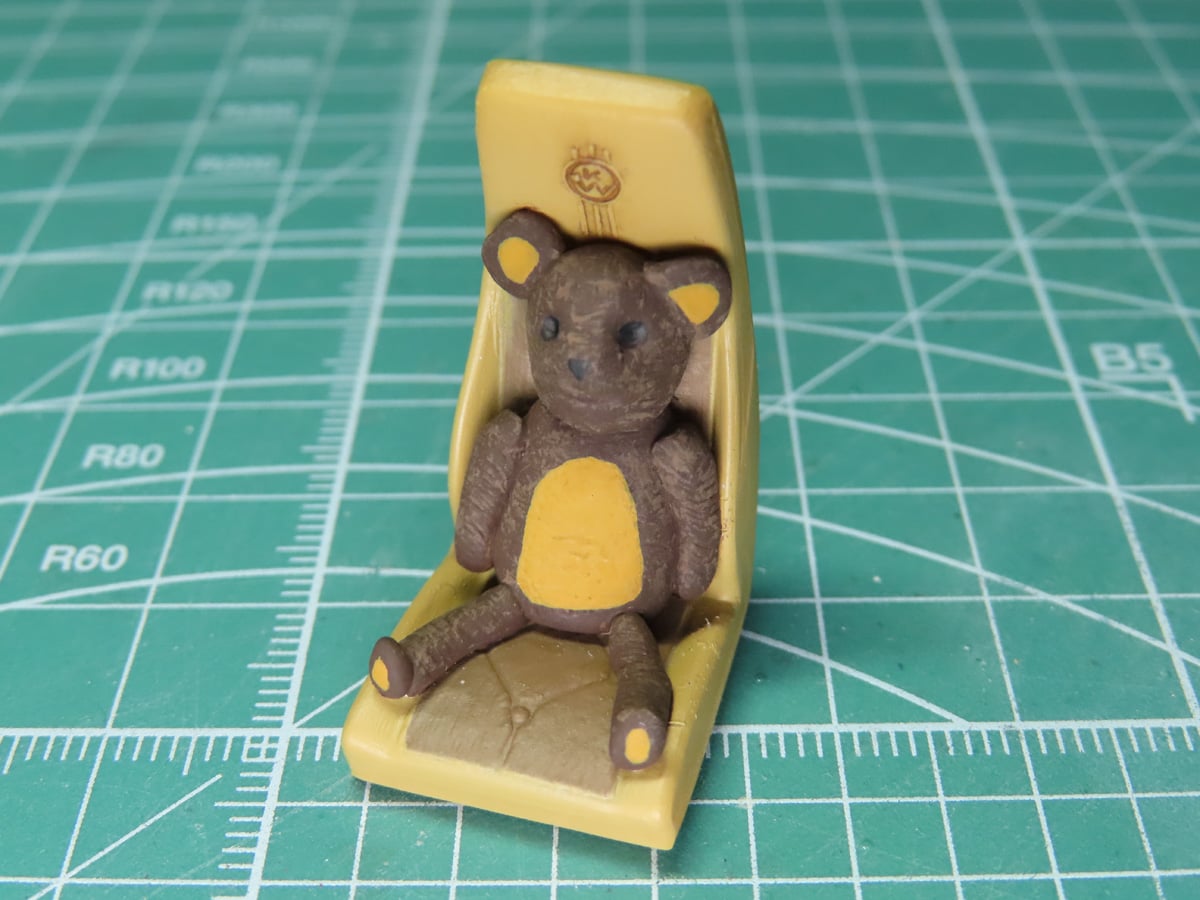
I decided to sculpt a small “co-pilot” for the passenger seat. This little guy was also created with the Tamiya Epoxy Putty.
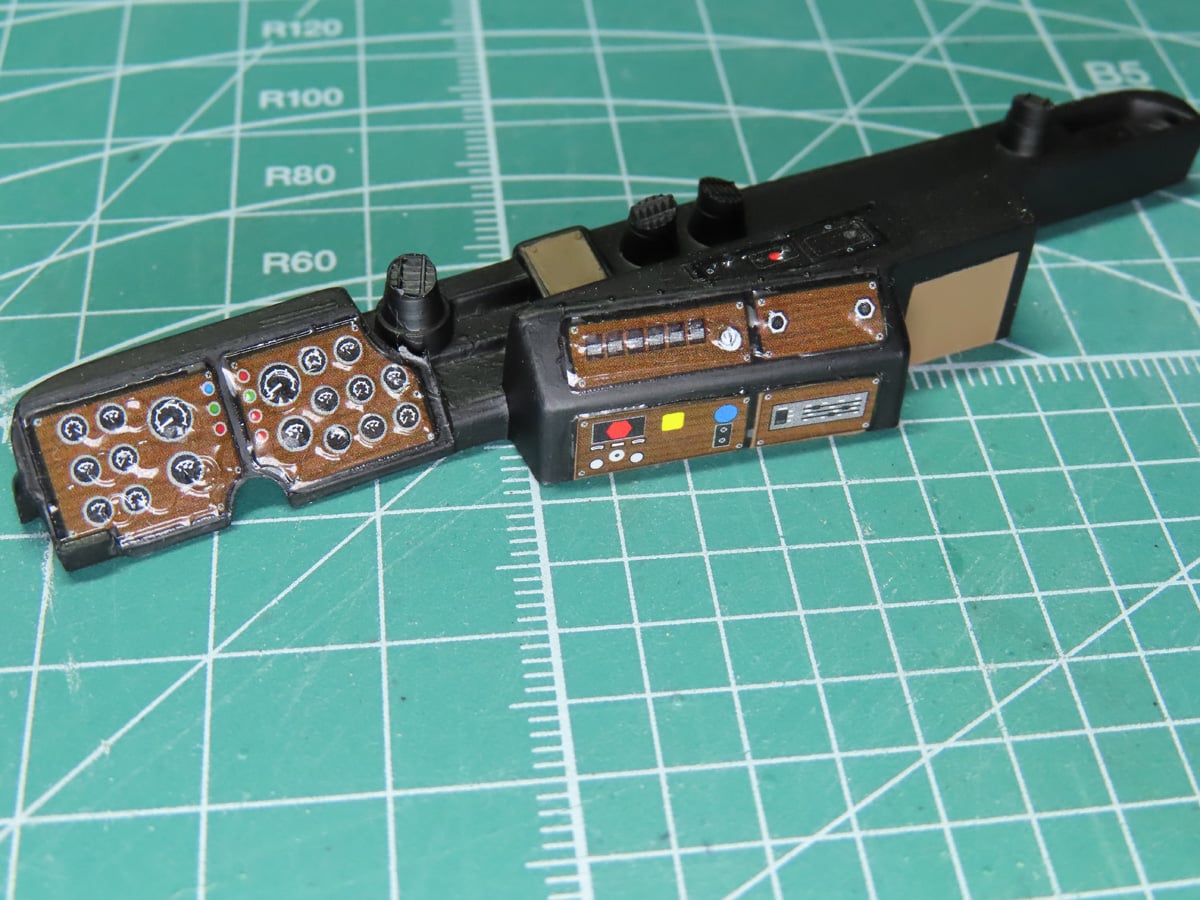
The decals look awkward, and that’s my fault. I missed the direction in the instructions to sand away the surface details before applying the decals. My bad…
The decals themselves are very thick and were difficult to conform to the surface. I’ve experienced this before with decals from Round 2. I needed an aggressive decal solvent, and so I turned to my tried and tested Tamiya Mark Fit -Super Strong 87205. It took several applications to get the decals down, but eventually they leveled out.
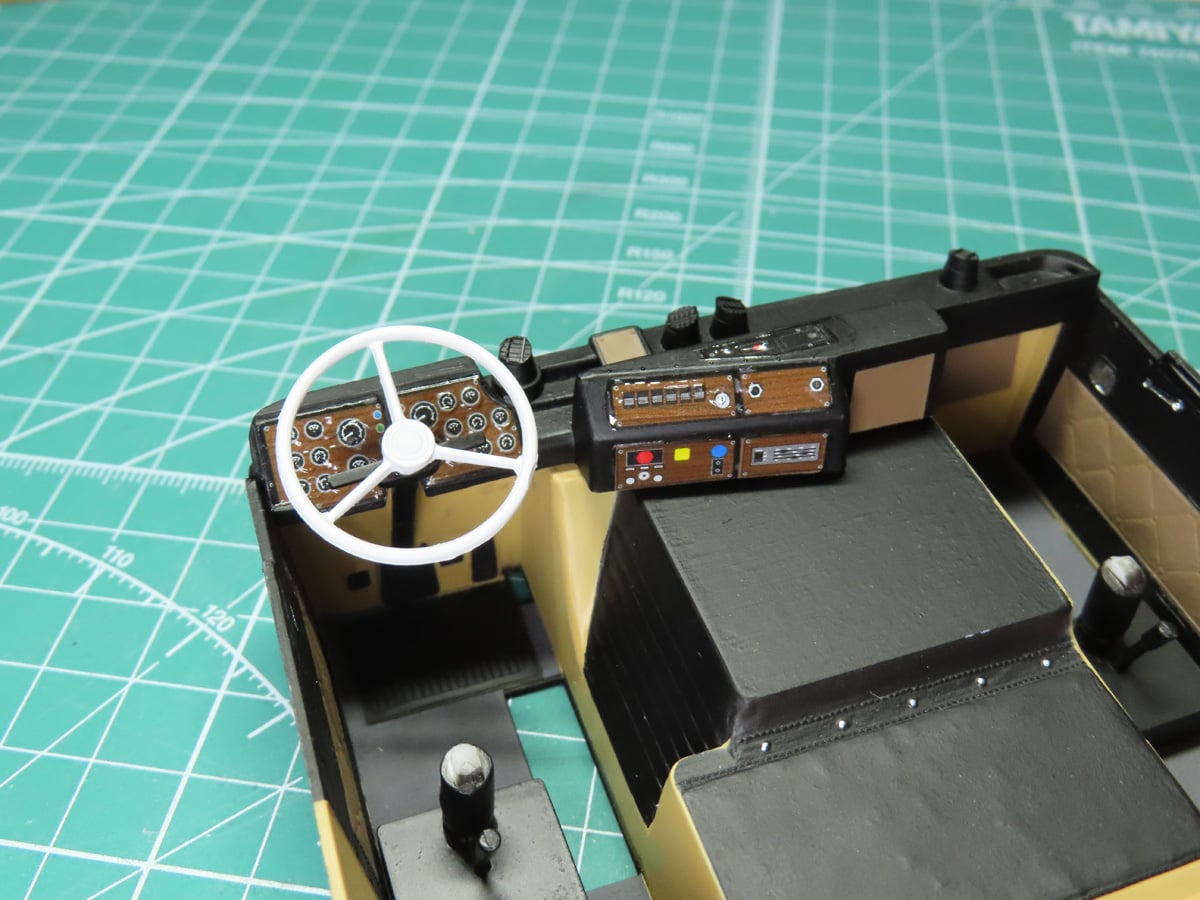
Now I could glue the dash down to the interior, and add on the steering wheel. One thing I noticed is that most of these trucks had/have bright white steering wheels. So I painted this one with a light coating of Mr Color C1 Gloss White.
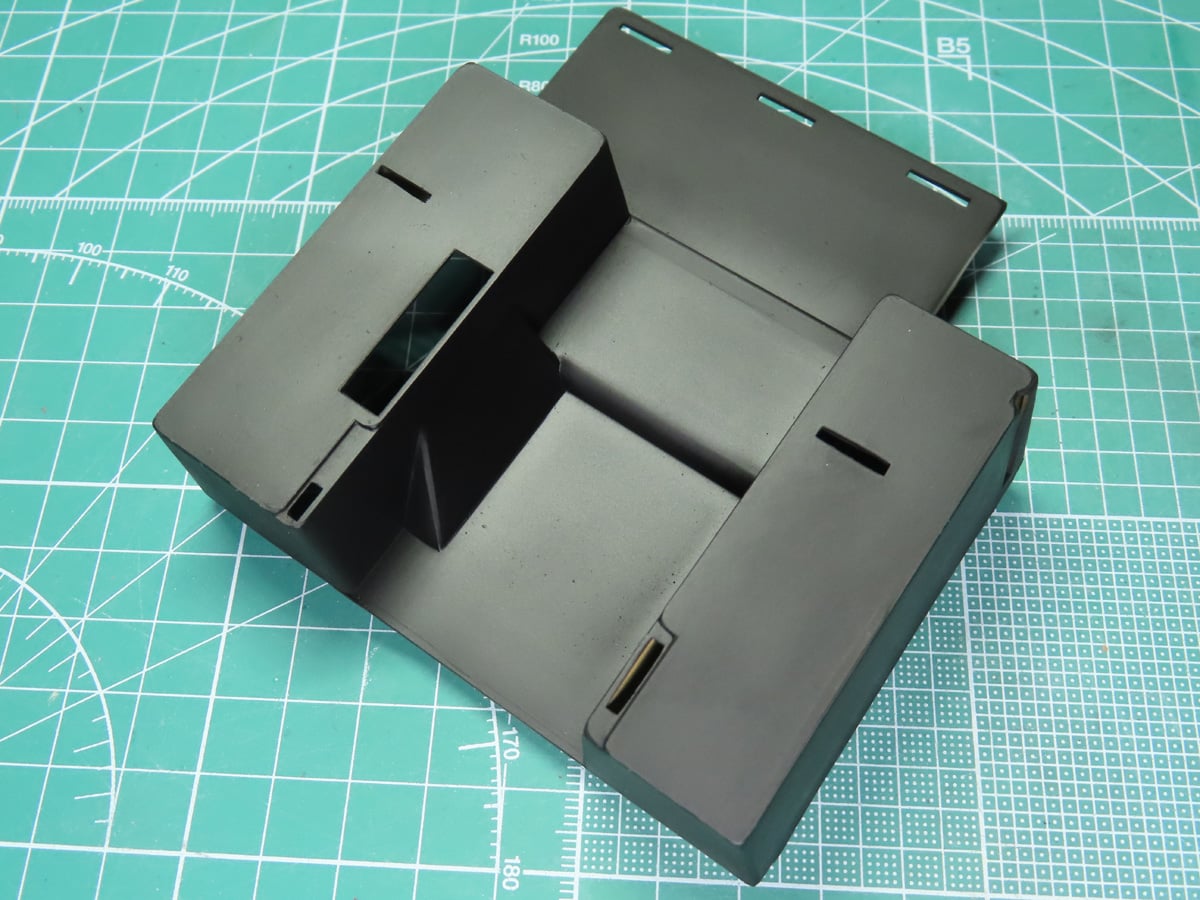
I was about to assemble the rest of the interior when I remembered that the underside of the tub needed to be painted as well. This was quickly done with Tamiya LP-5 Semi-Gloss Black.
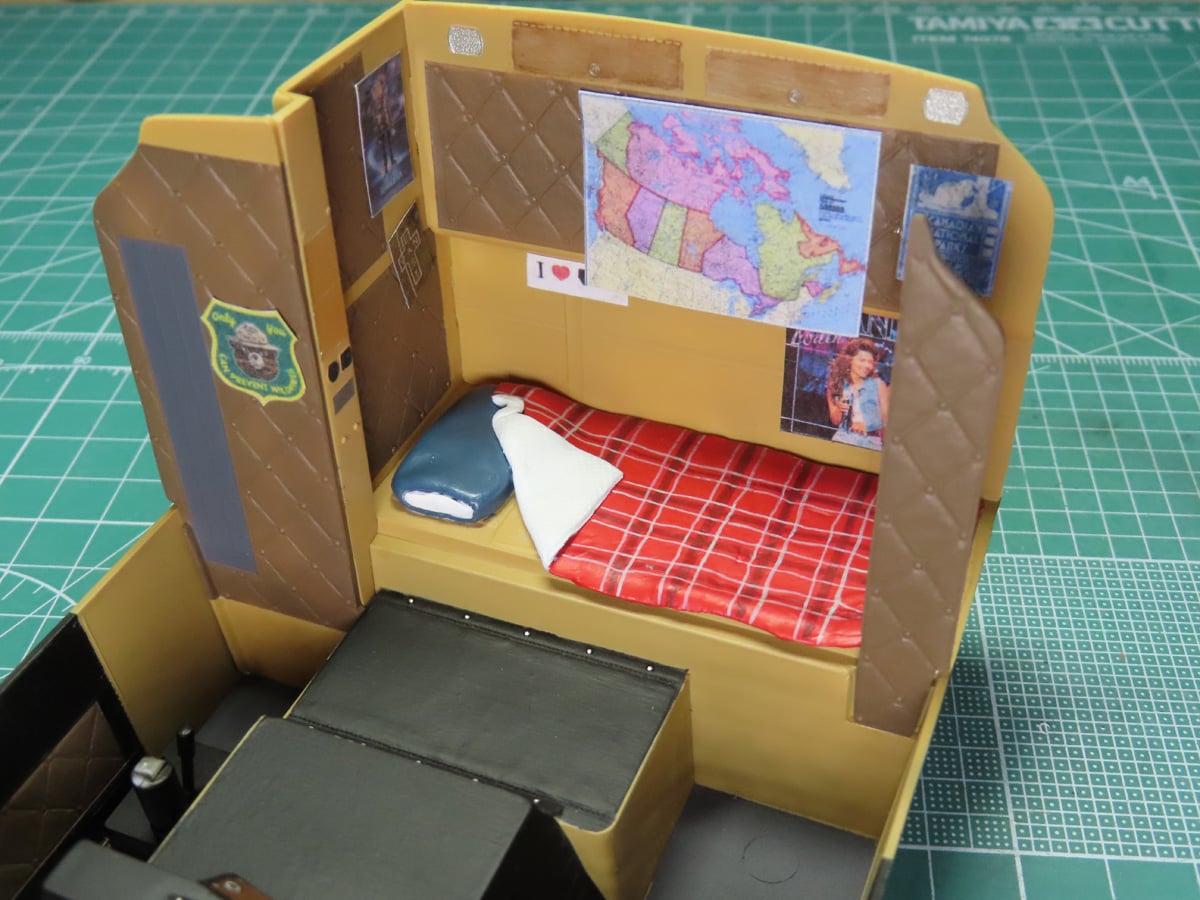
The walls were carefully glued into place with a generous amount of Mr Cement Deluxe MC127. Now that they are all together, it creates a really nice cozy place. Perfect to rest and relax after a long day of driving.
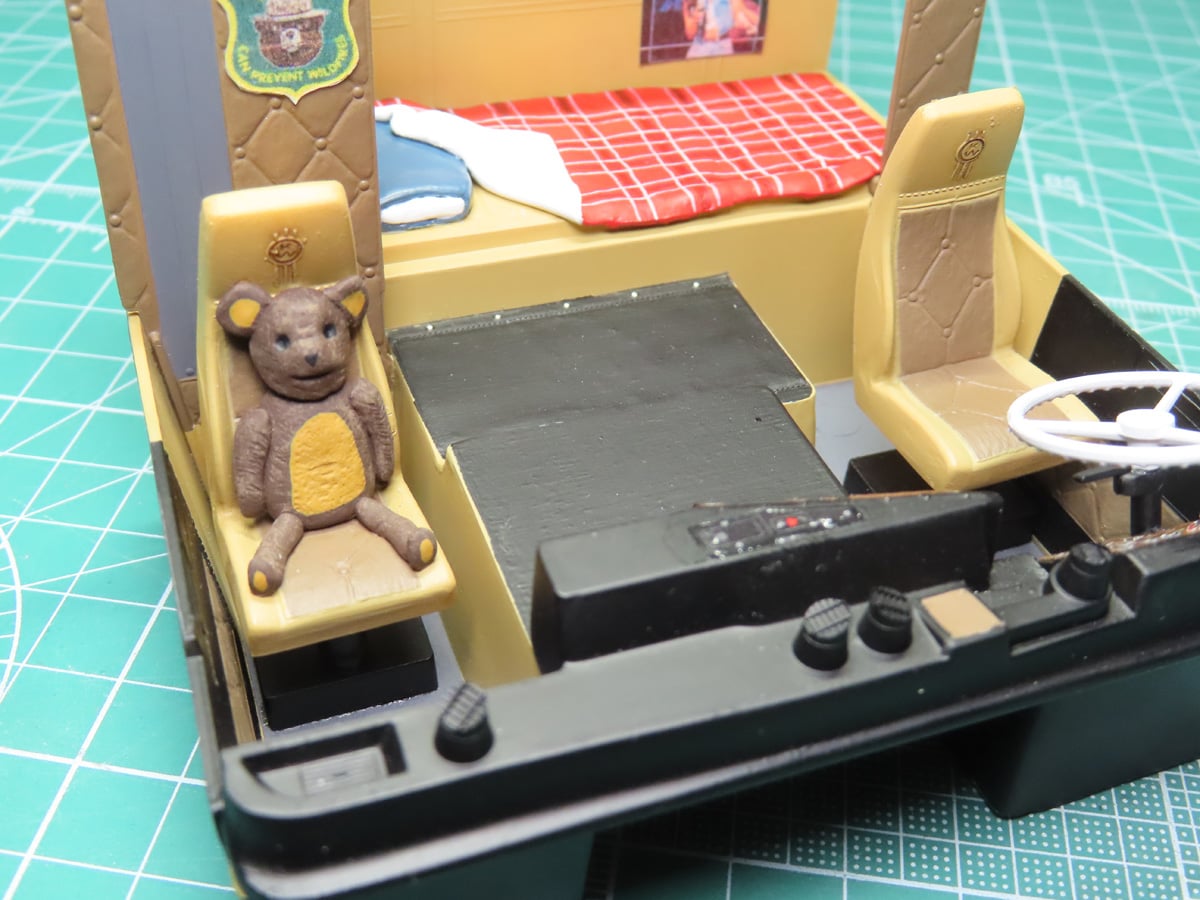
Lastly, I super glued with BSI 101 in the seats, and with that, this interior is all complete and ready to be installed into the inner section of the body.
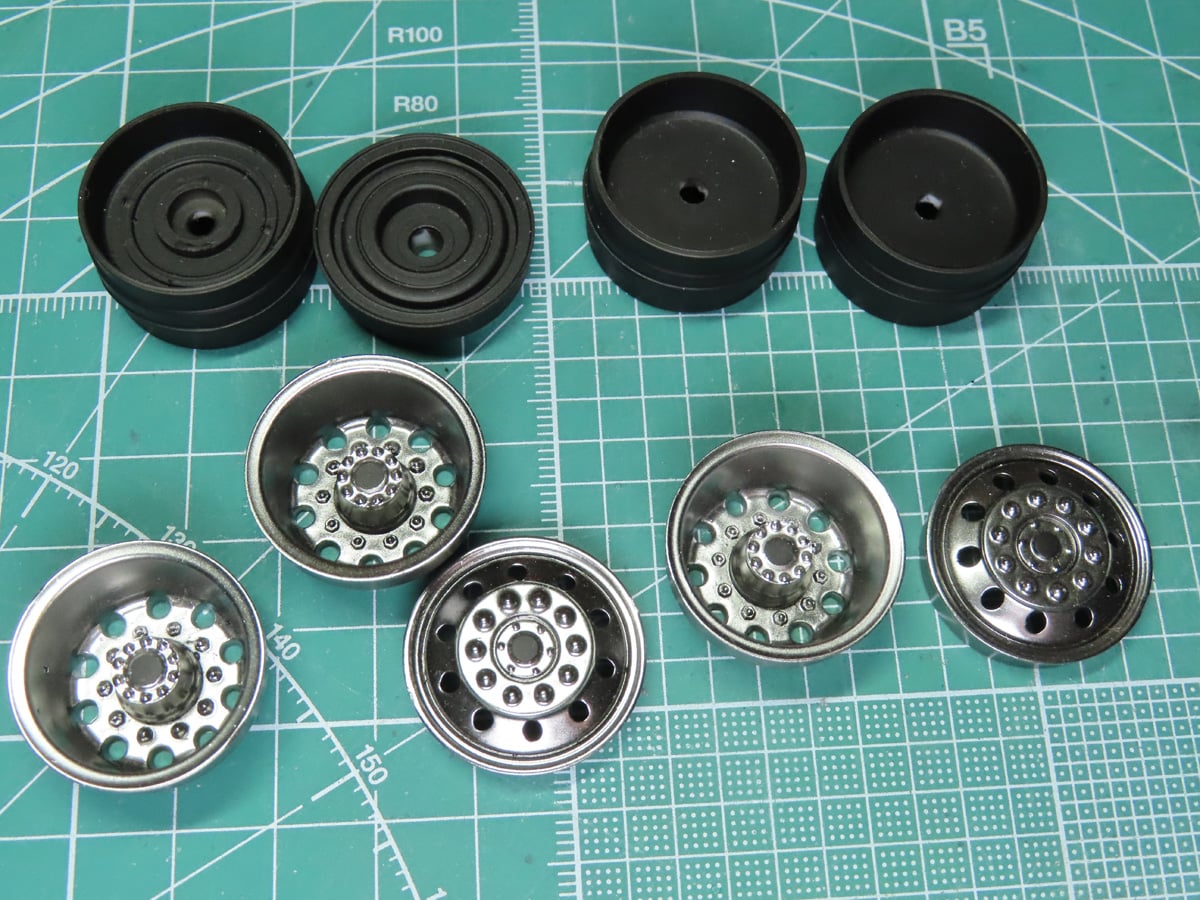
Moving to the wheels, I repainted the hubs with Alclad Chrome ALC 107. Because of the recessed nature of the rear hubs, they were a bit more difficult to spray at the lower pressure required for the Chrome paint. The inner and outer sections were painted with LP-5 Semi-Gloss Black.
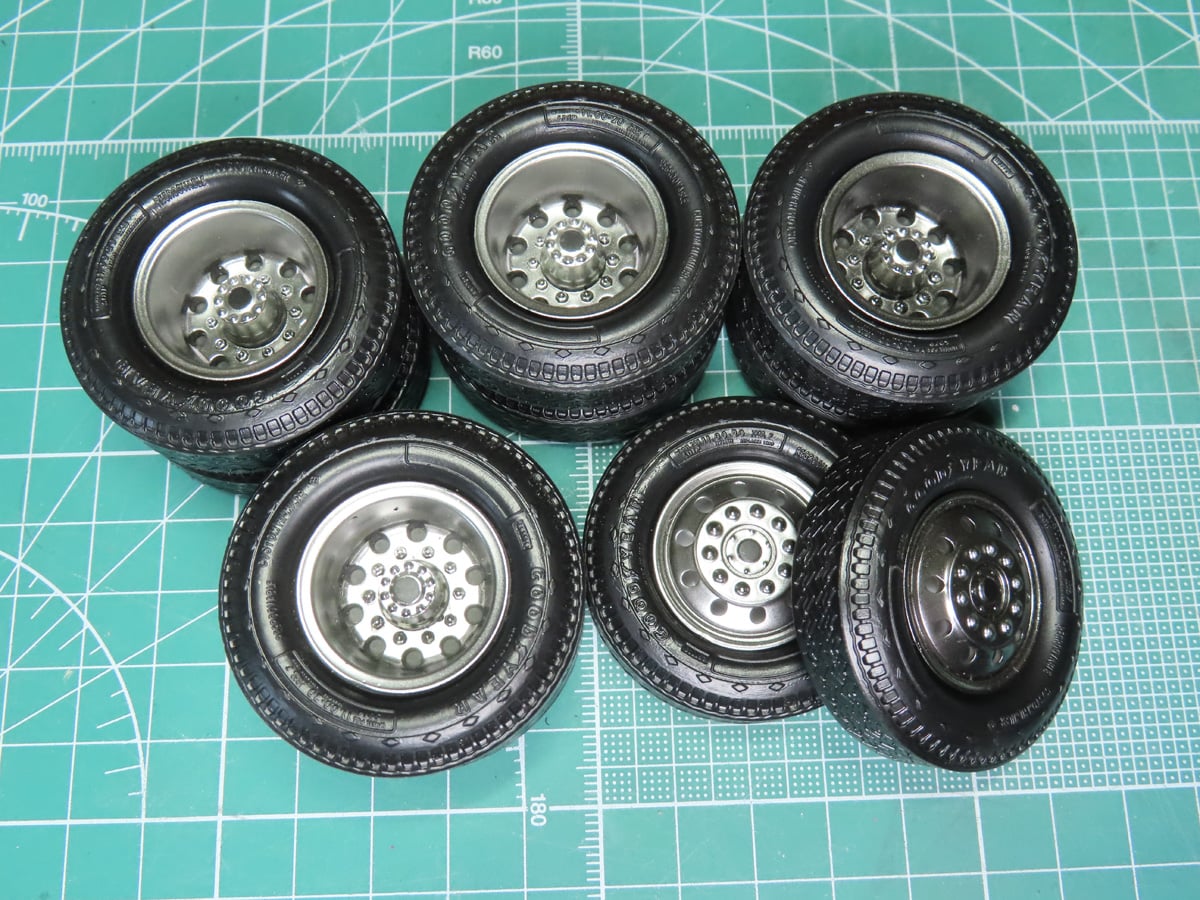
When I assembled the wheels on the Camaro, I had difficulty getting the tires to fit properly as the rubber was too thin. This time was a lot easier, and the tires quite easily slipped into place. I really like the side details that AMT included; it helps add to the realism of the model.
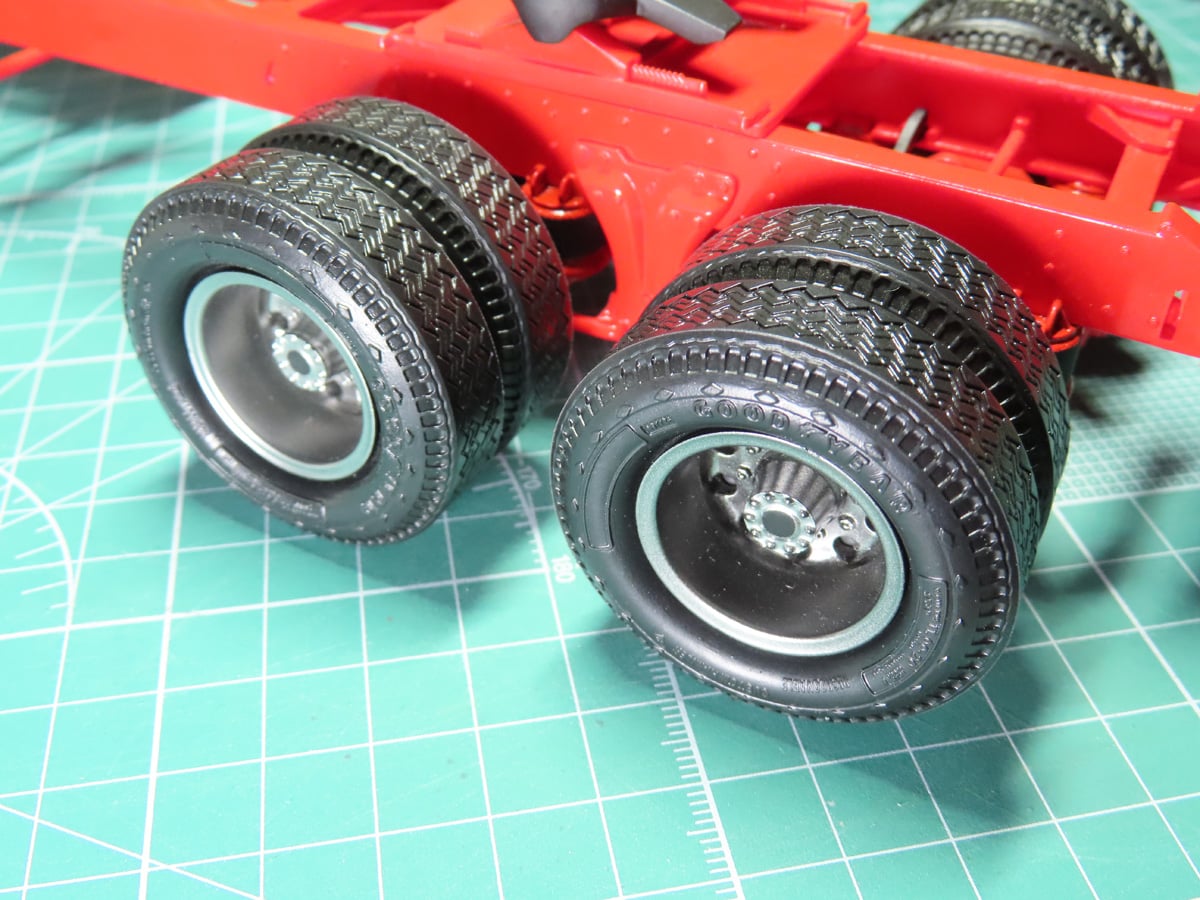
I added the wheels to the chassis, and they are supposed to “click” into the sockets and rotate. However, as I applied pressure, all I heard was creaking from the axle and chassis. So I decided it would be better to simply glue them in place rather than risk breaking the model.
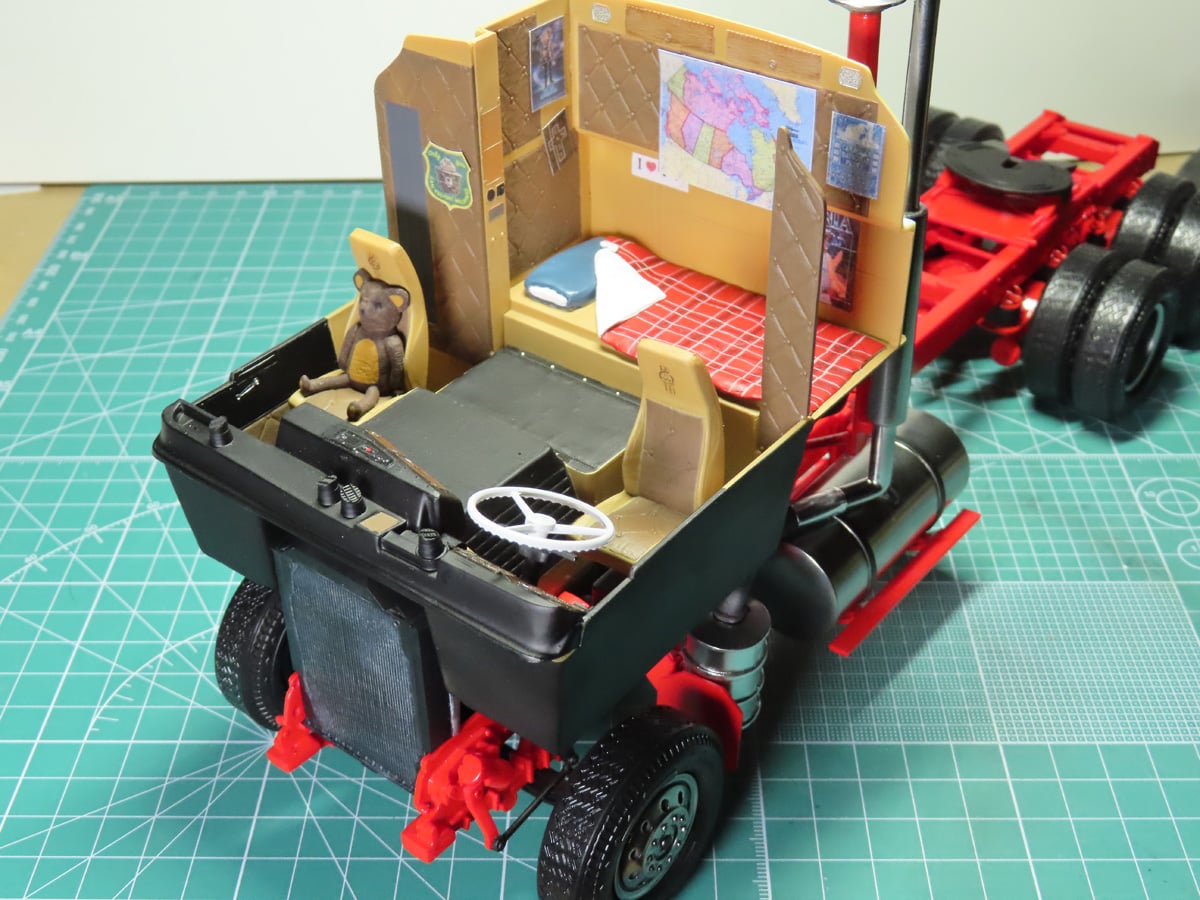
I had a lot of fun adding all of these personal details to the interior, as well as painting and detailing the parts. I’ve been looking forward to this stage of the build for a while now. And now things will get even more exciting as we paint the exterior. I’ve got some big ideas for painting that section, and I’m eager to get to work.
And once that’s done, all that will be left is to paint and add on the smaller details.
To be continued…
About the Author:
Jared Demes is a modeler from southern Alberta. He has been building models since he was 4 years old when his Dad first introduced him to the hobby. He has written for several magazines including, Fine Scale Modeler, Scale Aircraft Modeling, Phoenix Scale Models, and others. He has an interest in all modeling subjects, with a focus on WWII Japanese aircraft and Science Fiction.
Jared has won several IPMS awards for his modeling, and currently operates his YouTube channel rebelsatcloudnine, where he showcases model builds and product demonstrations.