
WWII Bomber 1/72 Scale with Display Images at Nanton
This is the third part of the Revell Avro Lancaster Mk.I/III Échelle 1/72 04300
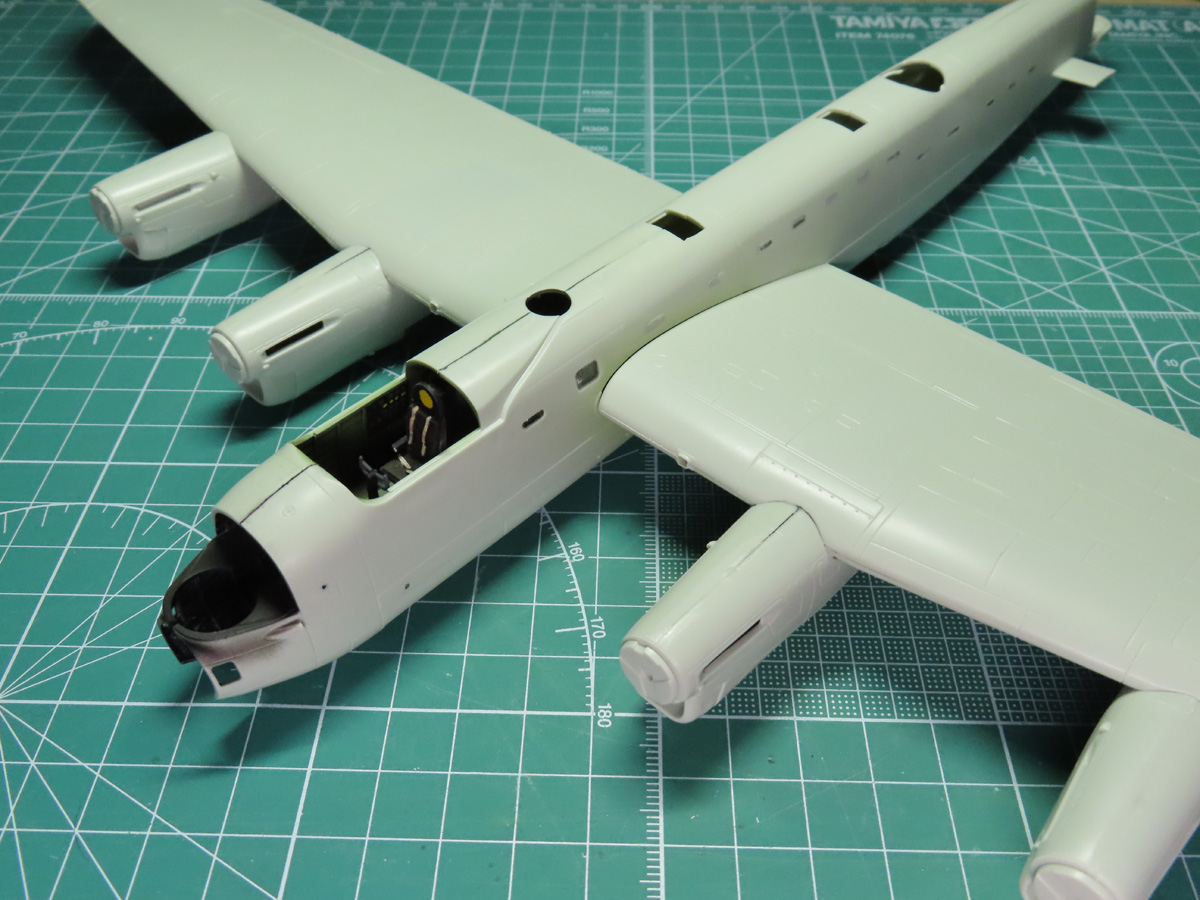
This week I’ll be working on the wings for the Lancaster. Revell has broken the wings into smaller sections around the gear bays to allow quite a bit of detail. They also have the option for some Merlin engines to be built and posed exposed on the aircraft, which is a nice addition.
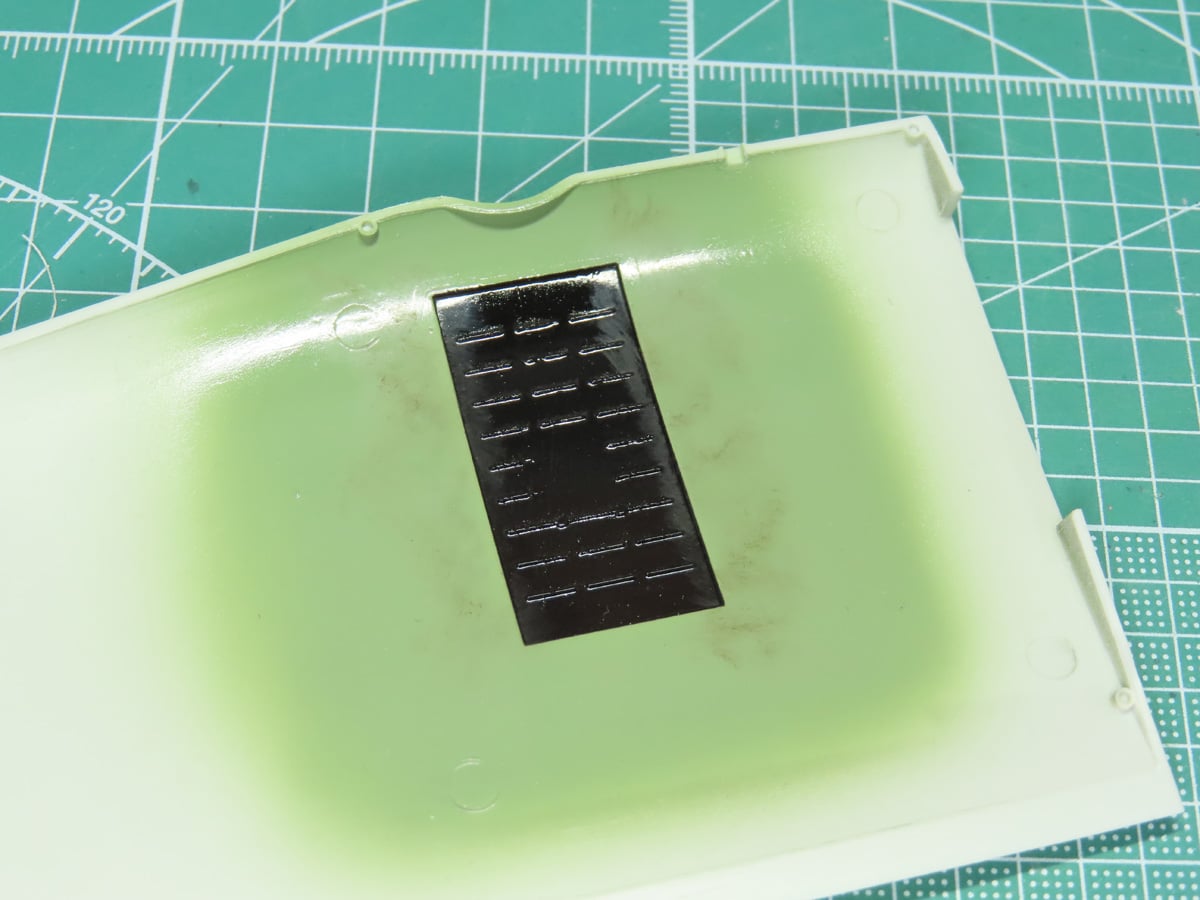
I’ve started by painting the inside of the wing section with Tamiya XF-71 Cockpit Green. Just as I did previously with the cockpit, I mixed it with Tamiya XF-2 Flat White (50-50). The inner section was painted with Mr Color C92 Semi-Gloss Black.
The wings were then glued together, and the styrene fused quickly with Mr Cement SP, which allowed me to work quickly. Braces went on either side of the wings as support, and you can easily see the Cockpit Green sections.
This is a small detail to paint onto the model, but it was something I noticed when I toured the real aircraft. I try to add small details like this to my models, as the little details add a nice sense of authenticity to a project.
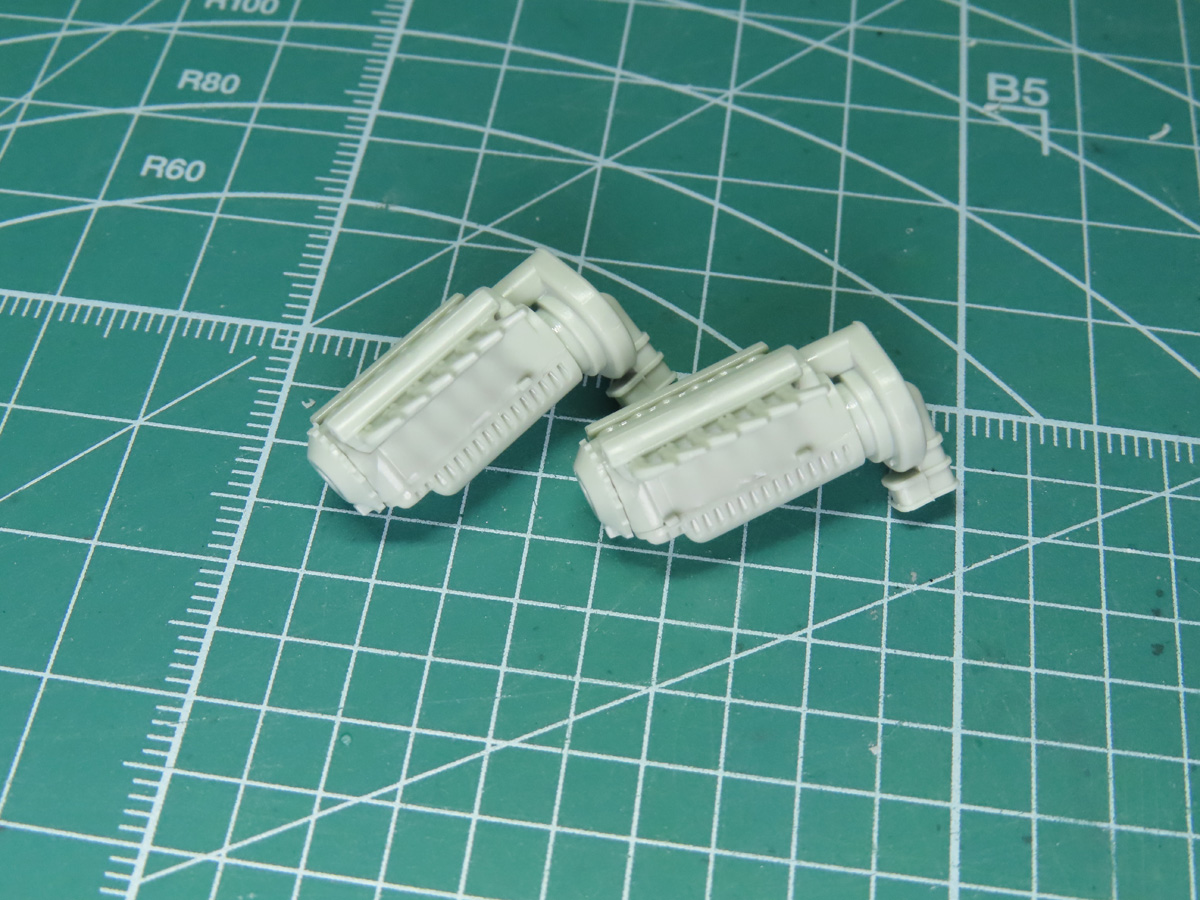
I built up the 2 Merlin engines that go on either side of the inner nacelles, and I was surprised that they were a lot nicer than I had initially expected them to be. Though I do like them, but I think this time I’ll leave them off the model and keep the engine bays closed.
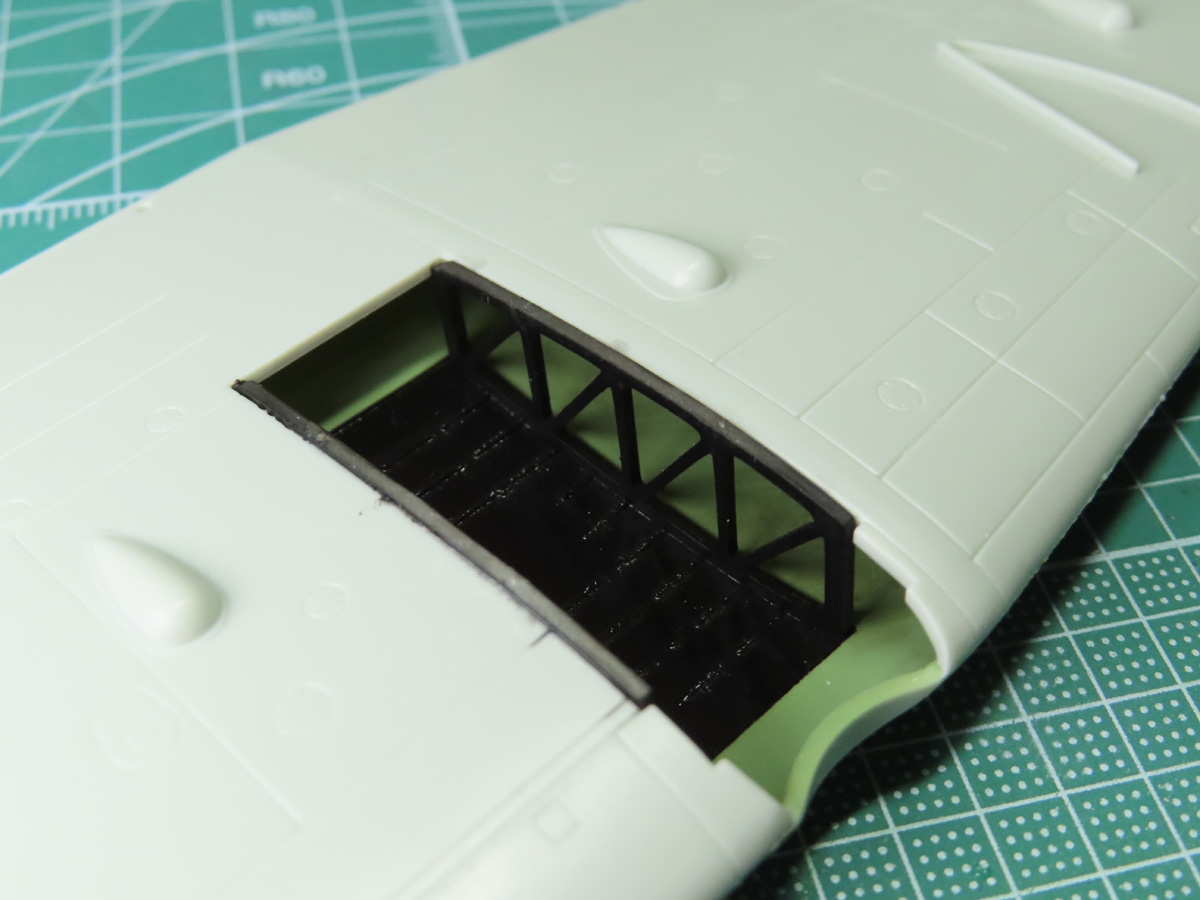
I added the back wall to the wheel bay as well as some of the wing ribbing down the center section. These parts were a bit tricky to add on and keep in place, so a set of sturdy, long tweezers will greatly assist you here.
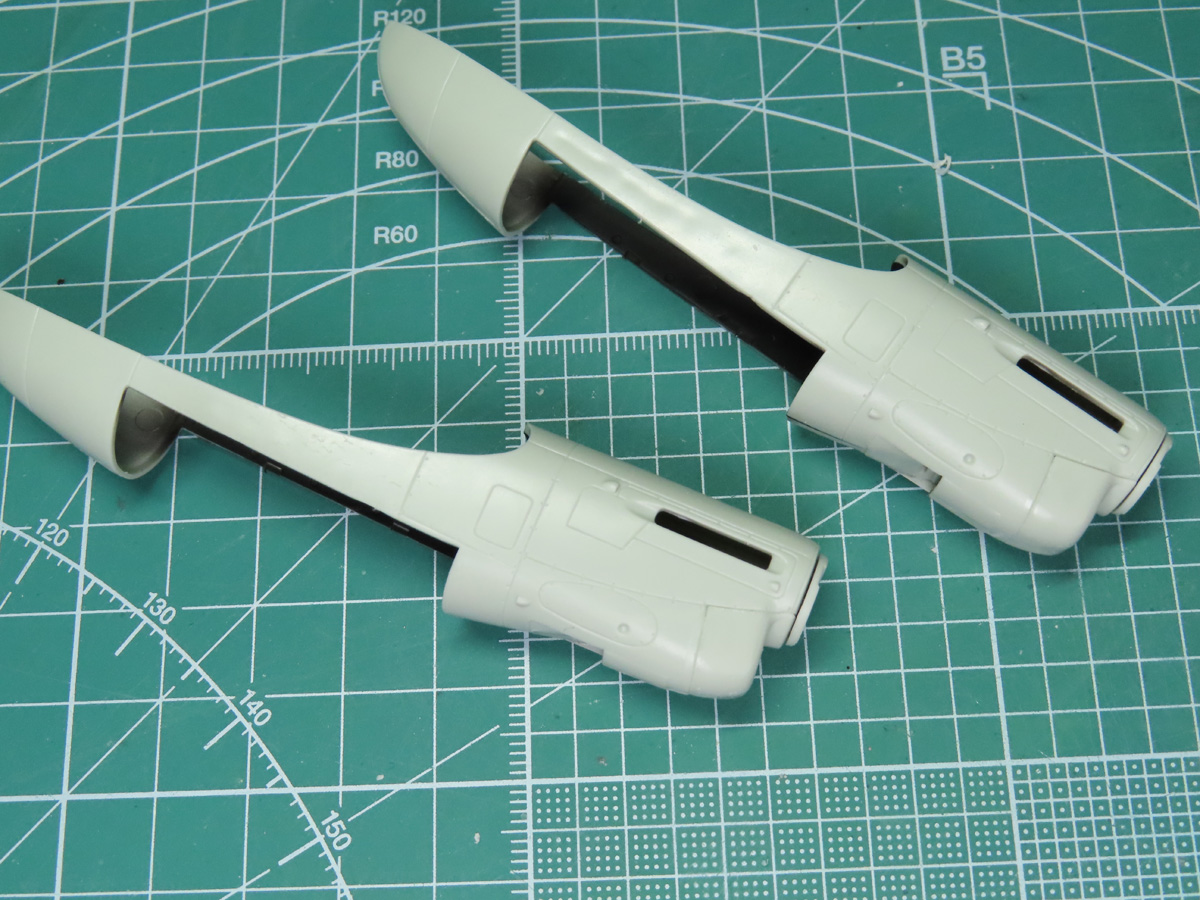
The nacelles were built next, and they went together very quickly. However, the plug and cap for the propeller were riddled with flash, and they took quite a while to clean. What added to the difficulty was their size. The propellers won’t rotate quite as freely as I would like them to, and this is one section of the build I think Revell could have done better.
You also need to glue the halves with some caution, as it’s very easy to have extra thin cement flow down and unintentionally glue the propeller plug to the nacelle.
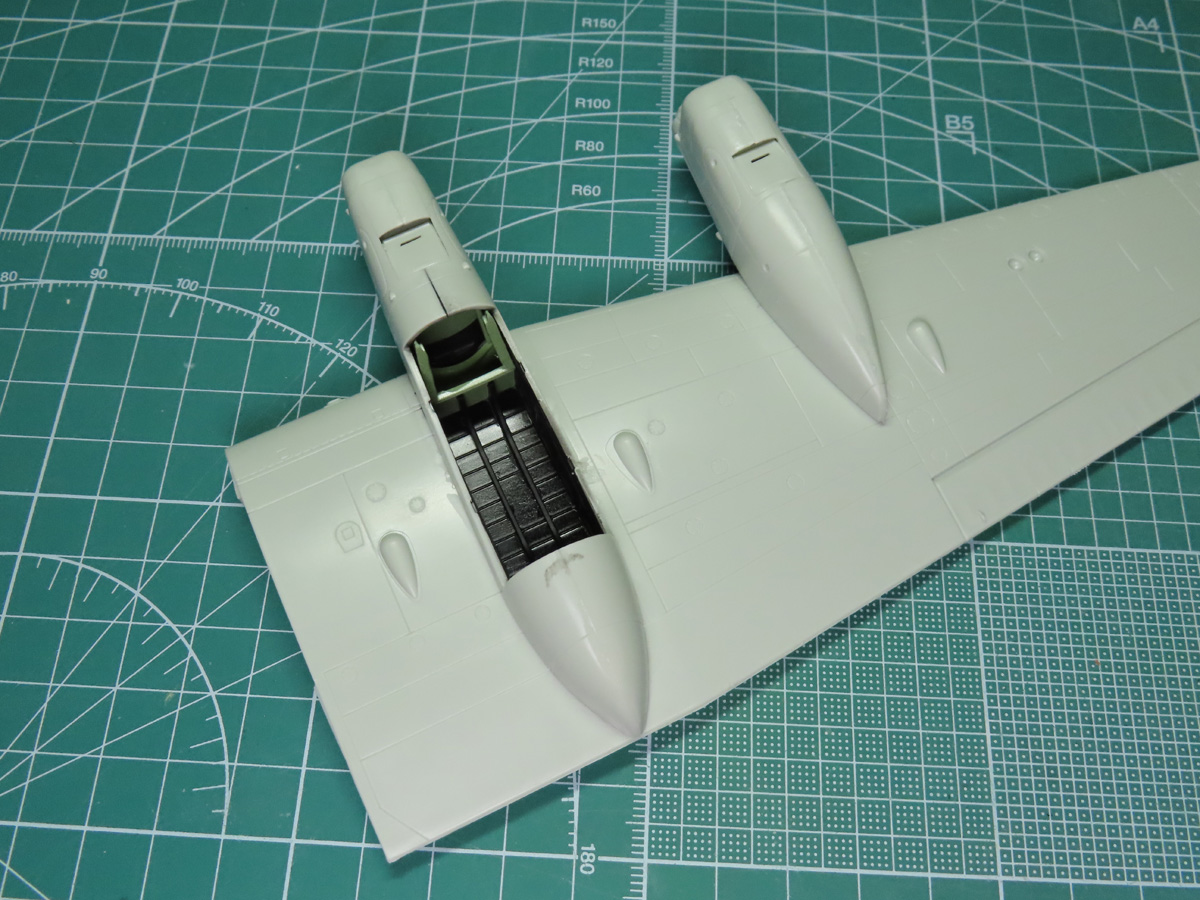
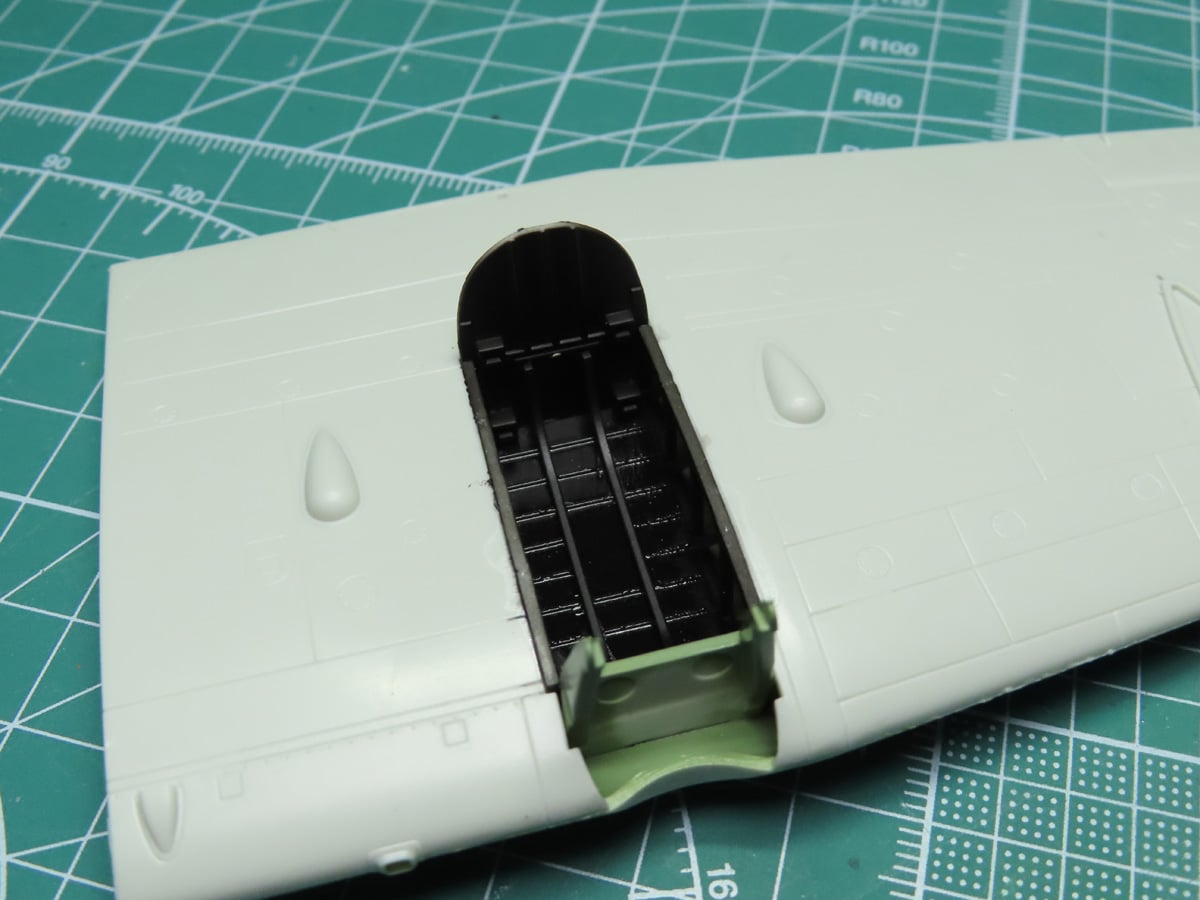
It took a bit of careful gluing, but the nacelles were fitted onto the wing. The fit itself is pretty good, but I would advise working slowly here. Some of the parts need a bit of encouragement to fit correctly.
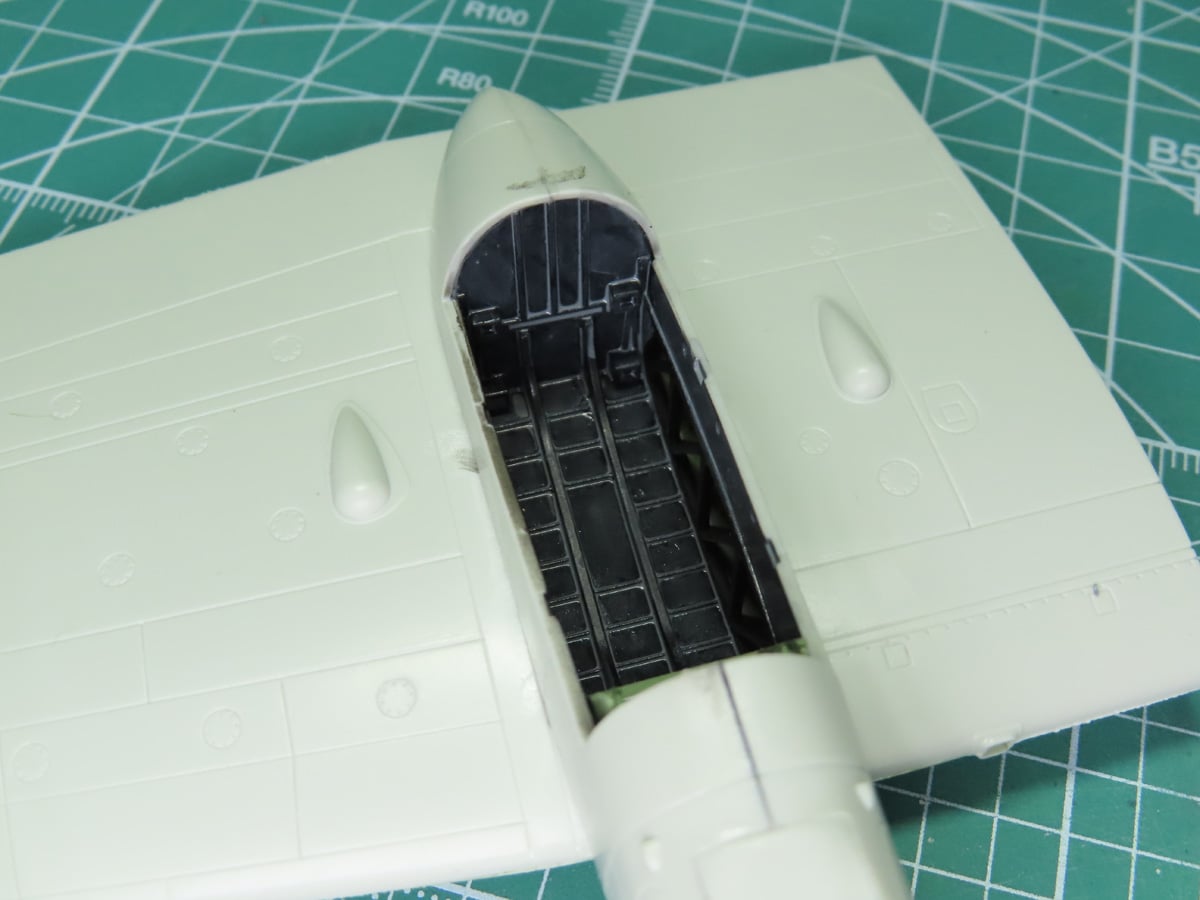
As I looked through my reference pictures, I couldn’t help but notice just how dirty the gear bays were, and I wanted to replicate this effect. I used Tamiya Panel Line Accent Color Grey and brushed on a very heavy coat of the paint to all of the black sections.
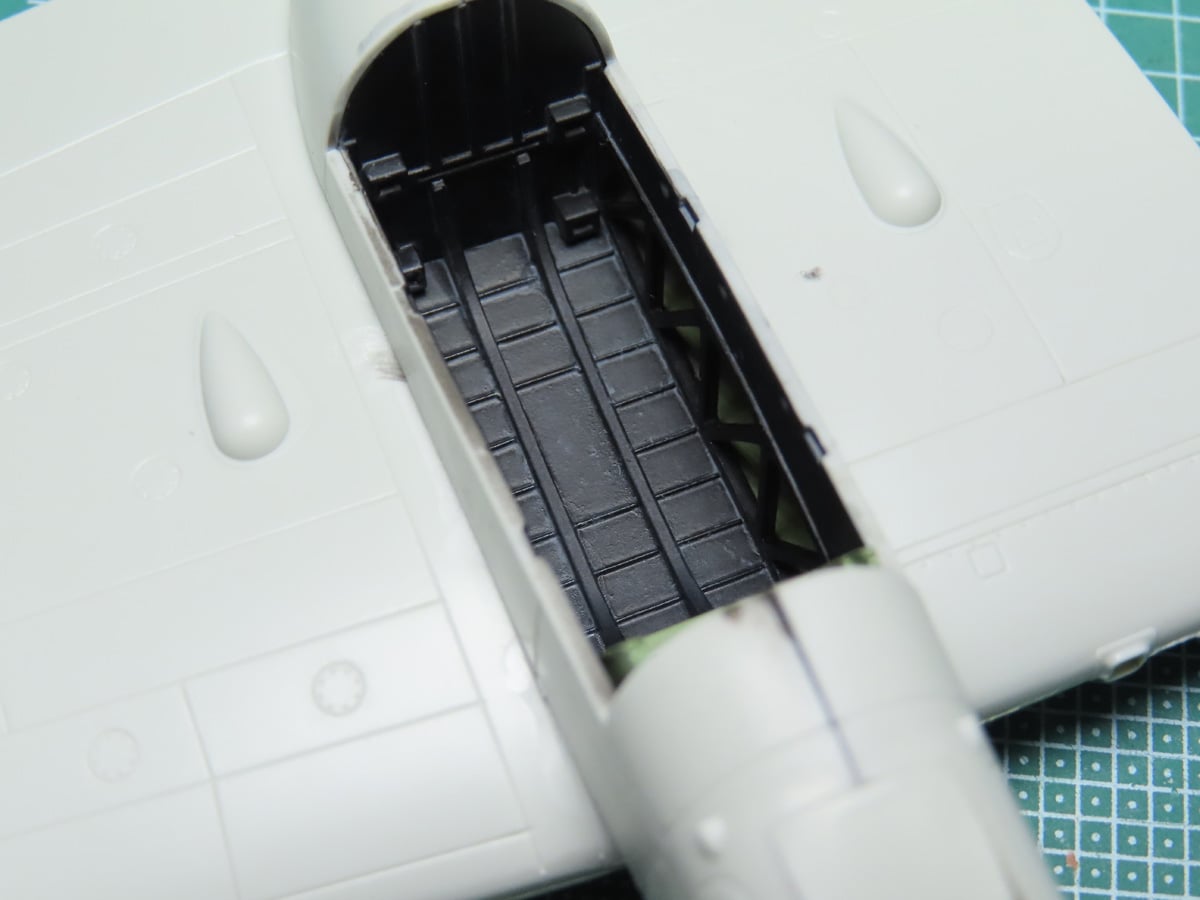
I waited a few hours for the wash to dry, and then I took a lightly dampened brush and removed some of the excess gray wash. I used Tamiya Enamel Thinner, and once the paint had dried again, I sealed everything together with Mr Color C182 Flat Clear.
I still need to do a bit more sanding and filling on the engine nacelles, but the wings are more or less ready to be added to the model. It’s always a funny moment when you add the wings to an aircraft, and you realize just how big the kit is going to be.
One thing I forgot to mention in the previous post was that Revell really tried to keep things to scale, and so the plastic is very thin. This model is surprisingly light, and as a result of the thinner plastic, it is a bit more delicate to assemble. And I think that this might be a bit of a turnoff for some modelers out there.
At the moment, I’m waiting and hoping that some supplies come in the mail this week so that I can proceed further with this project. I’m quite excited and eager, as a few smaller parts need to be added, and we can begin painting!
The following pictures are from Lancaster FM 159 in Nanton Alberta.
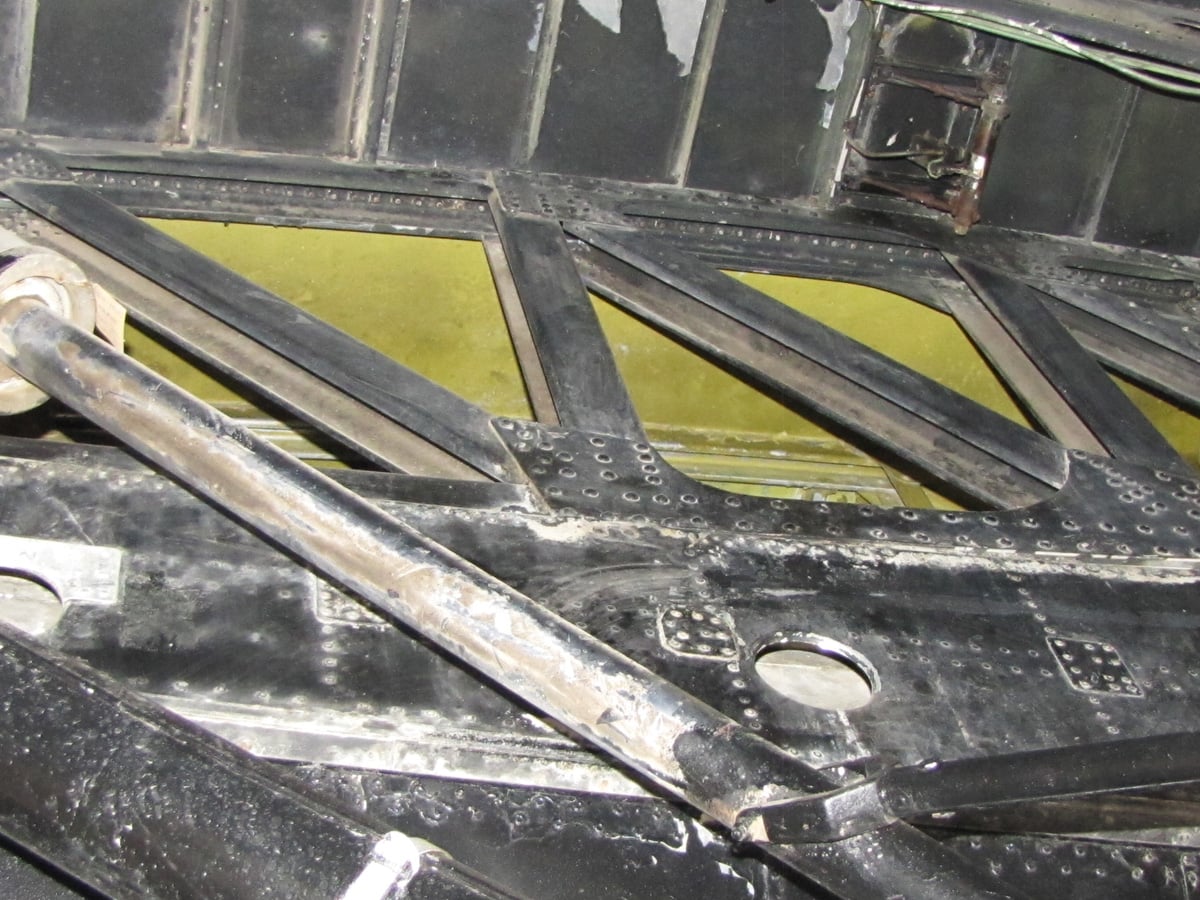
Inside the wheel bay, looking into the wing. As this was a Canadian built Lancaster, Zinc Chromate Yellow was used to paint the interior.
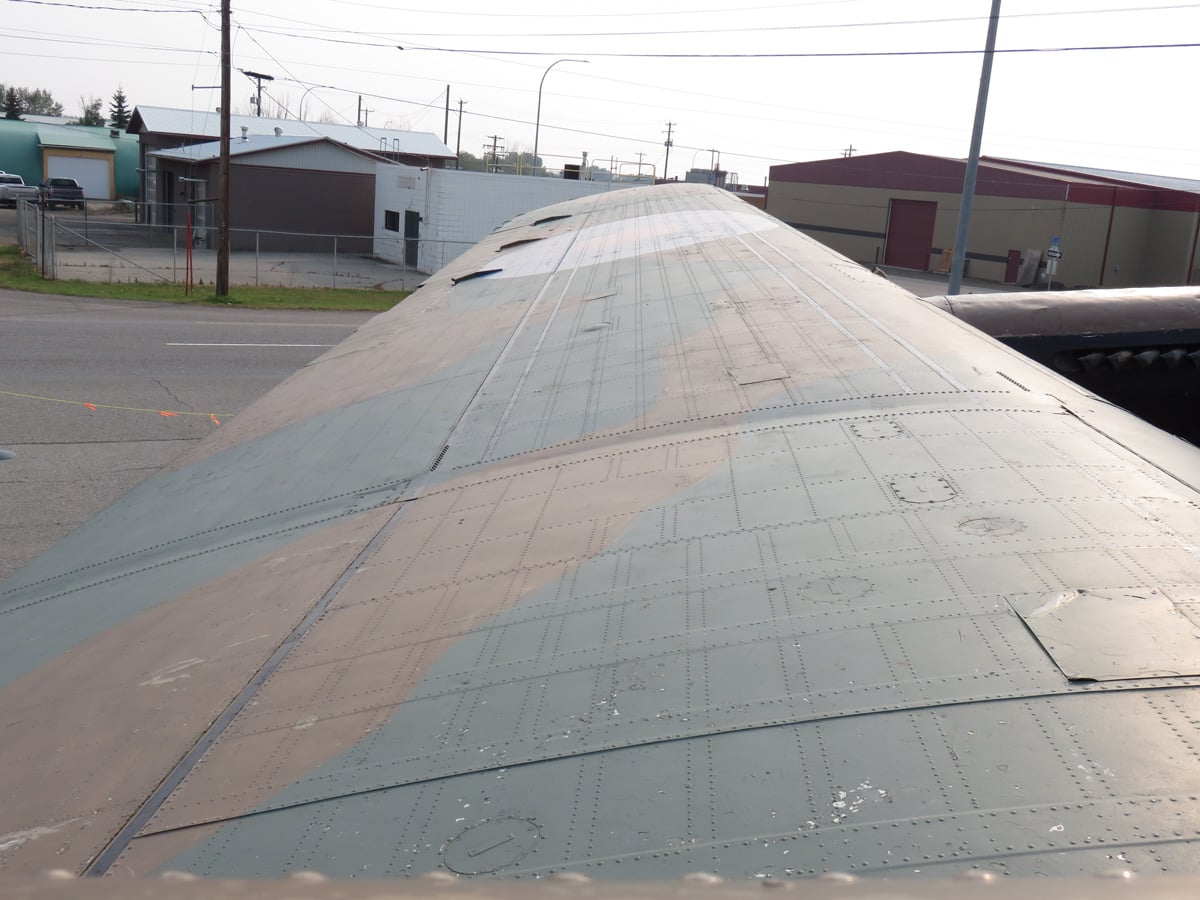
Looking out from the top of the emergency hatch over the port wing.
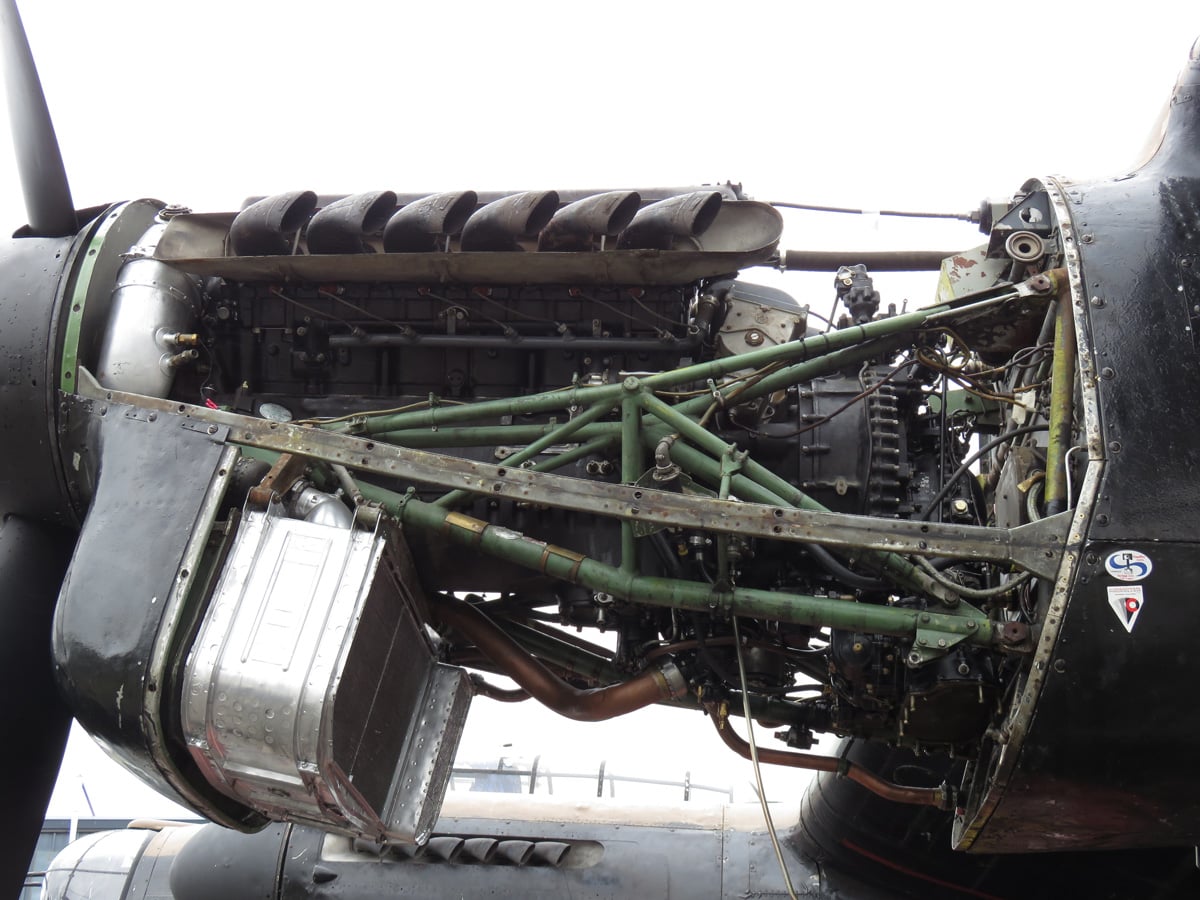
Cowling removed to show an exposed Merlin engine.
To be continued…
About the Author:
Jared Demes is a modeler from southern Alberta. He has been building models since he was 4 years old when his Dad first introduced him to the hobby. He has written for several magazines including, Fine Scale Modeler, Scale Aircraft Modeling, Phoenix Scale Models, and others. He has an interest in all modeling subjects, with a focus on WWII Japanese aircraft and Science Fiction.
Jared has won several IPMS awards for his modeling, and currently operates his YouTube channel rebelsatcloudnine, where he showcases model builds and product demonstrations.