

Detroit Diesel 8V92T Engine Build
This is the second part of the AMT Kenworth Aerodyne Cabover Tractor Truck 1/25 Scale 1463
The Detroit Diesel 8V92T engine is really fascinating. Drivers loved this engine for its power and reliability. It quickly became popular with not just truck drivers, but also with construction equipment, power boats, and farming tractors. They were even used by the US Military in several vehicles. However, as loved as this engine was, it had an overheating issue. It wasn’t too uncommon to see a truck with the hood open, letting the engine cool down.
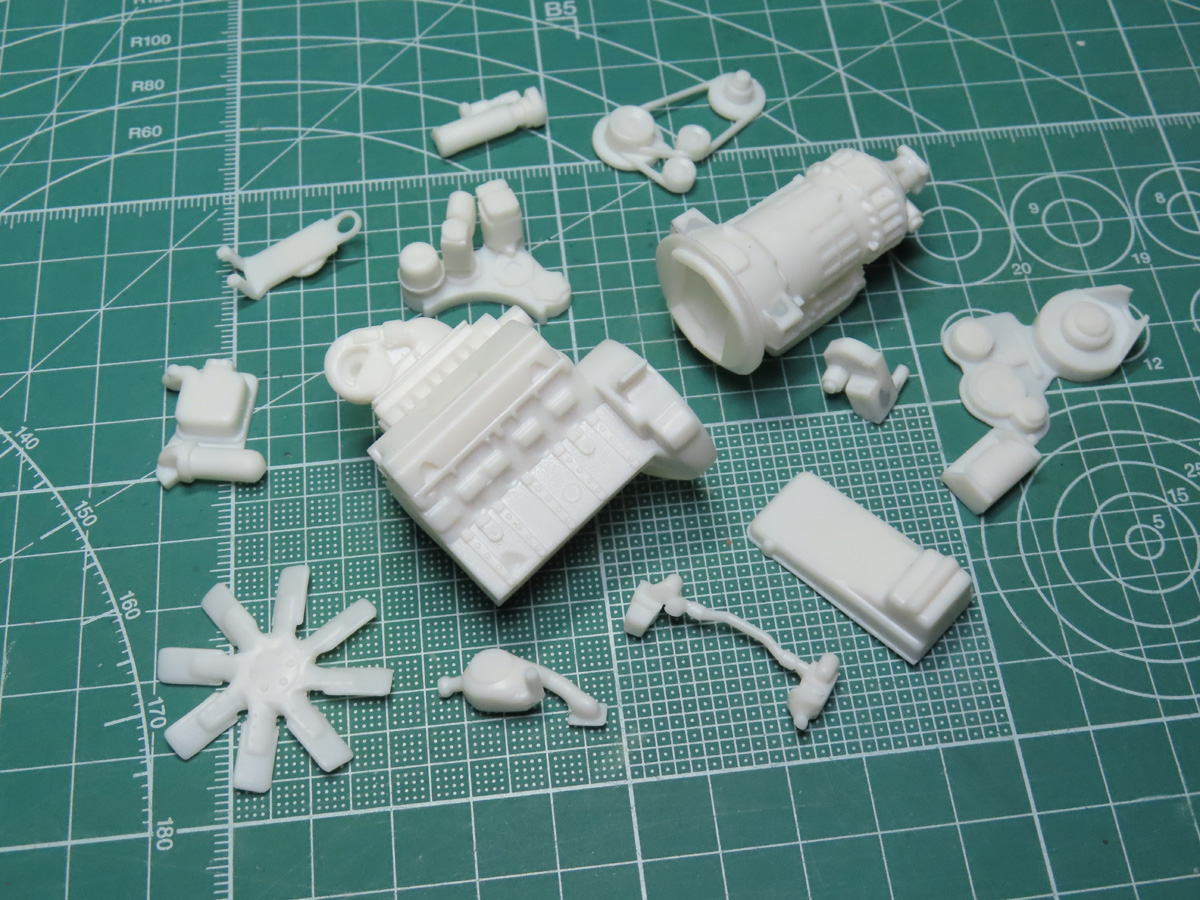
A second version of the engine was made, and these refitted engines solved the heating issue and were painted silver to differentiate them from the older models. However, these engines had their drawbacks as well. They needed routine maintenance, and this couldn’t be skipped, or you’d run the risk of permanently destroying the engine. The 8V92Ts were very fussy this way, and to make things more difficult, the engines were very complicated to work on. This meant that a specialist from Detroit Diesel was required to maintain the engine, and if one wasn’t available, you couldn’t run the truck.
All that being said, the 8V92T is still held in high regard and sought after by automotive collectors.
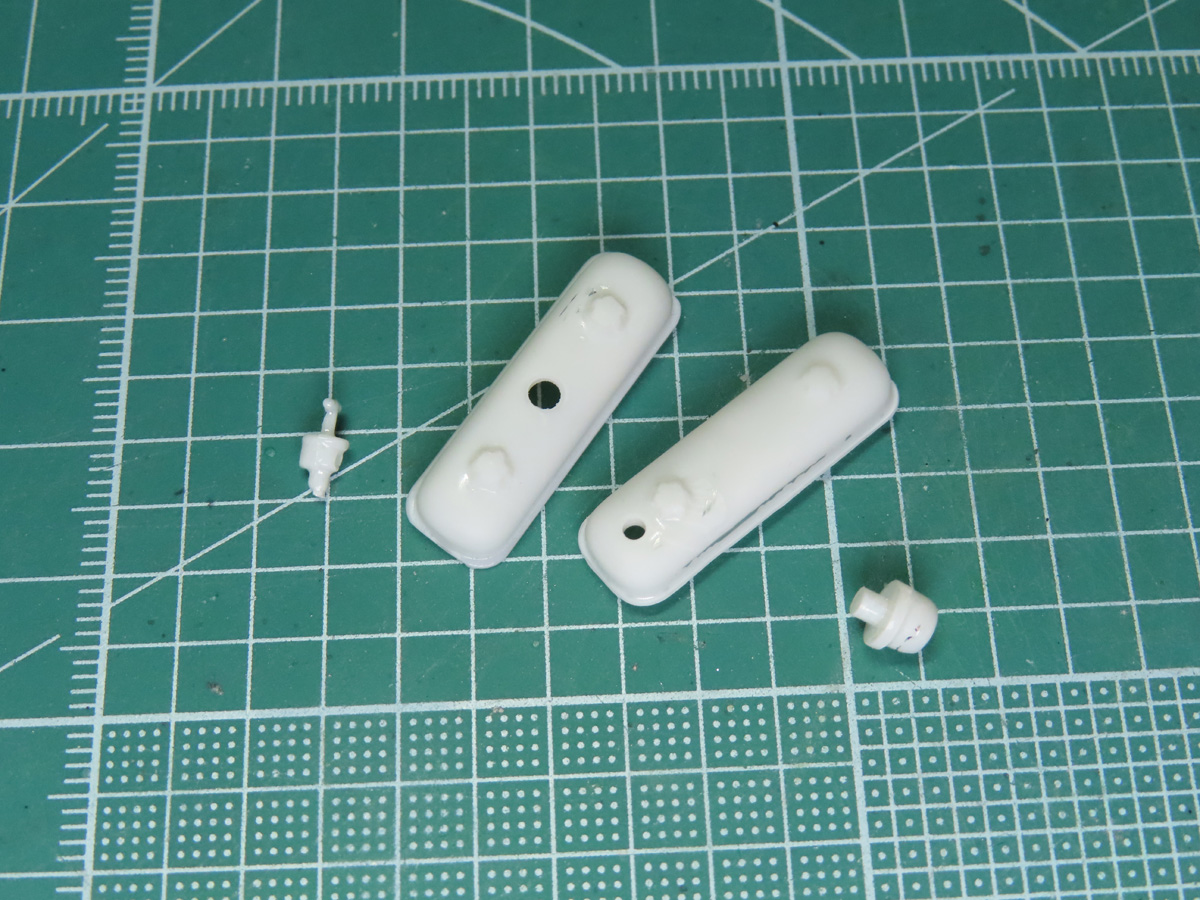
The covers are included with the chrome parts. However, since there isn’t any chrome on these engines, I went ahead and stripped the chrome off, revealing the bare white plastic.
I will go into more detail on removing chrome from the parts in a future build post.
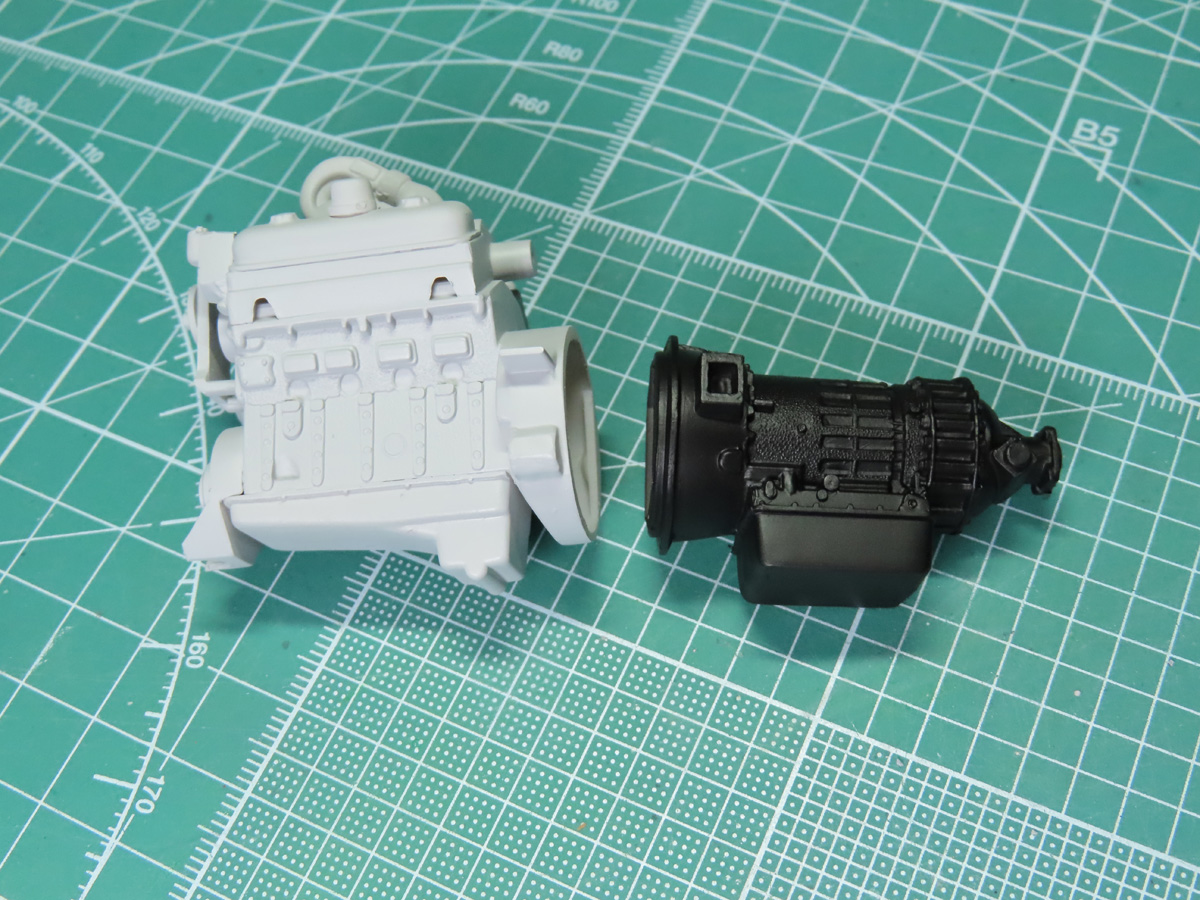
I’ve decided that I want to paint this engine as an earlier model. This might not be completely accurate, but I really like the unique green that they were painted, and I think it will look nicer on the completed model than the all silver finish.
I primed the engine with Tamiya Liquid Surface Primer Grey. And the transmission section will be silver, so I painted this with a base coat of Mr Color C92 Semi-gloss Black.
This styrene is quite bright and reflective, and this can make it difficult to see some of the excess flash and sanding marks. So, adding a good primer coat will help me see if there are still any errors to be corrected.
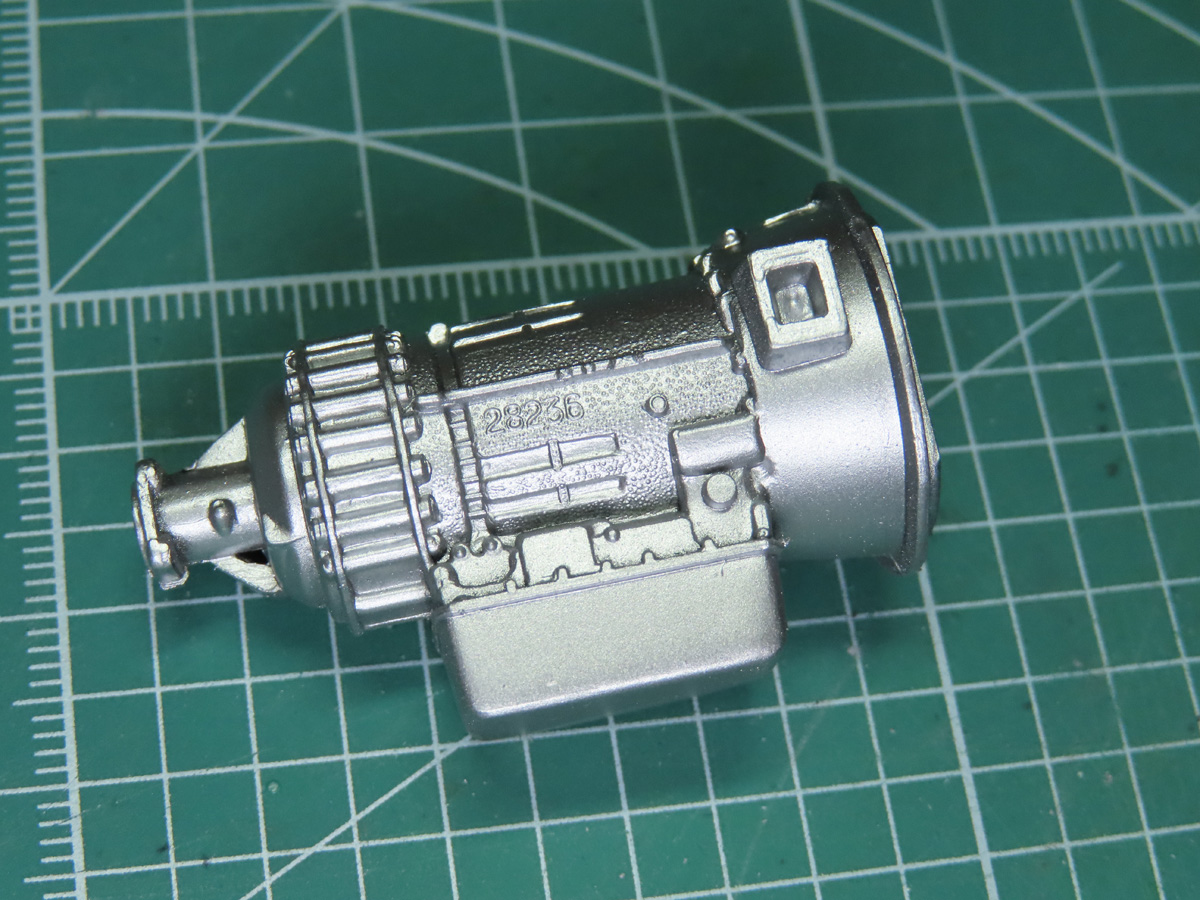
I painted the transmission with Tamiya LP-72 Mica Silver. This is one of my favourite silver paints to use as it has a duller tone than other paints, and it adds to the effect of a working machine rather than a flashy sports car.
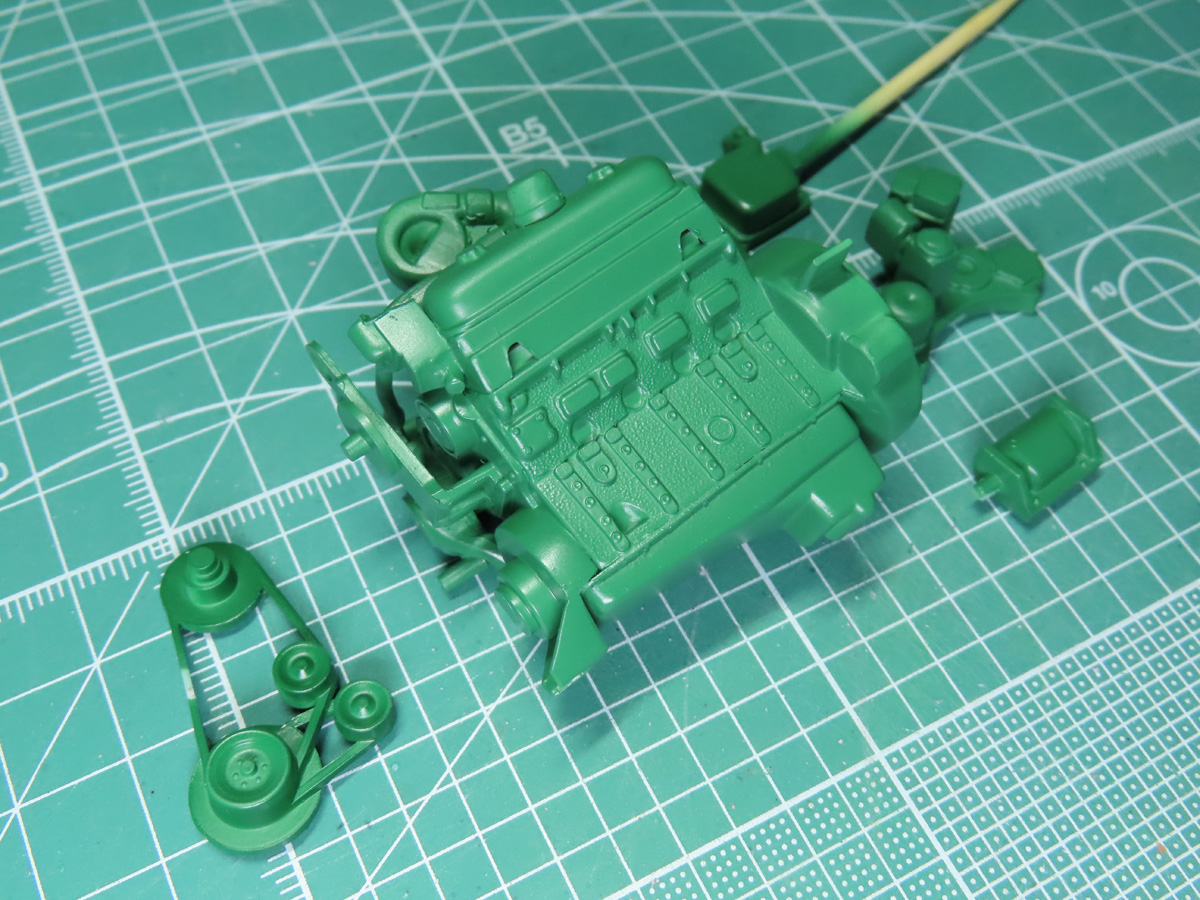
For the unique Detroit Diesel Green, I mixed Tamiya X-5 Green with XF-19 Sky Grey. This was a 1-1 mixture, and I really like the tone of this color, it looks pretty close to the reference pictures I have.
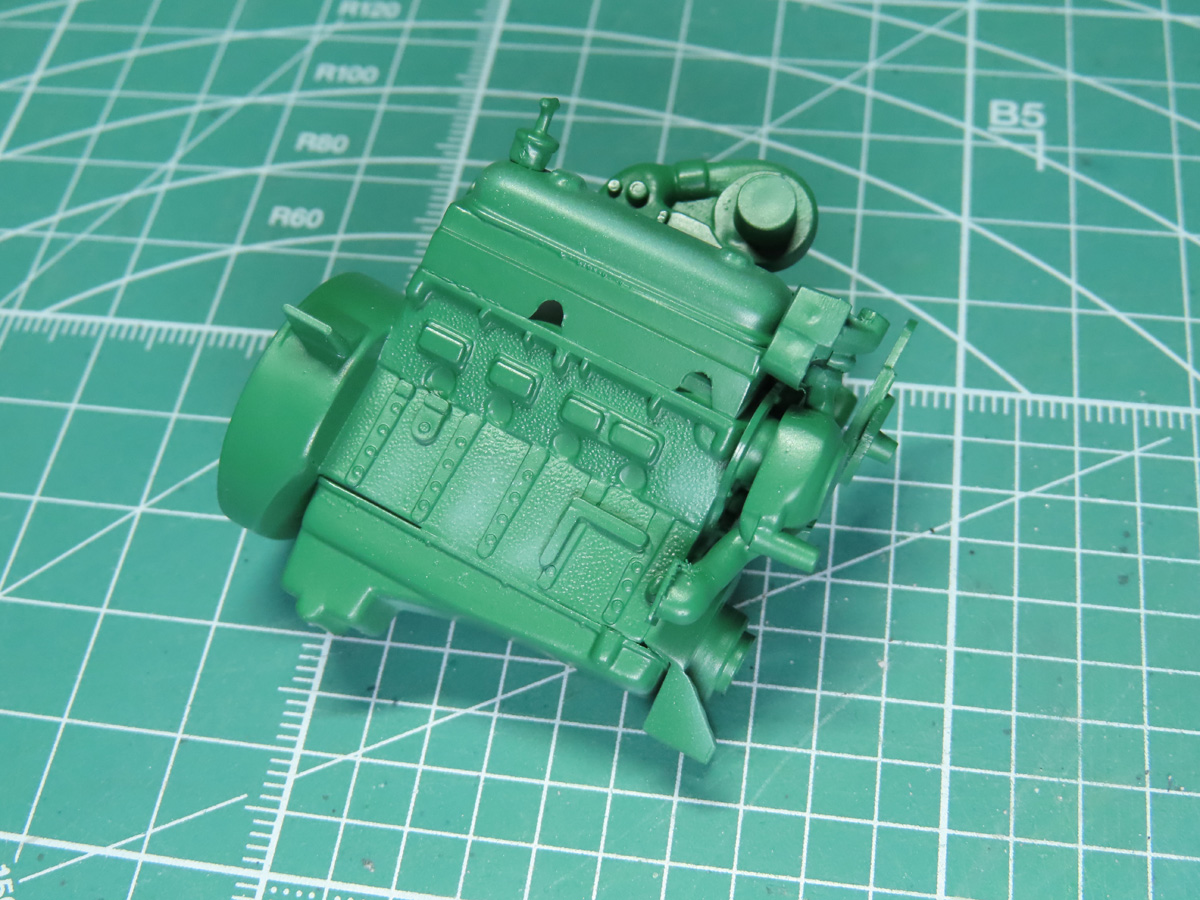
I decided to paint some highlights on the engine, and for this, I again used Tamiya X-5 Green, but this time I added XF-2 White. This was also a 1-1 mixture, but the paint was thinned down a lot more to allow me to slowly add on the layers and gradually build up the paint around the engine.
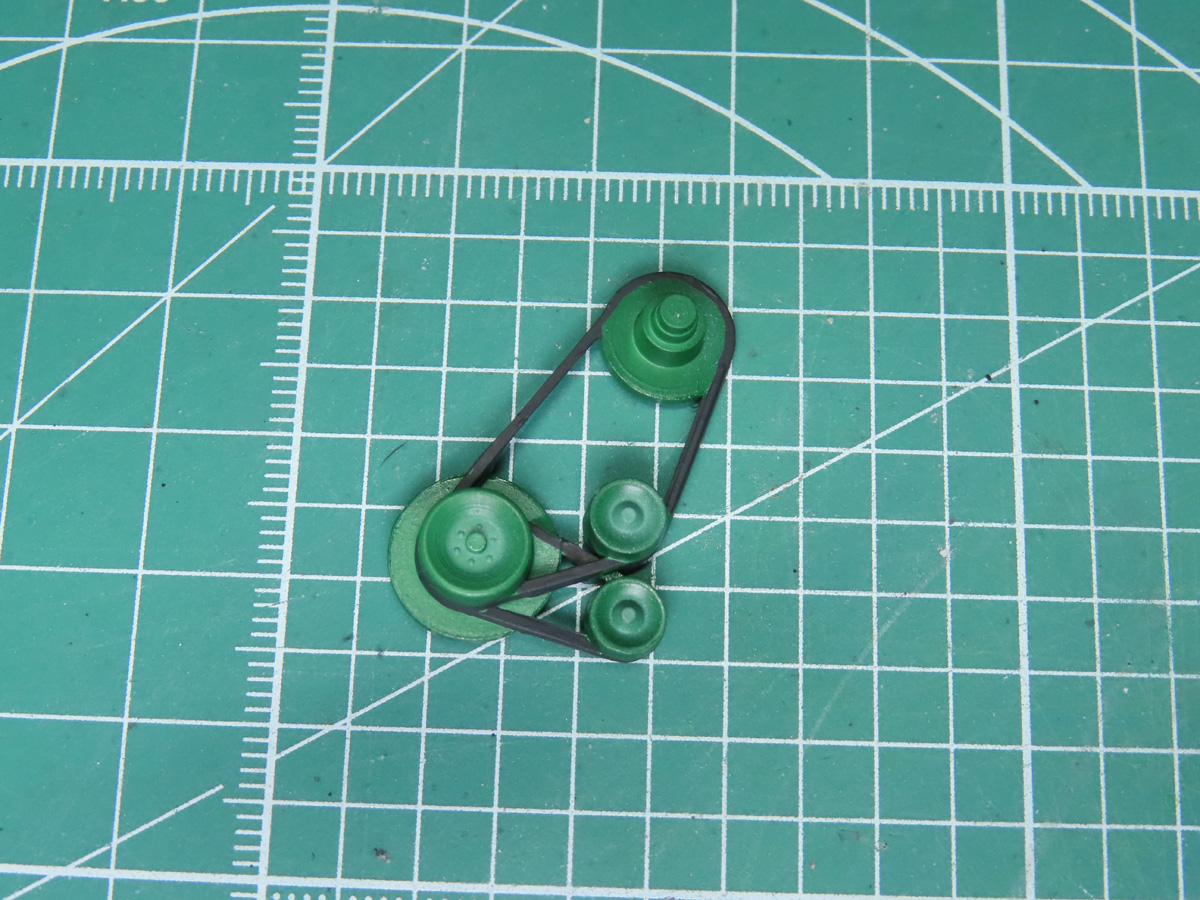
I painted the belts with Vallejo Black Gray 70862, and this was made easier by using the Tamiya Pointed Brush 87048.
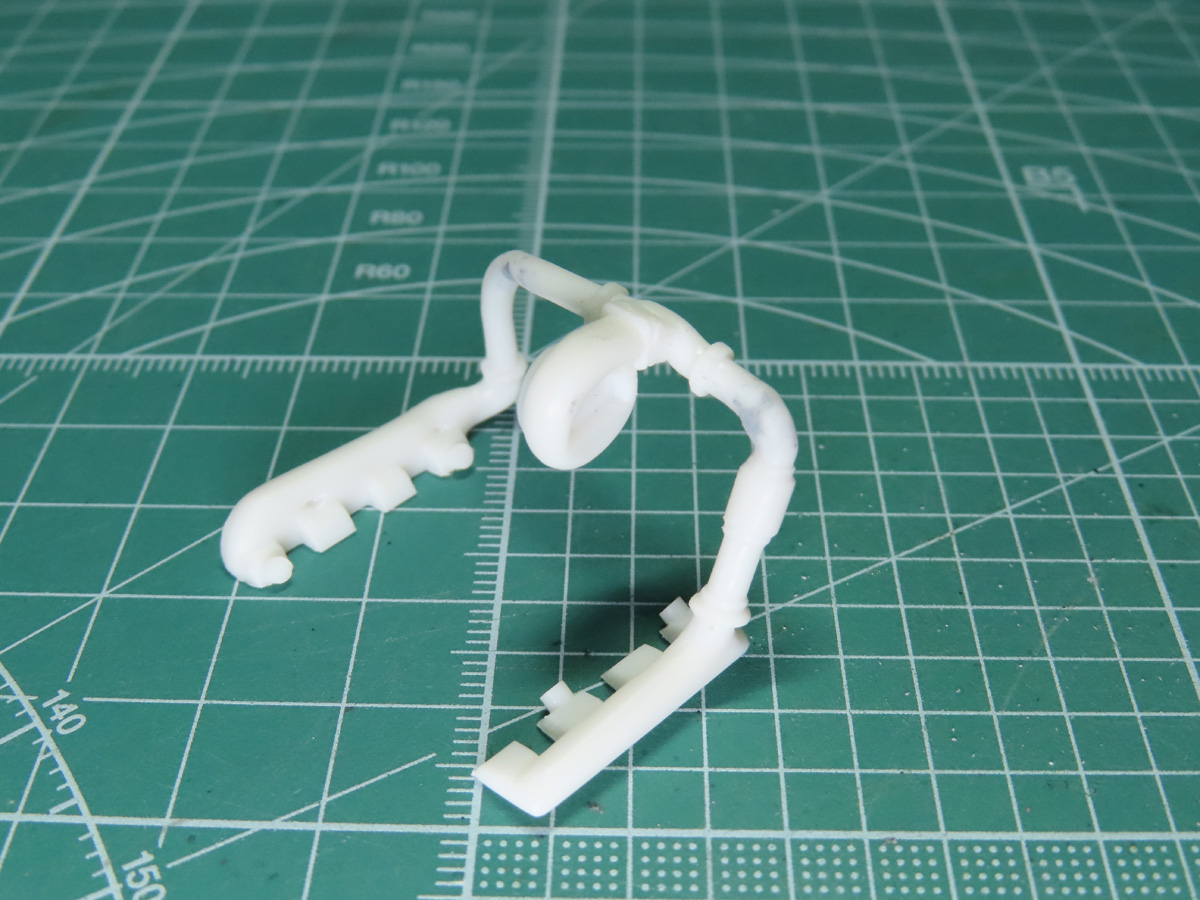
The exhausts and turbocharger were a bit tricky to assemble. I placed the exhausts on either side of the engine, and then carefully positioned the center section in between. I used a good amount of Mr Cement SP to fuse the parts together.
Once the parts had dried, I wanted to strengthen the parts further, so I added a drop of super glue to each of the joins. When this had dried, I sanded away the excess and filled in any remaining gaps with Tamiya Putty 87053.
Now that the exhausts were completed, I carefully removed them from the engine for painting.
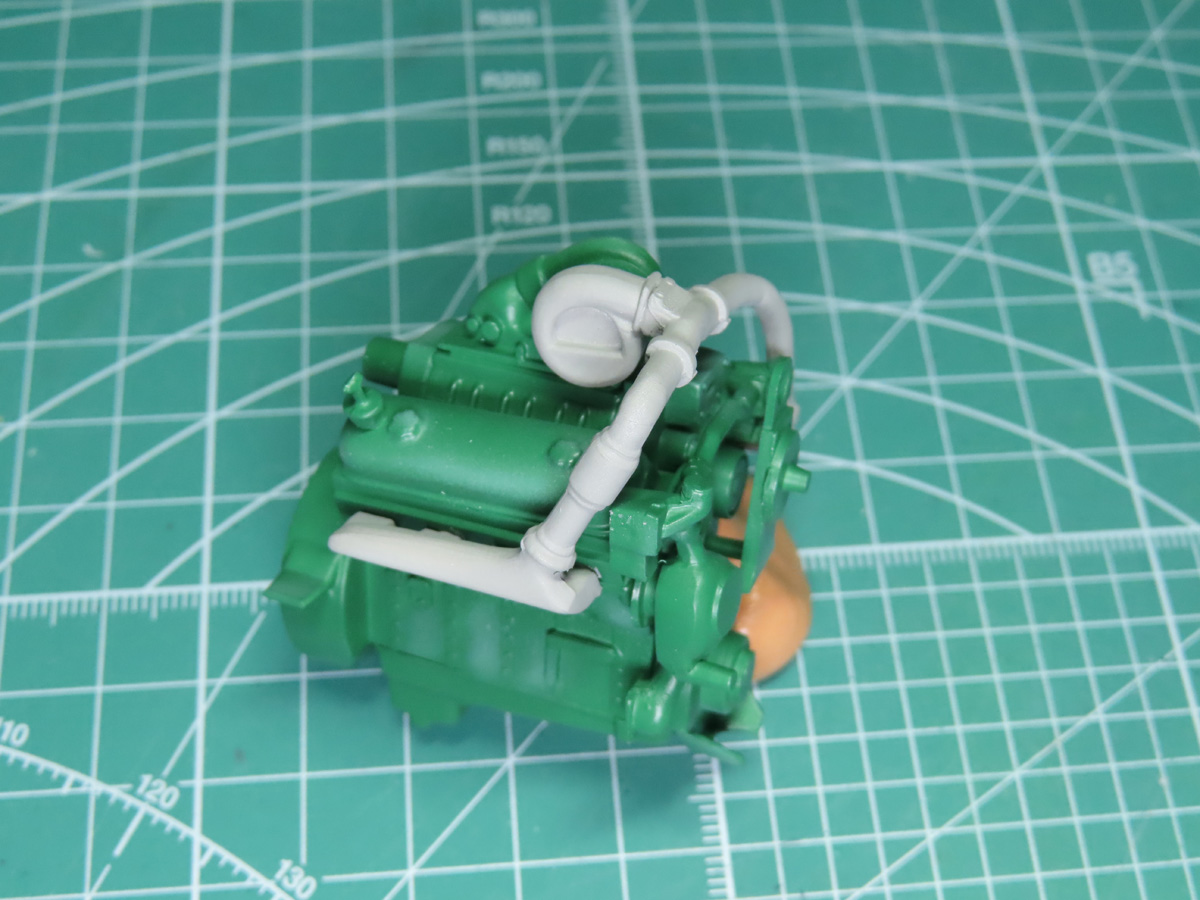
The exhausts are a light grey color and I wanted to create something a bit unique. I used Tamiya XF-19 Sky Grey and added a few drops of XF-16 Aluminum. This created a bit of a sparkling effect and an interesting tone to the light gray.
Once the paint was dry, I very carefully moved the exhausts back into position. Sealing them in with a few drops of cement.
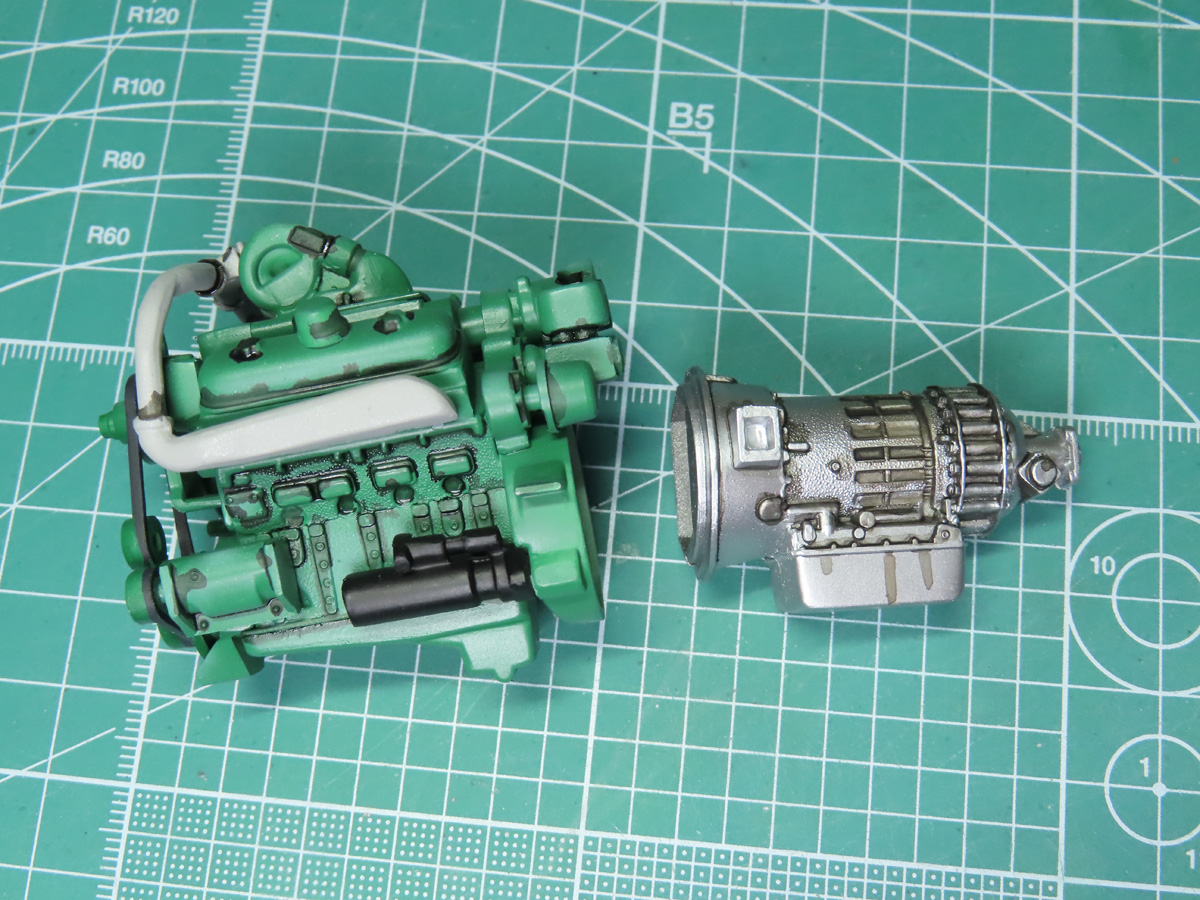
With the remaining smaller parts added to the engine, I decided to give the parts a wash to highlight the details. I used Tamiya Panel Line Accent Color Black 87131 and carefully painted it around the engine and transmission.
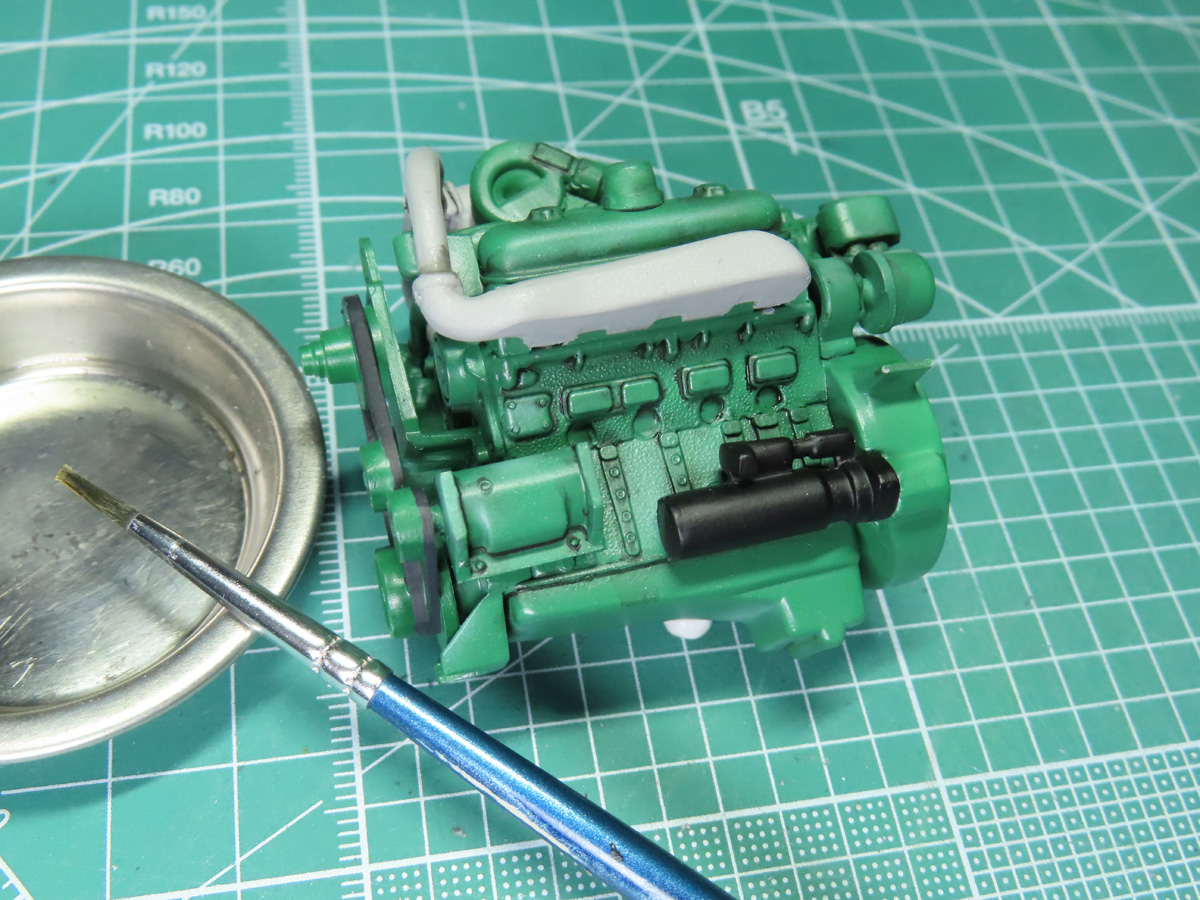
I used Tamiya Enamel Thinner to remove the excess wash from the model. I also let some of the wash pool up and drip around the model. This will nicely replicate oil and dirt that would accumulate on the engine.
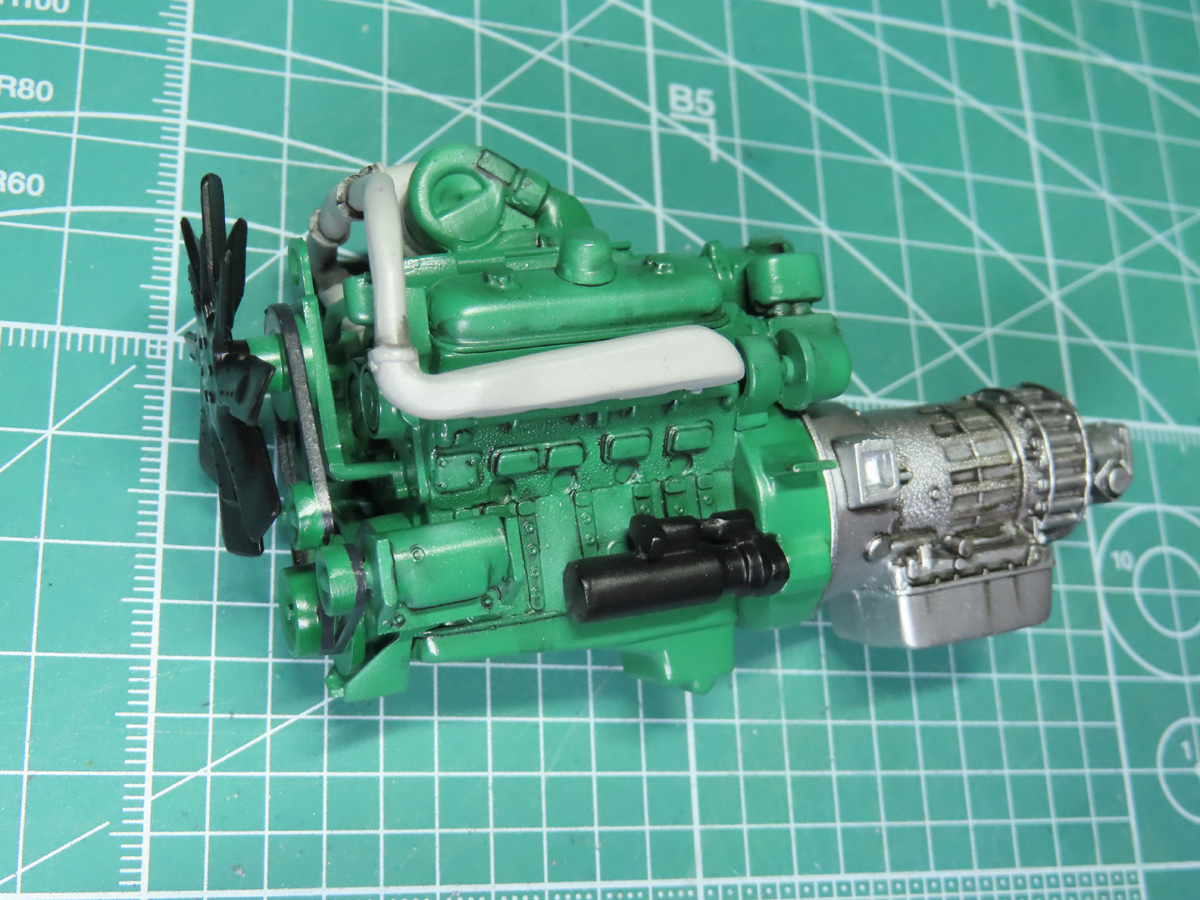
Lastly, I sprayed Mr Color C181 Semi-Gloss Clear over the parts to seal everything in. The transmission was glued to the engine, and the fan was added to the pulleys.
I enjoyed spraying on this new green color, and building and detailing this engine was a lot of fun. It may not be immediately visible on the model, but it will stand out when you see it. I was also impressed by the fit of the parts, for such an old kit, everything went together with very little fuss.
Probably the most frustrating will be connecting the exhausts together. Drilling holes and connecting them together with pins would also be a good way to ensure a tough join.
Well, now that the engine is done, we can move on to building the chassis. And I’m excited to begin painting that, as the paints I ordered for that section have just arrived.
To be continued…
About the Author:
Jared Demes is a modeler from southern Alberta. He has been building models since he was 4 years old when his Dad first introduced him to the hobby. He has written for several magazines including, Fine Scale Modeler, Scale Aircraft Modeling, Phoenix Scale Models, and others. He has an interest in all modeling subjects, with a focus on WWII Japanese aircraft and Science Fiction.
Jared has won several IPMS awards for his modeling, and currently operates his YouTube channel rebelsatcloudnine, where he showcases model builds and product demonstrations.