
Artesania Latina Bluenose II Build – Part 16 of a Series
In this Sunward Hobbies tutorial, I’ll be continuing with Artesania Latina’s Bluenose II build with Part 16. Previous Part 15
In this Sunward Hobbies tutorial I’ll be finishing step 42 ratlines and show you an alternative way of making them. Plus, you’ll see the braces go up in step 43. Also, there will be tips to help speed things up.
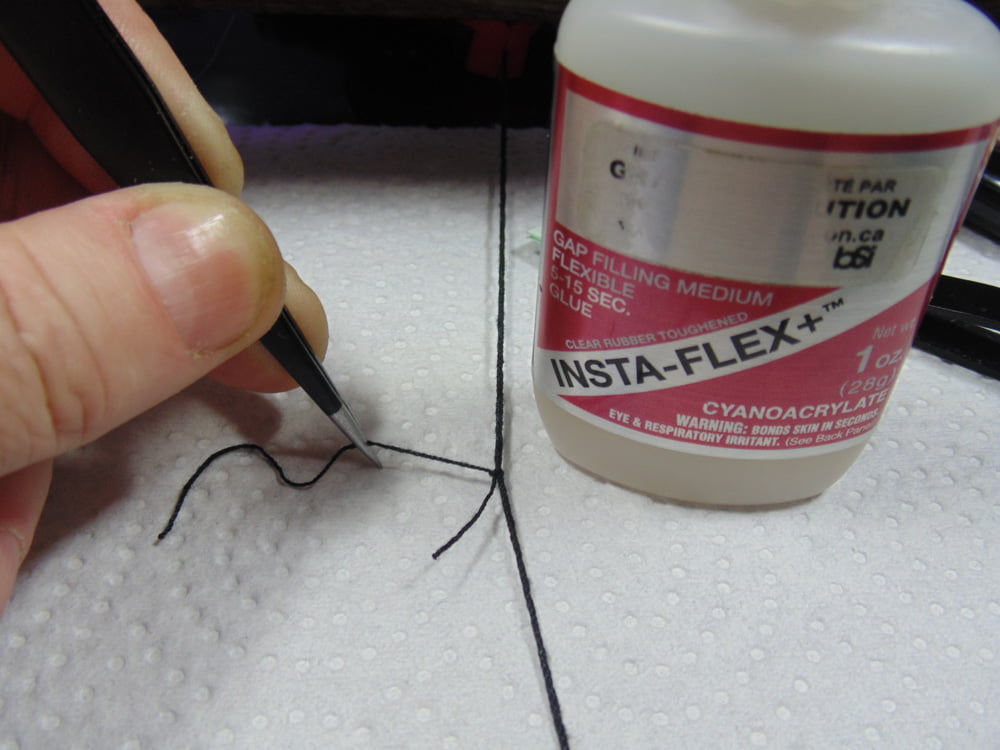
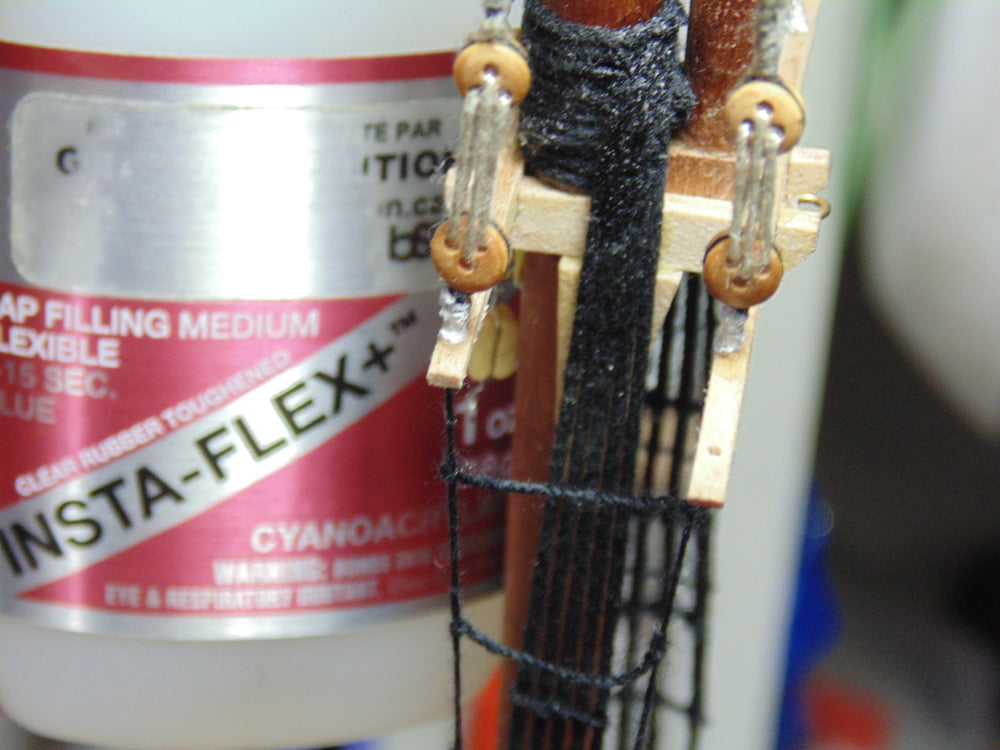
First, let’s “prep” the parts. It’s essential to “dead end” the string. Use some BSI Cyanoacrylate CA glue on a knotted end. This will prevent the line from coming through the hole of the clump and is barely visible.
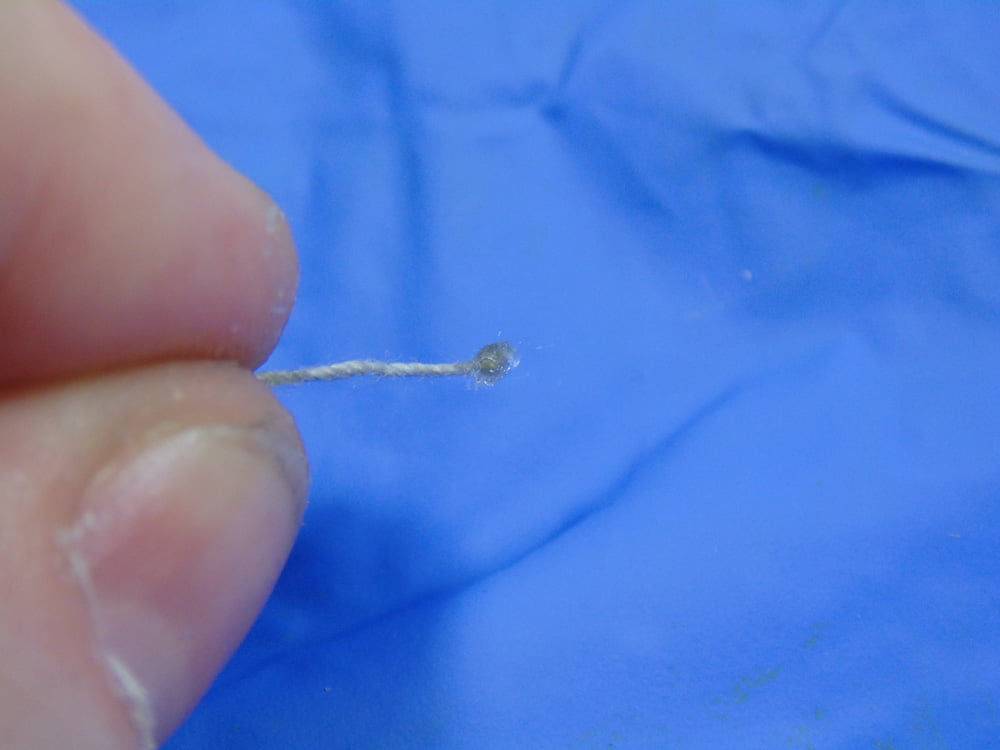
Next, use a flame to melt the inserting end. They’re all made of polymer so slowly move the line close to the flame until it melts the tip.
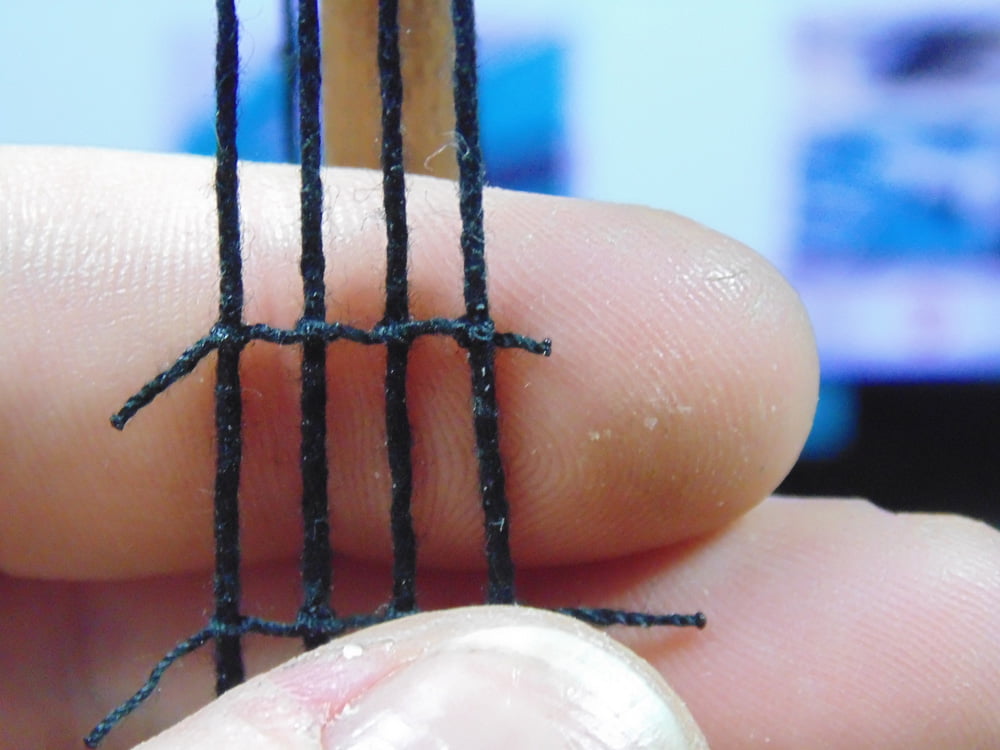
This ratline is tighter than the first two. I’m illustrating this because some people will want to spend more time on a project than others.
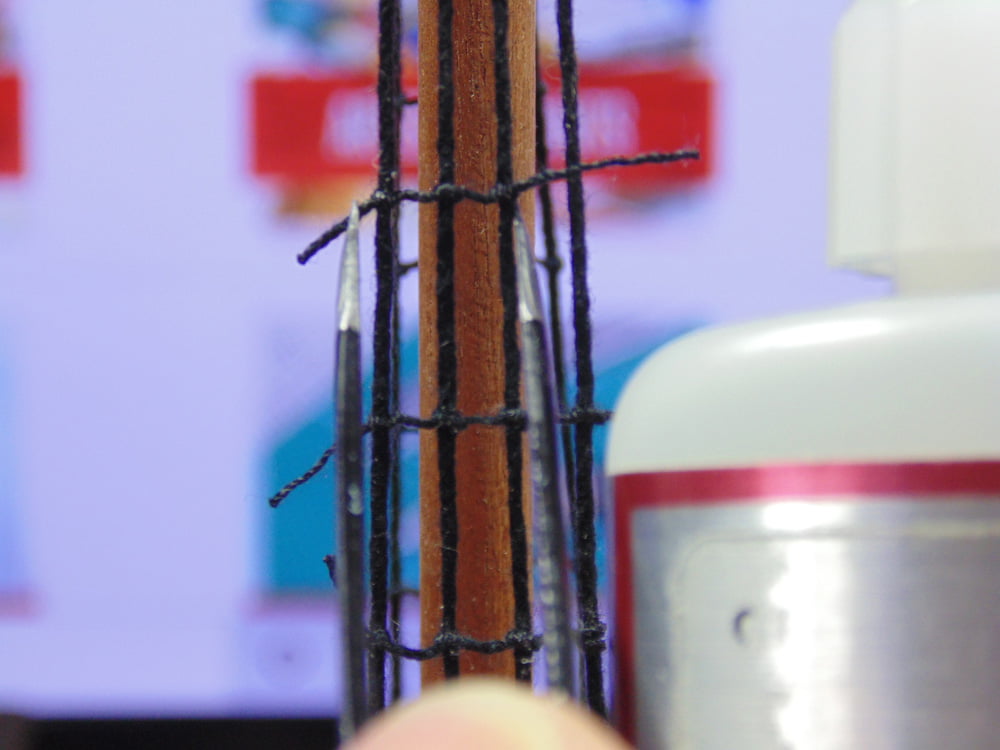
In the following pictures you’ll see the sequence I’ve used to get a tighter knot.
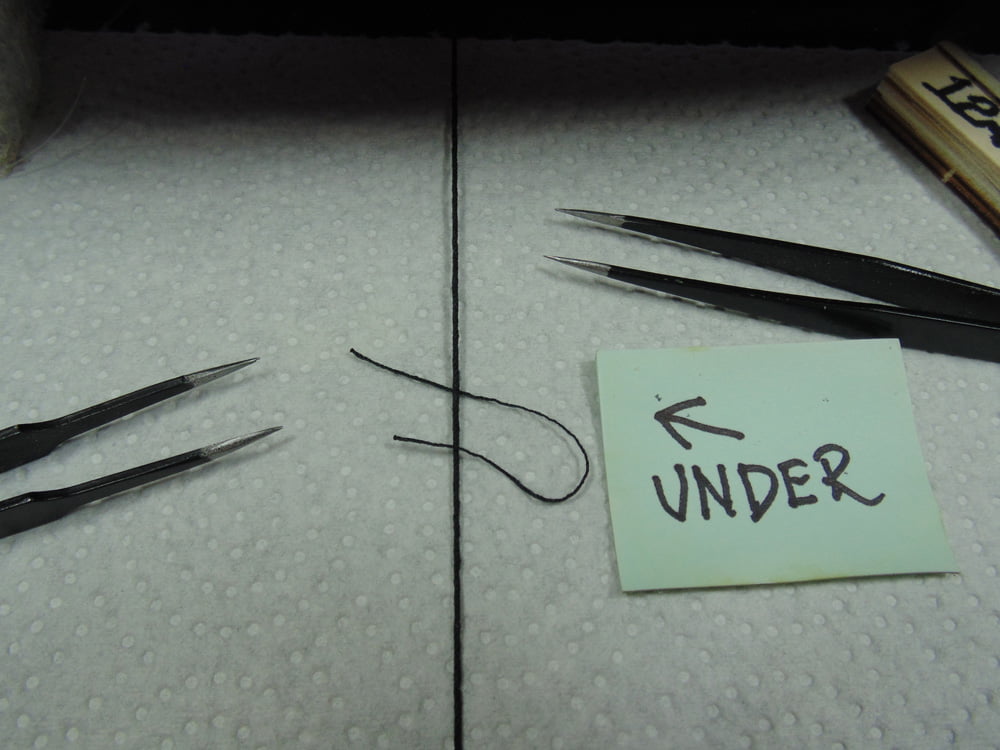
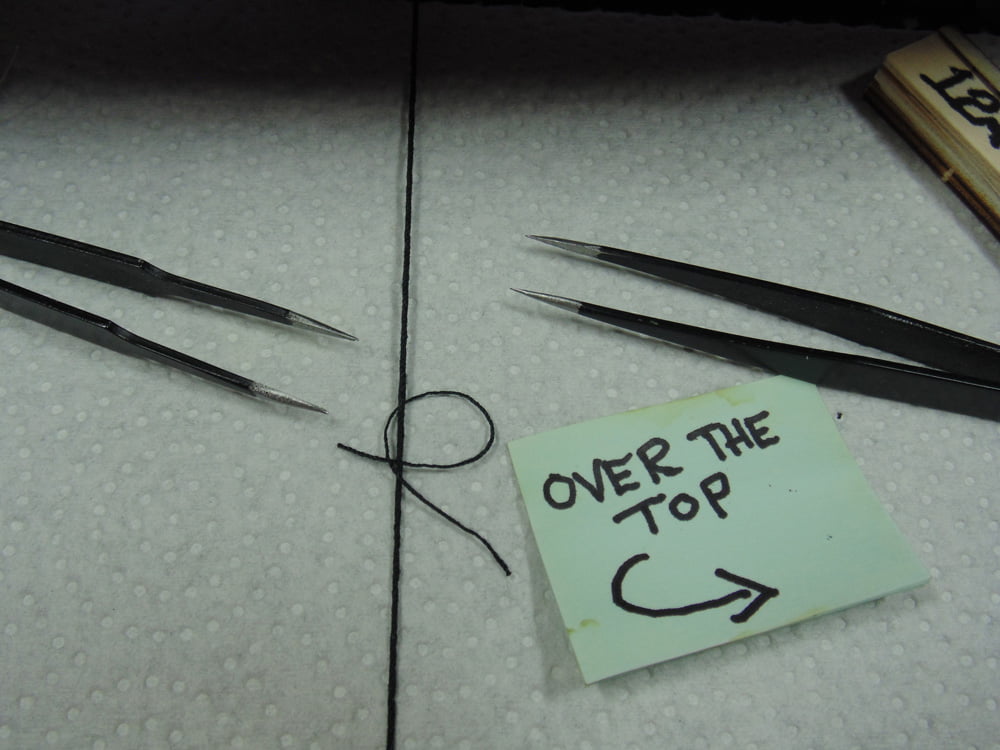
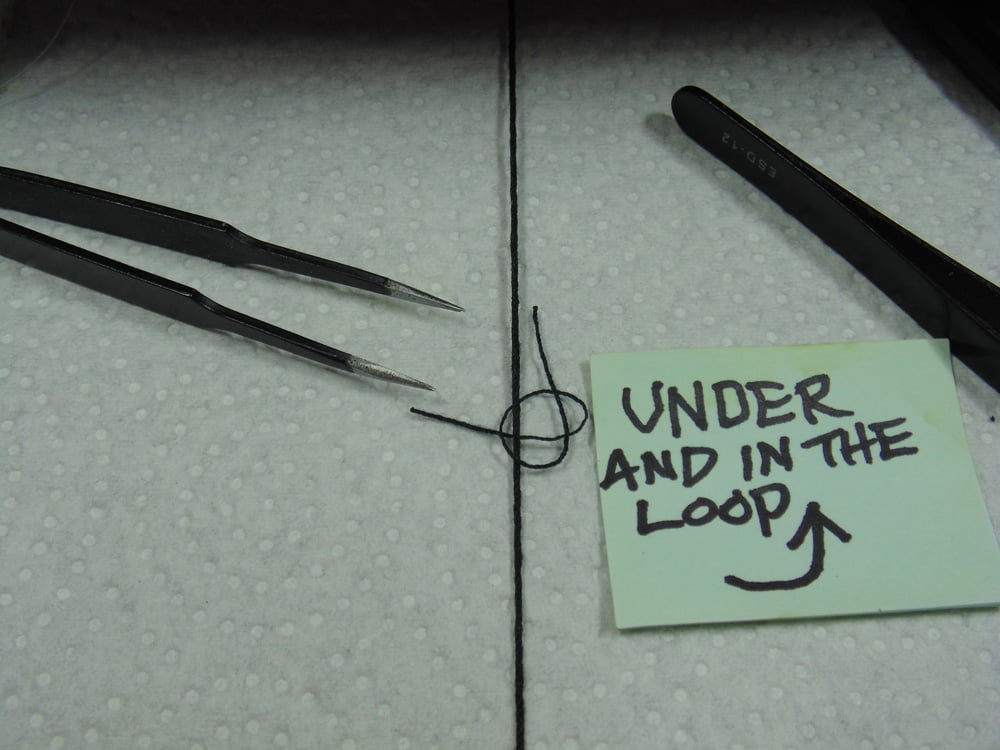
To tighten this with the tweezers, knot pull back in the opposite direction from where you began. Then, while holding the other end, pull and work the line back and forth. This motion will act like a ratchet and slowly pull the knot closer to the previous knot.
For the middle ratline, consider tying them on the outside for a fuller effect. Use some small clamps to weigh the line down for a tighter look.
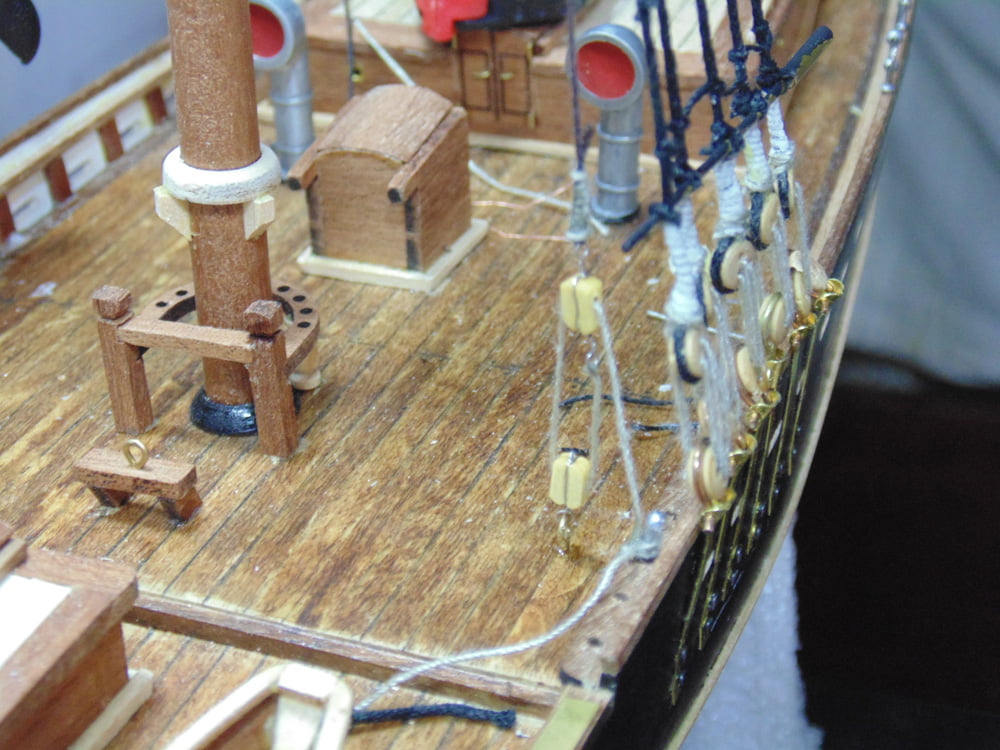
Once you’ve strung the clumps it’s wise to pull them up a little and add a drop of CA glue to the base and set them back in the hole.
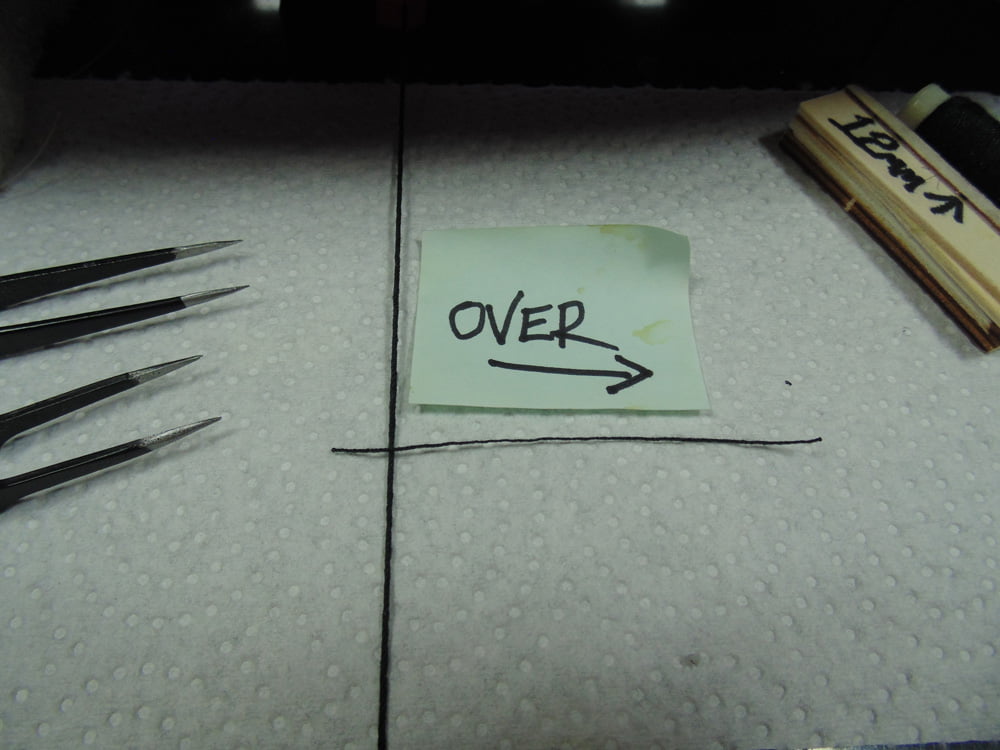
I use my tweezers as a rough gauge to figure how much smaller the next set of knots should be. It saves time from having to pull out the ruler with each knot. Again, use the ratcheting motion to get them in place before you add CA glue.
Here’s a tip, make the first knot and measure the distance with your 12mm wood block. Then add a dab of CA glue and let it harden. Now you have a firm base to continue on from.
Here’s another tip, use new and sharp finger nail clippers to snip the excess once the CA glue has completely hardened. You’ll get a super close finish and don’t forget to keep all those snipped ends.
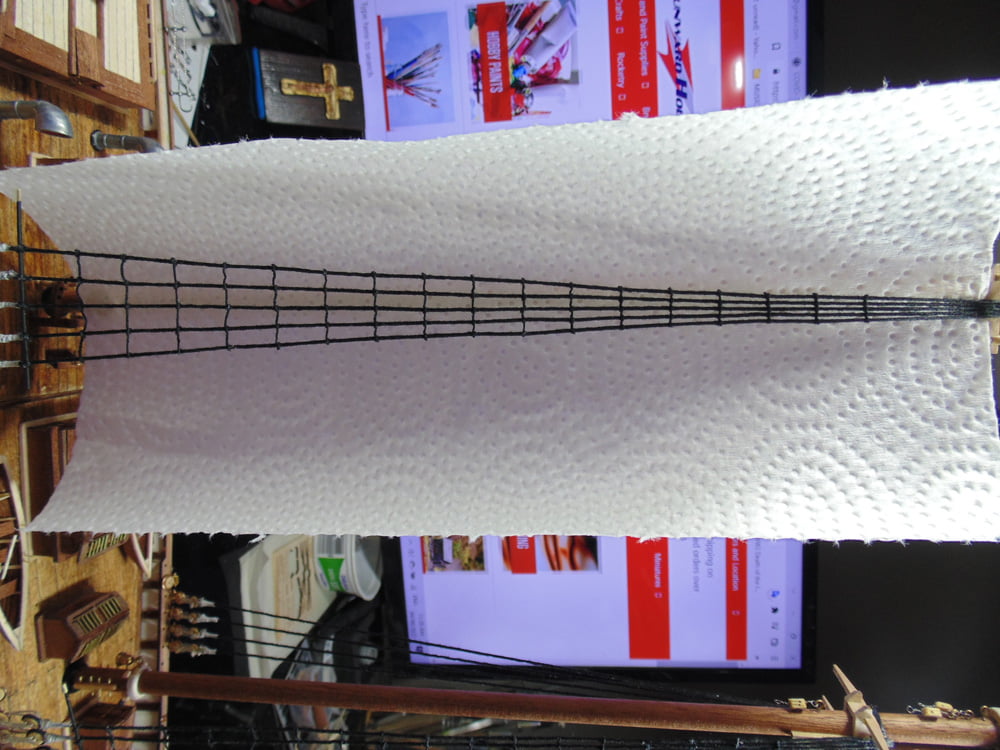
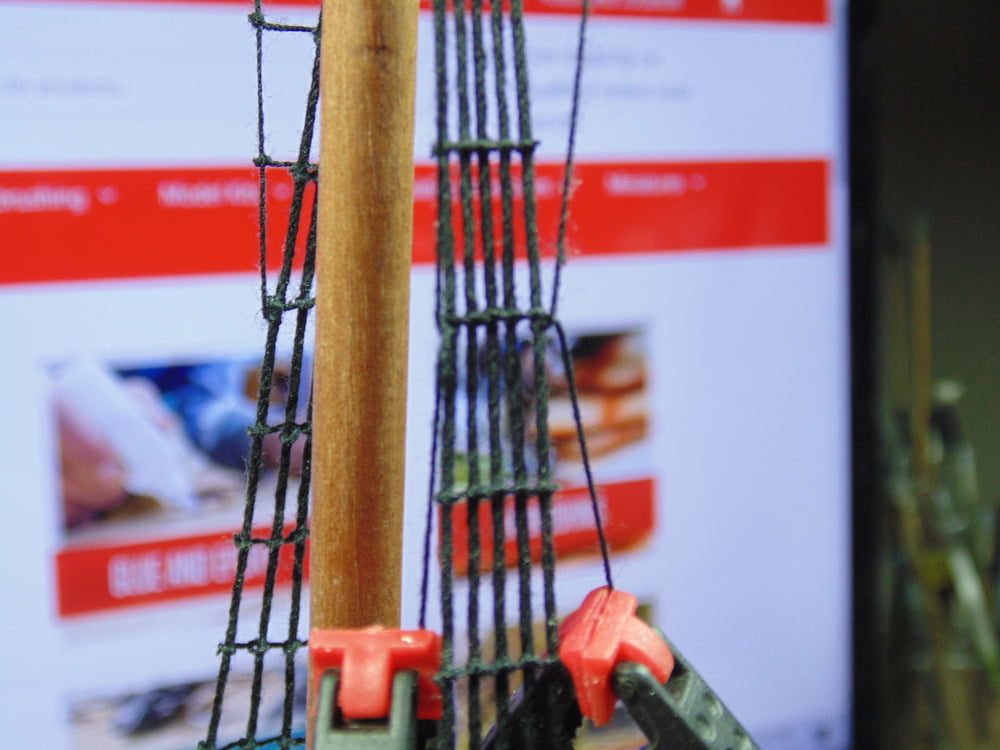
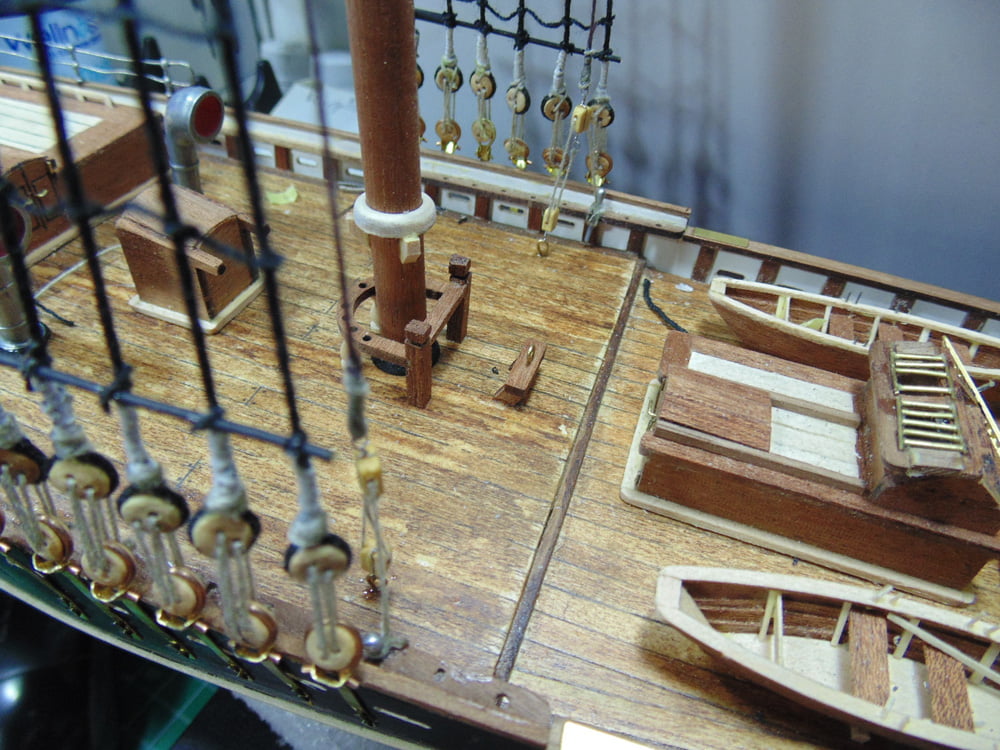
Note the slightly tighter look of the different ratlines.
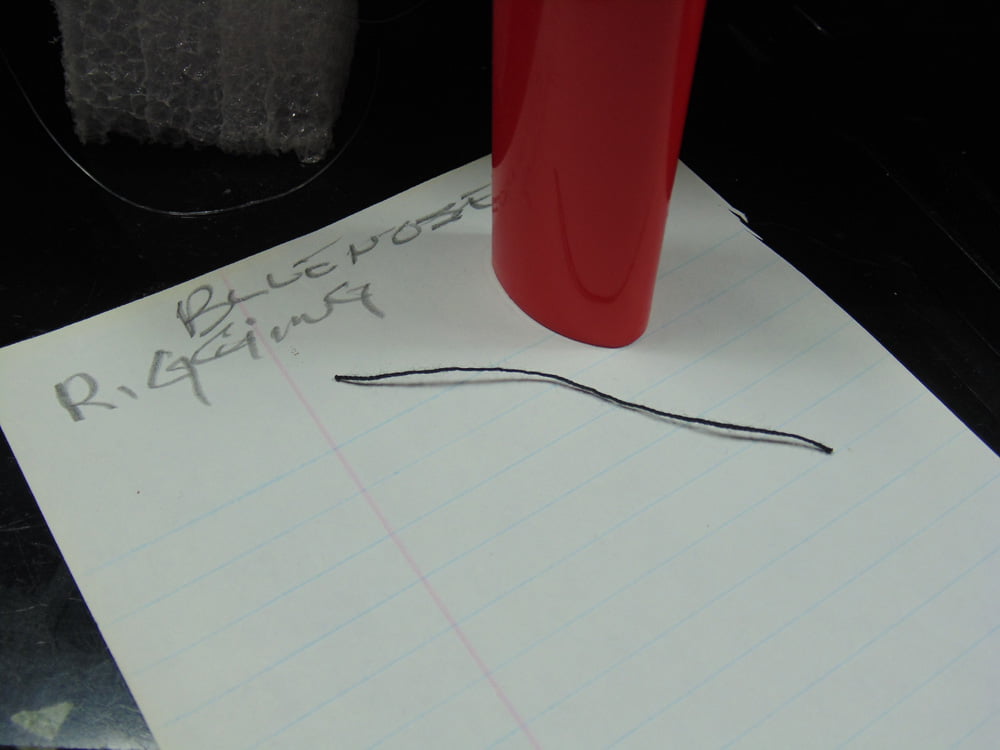
If you want a sagged look but the line keeps wanting to go in the opposite direction and look more like a hump, run a bead of CA glue from end to end and use the rounded side of your tweezers to form the sag. Here, I’m showing you some I’ve worked on. This can also be done at the finishing/clean-up stage of the build.
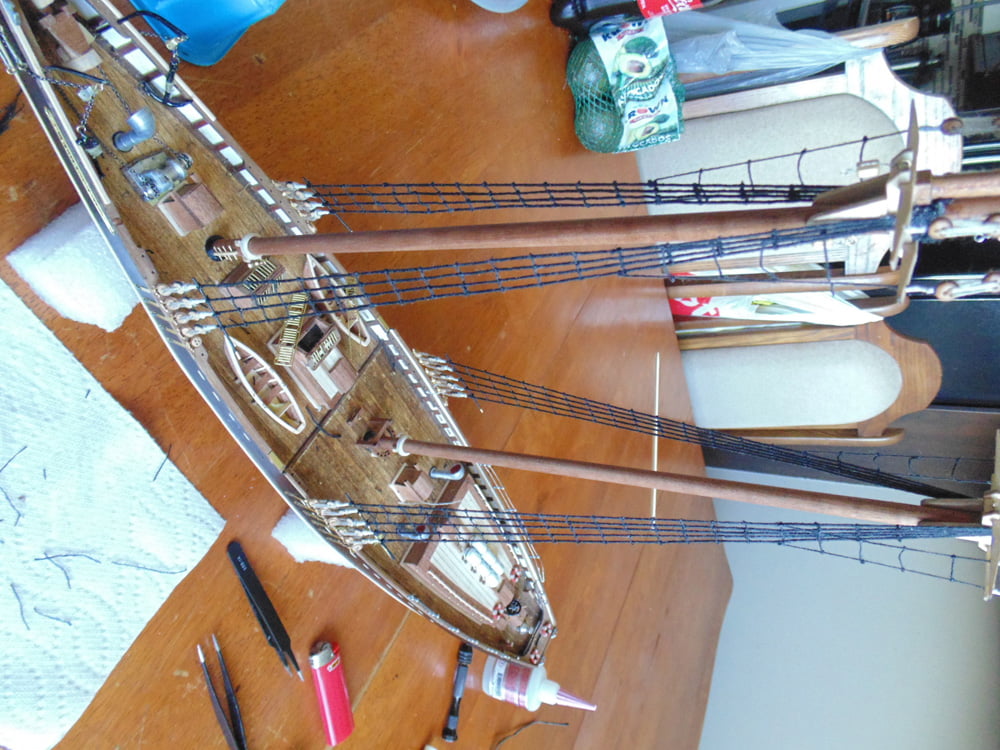
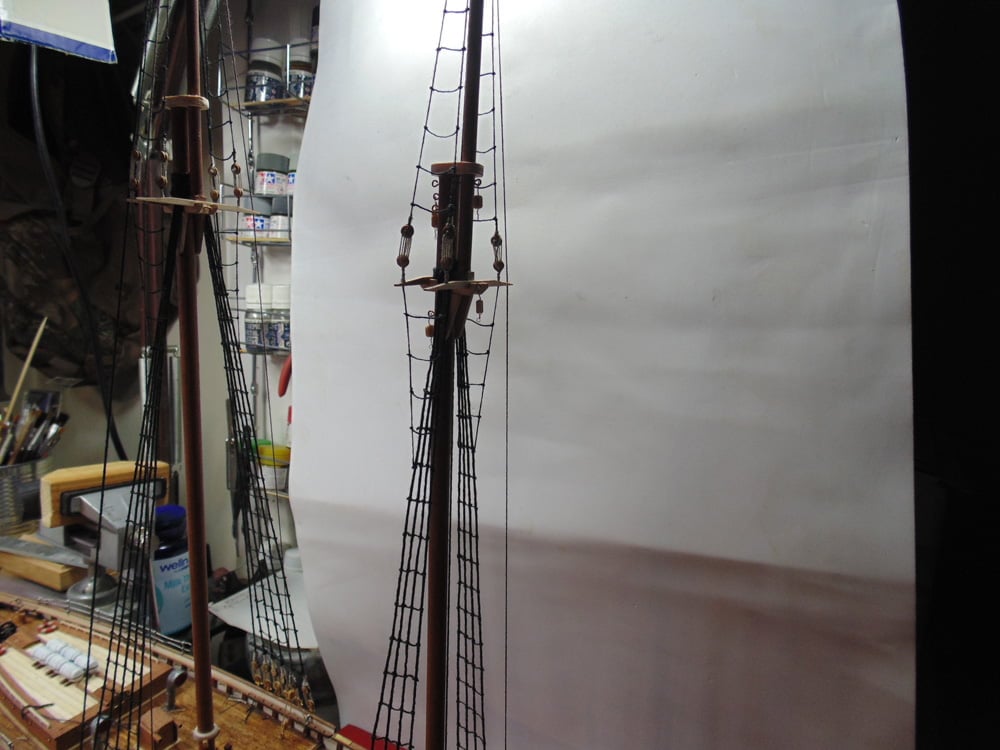
In Step 43 you’ll be running the Mainstays. The outer Stays are easy to run, yet make certain they connect to the back of the upper masts. This will keep them away from the crow’s nests.

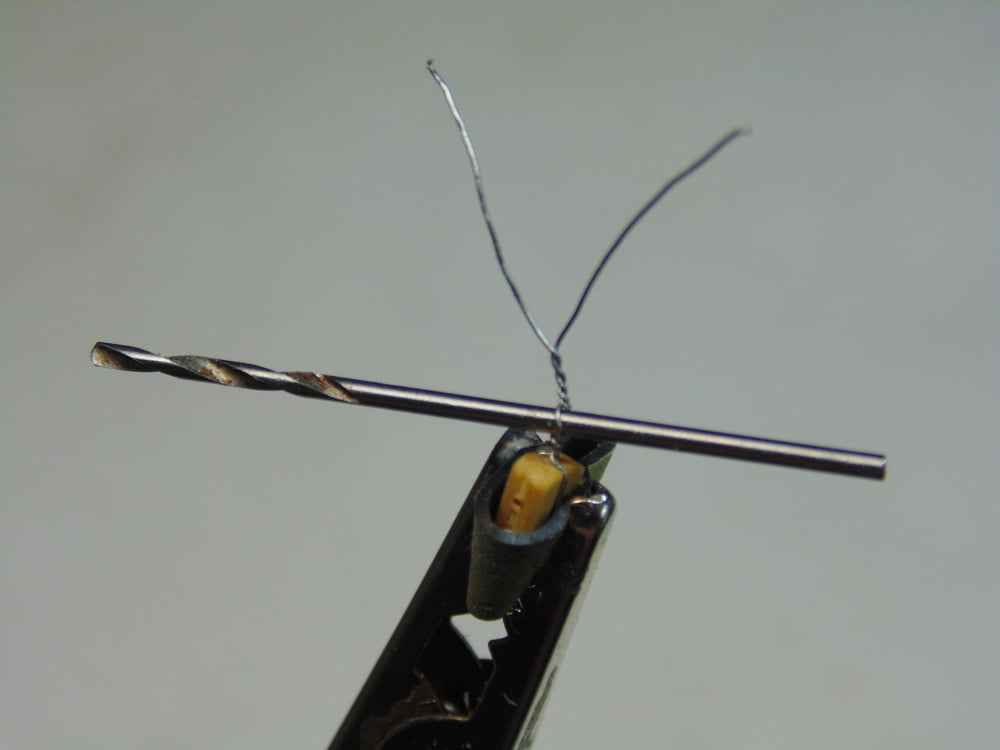
When making your block loops use a 1mm drill bit and wrap the wire once. Form the wire around the block and use twisting to tighten it to the block.
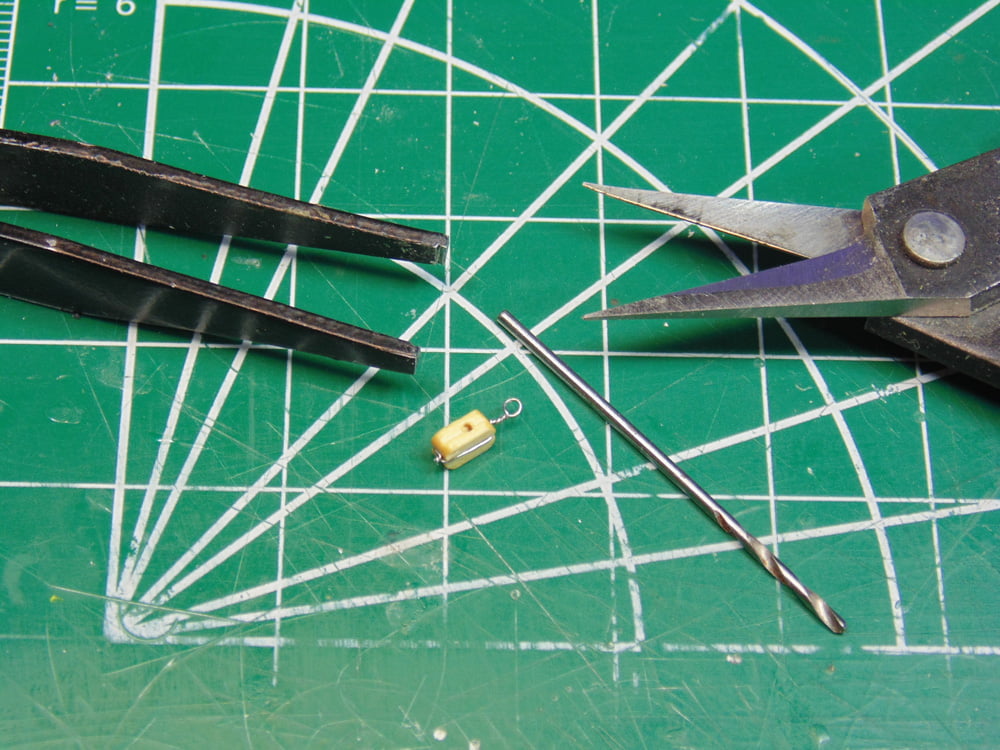
For double loops, make one end, as shown above, then use your drill bit to spin the second loop tight to the block. Next twist tight the end of the loop. Snip off the excess but leave a couple of millimetres to ensure the loop doesn’t spring open.
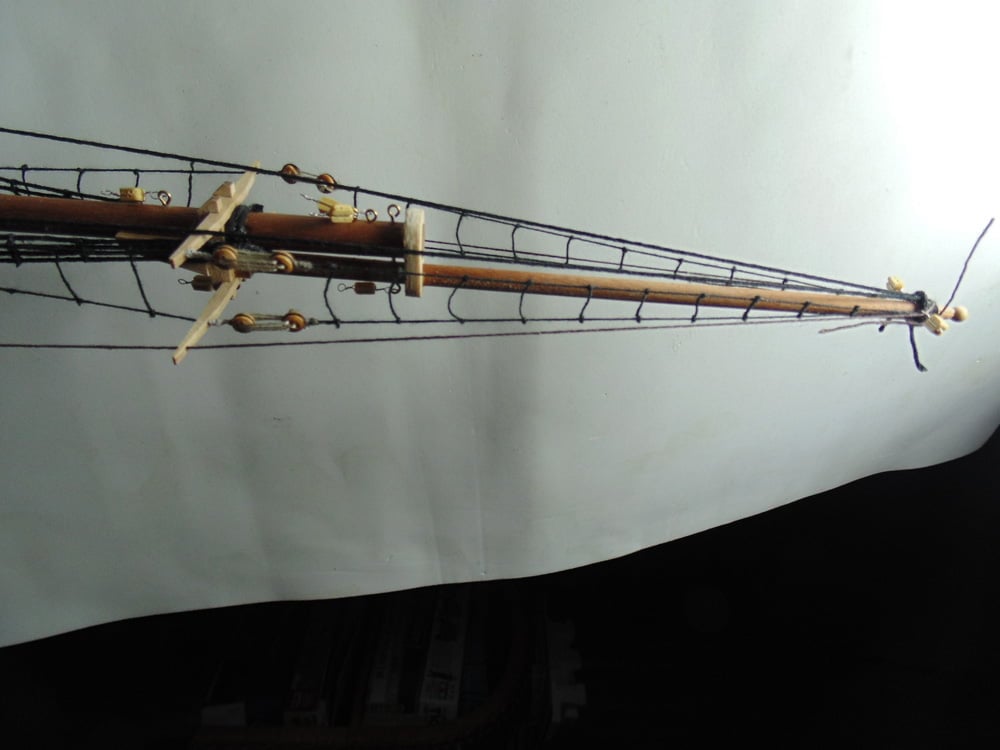
To determine the length needed for the forward Stays, make a loose knot at the top and drop your line roll. Now you can gauge how much is needed.

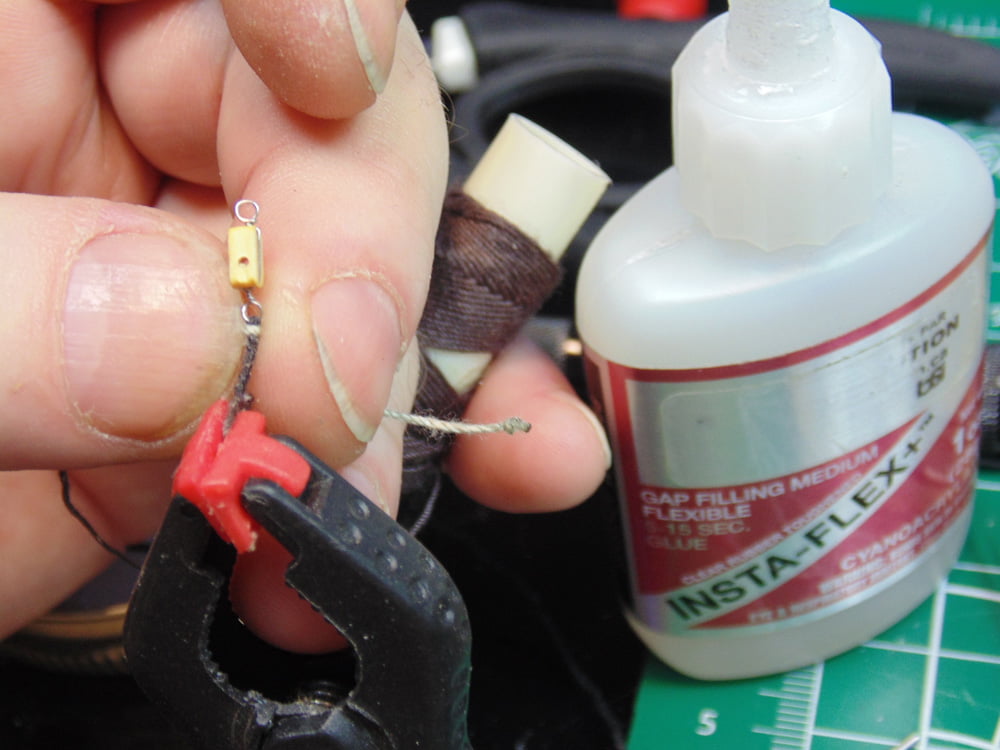
Twist the line and clamp it after it’s in the loop, then add some CA glue to keep its shape. Next, wind the lighter colored wrapper around the glued area. You may have to use all your fingers for this task, but you’ll quickly get the hang of it.
Once you’ve rigged up the forward Stay Blocks the line needs to be wound around a metal pin. Work from the opposite side for easier access and have a loose loop ready before you go in there. Do not glue this metal part before. Get the line tight, hold it and then glue the metal pin.
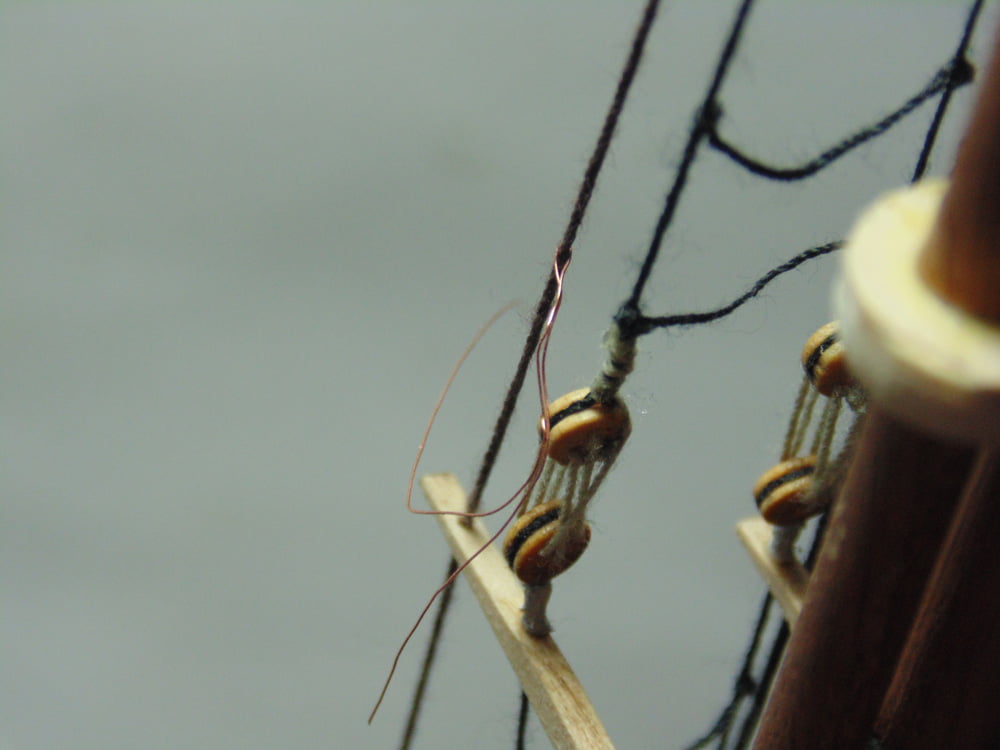
Because of the many fibers on the line, running it through the hole in the crow’s nests is difficult. Speed things up by inserting a grab wire of thin copper to pull it through.
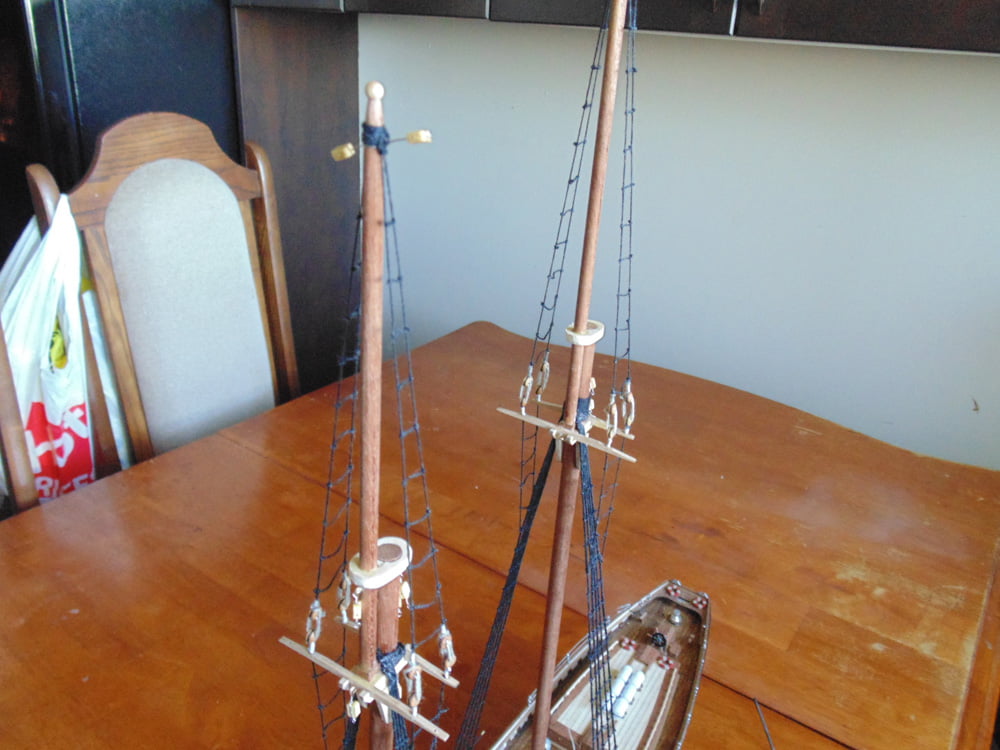
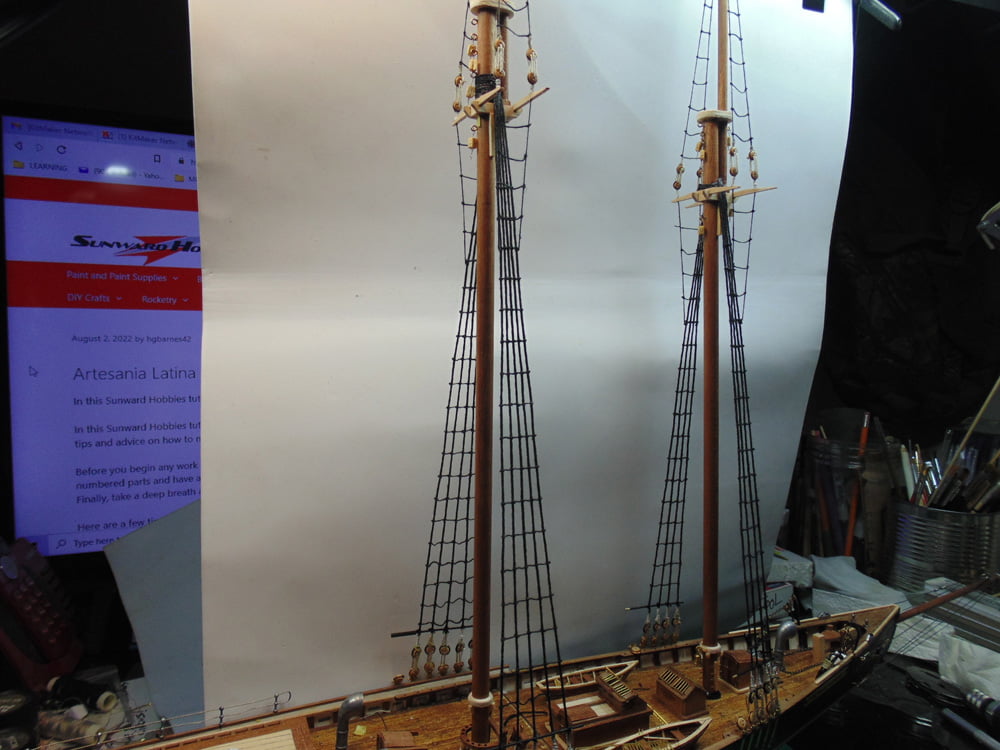
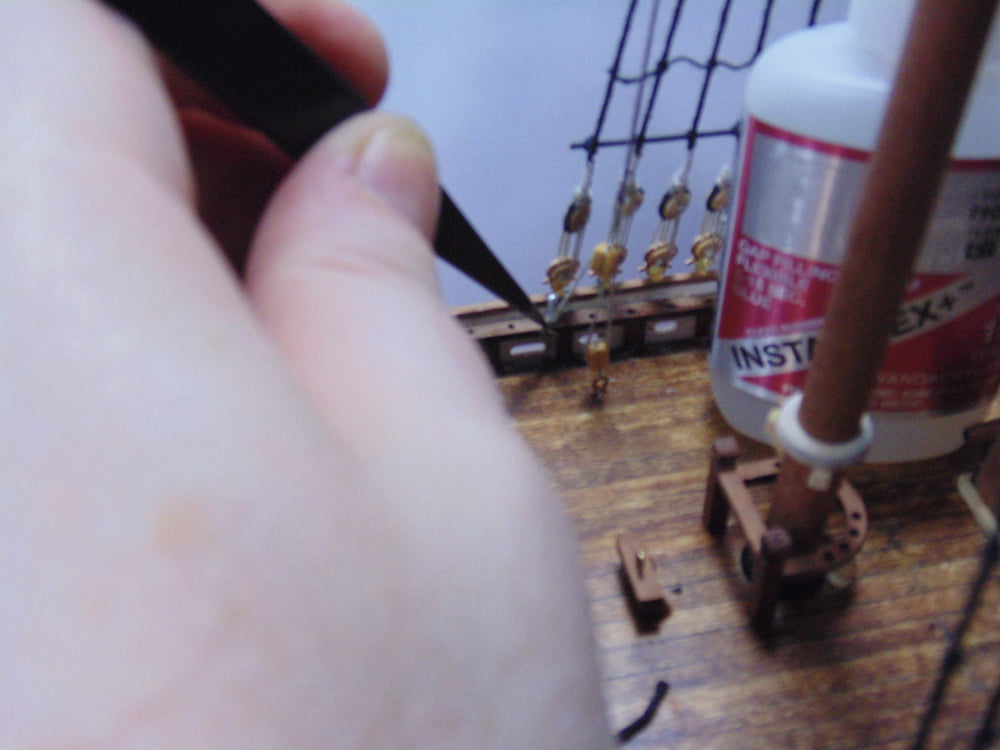
Here’s what each forward Main Stay should look like. Naturally, the final step is to secure the top of the line to the mast. You may have to stand to complete the top, so keep your arms tight to your body.
Here you can see both Port Side forward Stays have been run. You’ll invest a few hours to get these right, but they look great.
However, if you find that a line is twisting awkwardly, slip a thin drill bit in the metal loop and pull/push to correct it. The metal line is very forgiving and not prone to snapping.
After you’ve completed the Mainstays it’s important to remove the excess so this doesn’t become a hindrance when running the next set of lines.
Thanks again for taking the time to follow the build. If you have any questions about Artesania Latina products, the techniques or tools used in this article, please feel free to ask the staff when you pick-up or place your next Sunward Hobbies order.
If you have any questions about the products used or the methods in this article, please feel free to ask the staff when you pick up or place your next order from Sunward Hobbies.
About the Author:
H.G. Barnes is a former voice-over artist and retired sales and marketing professional. He’s the author of two large volume science fiction adventure romance novels with many more in the works. For well over 40 years he’s been building scale model replicas and now does commission work for clients in Canada and the USA, plus completes projects for companies in Asia and Europe.
Currently H.G. is involved as an Associate Editor with KitMaker Network’s Online Magazine Channels.
First Post: Part 1
Previous Post: Part 15
Next Post: Part 17