
Artesania Latina Bluenose II Build – Part 18 of a Series
In this Sunward Hobbies tutorial, I’ll be continuing with Artesania Latina’s Bluenose II build with Part 18. Previous Part 17
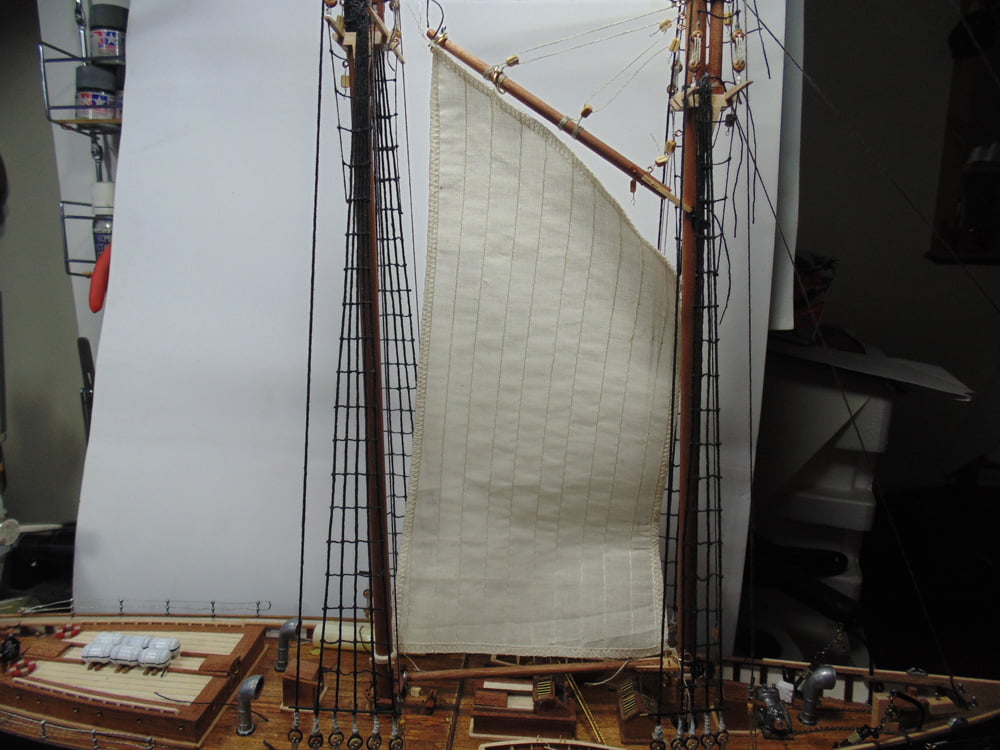
In this Sunward Hobbies tutorial We’ll continue with the Artesania Latina 1/72 scale Bluenose II fishing schooner. In Step 47 you’ll be hanging your first tri-sail. I’ll be showing methods to ease what looks very complicated, along with some useful tools to make the process more fun.
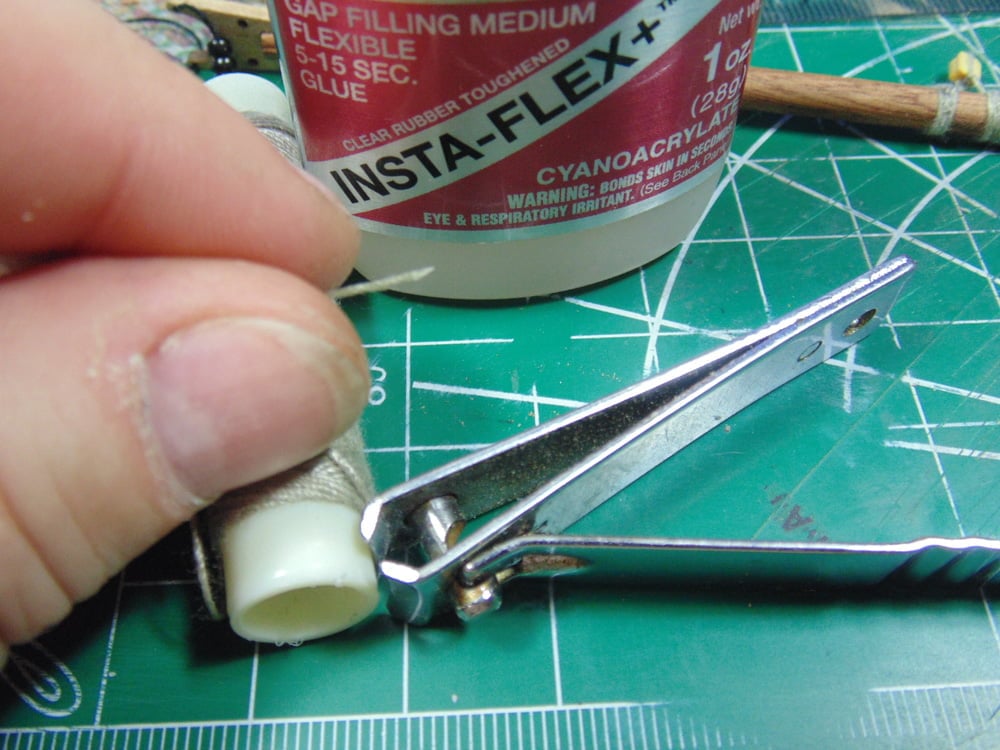
Since you’ve built up all the booms and jibs it is now time to hang them. Make your life easier by loosely running the middle lines of the foresail jib. This way you can run the other lines without having to constantly fight with the jib moving around. Before hanging it though, there are two vital things to do. As mentioned prior, coat a centimetre of the tip of the line in BSI Cyanoacrylate CA glue and once dry snip it into a sharp point with some new clippers.
The next thing to do is drill out the holes in every block using Excel Drill Bits. Sunward Hobbies carry a great selection of various diameters. This particular bit is 0.0280 inches or 0.75 mm. Please remember this wood is very delicate, so take your time.

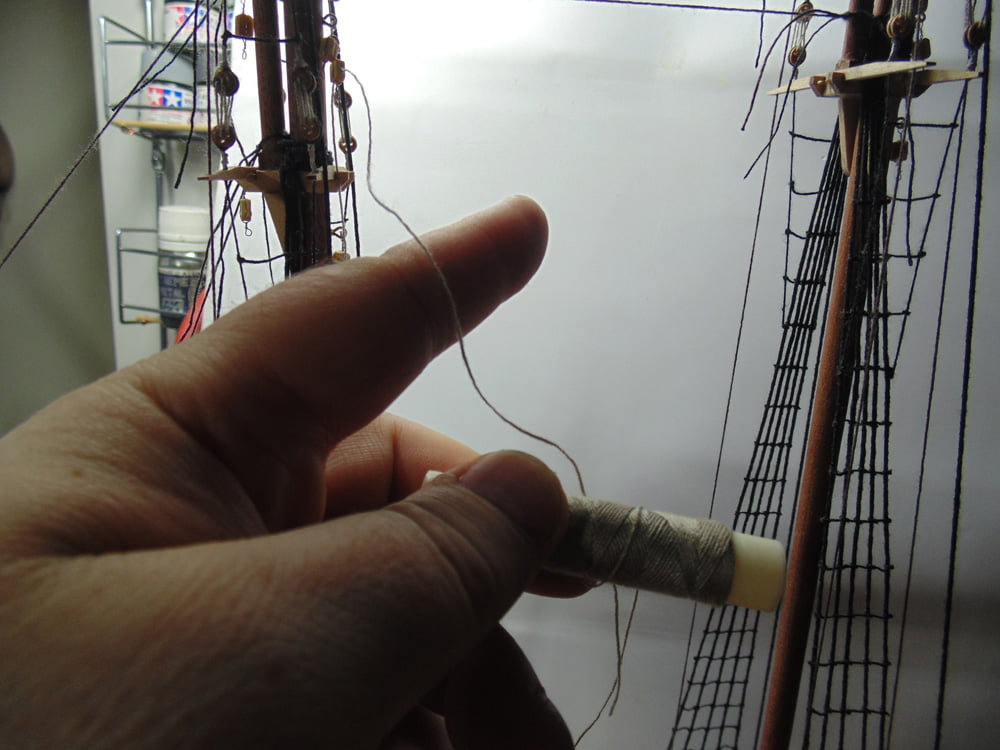
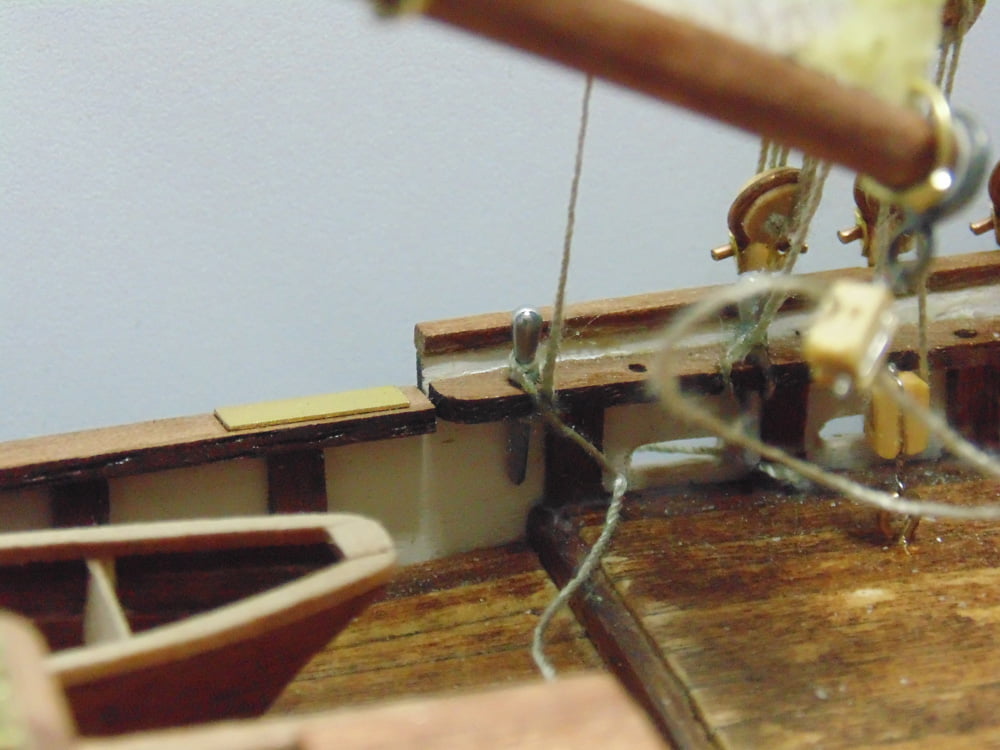
This series of lines is tied to a metal pin at the deck just behind the ratlines. Use this spot as a starting point to gauge the amount of line needed.
Do not add the foremast boom until both jib support lines are strung. Turn the model around to be able to see your work. Here, I’ve added a tab of wood glue on the line and made a few loops before slipping them under the metal pin. Now you can pull the line tight and wrap it around the polished handle. This may take some time and you may have to use your finger to angle the pin out from the wall to get the loops to slip on.
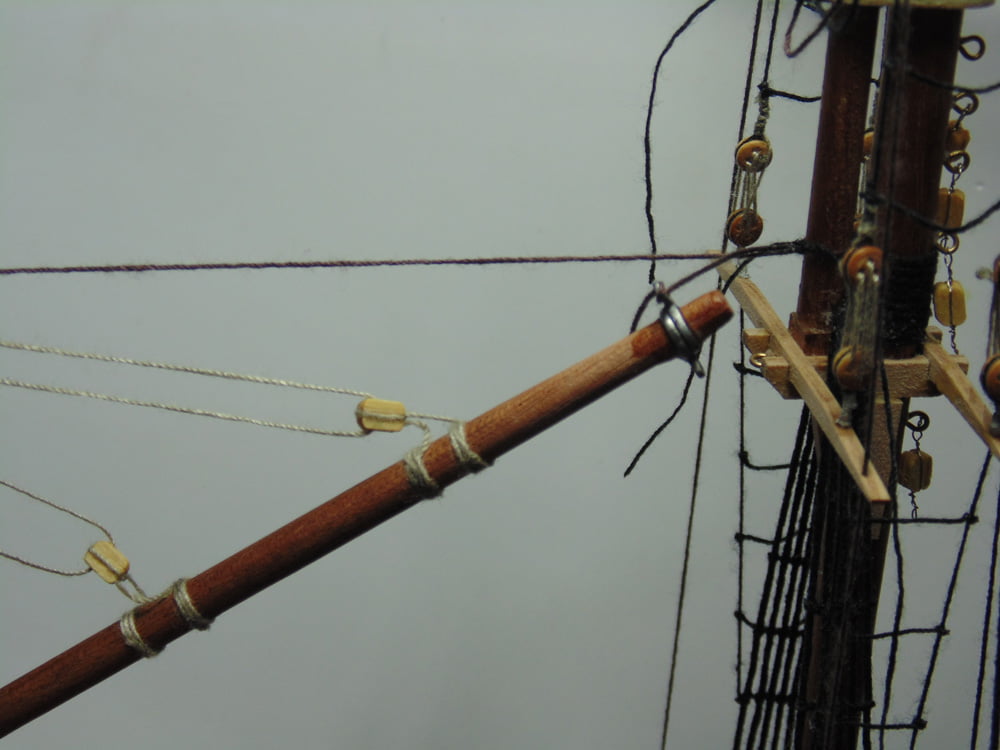
Now you can get a rough idea where to place the jib once the blocks are threaded. Another reason to keep this loose is to gauge the spacing of the other lines which also run all the way down to the deck wall.
Use some of the excess string to further stabilize the jib. It’s one of the reasons I don’t snip the excess until I’m convinced there is no further use for them. Here, some dark string is looped in the metal rings.
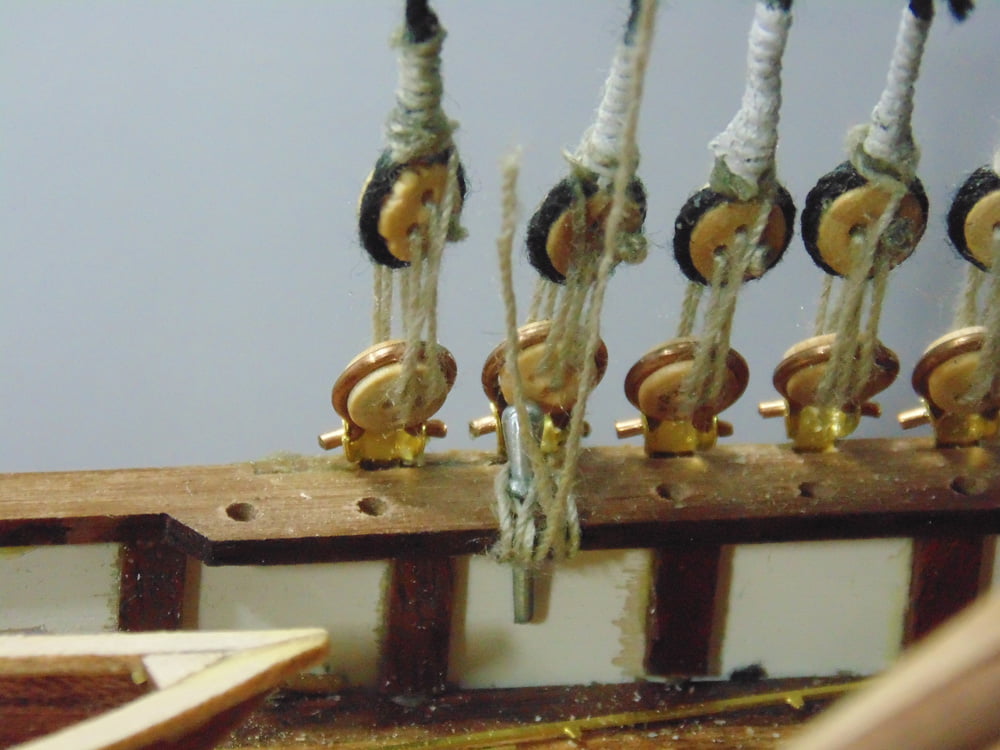
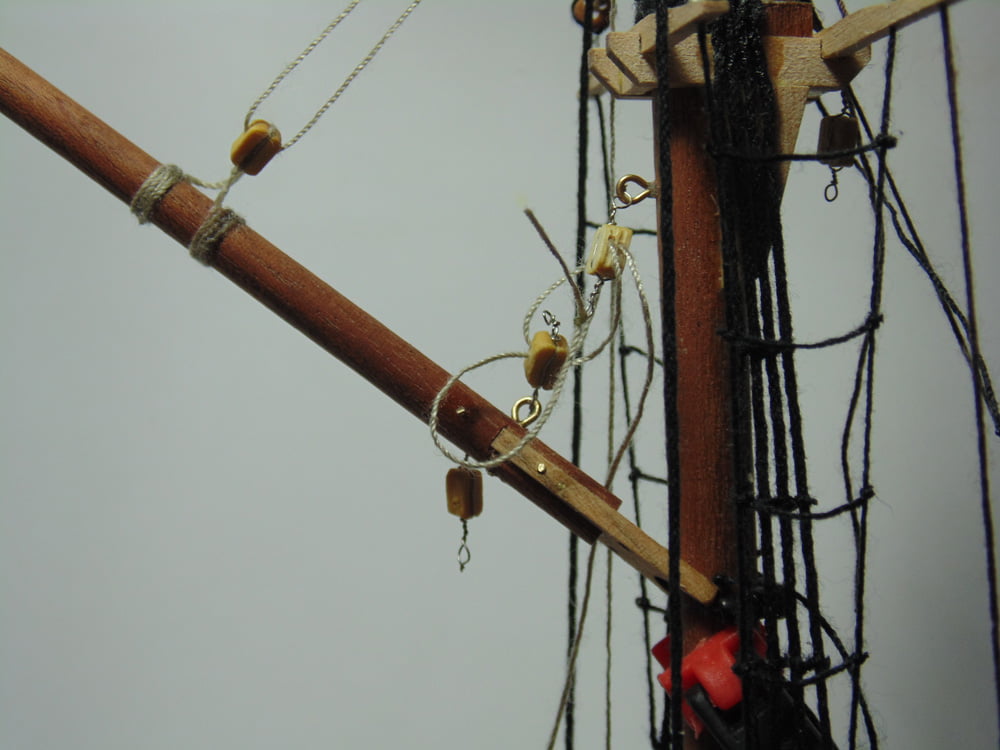
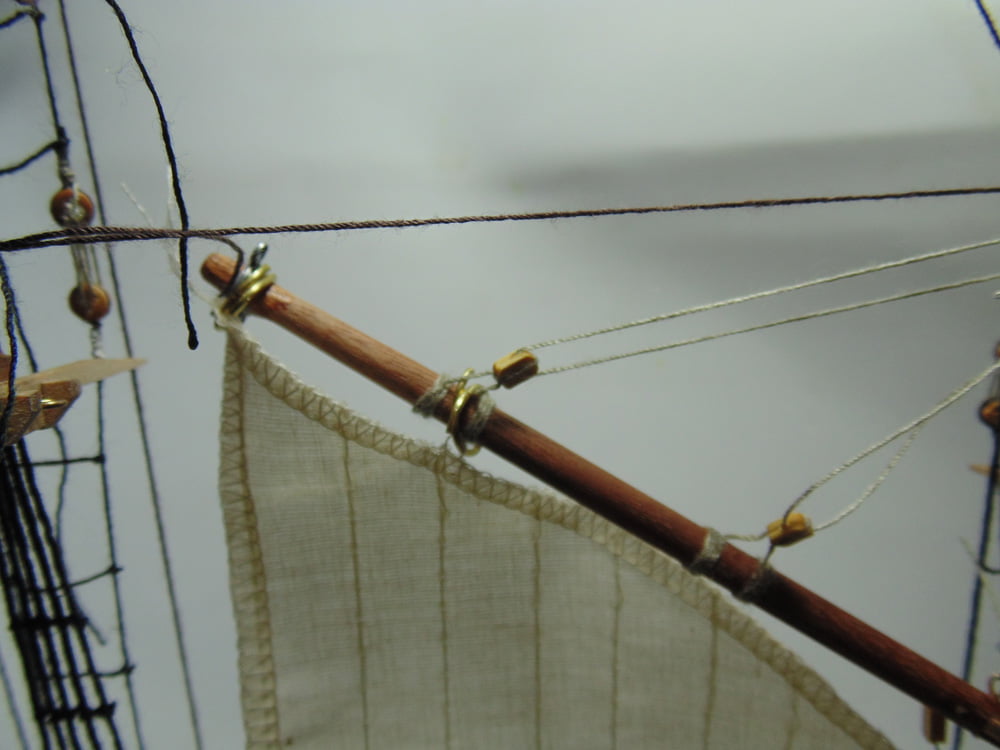
Mistakes occur to even experienced hobbyists. Here I’ve glued two sets of rings where only one is needed. Since you’re going to be frequently using CA glue, having a bottle of BSI debonder is a must for parts and your fingers. Also, install blocks on rings prior to adding them to the booms and jibs.

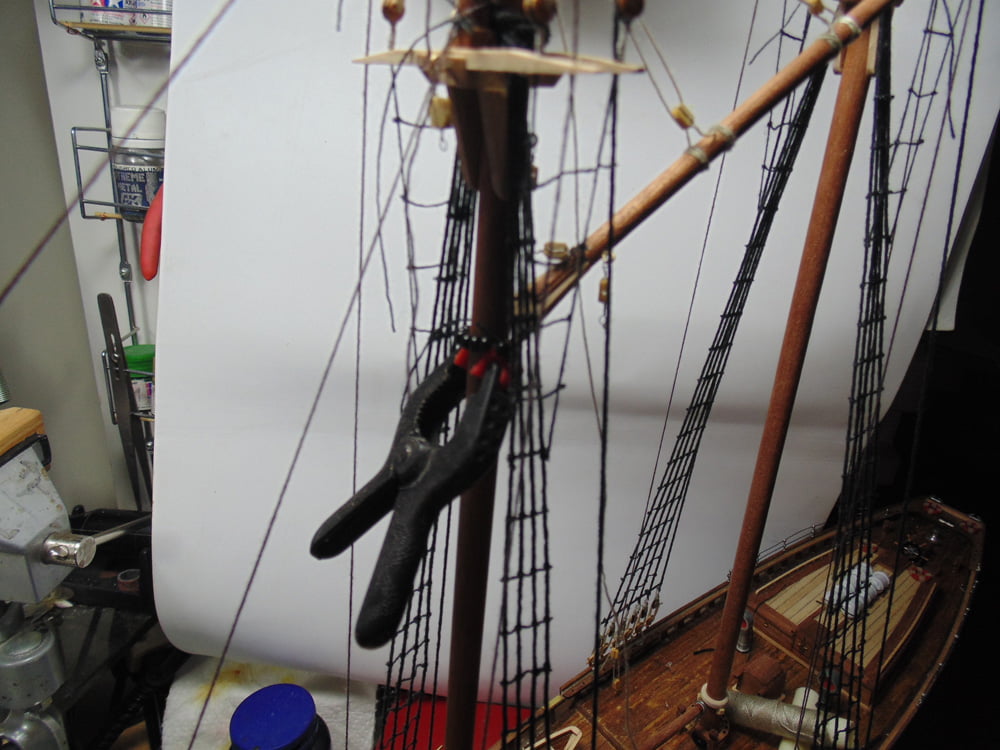
To help keep the jib from sliding down when hanger blocks are being strung, place a small clamp on the mast. Again, you’ll fight with the line if the jib moves around.
Repeat the process for the lower jib support lines. The good news is there are only two support lines going down to the port side.
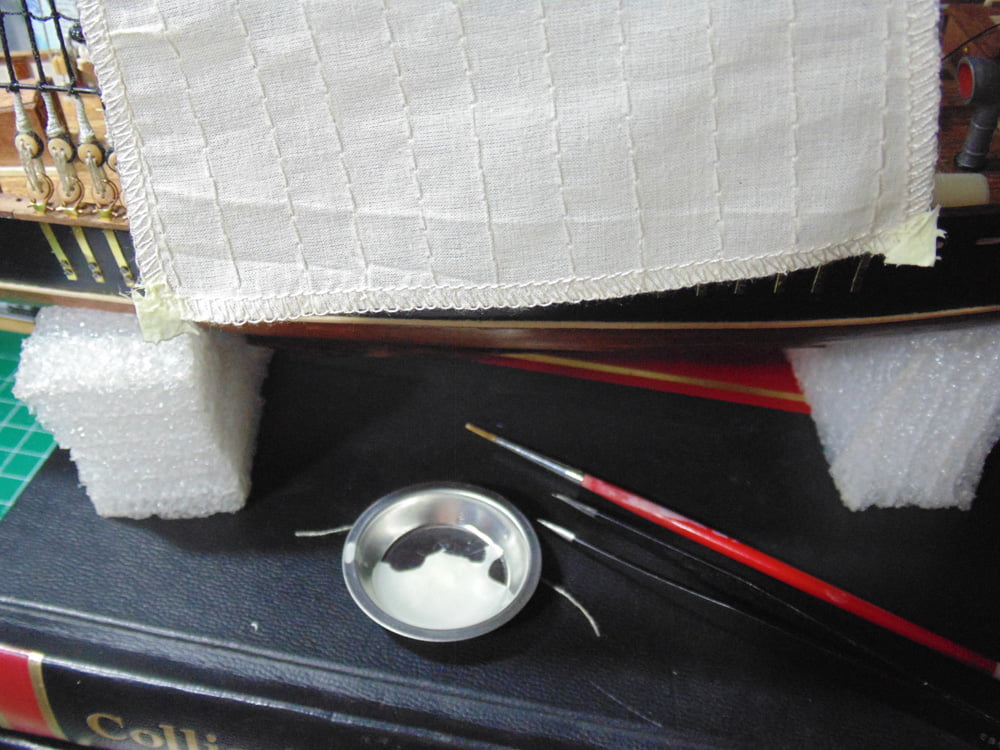
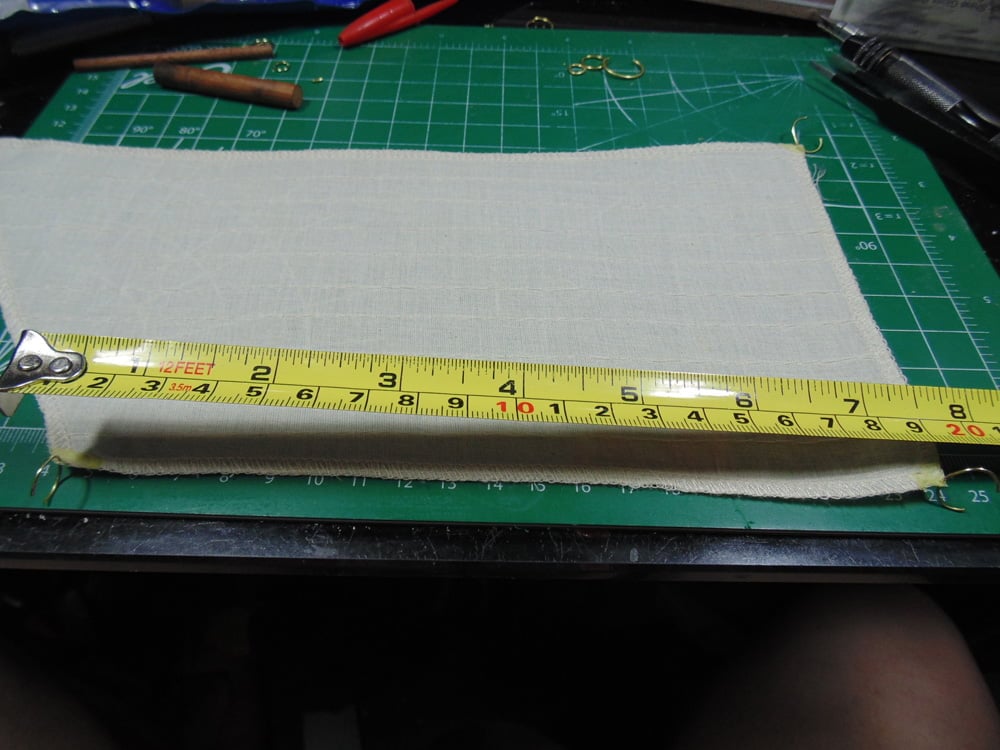
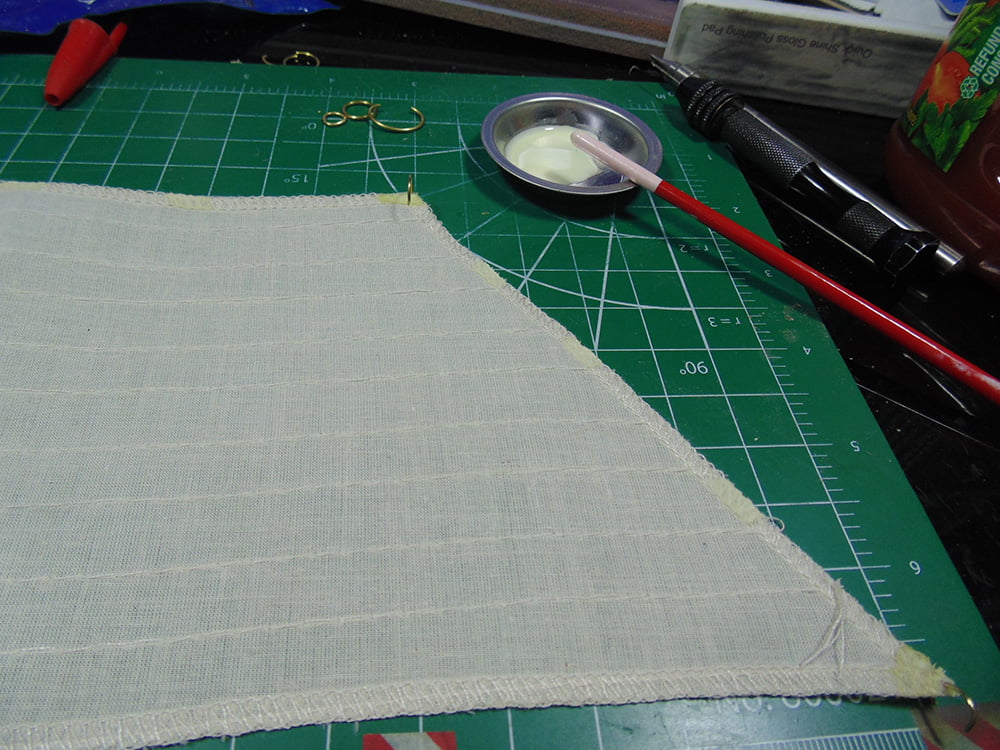
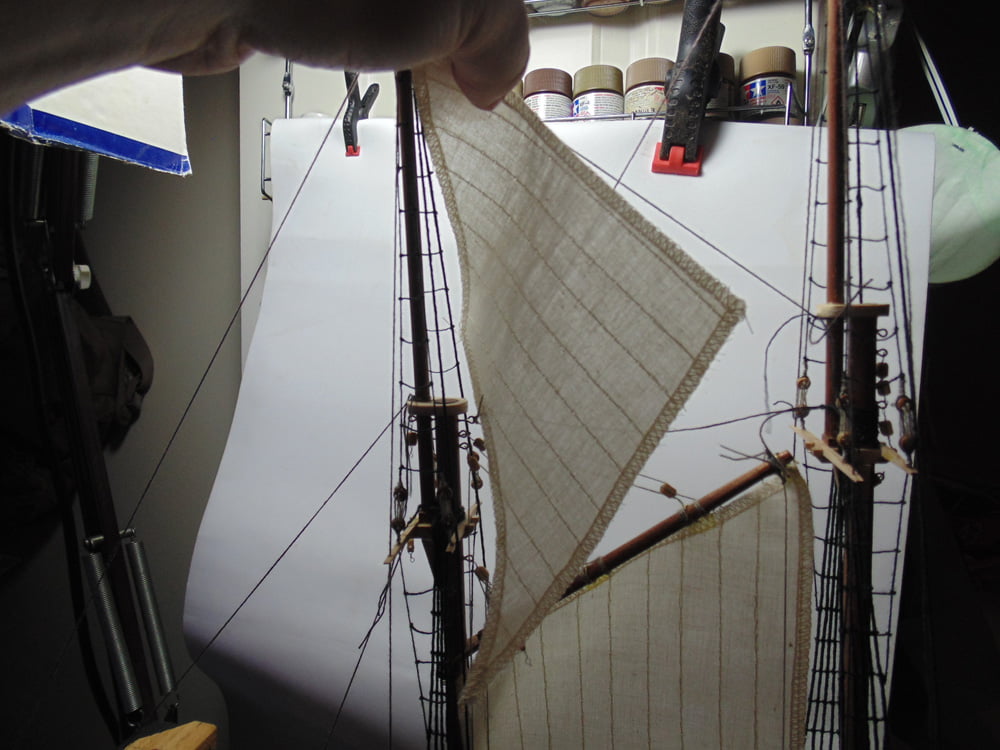
The instructions clearly show a much different type of sail then what’s in the box. The sails are slightly larger and the stitching will come unraveled easily, especially at the points. There are a few ways to resolve the loose threads coming free. Use the loose strings to tie the rings and then use some scrap thread to retie your knot. Remember to keep your metal loops open enough to fit on the masts, booms and jibs.
Unfortunately, these rings are quite stiff and will take a great deal of time to collapse around the wood. Also, the more you work on the rings the more the stitching will stretch.
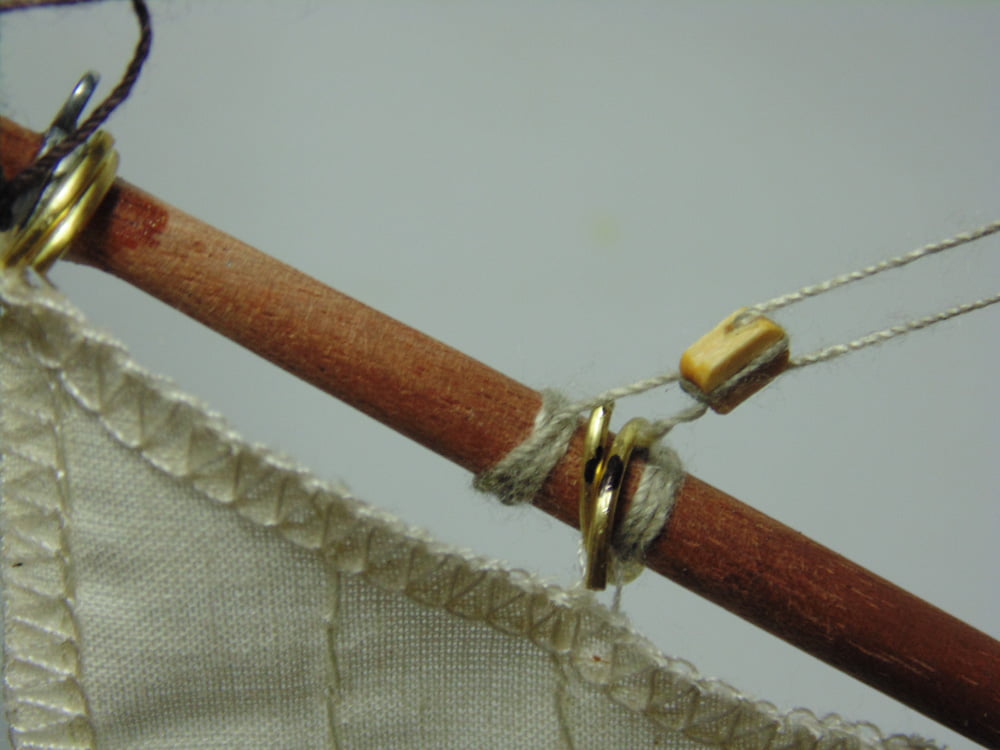
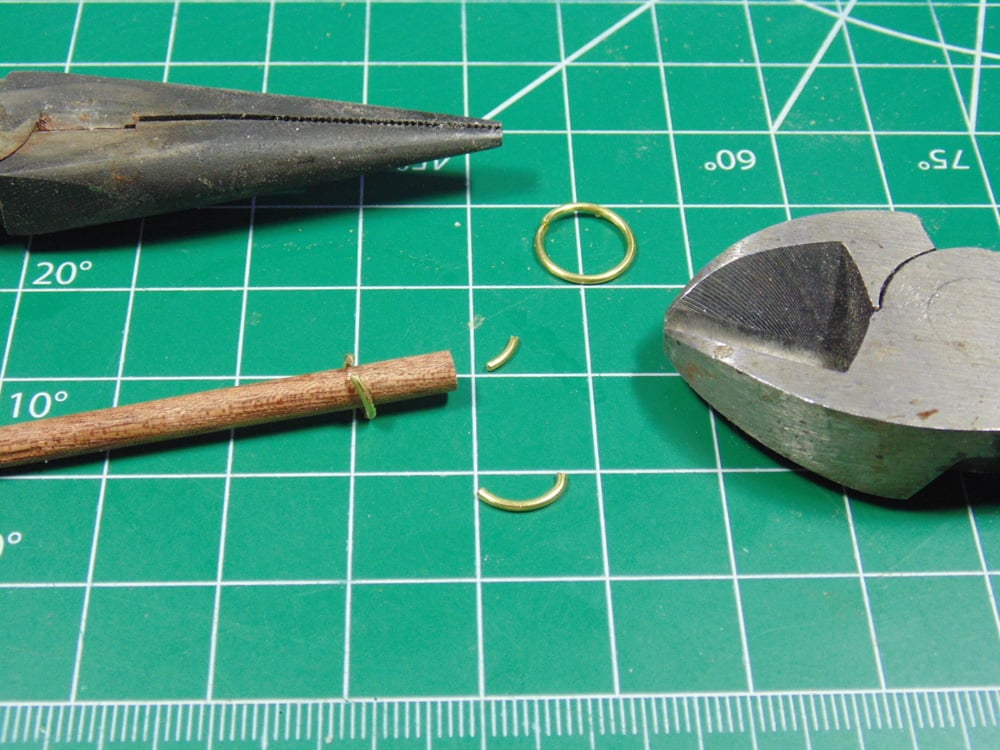
I was not happy working with the supplied rings. They are oversized and require overlapping then snipping to look good. I spent six hours just on the four jib rings before using a different method and material. You can purchase from a craft store much softer brass picture hanging wire. Sunward Hobbies carry K&S wire. Please consult with a staff member for the proper thickness.
Another method is to add a few drops of Elmer’s diluted wood glue (white school glue for a cleaner look) to those specific points on the sail.
Before any glue is added make certain to check and recheck the placement of the sail. Again, the sails are larger than the ones in the instructions. It’s wise to be completely comfortable where they’ll end up before gluing.
For added strength at the corners you can add some bits of paper towel and paint on the glue. This ring and glue method will save many hours.
For the mast and boom rings measure the distance to get the center point then eyeball the other two points.
I chose a slightly yellowish tone for contrast and detail. It also helps you see where to make your ring holes. Make sure the glue has completely hardened to get a crisp hole.
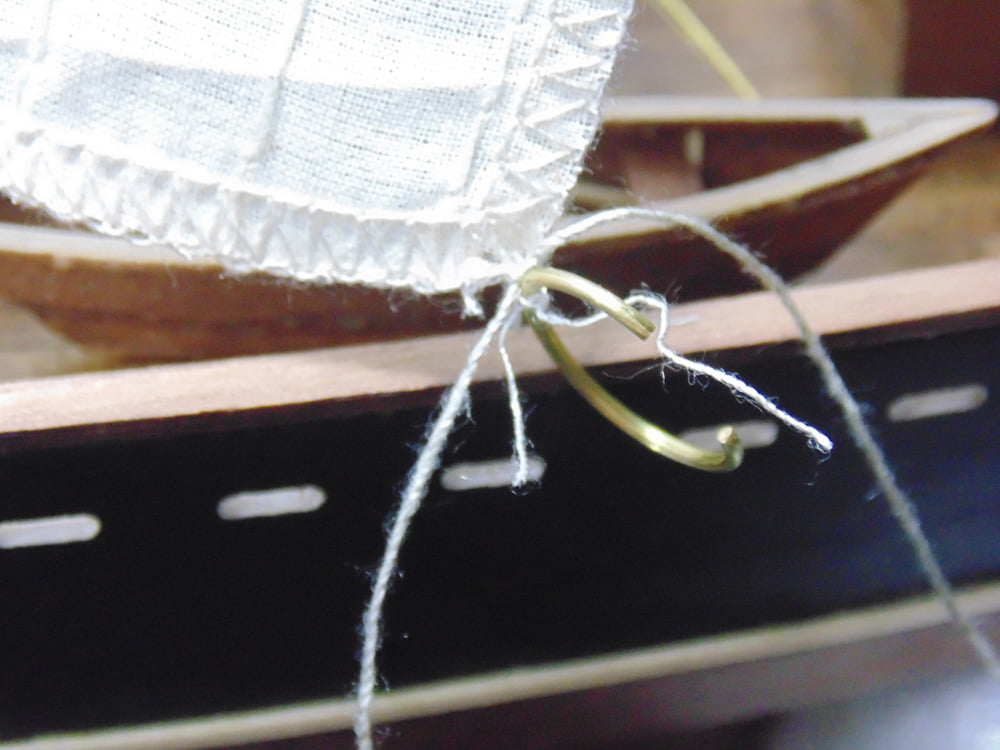
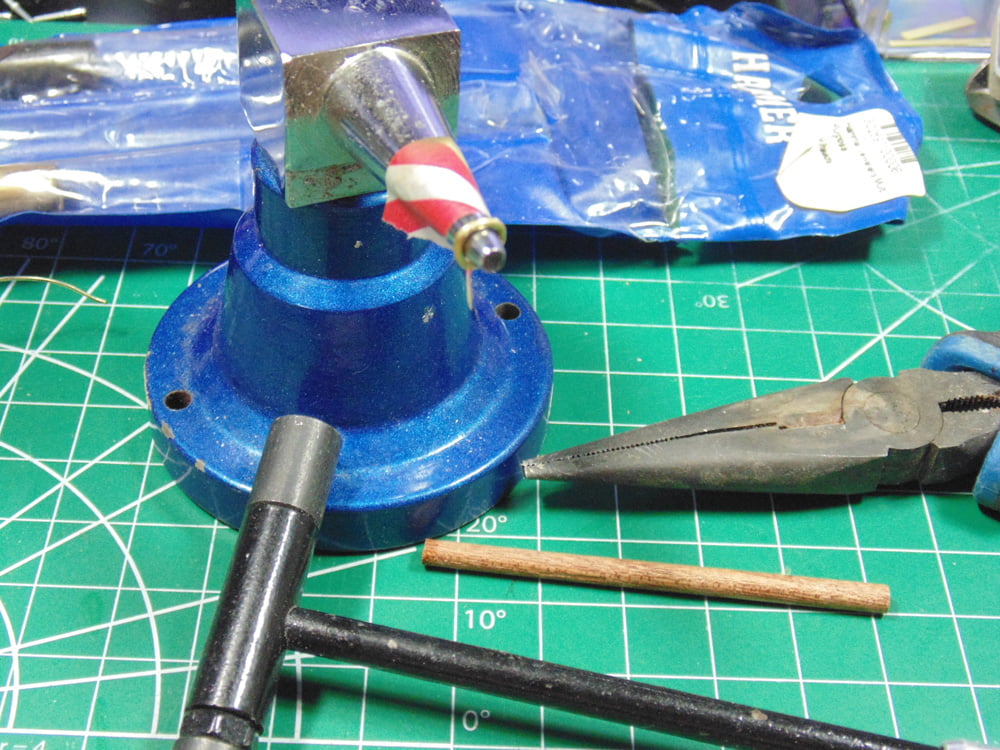
Many craft stores have mini anvils and hammers. Sunward Hobbies carry rivet punches. Use the punch to start your hole and then finish by drilling it clean.
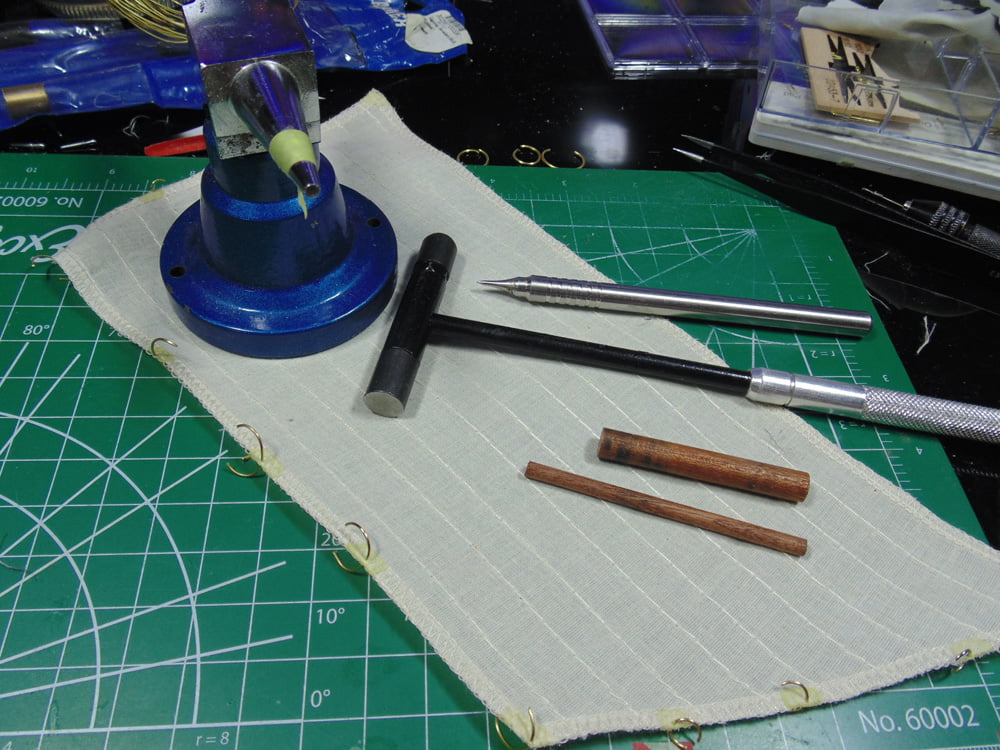
Use some scrap dowel to form the softer brass wire. Allow for a few millimetres into the sail when getting the ring’s length right. This is a good time to polish the rings if it’s needed. The dowels hold the wire much better than your fingers. If you choose to form the rings in a perfect circle they can be tapped lightly into shape.
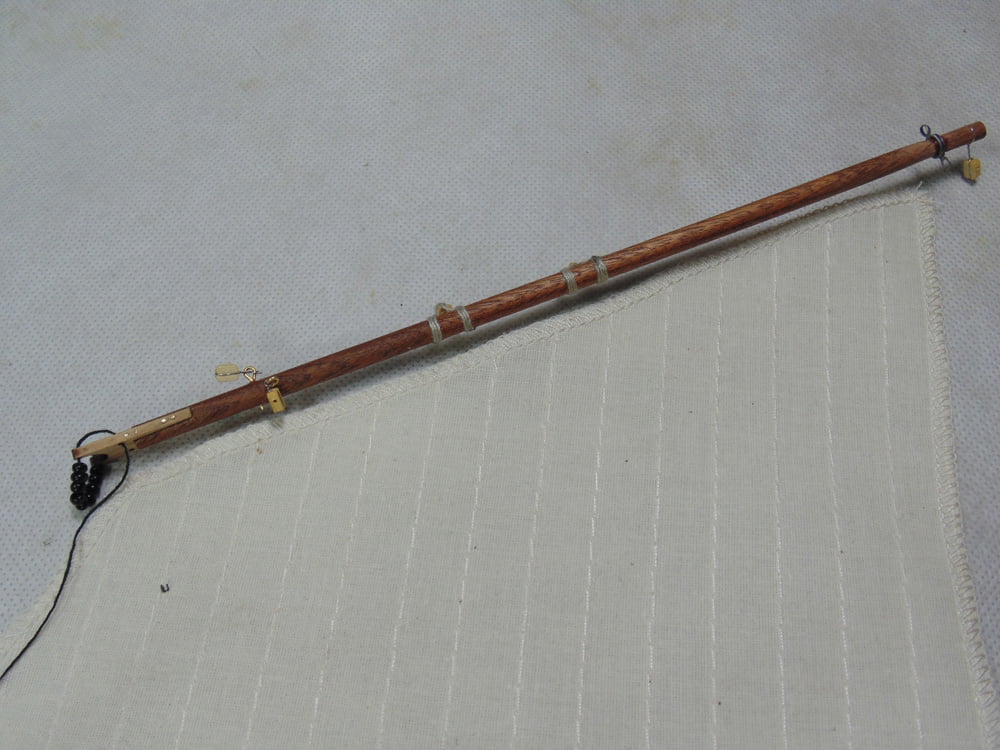
Because the sail is too long, you’ll need to secure it with a dab of BSI CA glue. Don’t glue the other rings to make shaping the sail easier.
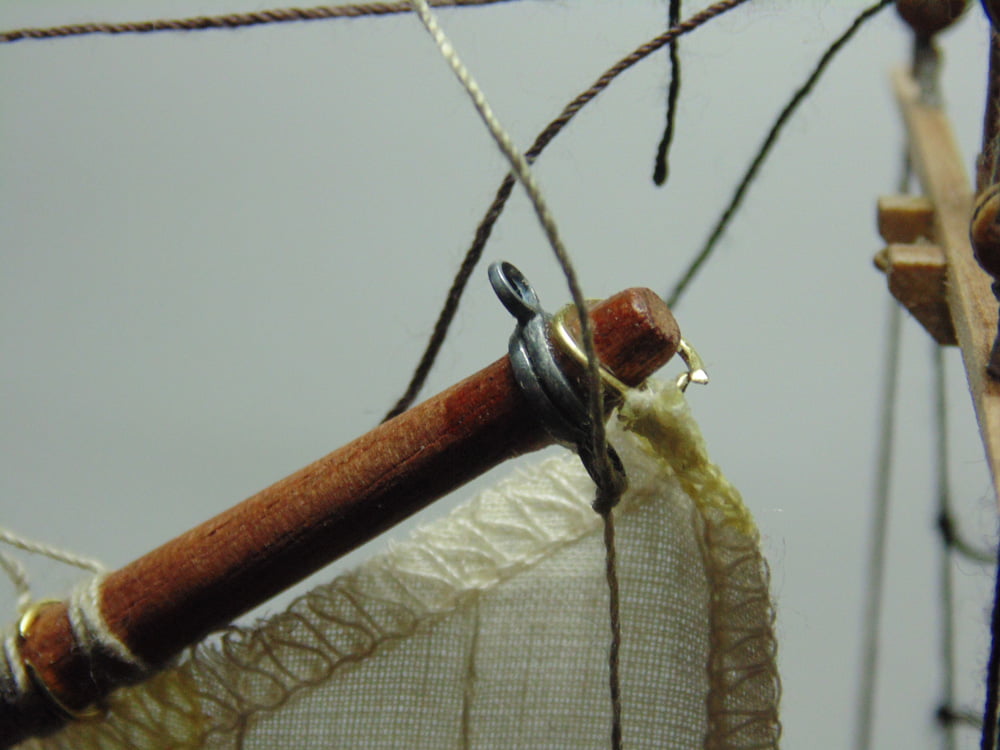
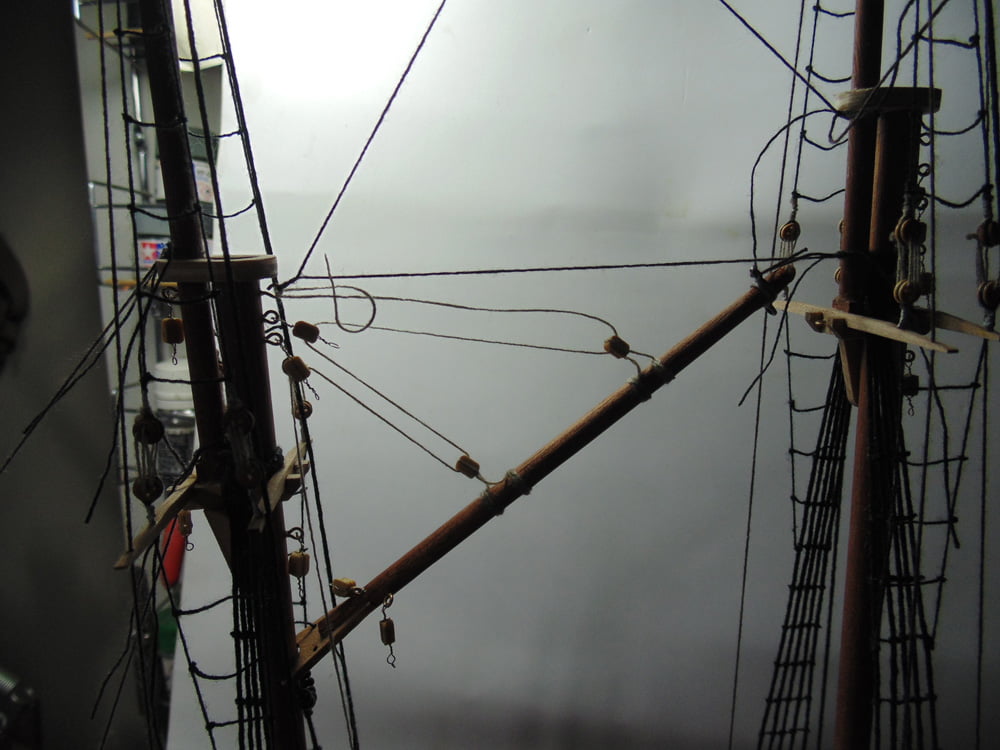
Now that the sail is completely ringed the instructions call out to rig the boom end. Do not do this yet, loosely rig it with enough slack to move the boom freely. The jib end needs to be rigged down to the deck wall on both sides. To accomplish this delicate task, lift the boom to gain access to the work area. Follow the above instructions to loop the end of the string around the metal pins.
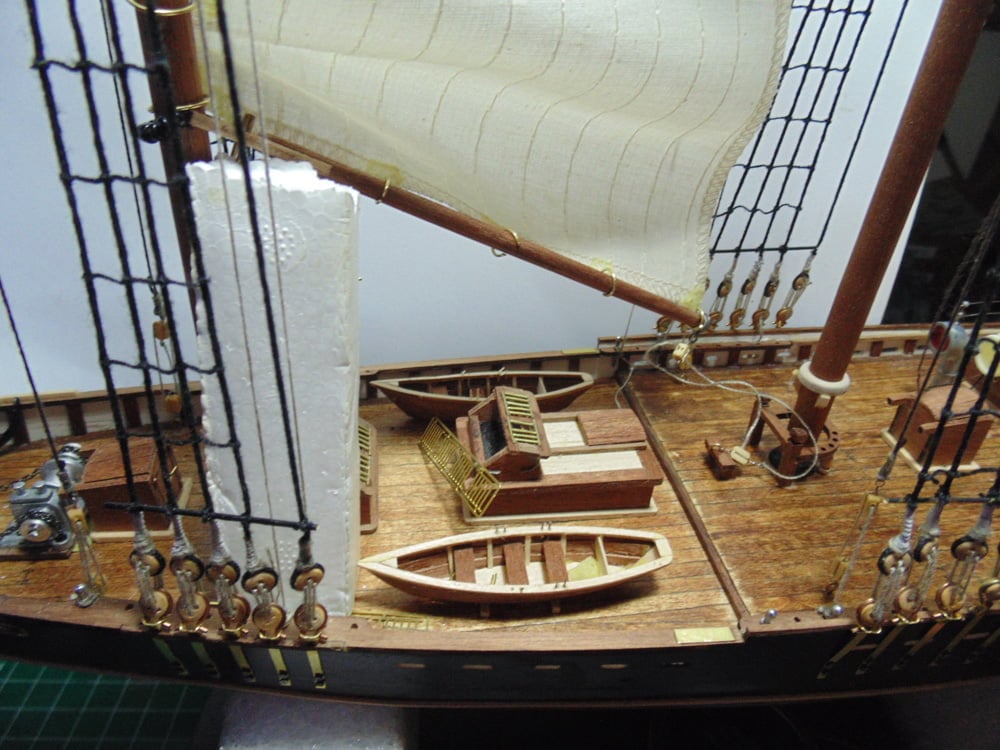
Now you can begin to prep your next sails and parts. The topsail does not have any rings, but I’ll show you how to install this in the next tutorial.
Thanks again for taking the time to follow the build. If you have any questions about Artesania Latina products, the techniques or tools used in this article, please feel free to ask the staff when you pick-up or place your next Sunward Hobbies order.
If you have any questions about the products used or the methods in this article, please feel free to ask the staff when you pick up or place your next order from Sunward Hobbies.
About the Author:
H.G. Barnes is a former voice-over artist and retired sales and marketing professional. He’s the author of two large volume science fiction adventure romance novels with many more in the works. For well over 40 years he’s been building scale model replicas and now does commission work for clients in Canada and the USA, plus completes projects for companies in Asia and Europe.
Currently H.G. is involved as an Associate Editor with KitMaker Network’s Online Magazine Channels.
First Post: Part 1
Previous Post: Part 17
Next Post: Part 19