
Artesania Latina Bluenose II Build – Part 3 of a Series
In this Sunward Hobbies tutorial, I’ll be continuing with Artesania Latina’s Bluenose II build with Part 3.
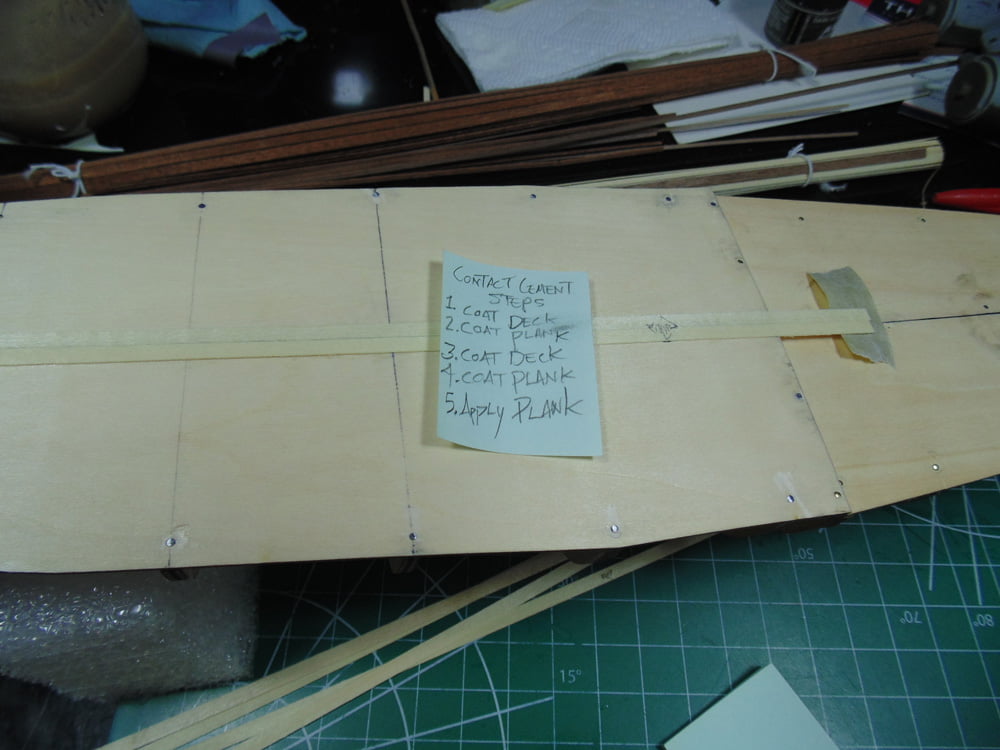
This section will be a little more in-depth picture wise, but it’s only to help you every step along the way. The planks are very well made and I’ve yet to see any serious warp. Sorry about the “clutter” on my bench… lots of projects on the go.
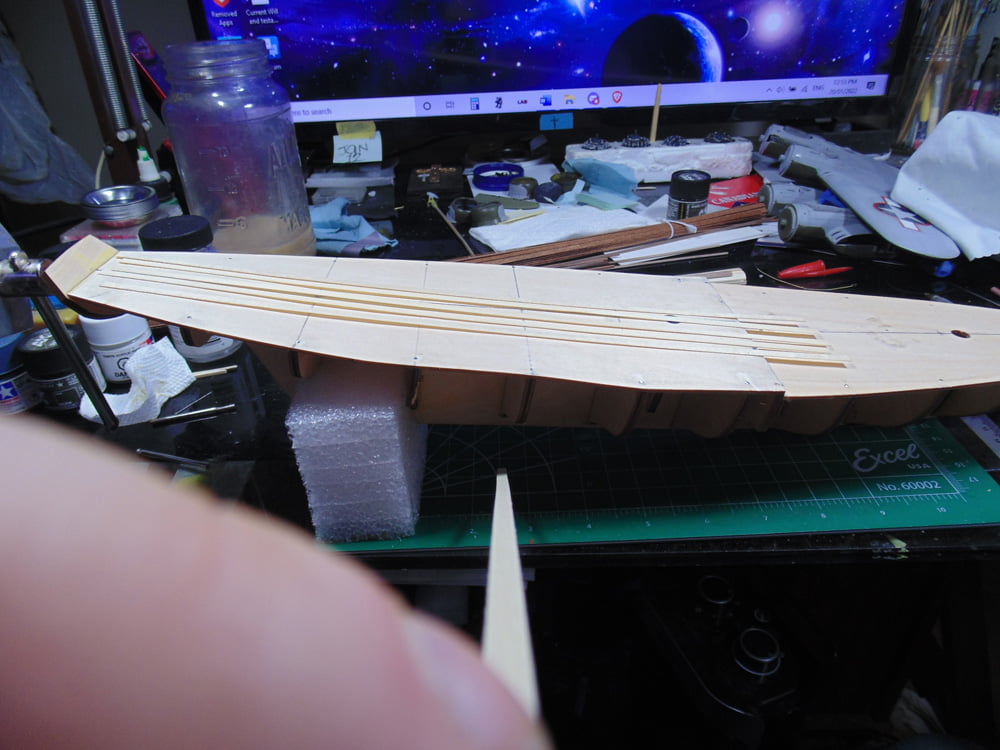
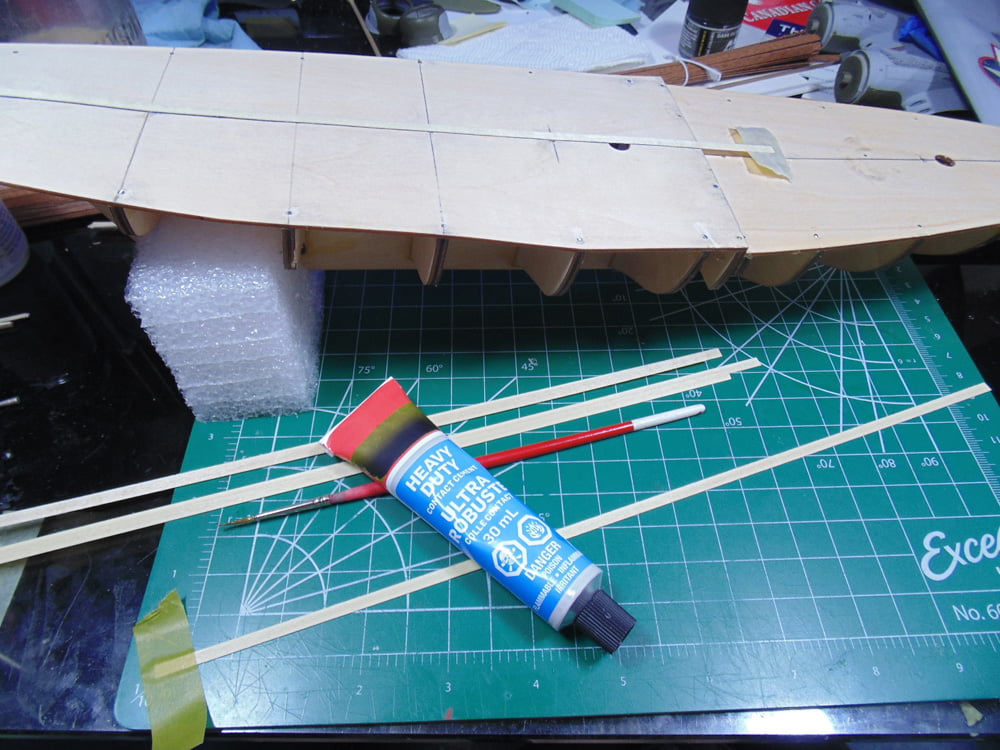
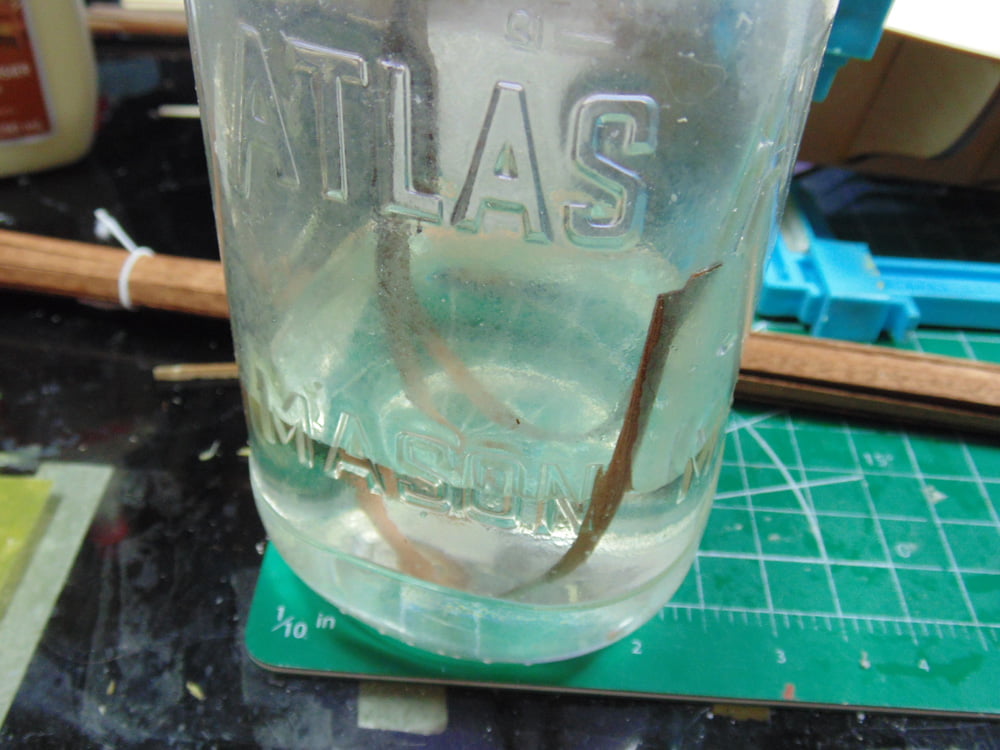
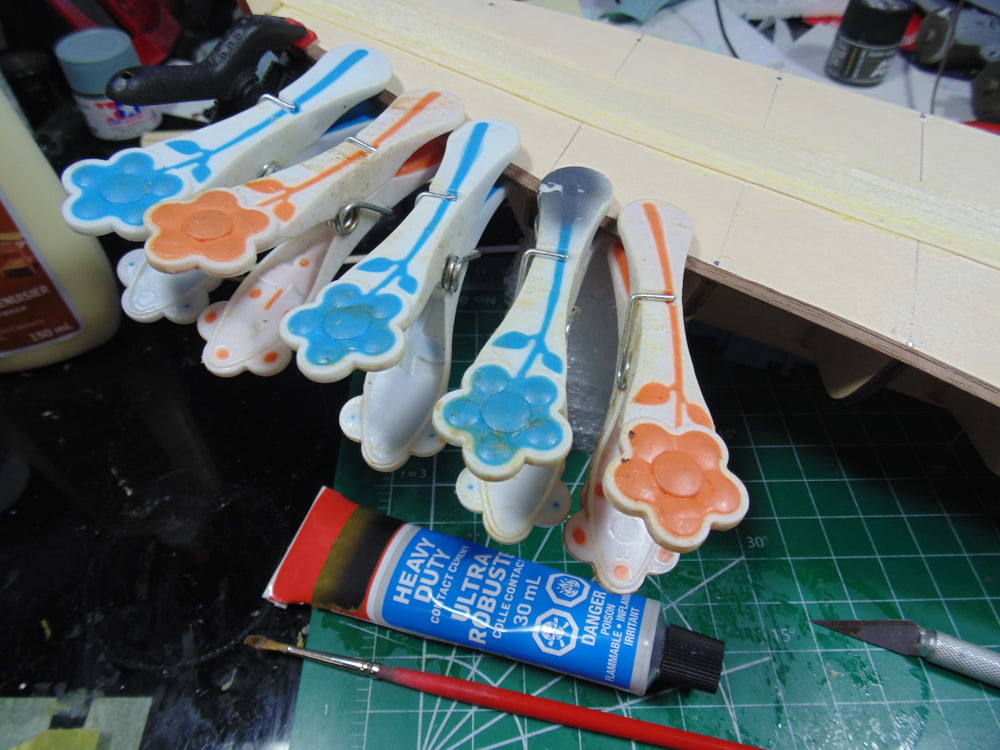
I was thoroughly impressed with the craftsmanship in the deck planks. Very few spots had to be sanded for slivers and the straightness was awesome. The instructions call for contact cement. Please follow the instructions from the brand you opt to use. Also, be aware you’ll have to sacrifice one of your brushes, in this case one of my Atlas medium brushes will work well. Use a brush that will not leave a huge mess, yet will cover both the underside of the plank and the deck. The tape is simply to collect the excess in one cutting.
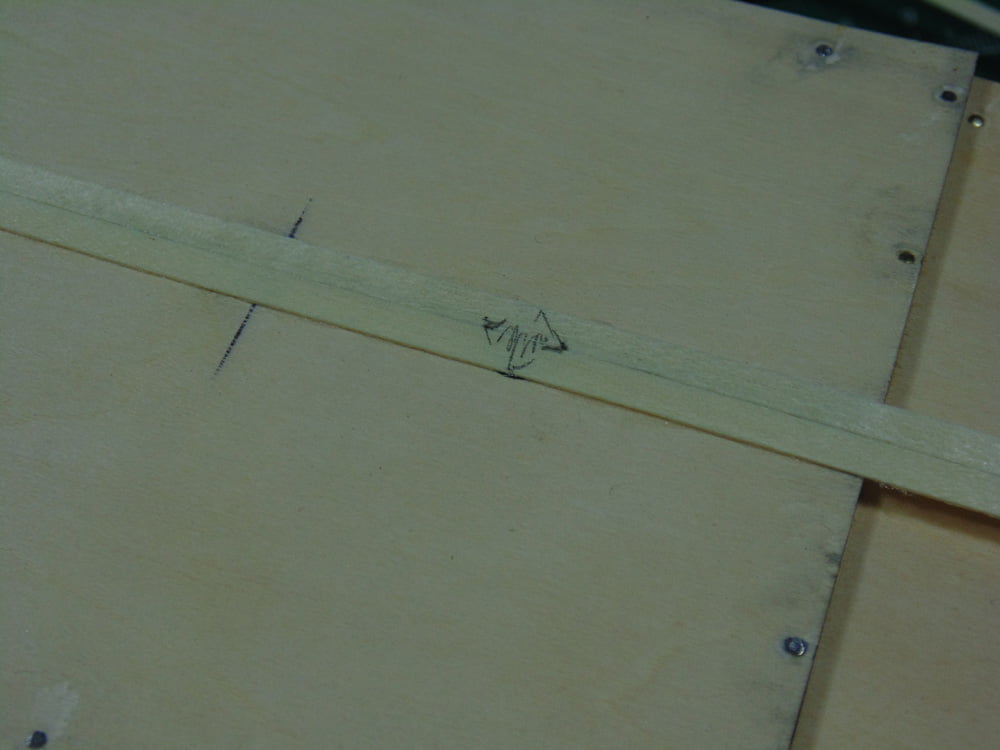
Begin with one plank on either side of the marked centre line obviously, but don’t forget to mark your main mast location.
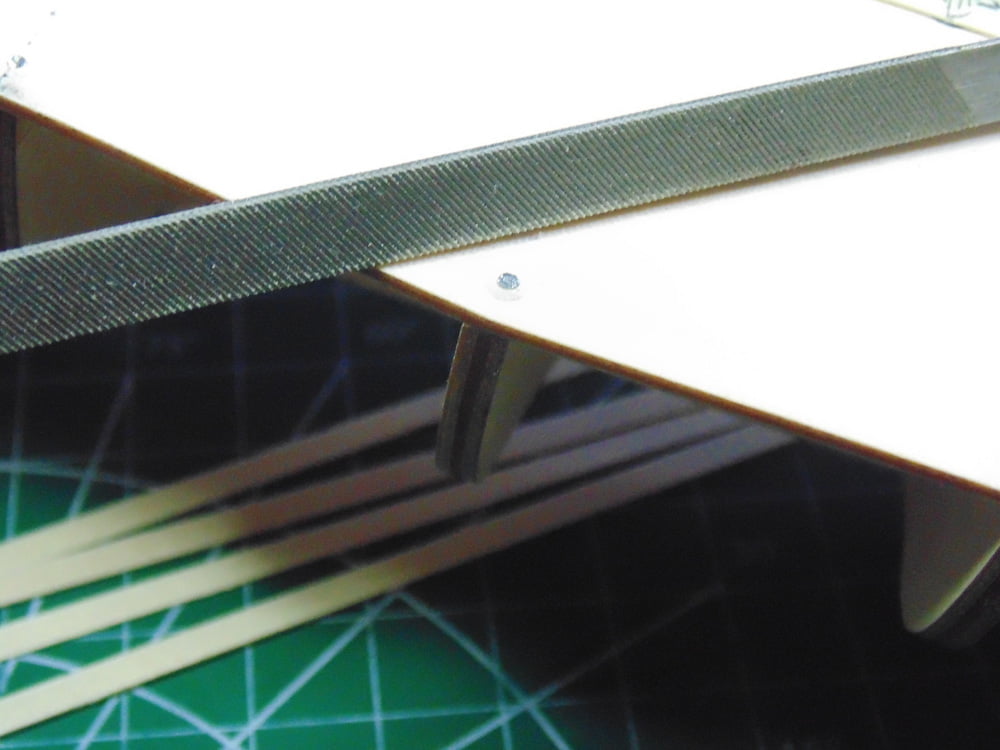
An important step is to make any nails flush with the deck. A few passes with my Vallejo flat mini T03003 file did the job.
The wood in this model is very thirsty. I moved several inches at a time since it was drying so quickly.
As per the instructions four more planks were added. Make sure you clean up any excess cement with a blade or sharp edge.
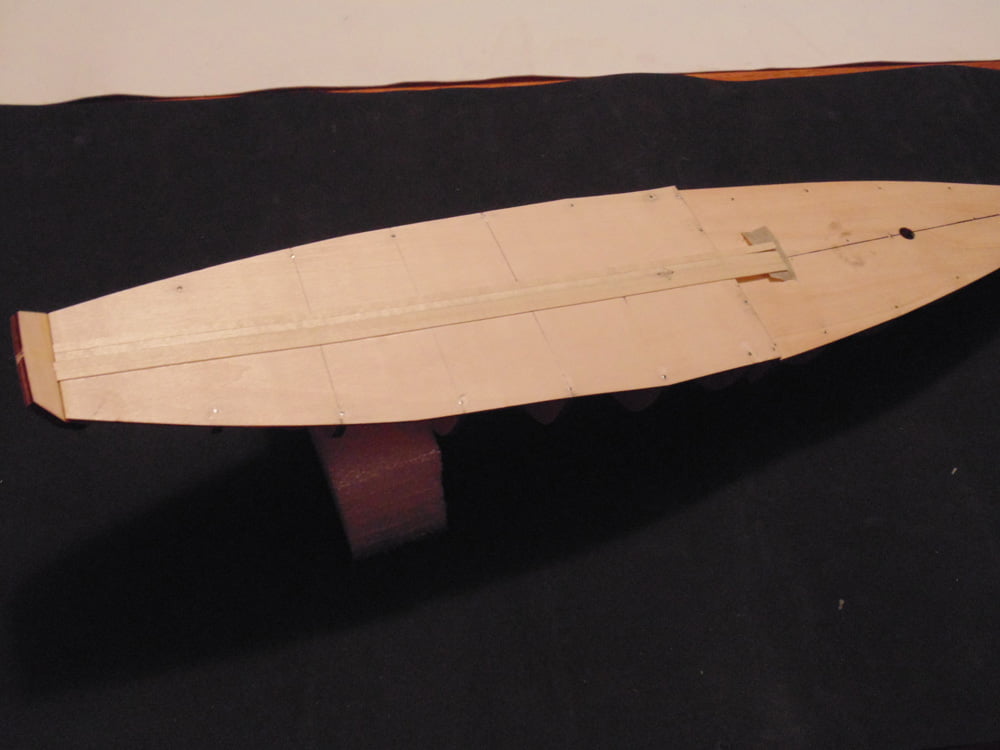
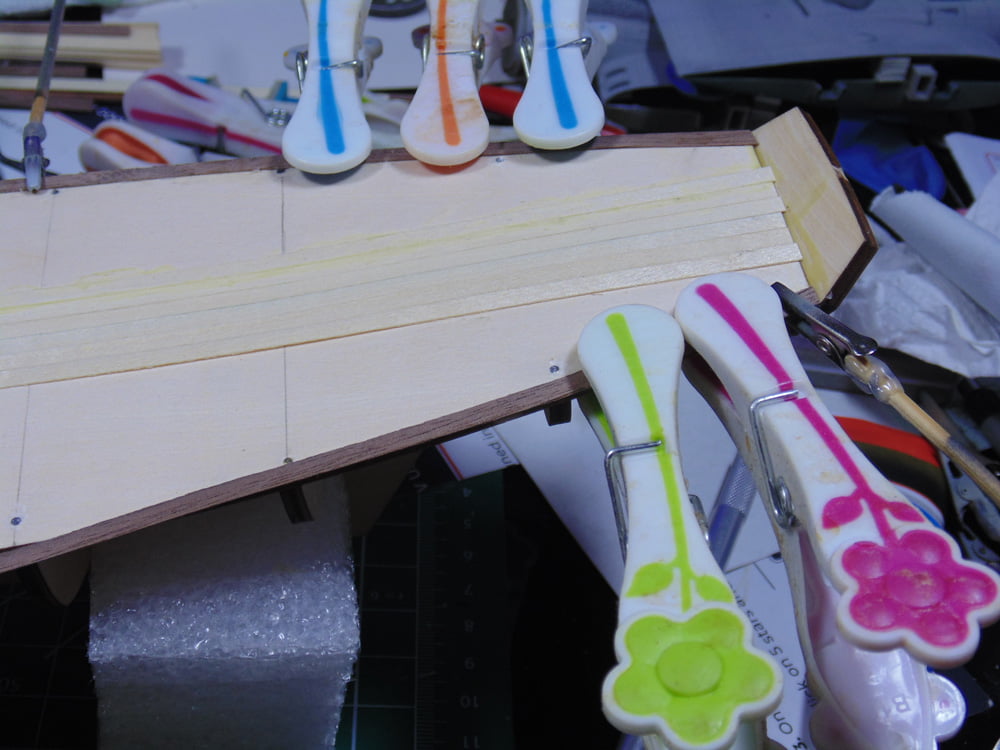
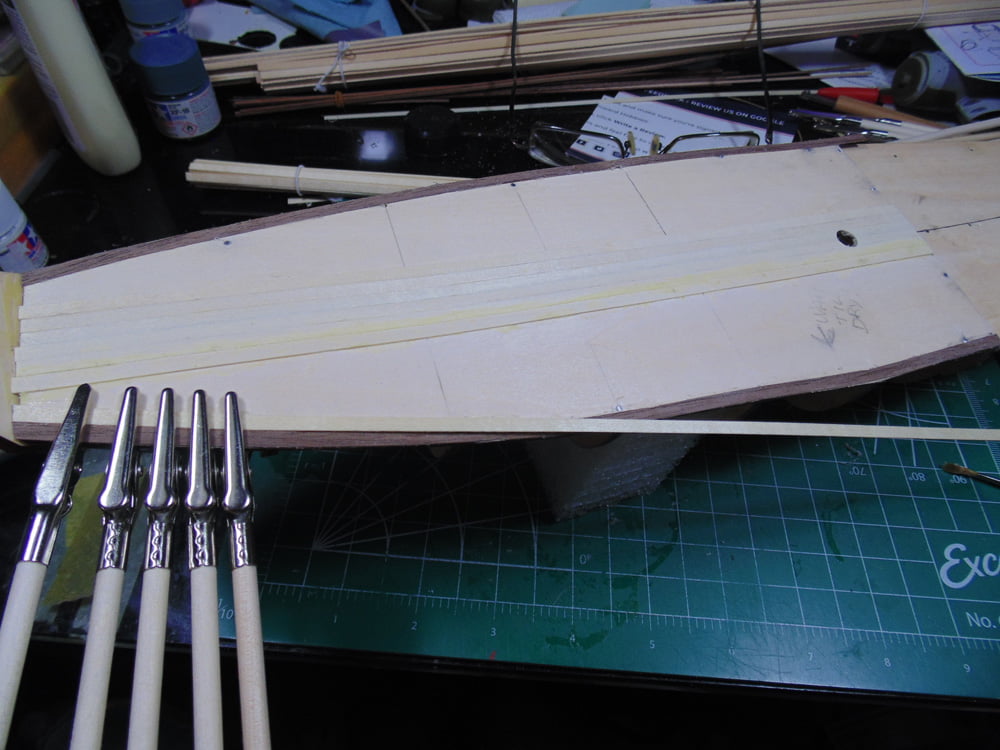
Next the instructions call for the outer walnut deck borders. You may consider hydrating this wood since I found it split easily. A solid hour should work to make it bend enough for you to cement 3 inches at a time.
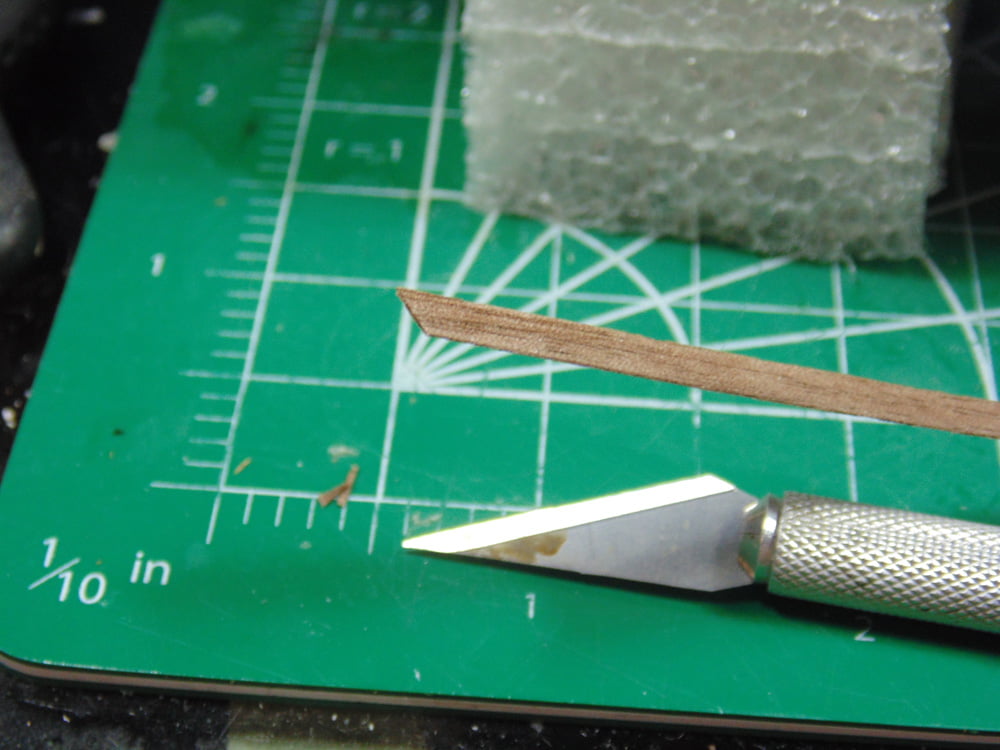
When you angle trim the outer plank, you’ll be able to find out if the wood has been soaked enough. Regardless, the plank has to be trimmed to fit properly to the bow wall.
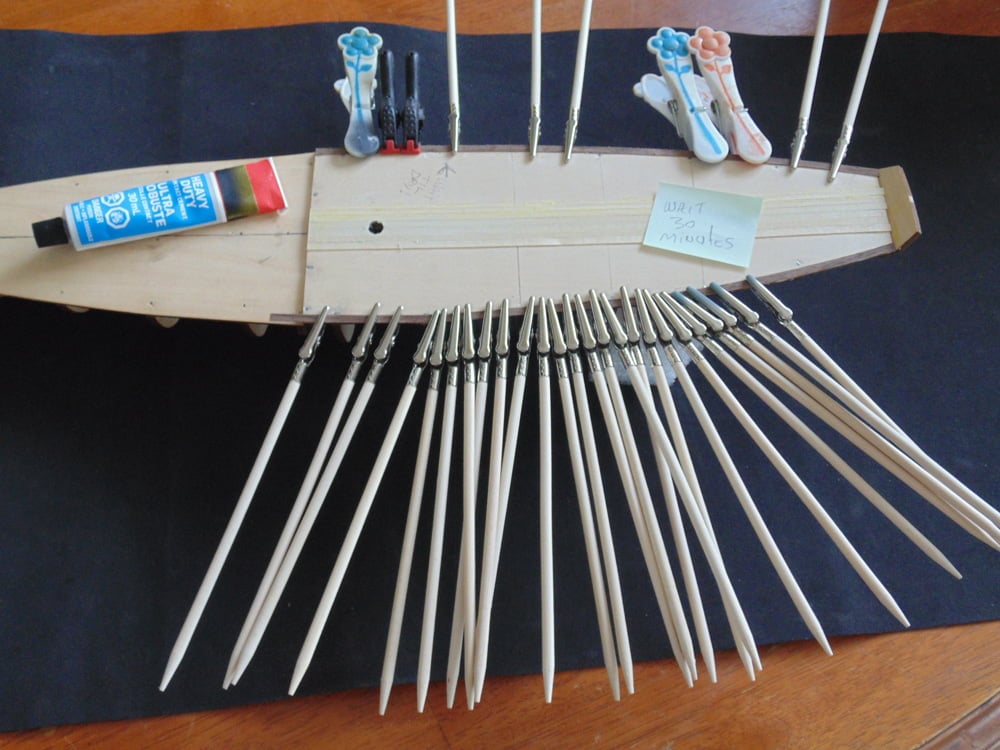
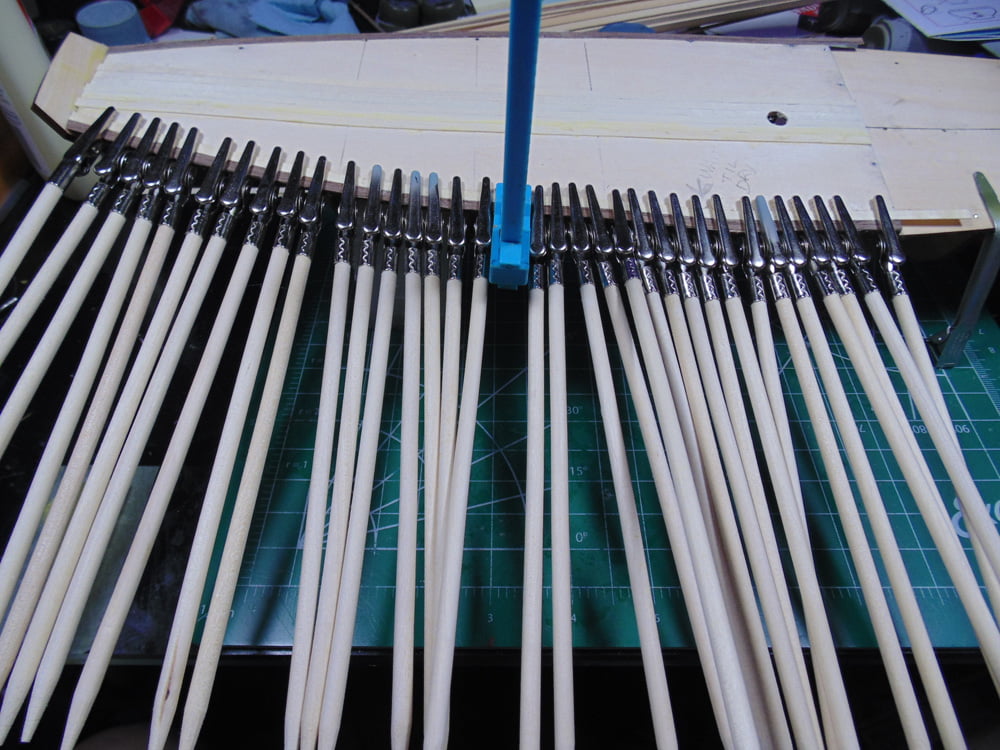
I used a variety of clamps until finding the one that did the best job. As you can see the wood is bending just enough to make life easy. Still, move in small increments and let each length dry for 30 minutes. You can always stay busy by moving to the other side.
There is a sharper angle on the back deck which needs special attention. Move up to it but not beyond until the area has completely dried. Let this area dry for an hour.
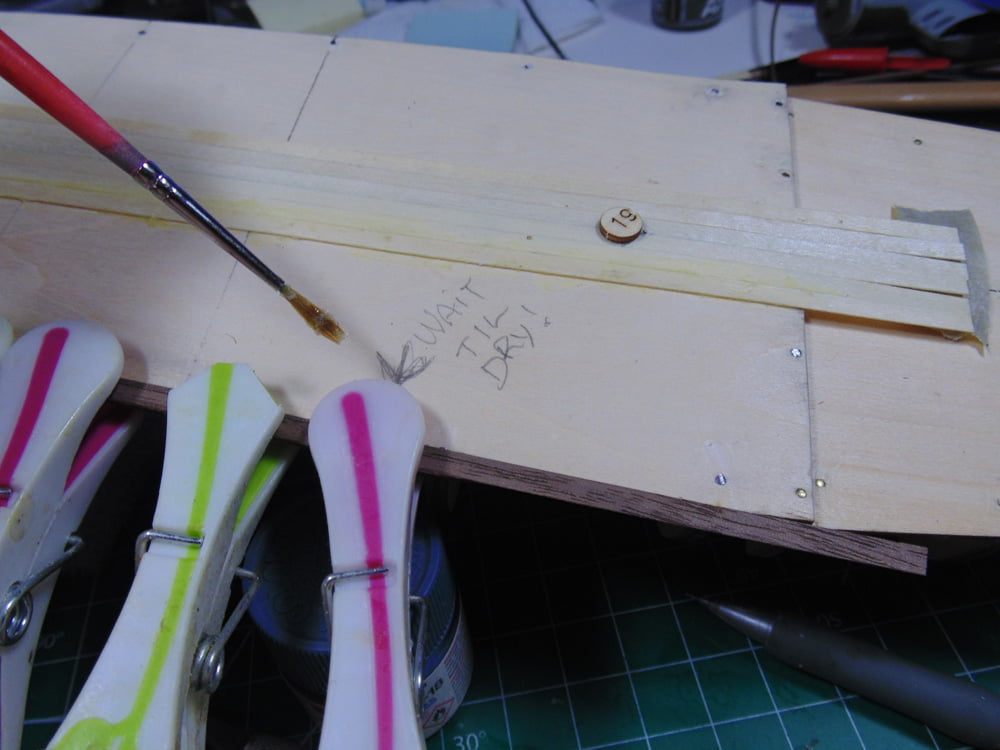
During the dry time you can cut free the excess planks from the middle. Please save these scraps, as you never know when a small bit will work instead of using an entire new plank.
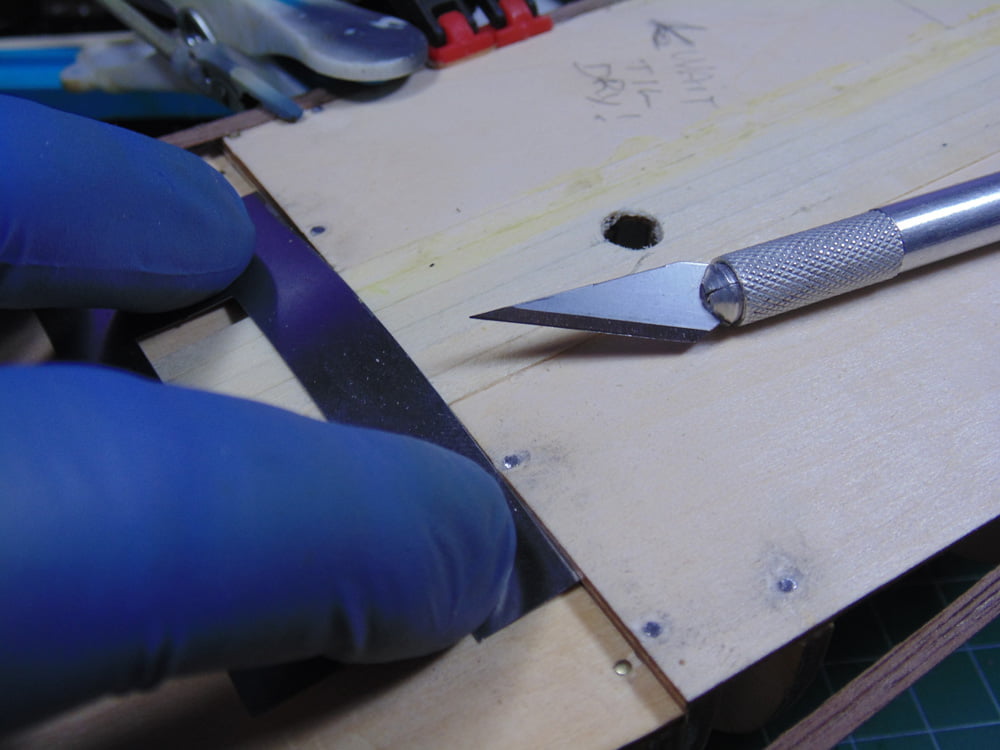
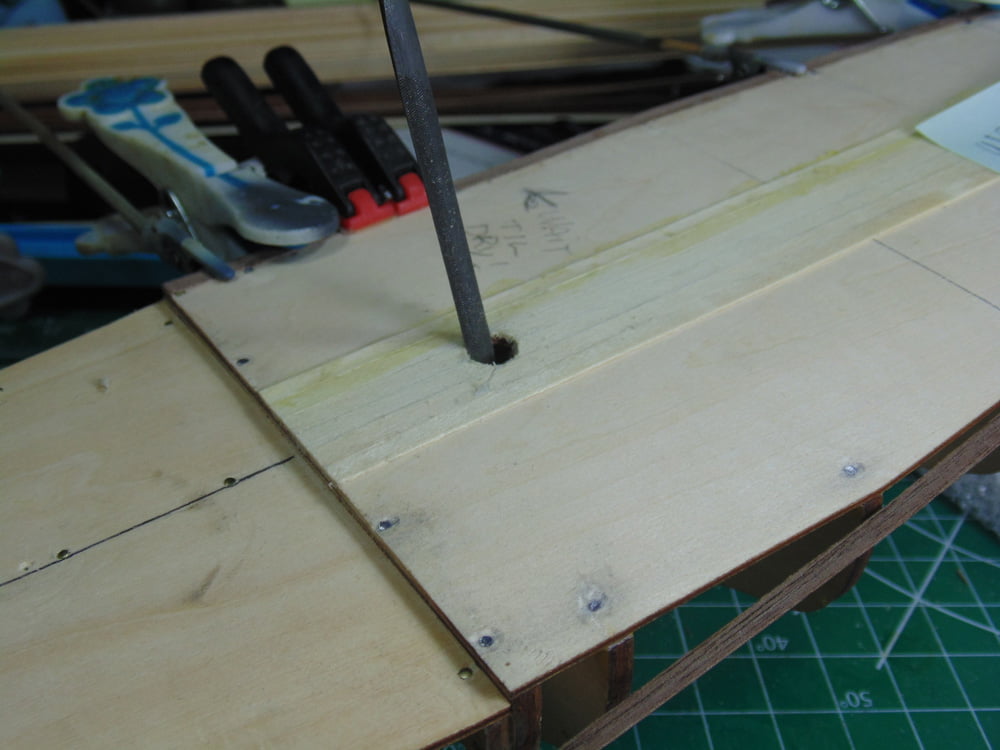
You can use the number 19 plug to draw the proper circle for the main mast insert hole. Then drill a smaller hole and finish it with a rounded file.
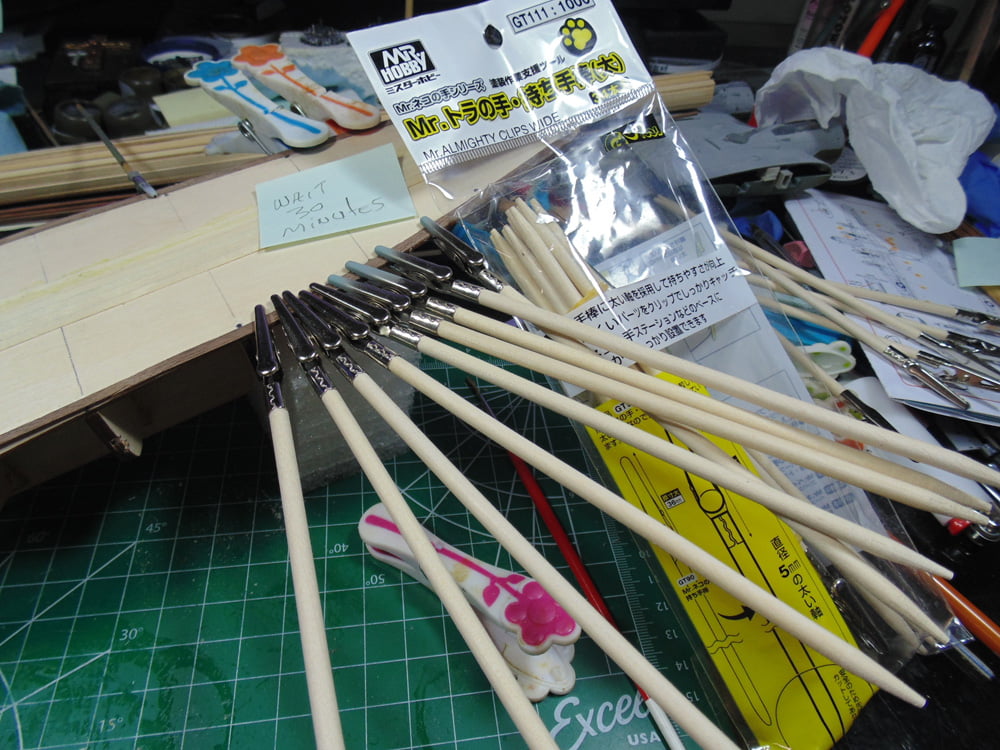
I’m not trying to plug a brand or one of its items. I’m just pointing out what works better than another. These Mr Hobby Mr Almighty Clips GT111 part holders have great clamping strength and worked better than anything else in my vast inventory.
Being cautious I left some Excel Hobby clamps on the finished side for several hours to allow the cement to fully cure to the damp wood. On the port side I spared as many as possible to ensure a proper connection. This side was left for several hours.
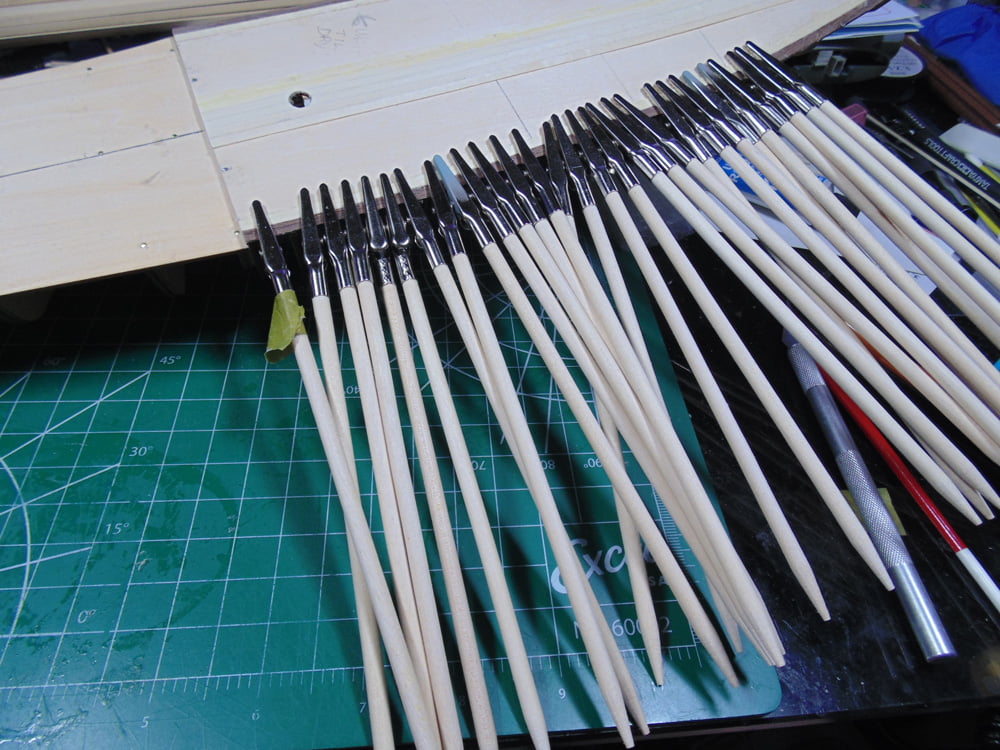
The next area of part 3 are the outer basswood planks. The only special attention they need is to butt up tight to the outer walnut planks. Be very deliberate with the length steps you do here. Don’t be afraid to use a lot of clamps.
Walk your cement application a few inches at a time then clamp and move along.
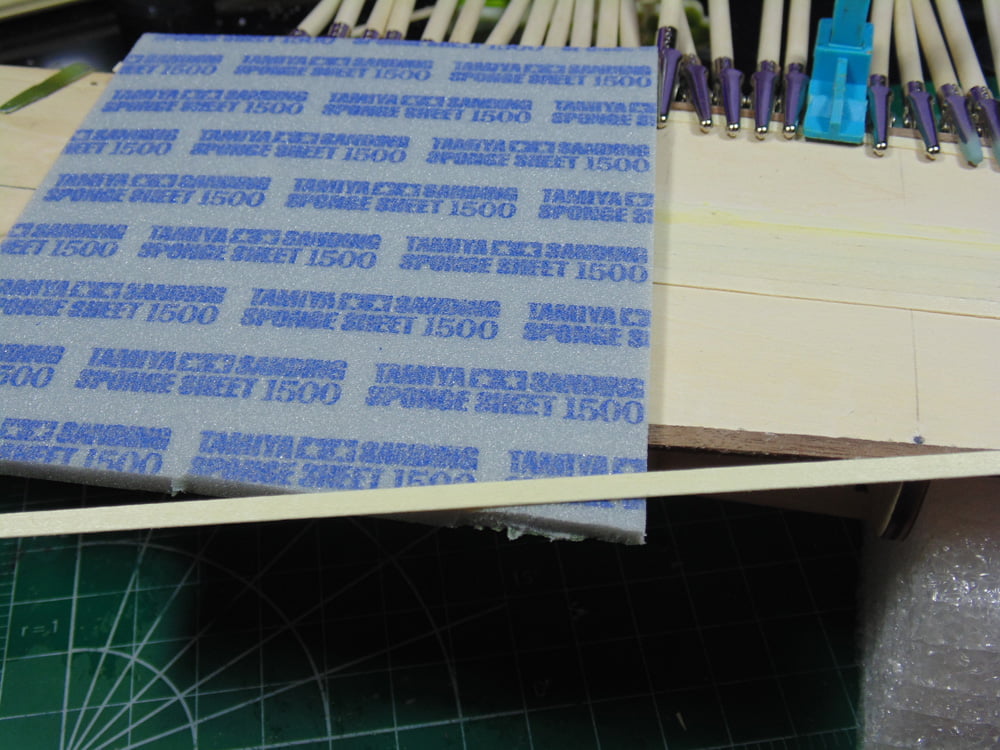
Some planks will need to be sanded on the sides to mate up with the walnut. I used Tamiya 1500 Sanding Cloth. Be gentle since the thickness is only 0.4mm and not the 0.6mm as the instructions state.
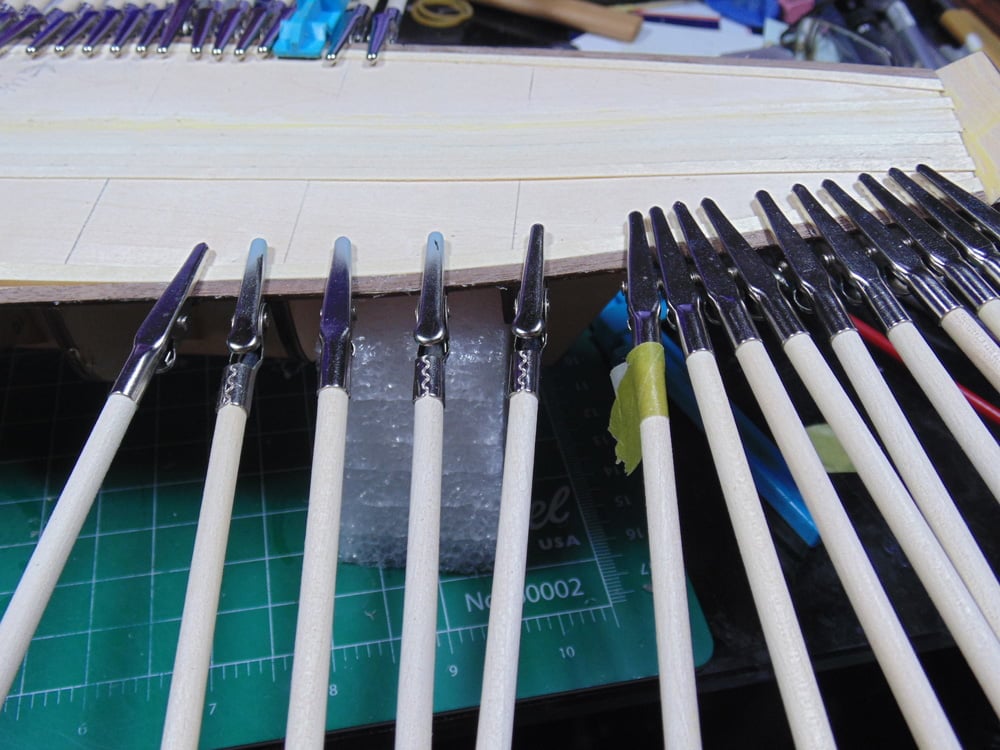
One thing I found helpful was to clamp the un-cemented section after cementing the one behind. It bends the wood slightly to make it easier to fit. Use a bit of tape if needed to help you remember where you left off.
Keep on going and before you know it the end will have to be trimmed. Make sure you clean up any excess cement or debris from the deck since step 4 will be more deck planking.
Thank you for following along with this extended tutorial. If you have any questions about the techniques or products used, please feel free to ask when you place your next Sunward Hobbies order.
About the Author:
H.G. Barnes is a former voice-over artist and retired sales and marketing professional. He’s the author of two large volume science fiction adventure romance novels with many more in the works. For well over 40 years he’s been building scale model replicas and now does commission work for clients in Canada and the USA, plus completes projects for companies in Asia and Europe.
Currently H.G. is involved as an Associate Editor with KitMaker Network’s Online Magazine Channels.
First Post: Part 1
Previous Post: Part 2
Next Post: Part 4