
Using Mr Primer Surfacer 1000
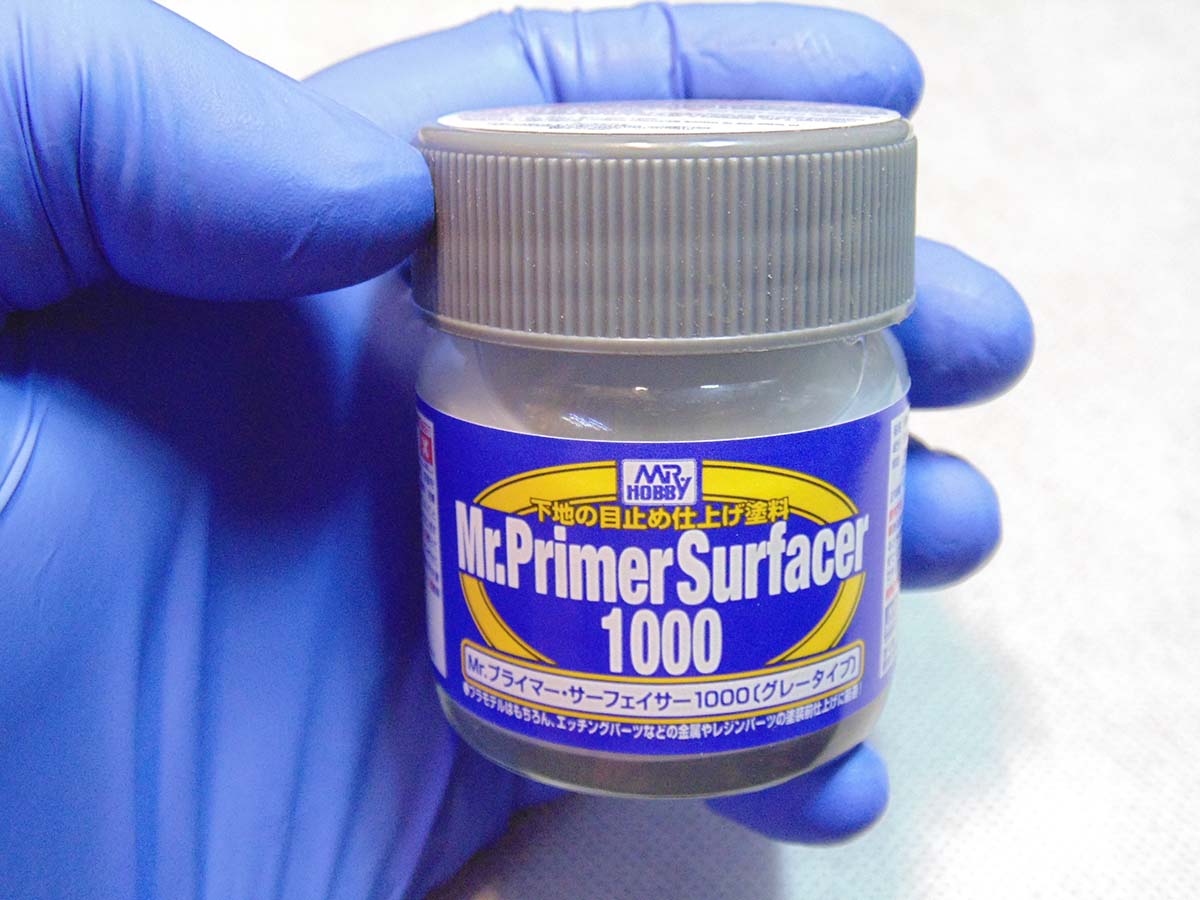
In this Sunward Hobbies product article, we’ll look at Mr Hobby’s Mr Primer Surfacer 1000.
Before you begin using this product it’s important to know that Mr. Primer Surfacer 1000 is a lacquer-based product. This means you take precautions to have good ventilation and wear a quality respirator. You will also need a lacquer thinner to dilute it properly.
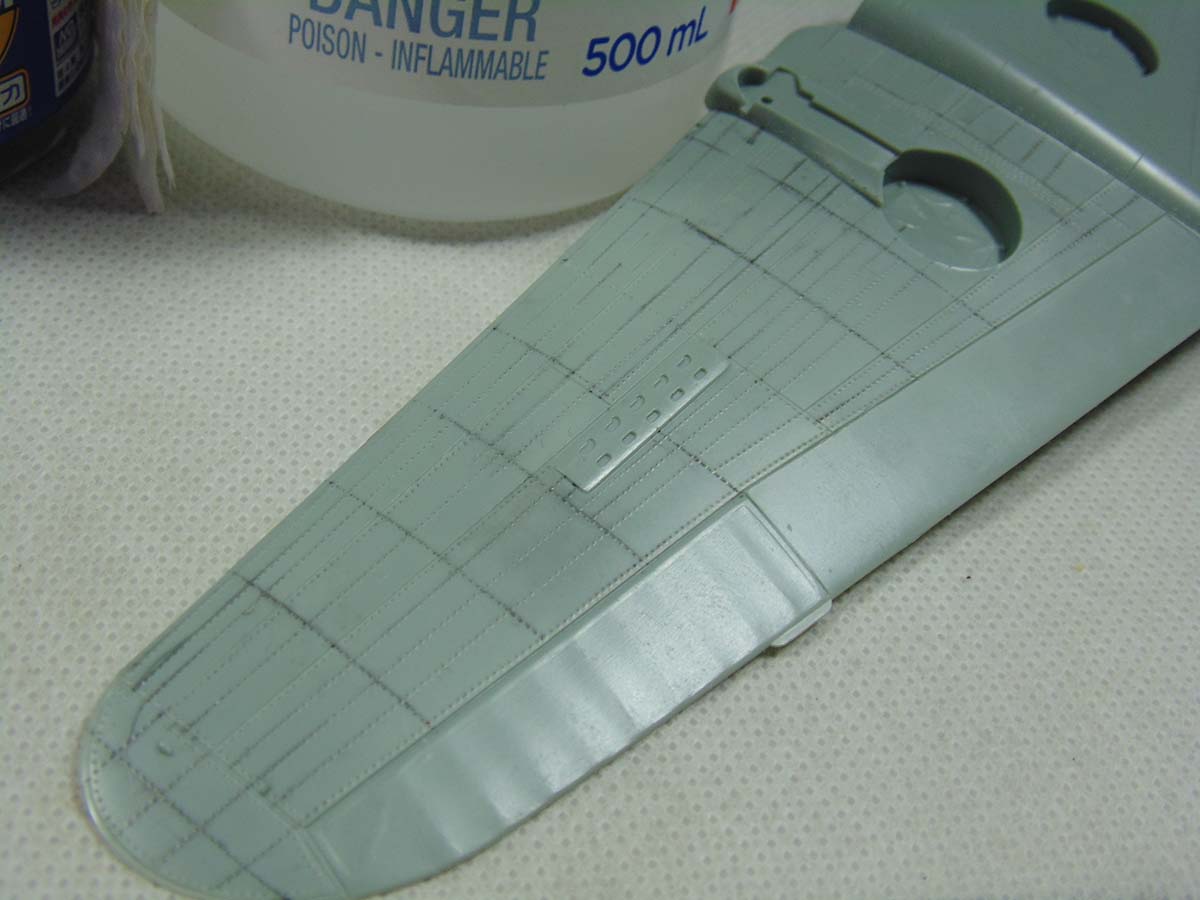
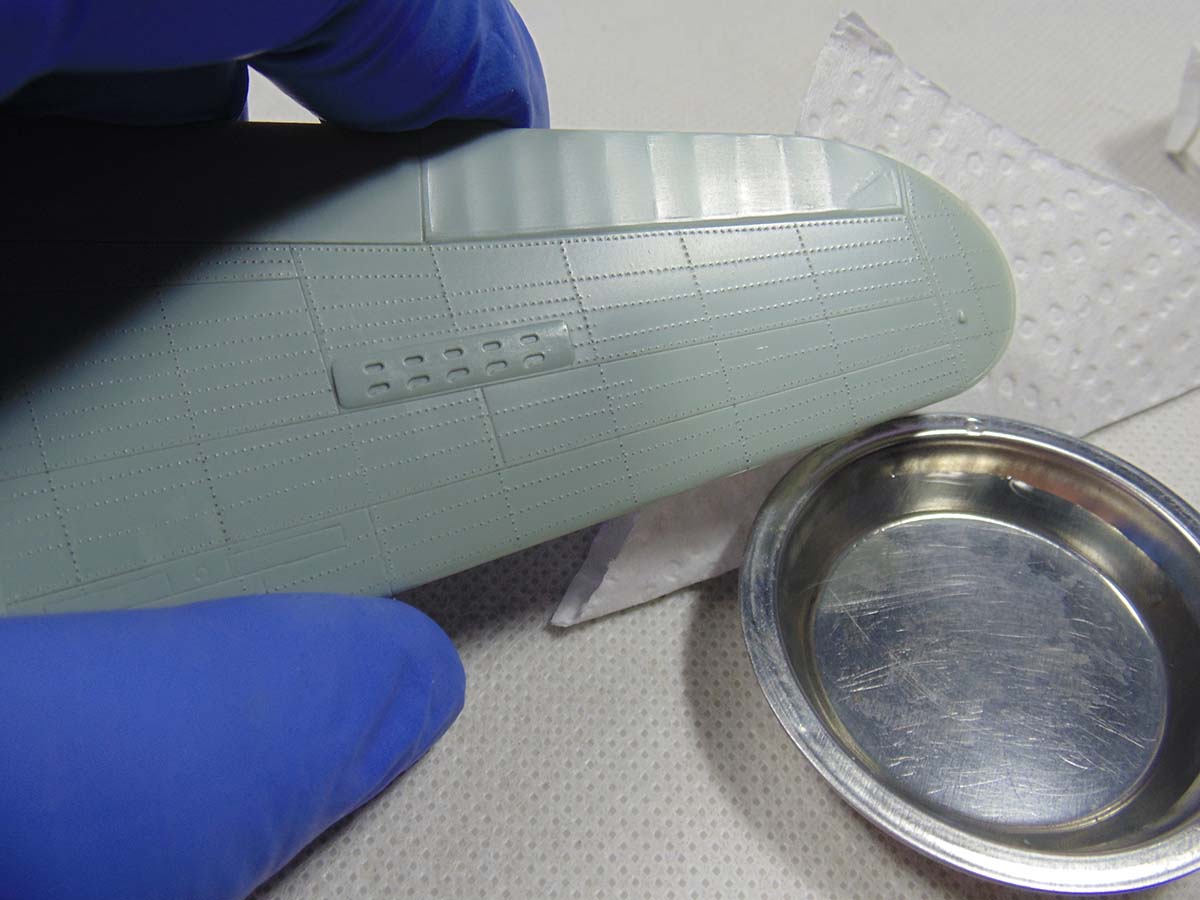
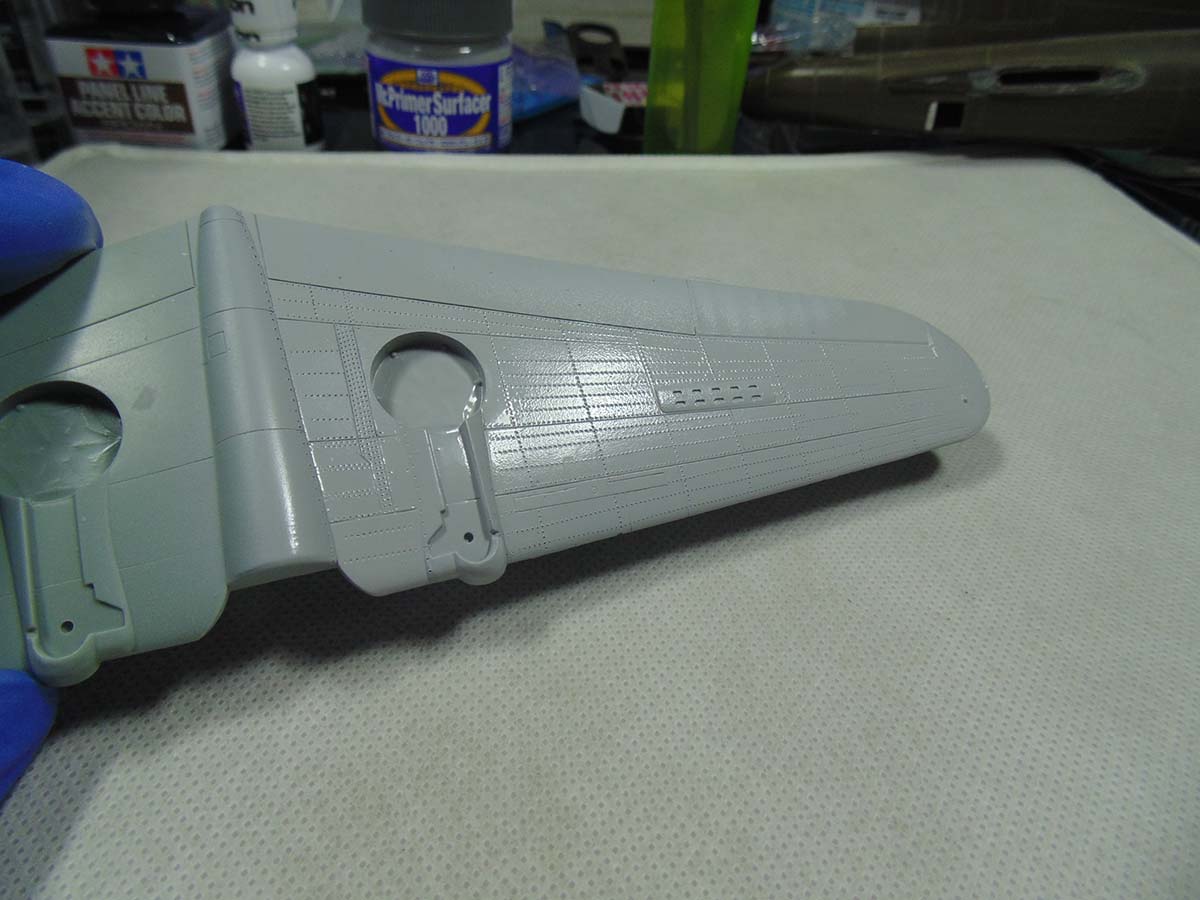
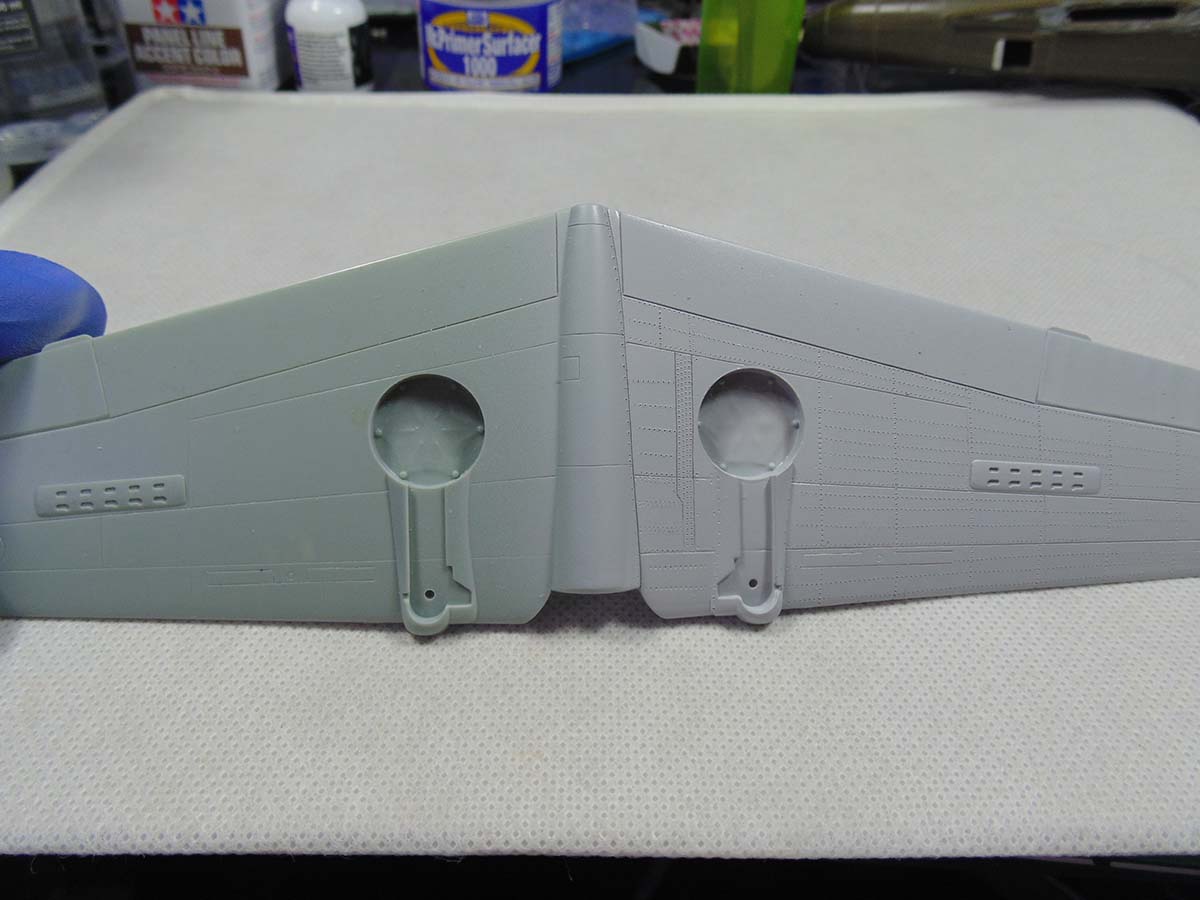
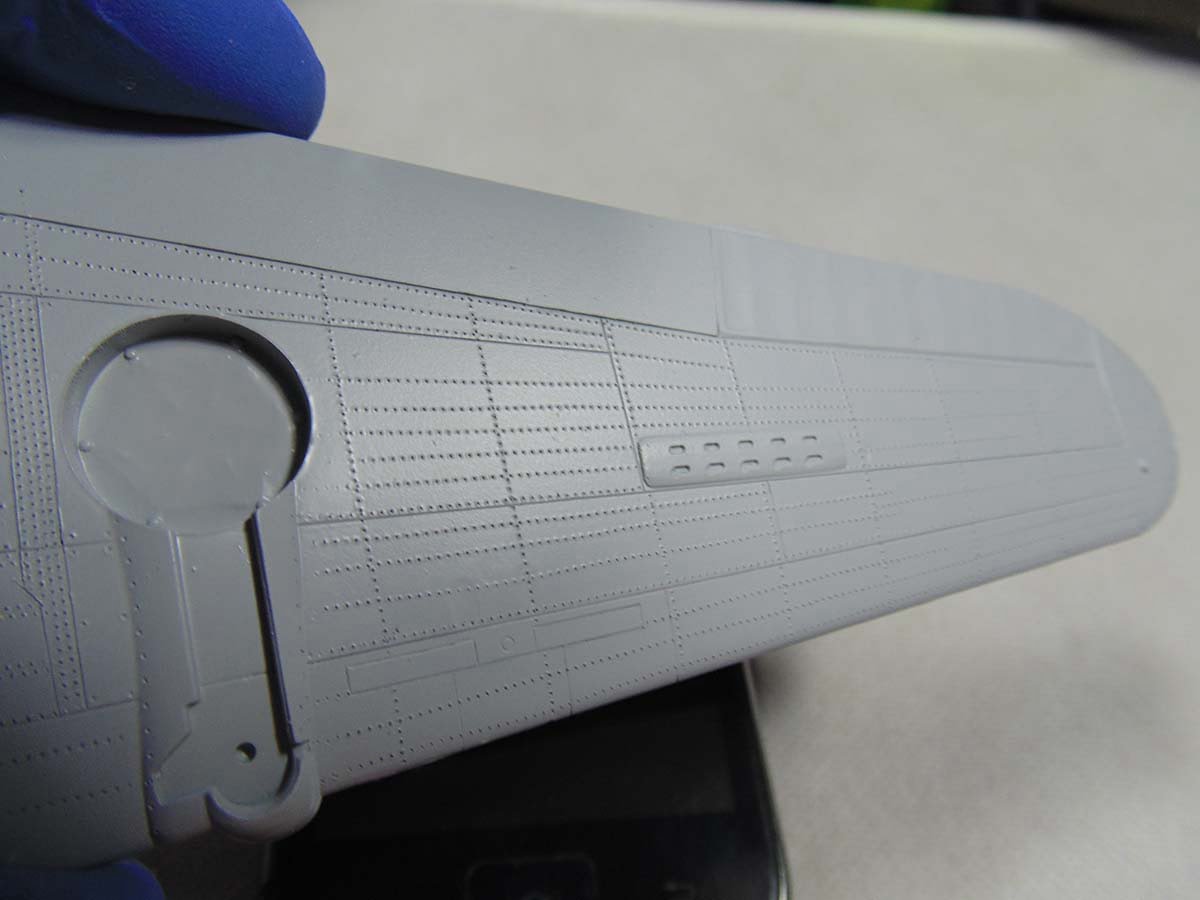
Here’s the lower wing section of a 1/48 WWII era fighter I’ve selected for this “how do I use” demonstration. As you can see the panel lines have been scribed where needed and the rivet work is done, well sort of.
Protection
Most of the time I do not wear protective gloves, so the part is covered with finger prints and oil. Also, there are many pencil lines along with dust and plastic debris. All this has to be removed.
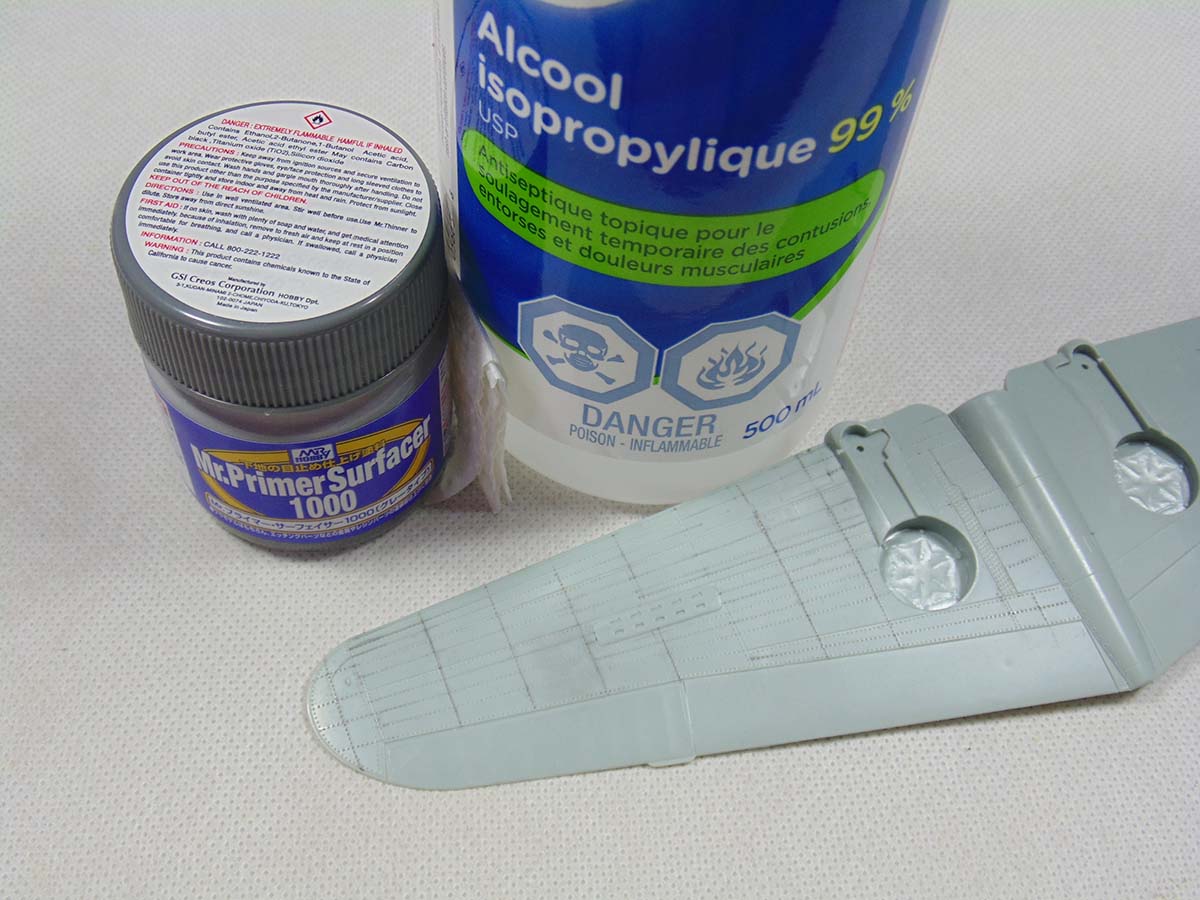
First, I use a generic IPA or rubbing alcohol to lift away the majority of the filth. It doesn’t harm the plastic and gets into most of the rivet holes along with raised and recessed details. Use a soft cloth or paper towel and gently rub until you’re confident the part is clean.
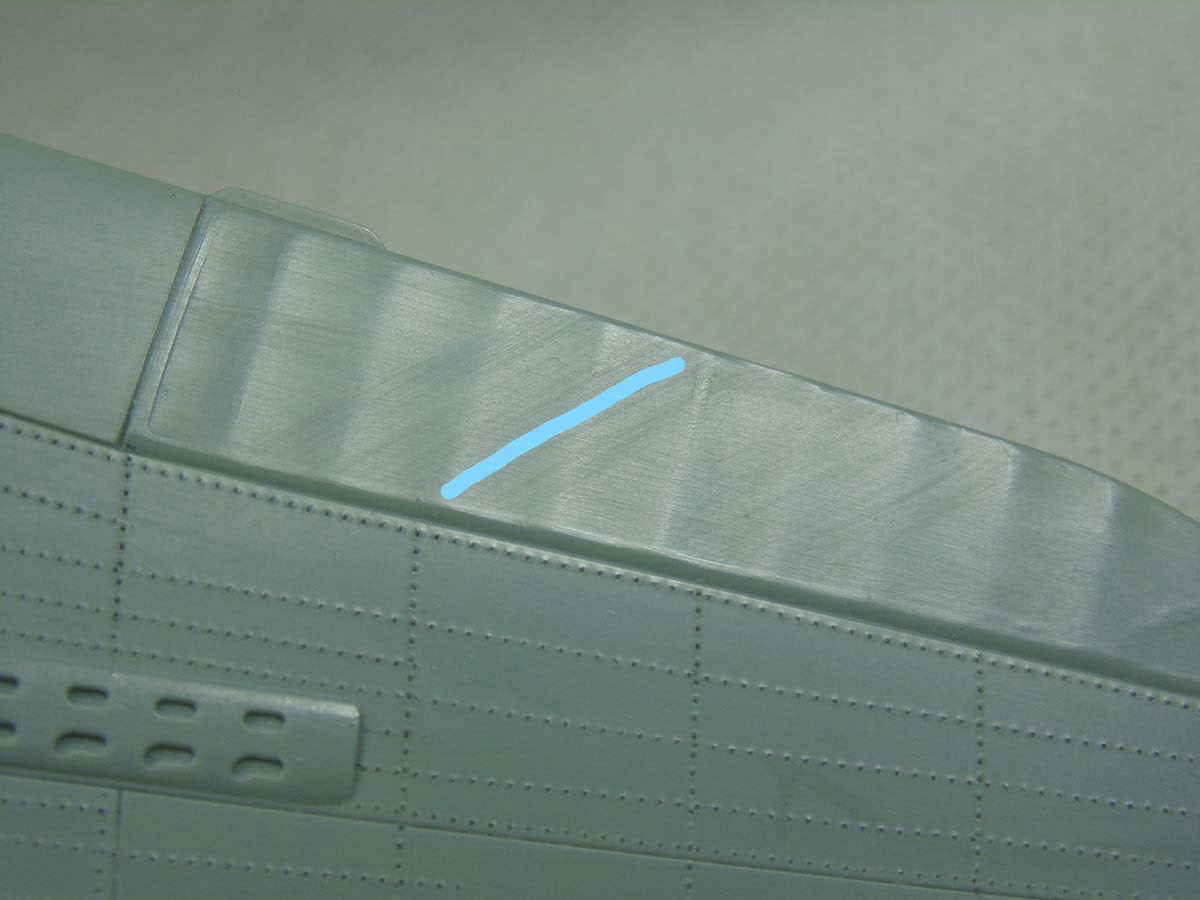
Next, the film left behind from the IPA or rubbing alcohol will need to be removed. It’s an important step because the primer will have issues fully etching into the styrene if not completely clean. Notice the path of the blue line and the residue? That’s the chemical impurities in the IPA, but don’t worry it’s easy to get rid of.
Finally, wet a piece of paper towel or soft cloth and clean the part thoroughly with clean water. My choice is filtered but tap water works fine so long as you’re satisfied all the remaining film is gone. Make certain the part is free from lint or dust with a brush or a blast from your airbrush.
Preparation
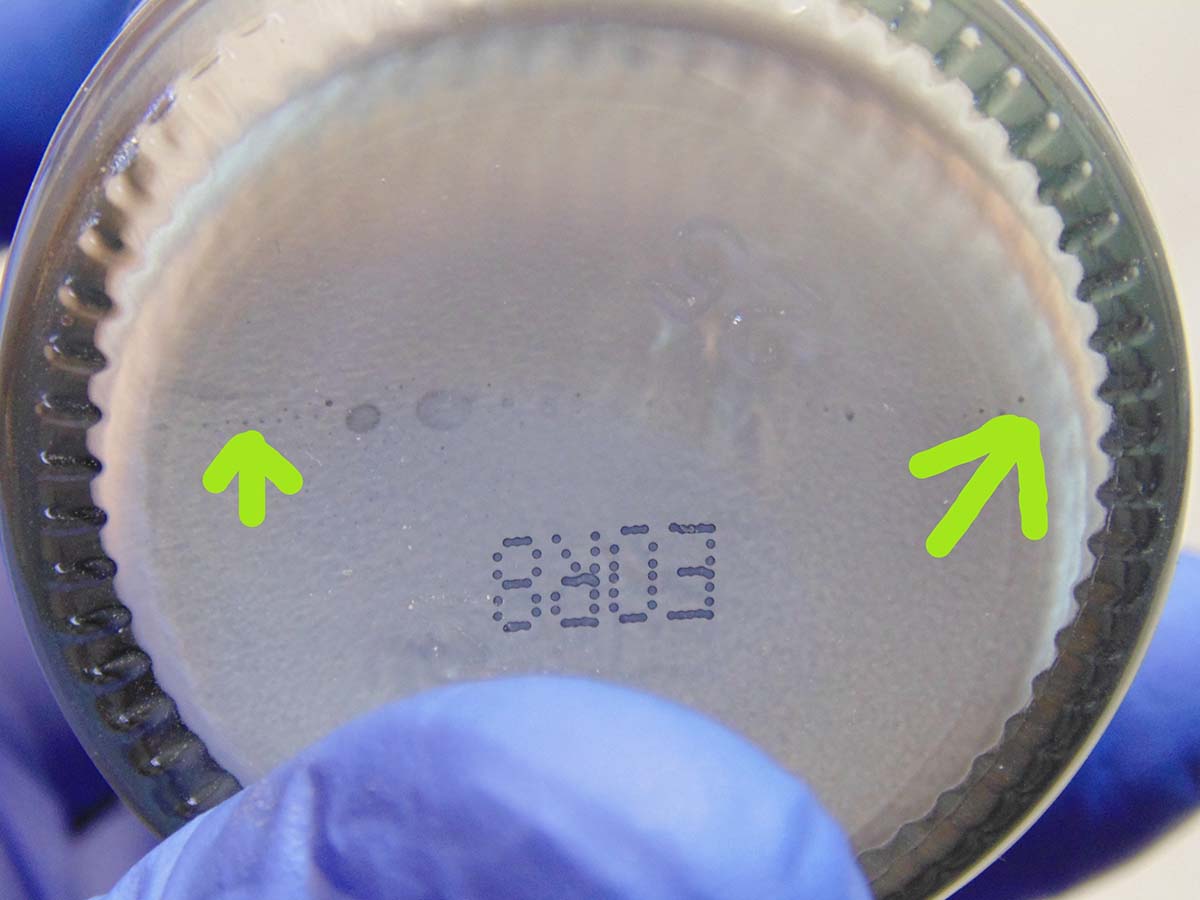
Mr Primer Surfacer 1000 is a very light grey and difficult to see if it’s fully mixed, especially around the bottom edges. Naturally, you’re going to give it a good shake to mix and what I’ve discovered is that taking a peek at the bottom of the jar and looking for bubbles all the way across will save me a few minutes. Note the green arrow pointing to the bubbles at the edge of the jar.
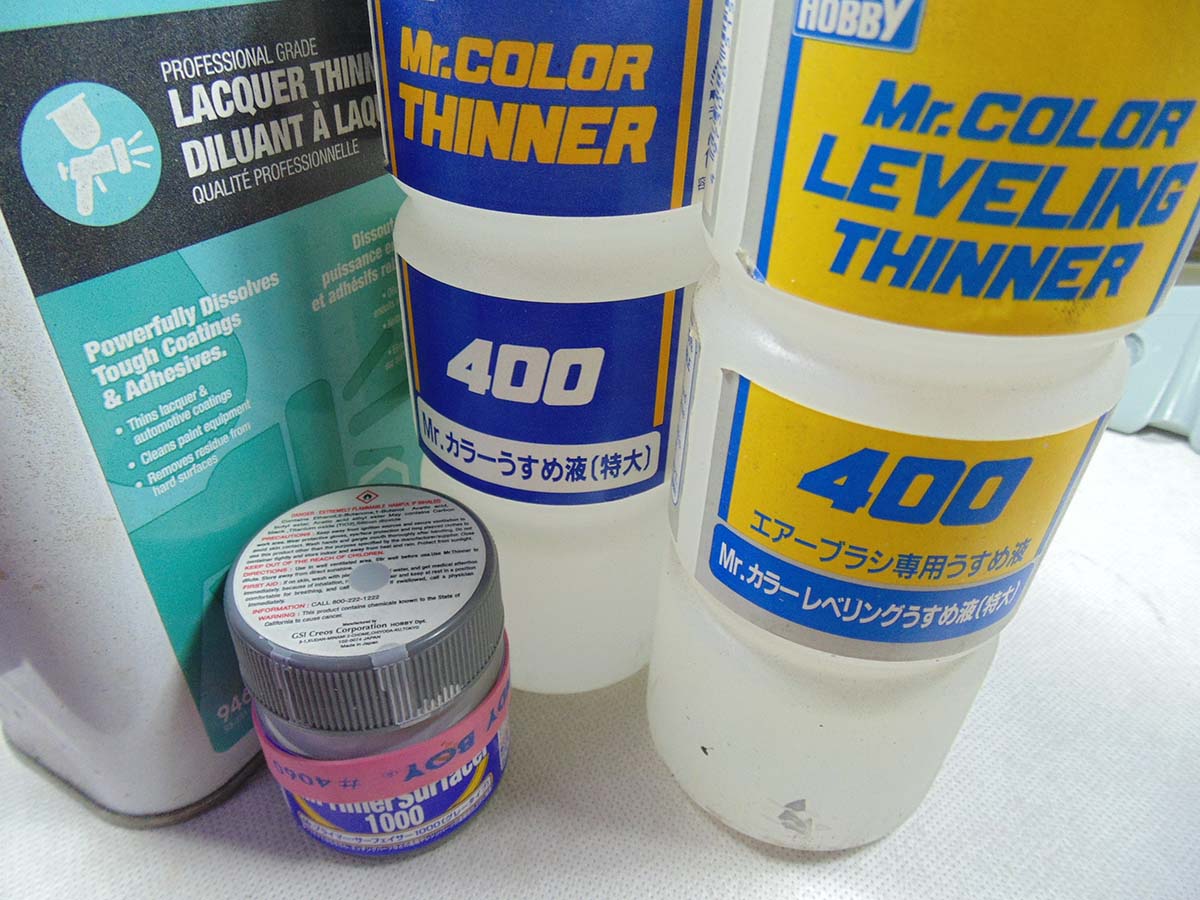
Now we can mix the primer. Thinners have different drying times depending on the additives. Mr Primer Surfacer 1000 is an excellent product which happily works with every one I’ve used. That includes other hobby manufacturers and hardware store brands provided it’s a lacquer thinner. As you can see it’s my “go to” product, the rubber band just helps a messy bottle lid come off easier. Quick drying thinners, such as the automotive in the large tin, will give the surface a duller look while the Mr. Thinner 400 gives an egg shell of semi gloss appearance.
Mr Hobby Leveling thinner slow the drying time even further and tend to look a bit glossier. The minimum ratio for me is 50/50 when using under ten drops. Over that if you get one drop either way I wouldn’t be concerned. Most of the time you’re going to be measuring by the half or multiple millilitre amounts. If mixing in an airbrush or cup always add the thinner first! The product loves to cling to anything dry so having that wet layer of thinner really helps with getting a good blend. Make certain it is fully mixed, I use the tip of the dropper or pipette to mechanically stir it until smooth.
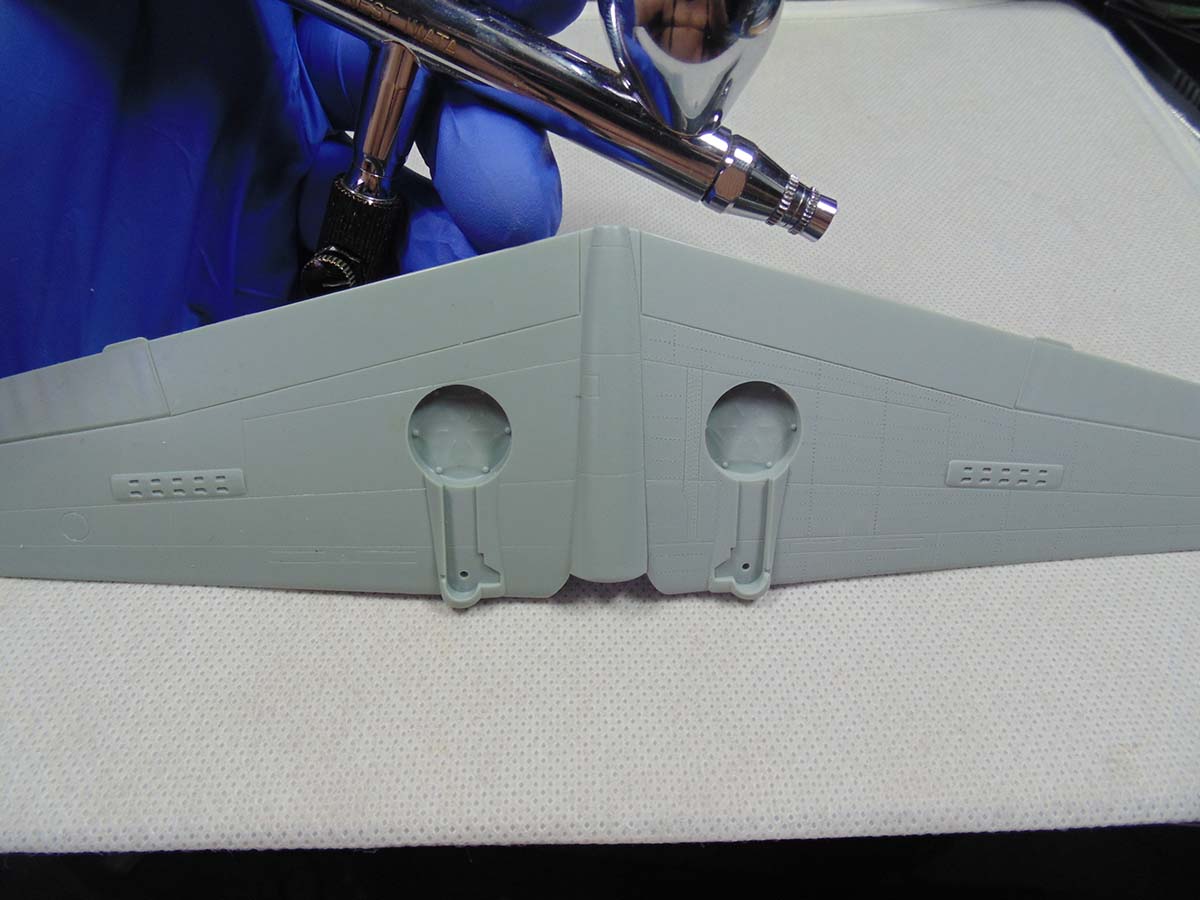
An Iwata Eclipse HP-CS with a 0.35mm needle at 18-20 PSI was used. The product sprays nicely through all brushes, has never given me tip build up/needle-dry and, if mixed properly, will not mottle or clump up on the model. If an irregular surface clumping appears then your first coat was too thick and needs to be sanded back after drying. This is why your first coat is always a mist layer. That coat evens out the surface tension and allows the next one something to bite into. It’s basically the same way an autobody repair shop lay down their paint and primer. Use smooth even strokes, by turning your wrist for better control, at around 13 cm or 5 inches away and remember this is a mist coat only.
Being that it’s a small area of a plastic model kit, by the time you reach the end of, say the hull of a tank or body of a car, the starting point should already have dried enough to lay the first wet coat. This is when you slow down your strokes and have the primer build up on the surface. Closing in to 10 cm or 4 inches will help. You’ll see a definite sheen but not high gloss to know this layer is getting thick enough. Depending on the size of the part you may have to let this layer sit and dry for about five minutes.
The second wet coat goes down just like the first. Because the surface has a sheen left behind from the previous coat you’ll see a really wet look appear. I’m not talking about the part dripping with primer from being hosed down. It’s simply the way a wet top coat looks on a smooth surface.
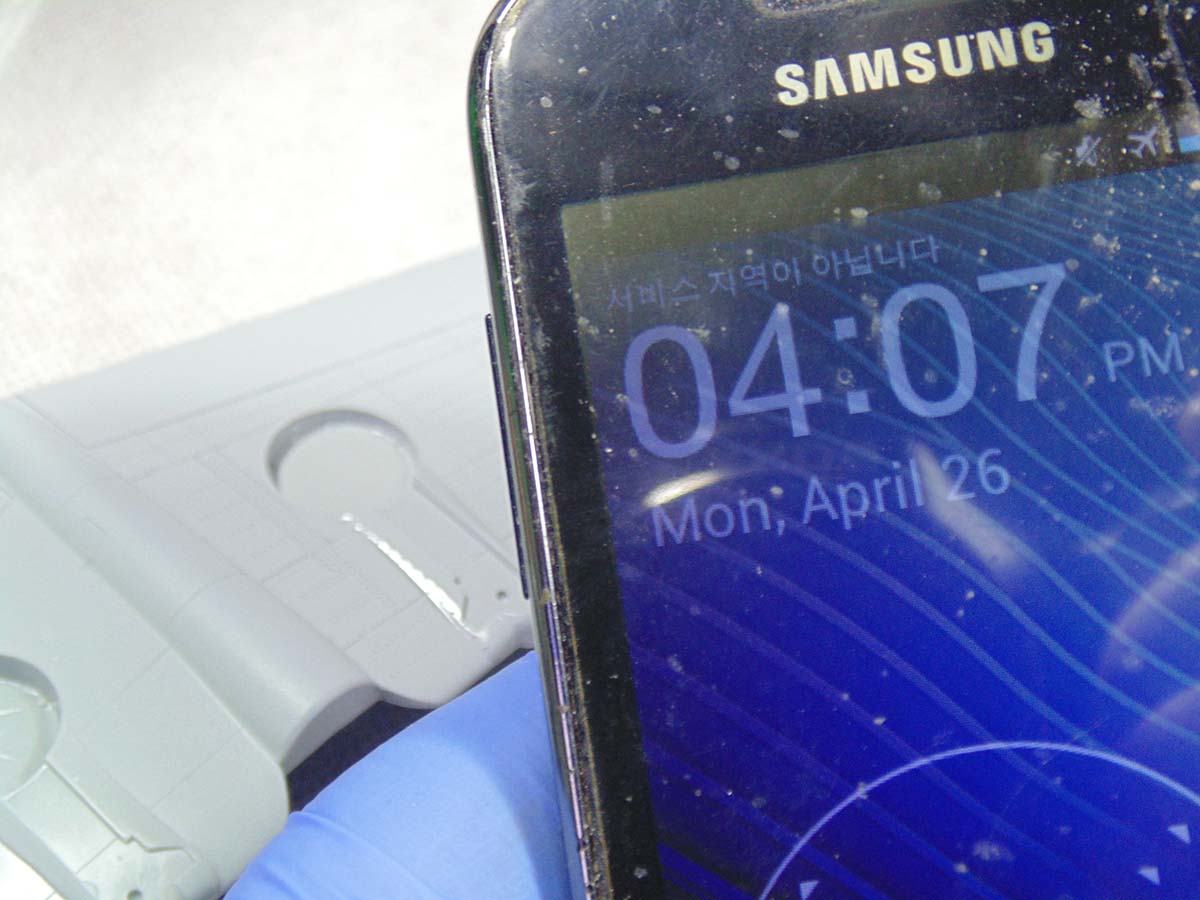
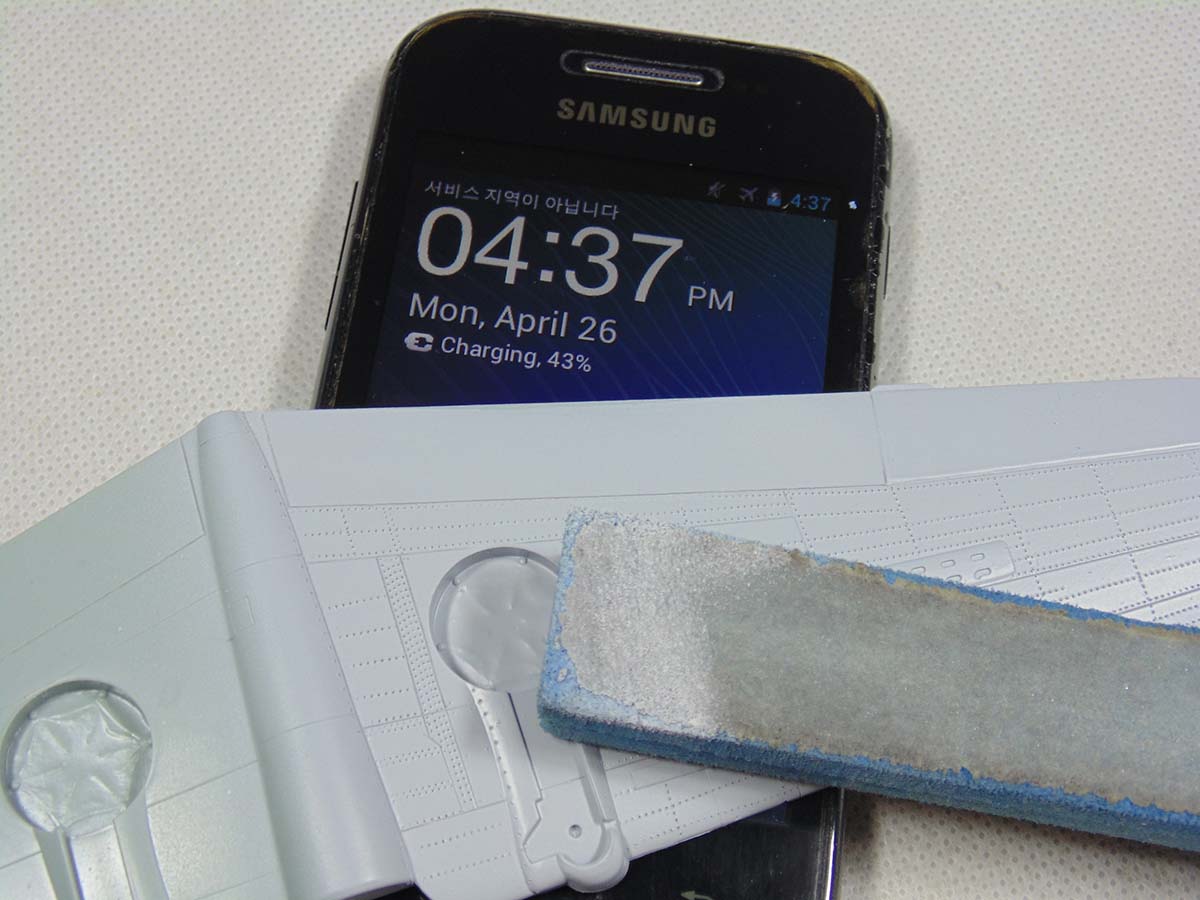
Now for some real numbers about drying time. One of the many reasons I love this product is how quickly it dries to the touch. You can see behind the clock how wet the surface is. Sorry about how filthy the screen is.
In less than the time that it took to clean the screen the primed part was safe to test. These nitrene gloves have a rough surface at the finger tips for grip.
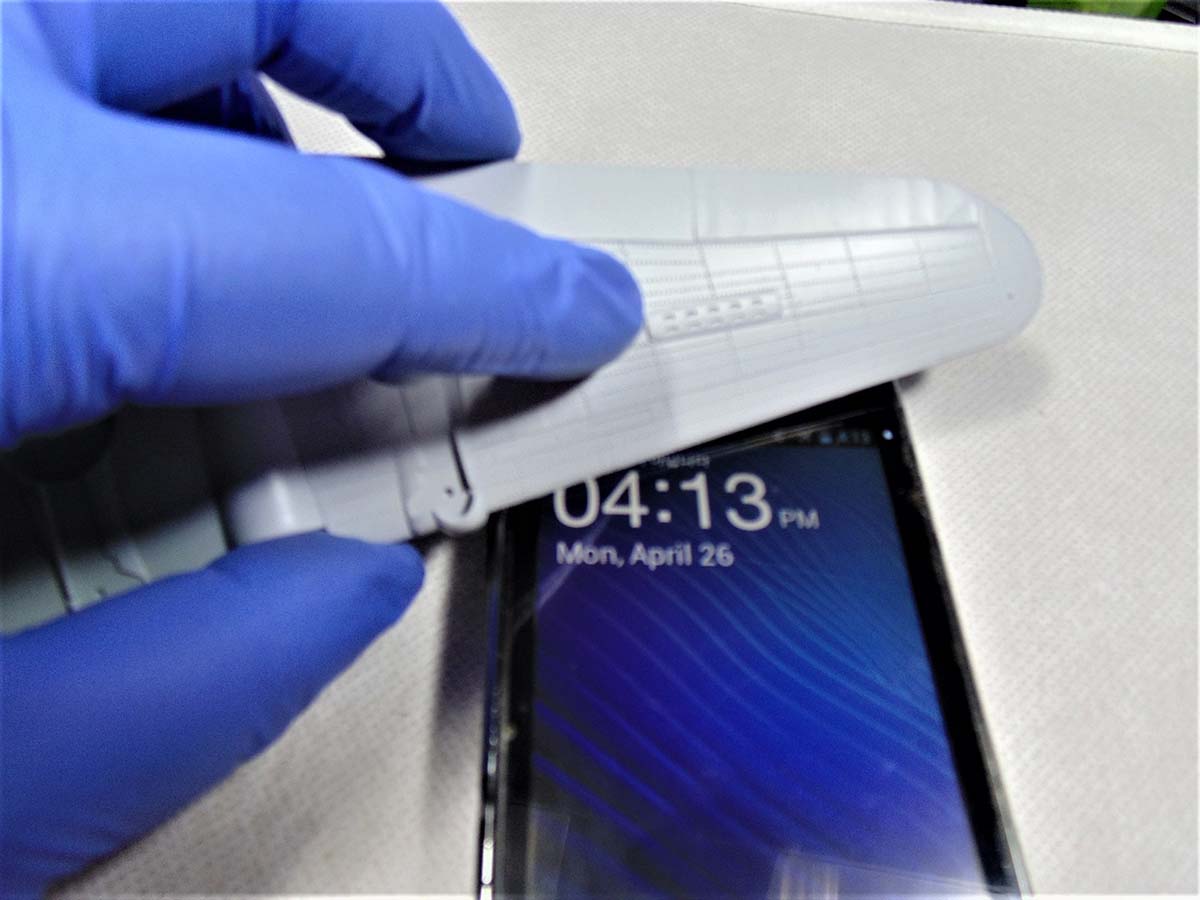
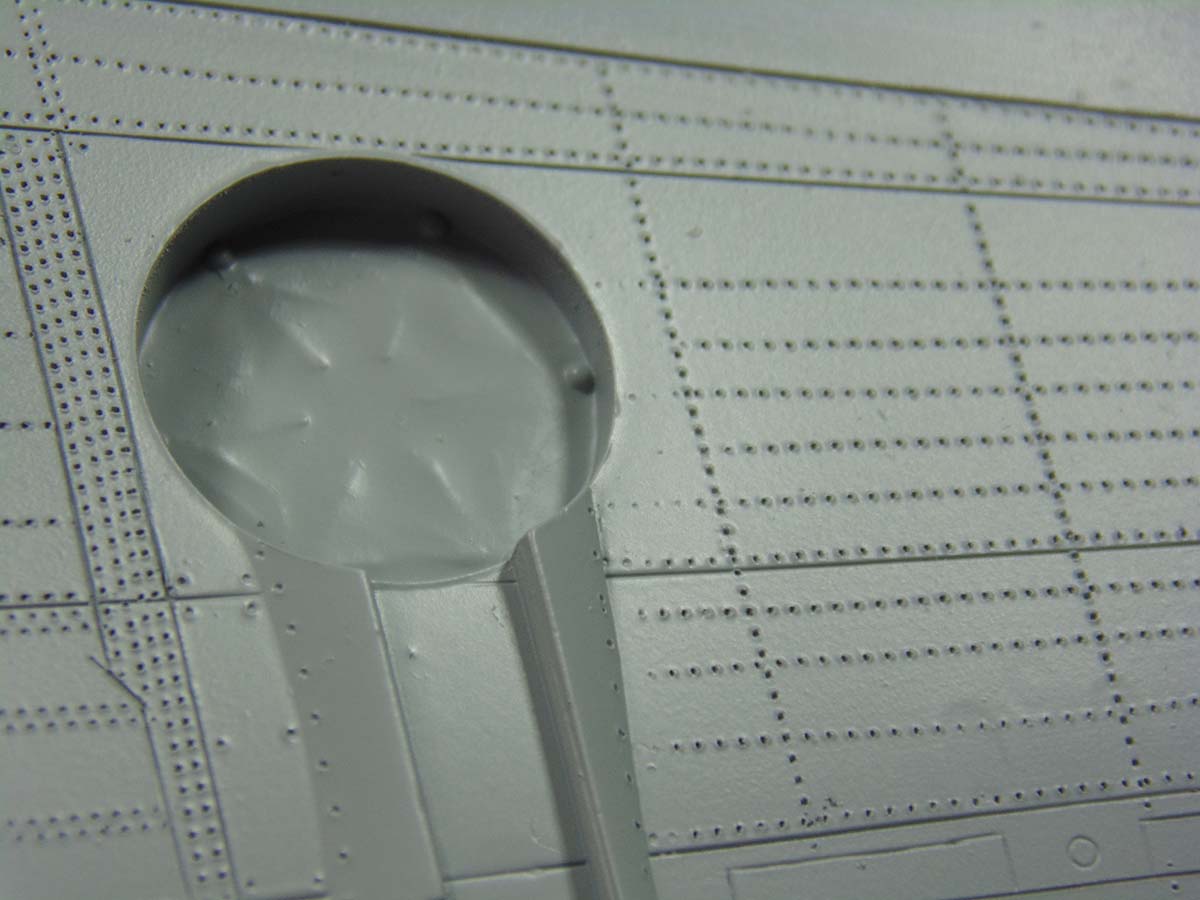
As you can see there is no indent from my pressure or the imprint from the glove’s rough surface. There is, however, a dull area at the top of the part I specifically went over another time at a further distance back to make it look dusty.
In less than twenty-five minutes the part was dry enough to sand to a smooth finish.
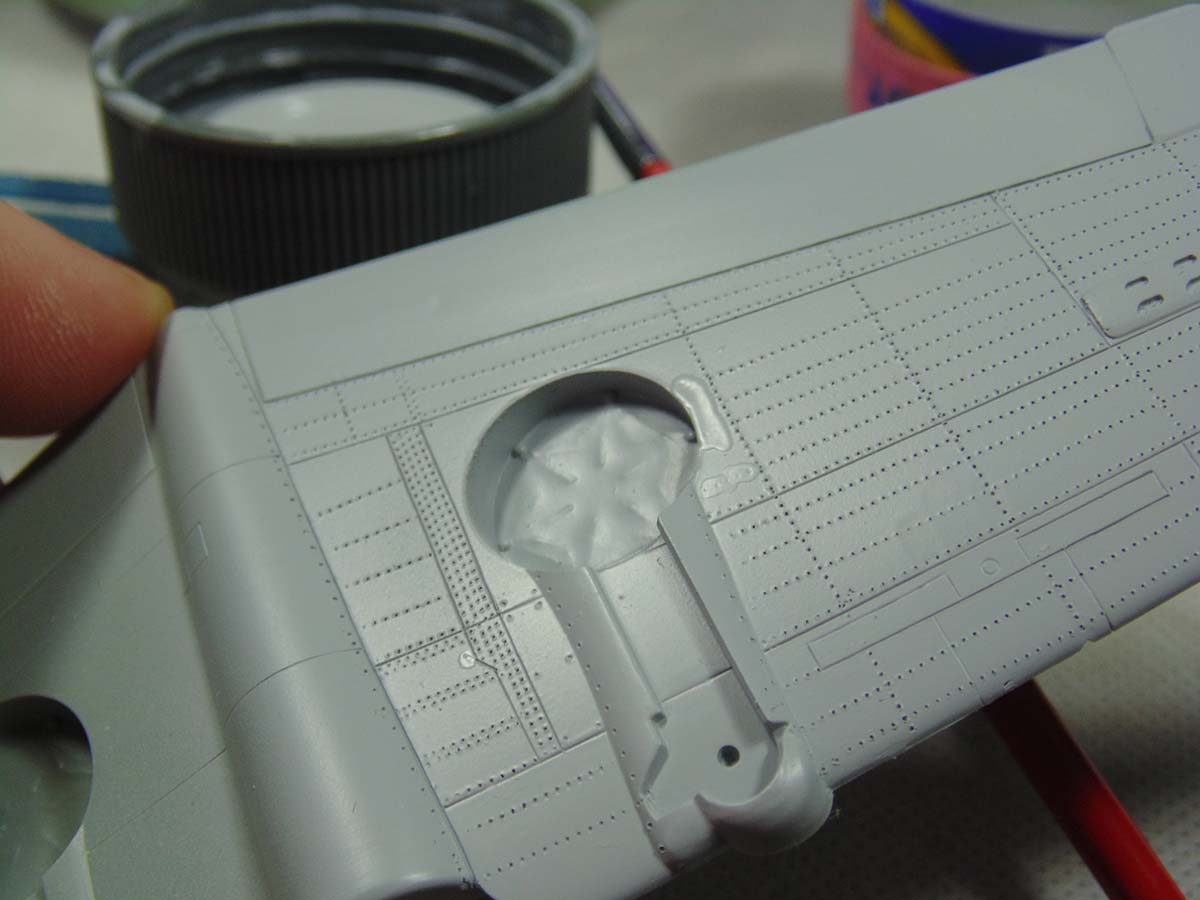
And not just a light sanding. I went from a fully mat surface to a smooth semi-gloss with zero lifting, pulling or hard edges, as noted by the red and blue arrows. That’s another reason why this is an exceptional product. But wait… there’s more!

Mr Primer Surfacer 1000 is also a filler. To the right of the wheel bay you can see where I added too many rivets to that part of the wing, but it could easily be a scratch or dent.
This product can be hand painted in as many coats as it takes to fill in these minor imperfections.
Thank you for taking the time to follow along and hope it helped. if you have any further questions they can be answered when you purchase your next items from Sunward Hobbies. Happy Modeling.
About the Author:
H.G. Barnes is a former voice-over artist and retired sales and marketing professional. He’s the author of two large volume science fiction adventure romance novels with many more in the works. For well over 40 years he’s been building scale model replicas and now does commission work for clients in Canada and the USA, plus completes projects for companies in Asia and Europe.
Currently H.G. is involved as an Associate Editor with KitMaker Network’s Online Magazine Channels.