
Tamiya North American F-51D Mustang
This is the thirteenth part of the Tamiya North American F-51D Mustang Korean War 1/32 Scale 60328 with RCAF Markings.
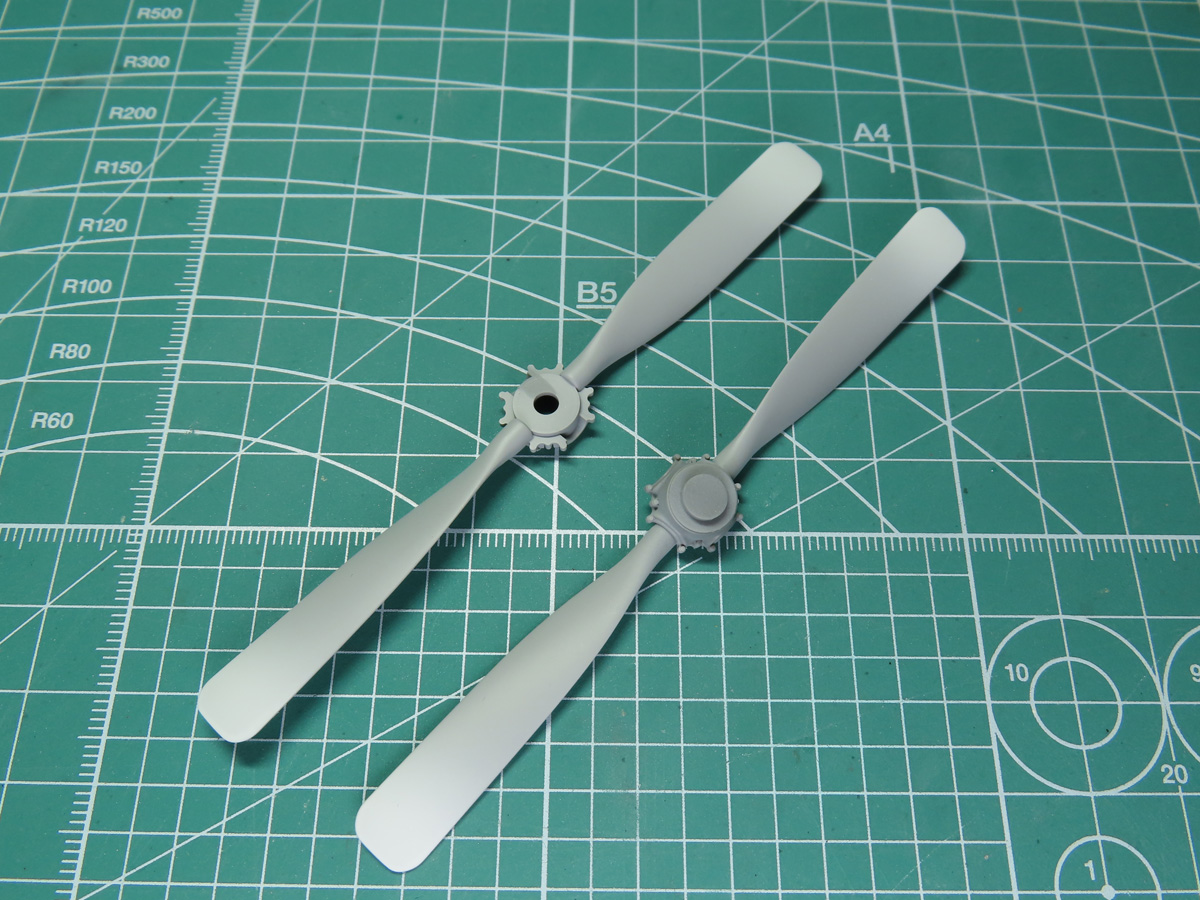
I started off by cleaning the new paddle blade propellers that are exclusive to this F-51D kit. There was just a faint seam line around the edges to clean, and they were ready for primer.
I used Mr Surfacer 1200, and after that had dried, I sprayed on a light layer of Tamiya XF-2 Flat White to the tips.
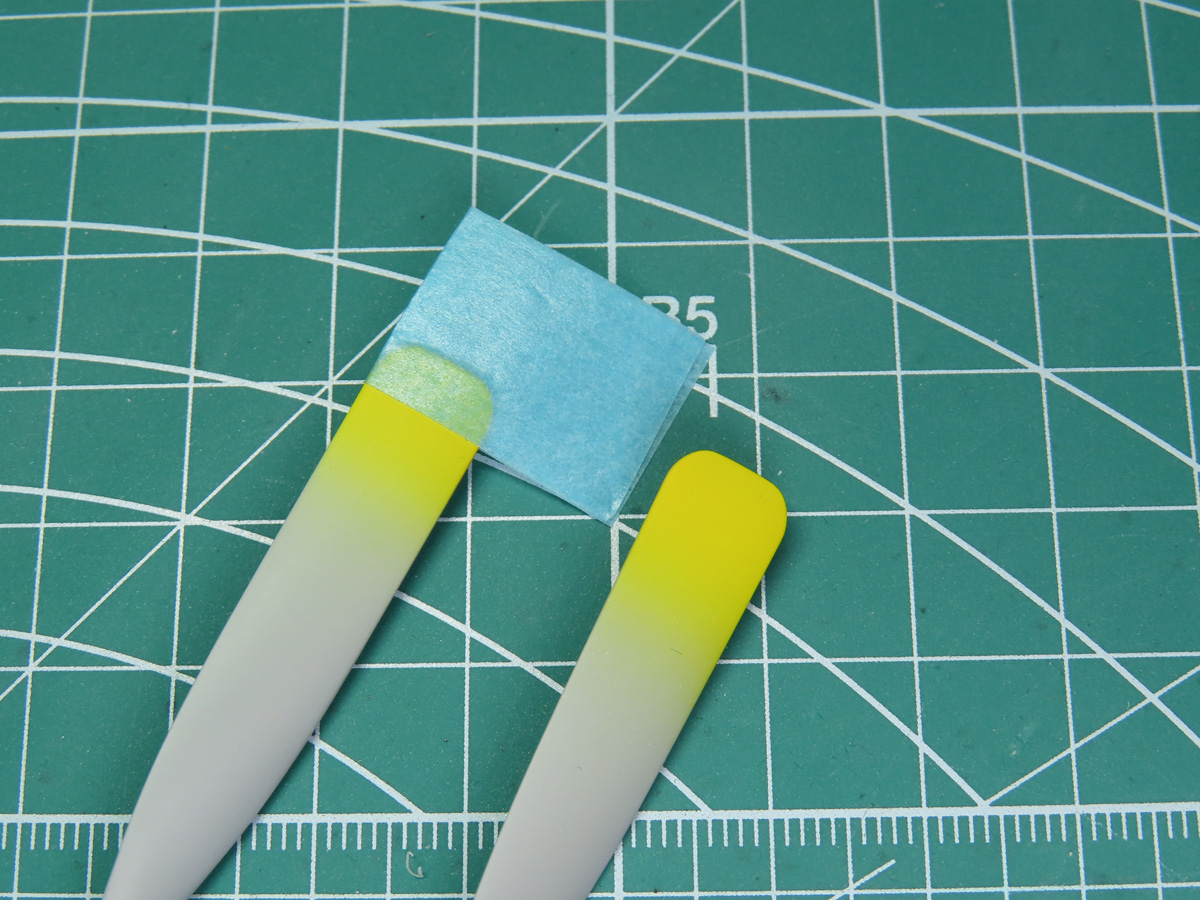
Next, I painted on Tamiya XF-3 Flat Yellow. Once the yellow was dry, I was able to mask off the tips.
I use Tamiya Flat White as a base coat for colours like Yellow, Orange, and Red. Colors like these can be thinner than other paints and difficult to build up to the proper tone. If you aren’t careful, you can end up painting too thick a layer and obscuring the surface details.
As you saw from the previous picture, there wasn’t a lot of Flat White painted to the tips; just a few quick passes is all that you need, as XF-2 is quite a thin paint. Once I painted on the Yellow, within 2 thin layers, I already had a bright and much bolder color.
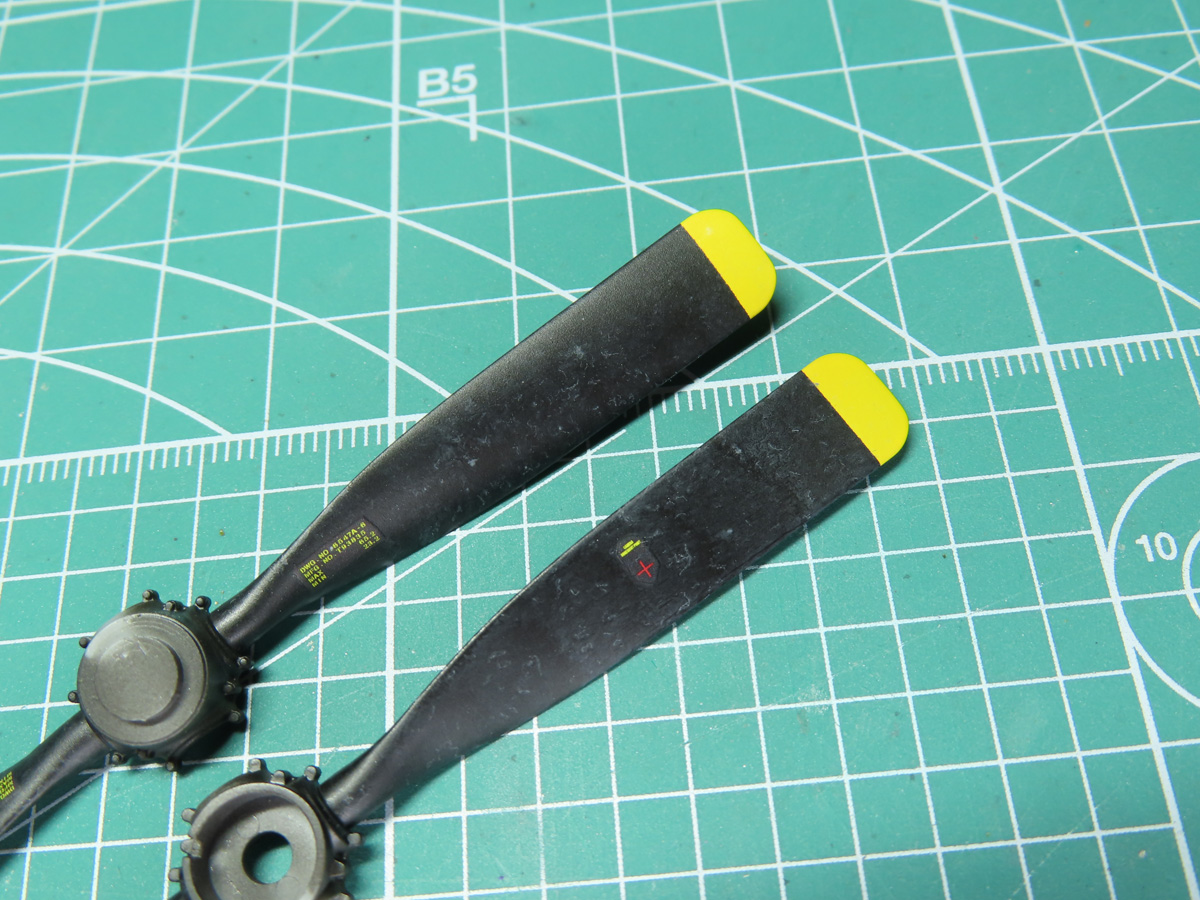
I applied the small decal stencils and set them in place with Tamiya Mark Fit Super Strong 87205. I then added a gloss coat to seal everything together for weathering.
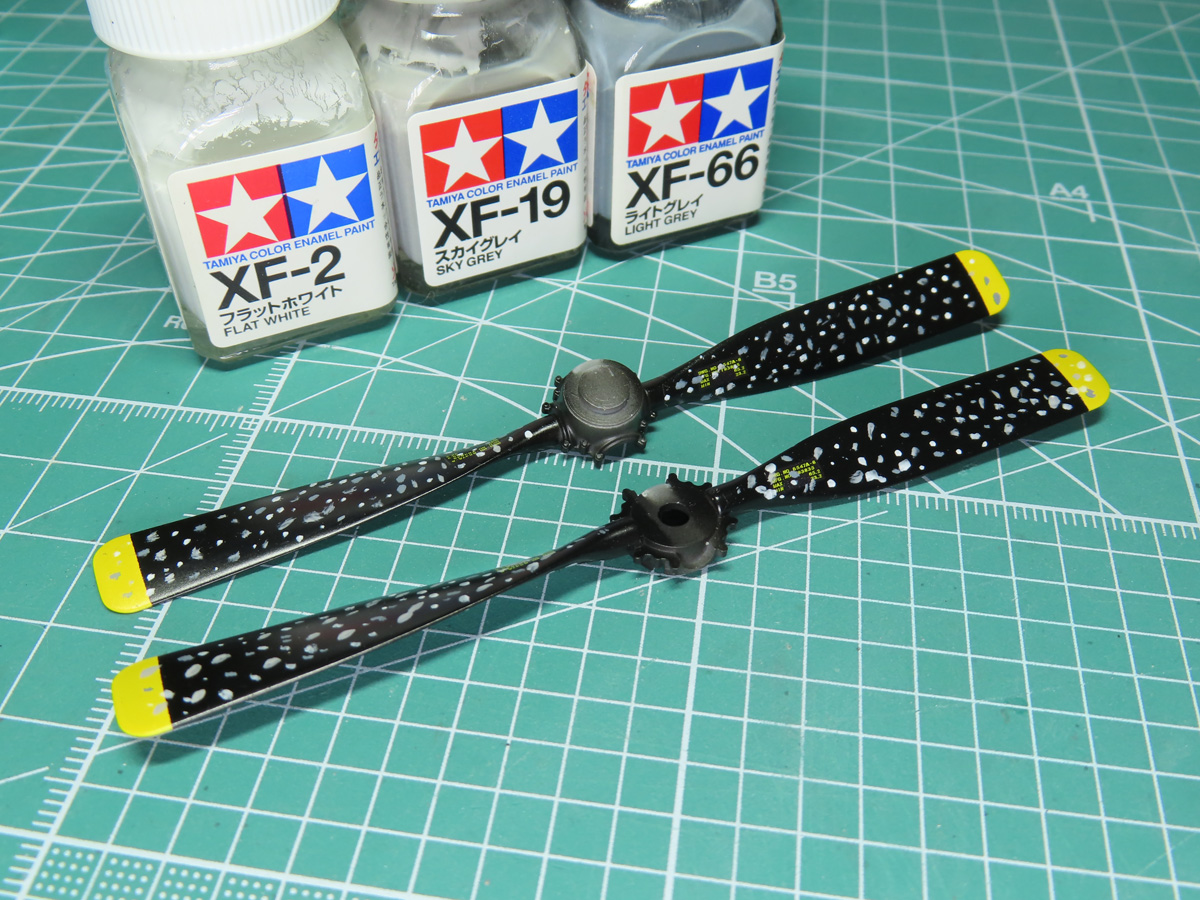
I searched online and saw many examples of Mustangs with very dirty propellers, and I wanted to try to replicate this effect. I started by using Tamiya Enamels and added various small dots around the blades, doing my best to keep the colors random.
Using a flat brush and some Tamiya Enamel Thinner, I dabbed at the paints and blended them all together. I like the way the colors came together, as there are random sections that are lighter and darker.
I finally sealed everything together with Mr Color C182 Flat Clear, which did dull down the tone of the Enamels a bit, and this is because those paints are quite thin.
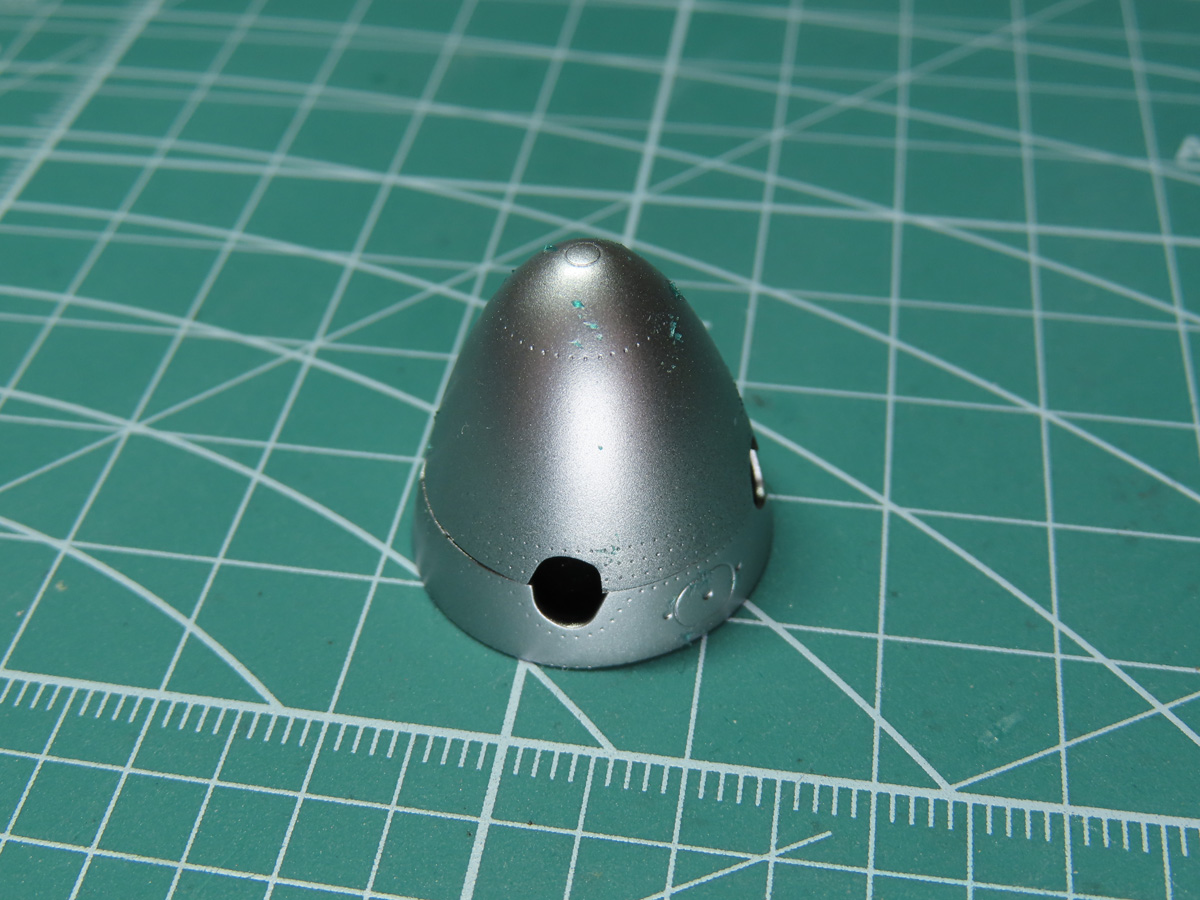
The spinner was going to be painted white, but I wanted to add a bit of weathering and chip a bit of the paint. So I painted on Tamiya LP-72 Mica Silver, and I sponged on a small amount of Mr Masking Sol Neo to create the chipping.
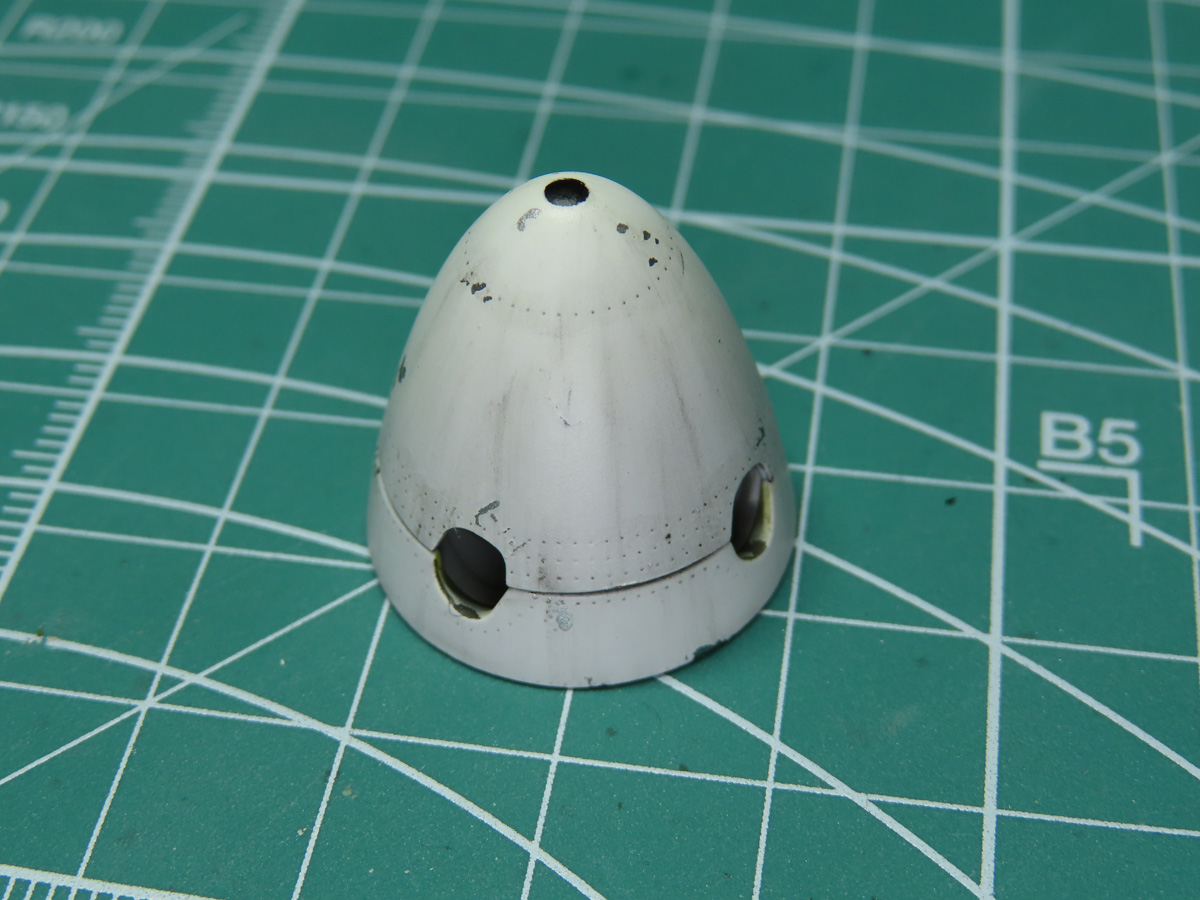
I sprayed on Mr Color C62 Flat White in 3 light layers. It’s a very nice color and a bit cooler, not as bright as Tamiya XF-2 Flat White, but I have to admit, I find it easier to paint on, but perhaps that’s because it’s a Lacquer and not Acrylic paint.
Because of the way the spinner is molded it doesn’t hold a lot of the rivet details. With this in mind, I decided to focus more on adding streaks running down the spinner.
I created the streaking effect with Tamiya Panel Line Accent Color Black 87131, and using a cotton bud dipped in Tamiya Enamel Thinner, I pulled the paint downwards until I was pleased with the effect.
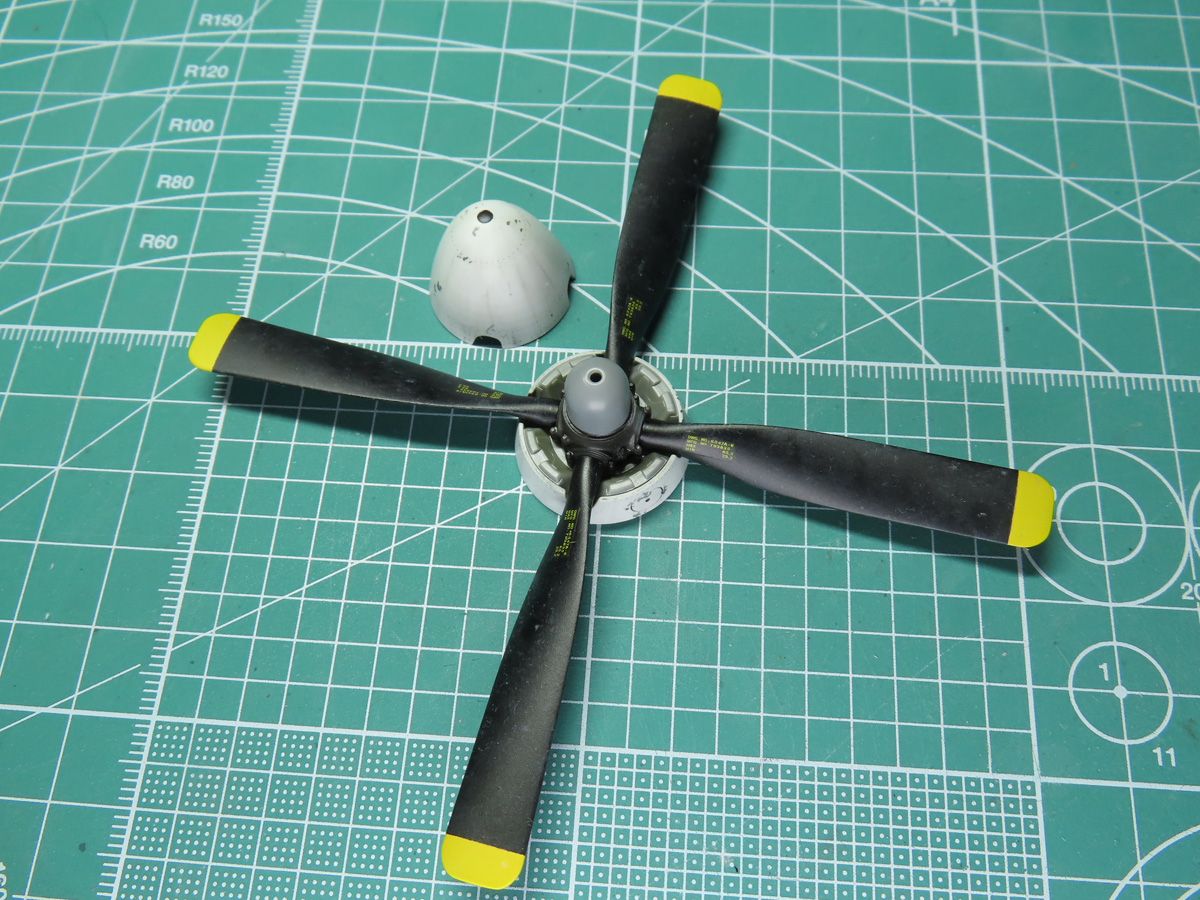
Now that everything was painted and flat-coated, I began assembling the propeller. It’s important here not to forget the small polycap that will hold the propeller to the engine.
Tamiya also give you the option of having the top of the spinner be removable. I think this is a neat addition, but without a magnet in there, it can easily fall off, so I’ve opted to glue it down.
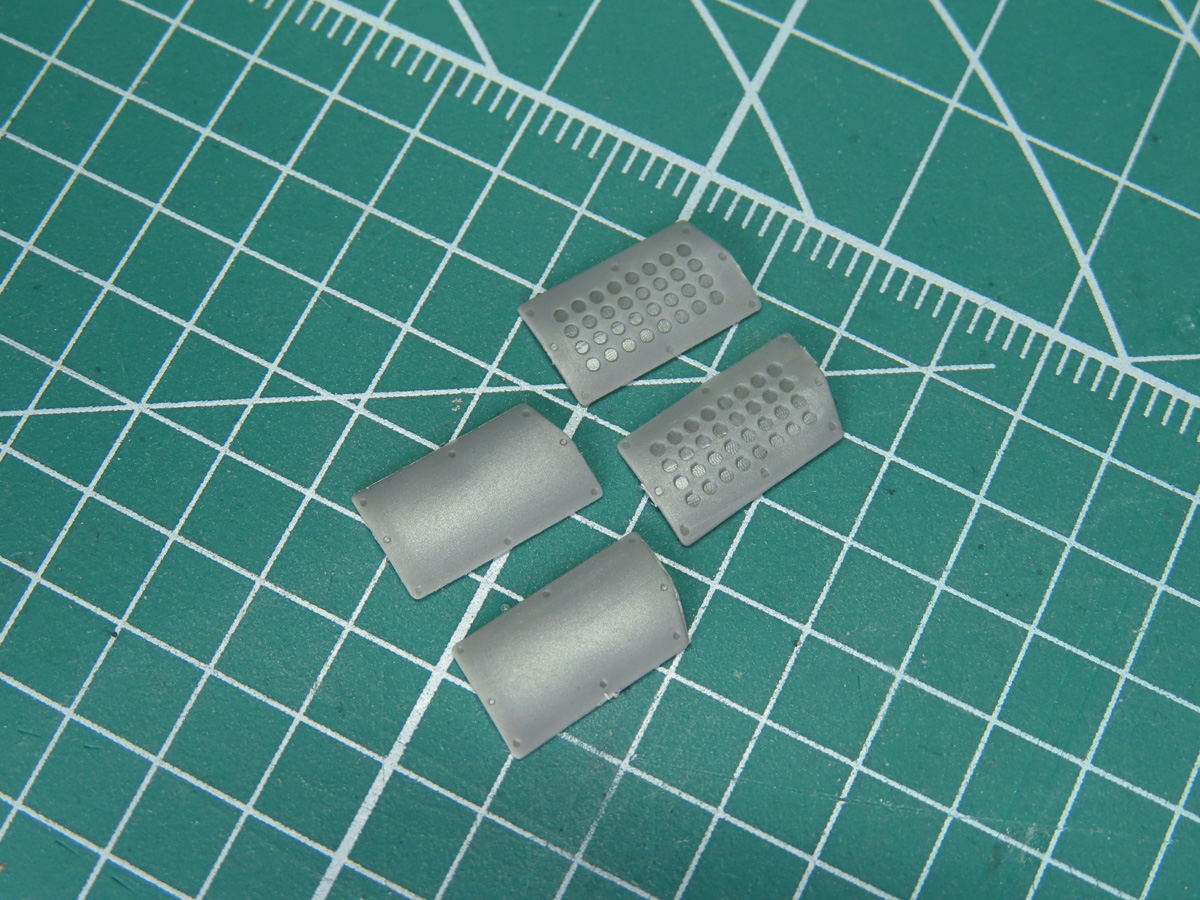
There are 2 plate options for the lower cowling. One sealed off, and the other with holes. Now, Tamiya has included something interesting with this kit. If you use the closed plates, there are decals included that you can add on top to replicate the holes (Decal #44). Or you could add an enamel wash to all of the holes to darken the openings.
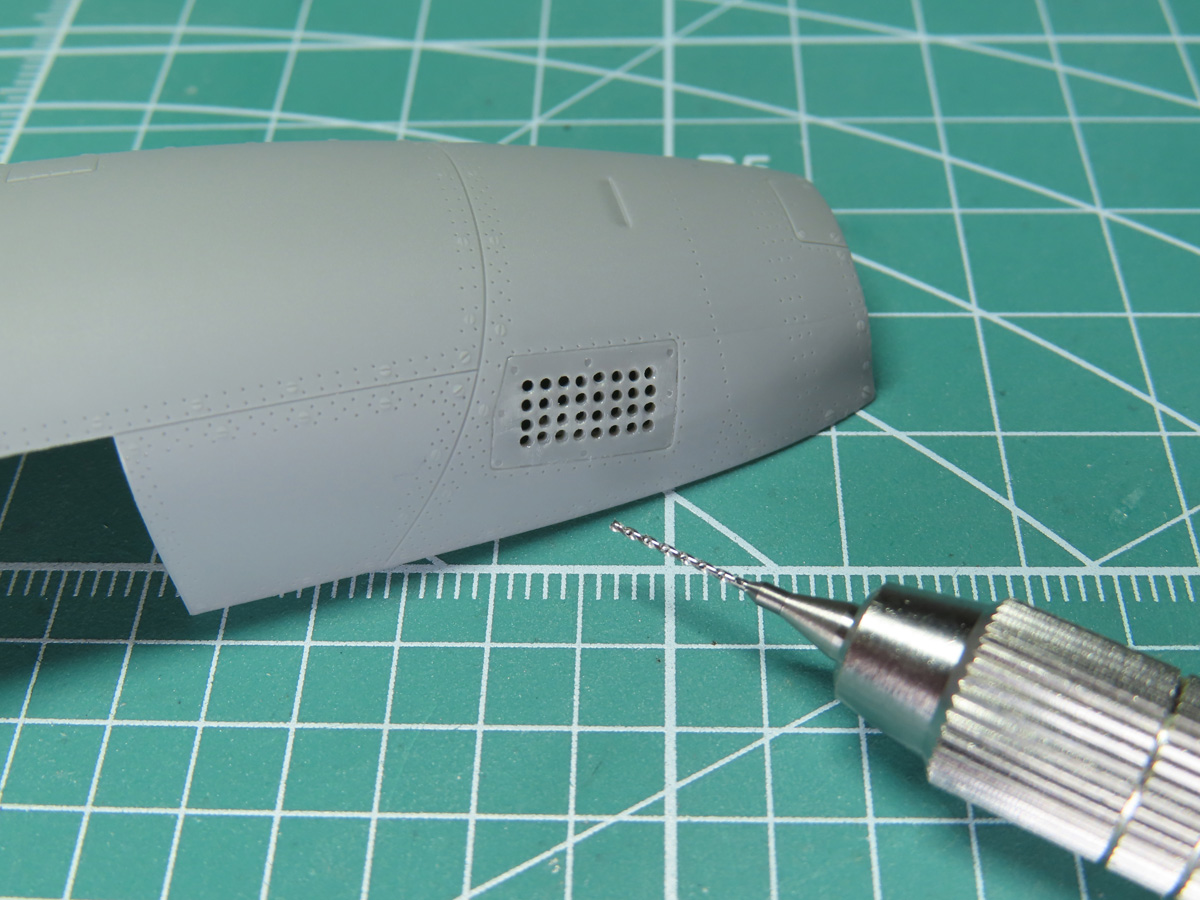
Or we can go for a really accurate look and drill out each and every one of the holes. Yep… all 64 of them…
Drilling all of these out certainly took some time, but the end results just looks so great.

Now we move onto the cowling panels, and if you recall from the first post, these are made out of a special styrene and are a lot thinner to fit around the engine.
I’ve carefully glued in the plates, as well as the 2 pins that will be inserted into the supercharger to stay in place.
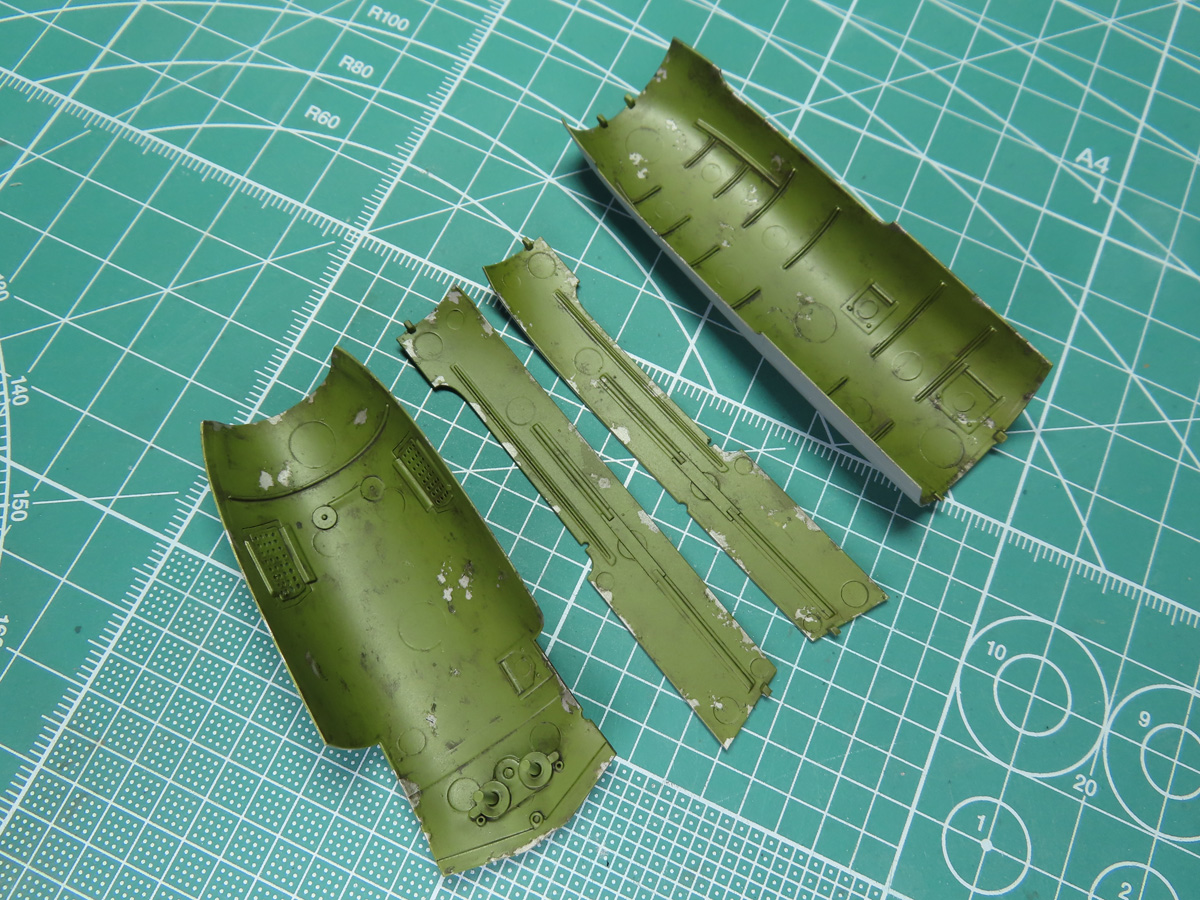
Tamiya suggests painting the insides of the cowlings with Tamiya AS-12 Bare Metal Silver. I met them halfway, as I decided to add a bit more color to these parts. After I painted AS-12, I added chipping with Mr. Masking Sol Neo.
I painted the interior with Mr Color C315 Zinc Chromate Green, and weathered it with Tamyia Panel Line Accent Color Dark Brown 87140.
You will notice the ejector pin marks on the inside, and I left these on because the parts are so thin that I was concerned I could bend and distort them by applying too much pressure when sanding.
After they were painted and given a flat coat, I realized that they aren’t sunken in and are more raised. So next time I build one, I’ll carefully remove these. Then again, these are on the insides of the cowling, and they won’t be easily seen.
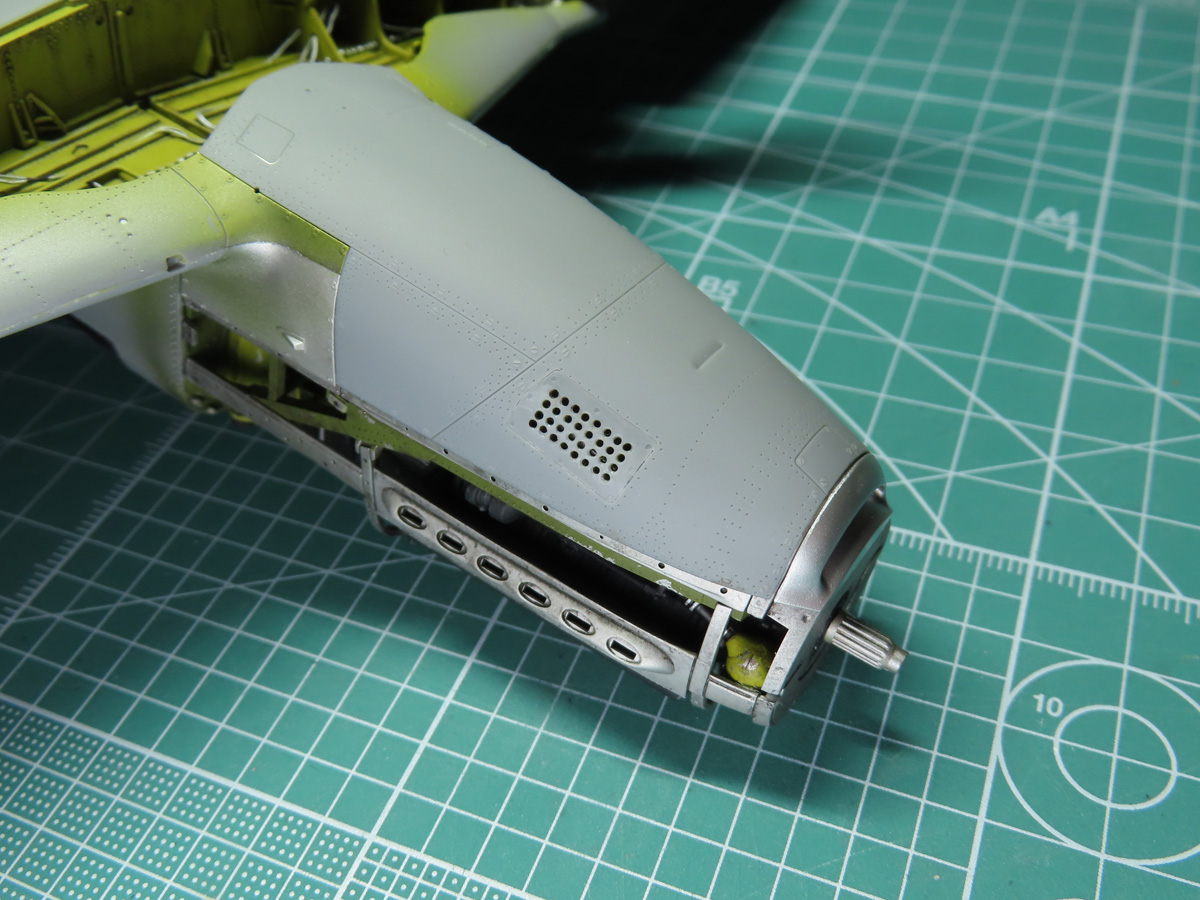
I set the lower cowling into the supercharger, and the fit was very good. Everything so far has lined up correctly.
The 2 side cowling are held in place with the magnets we added to the engine frame. The top cowling is simply set on top with the help of a few small tabs. These tabs are also on the front, and once the propeller is added, they are all sealed together.
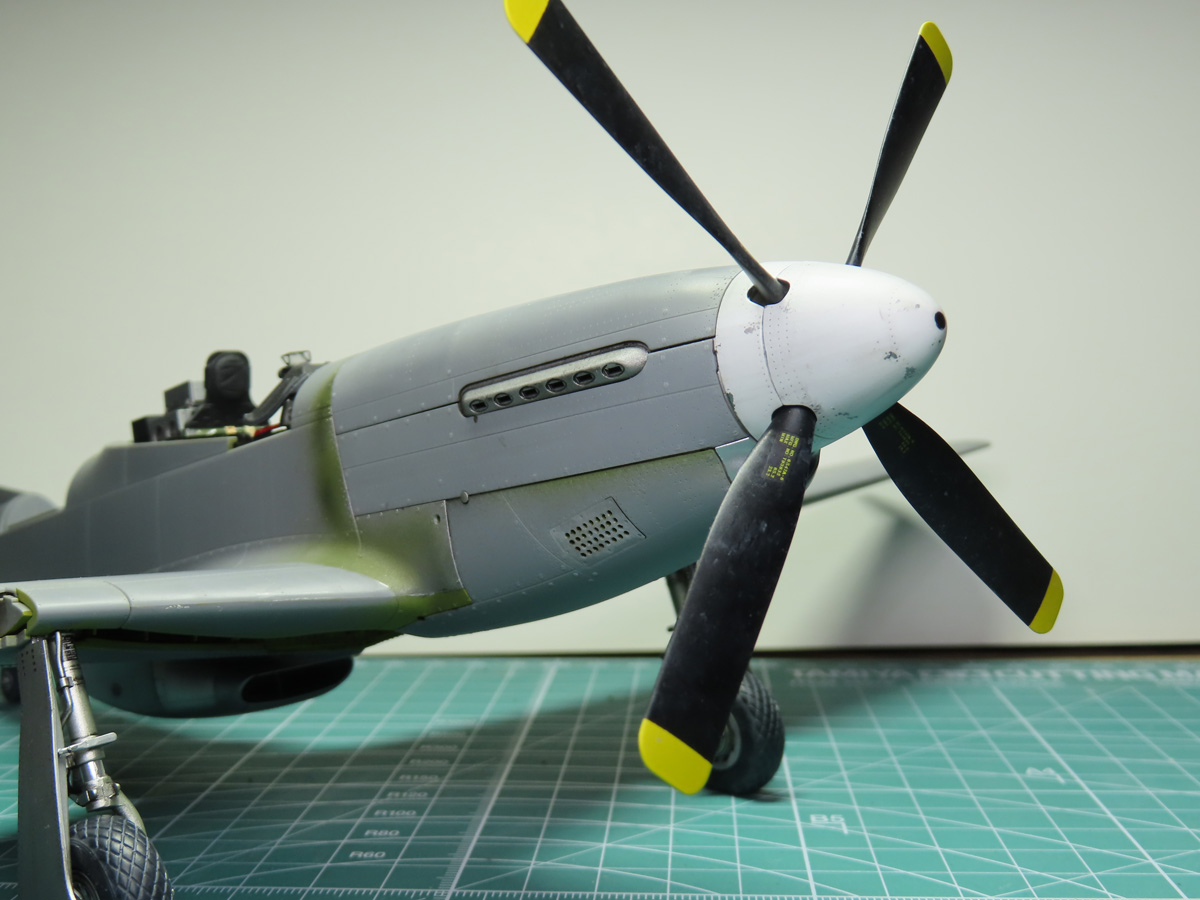
With the propeller now in place, things are looking pretty good, but not great. I’ve had a hard time getting the spinner back a bit further so that it’s more flush. And the opening intake for the supercharger needs to be sanded down for a better fit.
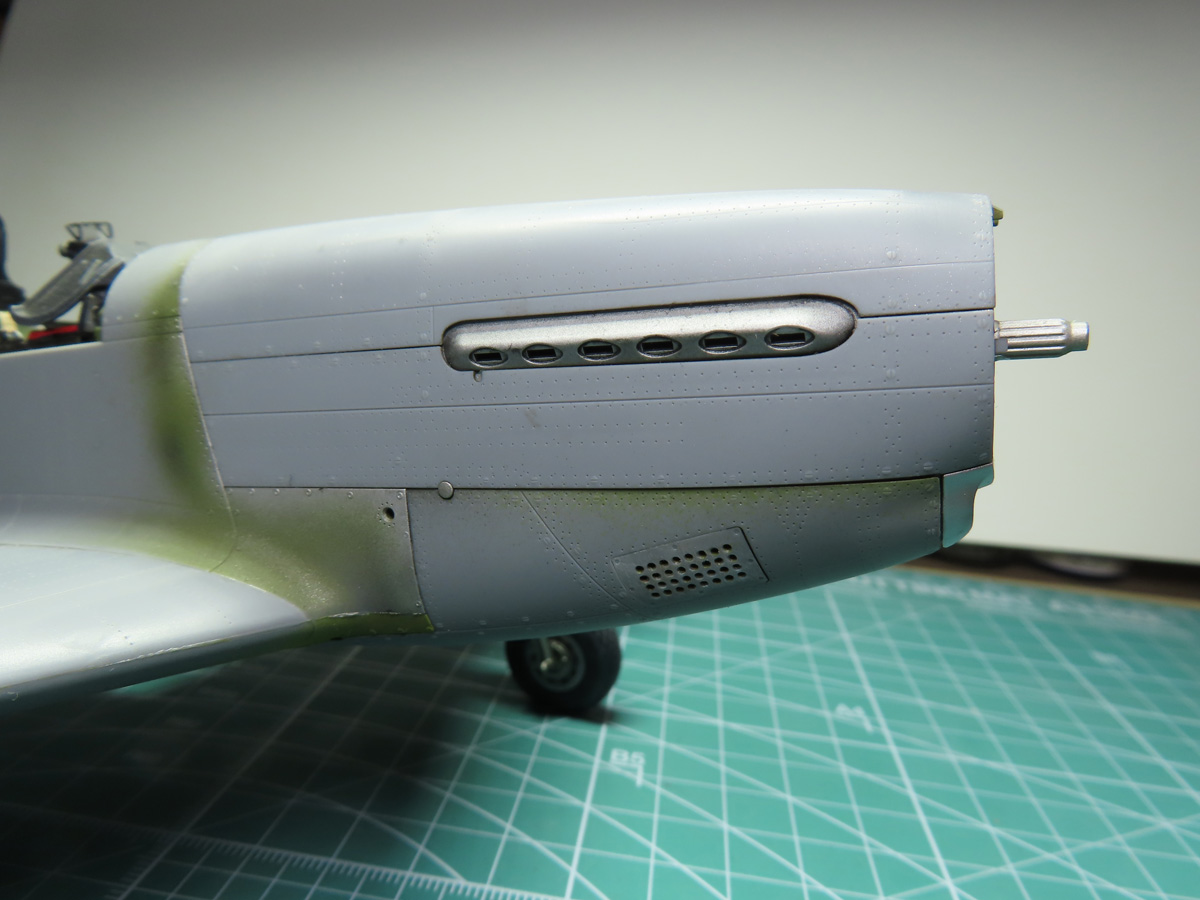
I’ve also noticed that some of the panels aren’t fitting as well as I would like, and I think I’ll have to solve this by carefully bending the parts. But that is going to have to wait until next time.
In the meantime, I really like the look of these paddle propellers. I don’t know why, but they make the P-51 look even faster. These wider paddles were used to help the P-51 at higher altitudes.
Next time, we’ll get to play around with the clear parts of the canopy, getting these all masked up and painted. As well, I’ll have to find a way to build a new part exclusive to many RCAF Mustangs.
To be continued…
About the Author:
Jared Demes is a modeler from southern Alberta. He has been building models since he was 4 years old when his Dad first introduced him to the hobby. He has written for several magazines including, Fine Scale Modeler, Scale Aircraft Modeling, Phoenix Scale Models, and others. He has an interest in all modeling subjects, with a focus on WWII Japanese aircraft and Science Fiction.
Jared has won several IPMS awards for his modeling, and currently operates his YouTube channel rebelsatcloudnine, where he showcases model builds and product demonstrations.
First Post: Part 1
Previous Post: Part 12
Next Post: Part 14