
Tamiya North American F-51D Mustang
This is the nineteenth part of the Tamiya North American F-51D Mustang Korean War 1/32 Scale 60328 with RCAF Markings.
Well, this is the final build post for this F-51D Mustang. It’s been a long project, and I’m excited to be done with it and to move on to something different. But before I start planning too far ahead into the future, let’s add on the last pieces and complete this pony.

One of the first things I did was separate the rockets from the pylons. This was pretty easy to do, and the real challenge was keeping all of the pylons in order. They all go into specific spots under the wings, so I carved a number into the top of each pylon to make sure the parts went into their correct place.
One of the last hurdles with this build was to create a teardrop antenna. And I thought of a few ways to do this: I could build one in the computer to be 3D printed, or perhaps sculpt one using Milliput.
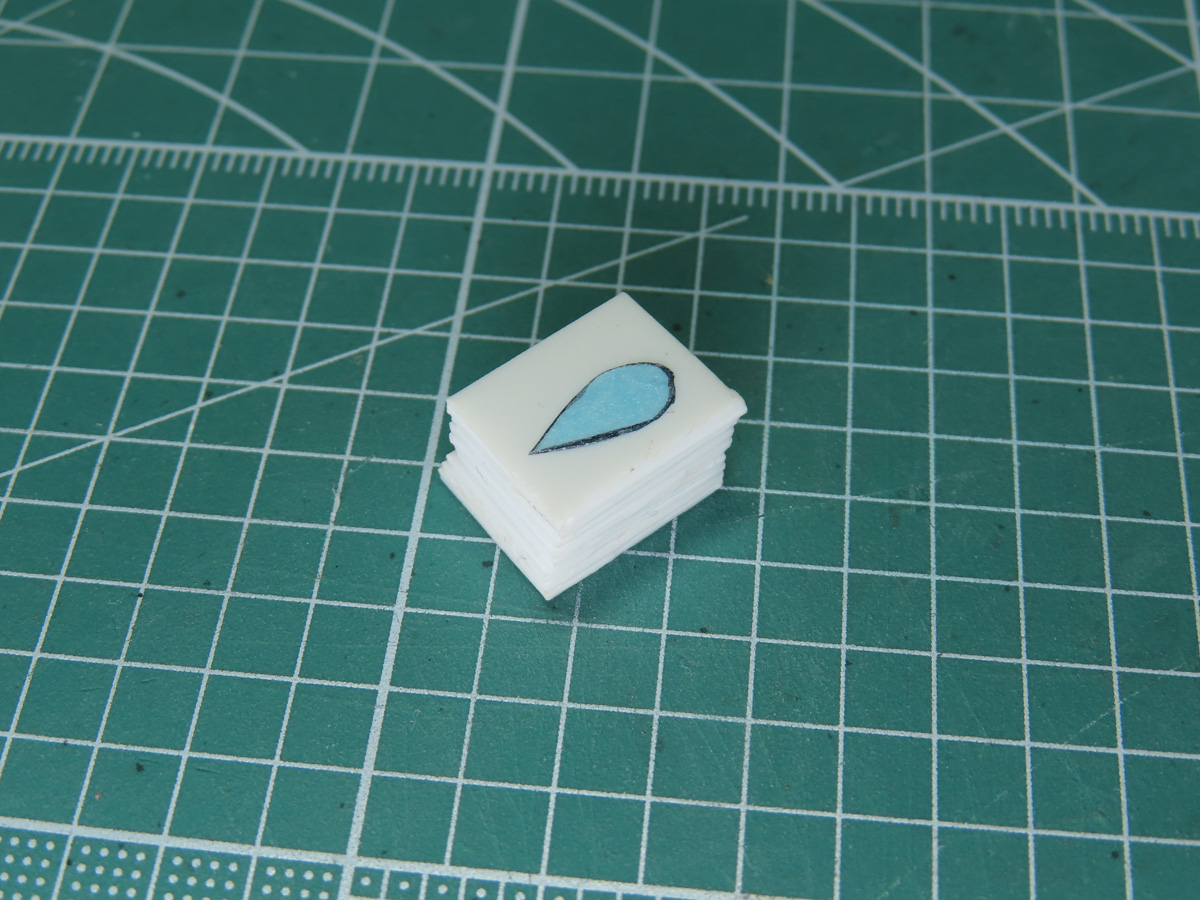
Ultimately, I decided to carve one out of styrene. I took some 1.0mm styrene sheet and cut it into small sections. I then glued the 8 panels on top of each other with Mr Cement. I used a good amount of glue to ensure a proper join, and then the pile was clamped together while it dried.
Once it was dry, I made a teardrop shape in the rough outline I needed to create the antenna.
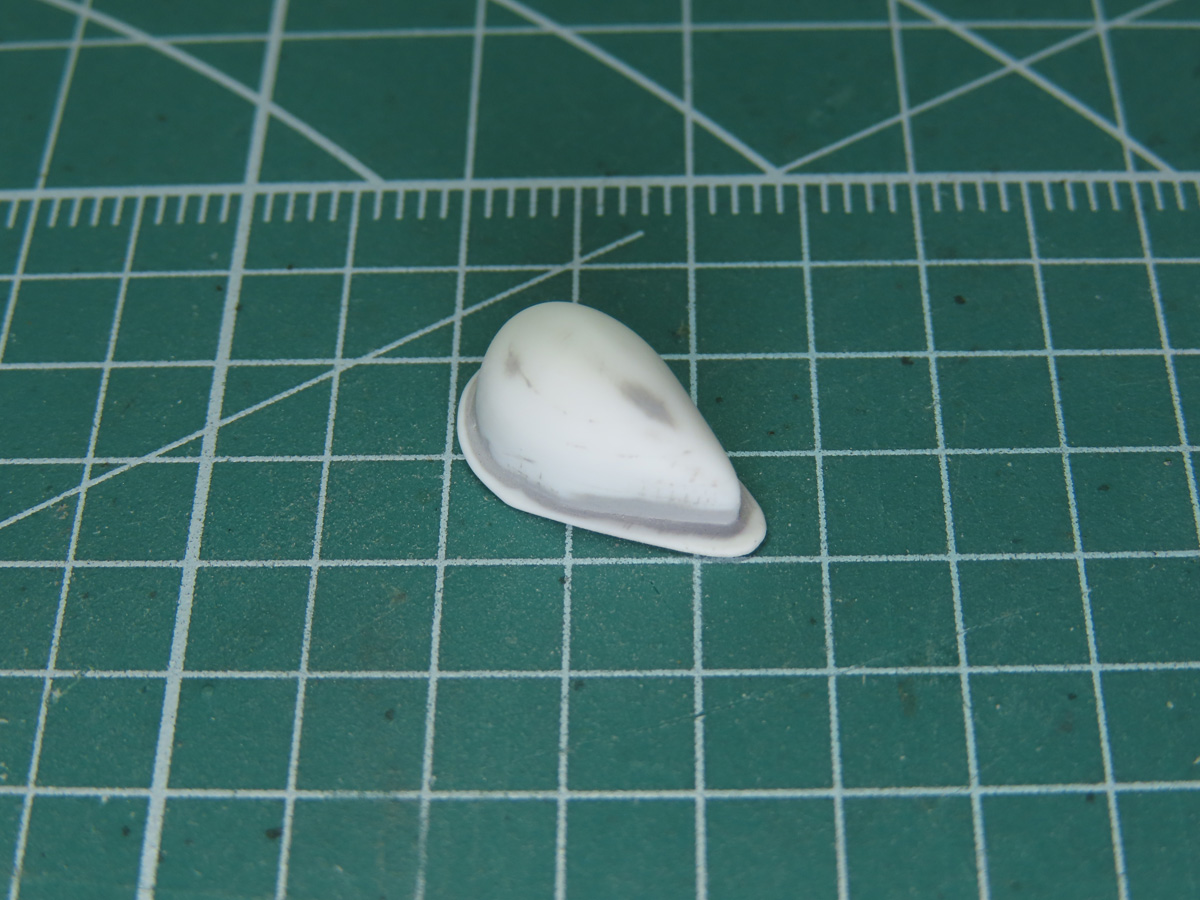
It took a good part of my evening, but I slowly sanded down the shape and profile of the antenna. I added a thin piece of styrene to the bottom to act as an edge, and this is on the real aircraft, though exaggerated a bit with my part.
I then coated the entire part with Mr Surfacer 500 to fill in any final gaps that might remain. After the Surfacer had dried, I gave it a final sanding and polishing, and the antenna was now ready to be painted.

The top section of the antenna was painted with Mr Color C92 Semi Gloss Black, and Tamiya AS-12 Bare Metal Silver for the bottom. Once the paint was dry, I super glued it to the Mustang.
I’m quite pleased with how this part turned out, and it looks pretty accurate to the antenna I saw in my reference pictures.
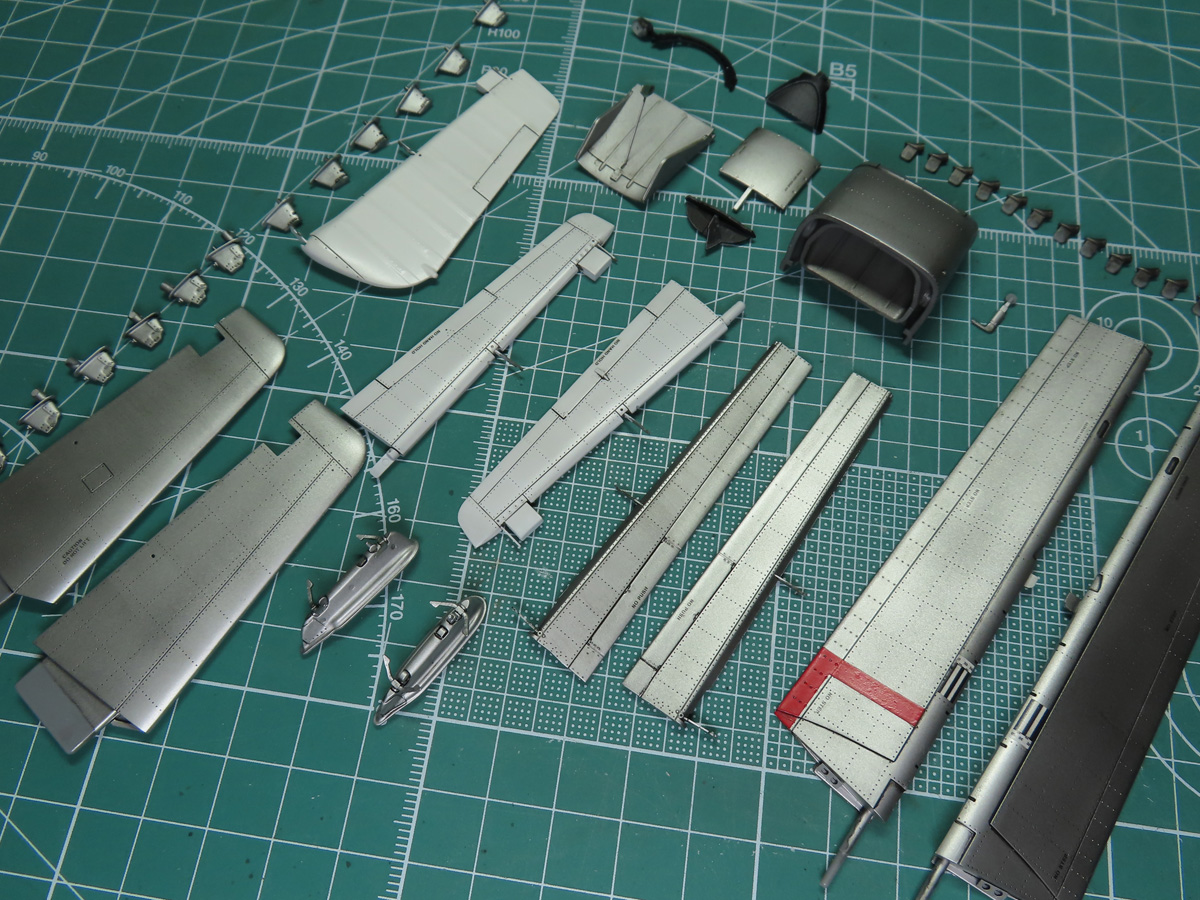
Flipping over the aircraft, I added the ailerons and then the landing flaps. Don’t forget at this stage to add on the small polycaps to the ends; these will help the landing flaps stay in place. Once everything was in place, I glued on the small cover plate that holds everything together.
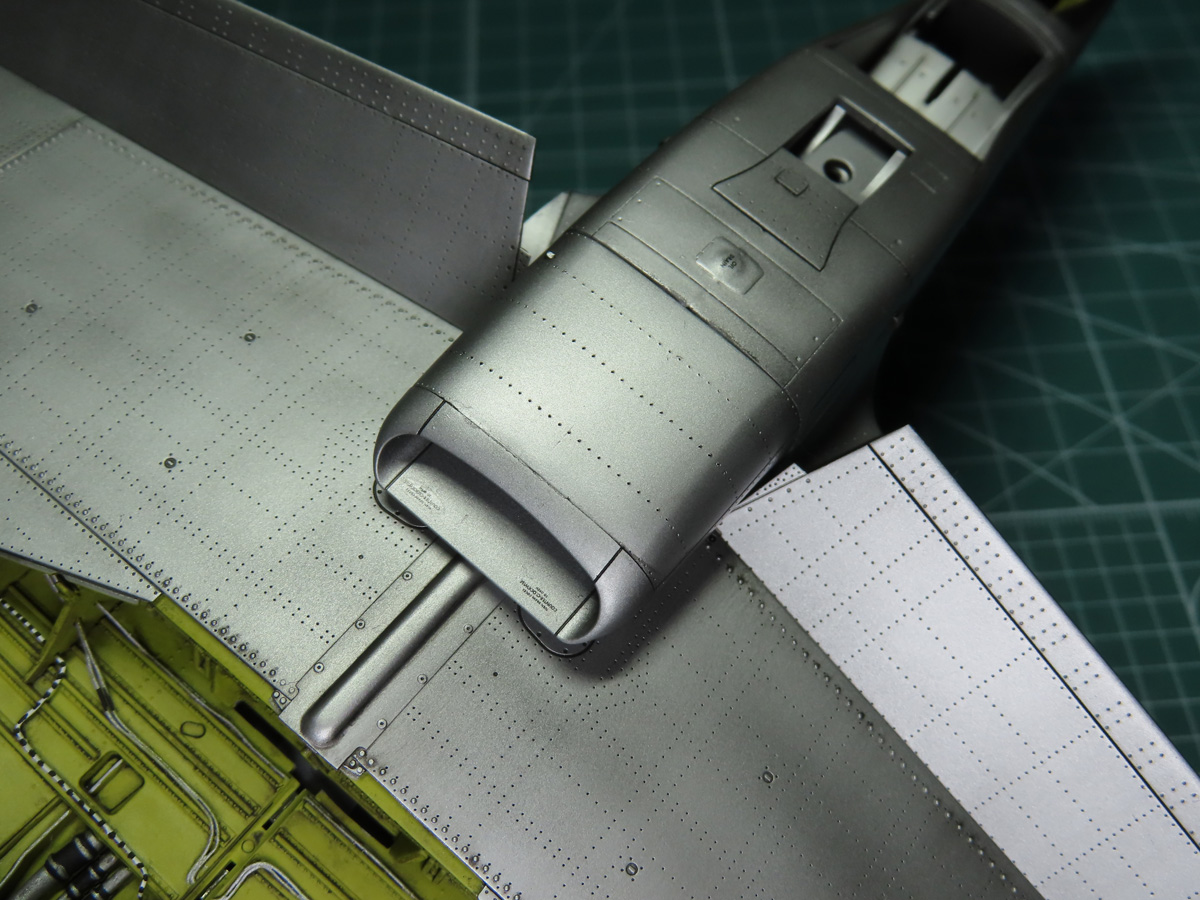
Next, I added on the belly scoop, and with a few drops of Mr Cement S everything was secured in place. I then tested out the landing flaps to make sure they could be positioned properly.
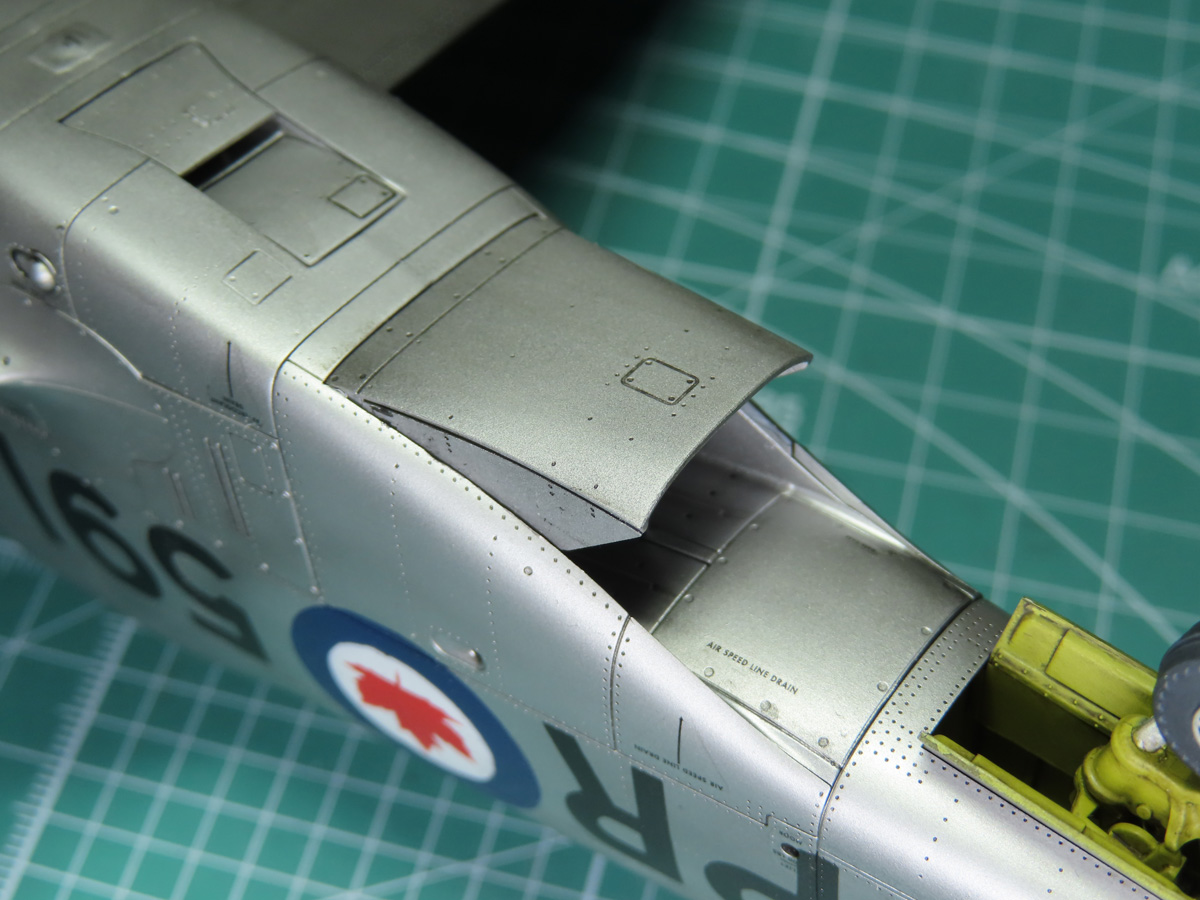
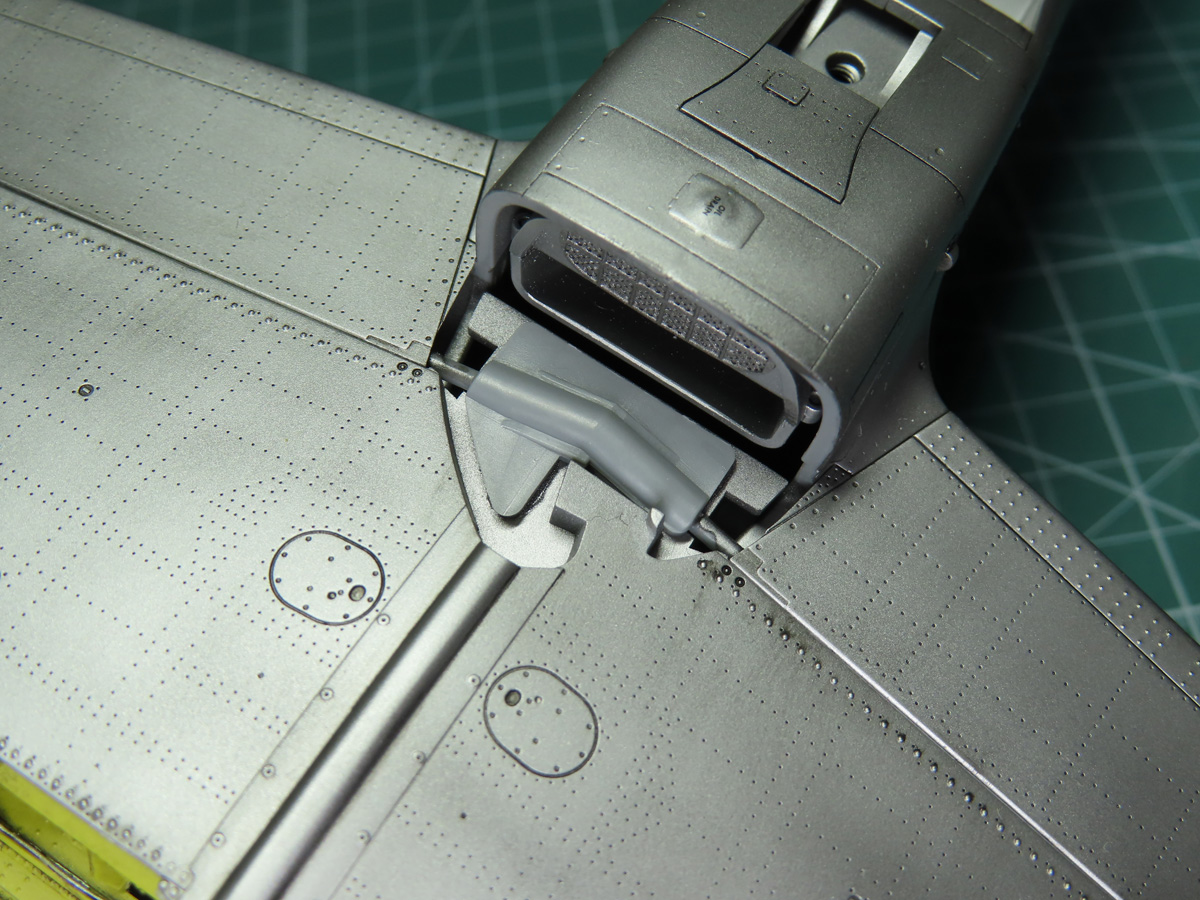
It took a bit of wiggling, but I was eventually able to “persuade” the radiator flap into place. Now I can easily pose it open or closed. This part simply clips into pegs, and then the photoetch arm prevents the part from being pulled off the model.
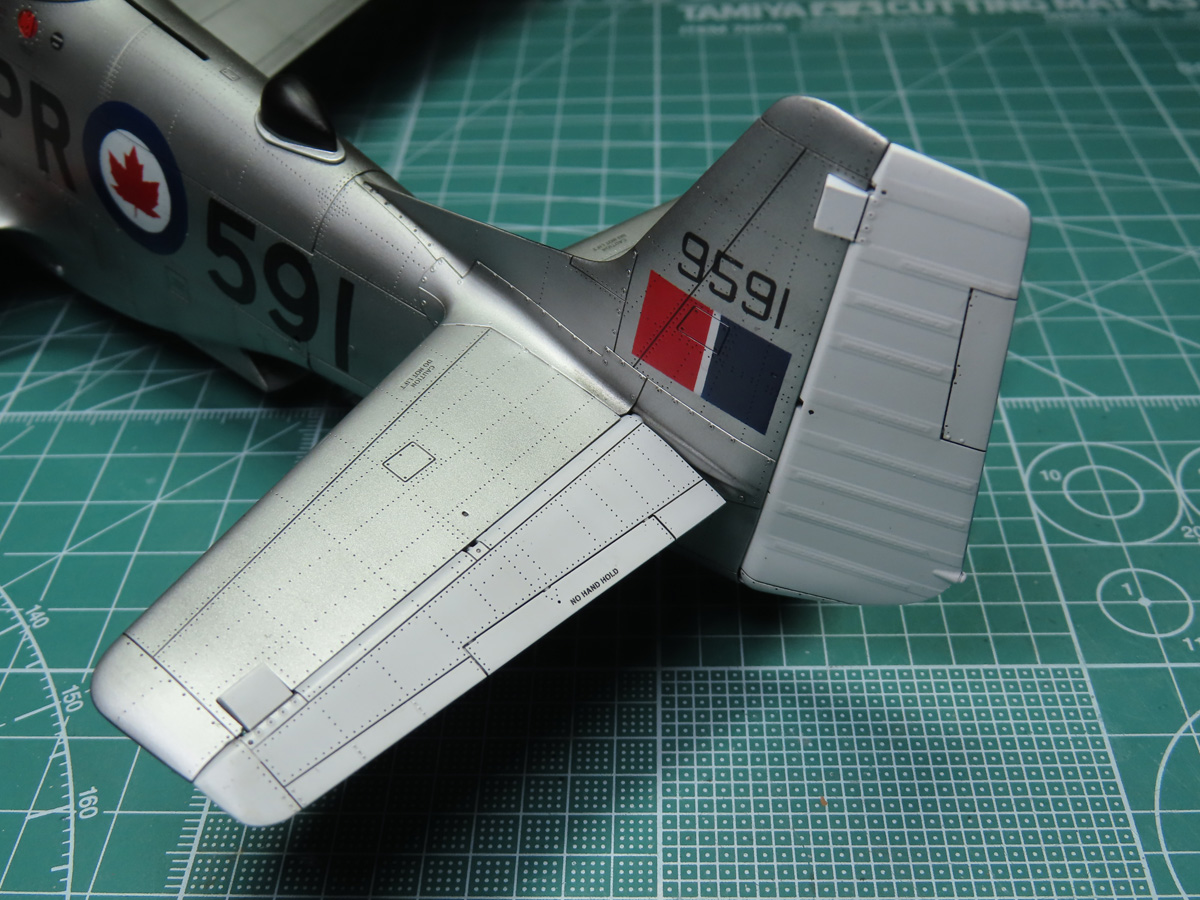
The rudder and stabilizers were added next, and they fit in with little fuss. One thing that was a challenge while researching this project was whether the elevators were White or Silver, and it varied between the Mustangs of 403 Squadron.
In the one color photo I found of PR 591, you could faintly see a white blob on the elevators, so these were painted white to match the rudder.
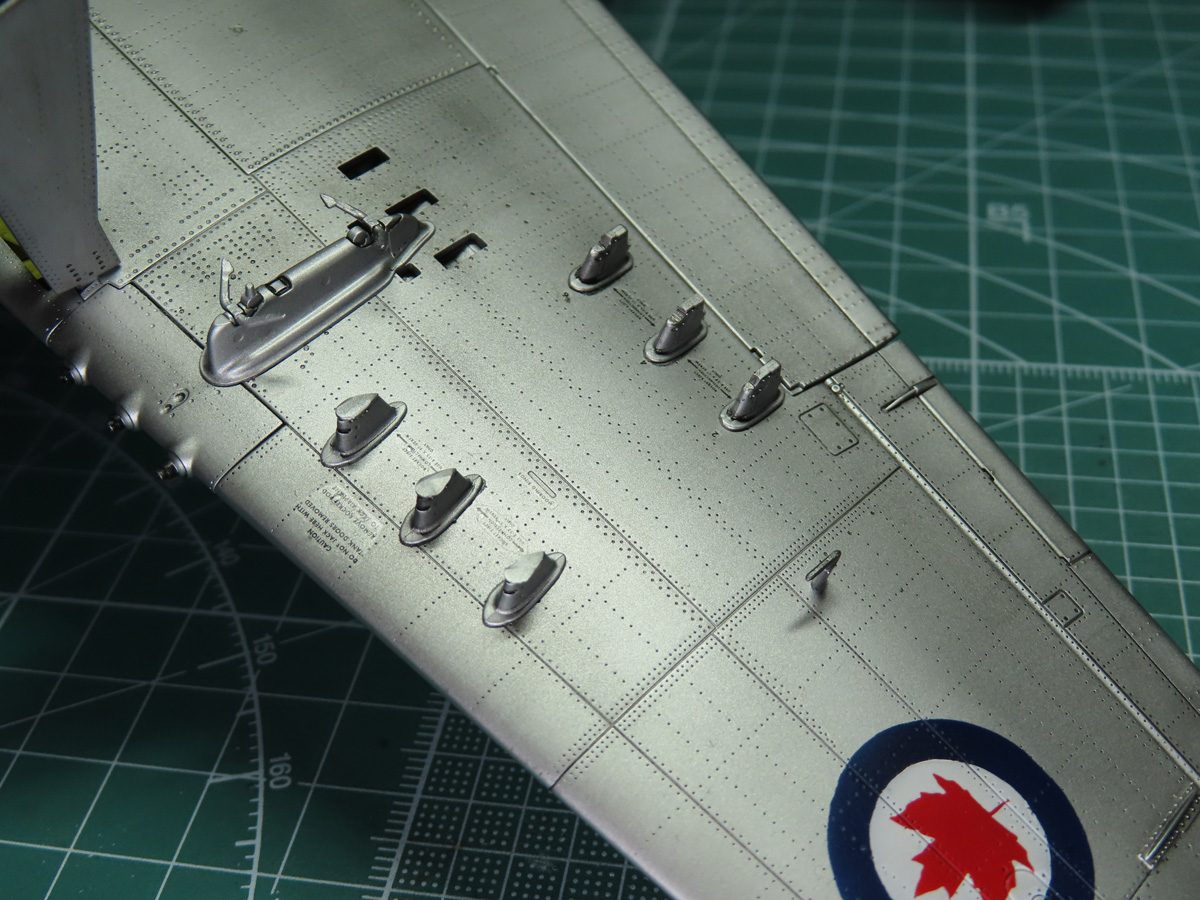
Moving back to the underside of the aircraft, I added the rocket and drop tank pylons as well as the pitot tube. Without the attached rockets, I had to take care to make sure that the pylons were all aligned correctly.
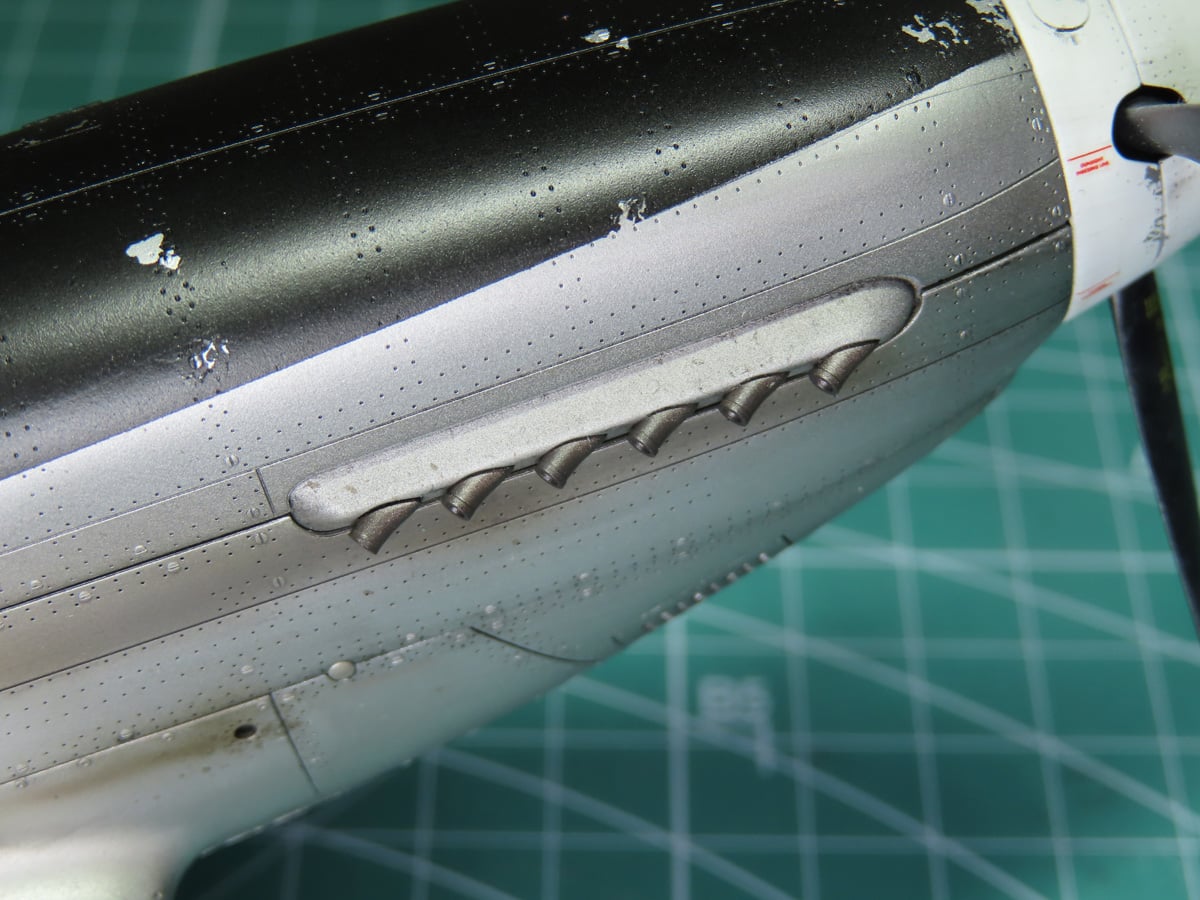
The exhaust stacks were first painted with a base coat of Mr. Color 61 Burnt Iron. I then used Tamiya XF-84 Dark Iron to lightly paint the edges of each of the stacks to add a bit of weathering. The stacks were then glued to the model with a drop of Mr. Cement S.
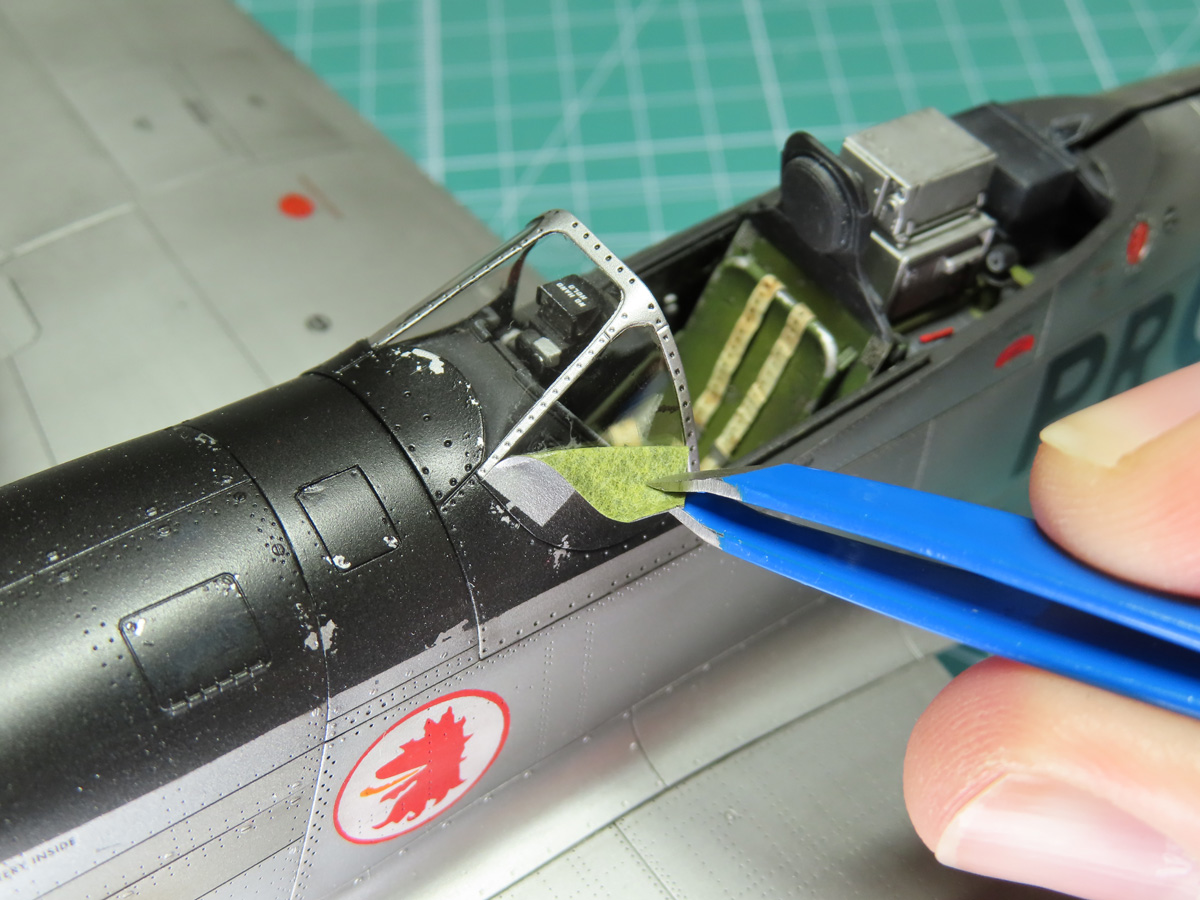
With everything now glued to the model, I could at last remove the maskings from the canopy sections. Everything looked really great and clear, with some minor bleeding from the earlier panel wash. To remove the excess paint, I used Mr. Paint Remover and carefully brushed off any unwanted paint.
I would like to mention that Mr. Paint Remover is safe to use on clear parts, unlike the Tamiya Paint Remover, which will fog the parts. I learned this the hard way on an earlier project this year.

To restore the clarity and the shine to the clear parts, I used a cotton swab dipped in Novus 1. Novus 1 is a fantastic product that will remove fingerprints and debris from your clear parts. It also has an anti-static quality, making the parts less attracted to dust.
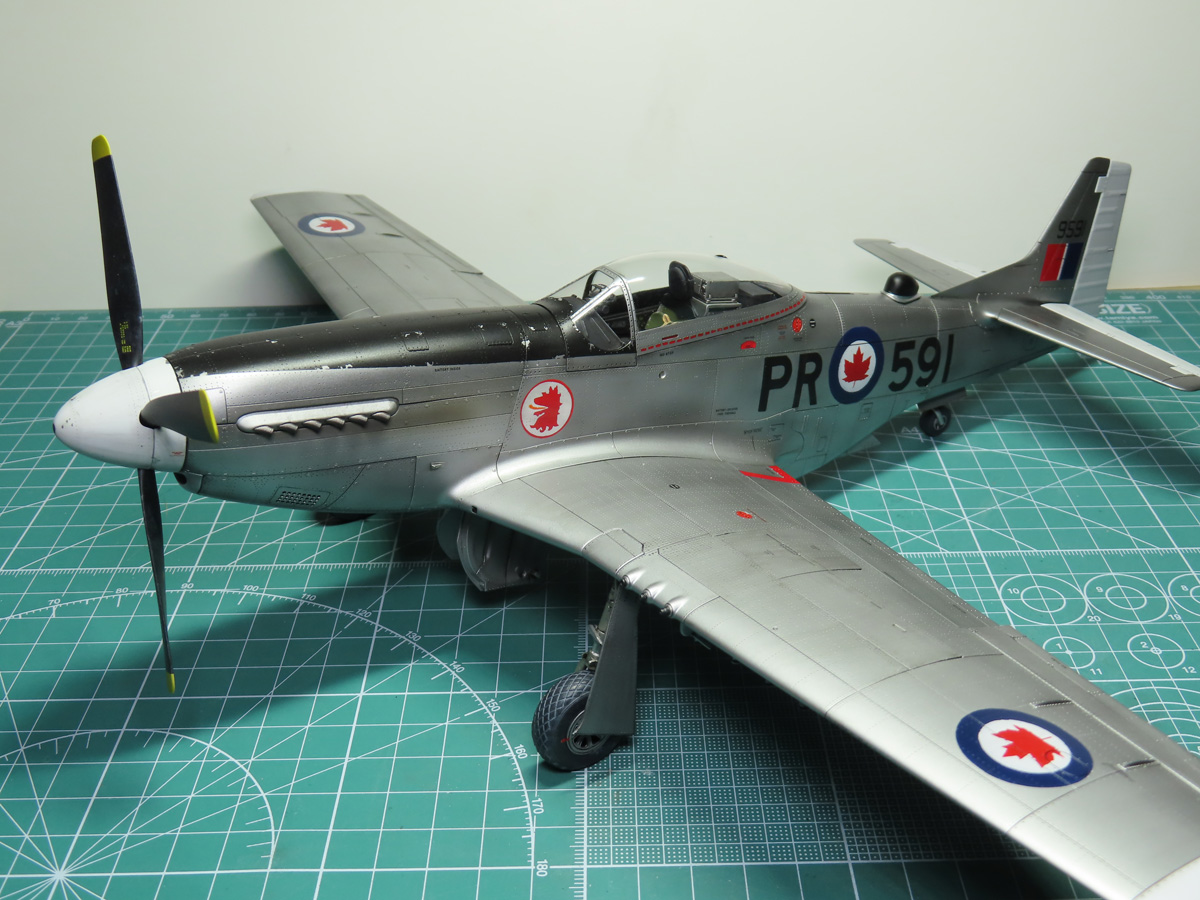
And just like that, we are all done with this RCAF F-51D from the 403 Calgary Squadron.
I’m very pleased with how this project has turned out, and as you’ve seen over the past few months, this is a very intense project with a lot of parts and details. One of my goals was to create a Canadian P-51D Mustang, and another goal was to try and document as much as possible with this build in the hopes that the project wouldn’t seem as daunting and overwhelming to anyone considering this kit for themselves.
I know that I’ve mentioned this a few times now, but this is the 3rd kit I’ve built, and not once was I ever bored with the project. It’s a big kit to take on, but at the same time, it’s incredibly satisfying to build, and I hope that you might consider this kit for a future project.

There are many RCAF P-51D schemes to choose from, and I was inspired to build this one because of Herb Spear, who flew for 403 Squadron. I wish that I could have had the chance to show him this project, and I hope that he would have liked it.
And thank you for following along with this journey. I hope that you have found these posts useful and will consider building one of these for yourself.
I think now I’ll take a short break, and just sit back and admire this Mustang on my desk. There were a few times through this build that I did question my motivations, mostly on the 403 Squadron markings, but seeing it here completed, I can assure you with confidence that it was all worth all the fuss.
See you on the next project.
About the Author:
Jared Demes is a modeler from southern Alberta. He has been building models since he was 4 years old when his Dad first introduced him to the hobby. He has written for several magazines including, Fine Scale Modeler, Scale Aircraft Modeling, Phoenix Scale Models, and others. He has an interest in all modeling subjects, with a focus on WWII Japanese aircraft and Science Fiction.
Jared has won several IPMS awards for his modeling, and currently operates his YouTube channel rebelsatcloudnine, where he showcases model builds and product demonstrations.
First Post: Part 1
Previous Post: Part 18
Completed Images: Part 20