

Assembling the Trailer Sides, Roof, and Floor
This is the second part of the AMT Fruehauf FB 40 Foot Reefer Trailer Watkins 1/25 Scale 1421
I’m building this trailer out of order from the instructions, as this will help me later on with the building process. I’ve also decided not to paint the whole interior, as most of this won’t be seen.
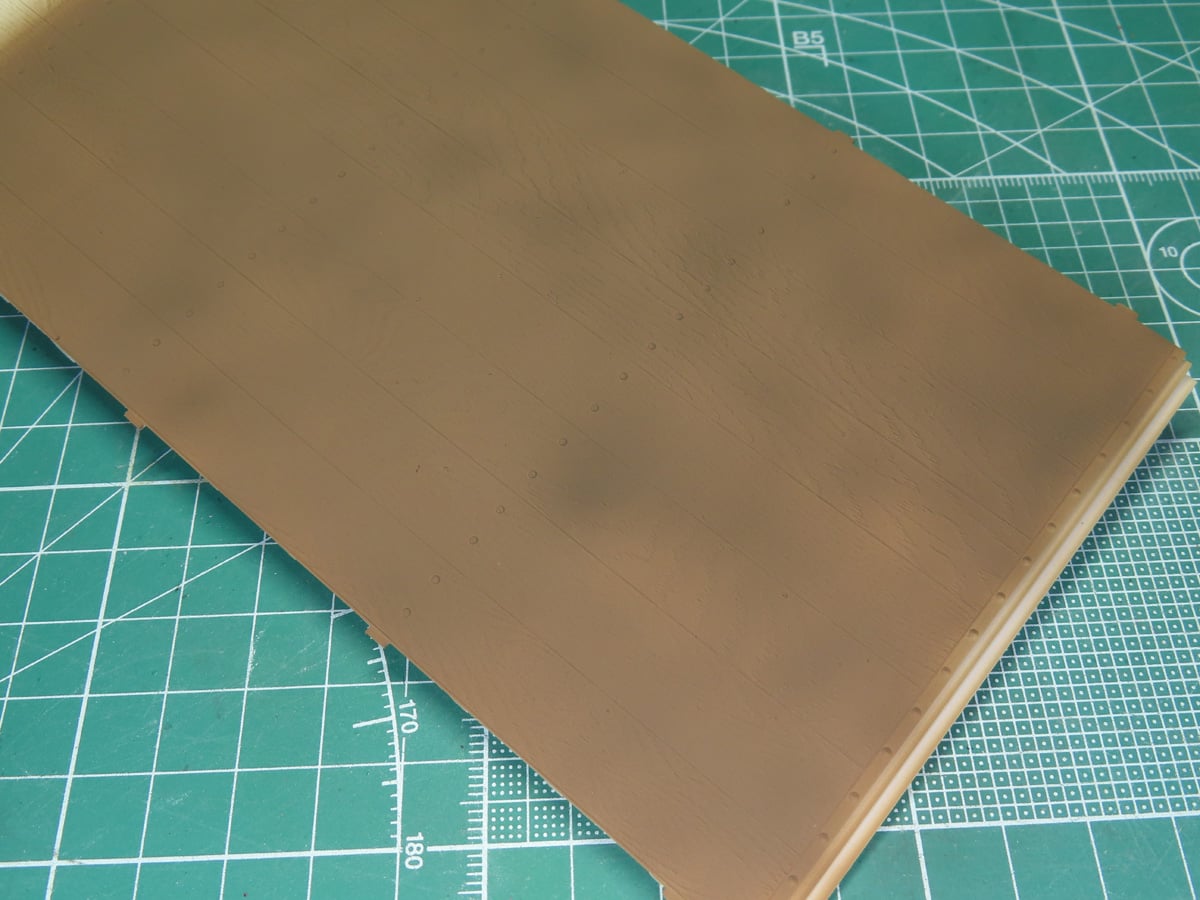
I’m going to start by painting the interior floor; a lot of the interiors I saw from reference pictures showed that the wood was quite dark, and some had a greenish tint. I painted a base color of Tamiya XF-52 Flat Earth. After that had dried, I sprayed on a very light, splotchy coating of XF-51 Khaki Drab. This would be a nice color giving me the green-brown effect I wanted.
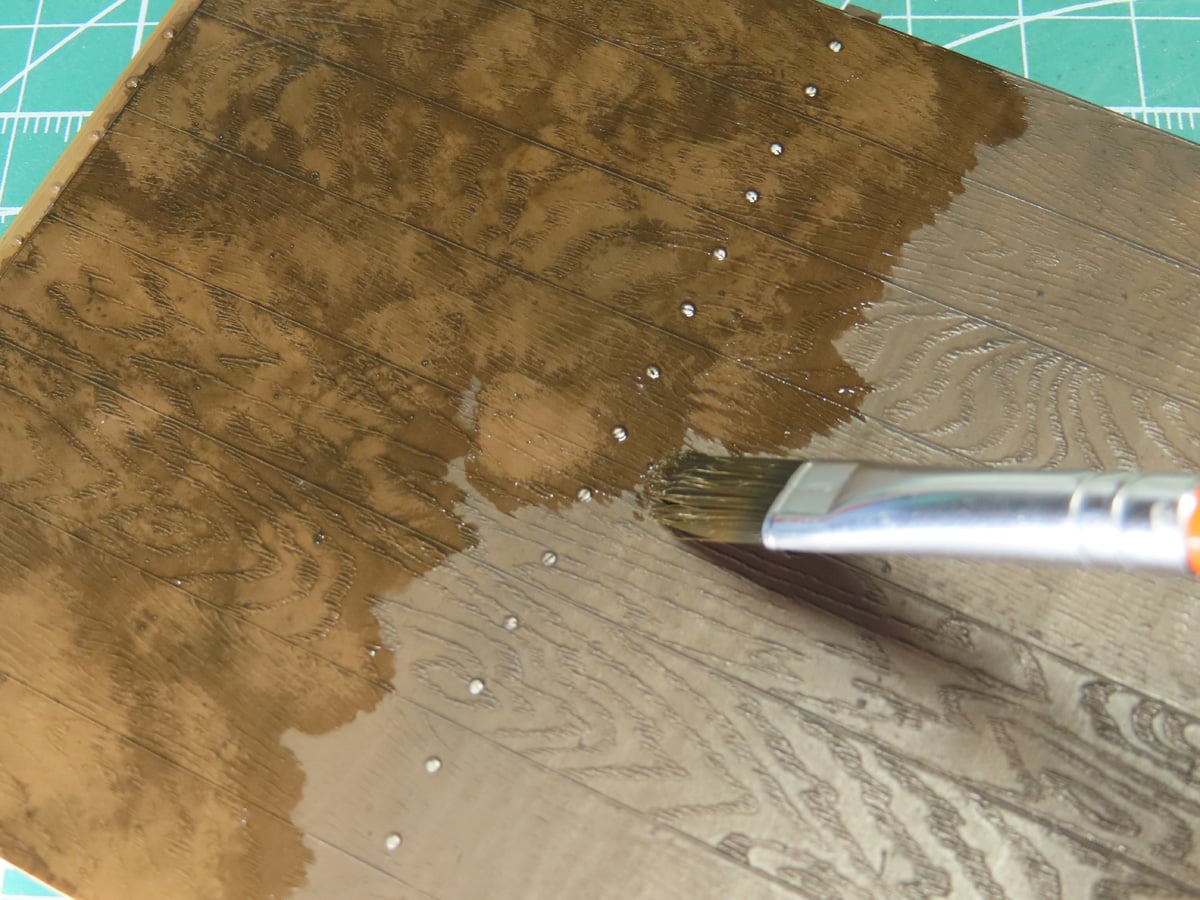
To enhance the wood grain texture, as well as add another layer to the dirt effect, I brushed on a coating of Tamiya Panel Line Accent Color -Dark Brown 87140– over the entire painted area.
Once this had dried, I took a wide brush dipped in Tamiya Enamel Thinner and swept over the surface, removing some of the wash and revealing the surface texture.
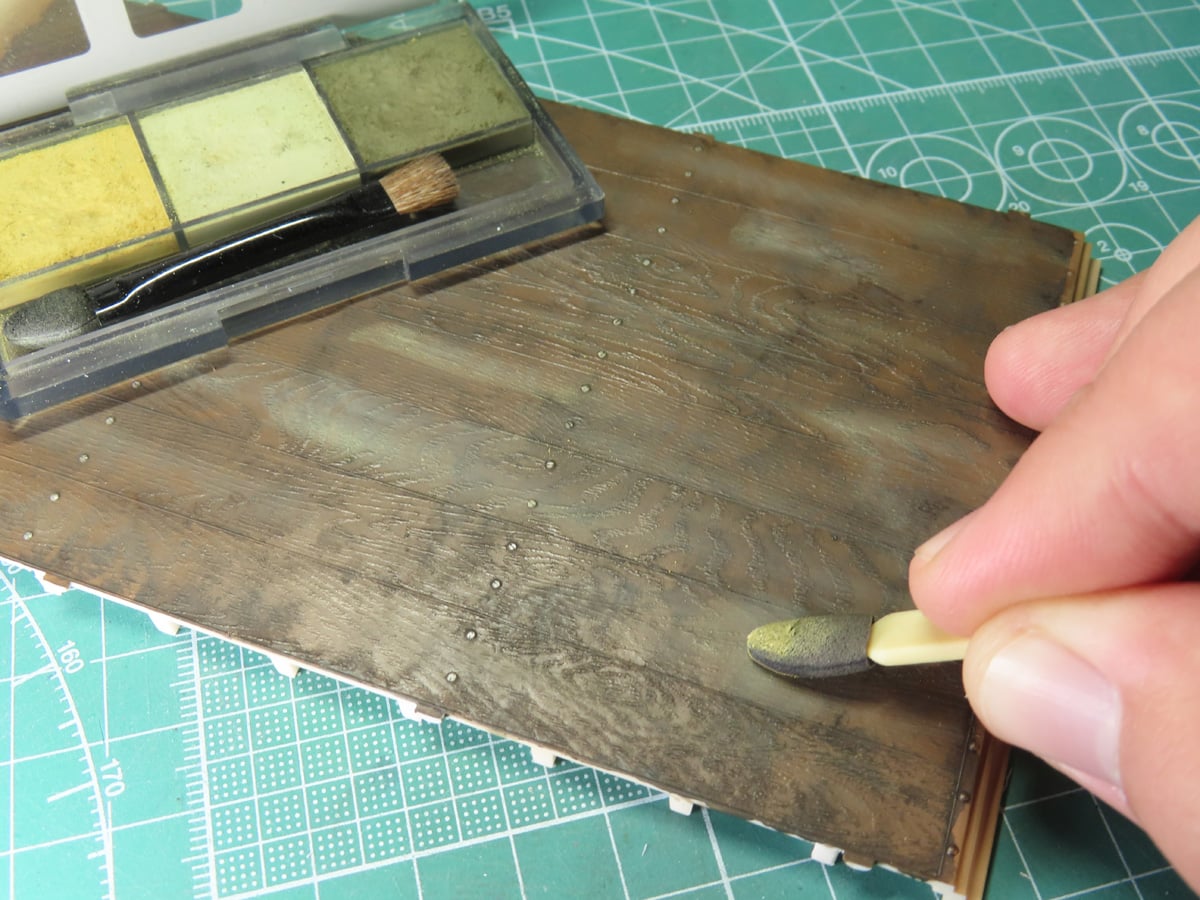
To finalize the effect, I wanted to add scuff marks from boxes being slid across. I used a sponge applicator, and I brushed some streaks using the Tamiya Weather Master Set A 87079. I used a mixture of the Sand and Light Sand Pigments, keeping a lot of the scuffs closer to the doors, as this is the area that would be the most used.
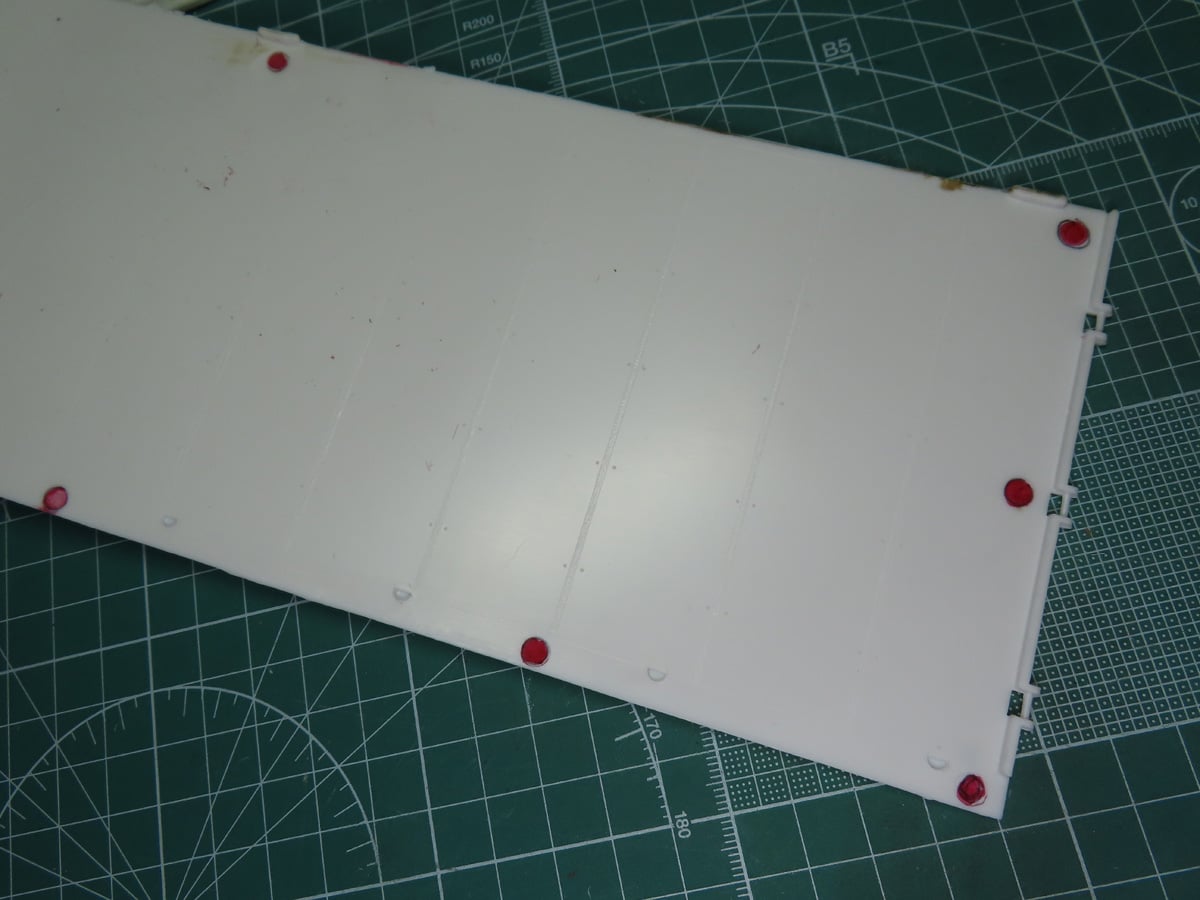
Moving to the side walls and the roof, I’d first have to remove the ejector pin marks. I’ve highlighted them in Red with a Gundam Marker. Some of these were easy to remove as they were raised, but the majority were sunken in, which required careful sanding so as not to accidentally remove the interior details.
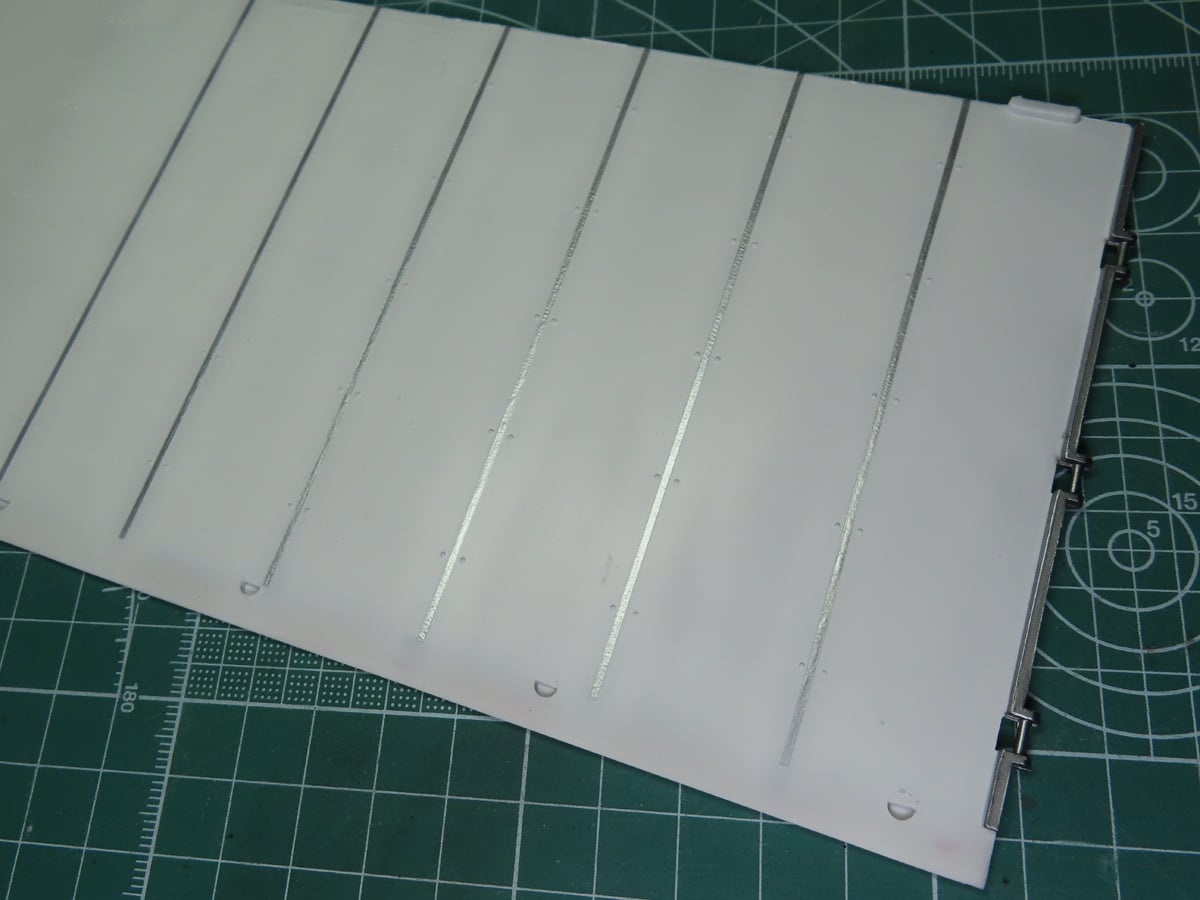
The interior walls were painted with Tamiya LP-72 Mica Silver. These thin sections were masked off with Tamiya 1mm Tape 87206. The rest of the walls were then painted with my custom mixture of Semi-Gloss White (Mr Color C1 White Gloss + Mr Color C62 Flat White).
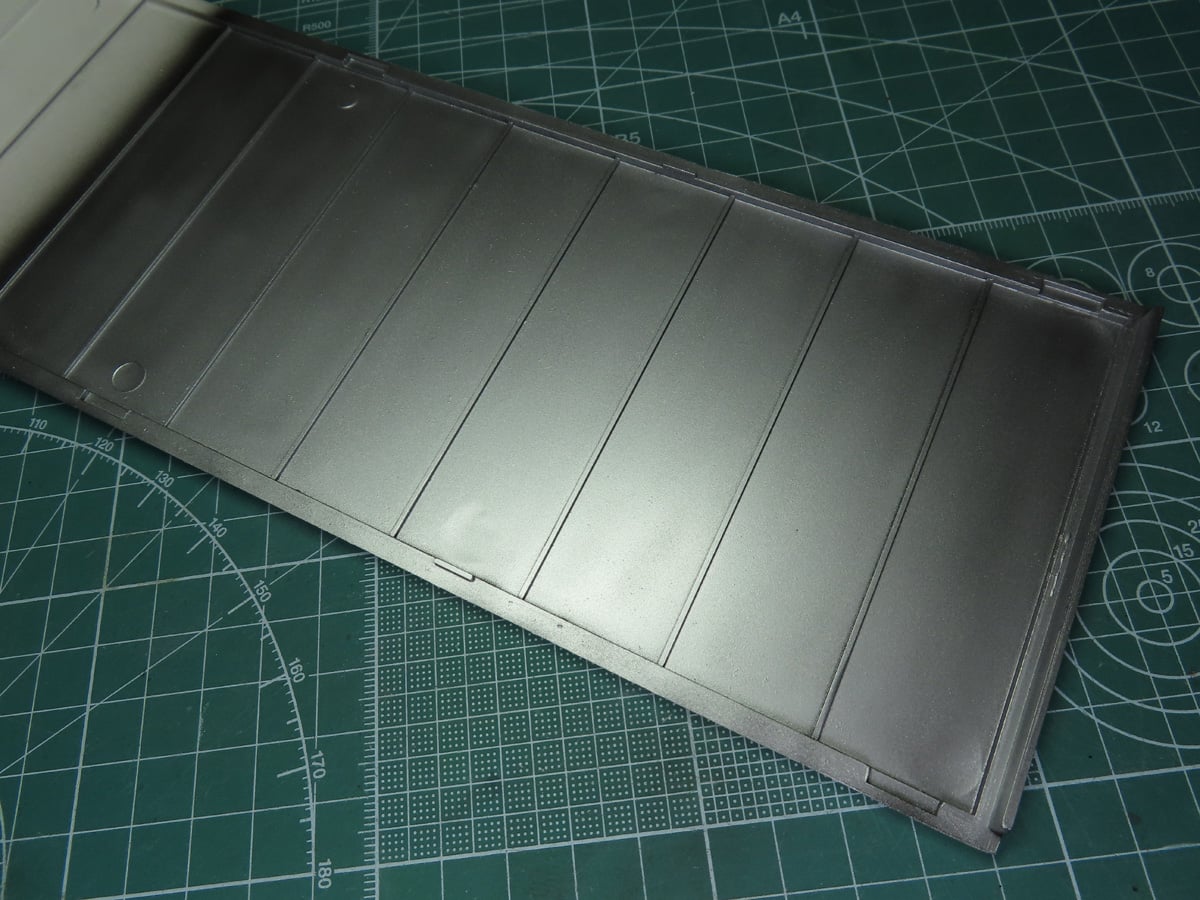
Based on the few reference pictures I gathered, the inside of the roof was natural metal. I decided to paint the interior with Tamiya LP-72 Mica Silver. This was thinned with Mr Rapid Thinner T117, which created a bright and uniform silver surface. I really like Mica Silver from projects like this, as it’s a bit more on the gray side of silver paints, and has a slightly worn effect to it.
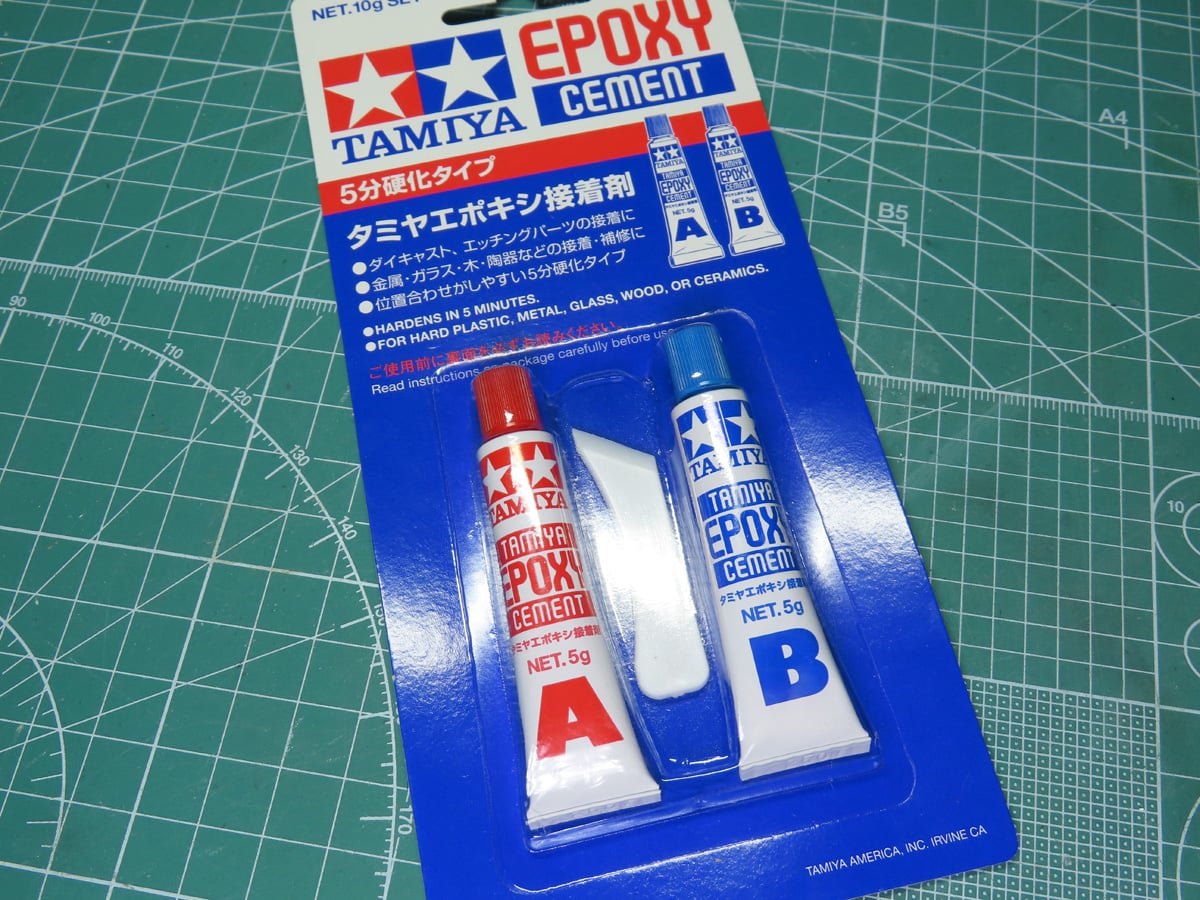
To secure the sides of the trailer together, I decided to try out Tamiya Epoxy Cement 87100, as this has a slower drying time and should allow me to get the parts together at the correct angle.
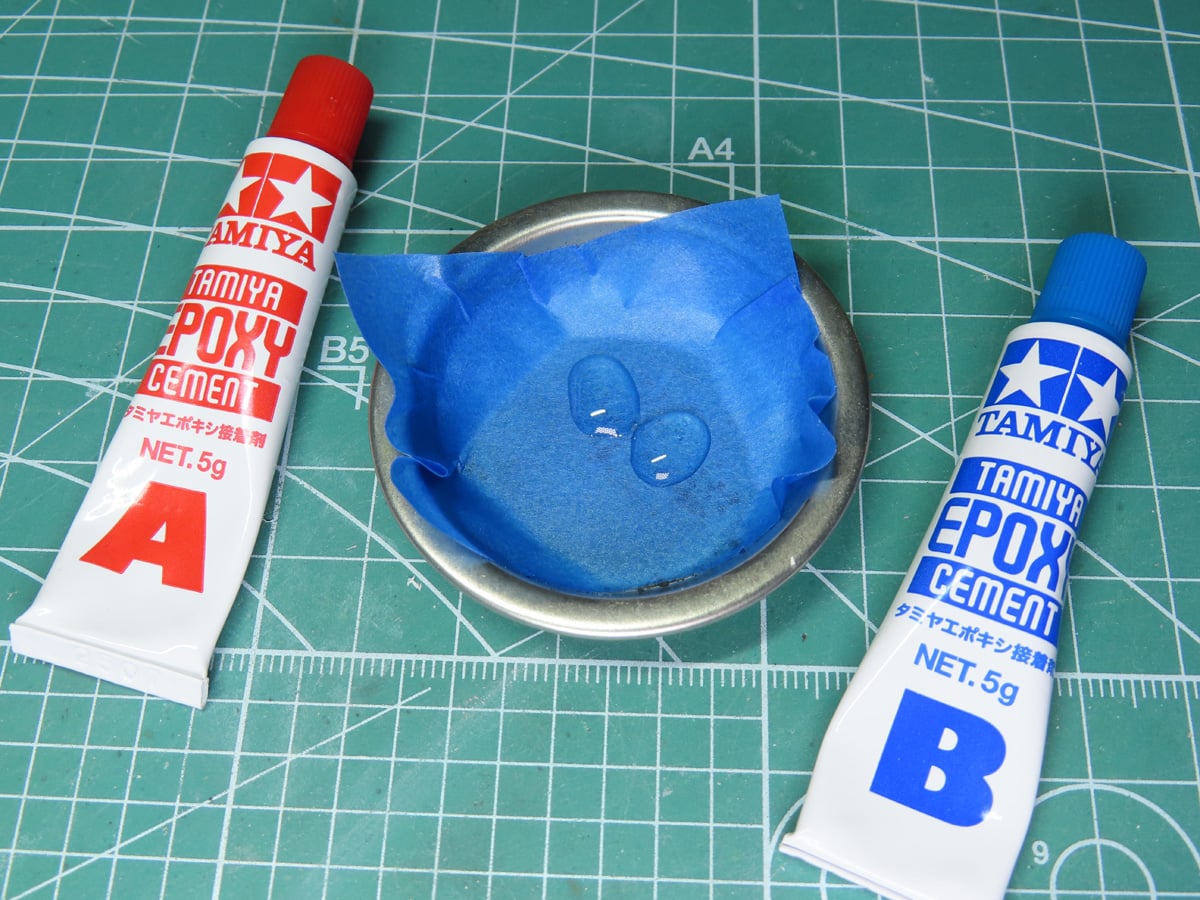
The epoxy comes in 2 halves, and you’ll need equal parts thoroughly mixed together. I used Mr Hobby Metal Trays D175. Use this in a well-ventilated room, or with a gentle breeze from a fan, as the smell from part B is atrocious.
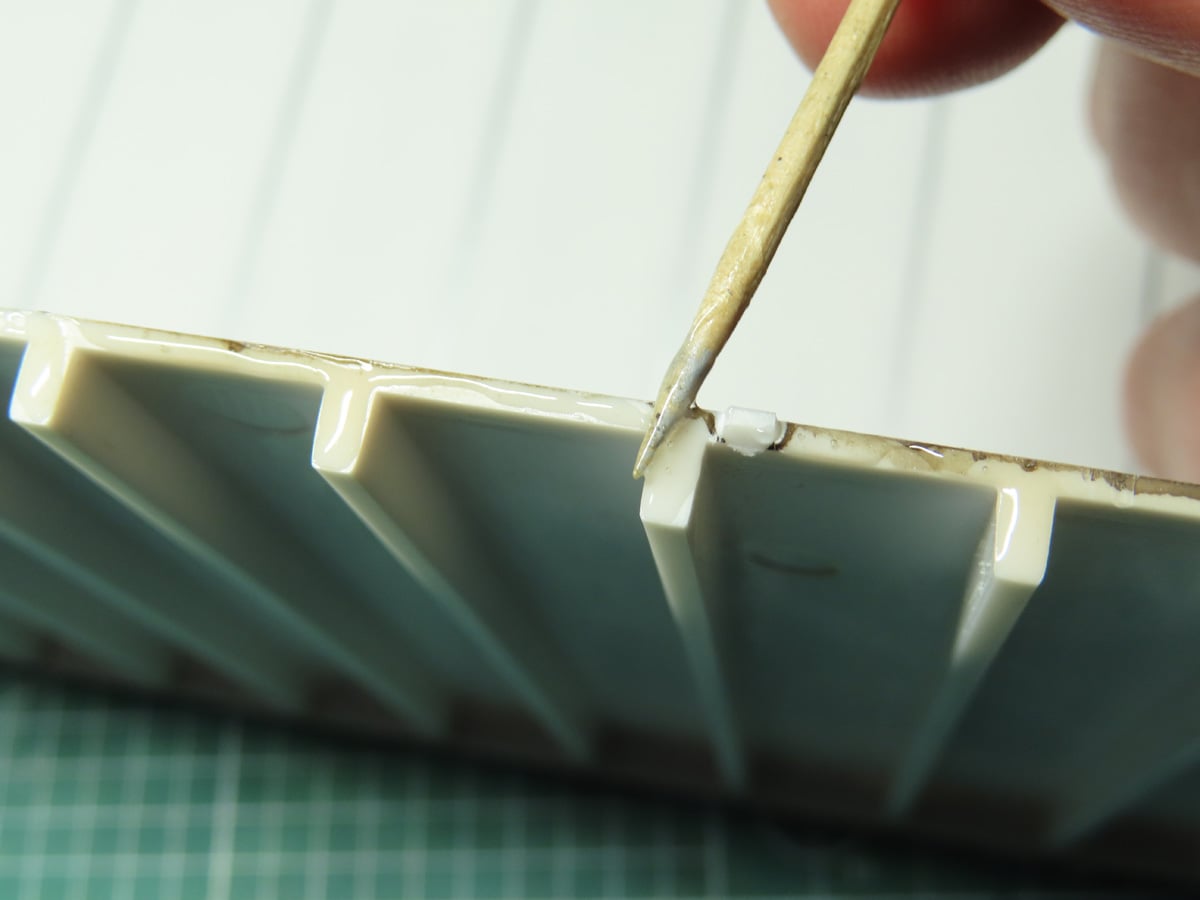
You should have around 3-5 minutes before the epoxy begins to set. This allowed me to carefully apply the epoxy to the edges of the floor section with a cocktail stick. Once it was applied, I added the wall to the floor section. I held it together for a few minutes, but it will take a good hour to fully cure.
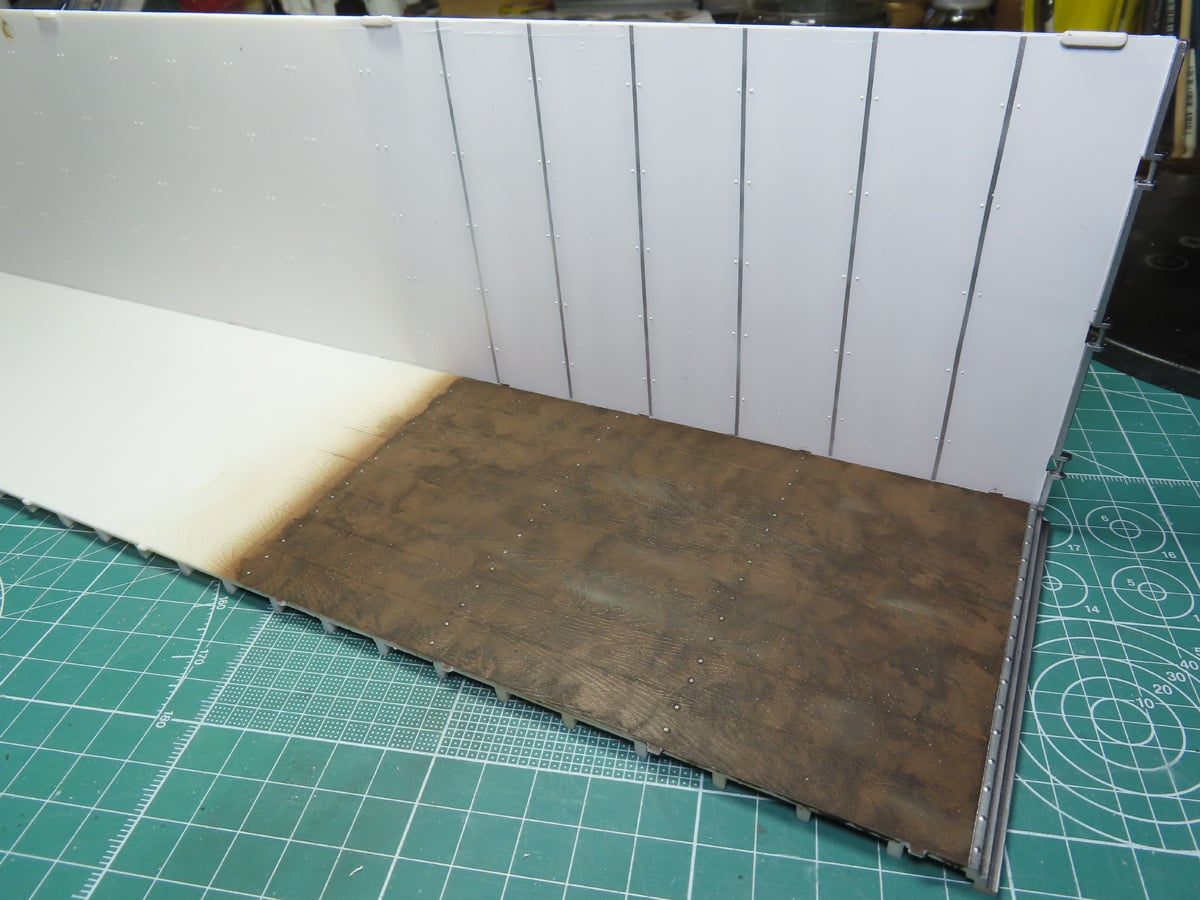
It’s a slow process adding all of these walls together and waiting for them to dry, but I’m really liking how the interior looks. Though it has been a bit of a challenging project given the size. Initially, I thought I had more space on my desk.
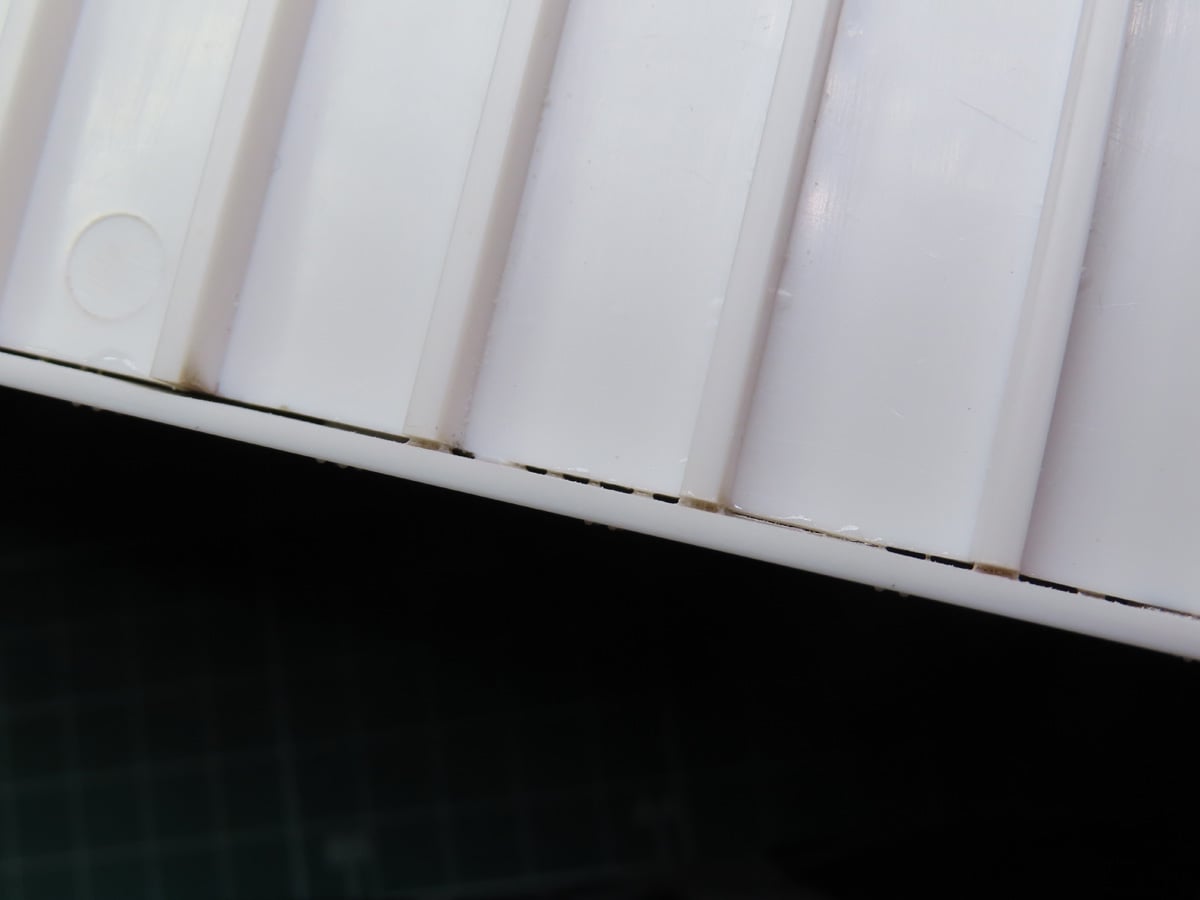
After I added the second wall, I flipped it upside down to inspect for gaps, and I discovered many gaps all along the length of the trailer.
This is when I remembered something critical about epoxy cement! As epoxy cement dries, it expands, so it needs to be clamped down to prevent this from happening, using Excel Blades Clamps 70060.
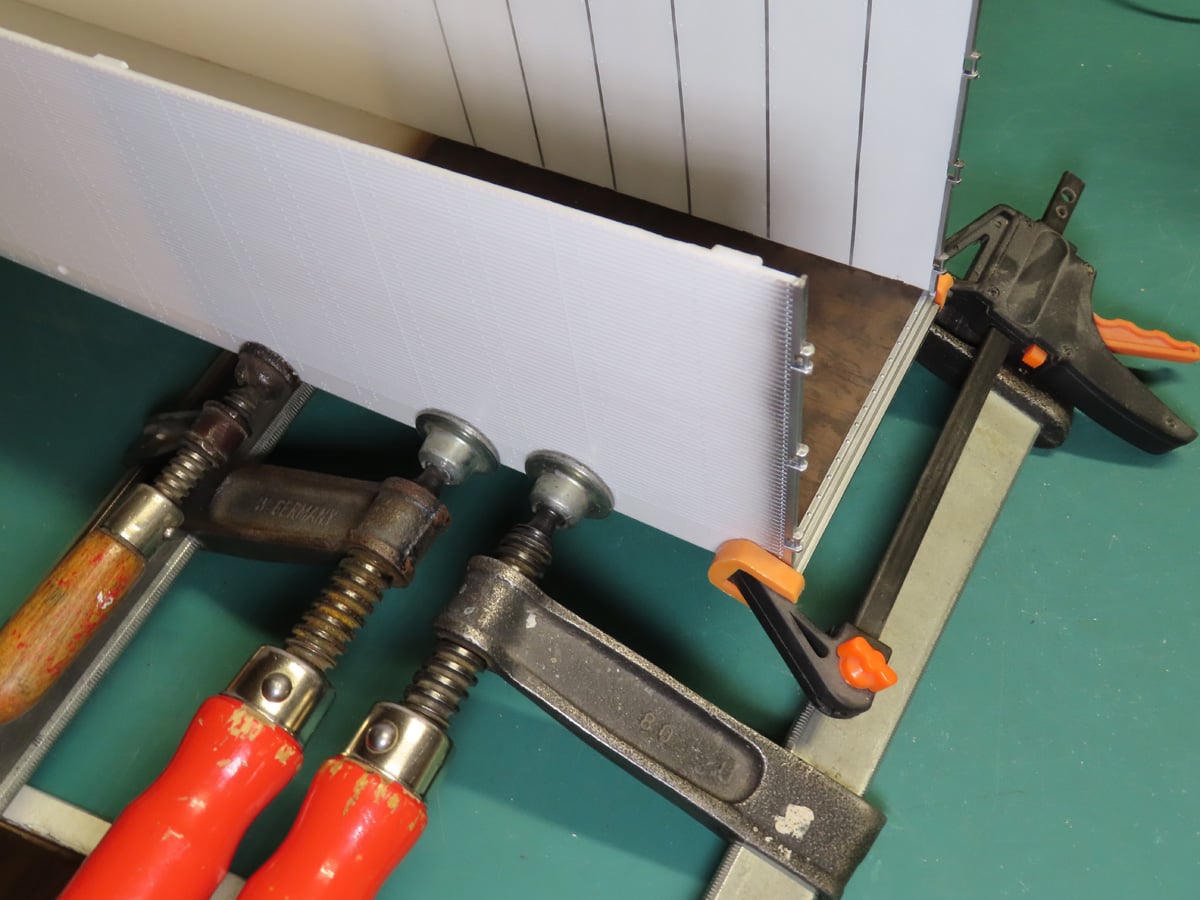
I ran for the studio as quickly as I could before the epoxy really started to set in, and I grabbed all of the long clamps available, and I carefully set them in place. It’s not the prettiest of sights, but the clamps are holding things together quite nicely, and now I can leave the trailer to dry for a few hours.
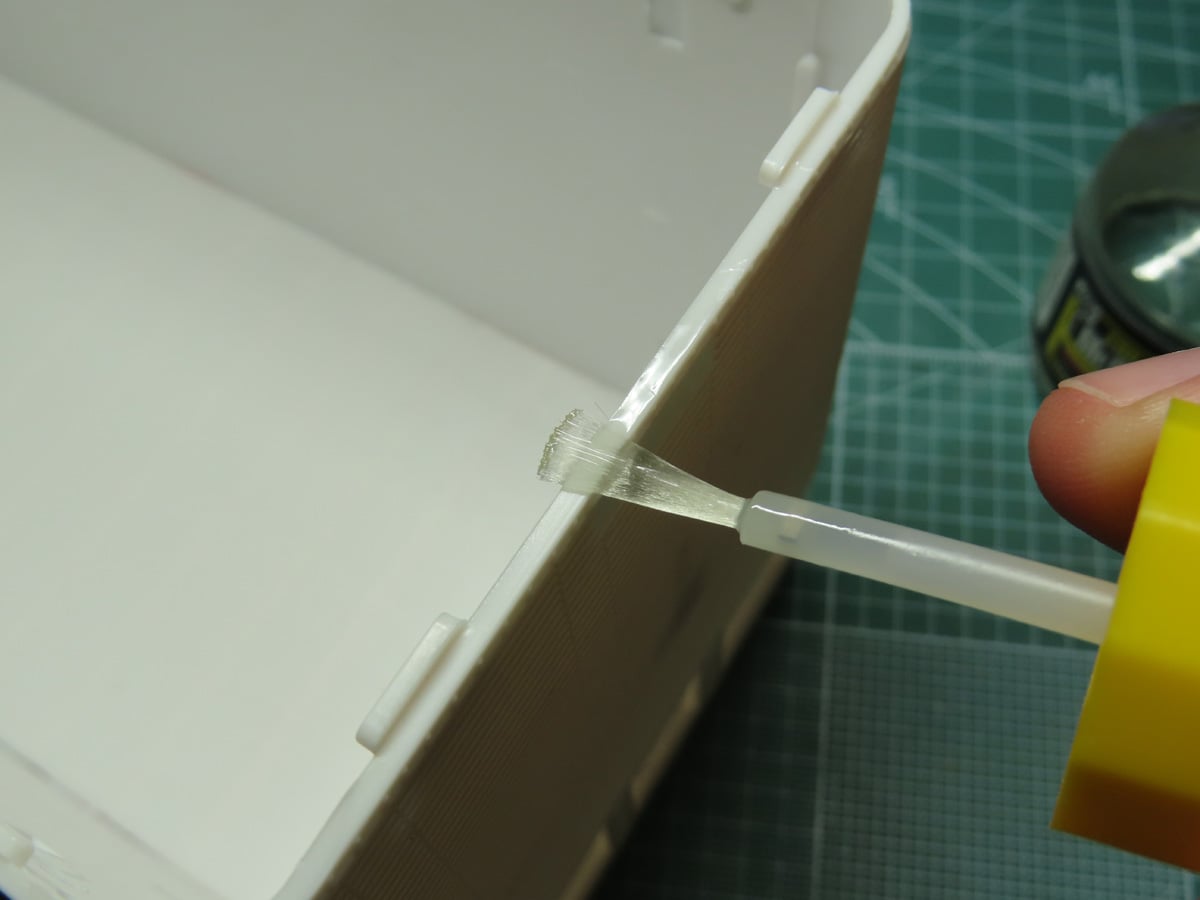
To attach the roof, I used Mr Cement Deluxe MC127 and applied it to the front section of the trailer wall. I didn’t go around the entire unit; I just needed to add on enough to keep the roof in place while I glued the rest.
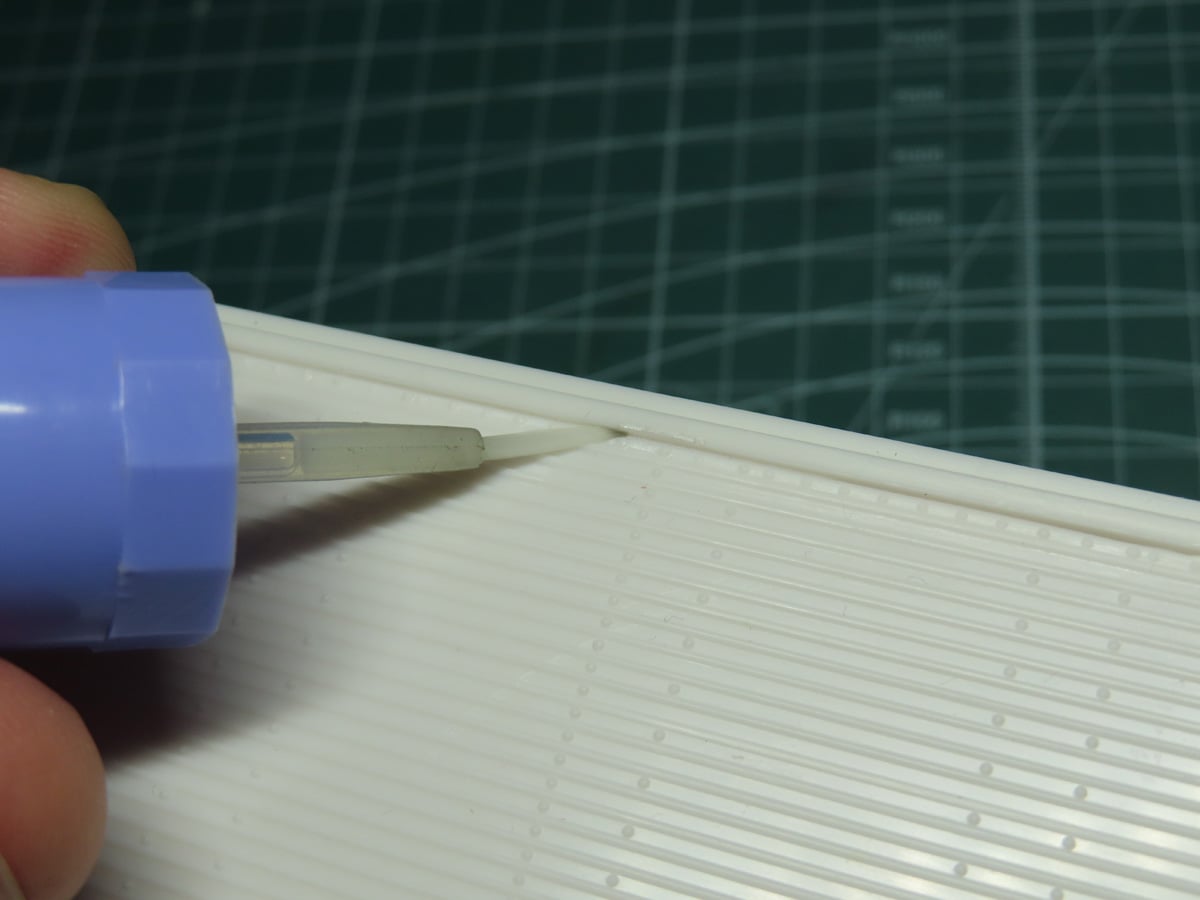
Because the sidewalls were so thin, I decided to apply Mr Cement SP MC131 all along the roof edge. I worked in small sections, making sure the joint was in the proper location, which also allowed me to apply pressure to the parts.
This was a slower process, but Mr Cement SP is a fast-acting and aggressive cement, and before I knew it, the roof was tightly bonded to the walls.
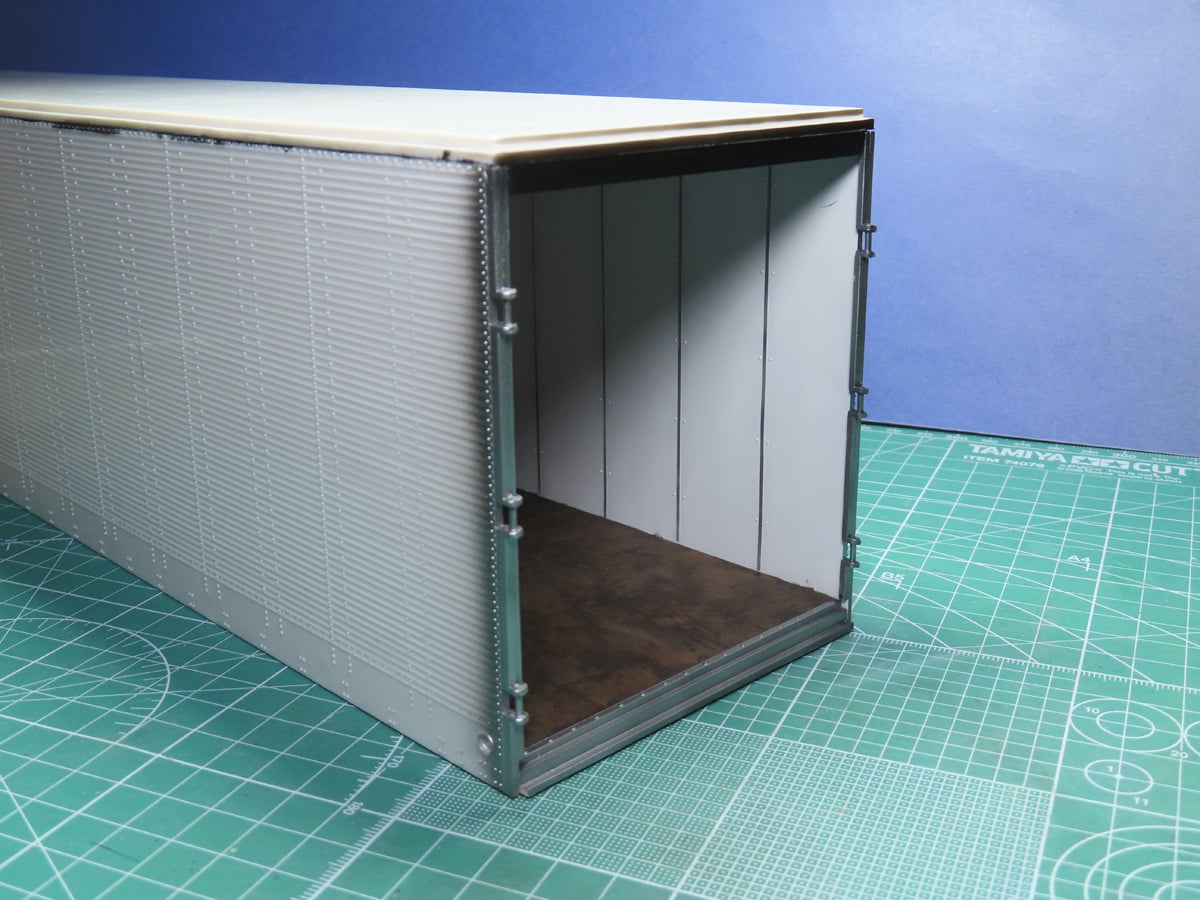
This was an interesting post, as I had a very fun time painting and weathering the interior sections. And then it quickly became a challenge getting all of the walls properly fitted to the floor. I was a bit concerned that the unit would be fragile with how thin those walls are. But now that everything is together, I was pleased to find it is a lot stronger than I expected.
I think I’m going to find a way to further reinforce the floor to the walls. Though the epoxy is strong, I had some trouble with the pegs properly aligning with the sockets. Despite my best efforts to correct this before things were epoxied together, the issue seems to remain.
But this will have to wait until next time. I’ve got a lot of painting to do now, and a lot of masking. I’m kind of nervous to see just how much tape this project is going to use.
To be continued…
About the Author:
Jared Demes is a modeler from southern Alberta. He has been building models since he was 4 years old when his Dad first introduced him to the hobby. He has written for several magazines including, Fine Scale Modeler, Scale Aircraft Modeling, Phoenix Scale Models, and others. He has an interest in all modeling subjects, with a focus on WWII Japanese aircraft and Science Fiction.
Jared has won several IPMS awards for his modeling, and currently operates his YouTube channel rebelsatcloudnine, where he showcases model builds and product demonstrations.