

Strengthening the Trailer
This is the third part of the AMT Fruehauf FB 40 Foot Reefer Trailer Watkins 1/25 Scale 1421
After the epoxy cement had dried, I still wasn’t totally satisfied with the strength of the trailer, and so I wanted to try to reinforce the underside a bit more. This was a challenge as I wanted to add some styrene to the underside, but my styrene was limited at the moment, so I had to use what I had.
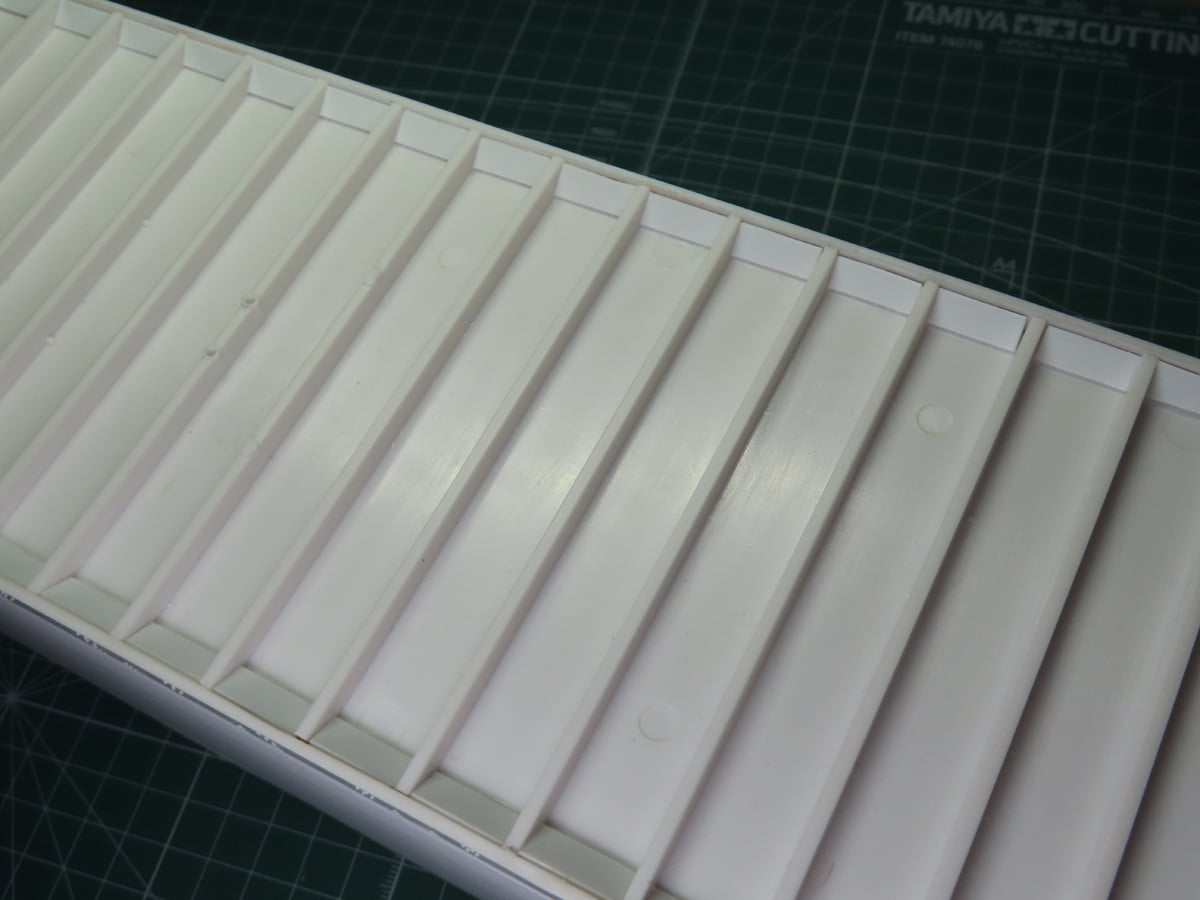
I cut some thin strips of 1.0 mm styrene and placed the small rectangles in between each of the cross beams. These small plates would rest on the lower section of the side wall and the bottom. It took a while, and I had to cut and fit 56 of them, but once the glue had dried, I was very pleased by how much stronger everything was.
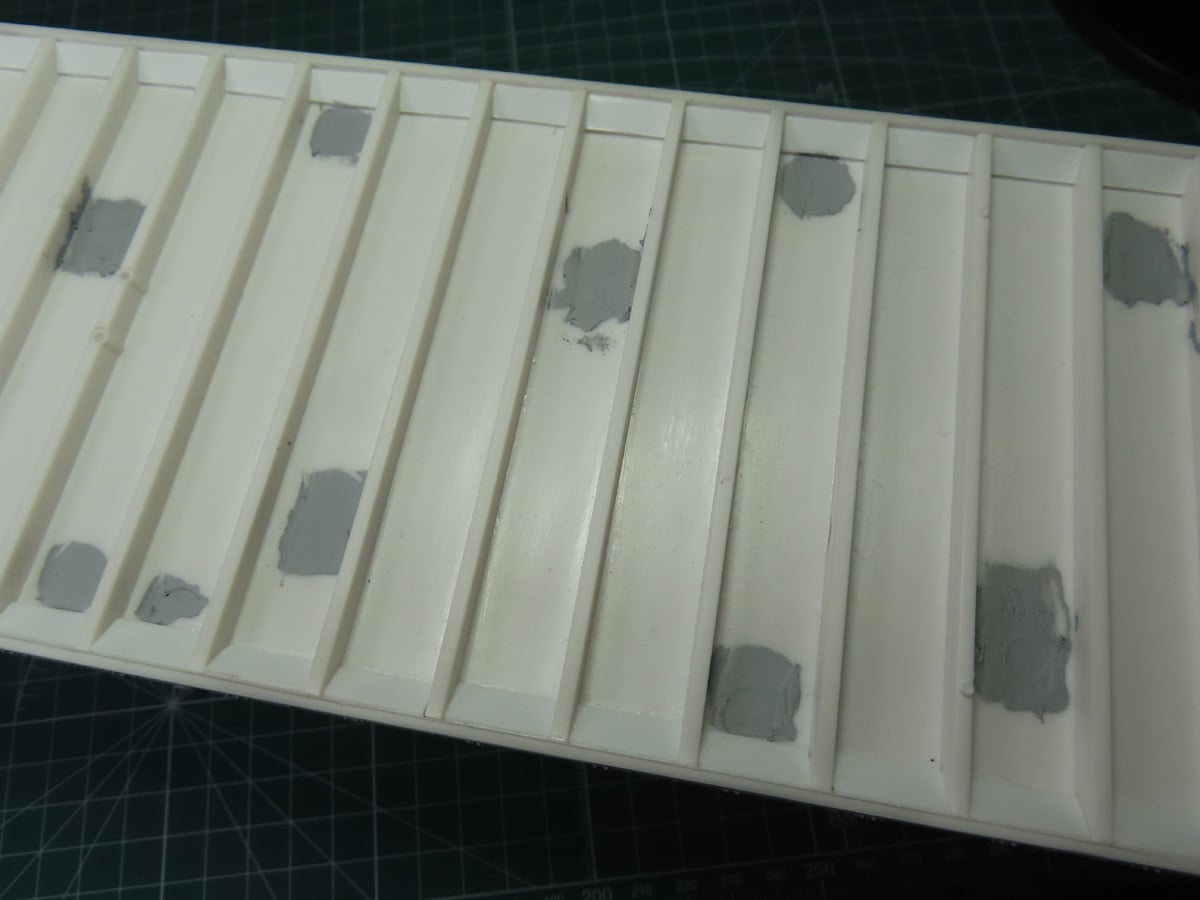
Next, I filled in the 20 ejector pin marks with Tamiya Putty Basic Type 87053. This is a lacquer based putty, and it will shrink a bit as it dries. I left the putty to dry for a few days to fully cure; if you sand it too soon, the putty on the inside might not have had enough time to dry and will shrink further. This could require another layer of putty.
Acrylic putties are very popular with many modelers, as they dry fast, don’t shrink, and aren’t as harmful as lacquer based fillers. But the one big advantage lacquer based putties have is that they will eat into the plastic a bit, and this will create a nice surface to sand smooth and polish.
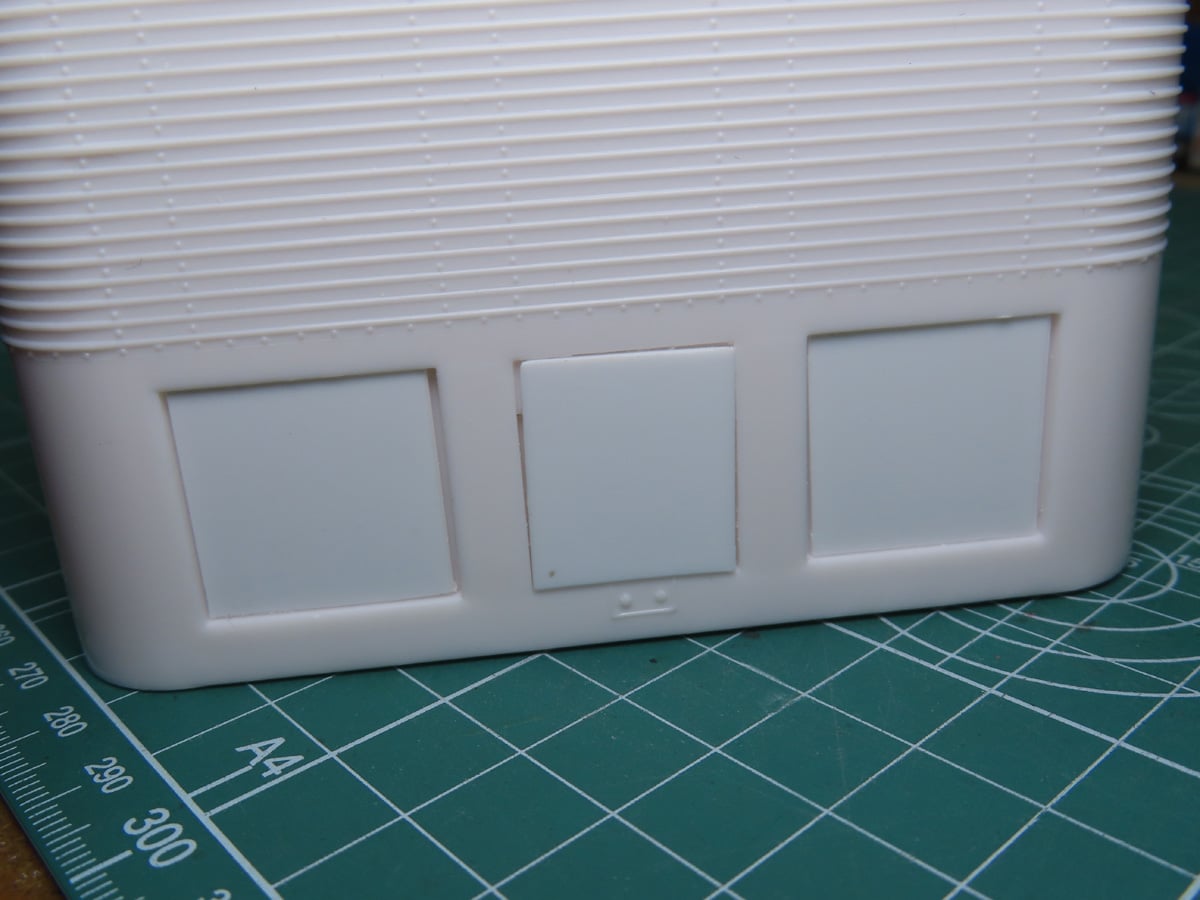
Moving to the front of the trailer, I again used the 1.0 mm styrene to cut out small squares to fill in the sections where parts of the refrigerator would be applied.
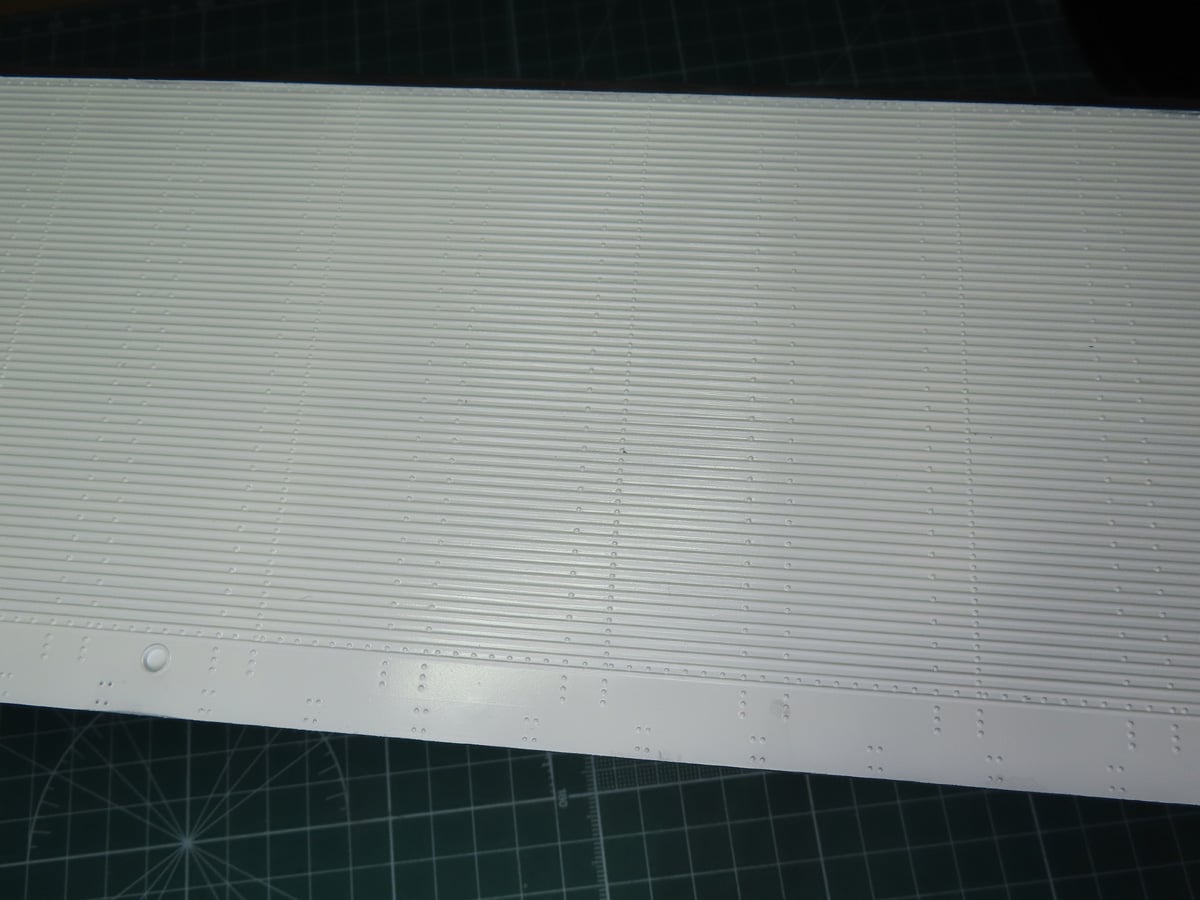
Now came the part that took up a lot of my time, and I knew that it would. I first sprayed the outer sides of the trailer with Tamiya Liquid Surface Primer Gray. This was a challenge as the unit is large and awkward to hold while the paint is still wet. I sprayed in small sections, and slowly, I had the trailer painted.
Now the real challenge… painting a nice uniform white. I used Tamiya LP-2 Gloss White as this would match the Kenworth Aerodyne. Just as I had done with the primer, I painted in small sections and in thin layers. It took me 4 coats, and I used 1 and a half bottles of paint, but I eventually had everything evenly coated in a nice uniform white.
Each coat took me about half an hour to apply, so with the primer, I spent 2 and a half hours on this. I can now, in hindsight, admit that this would have been easier with some spray paint, but I also thought that my 0.3mm airbrush was going to be enough to evenly paint a subject of this size. I also underestimated how much of a challenge applying this white was going to be. But it’s important to get this right at this stage before the rest of the exterior markings will be applied.
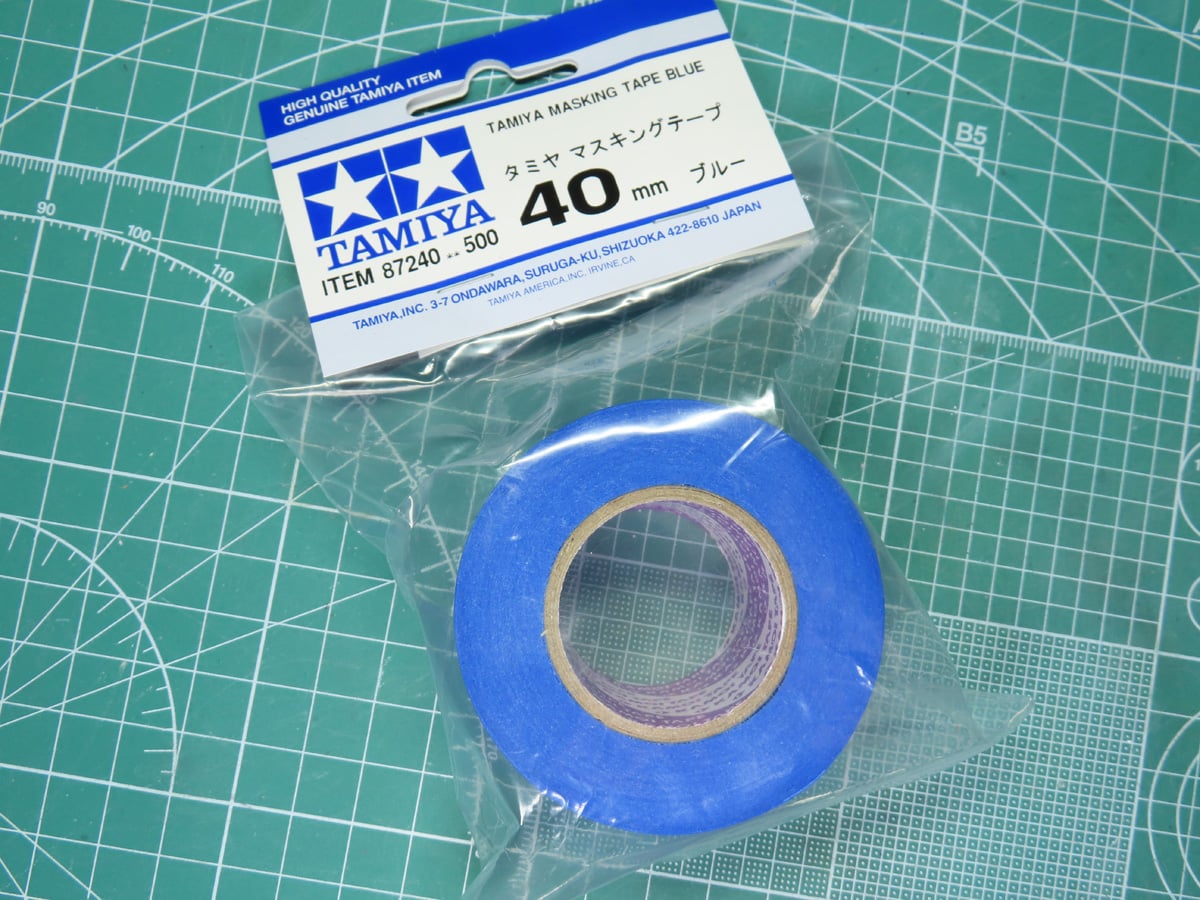
Given the size of the project, I was going to need a lot of tape to cover up the white sides. I decided to try the new Tamiya 40mm Blue Masking Tape 87240.
I had used their older wide tape in Yellow, but I didn’t like it that much. I found that after a while, especially in the dry winter, the yellow tape would begin to lose tack and lift, so I was interested to see how this tape fared in comparison.
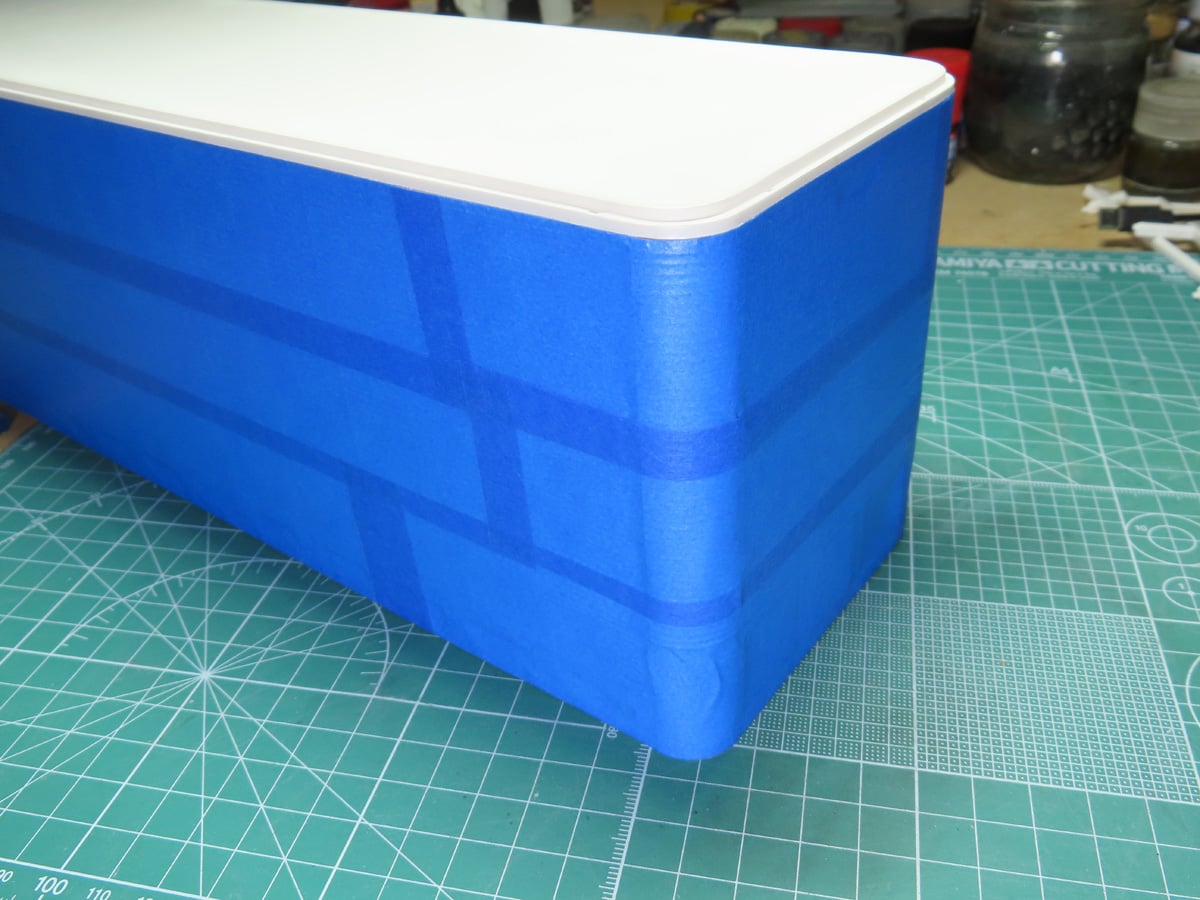
Masking the trailer took no time at all, and now I’m set for painting. I was a bit worried that with the corrugated texture I would have a lot of gaps in the tape. But I’m pleased to report that the tack in this tape is very good, a lot nicer than I expected. I like this a lot more than the older yellow version, though I have yet to see how well it will hold up during a dry winter.
Lastly, on a minor note, I was pleased to see that the edges of the tape were sharp and straight. One of the reasons I don’t use painter’s tape anymore with modeling projects is that many painter’s tapes can have slightly frayed edges, which can ruin a straight and crisp line on a project.
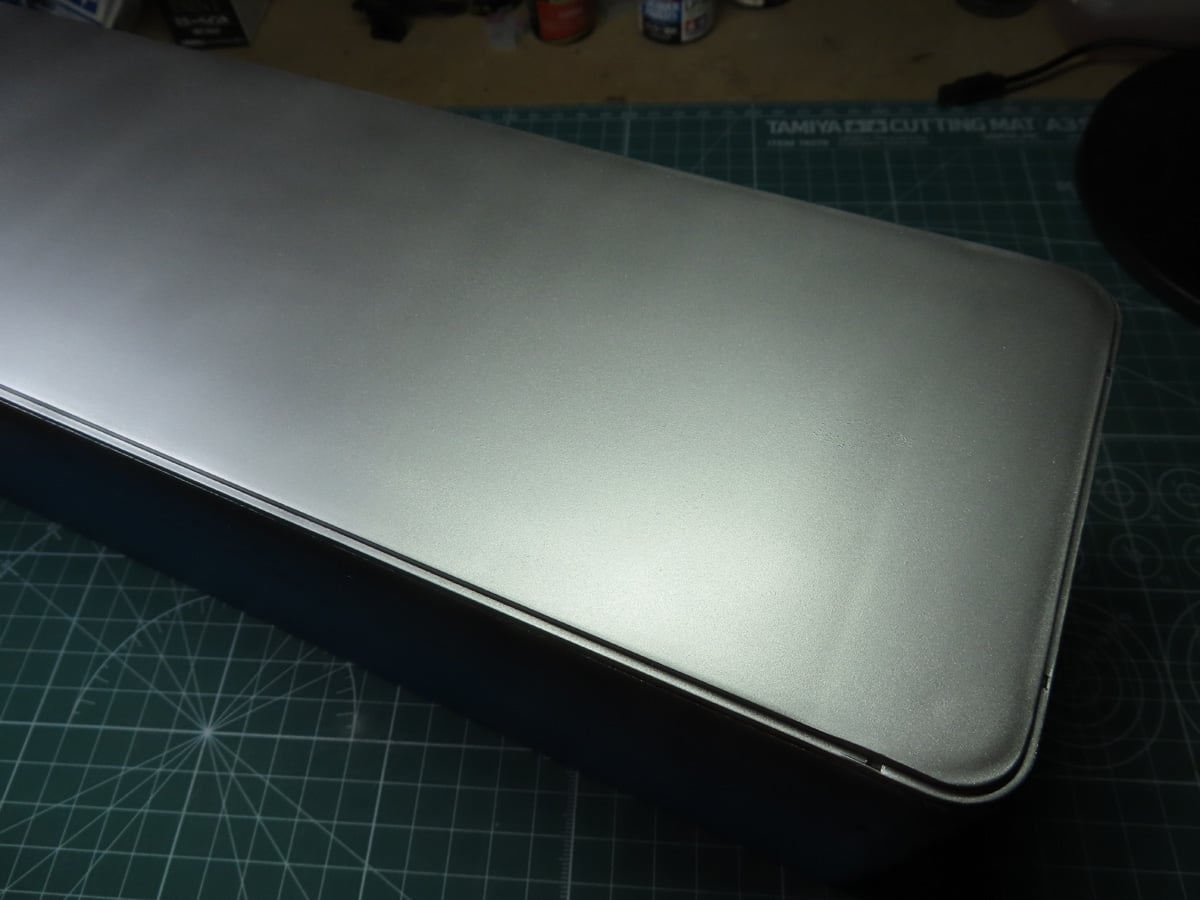
Both the roof and the underside of the trailer were first primed with Mr Finishing Surfacer 1500 Black. This is an excellent base coat primer before applying silver; however, Mr Color C92 Semi-Gloss Black and Tamiya LP-5 Semi-Gloss Black will work as well.
I sprayed Tamiya LP-72 Mica Silver, thinned 50-50 with Mr Rapid Thinner T117. Mr Rapid Thinner works with metallic paints to create a unique, uniform sheen by rearranging the molecules in the paint.
I ran into a slight issue as the paint came out rather splotchy and uneven. I decided to let the paint dry for a while, and afterwards I sanded it smooth with Tamiya 1500 Sanding Sponge. Not aggressively, just enough to smooth out the paint.
Once everything was sanded to my satisfaction, I applied another light coat of the Mica Silver, and this brought everything together in a beautiful, even coat.
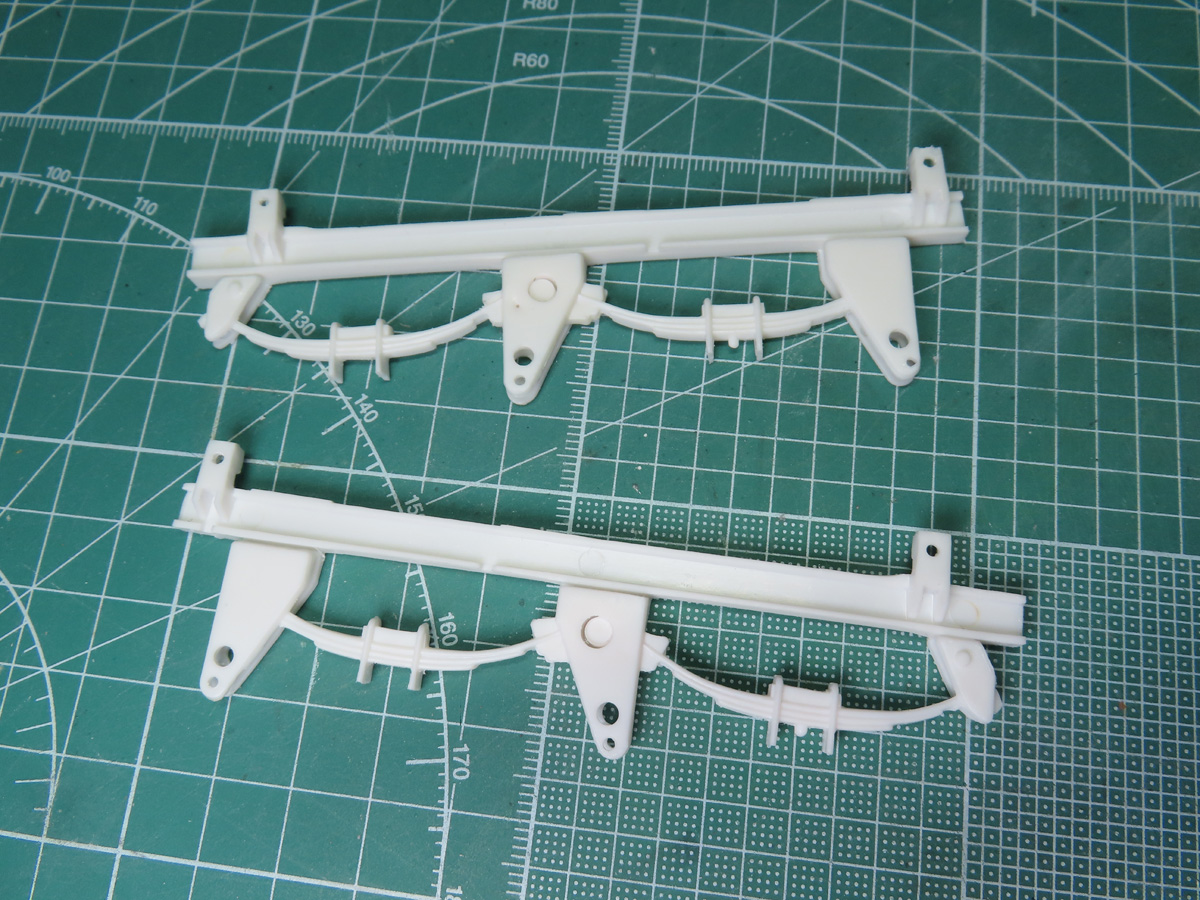
Now that the bulk of the painting was completed on the trailer, I began work on the suspension. The parts were covered with flash and seam lines, so cleaning took a while.
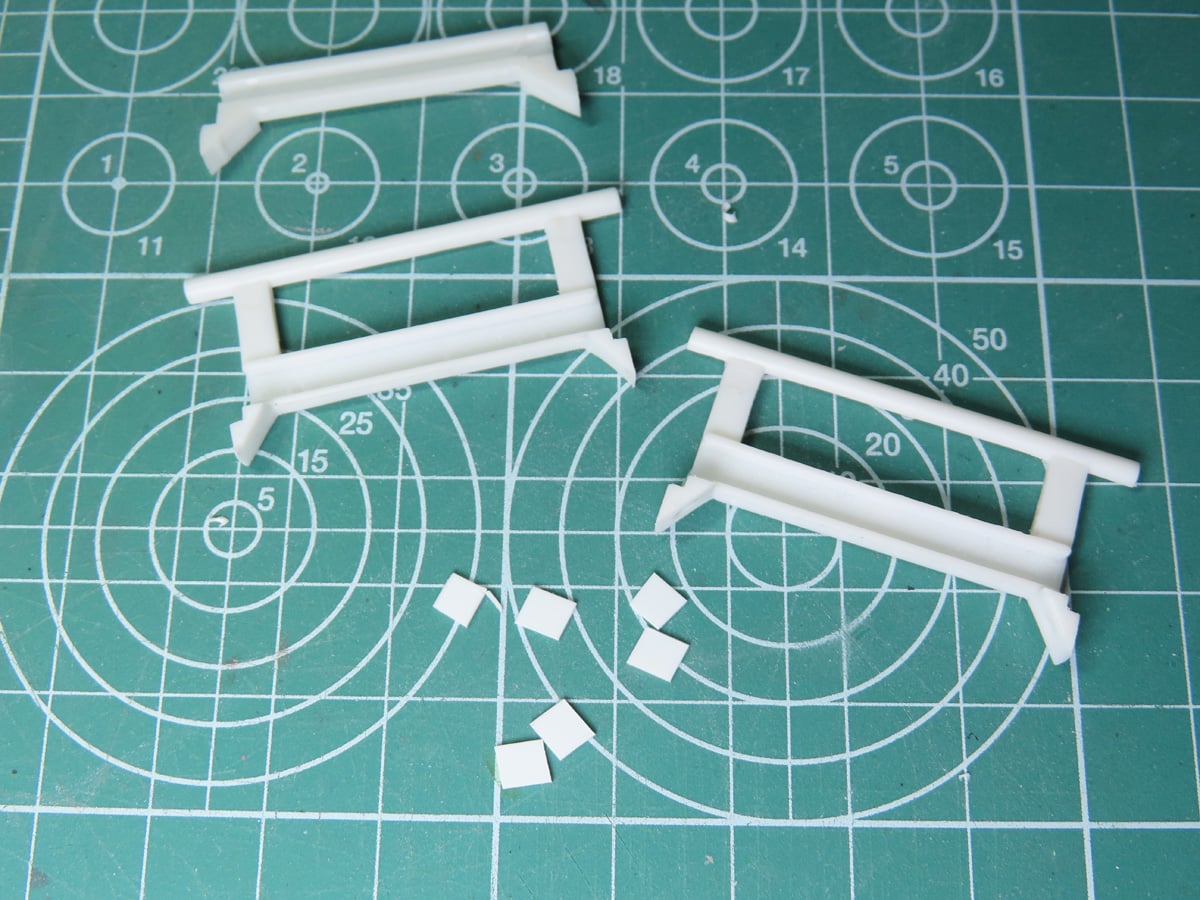
The center bracers didn’t fit too well, so I added small squares of styrene (0.5mm) to each of the bottom corners. Once these squares were dry, I sanded them level with the corners, and I was able to easily glue them to the frame for a strong joint.
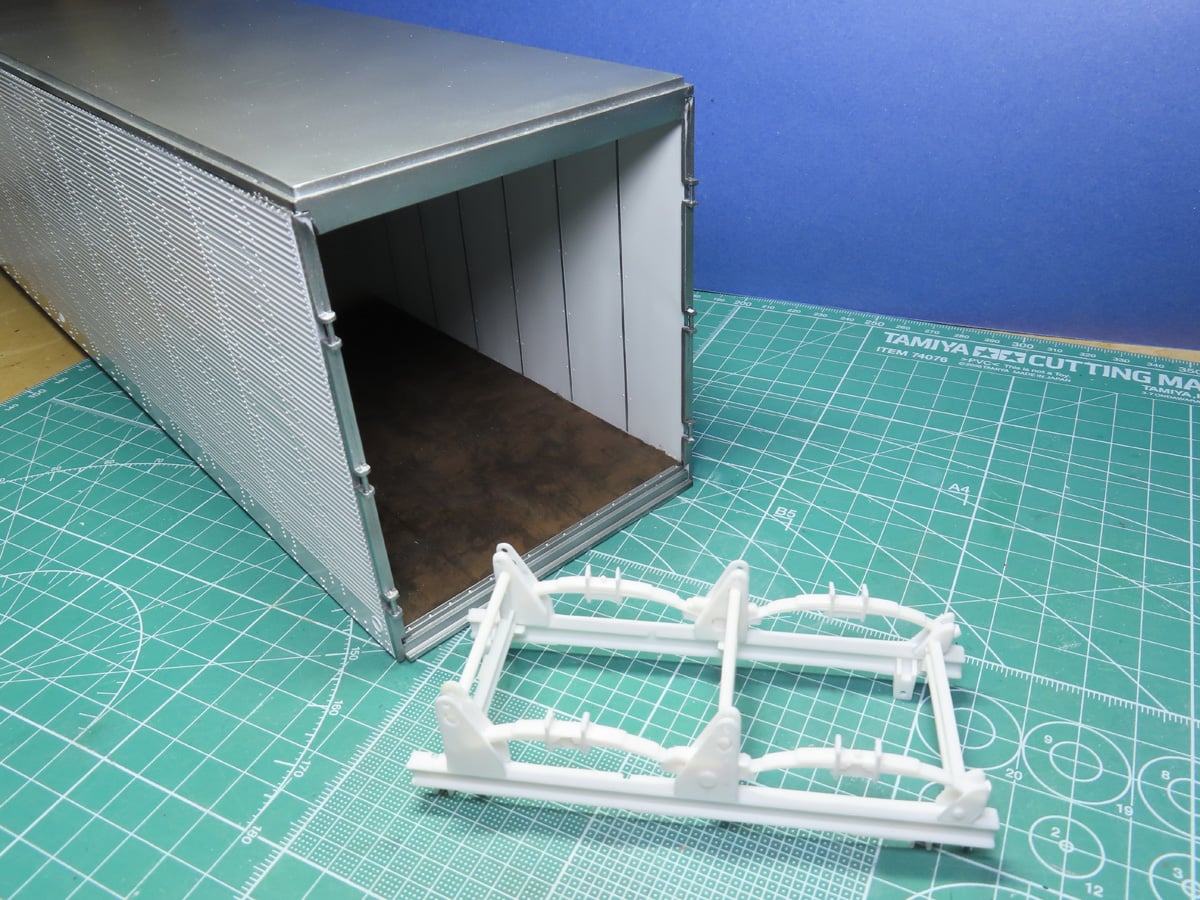
And this is as far as I was able to get this week. It seems like not too much got done, but the painting took a lot of time, and it needed to be done properly before I moved on and began working on painting the details to the exterior.
I’m still prepping for that, and I’ll leave the trailer alone for a week or so to help harden up the Gloss White, and hopefully I won’t have any ghosting.
I’m going to assemble and paint the rest of the parts for the underside and then add them all together once painting the trailer has been completed. I’m also glad I spent all that time reinforcing the underside, as that added strength helped when I was holding the trailer and all of that masking. It was a tedious process for sure, but worth the extra time.
To be continued…
About the Author:
Jared Demes is a modeler from southern Alberta. He has been building models since he was 4 years old when his Dad first introduced him to the hobby. He has written for several magazines including, Fine Scale Modeler, Scale Aircraft Modeling, Phoenix Scale Models, and others. He has an interest in all modeling subjects, with a focus on WWII Japanese aircraft and Science Fiction.
Jared has won several IPMS awards for his modeling, and currently operates his YouTube channel rebelsatcloudnine, where he showcases model builds and product demonstrations.