

Final Assembly
This is the eighth part of the AMT Kenworth Aerodyne Cabover Tractor Truck 1/25 Scale 1463
Before I could assemble the truck, I still needed to chrome some more of the parts. A friend of mine had recently been painting a bright silver, and I was really impressed with the almost chrome like appearence he had achieved.
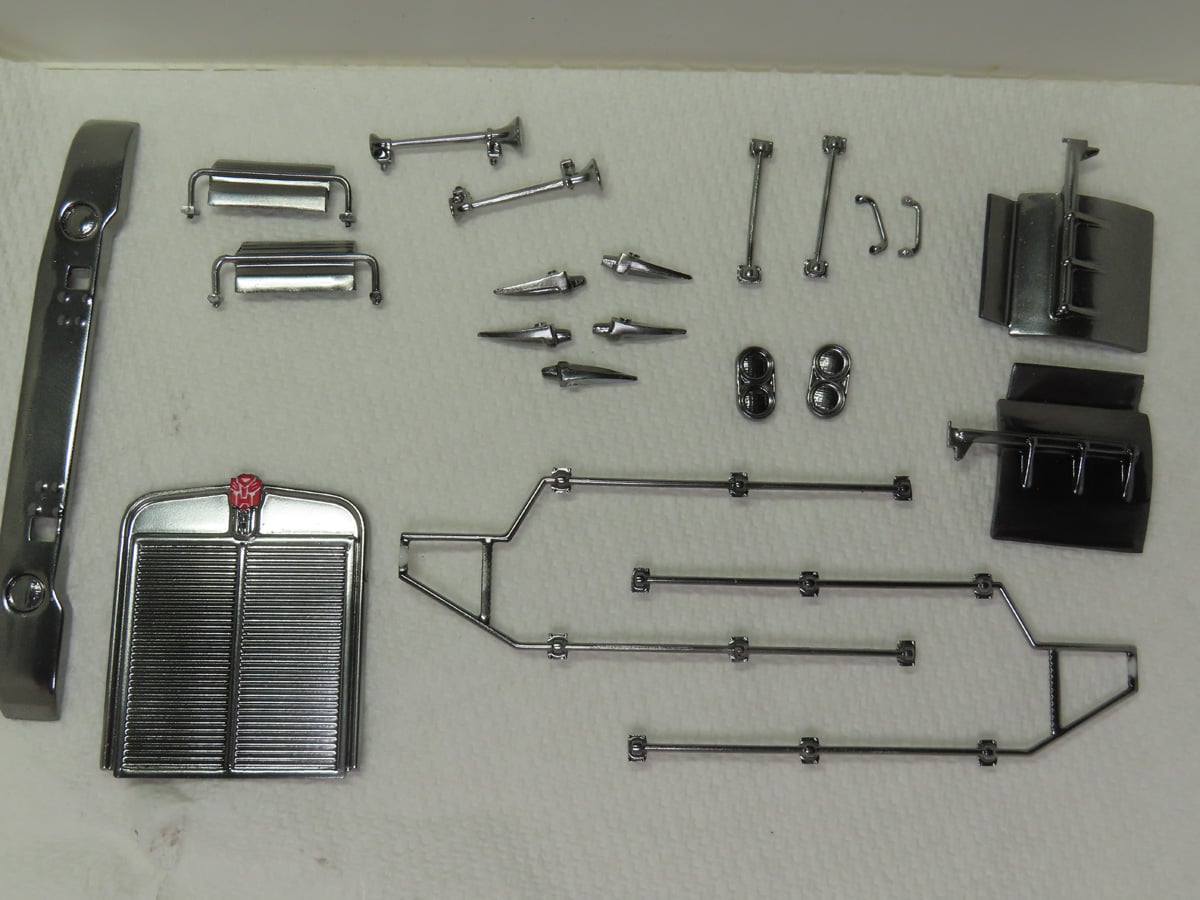
Turns out he was using Mr Color GX2 Ueno Black. He sent me a bottle, and I was very eager to test it out on the remaining parts. It’s a lacquer paint, and I sprayed it on as I would any other Mr. Color paint. I achieved a very nice shiny gloss, which I expected to diminish as the paint was very wet, and the gloss would lessen a bit as it dried.
But when I returned, I was delighted and surprised that the gloss hadn’t dulled as much as I thought and was still very reflective.
Excited by this new development, I quickly set out to begin spraying the Alclad Chrome ALC 107. And with that Ueno Black, I had a much brighter and more reflective chrome than I’ve had with previous attempts. At the moment, Ueno Black is difficult to find, but if you see some, I highly suggest you buy some as a base for reflective silvers or chrome.
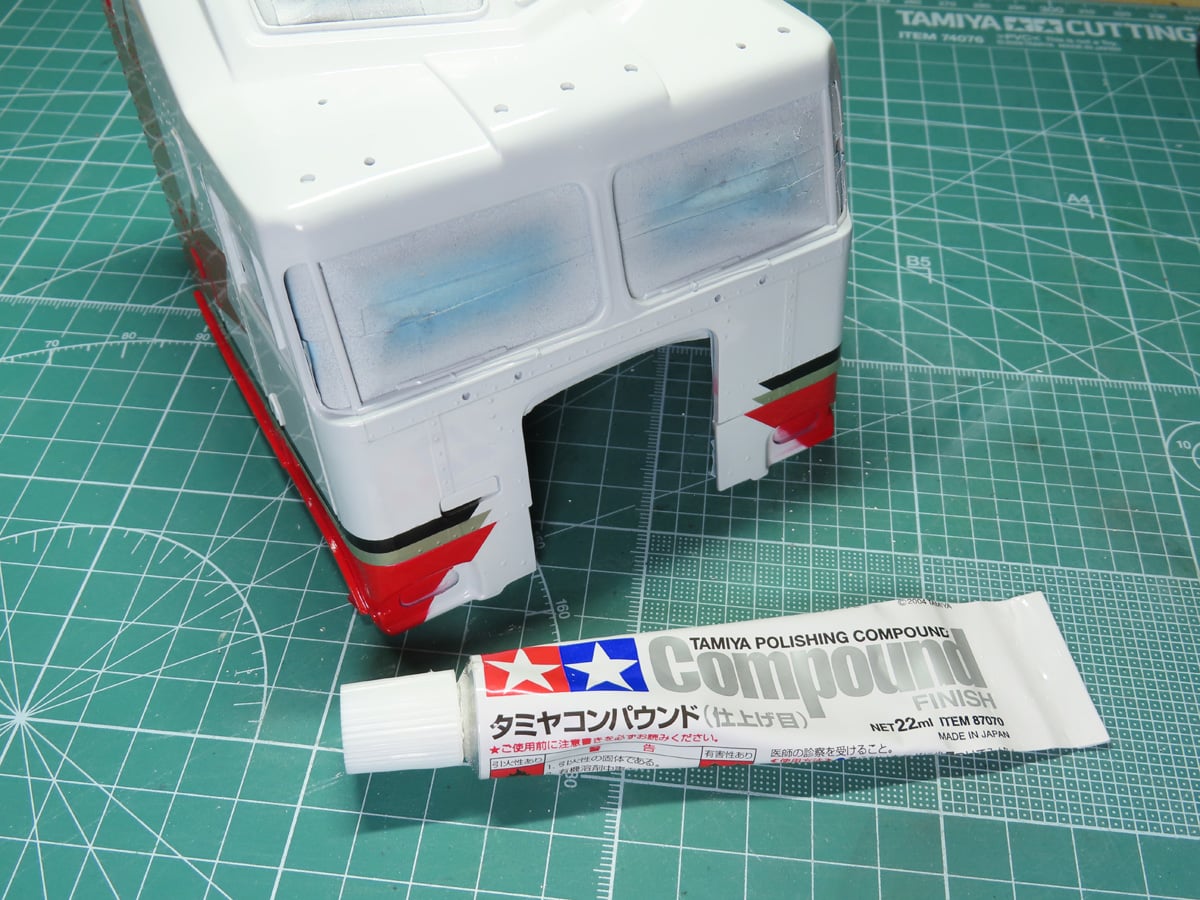
In the previous post, I last sprayed the body with Mr Color GX100 Super Clear III, and I left it alone to harden out before I began a final polishing.
As I examined the body, I was rather impressed with the results of the Super Clear III, and so I decided to forgo the usual process of polishing through the various grades of Tamiya Polishing Compounds, and instead I decided on a good polish with the Finish Compound 87070.
I had to be very careful with polishing this body as there are a lot of raised rivets, and if I polished too aggressively, I could easily strip the paint off and have to touch up the paint.
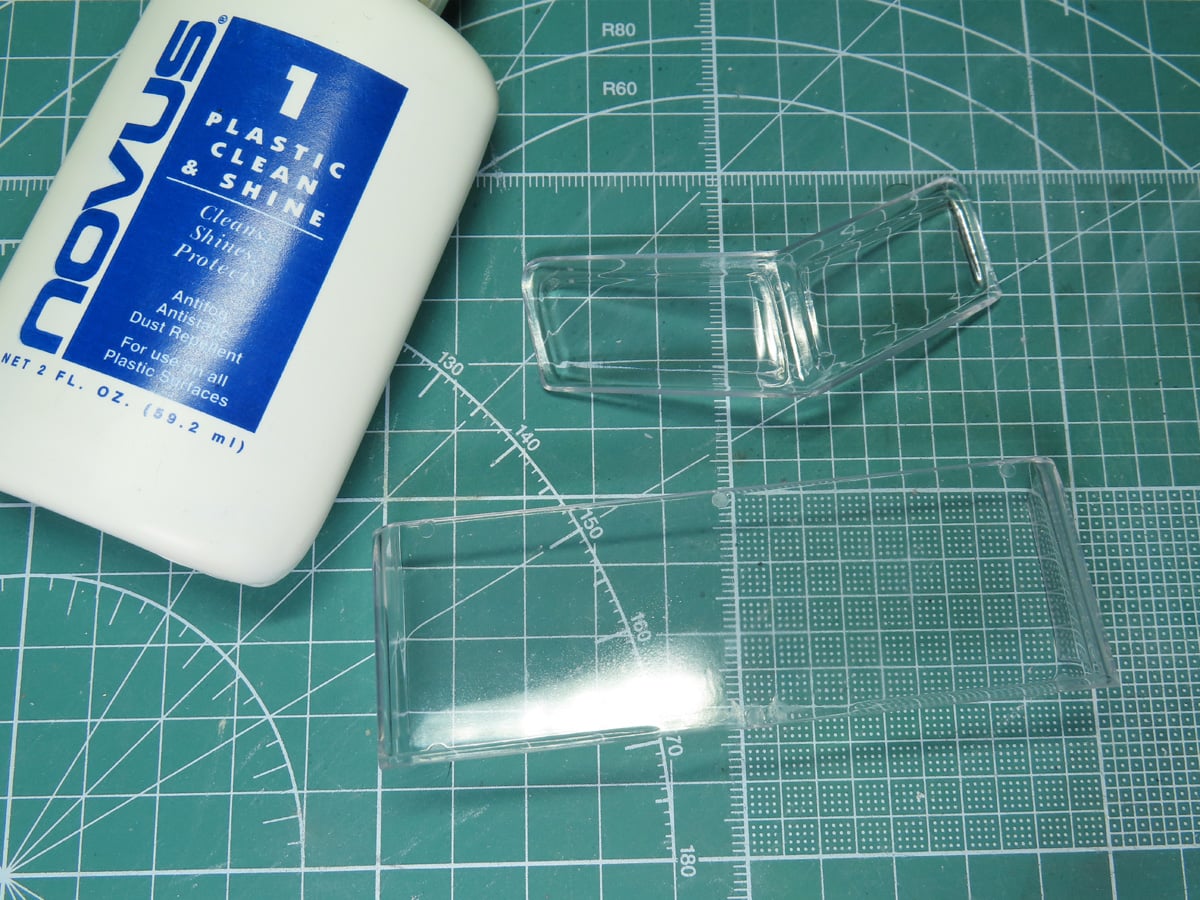
Before I installed the clear parts, I decided to give them a good cleaning. I use Novus 1, as this cleaner will brighten up the clear parts, but it also leaves a protective coating that will help to repel dust and static.
I use a cotton bud, and on one end I’ll pour a few drops of the Novus, and spread it around the parts. Then with the dry end I’ll go around and polish the plastic, until it leaves a nice squeaky clean finish.
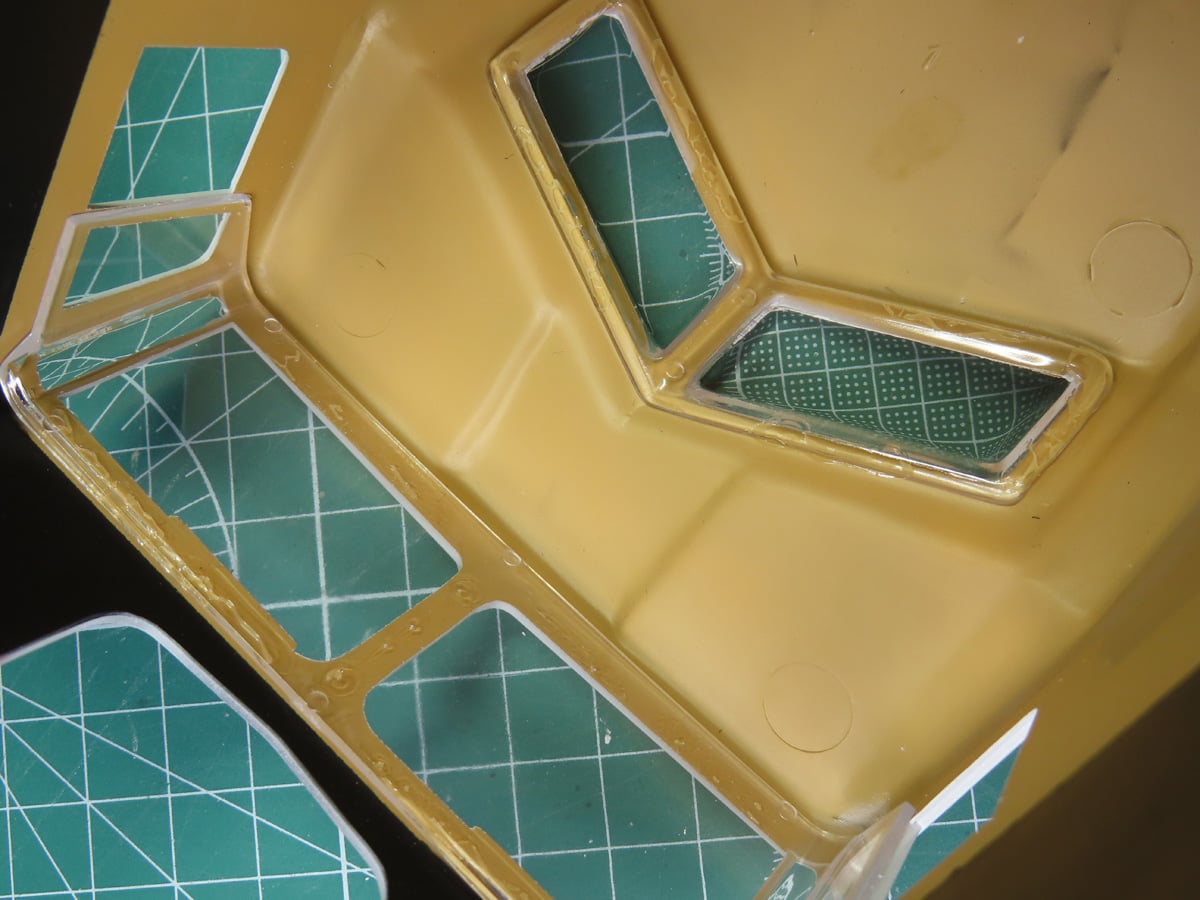
I carefully glued in the clear parts with Tamiya Multipurpose Cement 87188. I like this cement, but it takes a bit longer than I’d like for it to start setting. However, once it starts to harden, it provides a surprisingly very strong bond.
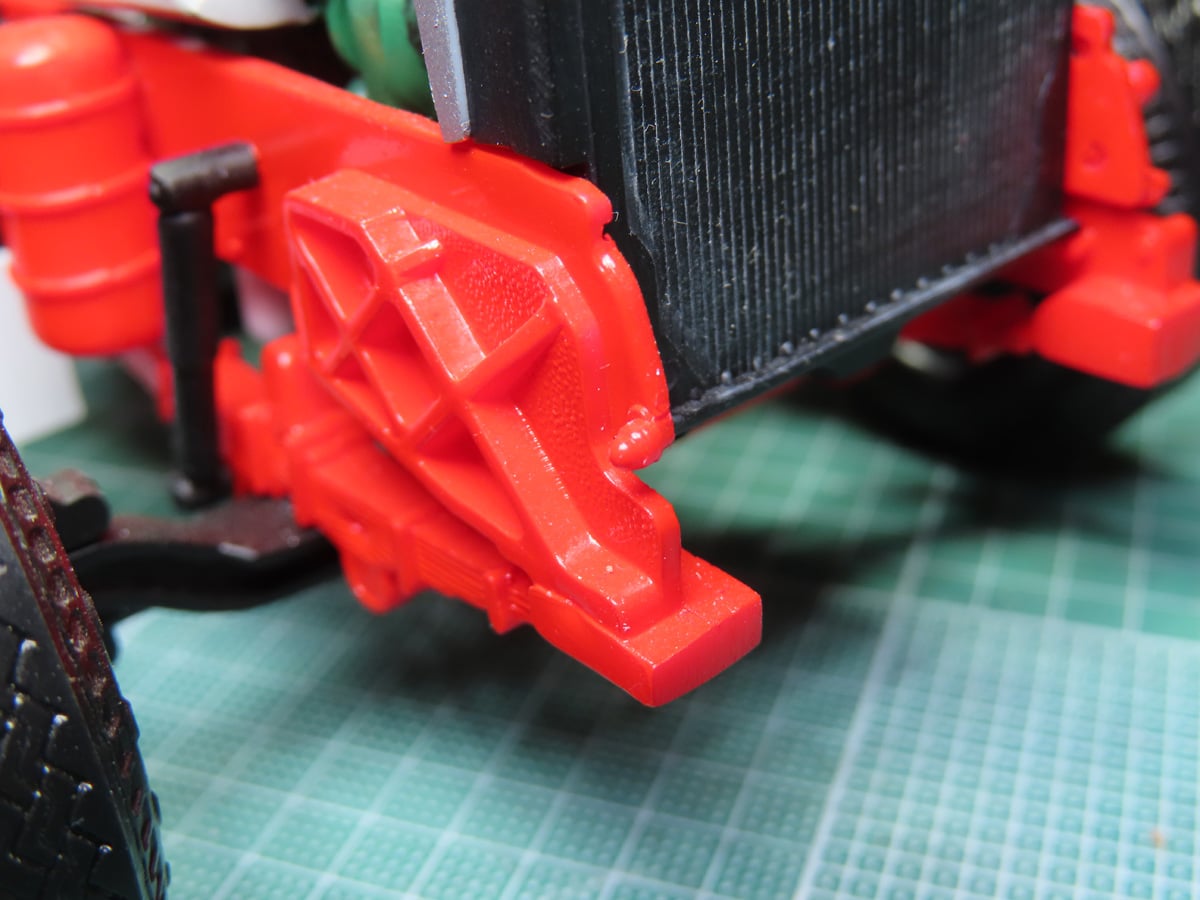
Now the cab on this kit is supposed to swing forward, just like on the real trucks, and expose the engine. However, I’m not too thrilled with these very tiny pegs on either side. I’m just concerned that they aren’t going to be strong enough to support the weight once it’s opened. And the last thing I want is that cab to fall off and get damaged.
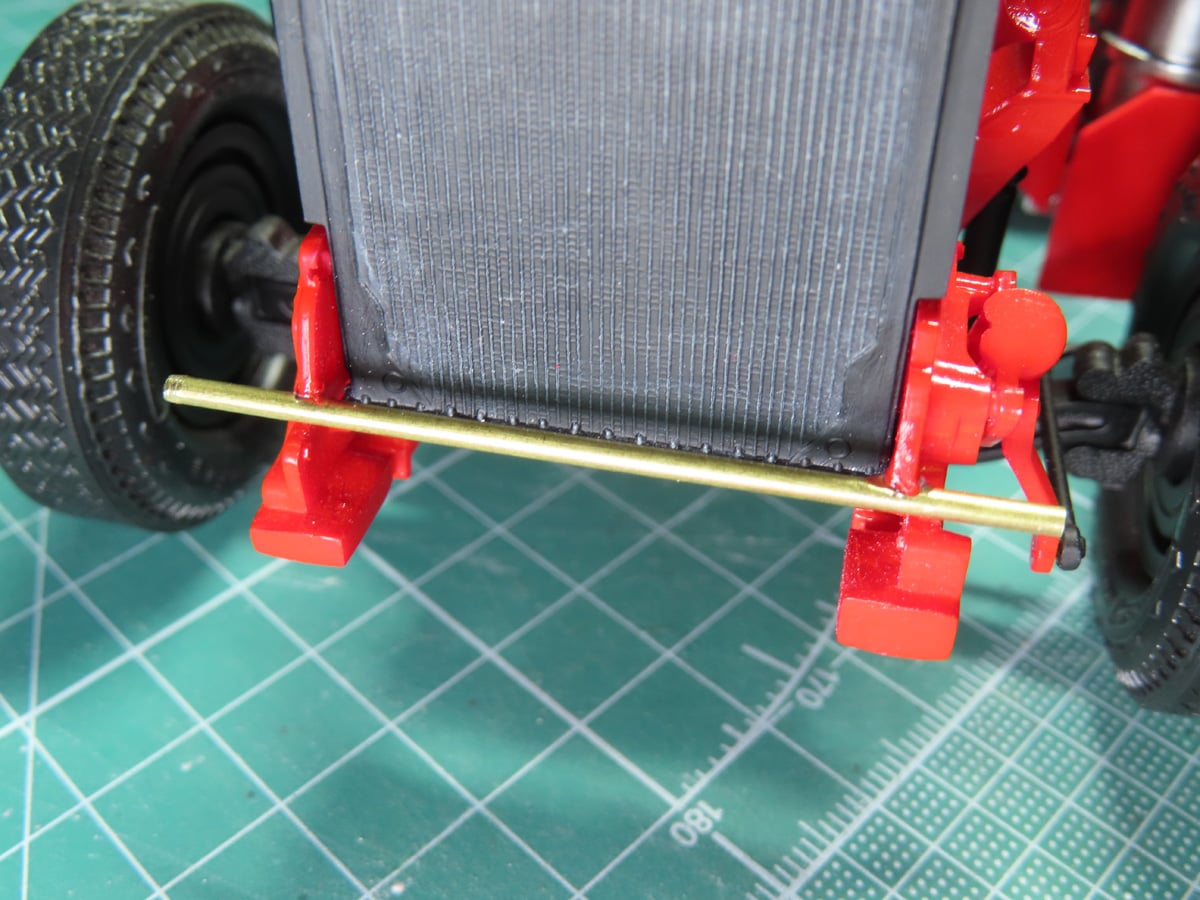
I carefully drilled out the old pegs, and with a round file, I slowly and carefully removed the plastic. I took some K&S Engineering brass rod, and I super glued it to the frame. The join was very strong, and I felt reassured about attaching the cab.
I would mention that this modification is completely optional, and if you aren’t interested in posing the cab open, I’d skip this step and just glue everything down.
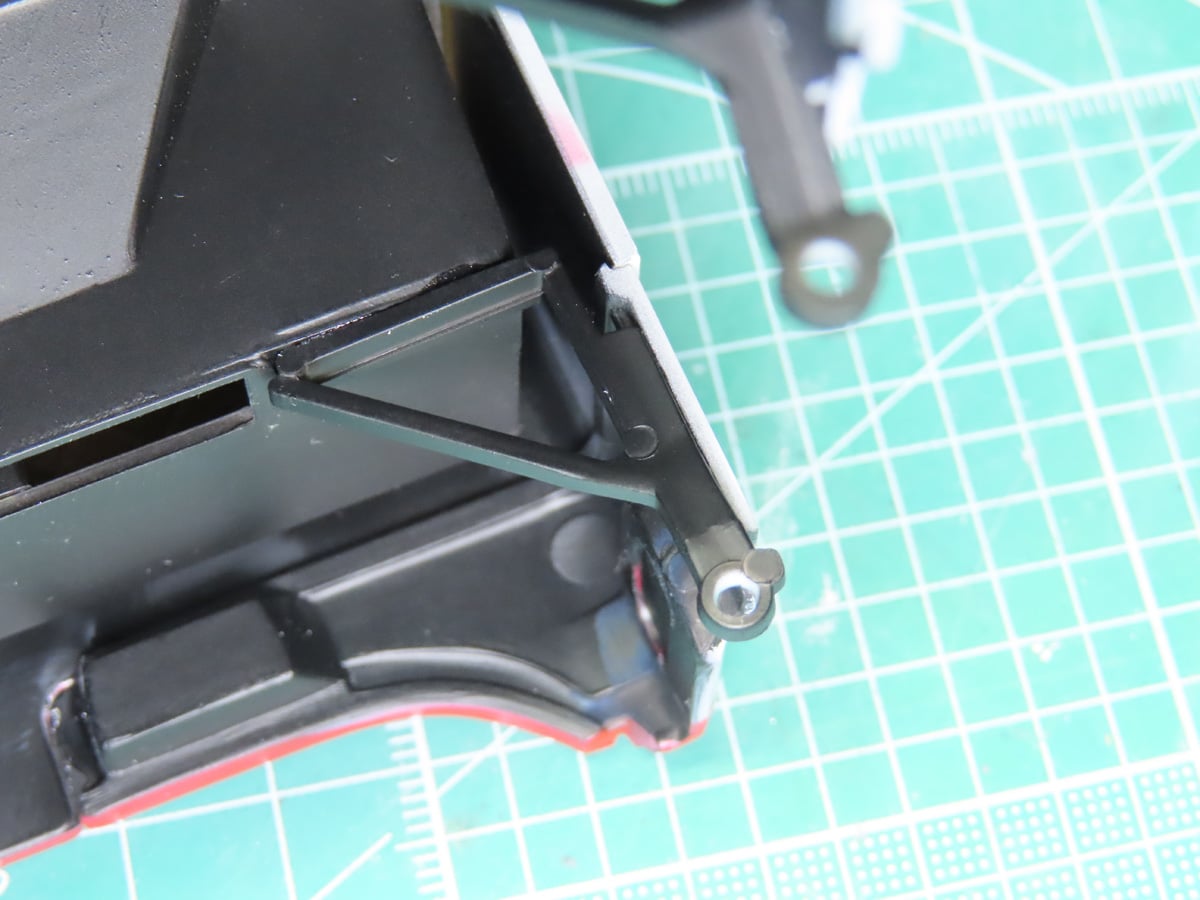
I glued the interior to the cab, and I then added the brackets to the underside. These were reinforced with a bit of BSI CA superglue just to ensure they didn’t accidentally pop off.
One thing that became very obvious with the interior now added was just how heavy everything had become, and I started to wonder if it would be too heavy, even with my new modifications.
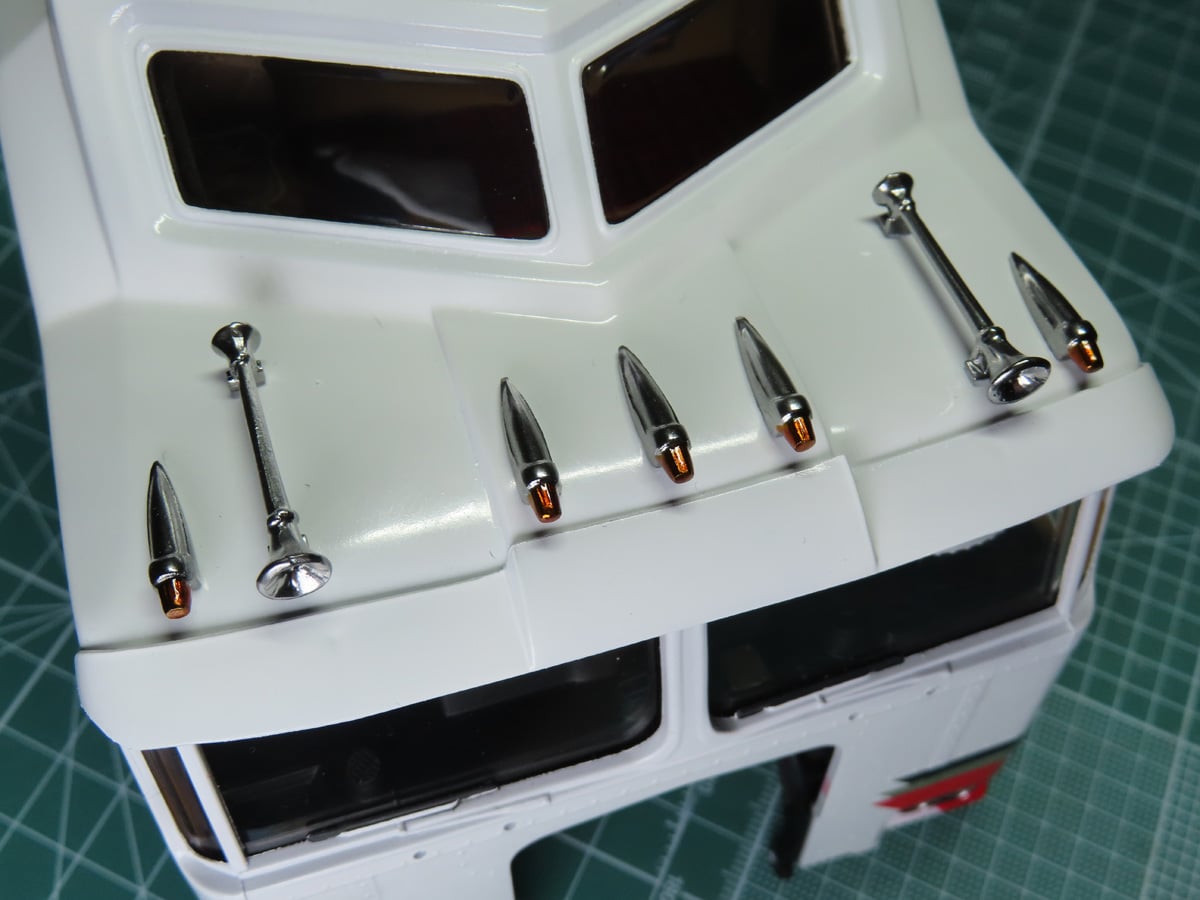
Before I attached the body to the frame, I decided to add on some of the smaller details. It would be easier at this stage. I added the 5 lights, which were painted with Tamiya X-26 Clear Orange. The horns were slightly modified as I carved out the centers so they would be the proper curve. Lastly, I added the visor to the front.
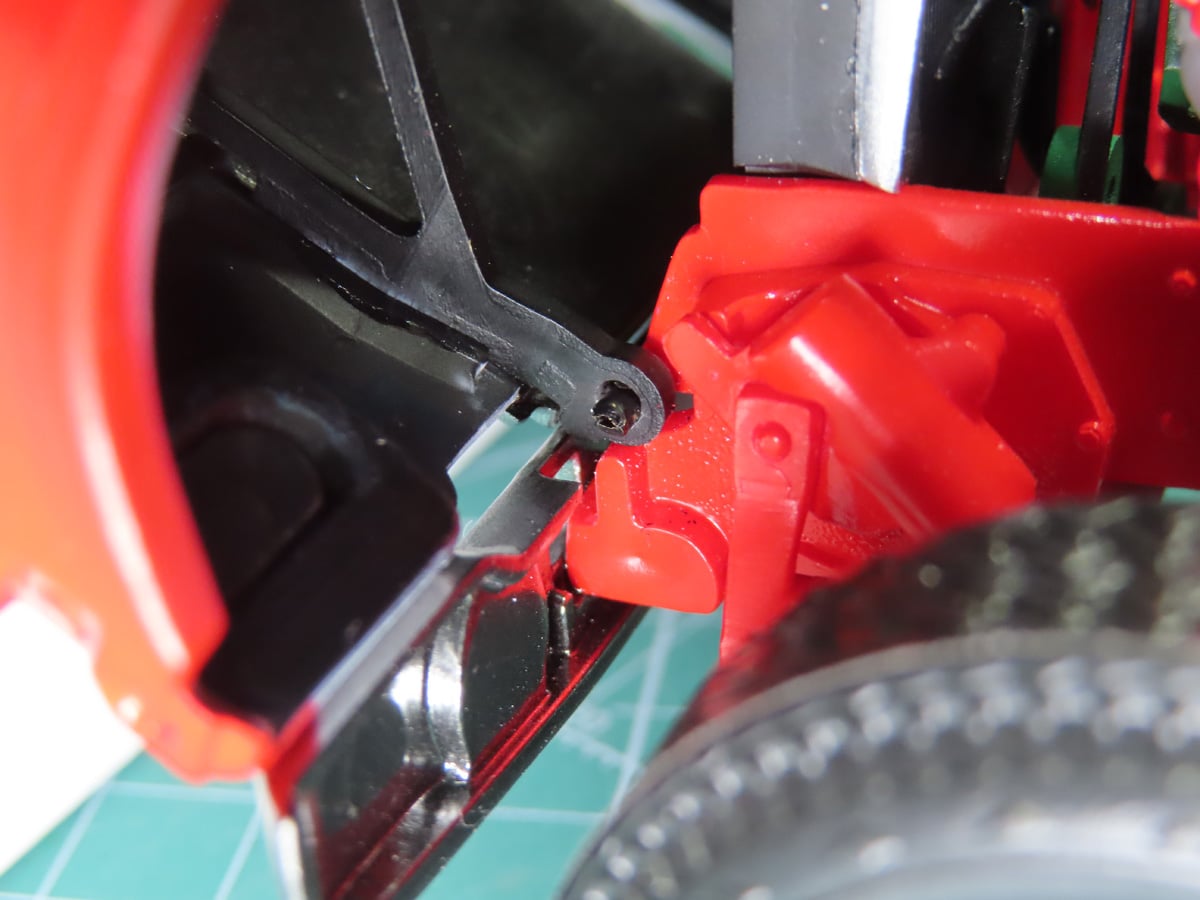
It took a bit of care, but I was able to easily fit the cab onto the newly added brass rod. It’s a good fit and very secure, which was a relief.
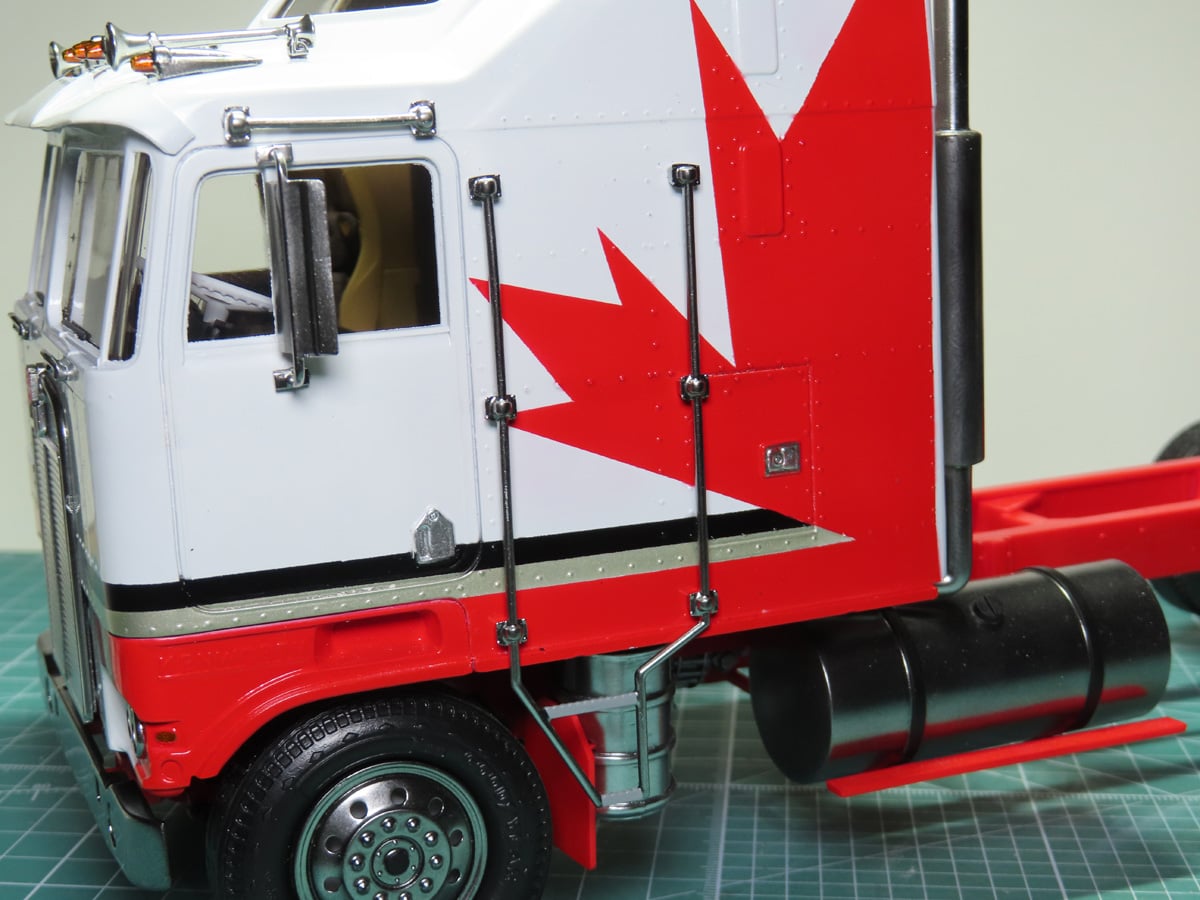
Now I could add on the ladders, top rails, and side mirrors. They all easily popped into their place, and I added these on after the cab was attached, as I was concerned they might get damaged.
I also painted the door handles with Tamiya LP -48 Sparkling Silver.
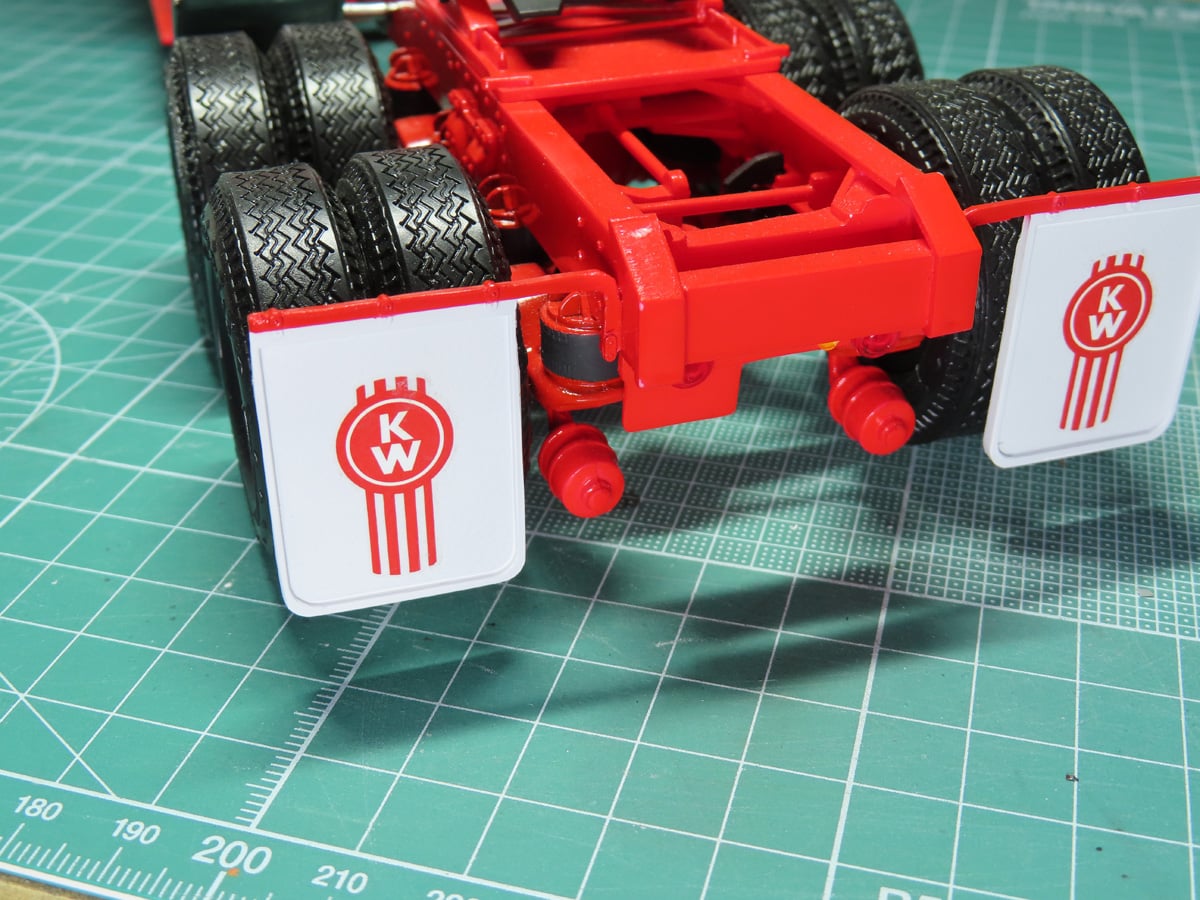
Lastly, I turned to the back of the truck, and I added the chrome skirts to the front of the wheels and the mud flaps.
The mud flaps were painted with a 50-50 mix of Mr Color C1 Gloss White and Mr Color C62 Flat White. Once this Semi-Gloss White was dried I masked off the mud flaps and painted the arms with Tamiya LP-7 Pure Red to match the rest of the truck.
The Kenworth decals were placed in the center and fitted with a good coating of Tamiya Mark Fit Super Strong 87205.
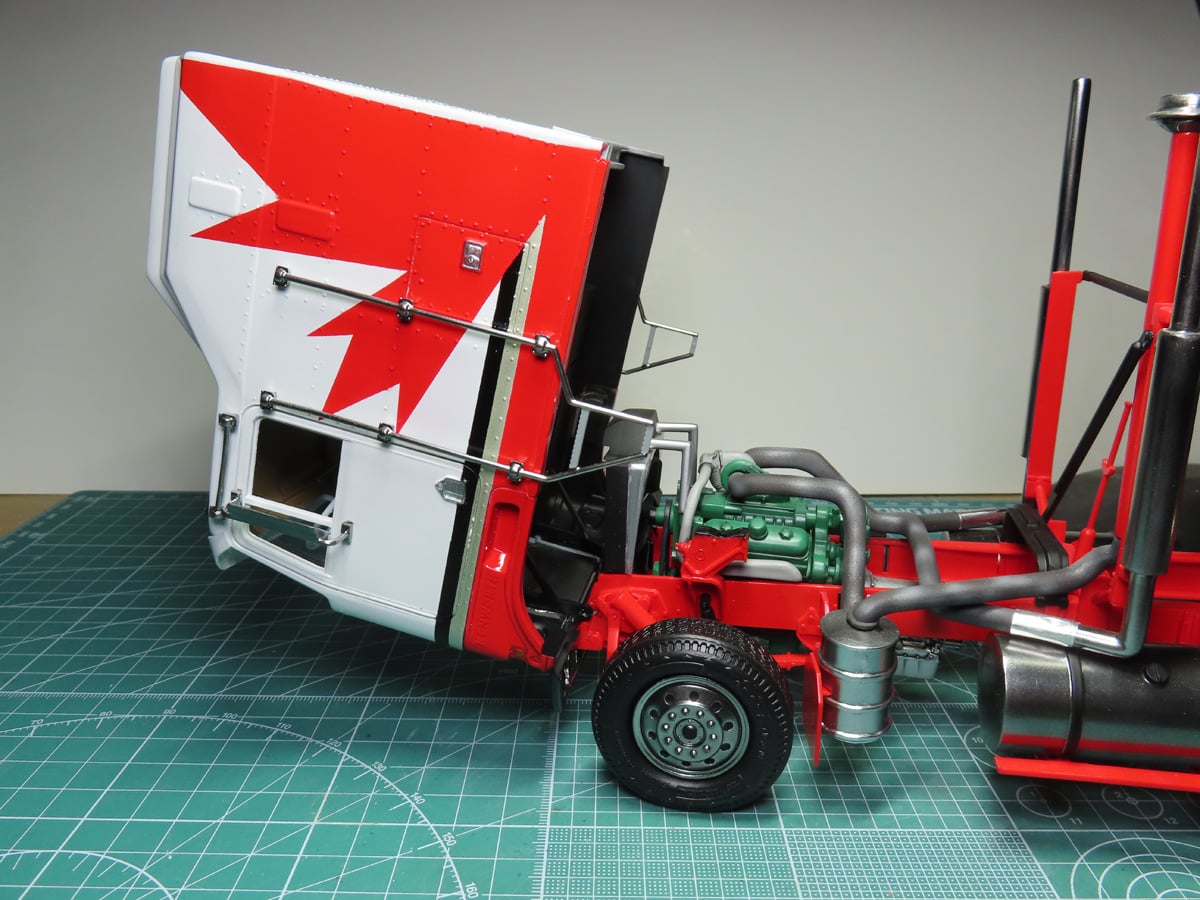
And just like that, this truck is now complete!
I’ve shown the truck opened up and forward. And as cool as this is, that cab is just too heavy for this model. My advice, if you want to build it with the ability to open, is to have something gently underneath to take the weight from the front of the model.
Also, be careful once that cab is attached; it becomes very forward heavy, and you’ll need to be a bit more careful when handling it. It’s by no means delicate to the point of being fragile, but it would be a shame to have things break after all the work that was put in.
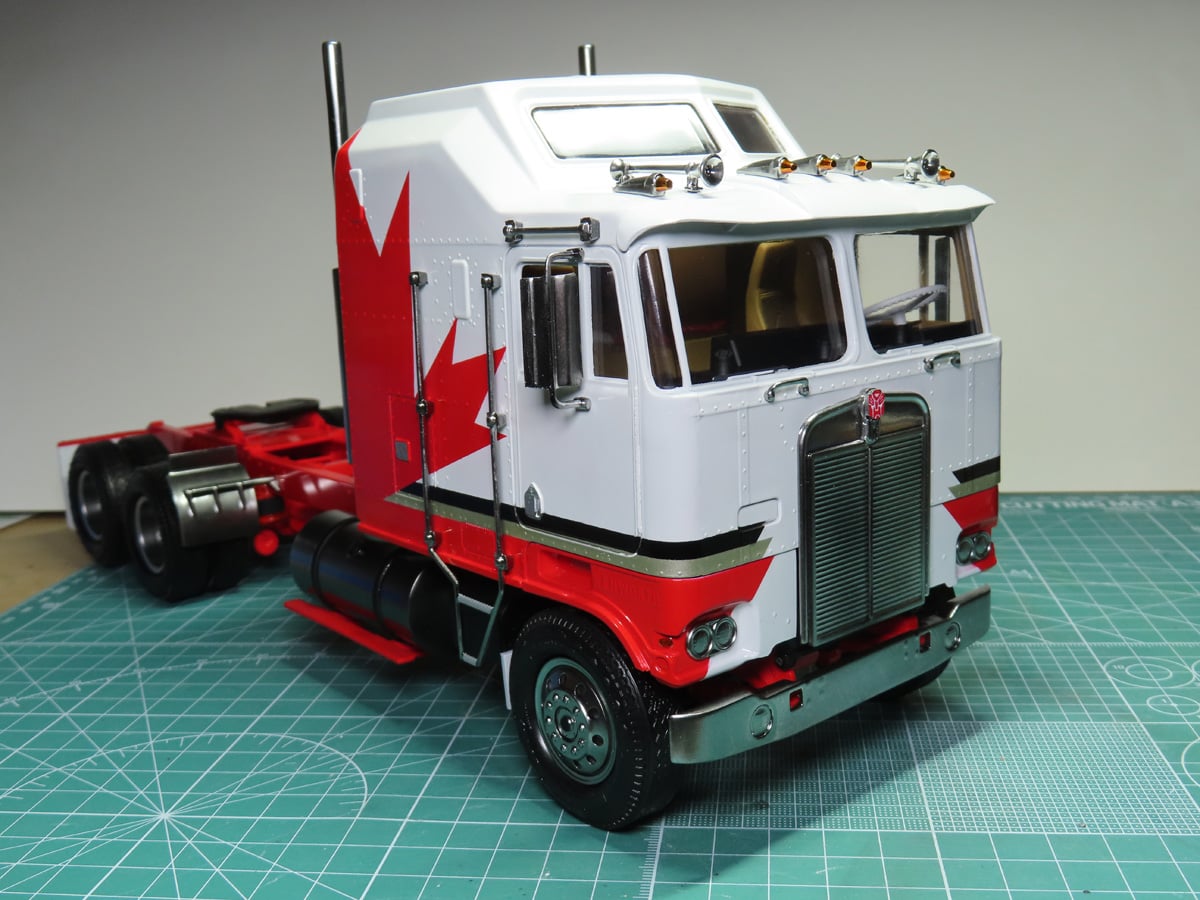
This was an incredibly fun kit to build, and I’m just thrilled to finally have built a semi truck.
Now I will say that this kit does show its age in some places, but this is to be expected with how old it is. And these are very minor setbacks; it’s still a very good design and quite easy to put together.
One thing that was annoying and a bit odd was the styrene, and that might be my biggest complaint I have. The styrene was a fluorescent white, and this made spotting imperfections and some of the flash difficult to see at times. I recently picked up an Aoshima car kit, and this was molded in a dull flat white, and I wish that Round 2 had done something similar, as it was frustrating to prime the model and find details that I had missed. Details I would have easily seen with a duller plastic
The other thing with the styrene, I found it to be very tough. And this might be something most modelers won’t care about. But I went through a lot of sanding sponge, as this plastic was amazingly difficult to smooth and polish. I actually had to buy a new set of the Vallejo Sanding Pads, as mine had become worn out from completing this project.
Those are really the only opposing things I have to say about this model. This project was so much fun to build, from the moment I opened the box and I opened the instructions, right up until the end when I added on the mud flaps.
I didn’t expect to enjoy this project as much as I have. And I’m really delighted to see everything all together and completed. But I feel as though it’s not totally completed yet. No, I think the back end of this truck is looking a little bare. I think this truck needs something to haul across Canada!
Thanks for reading.
About the Author:
Jared Demes is a modeler from southern Alberta. He has been building models since he was 4 years old when his Dad first introduced him to the hobby. He has written for several magazines including, Fine Scale Modeler, Scale Aircraft Modeling, Phoenix Scale Models, and others. He has an interest in all modeling subjects, with a focus on WWII Japanese aircraft and Science Fiction.
Jared has won several IPMS awards for his modeling, and currently operates his YouTube channel rebelsatcloudnine, where he showcases model builds and product demonstrations.
Completed Images Post: Part 9
Last Post: Part 7
First Post: Part 1