
Artesania Latina Bluenose II Build – Part 14 of a Series
In this Sunward Hobbies tutorial, I’ll be continuing with Artesania Latina’s Bluenose II build with Part 14. Previous Part 13
In this Sunward Hobbies tutorial you’ll get to see the completion of the main deck and the beginning of the rigging. I’ll be guiding you through my experience of the 1/72 Artesania Latina Bluenose II to help you with your build. This finishes the first instruction disc, so you’ll need to load the second. That said, please have open the first disc for several references.
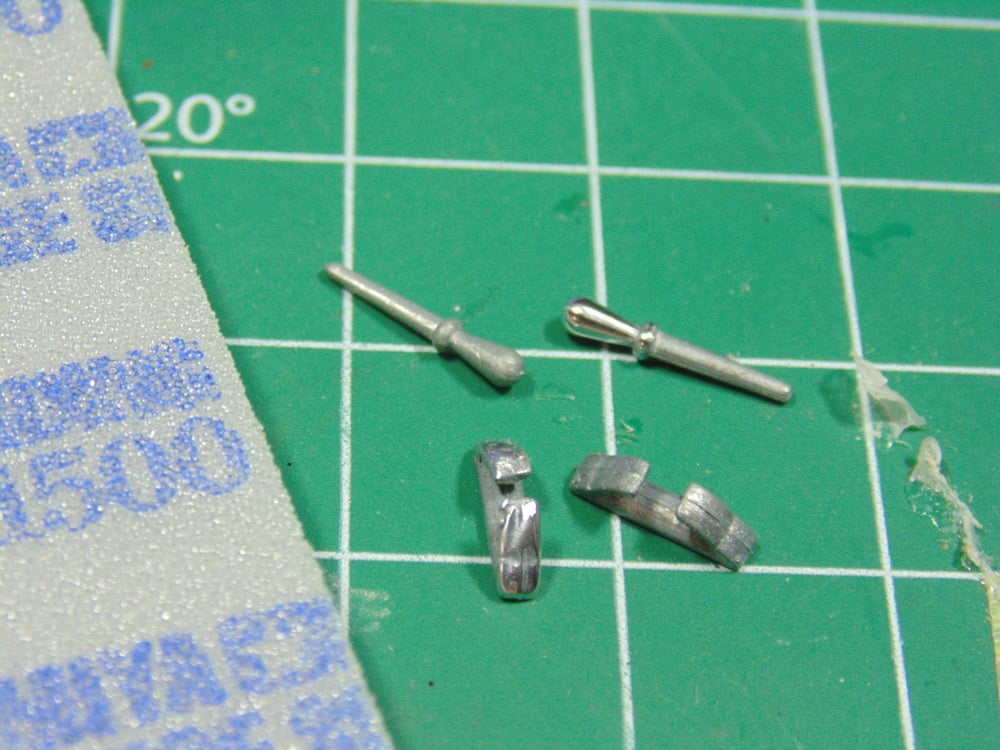
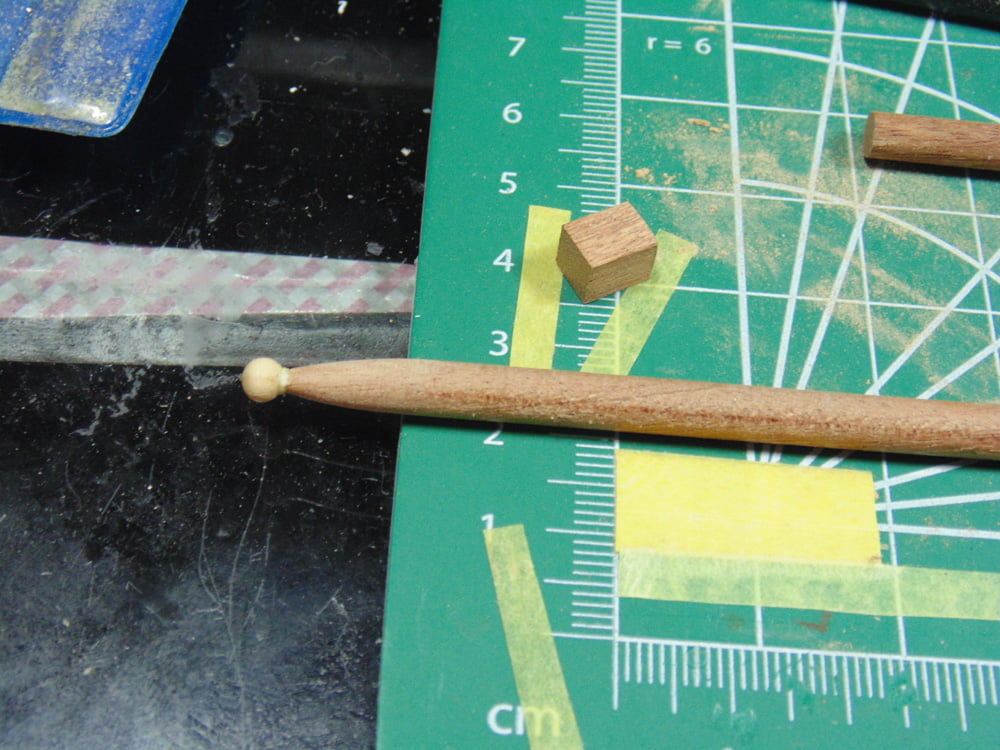
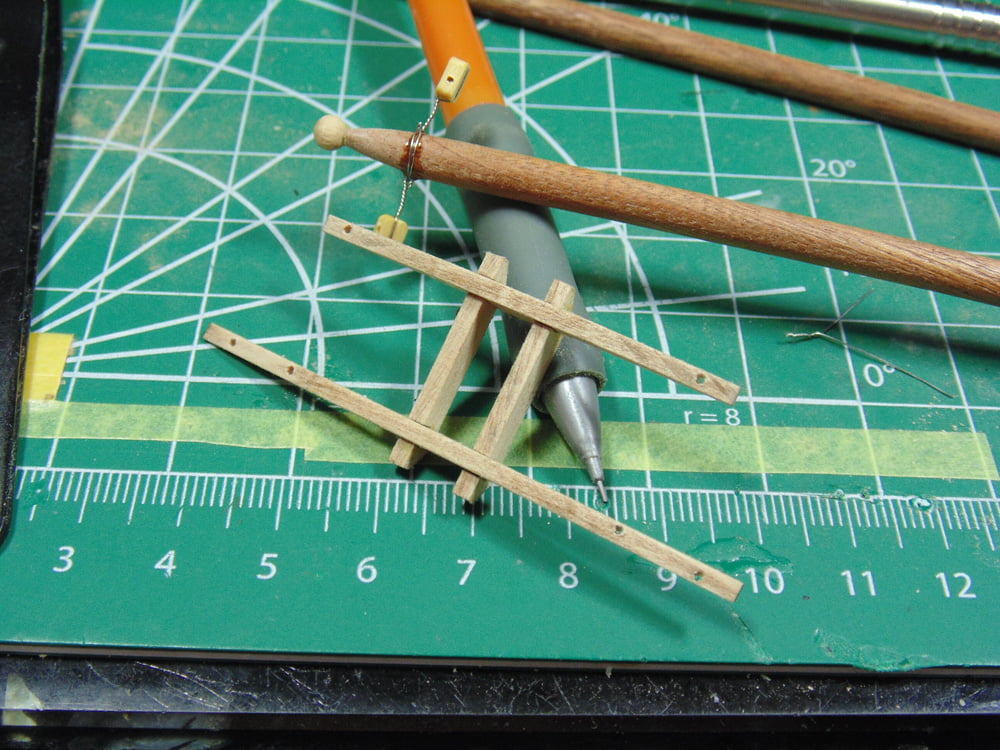
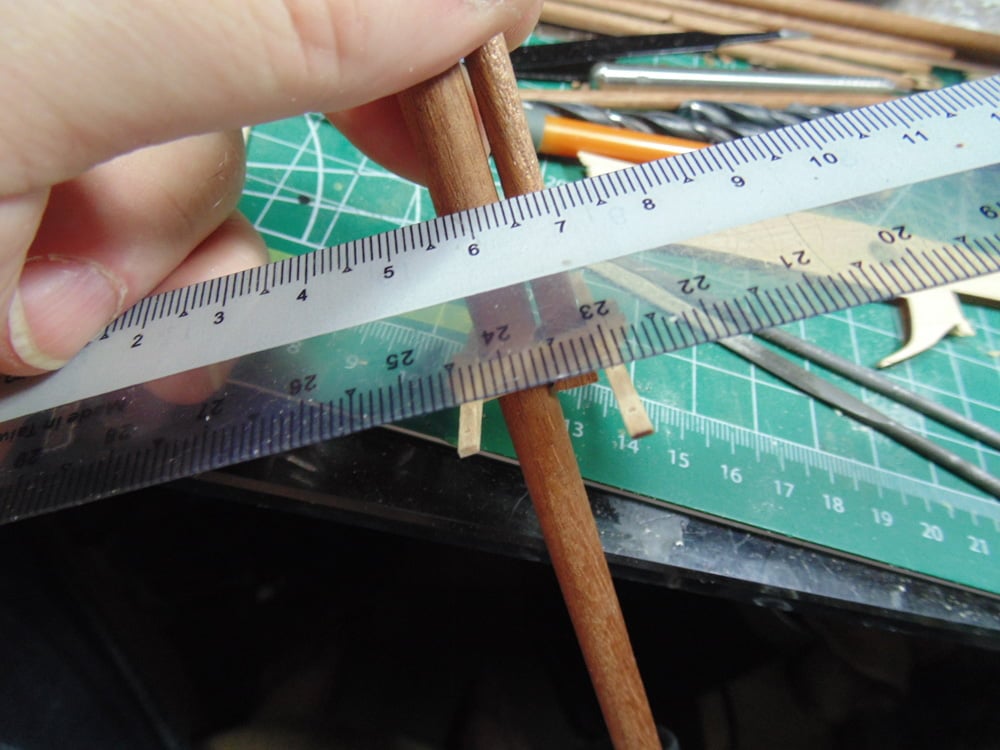
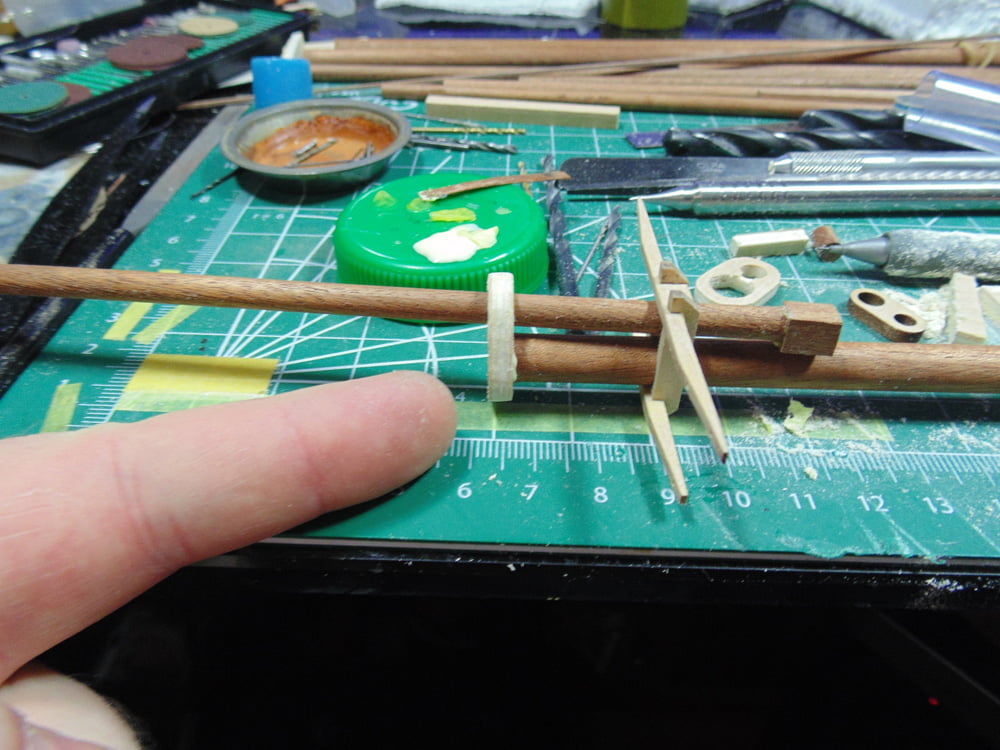
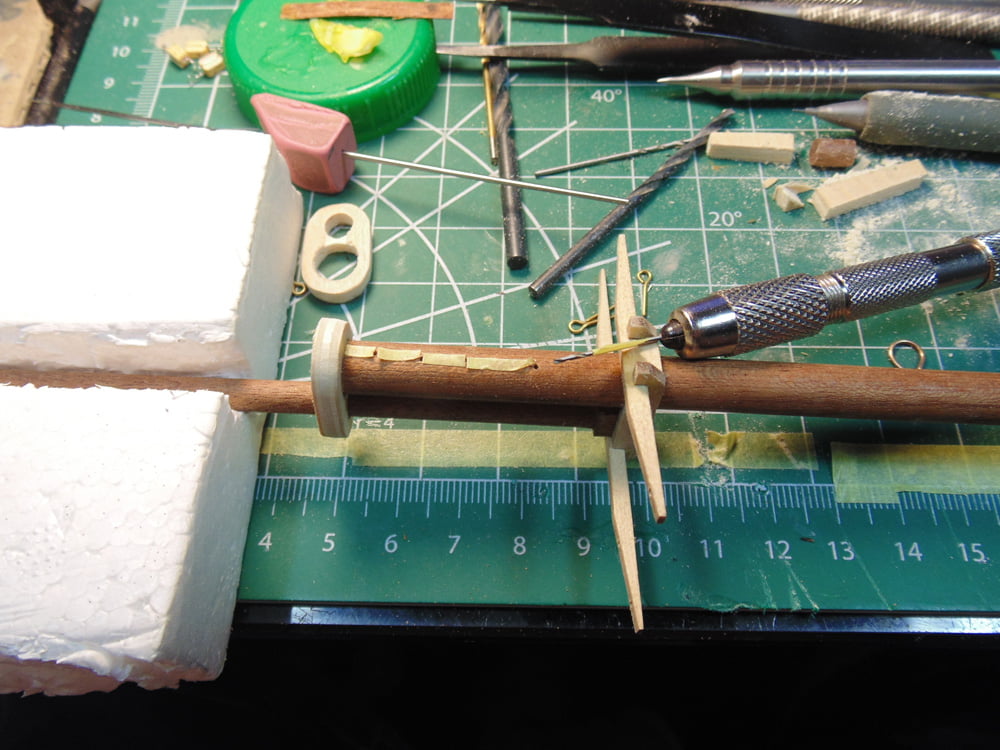
We’re rounding a length of the race in step 39. To get the distance correct, consider using some masking tape, at the appropriate size, as marker points. Polishing these parts would be a good idea. Slip them on one of the spare poles for easier sanding and polishing. You may need to use a reamer tool to get these to fit.
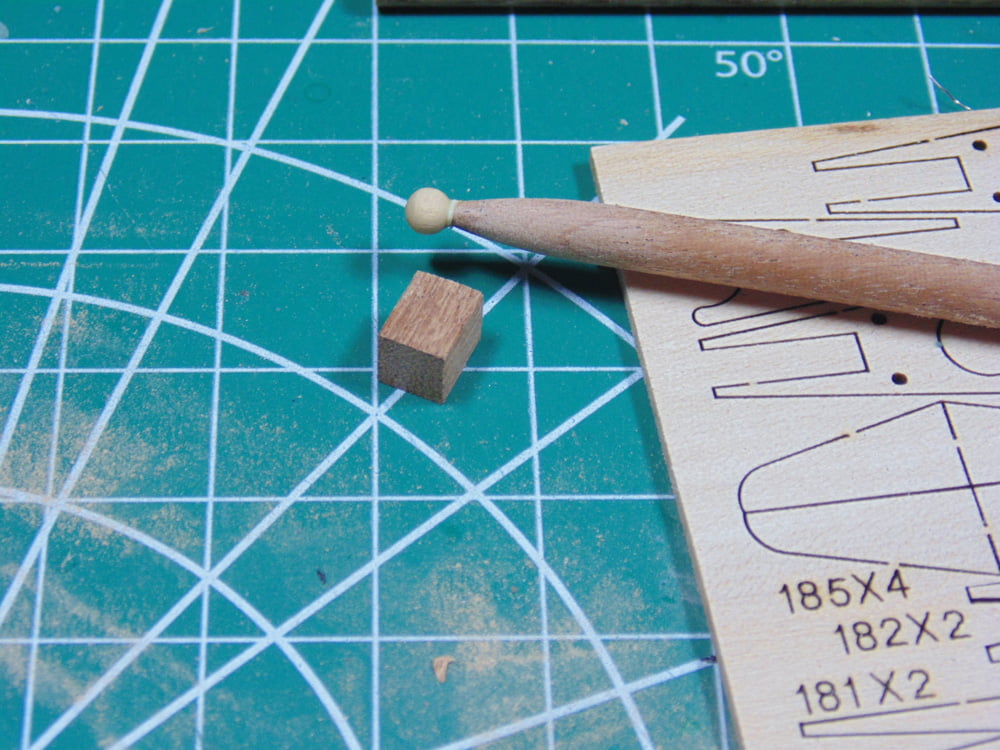
You don’t want to sand too much off the sprite! Get it to the point where you have to work the metal parts in place. You’ll find out why later, but they should be firm yet movable.
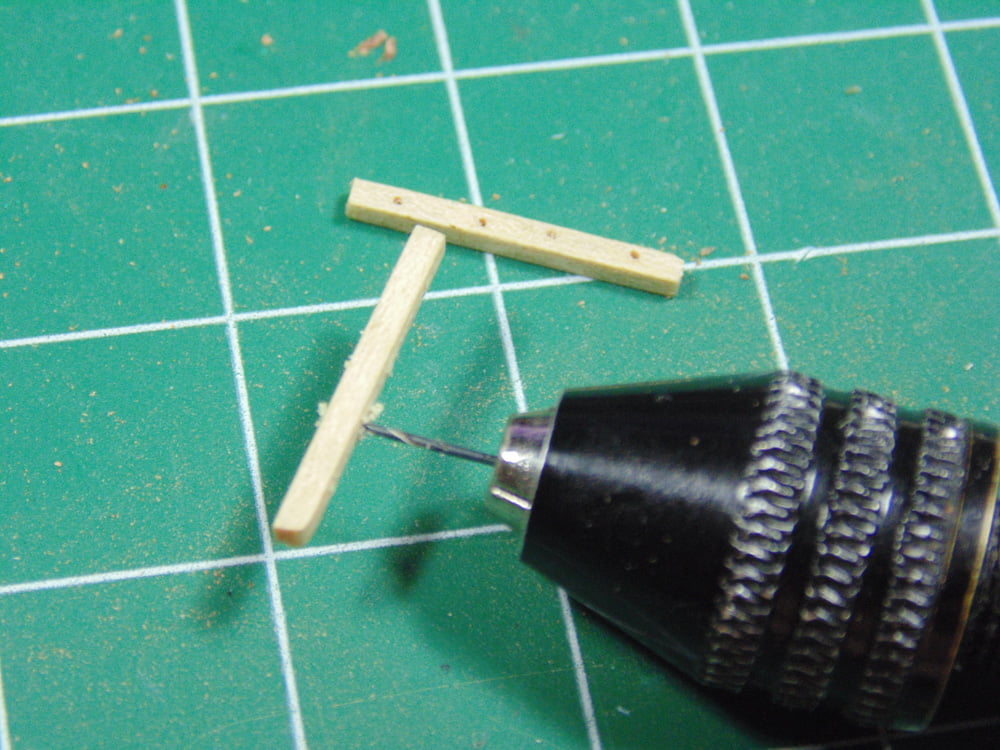
Mark off your points of settlement and lightly score them for future glue to grip to. Tamiya have these excellent micro saws which are perfect for this task.
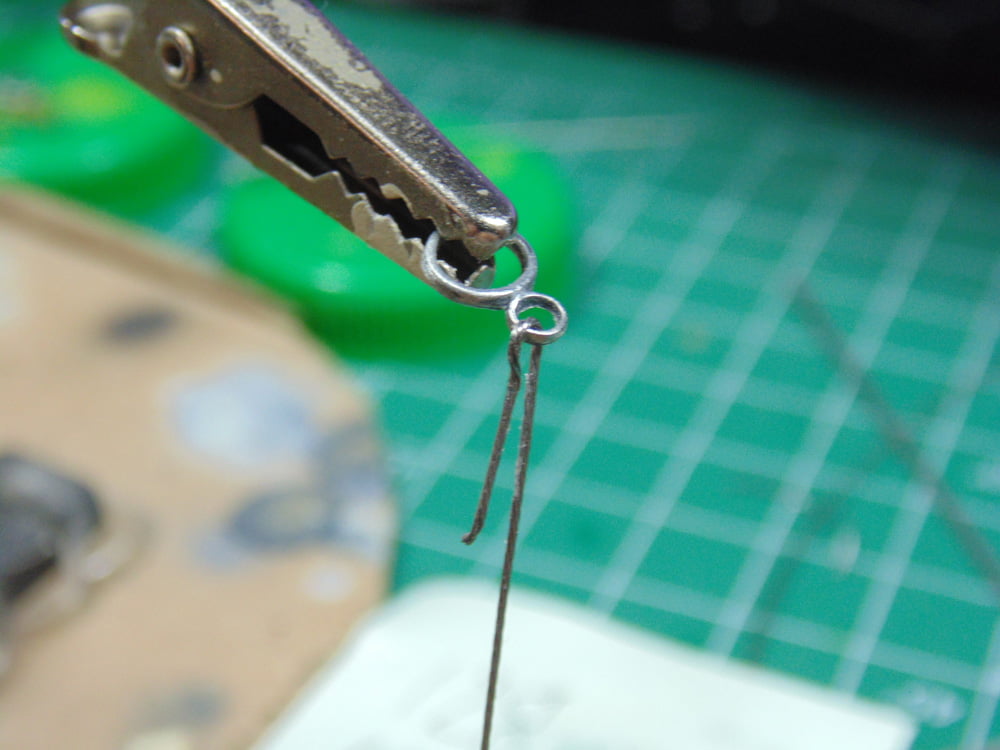
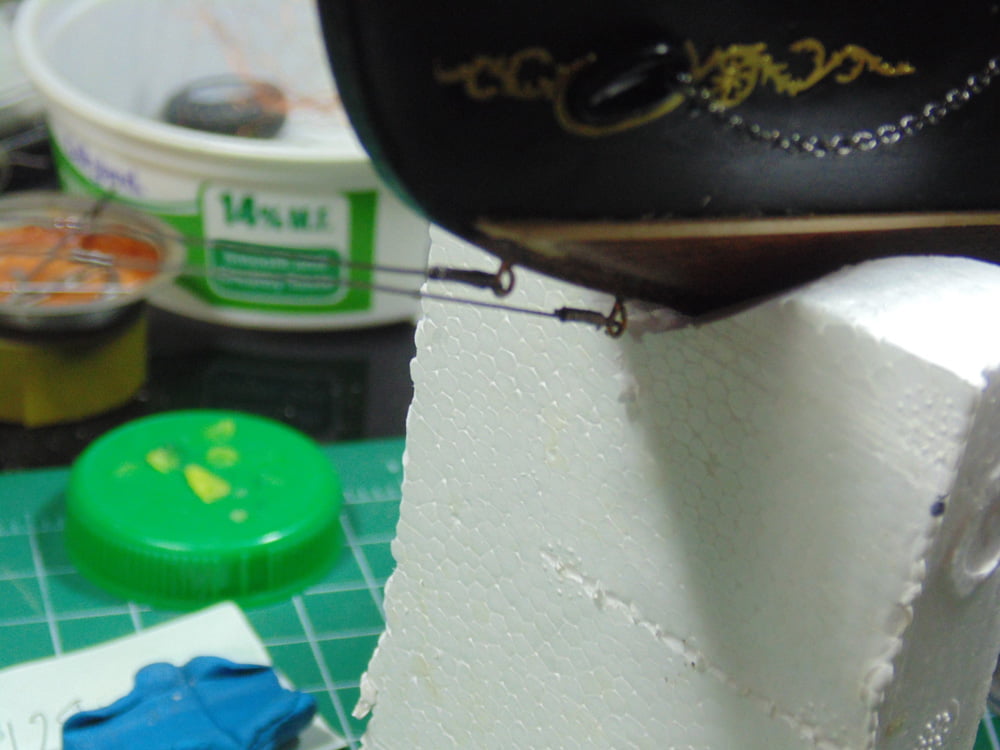
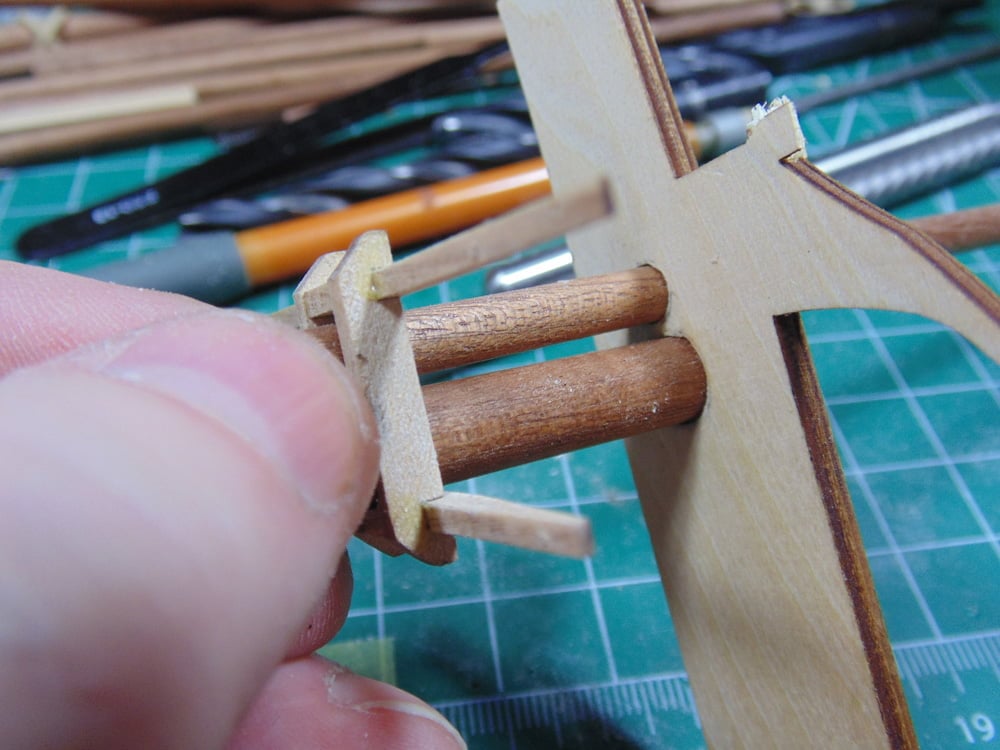
The metal braided cable lengths should be measured after you have test fitted the figure 8 metal rings at the bow sprite. K&S Engineering have a nice selection of metal rod and tubes. Here, I’m using one to form the cable end. Take some Excel Hobby Blades needle nose pliers and crimp the cable.
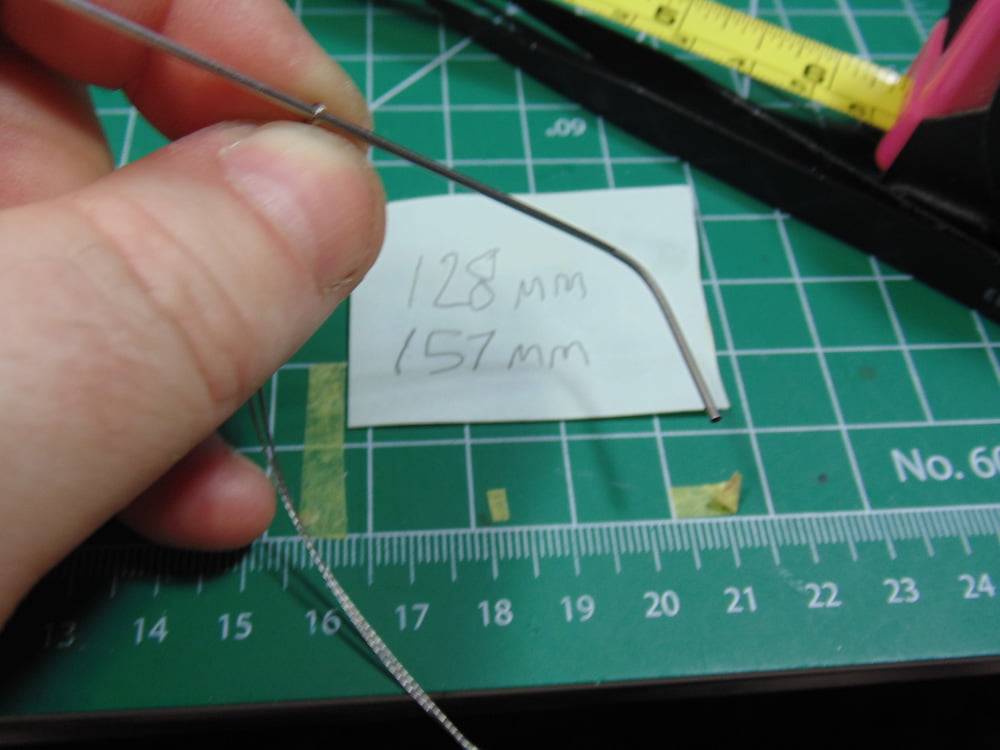
You’ll need an anchor point at one end. Use the ring for this then you can fit the cable in the brass ring part. Twist the metal wire around and pull it taunt and mark off where the drill hole should be made.
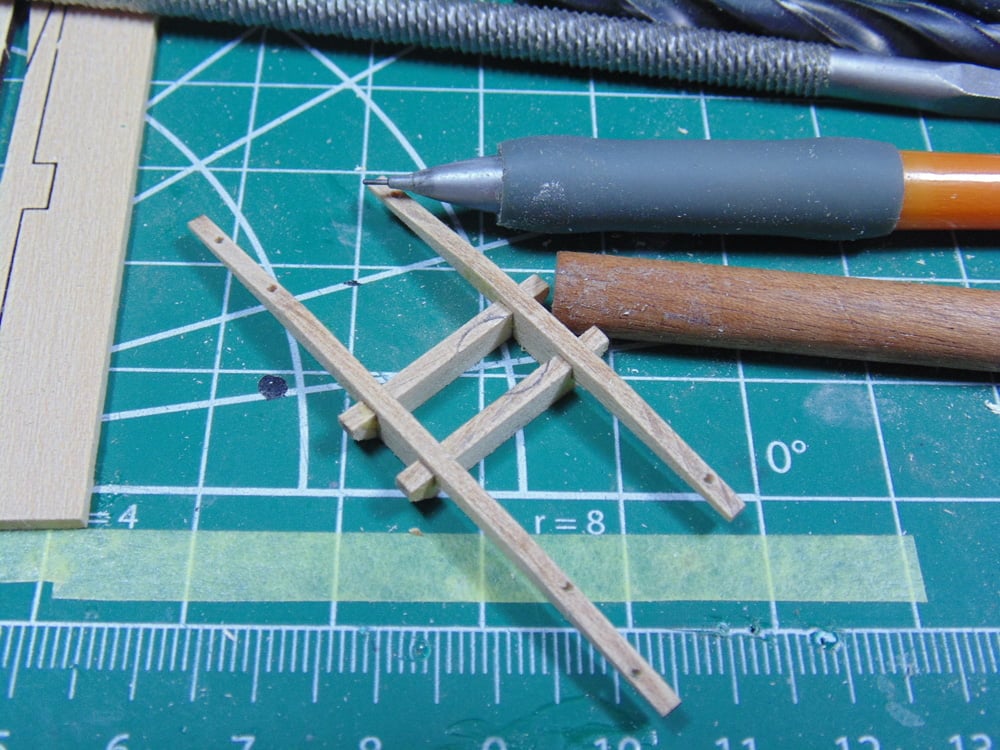
For the best fit, drill the hole as close to 90-degrees as possible, remember the figure 8 metal parts are not fixed yet so there is a little play. Later you’ll cement those metal parts permanently, but not now.
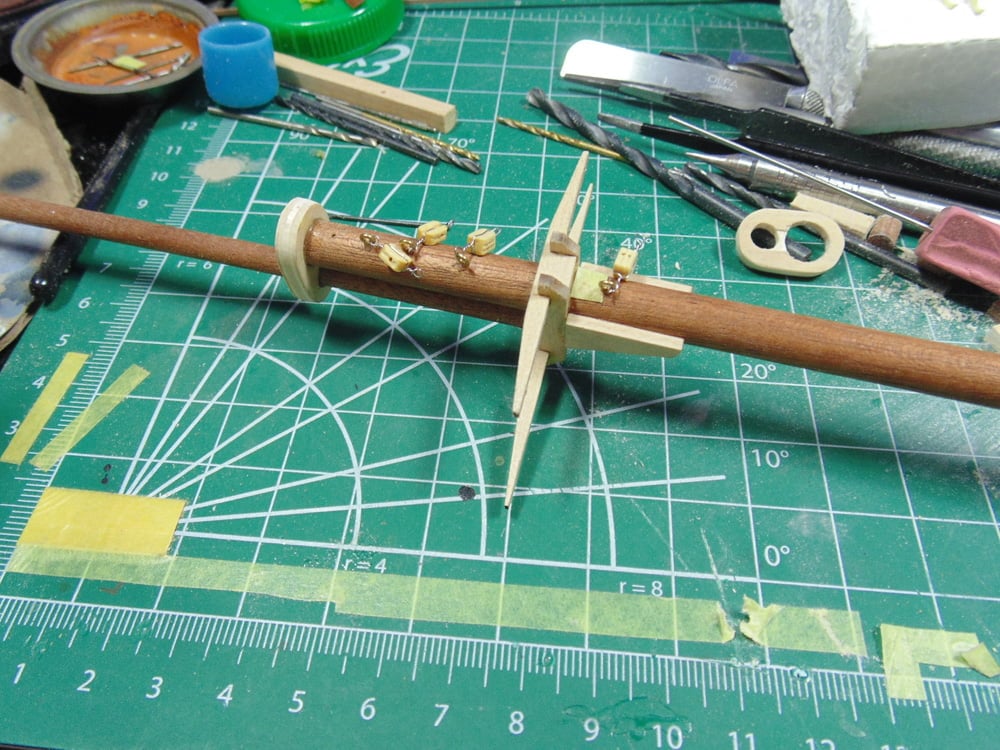
I’m going to wait until all the rigging is done to round off the sprite. It’s a personal choice and part of my finishing process step. Add a drop of BSI Cyanoacrylate CA glue to keep these parts in place, they can always be loosened later for final fitment.
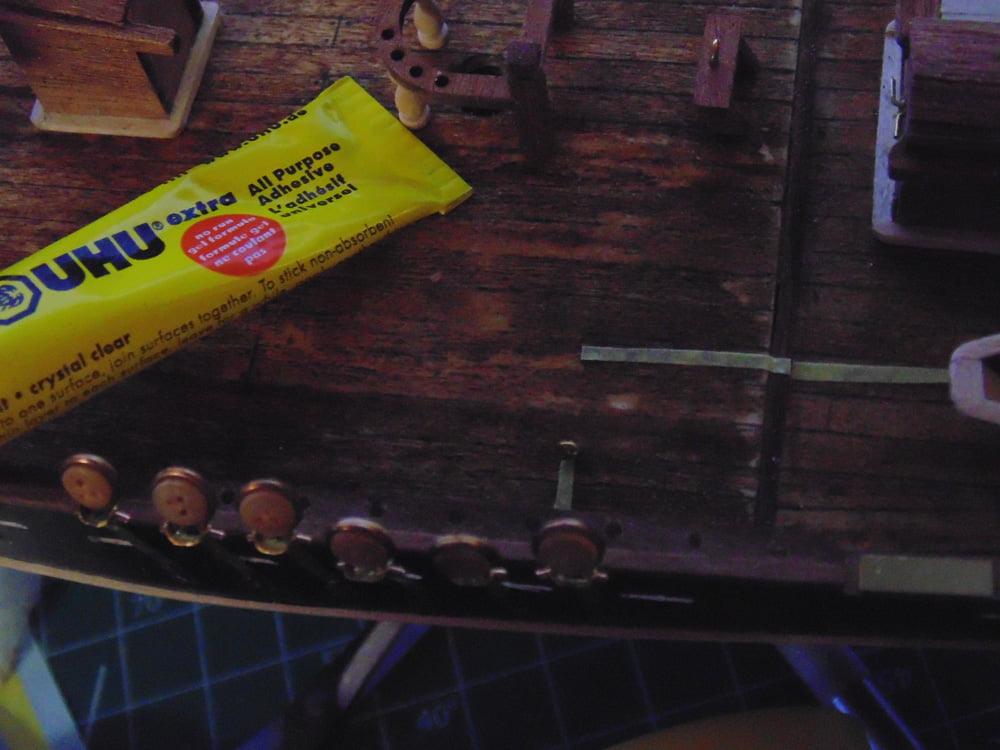
Make sure you scuff up the pins on the eyelets. This vastly increases the surface area of contact which improves the bond. I’m using UHU contact cement here. It gets tacky after a few minutes yet needs a sold 24 hours to fully harden.
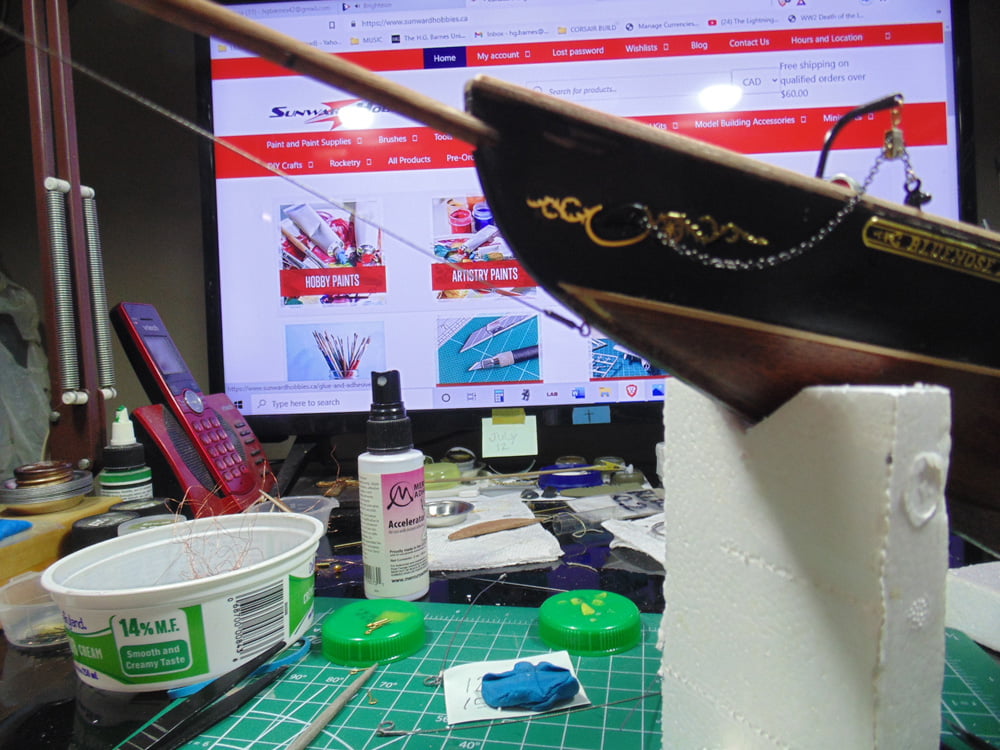
Obviously, you’ll install the one above before the one below. Don’t fret if the twisted wire lengths are different. Here’s a tip, form a piece of Styrofoam to elevate your model to eye level, believe me it makes working on any project much easier.
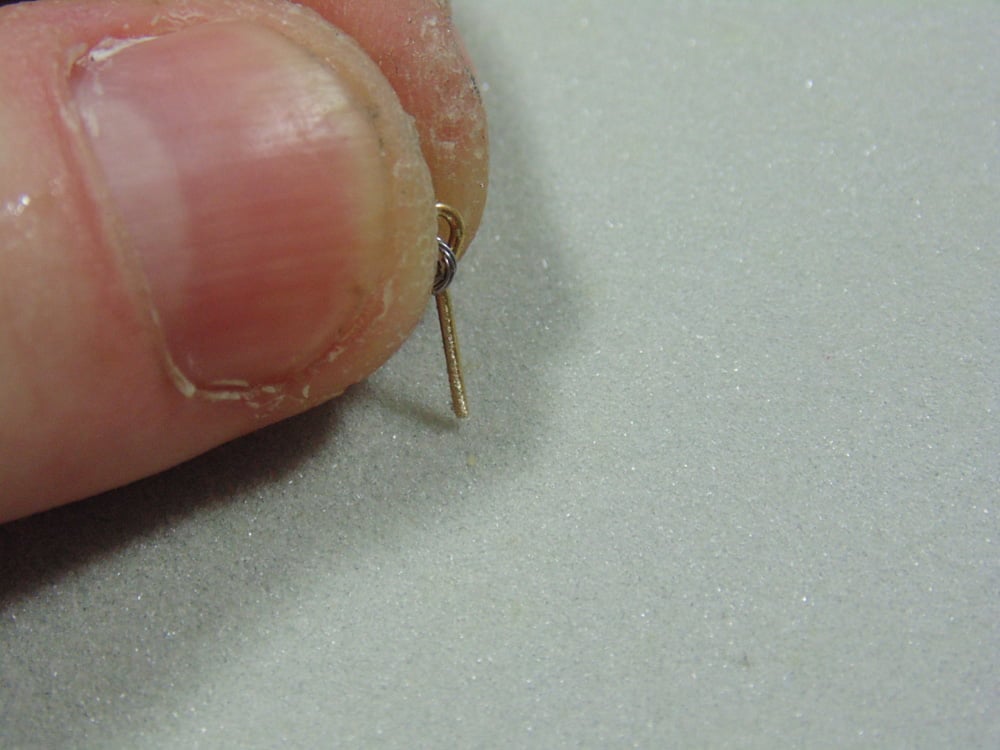
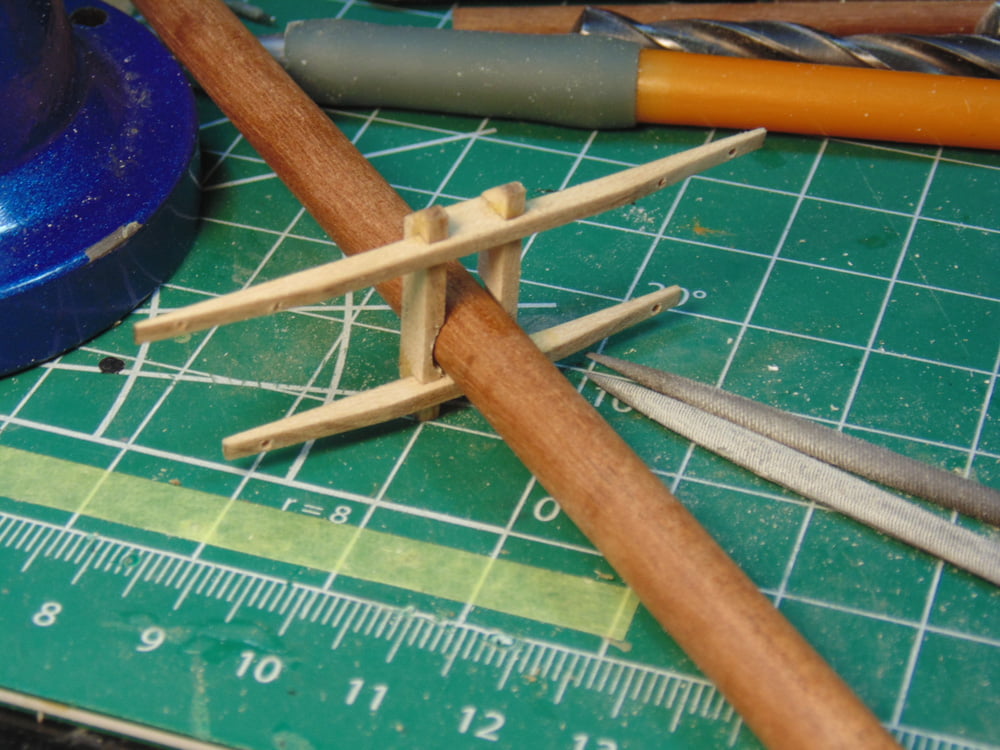
When all the figure 8 metal parts are installed add a drop of CA glue to keep them in place. Yes they will come free, that’s expected, but for now they will allow you to have a good reference when doing future rigging.
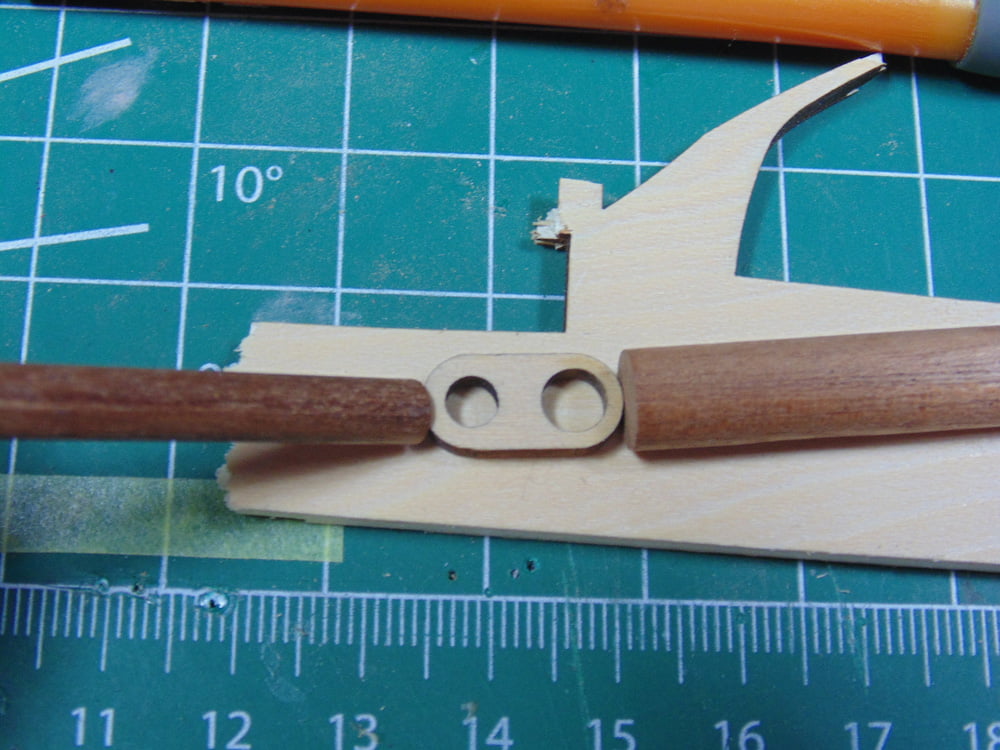
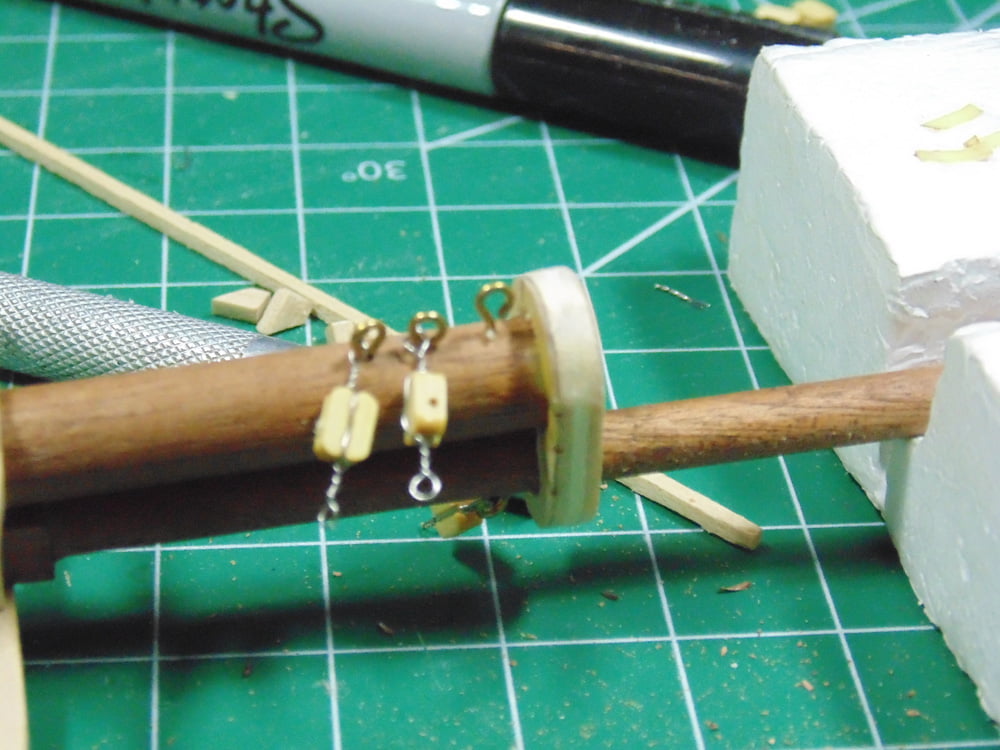
It’s much easier to use one length of cable on each side for the sprite to hull cables. Secure the lower point on the hull then thread it through the metal ring and measure your upper connection point on the hull. Here’s a tip, drill the upper hole and use a clamp at the cable’s end. This way you can have the cable taunt at the bow sprite and crimp/wire wrap it better.
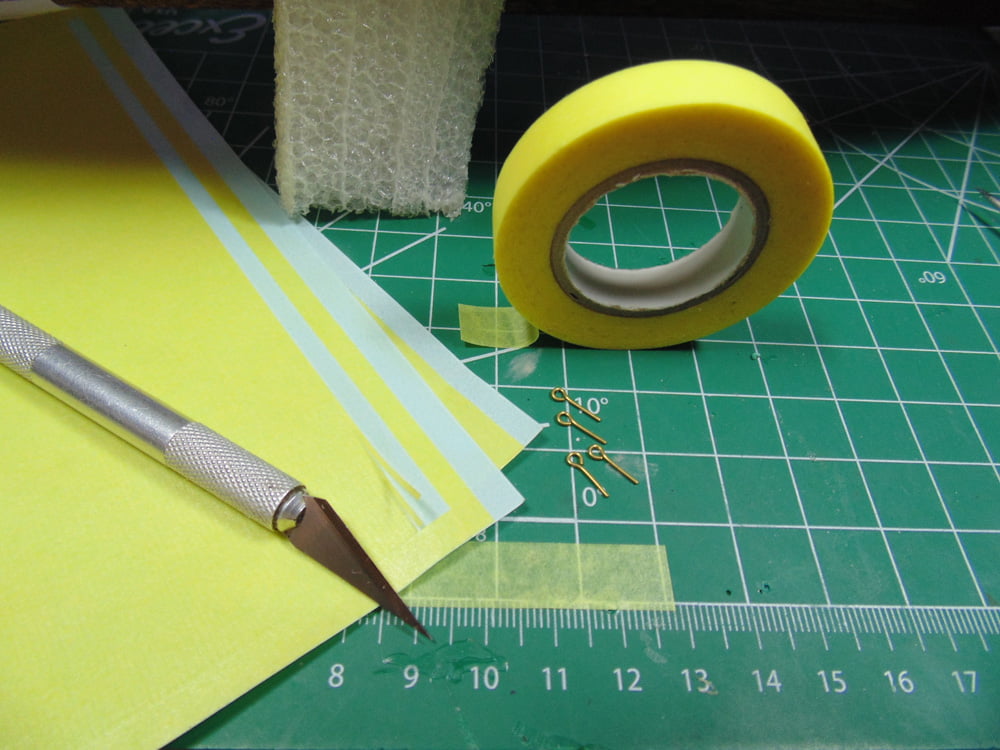
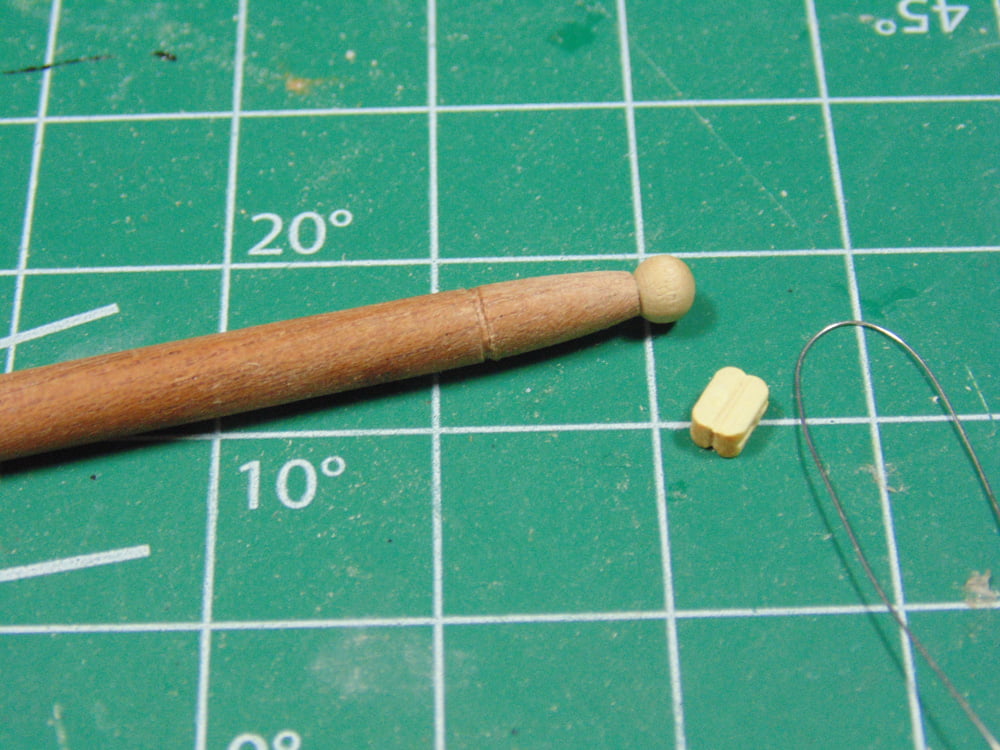
In an earlier step I had made a length of cable too short. Please be mindful that, sadly, Artesania Latina includes just enough of this material for the model. Hence the added linkage on the port side. Consider picking up a set of Xuron side cutters to snip your photo-etched and wire parts.
The instructions call out to polish the metal parts. It’s your model so you can decide if this is what you want. This photo shows the difference and you can review past Sunward Hobbies blogs on polishing.
To place parts accurately, like these dock hooks, consider picking up some pre-cut tape. Here I’m using Mr. Hobby pre-cut tape. It’s inexpensive, speeds things up and relieves the worry if you got the distance right or not.
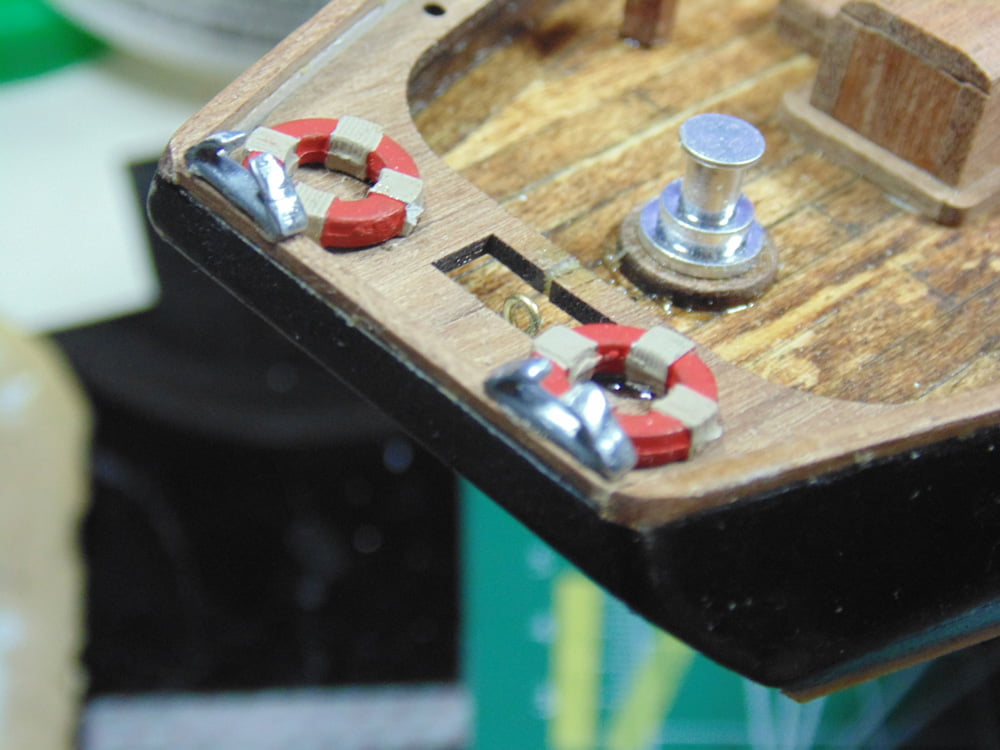
These thin lengths of tape will help you maneuver around previously installed parts to get the distance correct. Here, I’m installing the eyelets on the deck.
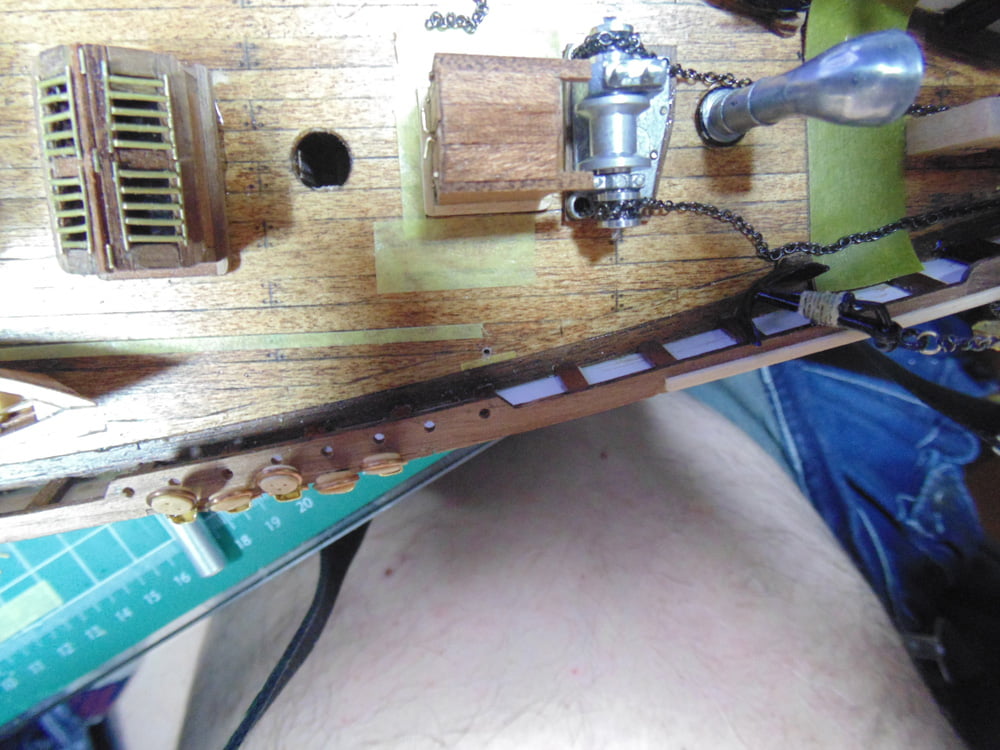
Again, scratch up the pins on the eyelets and use UHU contact cement. This wet glue gets drawn in by the dry wood. It just needs time to dry solid.
This concludes the first instructional disc.
The second instruction disc does not have any written instructions. Use these tutorials along with thoroughly reading each section. It’s super important to core out the hole in the wood blocks. Also, you can save yourself hours in sanding by slicing the bulk away from mast tips.
Ream out the mast bulb hole and file the mast tip to match. The mast wood is extremely dense, so use a metal file and save time. The bulb wood is very delicate, thus be cautious.
You can choose to have a more graduated diameter, but be aware this takes quite a few man hours due to the wood’s density. I opted not to graduate the mast because it would hardly be noticed and the kit itself is not accurate, it’s a replica.
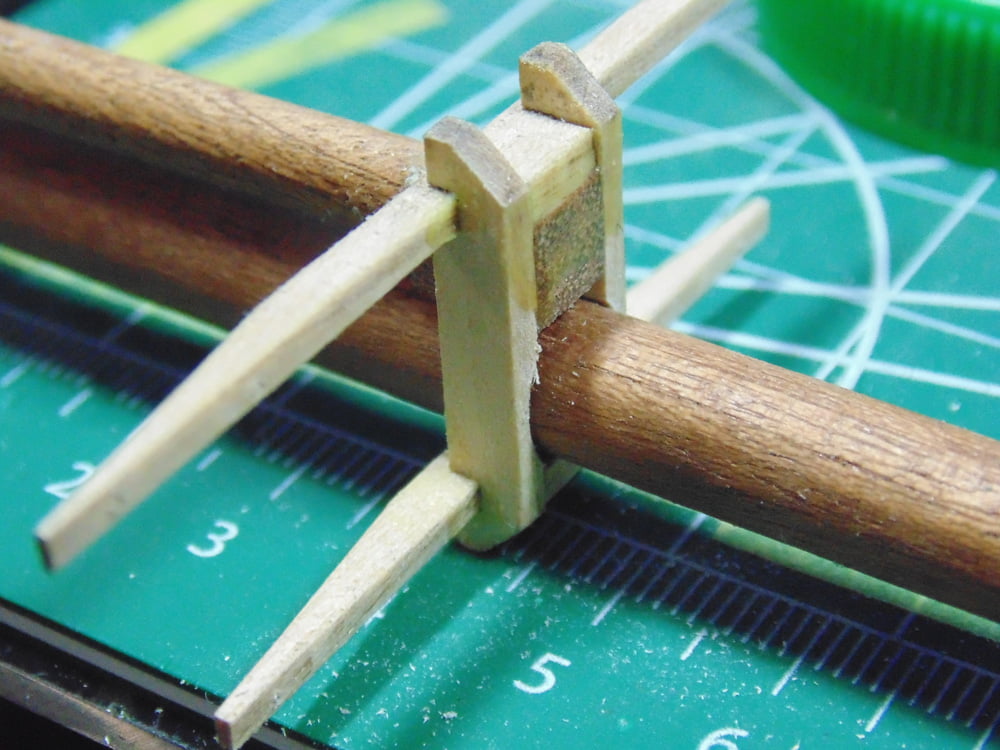
Make sure to use the perfectly cut end of the mast plug wood block. If you are off in your cut the upper mast will be crooked. This part slips into the crow’s nest and needs a perfect fit.
The crow’s nest material is very delicate but must be sanded free of the black laser burns. It also bonds better when sanded. Use your cutting mat as a tool to square it up. It must be square for a proper fit of the upper mast and future rigging.
To save yourself some more time, use the plug’s length to get the poles finished length. Make certain you pin these parts for a more solid bond. Mine popped off twice during assembly then I pinned it.
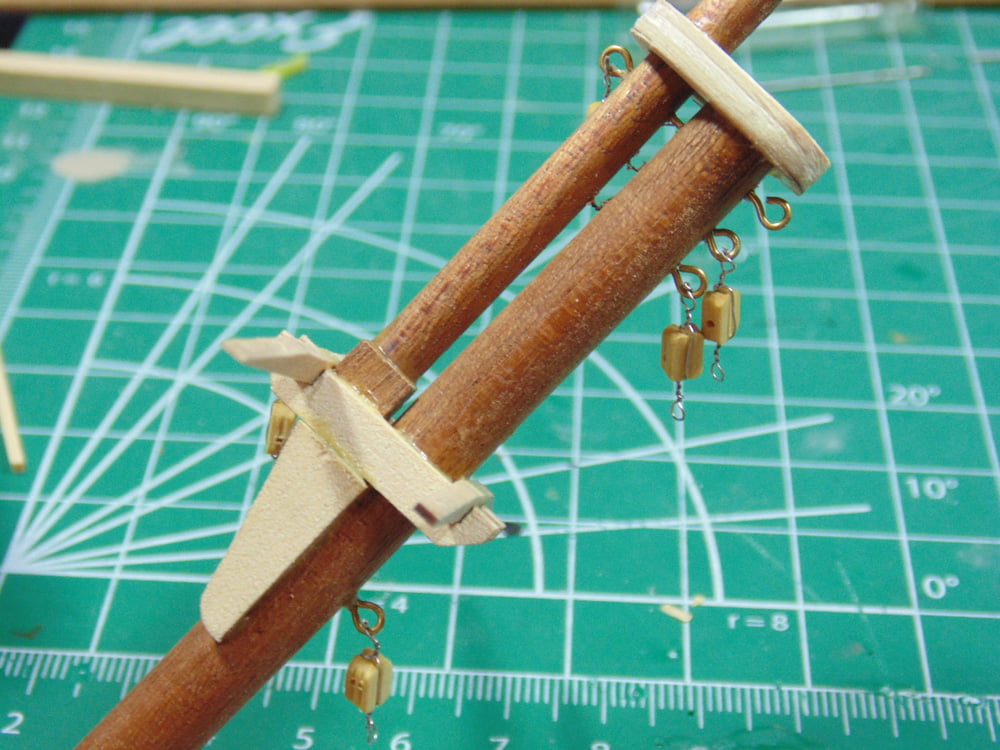
After you’ve drilled the rigging holes in the crow’s nest you can add the top pulley blocks. I’ll show you later the notch I put into the mast to secure the rings. Add a few drops of CA glue for a better hold because rigging will most likely turn them.
The laser cut coupler part assumes you’re going to graduate down the base of the upper mast and the tip of the main mast. Here you have three choices. A. you can spend the time to lessen the diameter. B. you can just sand the tip to fit. C. you can adjust the other parts.
I’m not a lazy modeller, it’s just if I see an easier way to complete a task then that’s how I’ll roll. Again, due to the wood’s density and the enormous amount of required time in sanding I’m adjusting the crow’s nest to fit the main and fore mast tips.
The wood here is easily filed down to allow for the diameter of the masts. Make sure you have something to brace the part. Use your finger or a block of wood or metal when filing. Here, I used a few mini files to get the curve. Don’t press too hard on this wood, yet use light passes and blow away the dust to constantly monitor your progress. Believe me you can go way to far too and fast on this material.
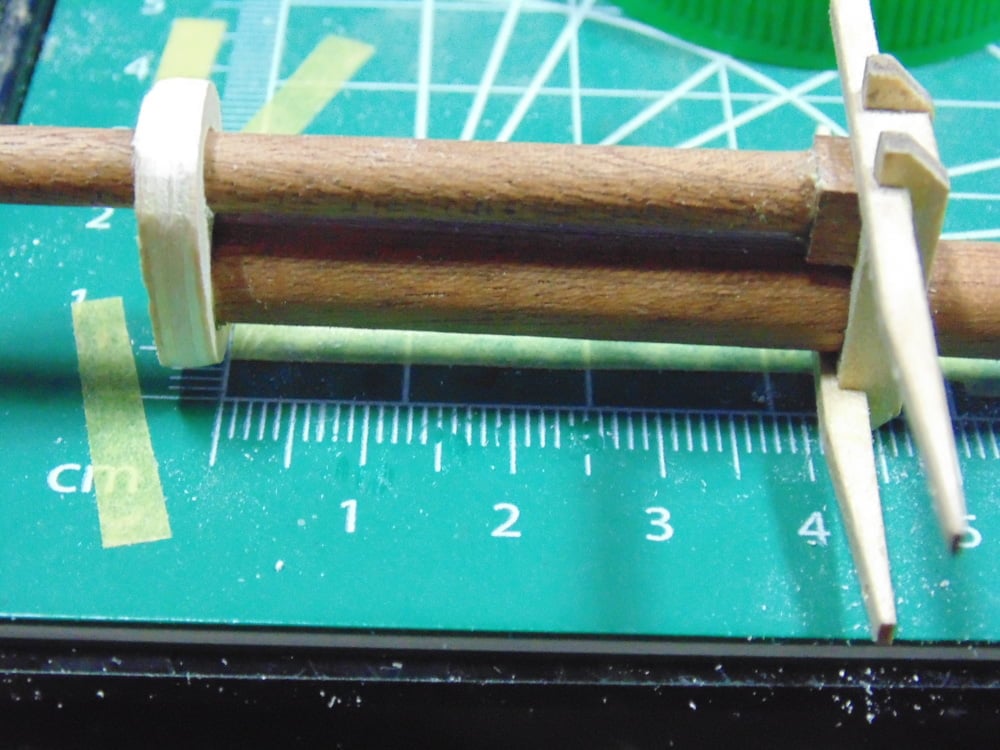
It’s crucial to measure the gap between the main and upper mast when they are in the crow’s nest.
Once you’re satisfied with the gap, draw the circumference of the mast tips on a scrap piece of wood sprue. This is another example of why you do not throw out anything until the model is complete.
Now that you have the outlines of the mast, start creating the part by drilling a small hole in the center and then increase the drill size a few times until you can slip your mini file in the opening to fine tune the orifice. Again, work carefully. The edges can easily be sawed and rounded with a sander.
This is where you’ll add the plug block to the bottom of the pinned upper mast. Make certain the position of the plug coincides with the pulley blocks at the top of the mast. The pullies have to be port and starboard, hence the plug needs to squared up when fitted in the crow’s nest.
These parts will wobble and fishtail. Remove the aggravation by anchoring one point and let it fully dry. The best place to begin is the tip of the main mast to the coupler. Do not glue the other parts just now.
Definitely lock down the main mast pole with some tape. To get the upper mast to align up with the main mast it’s critical to have the mast not move on you. Use whatever method you can to make this happen because it affects the future rigging, not to mention the overall look.
Next, glue the bottom of the lower mast and let it fully dry. You can always use this drying time to make pulley block loops with the supplied steel wire.
Now you can slide the crow’s nest into the suggested distance easily. Remember to twist the upper mast and eyeball it to line up with the main mast. Again, use your ruler on the cutting mat to get the correct distance.
For the spacing of the pulley block drill holes use some measured tape as spacers. Also, tape off the length of the pin on your drill bit. Sunward Hobbies sell excellent drill bits which are very sharp, compared to a certain Asian countries’ product. Here, I’m using the same Styrofoam stabilizer I made for the keel to hold fast the upper mast.
Add the lower braces before you drill and add the lower double pulley block. To get these parts in the correct direction use your micrometer, or other trueing device, and squeeze the two gently. Use contact cement for the best bond.
I won’t waste your time with going through the same steps for the fore mast assembly. However, here is the notch I removed for the top pulley rings. It’s guaranteed they will spin awkwardly on you when rigging. Eliminate this frustration with the notch and some CA glue.
Make certain all your unblocked eyelets are opened up so you can slip in the rigging line. You can easily close them later, if needed, with needle nose pliers.
When drilling the holes for the mono ladder steps, place your drill on the cutting mat to keep it stable. These holes have to line up on both sides of the part to look correct. Take your time here because the drill bit can easily go astray. Even I had to remake these parts twice.
Sand and form then loosely install the mast support rings. The base ring should be as smooth as possible before painting to achieve the best look. The first and second coat get absorbed into the wood so you may consider a third or fourth coat. Snip the eyelet pin for the bell that’s going into the upper mast ring. This way you’ll save yourself 10 minutes trying to drill into the dense wood of the mast. Use a drop of CA glue to attach the eyelet inside the bell.
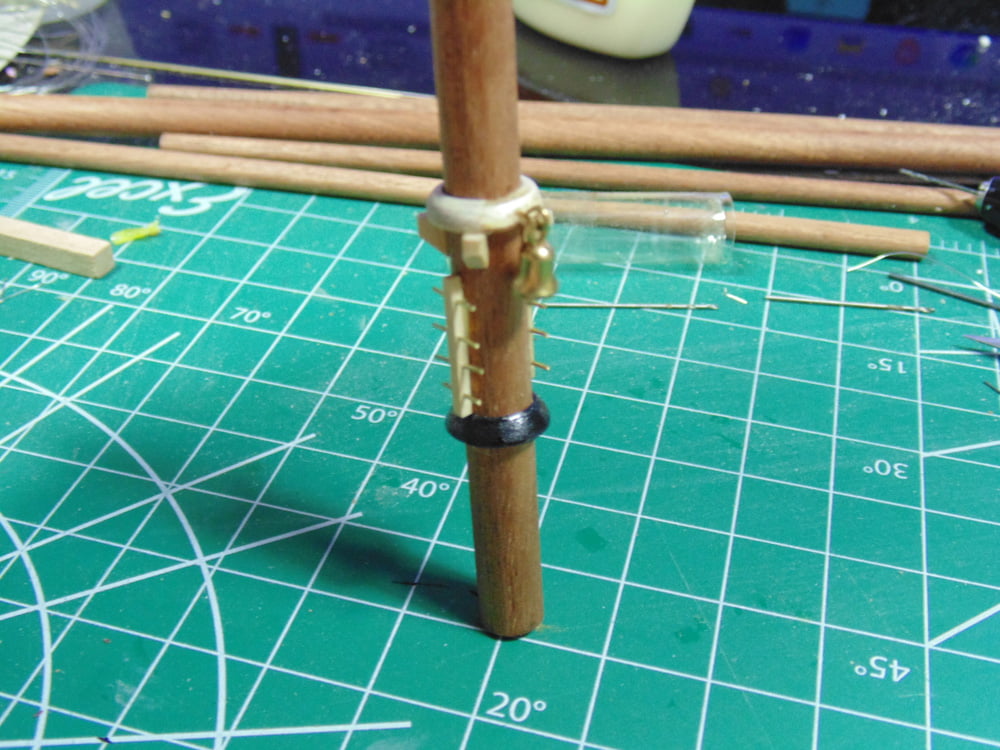
For the best fit and security drill all the way through the fore mast when inserting these eyelets. They will have considerable tension on them when you rig. Again, make certain your glue has had 24 hours to harden.
Examine the holes for masts. You may have to slice some material from the bottoms of the masts to clear any irregularities in the frame and deck, as I had to with this model.
You are at the point now when the rigging begins. Please don’t fret if the sprite lines sag a little. The sail rigging will draw them up taunt and you can always adjust the metal parts at the finishing stage.
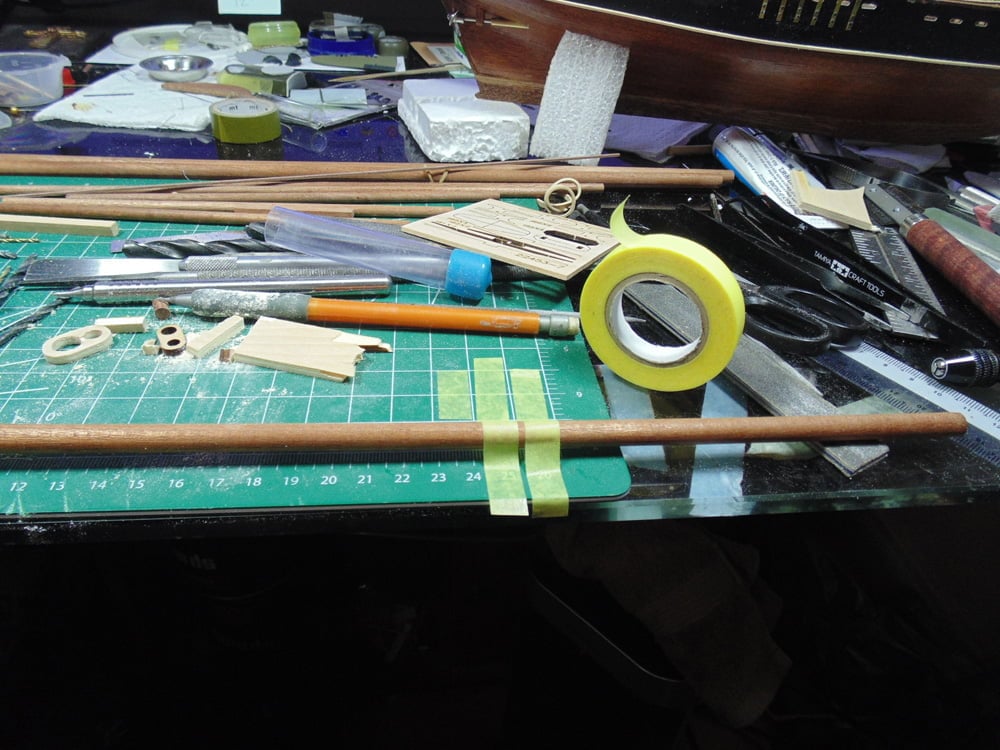
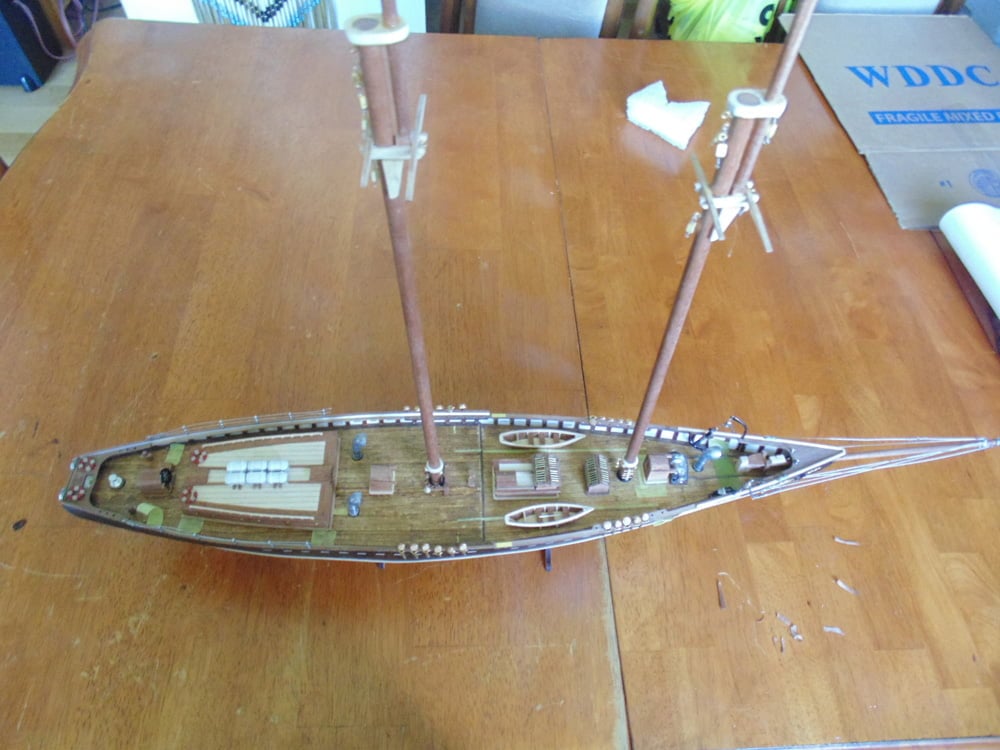
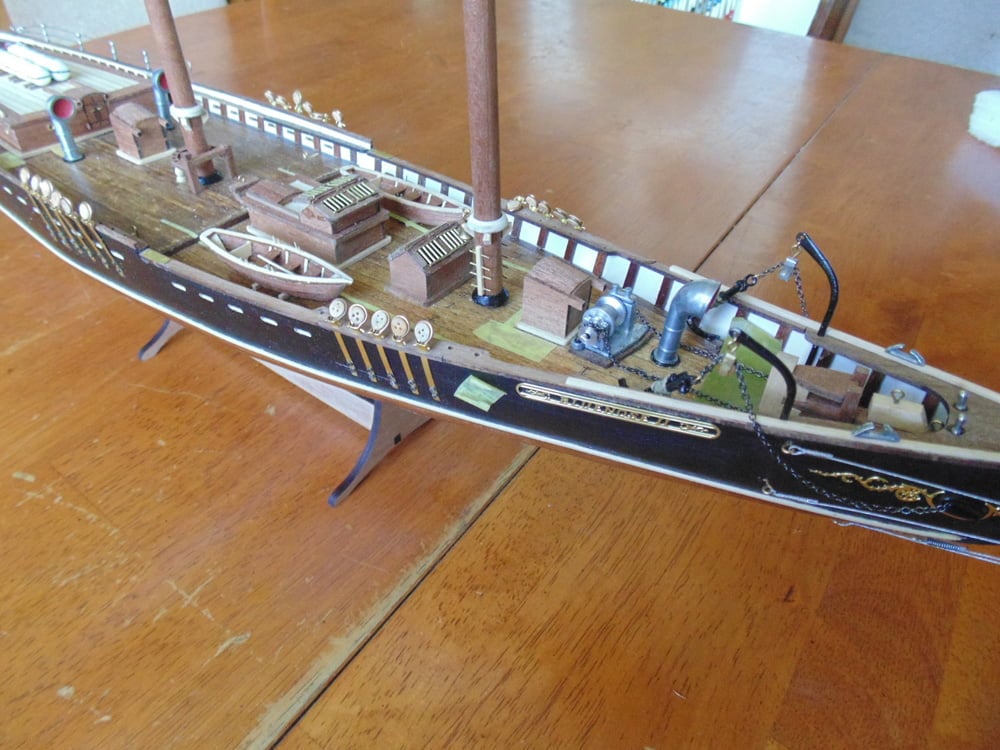
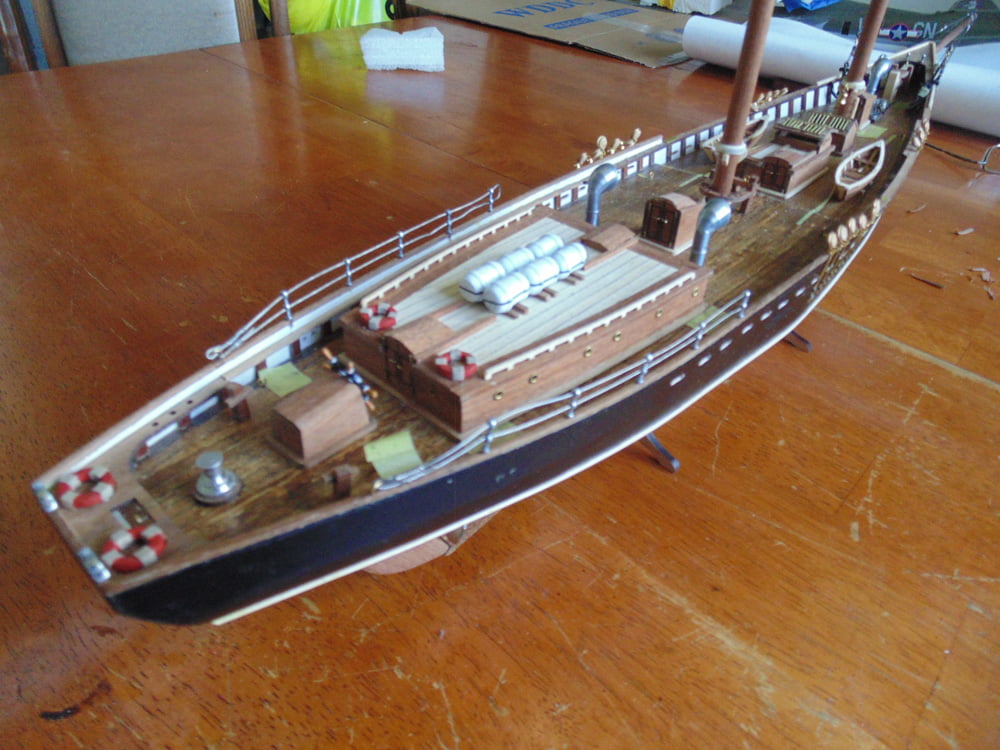
Here are a couple of progress shots of where we are in the build.
Thanks again for taking the time to follow the build. If you have any questions about Artesania Latina products, the techniques or tools used in this article, please feel free to ask the staff when you pick-up or place your next Sunward Hobbies order.
If you have any questions about the products used or the methods in this article, please feel free to ask the staff when you pick up or place your next order from Sunward Hobbies.
About the Author:
H.G. Barnes is a former voice-over artist and retired sales and marketing professional. He’s the author of two large volume science fiction adventure romance novels with many more in the works. For well over 40 years he’s been building scale model replicas and now does commission work for clients in Canada and the USA, plus completes projects for companies in Asia and Europe.
Currently H.G. is involved as an Associate Editor with KitMaker Network’s Online Magazine Channels.
First Post: Part 1
Previous Post: Part 13
Next Post: Part 15