
Artesania Latina Bluenose II Build – Part 20 of a Series
In this Sunward Hobbies tutorial, I’ll be continuing with Artesania Latina’s Bluenose II build with Part 20. Previous Part 19
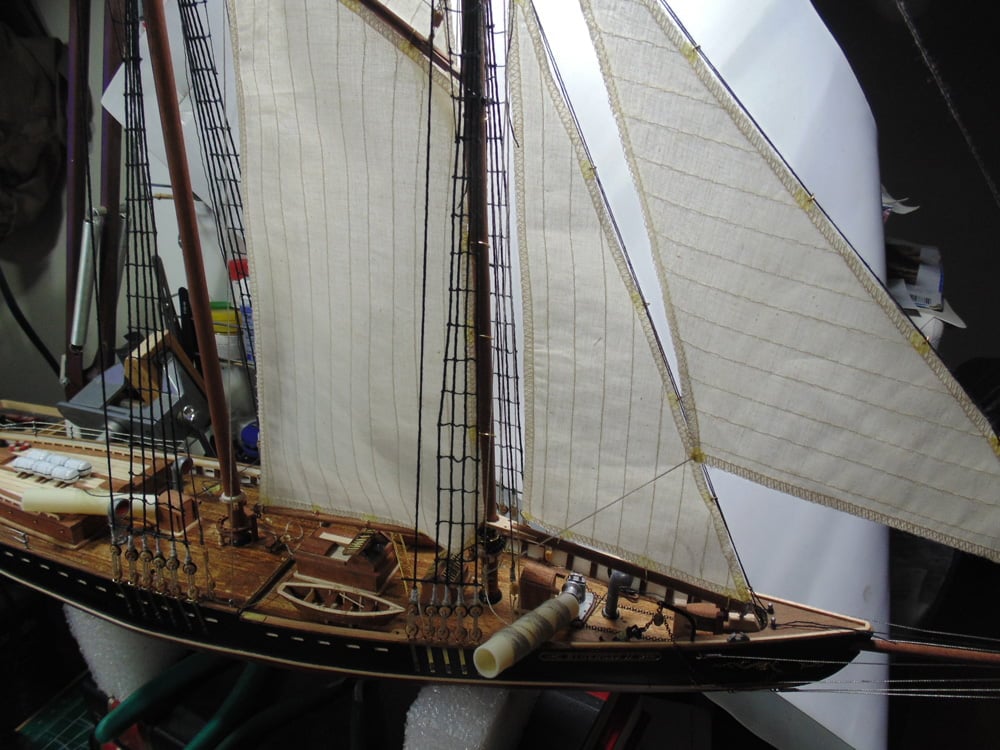
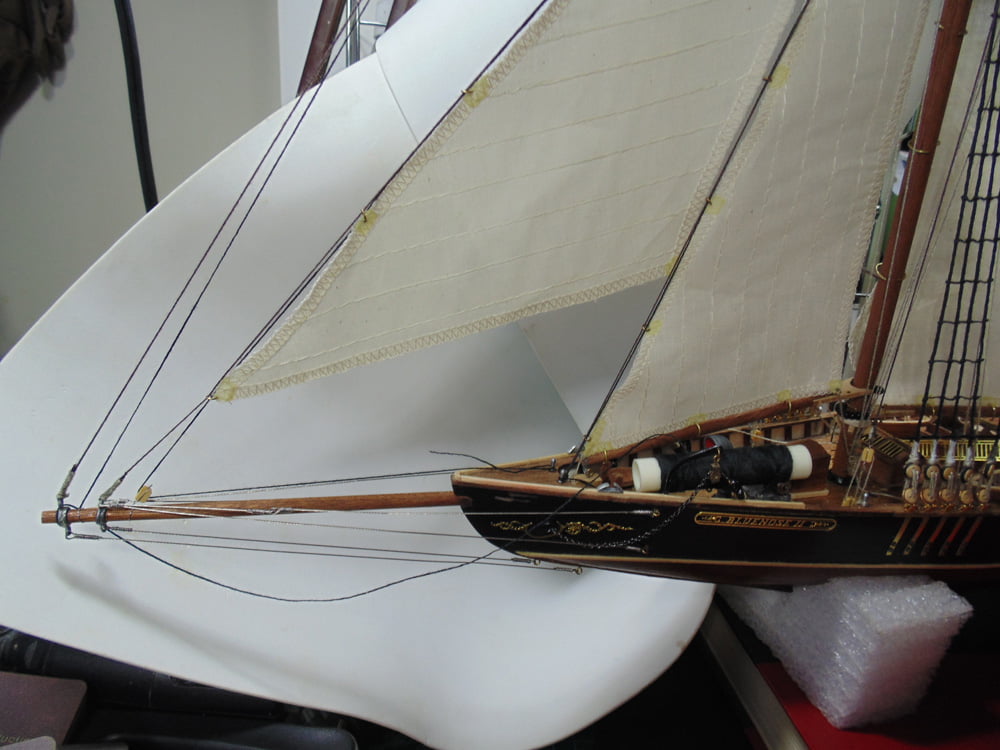
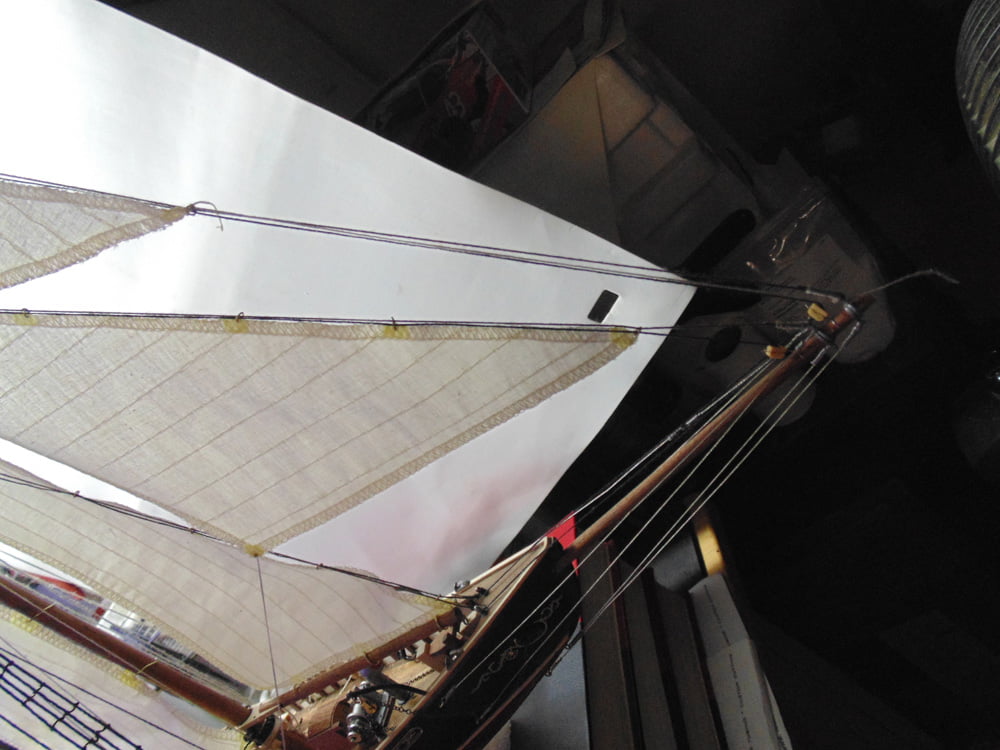
In this Sunward Hobbies tutorial We’ll be continuing building the 1/72 Artesania Latina Bluenose II fishing schooner. In this Part 20 I’ll be installing the remaining tri-sails in steps 50 and 51. You’ll get to see plenty of tips to help with the fear of rigging and speed things up, also make the build more enjoyable.
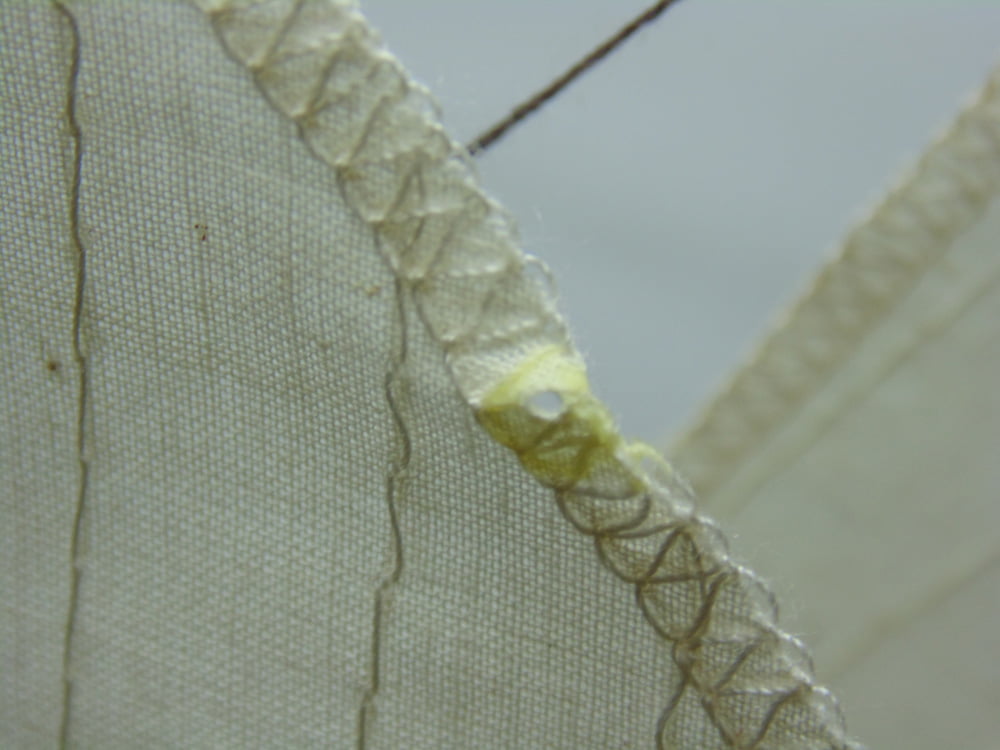
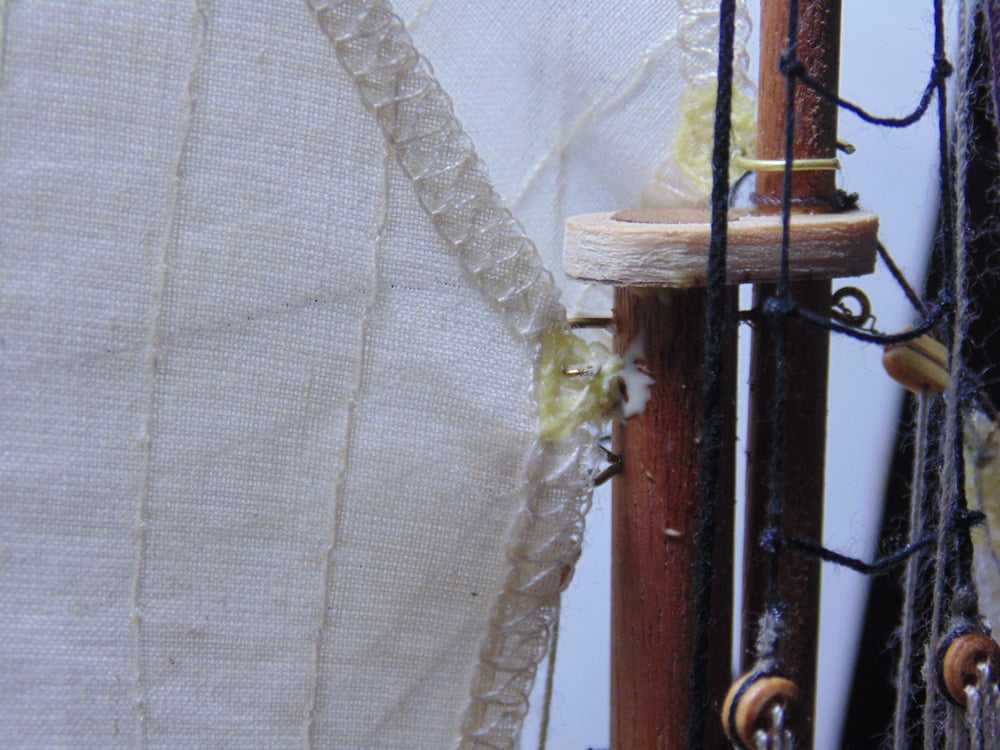
Begin by preparing your “Headsail” with dabs of glue and reaming out the blocks. While your glue is still wet, use a sharp punch to make your ring holes then insert them while the glue is wet. Make sure you clean out the slight gap in the rings. Later, you’ll be slipping them over the main forward lines.

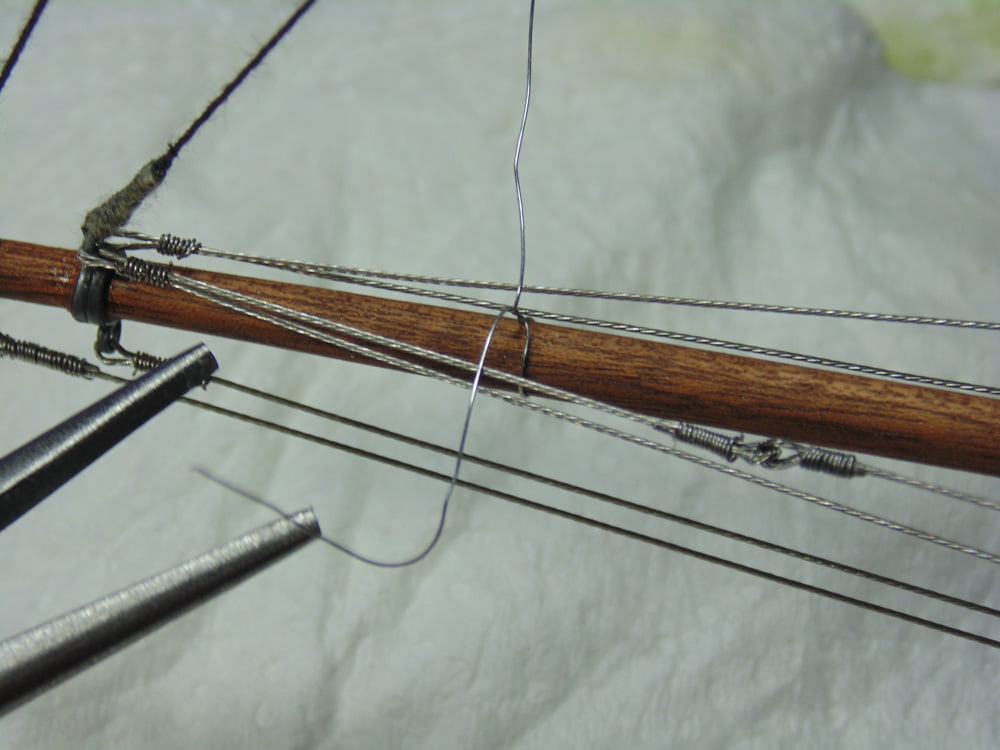
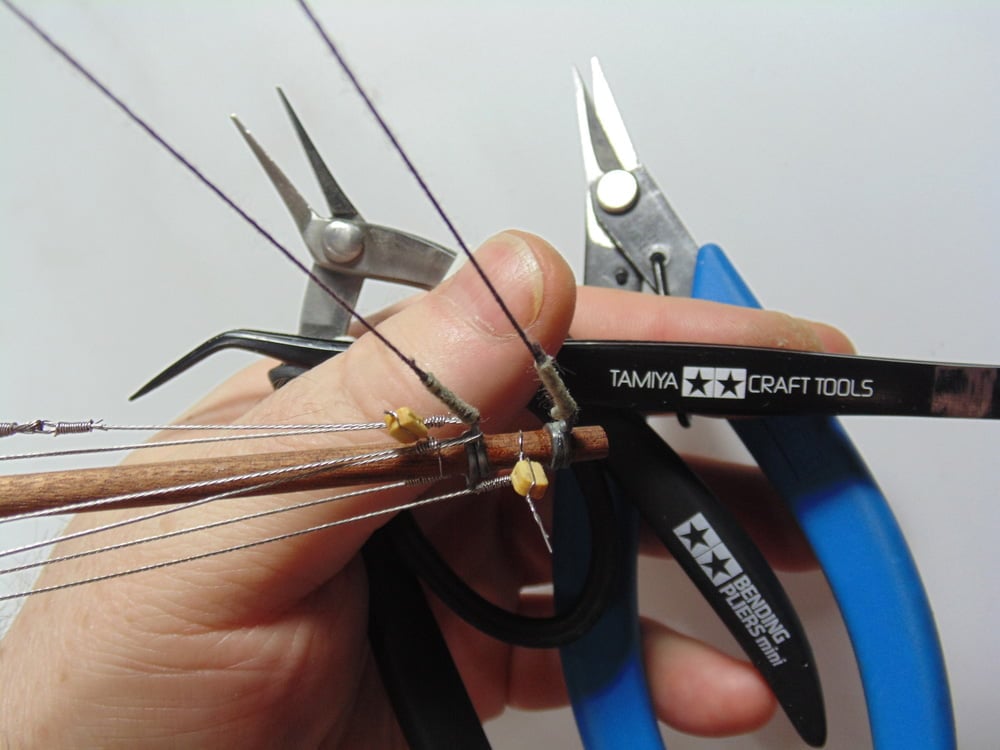
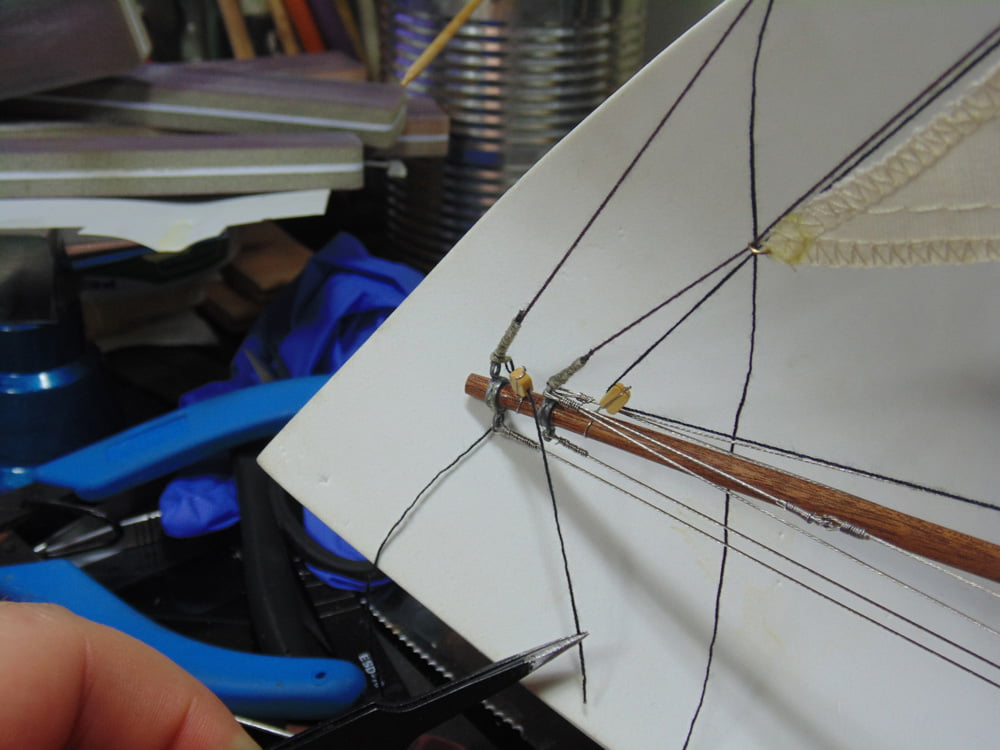
Next you’ll have to wrap the blocks with the included fine wire. Give yourself an extra inch after you’ve twisted the wire on the wood. This will make the task much easier and less frustrating. Now you can slide it closer to the back stay.
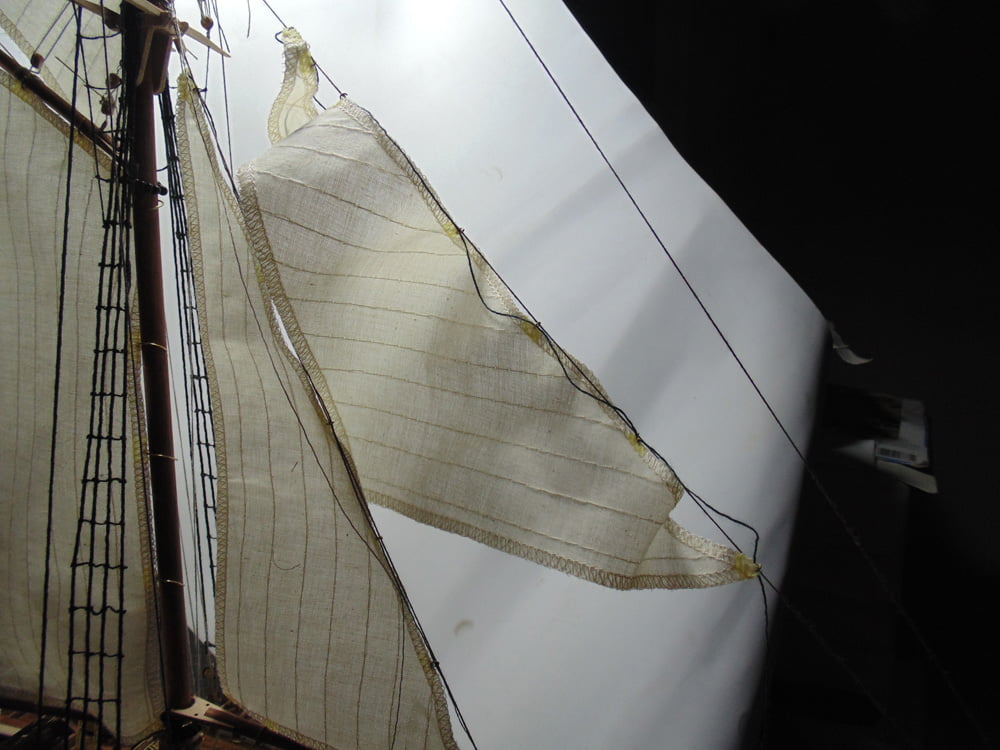
Begin rigging at the top so your sail has a connection point where it falls and can be easily worked on. These blocks should have already been reamed out, but if not they will need to have the holes cleaned out.
It’s so much easier to have the sail pre-rigged. Make sure you’ve measured out enough line to wrap around the securing handles.
The forward rigging block can be tricky to make. Build it sideways and use your fine tools to spin the block to tighten with the wire. In this case my Tamiya photo-etch bender pliers worked great. Now you can turn it right-side up.
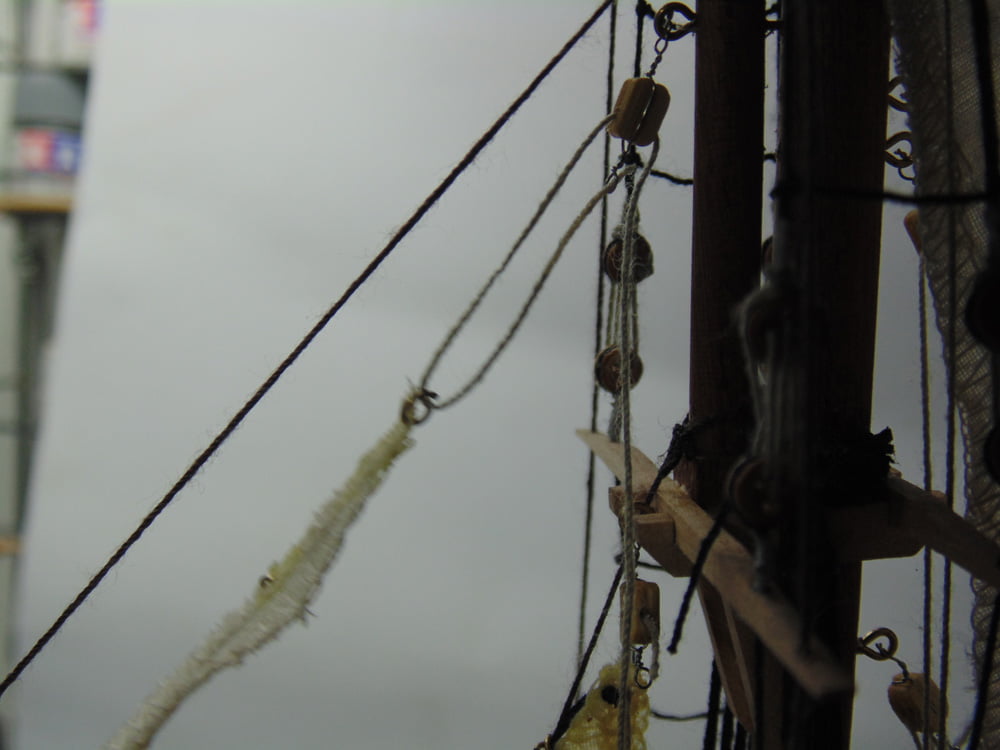
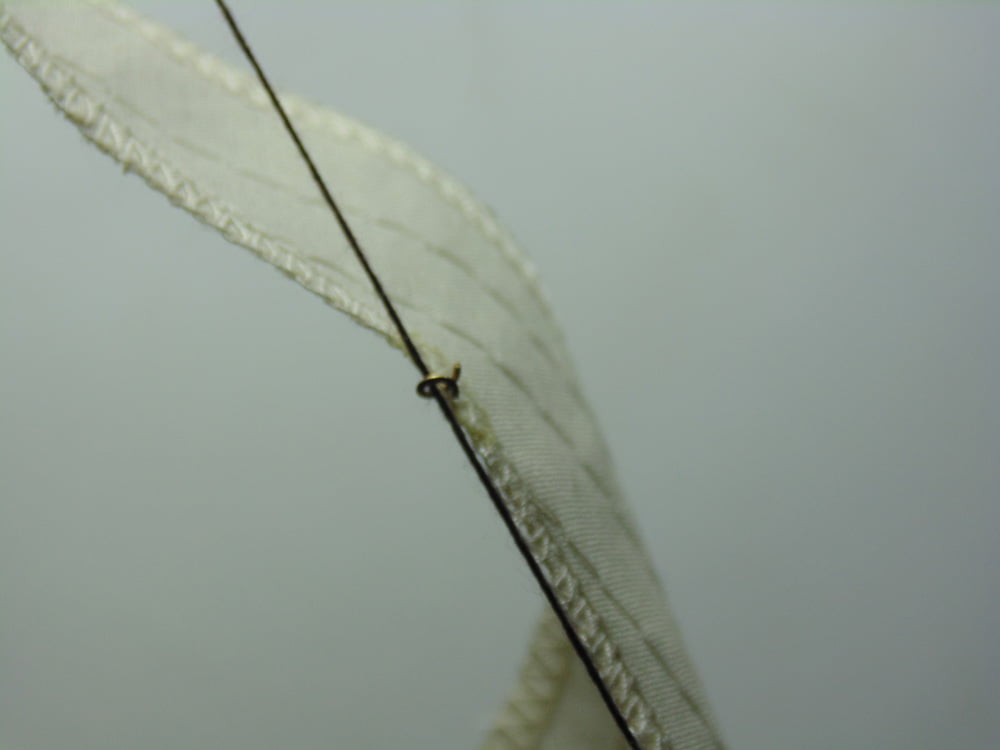
The rings should now be secure in the dried glue. You can slip them over the main line. Next, connect your black rigging line then run the tan line through the block and down to the tie-downs. It’s now super easy to adjust the location and tightness of the sail.
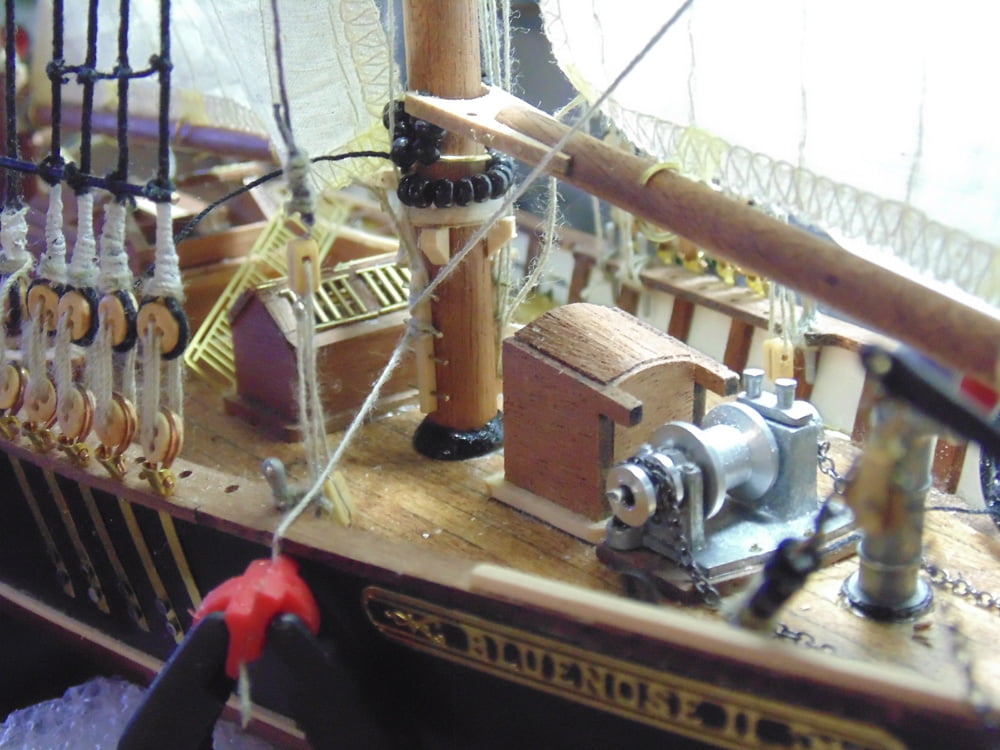
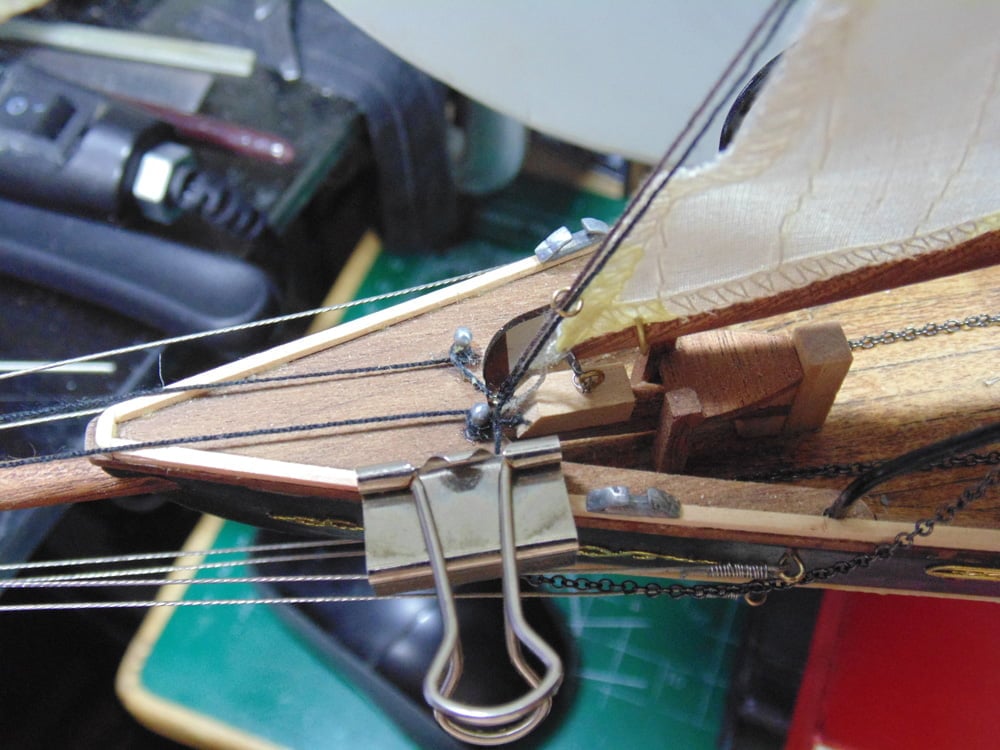
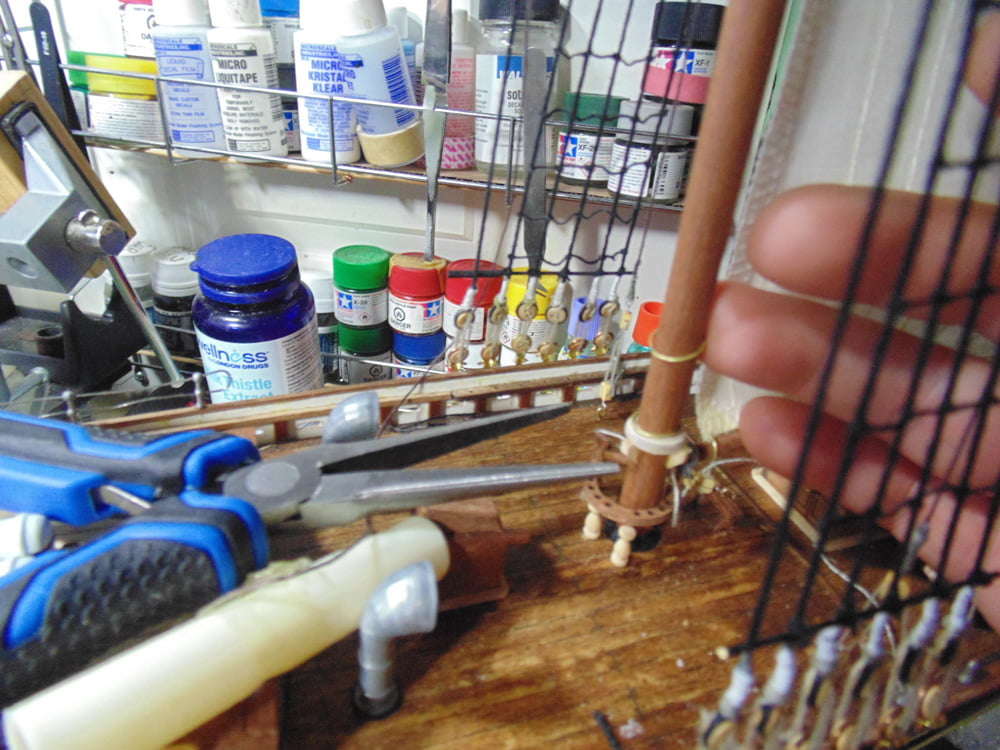
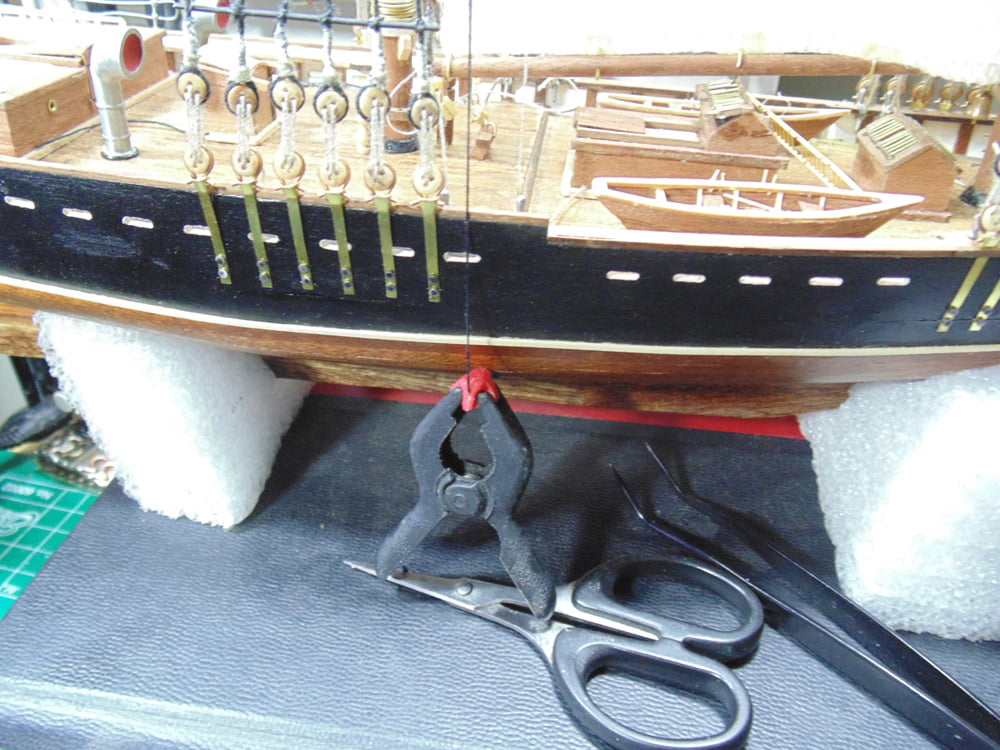
The foremast side tie-downs can be stubborn to get the line to stay put. Use a dab of glue on the metal pins before wrapping the line. Use your fine Excel Blades tweezers to get at this area. Then use an Excel Blades clamp to hold the line tight while the glue sets up. Don’t pull this line too hard or you’ll risk detaching the tie-down part.
Once again, make sure the holes in the blocks are cleaned out with a fine drill bit. Here, I’ve used a 0.8mm bit and simply hand twisted it with my fingers. Sunward Hobbies sell a great variety of drill bit sizes, please consult one of the staff for the right choice.
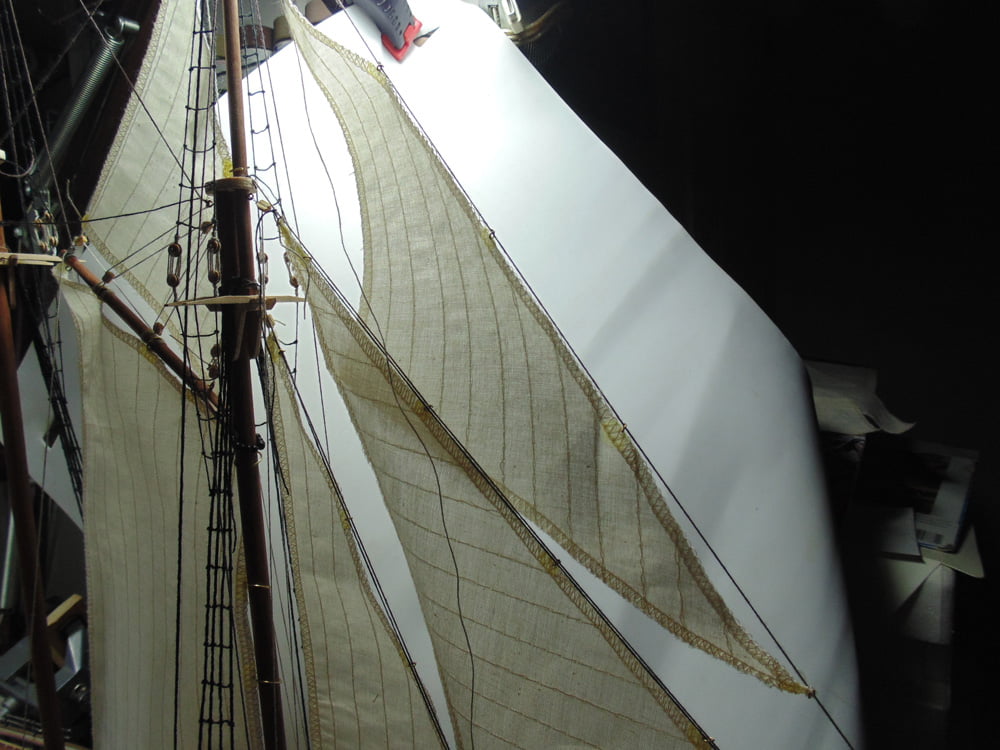
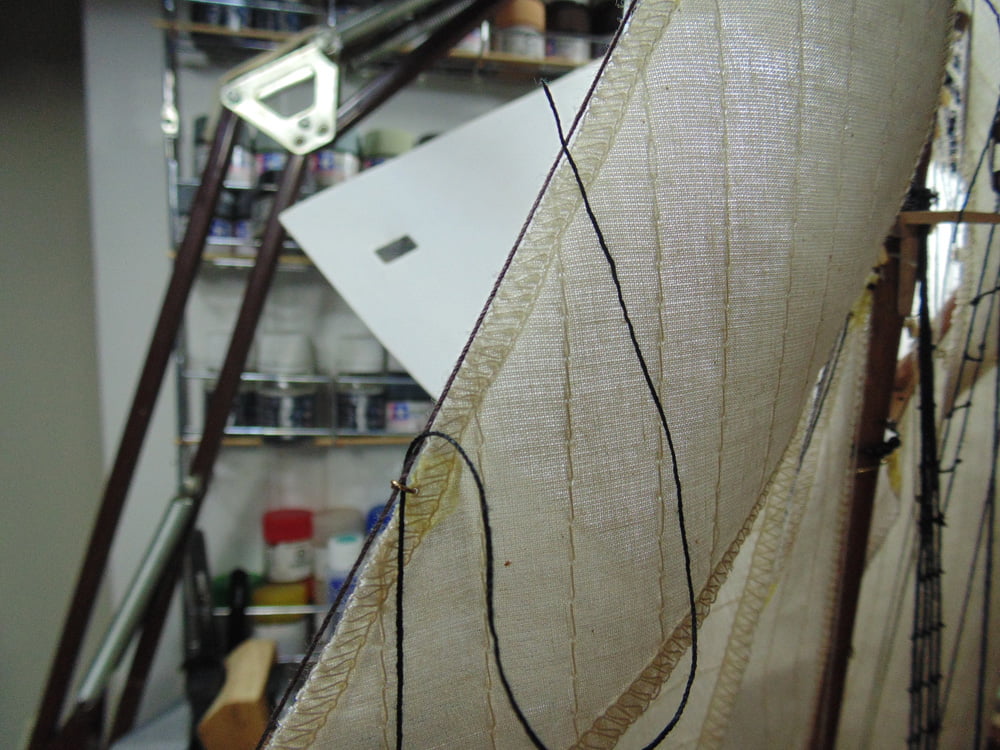
To get the final look of the Head-sail run the middle line last. You can tighten as needed, but again not too tight since it will pull the main line and change tension on other lines and the foremast.
There will be some rings which will need to be squeezed shut. If you’re careful enough you can overlap the ends for the best lock.
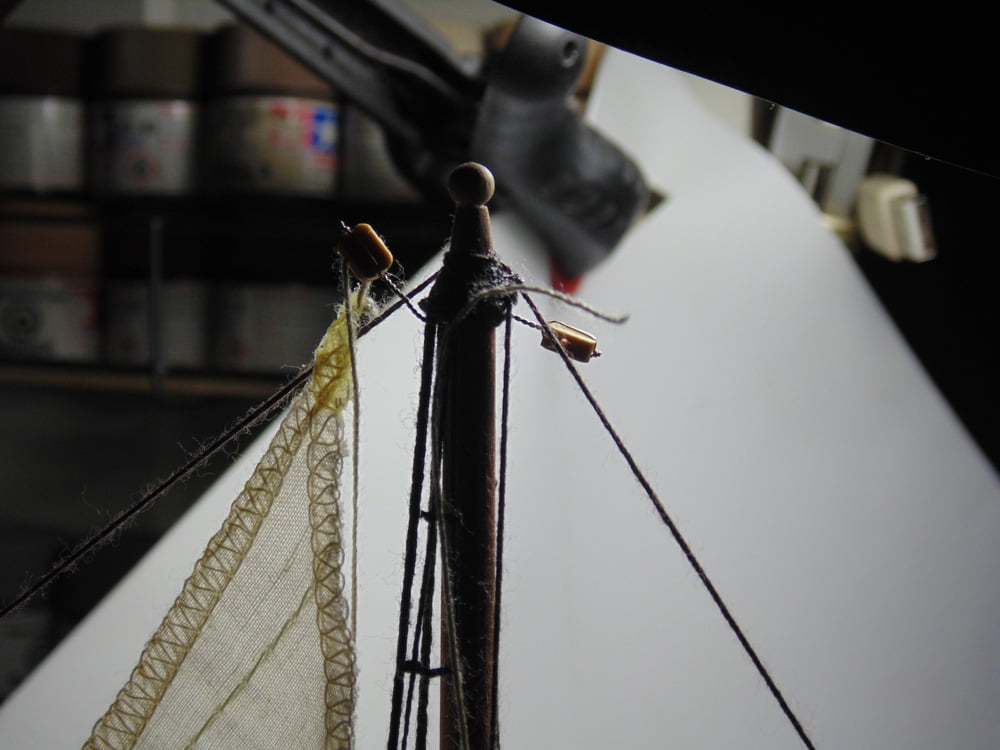
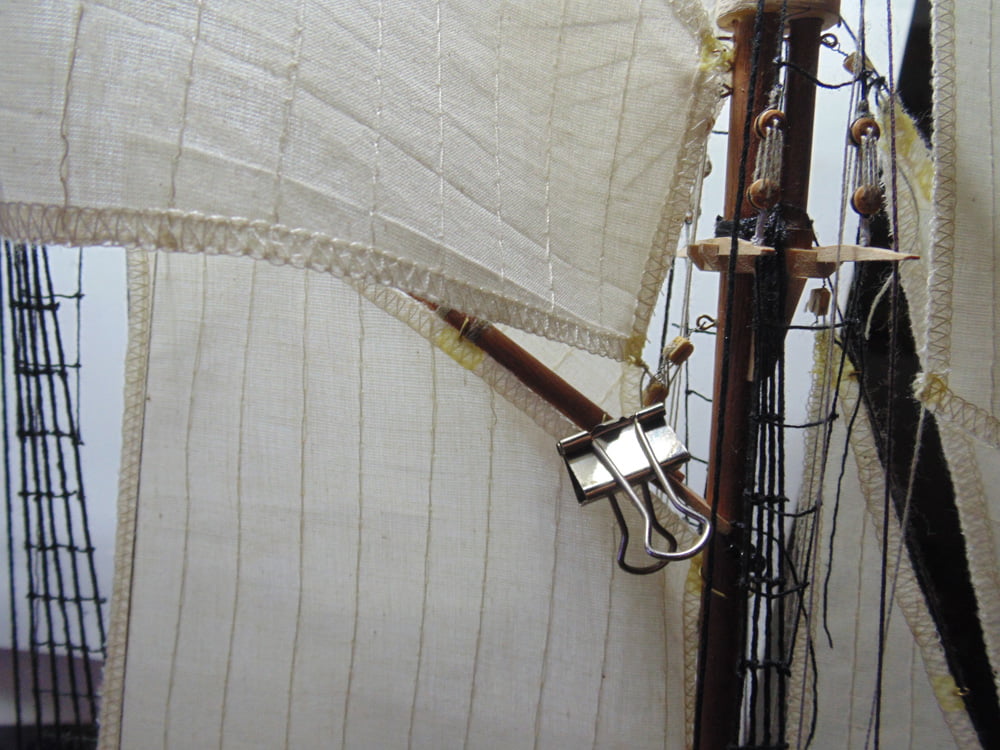
The Jib sail is the easier of the “tri-sails” to fit. Run your black line from the top of the mast then down to and through the block then to the forward tie-down handle.
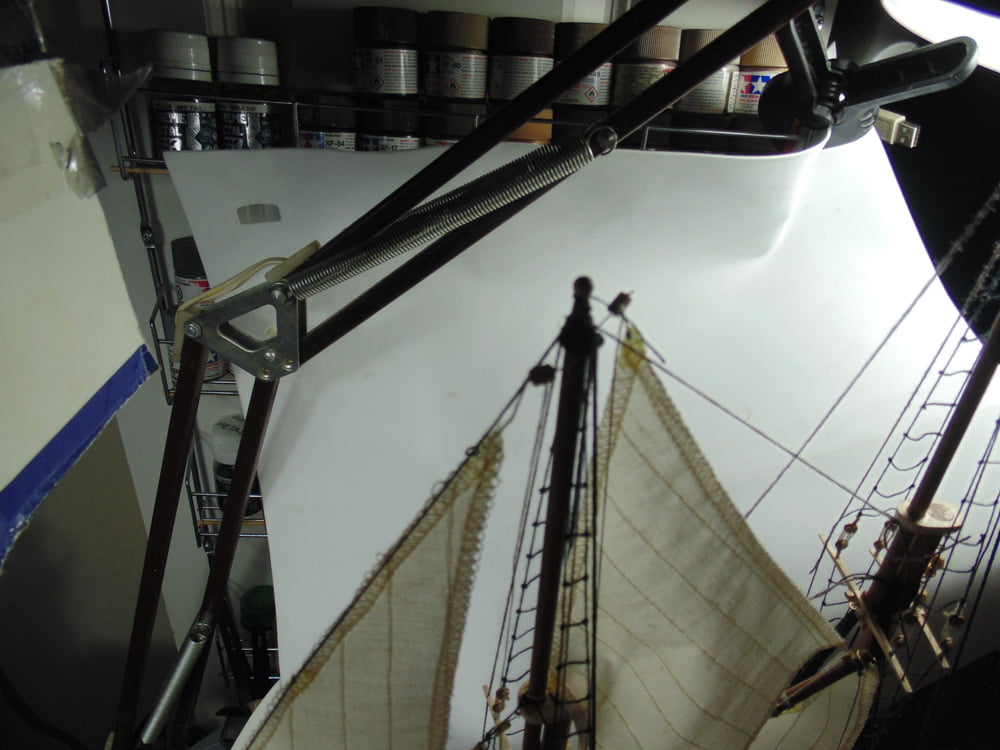
Remember to keep the black line just tight enough to run parallel with the main line. I had to use my hand to hold the block while pulling the lines through these blocks. The black line has fuzz which can still hook the wood.
Again, add a dab of glue to the tie-down handle then use a clamp to pull the line tight while the glue dries.
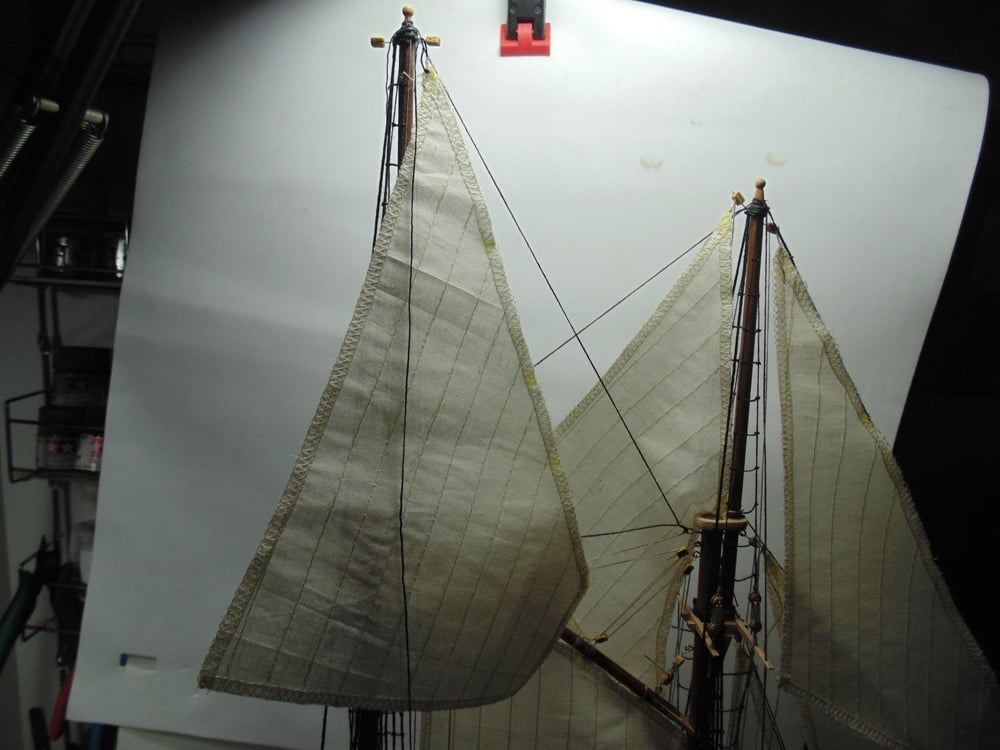
Now you can slip your rings over the main line and tread the black rigging line. Then you can decide if these rings need to be squeezed or overlapped. The final step is to run some tan line from the lower tip of the Flying Jib which completes Steps 50 and 51
Now we’ll start work on Step 52. This is a less complicated area, so I’ll include this step in this tutorial.
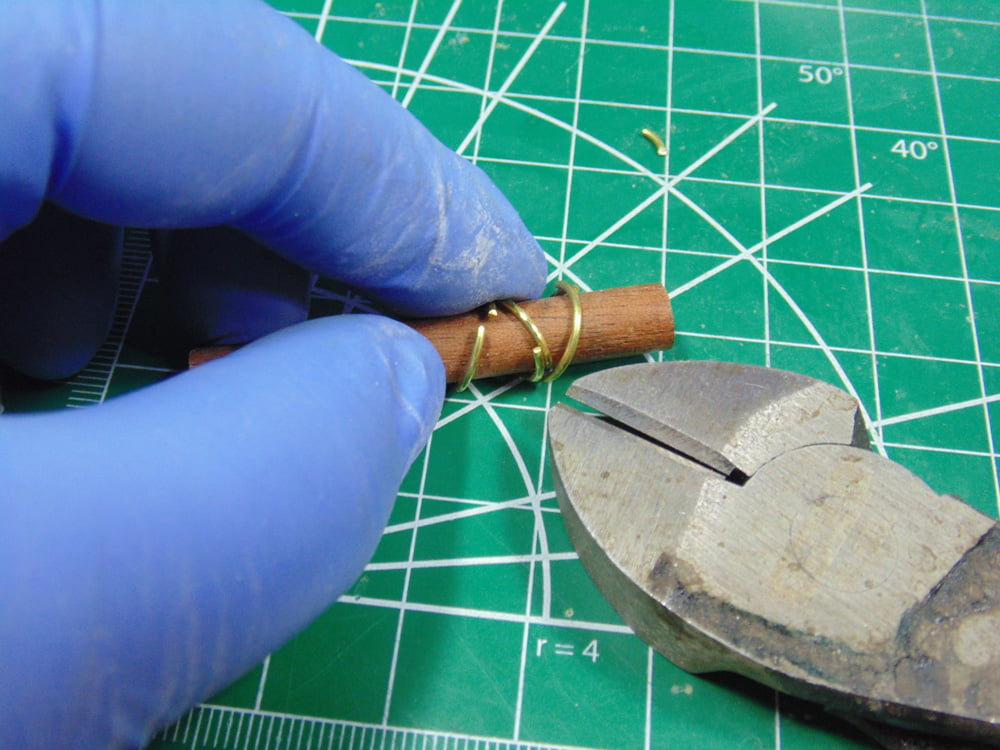
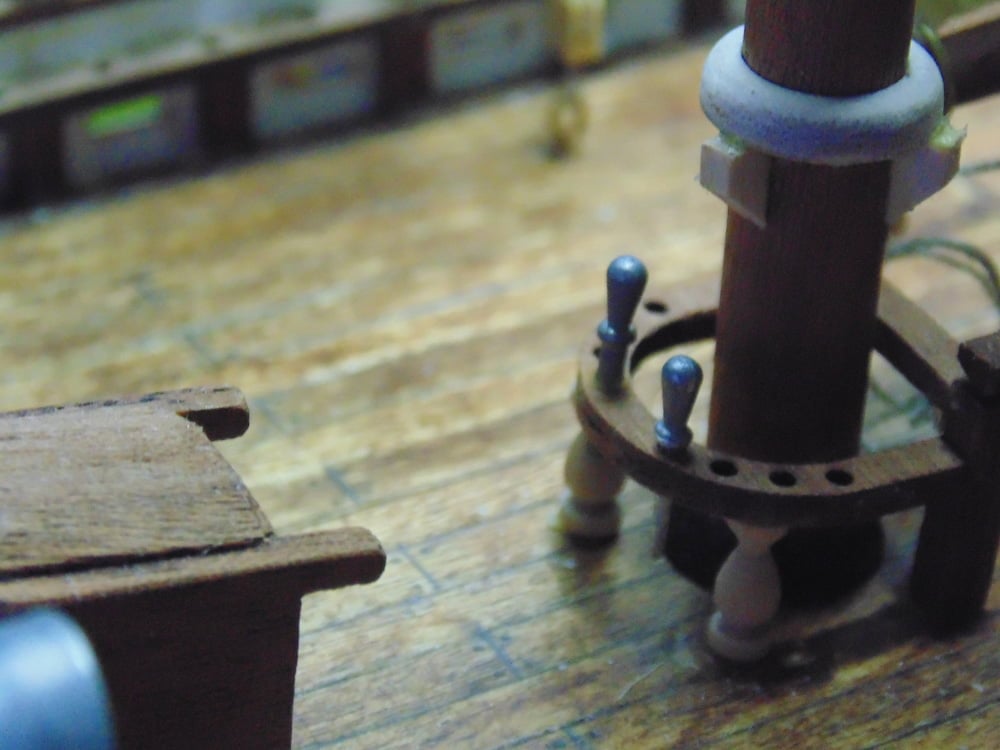
The first thing you’re asked to do is make and install the large rings for the mainsail. This is super easy to do by drilling a hole in the scrap mast length you held onto.
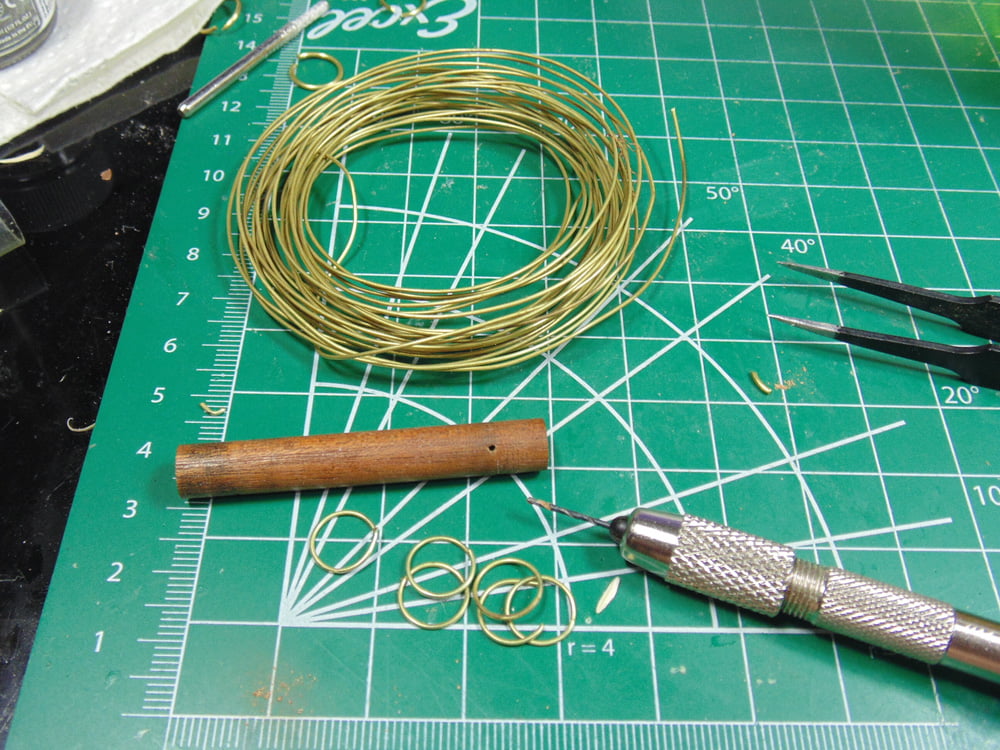
Wear some gloves to get a better grip then spin your brass wire tight. Next, use a good pair of wire cutters to cut as closely to the width of the dowel.
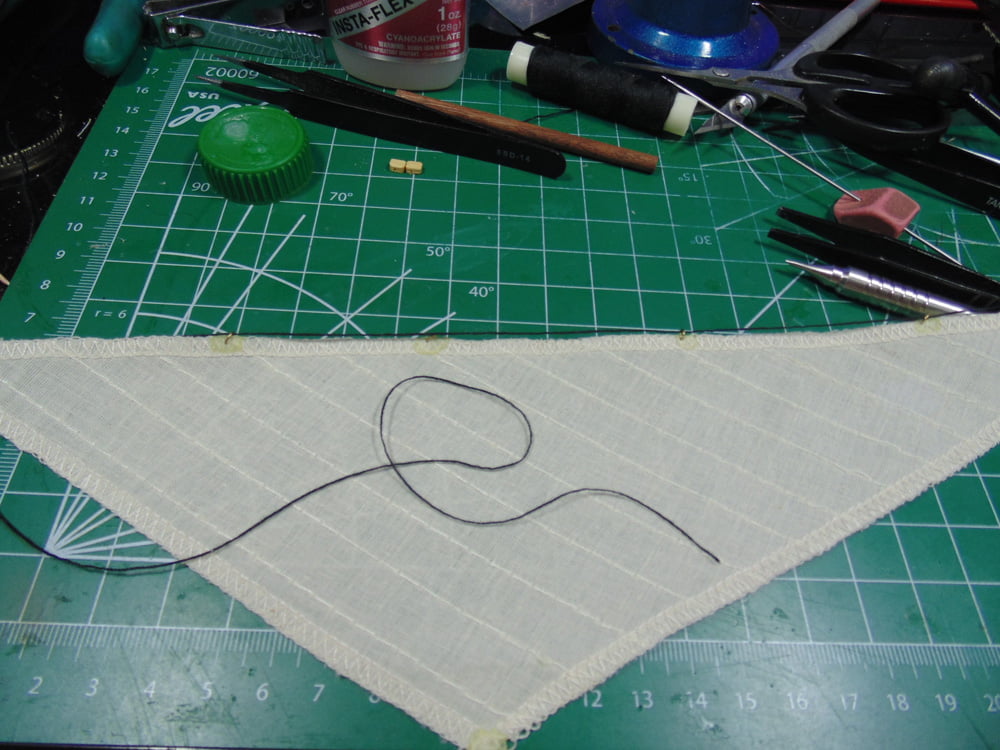
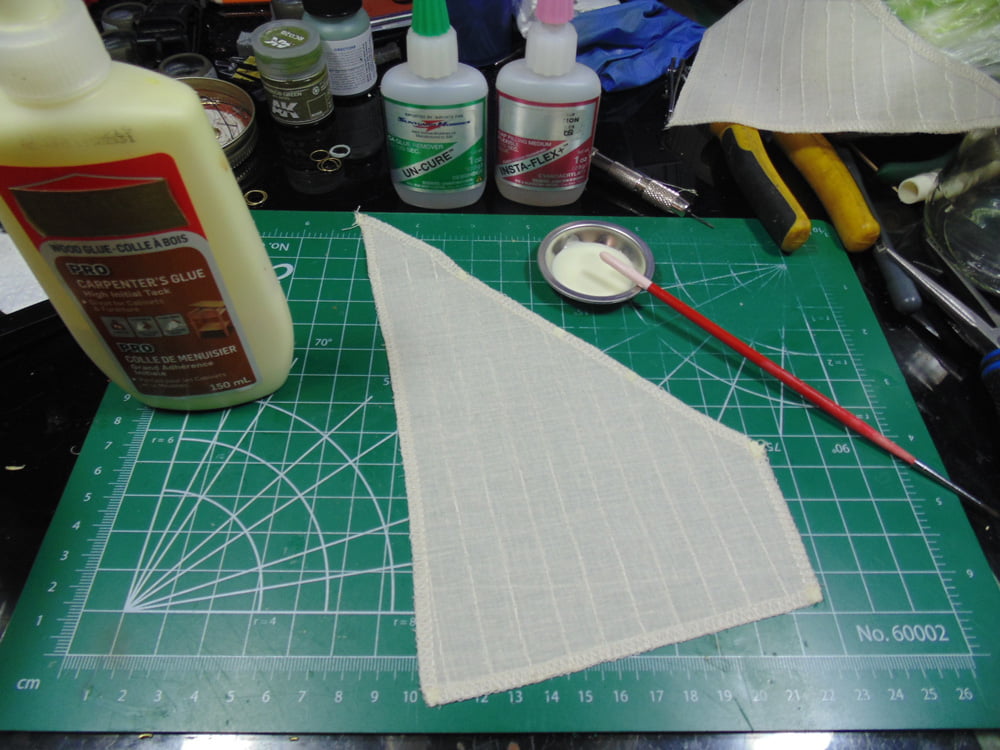
Before installing the rings I’ll prepare the storm sail with dabs of glue for the rigging and small rings. Don’t be afraid to saturate these small glue points. While this is drying we’ll get those rings done.
Spread the rings, obviously, then collapse them with a heavy duty set of pliers leaving a gap to fit the main sail later. Doing this now gives you the room to work unencumbered by the rigging lines you’re about to install.
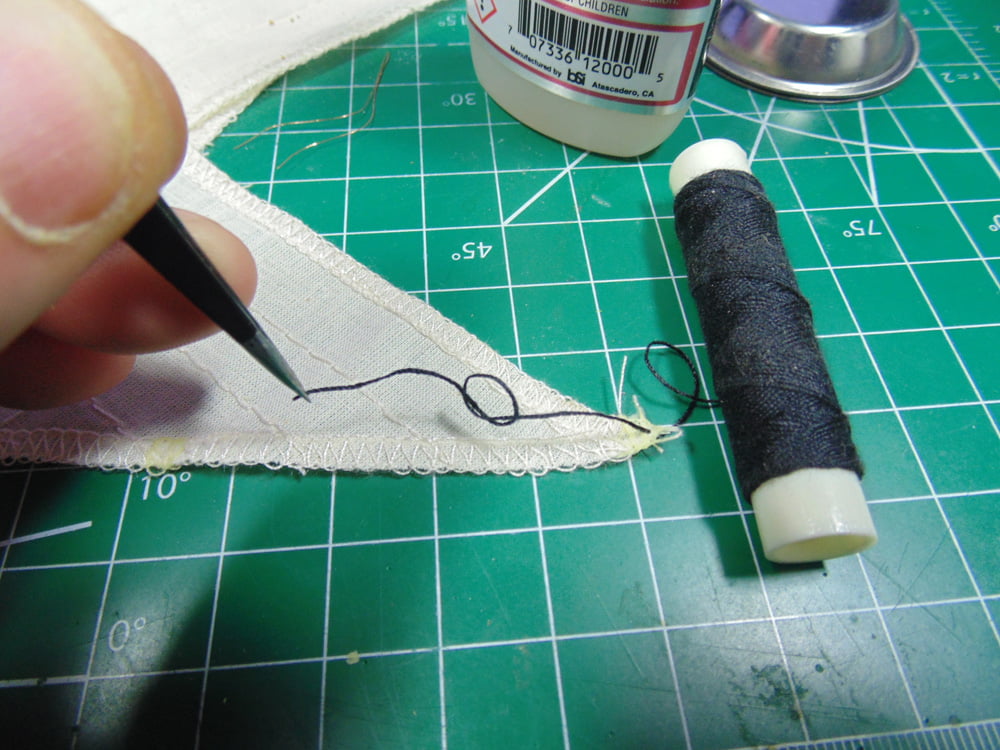
To thread the black line, again use a thin wire loop through the hole you’ve stamped in it, just as previously instructed.
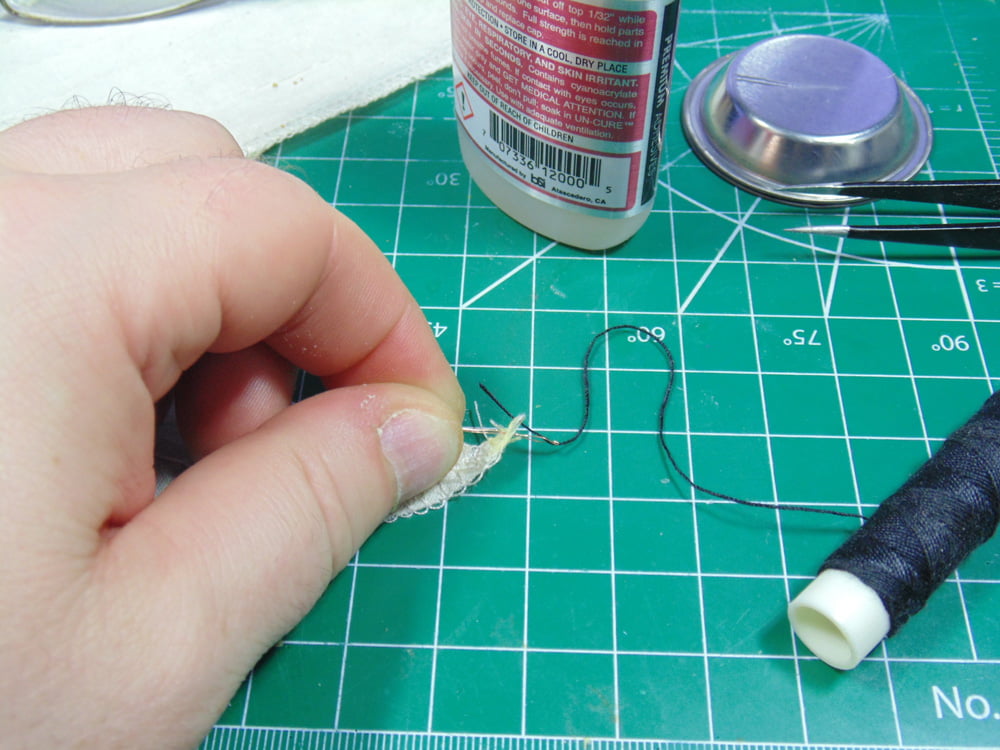
Tie a knot in the line then use a tiny droplet BSI Cyanoacrylate CA glue to keep it from coming unraveled.
Now you can loosely hang the storm sail and carefully thread the line through the top block. Next you’ll have to wrap the other end around a metal handle.
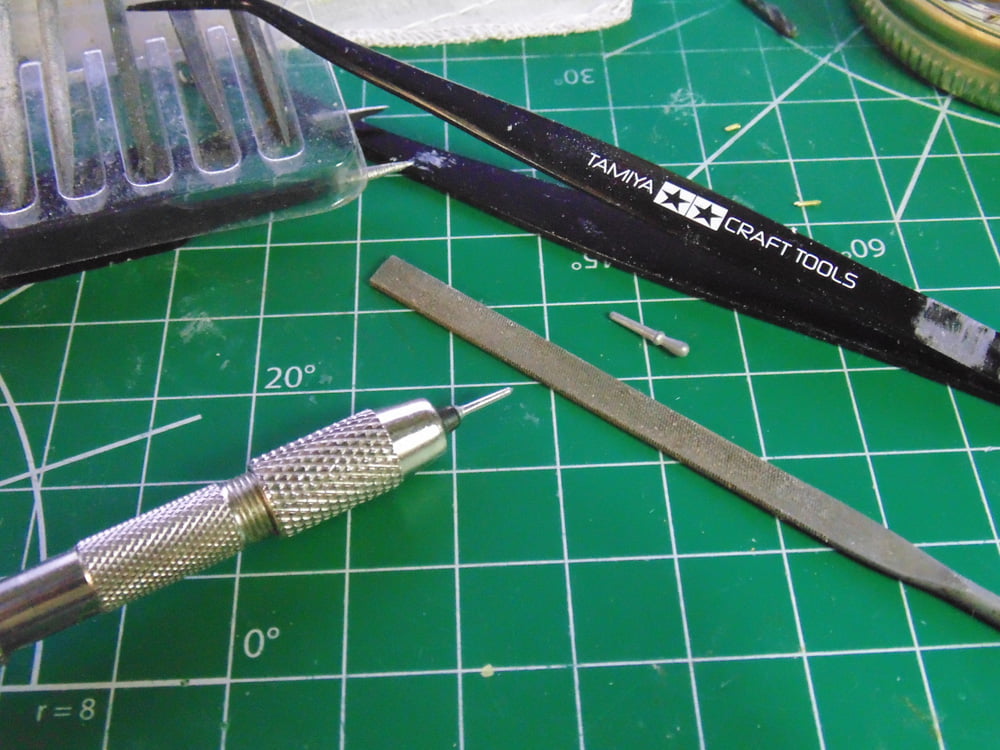
The metal tie down handles in this area are way too thick. Find an easy area to get at in order to test fit how much to file off these parts.
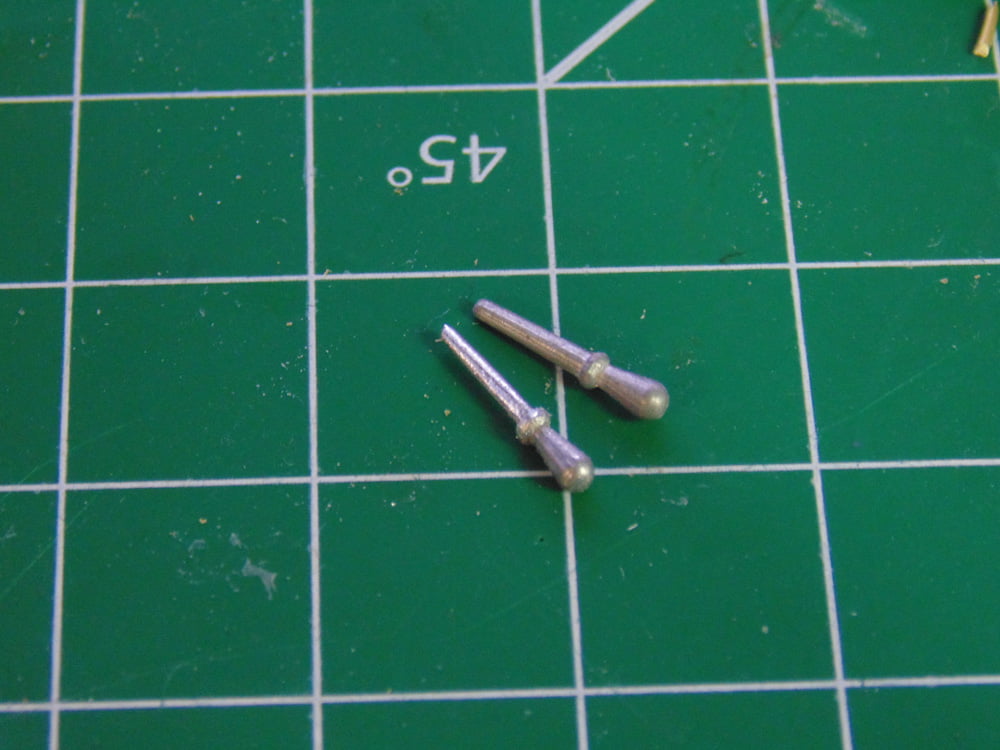
Use a good Vallejo or Tamiya flat file. Putting the handle end in a pin vice will help enormously with holding them for an accurate reduction.
You’ll need to have extra line to work with along with a long pair of tweezers to reach past the rigging and ratlines. Also, have some glue at the ready when you get the loops done. As always, have a clamp ready too.
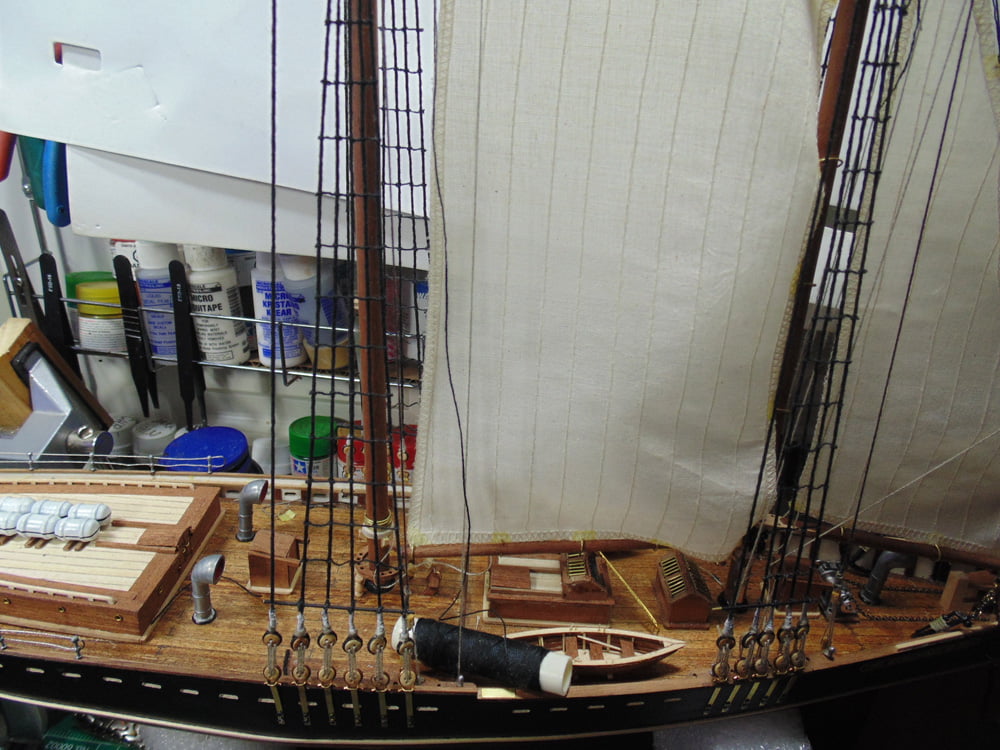
There is some delicate rigging in the blocks of the foremast. Do these next while you can move the sail to one side and have room to work.
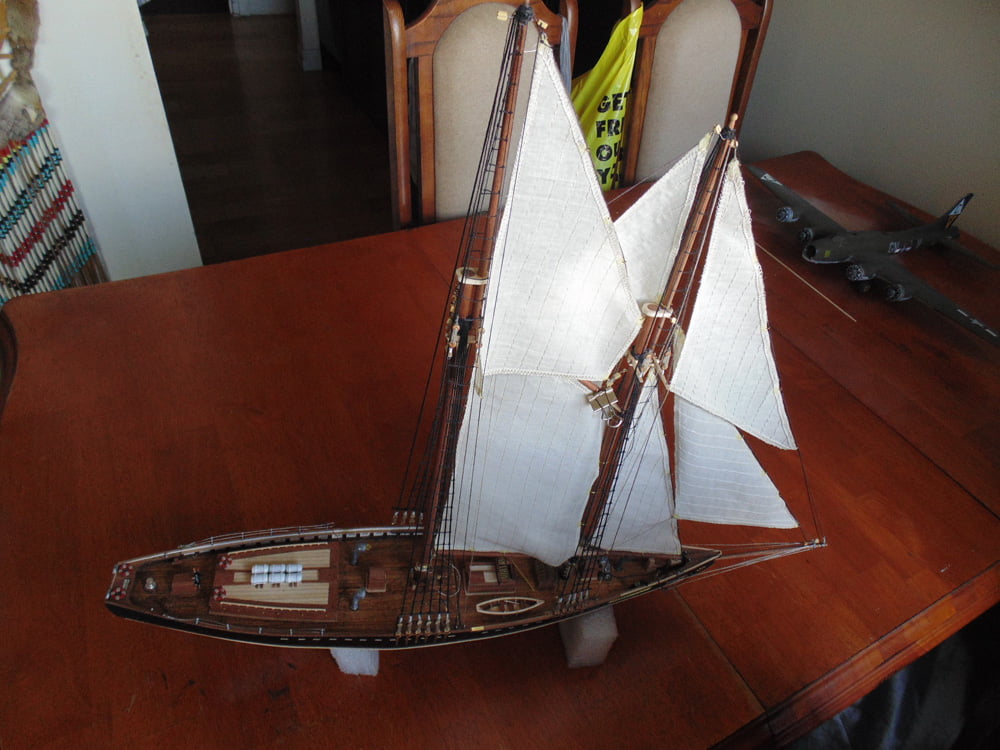
This completes Step 52. Truly, this model is beginning to come to life. The main thing to take away from this part of the tutorial is please take your time. Yes, you’ll spend dozens of hours here, yet the reward of seeing your work hopefully will be most gratifying.
Thanks again for taking the time to follow the build. If you have any questions about Artesania Latina products or the techniques used please feel free to ask when you pick-up or place your next Sunward Hobbies order
If you have any questions about the products used or the methods in this article, please feel free to ask the staff when you pick up or place your next order from Sunward Hobbies.
About the Author:
H.G. Barnes is a former voice-over artist and retired sales and marketing professional. He’s the author of two large volume science fiction adventure romance novels with many more in the works. For well over 40 years he’s been building scale model replicas and now does commission work for clients in Canada and the USA, plus completes projects for companies in Asia and Europe.
Currently H.G. is involved as an Associate Editor with KitMaker Network’s Online Magazine Channels.
First Post: Part 1
Previous Post: Part 19
Next Post: Part 21