
Artesania Latina Bluenose II Build – Part 21 of a Series
In this Sunward Hobbies tutorial, I’ll be continuing with Artesania Latina’s Bluenose II build with Part 21. Previous Part 20
I’ll be installing the main sail in Steps 52 and 53 plus show you tips on how to tighten the previous rigging along with going into a little more detail than the instructions show.
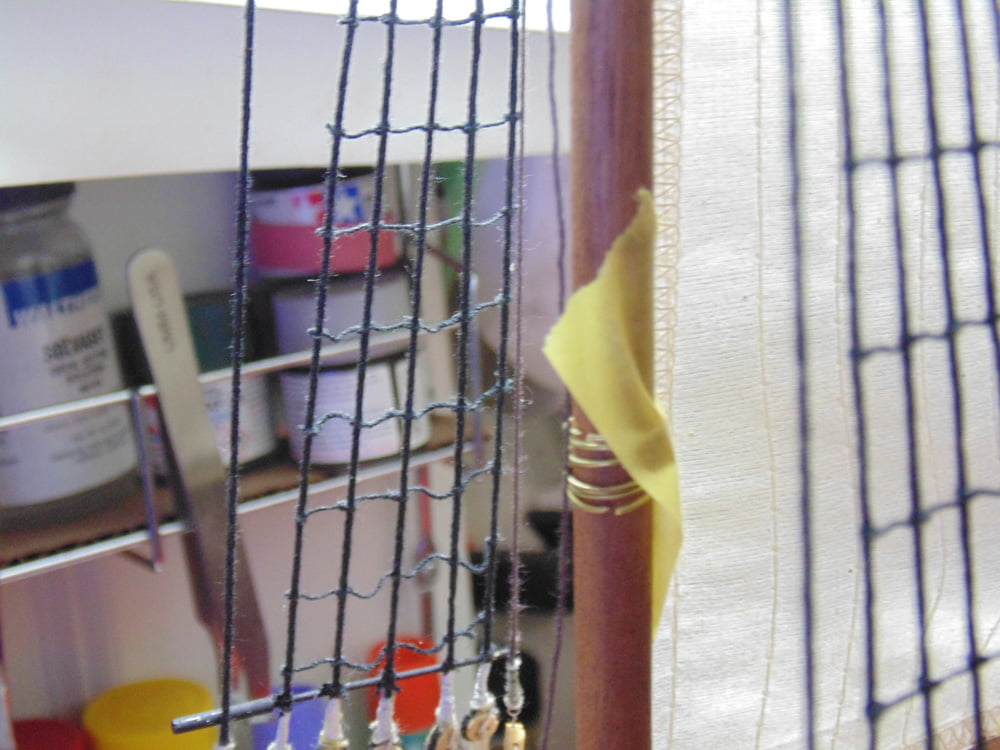
I won’t beat around the bush here. This will take many hours to complete, but because it is the key sail and look of your replica it deserves the proper attention. You’ve already seen how I make the sail rings in a previous tutorial, however getting the ones waiting and out of your way will require a bit of tape on the mast. Then you can slip them out one at a time.
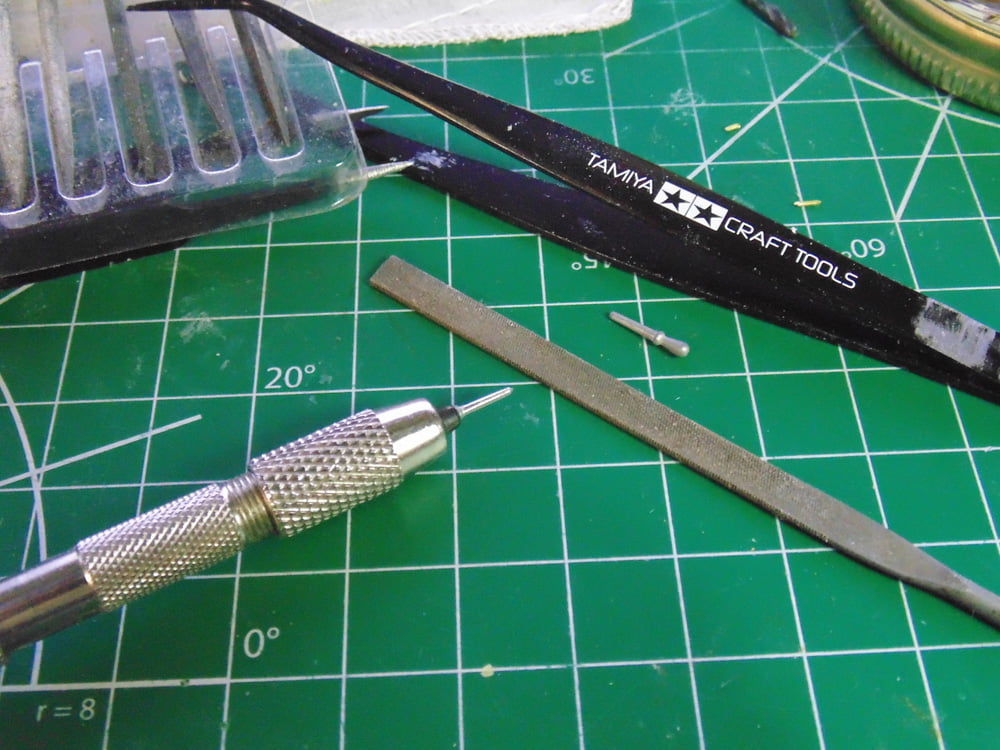
You’ll be needing half a dozen rigging handles for these steps and future steps, so I would get them out of the way since you’re doing the two you’ll need for this task anyway. Again, they simply will not fit in the mast cradle holes. It is extremely important not to put any pressure on this wood part, it cracked on me twice (needing repairs) and I was being gentle. If you are someone who has yet to tackle the Bluenose II, I’d drill these holes out after reinforcing them with strips of thin wood.
When applying your glue, try to be as neat as you can, obviously, yet you can always wet a Q-tip/cotton swab to clean the mess immediately thereafter. Sunward Hobbies have some very fine pointed Q-tips which can be used for a multitude of hobby tasks, including cleaning your airbrush.
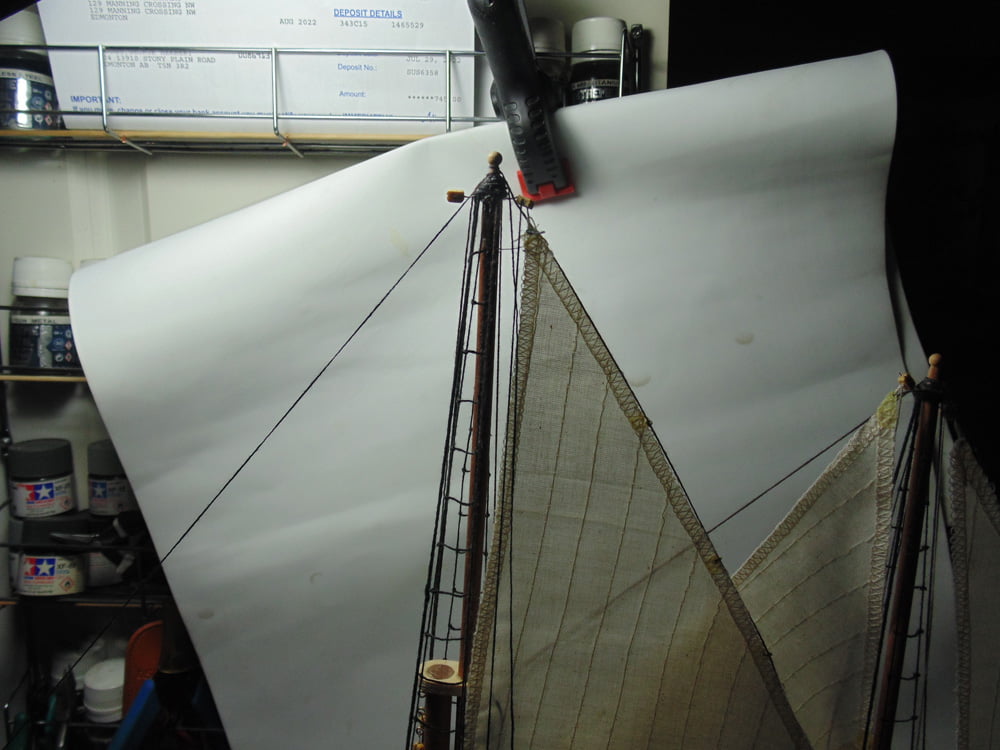
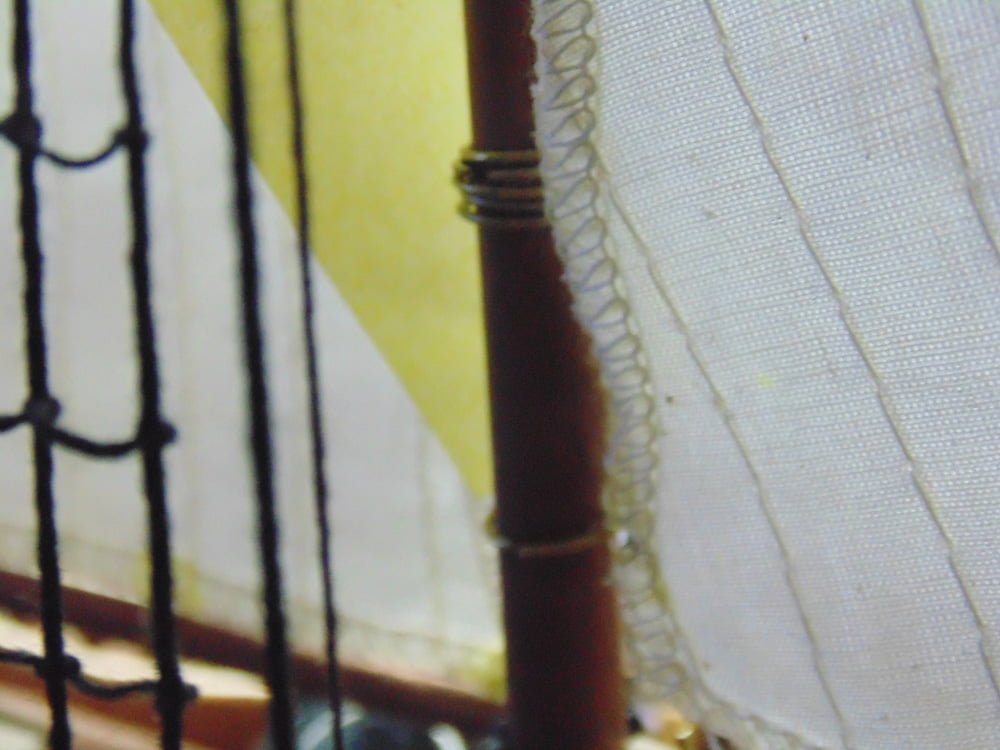
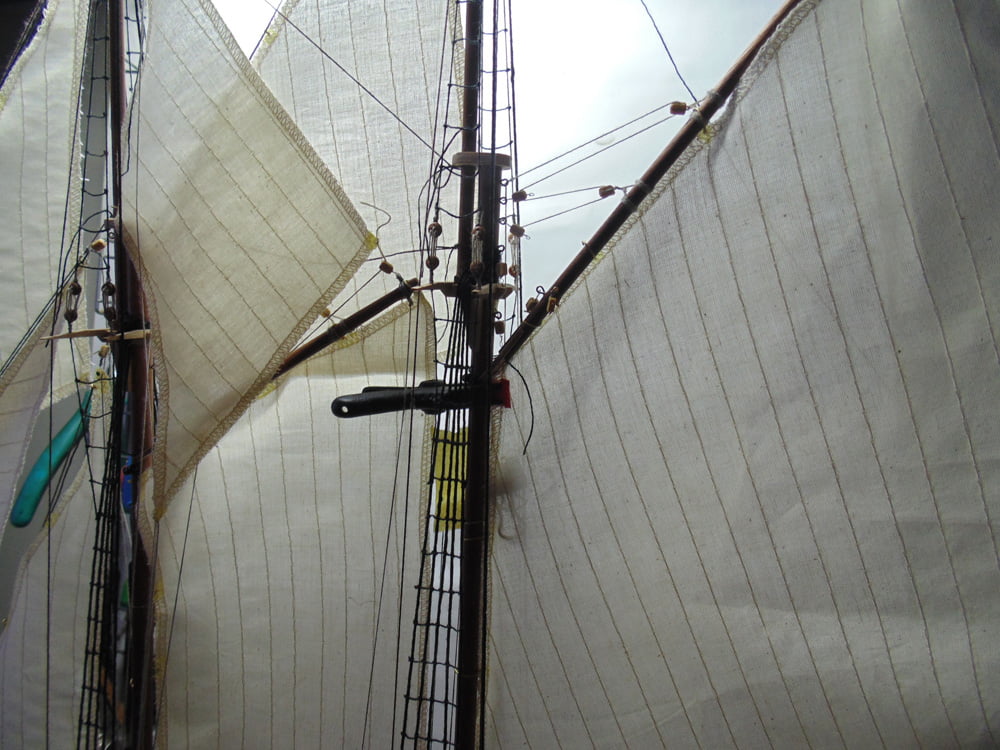
As previously mentioned, the sails in the kit box are different than the instructions. This is important because if you try to attain the same look as the instructions, you will suffer much frustration. Simply adapt to what is supplied. Note the 10-degree lift in the main boom compared to the 0-degree in the instructions.
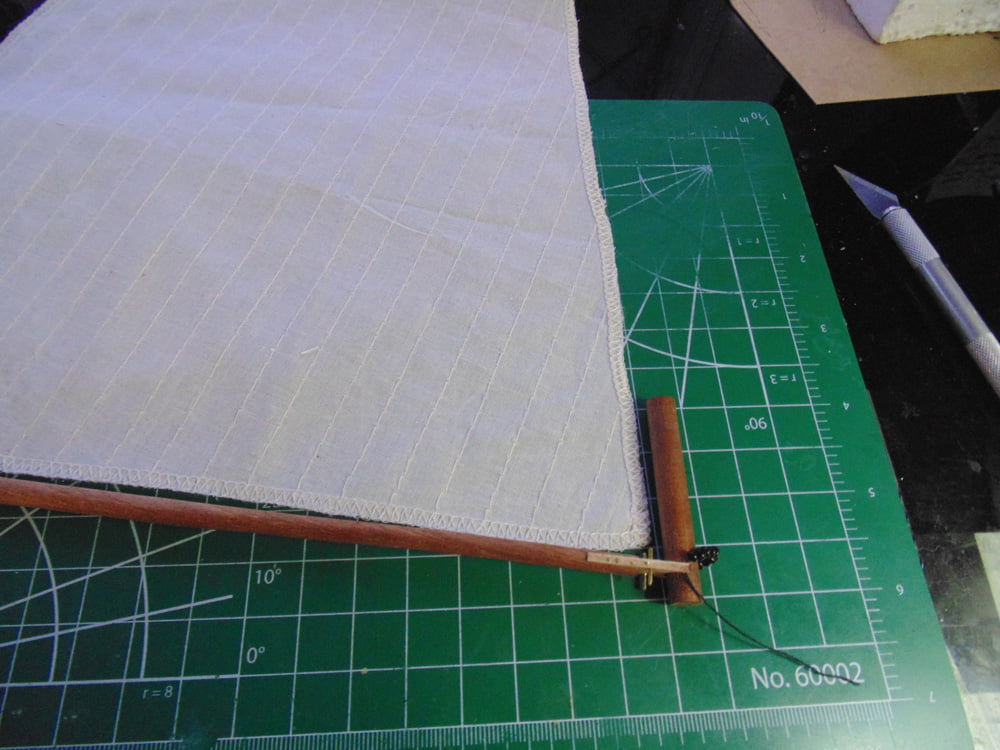
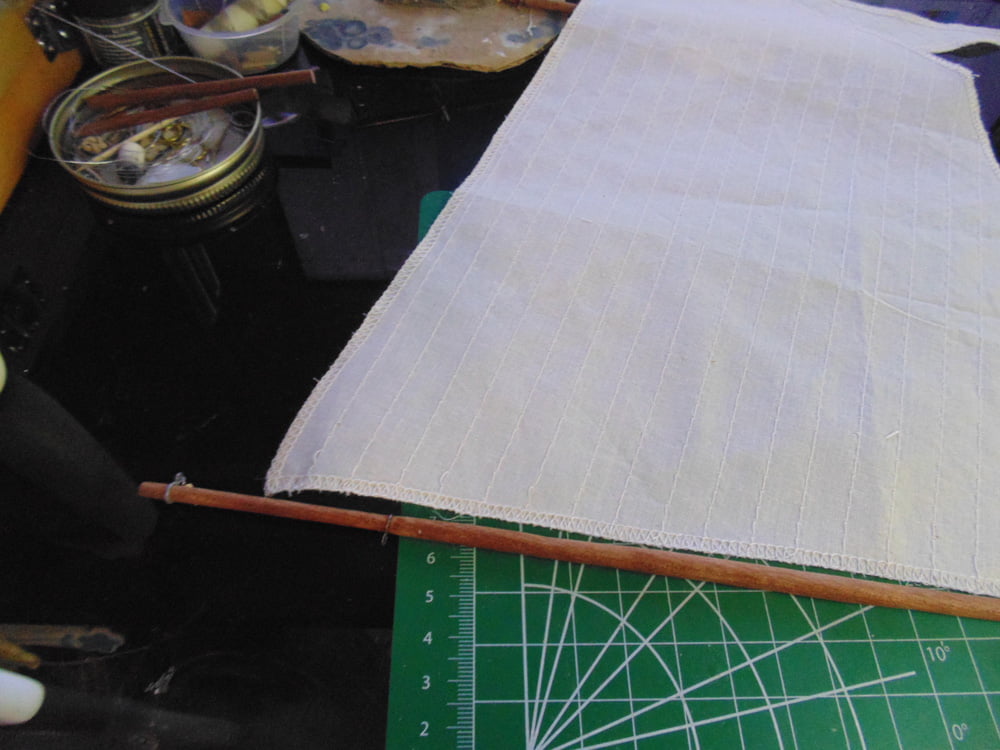
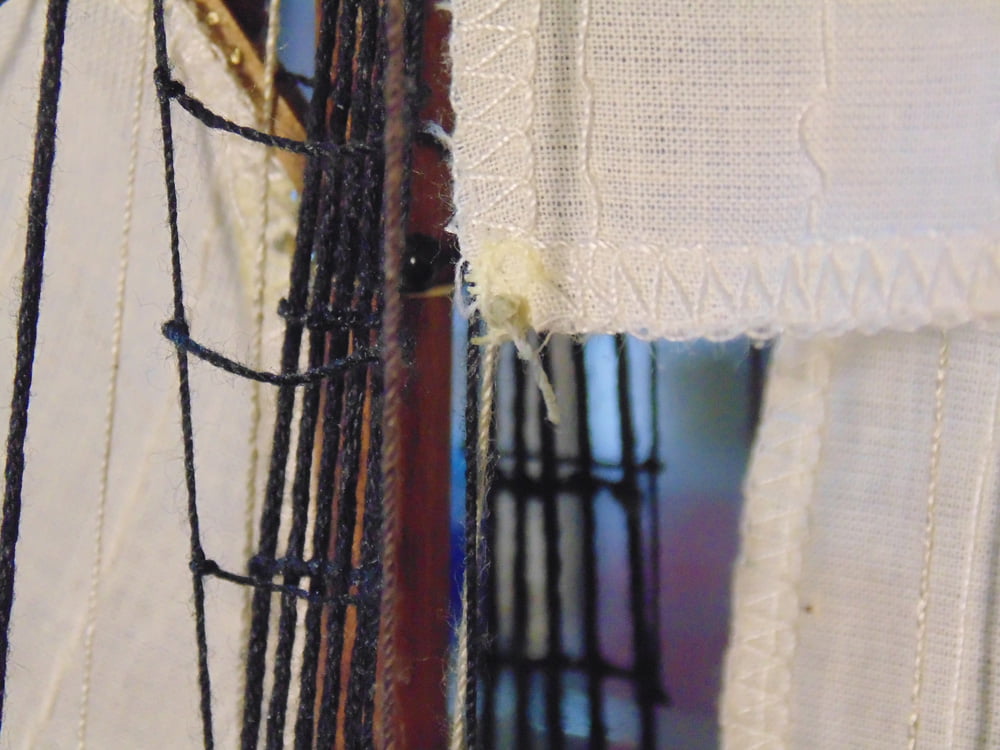
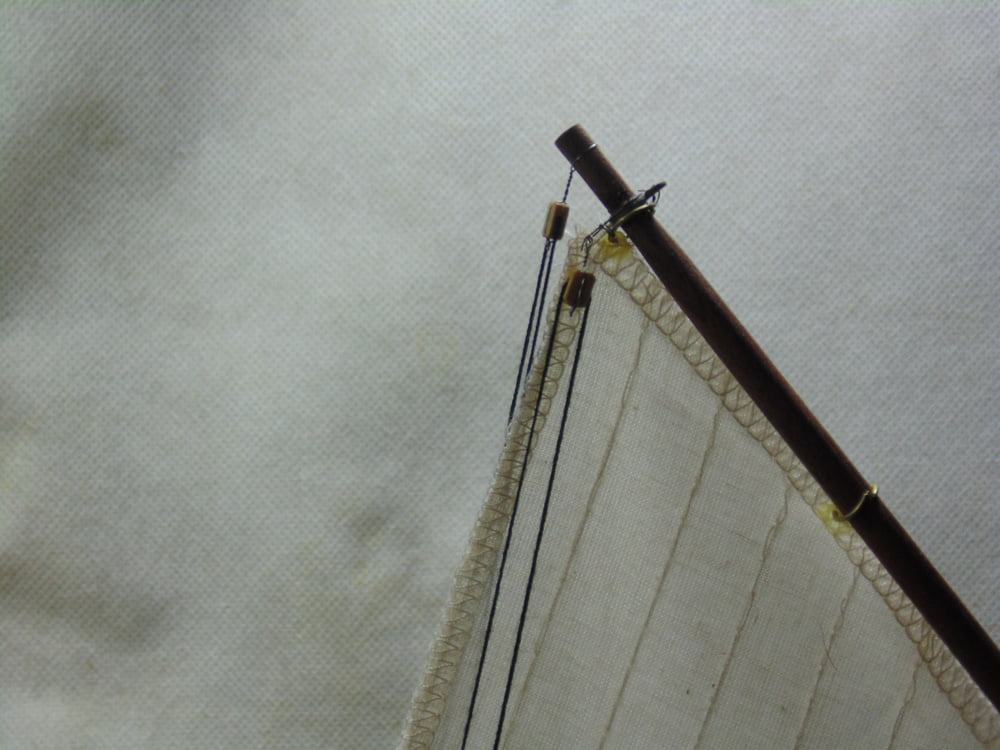
Once you’ve wrapped the roller beads around the main mast, you’re ready to start the process of getting the sail hung up. Don’t glue this, but simply run your temporary rigging line through the hole of the aft lower corner and tie it off.
Now you can begin the sail hanging task. Keep in mind that this will be removed, its only job is to help you with the proper rigging later. So you have two free hands.
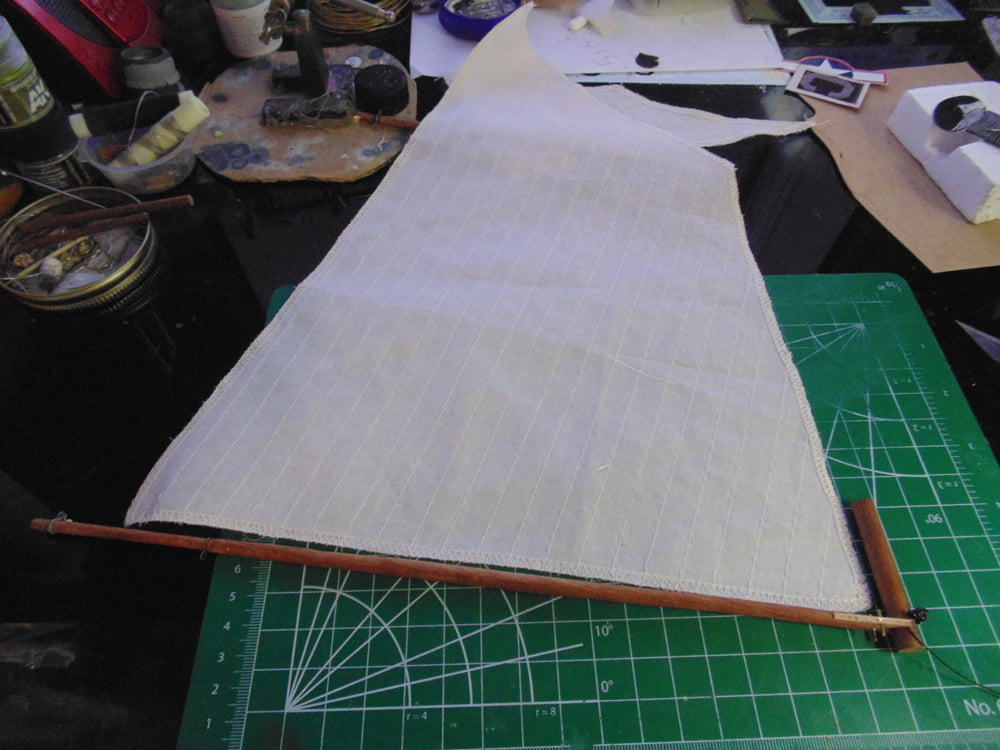
As you thread the rings from bottom to top add a bit of tape to each one so they stay put. Another tip is to include the sail on the strip of tape.
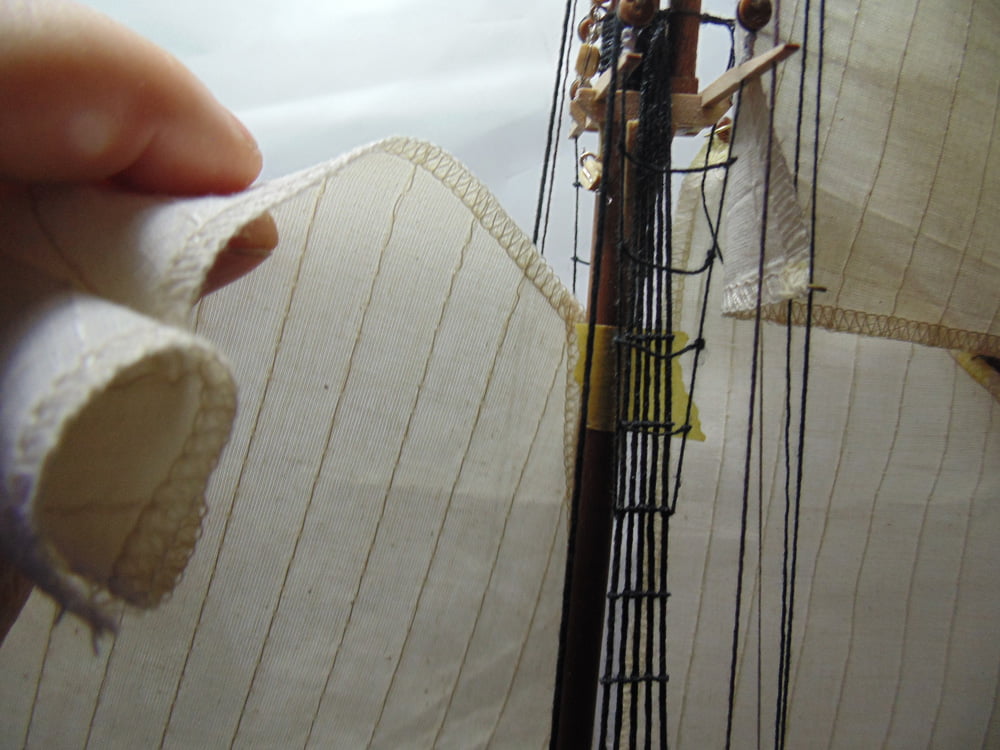
With the tape holding the mainsail you can install the upper boom and, again, secure at one point yet leave the other end tied off so you can make the proper adjustments.
Now pull up the upper forward corner of the sail to gauge the exact height of the boom on the main mast. Then put some tape there to hold it in place. The rigging, once completed, will keep it in that location permanently.

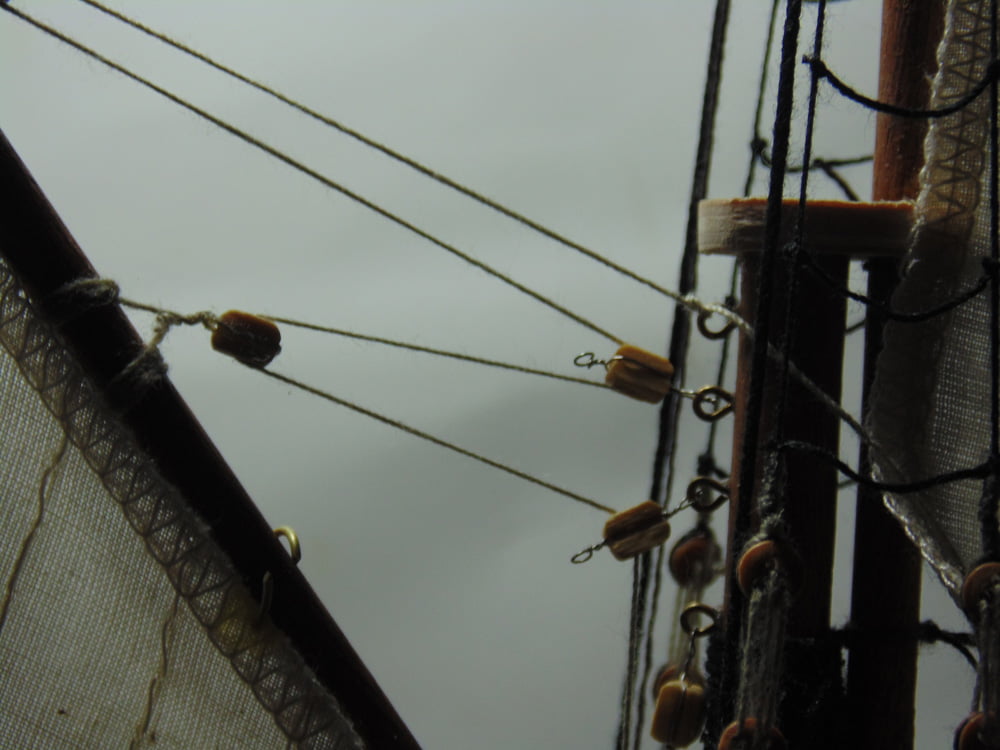
Both upper and lower booms are the same diameter. Use a scrap bit of dowel I told you to save to get the approximate “over” sized shape. Do the same thing as the main mast by drilling a hole in the dowel, slip an end in so you can quickly get the twelve parts needed.
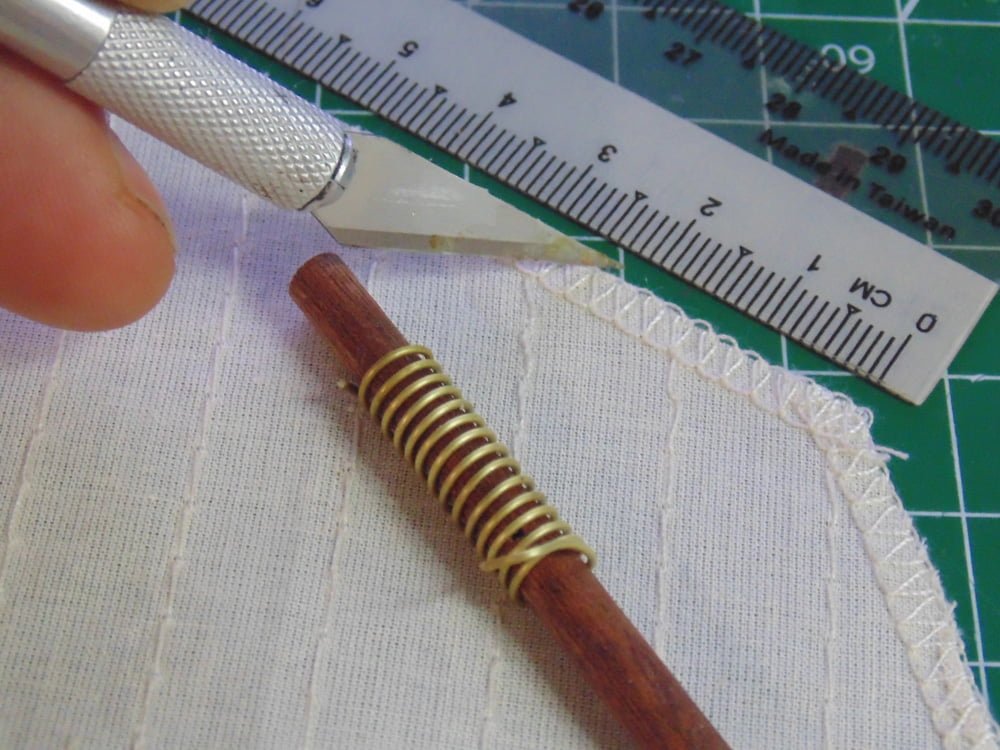
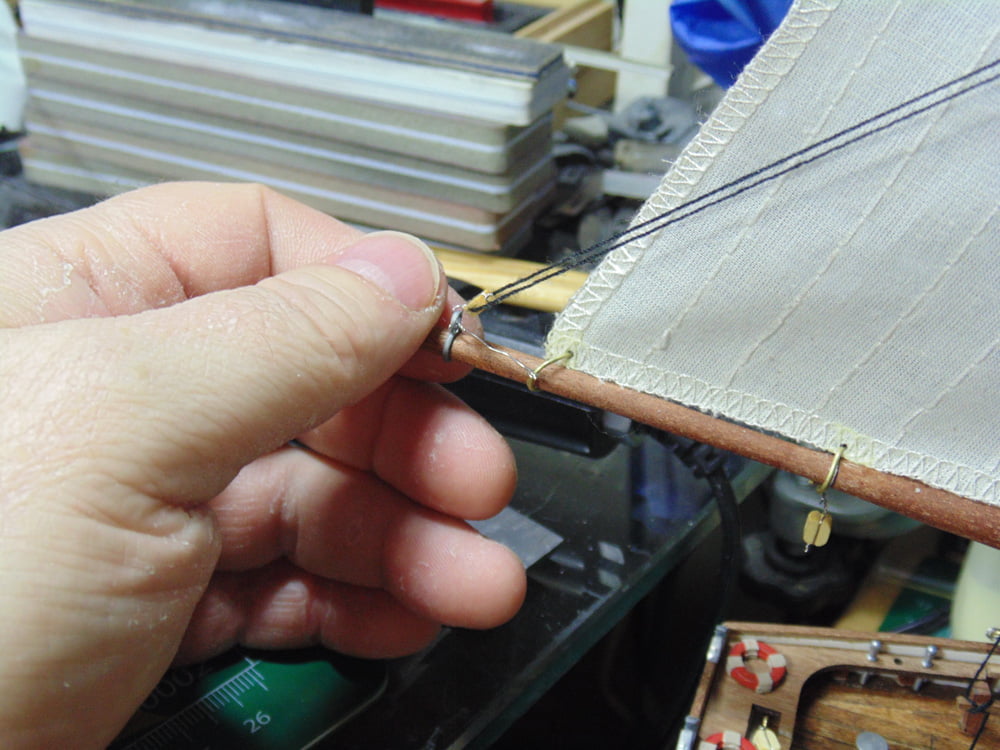
The upper boom blocks are easily laced if you use the tip I’ve mentioned with the thin bit of wire doubled over and slipped in the hole then thread the line through a loop in the thin wire and pull. Since the boom is secured, temporarily, with tape you can make adjustments for the length of line needed.
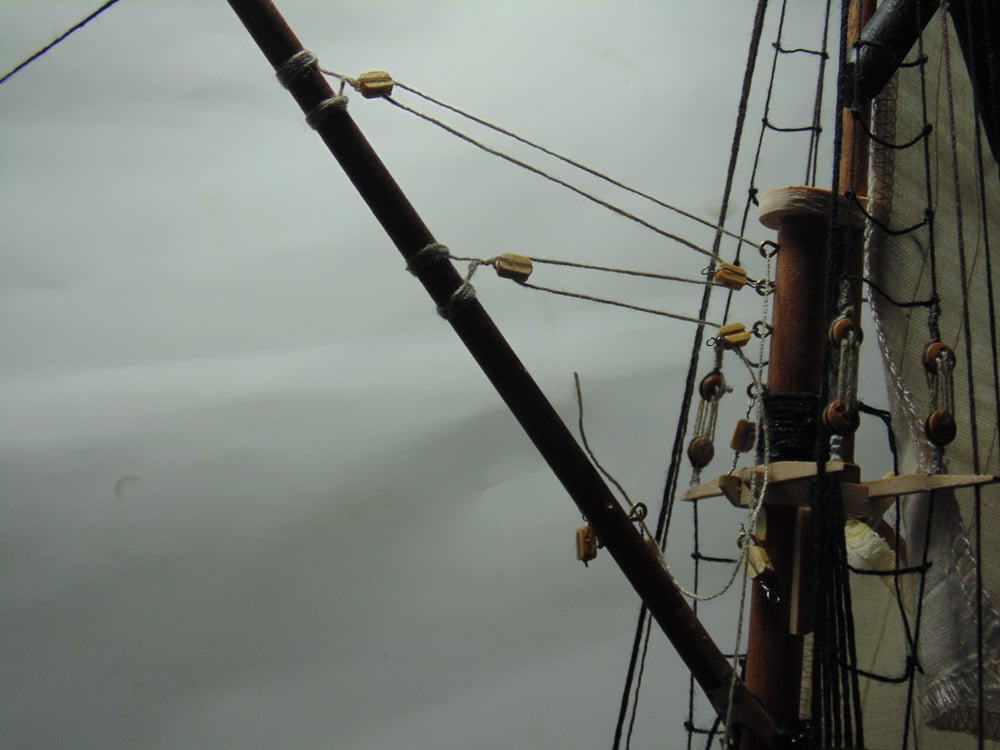
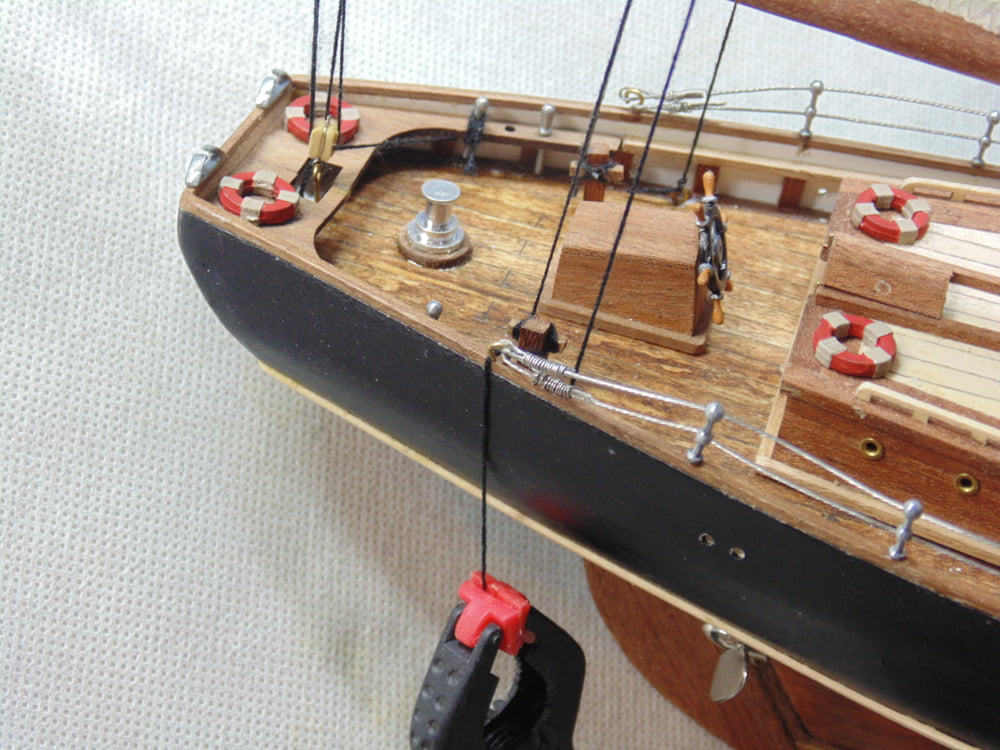
Make sure you double check that the sail’s corner/height matches up the boom, to be on the safe side. Once you’re happy you can glue down the appropriate starboard railing handle.
Now you can tighten the laced line in the blocks, once the anchor point has been cleaned and is fully dried. Use a weight, such as a clamp, on the end of the line to free up your other hand if needed. Don’t make the line bow string tight because the lower boom will take care of that. This rigging needs to be tight, sure, yet with a bit of give. Note the look of the lower two lines to get my point.
Please excuse the poor detail, but here I’ve added a watered down a 50/50 glue solution to make a firm point to make the hole for the ring. Again, the softer brass makes collapsing the ring much easier, especially when there’s very little room to maneuver.
Now I can remove the tape and add a clamp to the mast and sail. This will keep the upper boom from pivoting, making adding the rings much easier and certainly quicker.
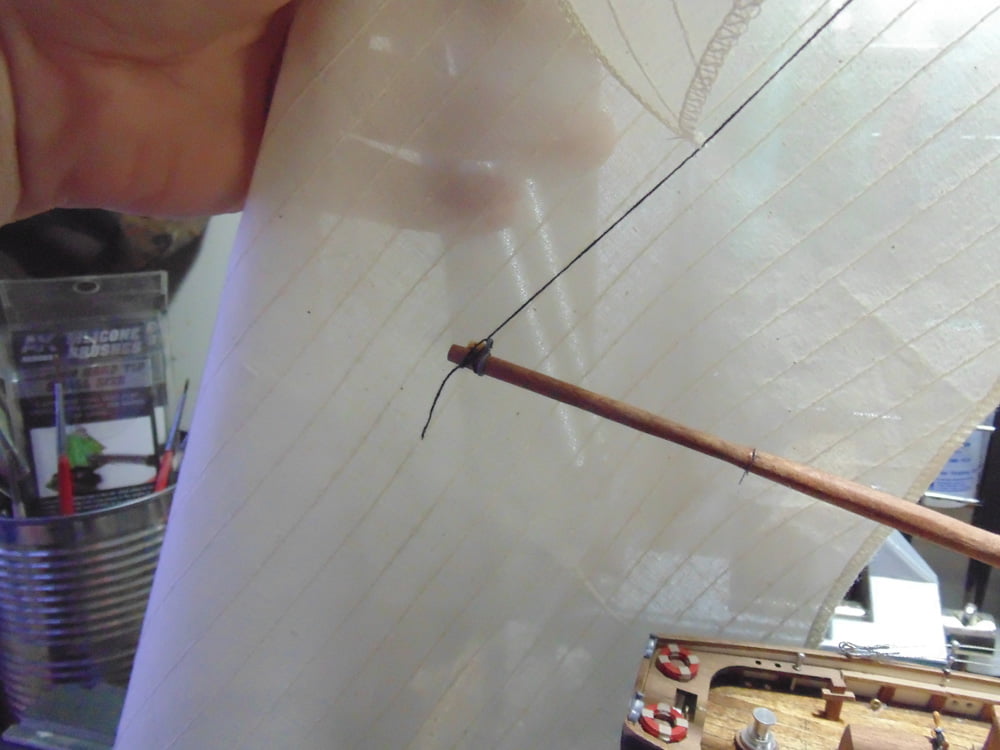
Once the lion’s share of the sail hanging is complete you permanently secure the block. Adding a touch of CA glue to the knot will keep it from going anywhere, but make sure you allow the glue completely set before doing anything else or you risk throwing off the rigging if it becomes a bit untied.
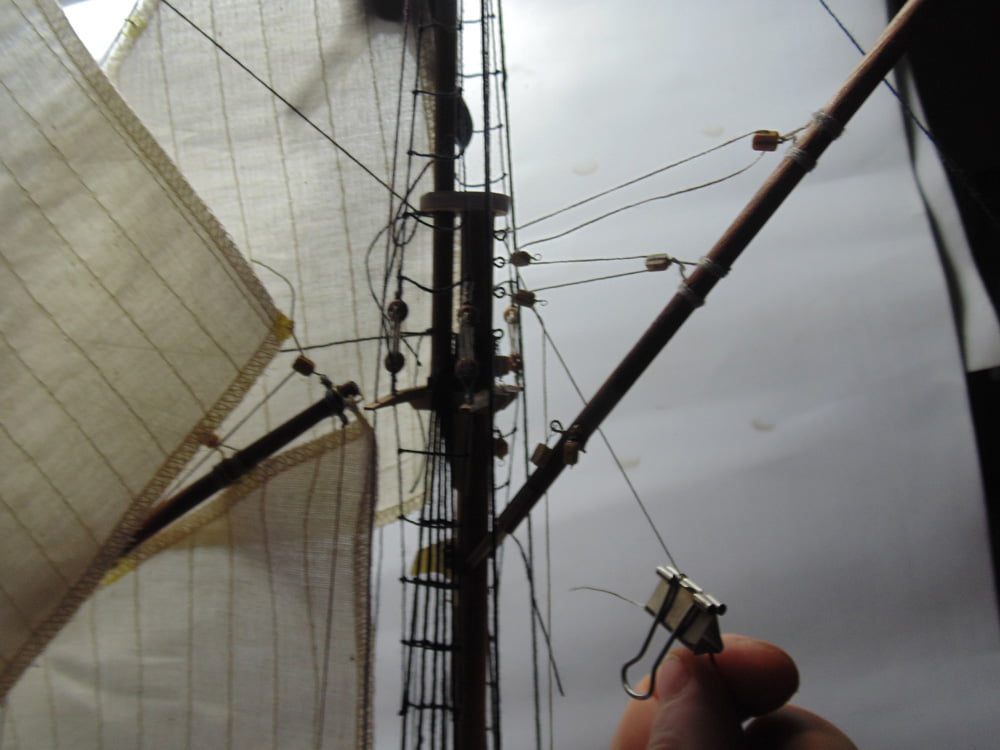
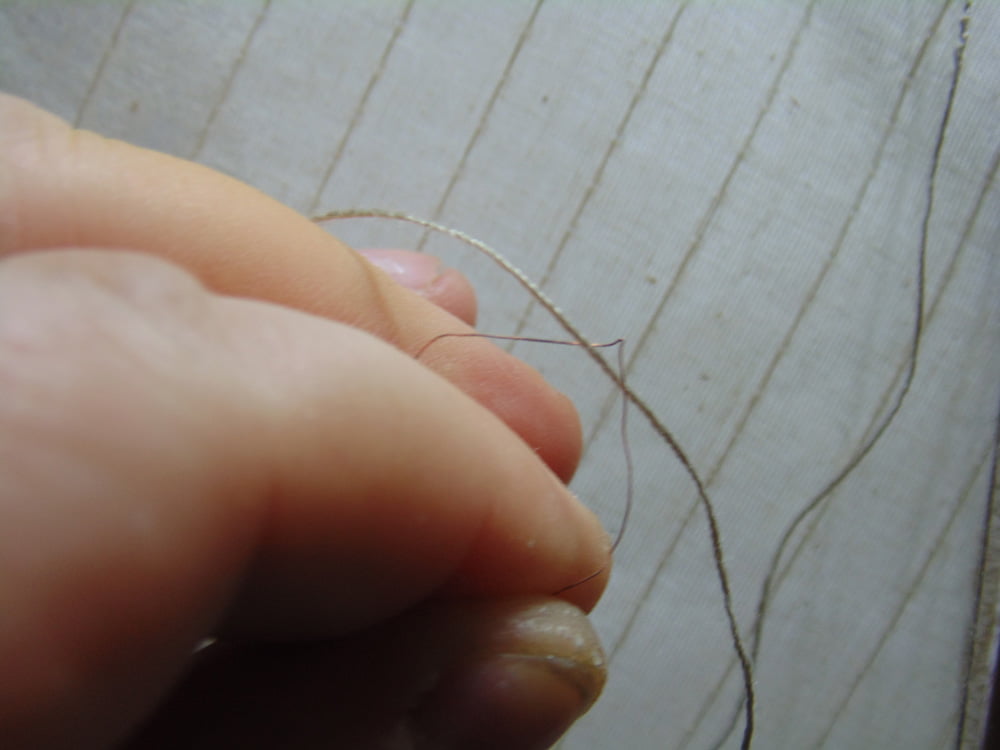
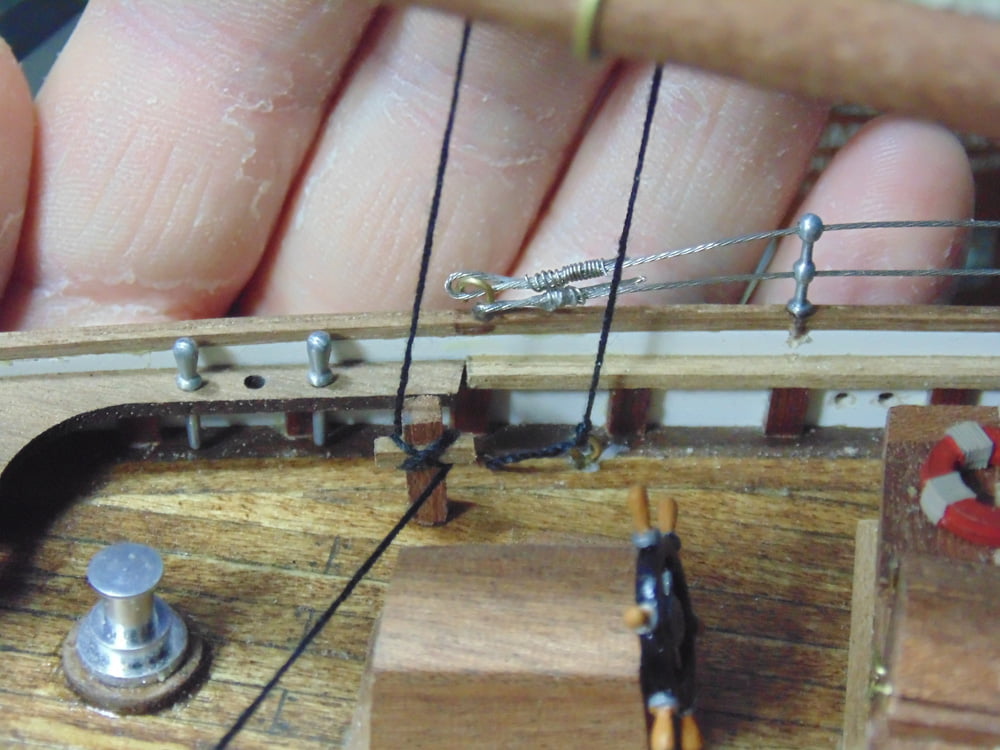
The tie down double rigged blocks need to be drilled out. Use a 0.8mm drill bit. Sunward Hobbies sell super sharp bits and can convert metric to imperial to get the right thickness. I removed the eyelet for the main boom tie down because it was almost impossible to attach the wire and block. This way you make the loose fitting set up and tighten it later.

This is where using the super thin strand of, such as speaker wire, threaded through the holes in the blocks comes in super handy. Once the wire has passed through the hole, and it does with ease, place in the line and pull.
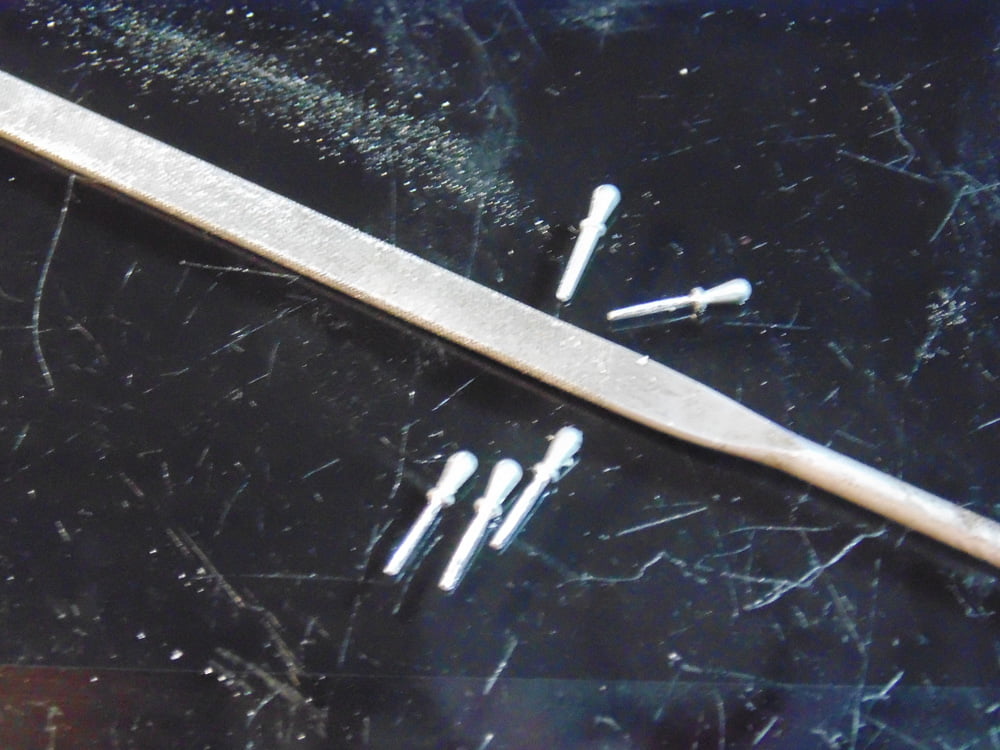
You’ll need some more rigging handles for the next few upcoming steps.
Time to secure the lower corner of the storm sail since it was flopped out of the way to make room to work on the mast rings. Double knot this corner and add some CA glue to keep it from slipping out.
And then drawn tight to the mast cradle, again please be super cautious with this part.
In those really hard to rig spots along the side rails, here’s a few tips. First, snip a millimetre off the end. Next, make a small loop in the line and use your Tamiya angled tweezers to hold it and lastly gently pull the rigging handle toward you, as they have a tendency to get pushed up against the wall making it impossible to slip underneath and pull taunt.
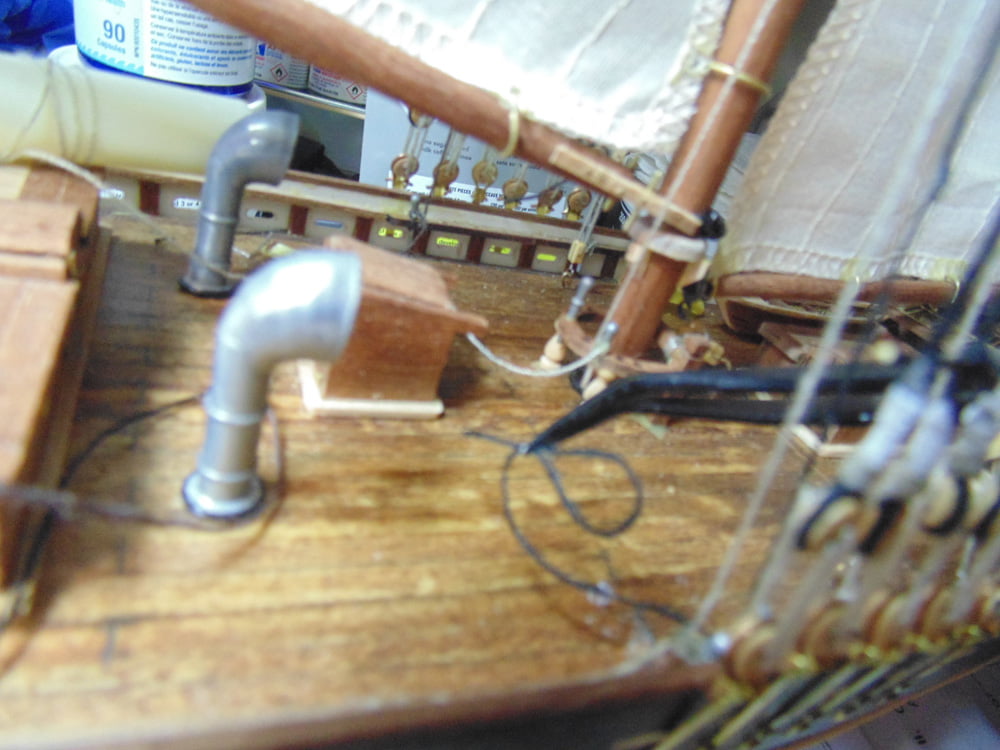
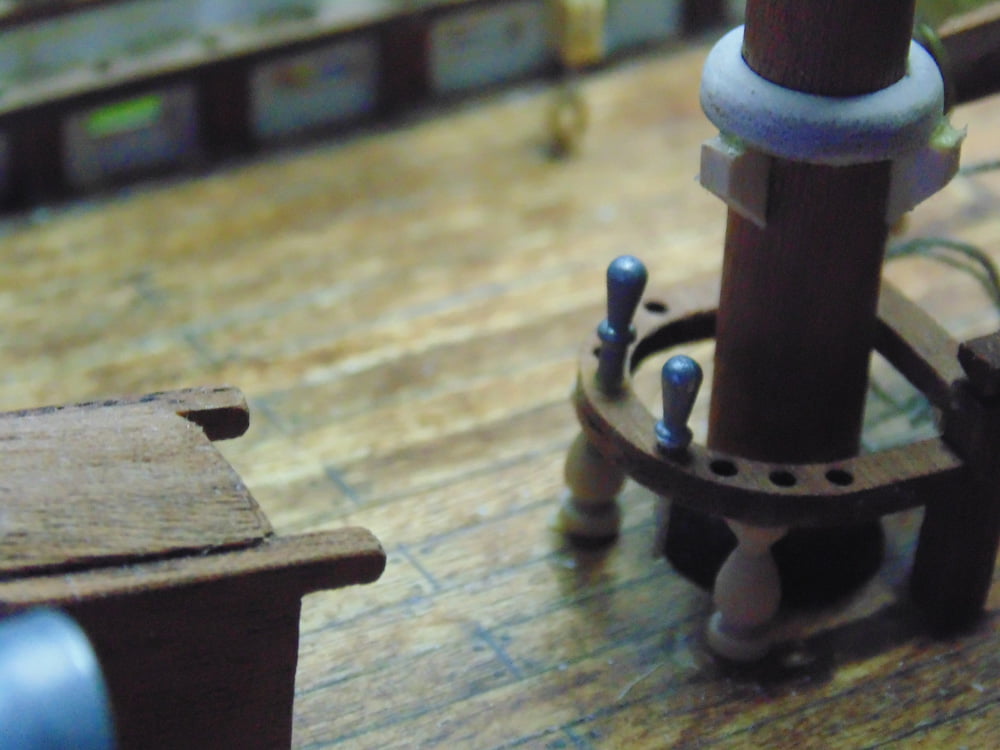
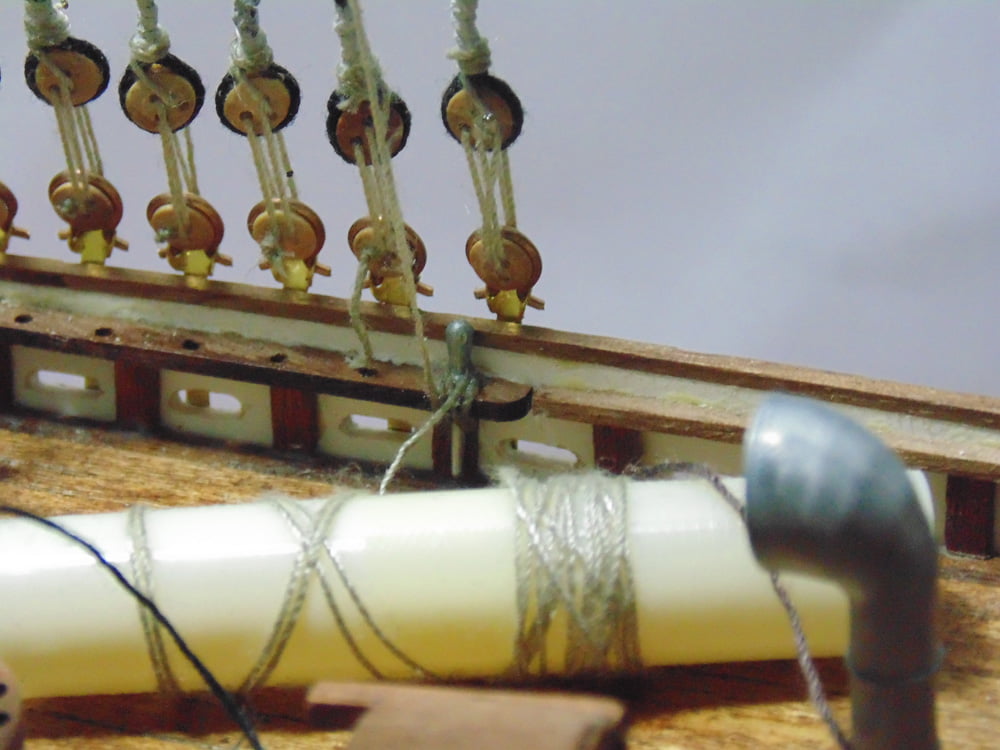
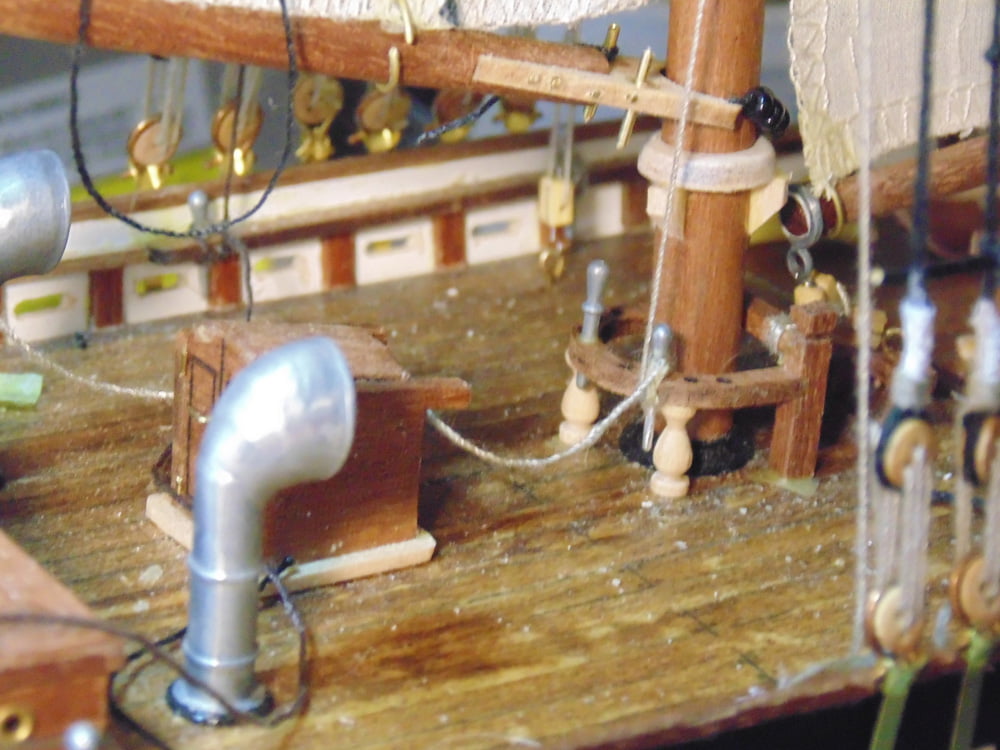
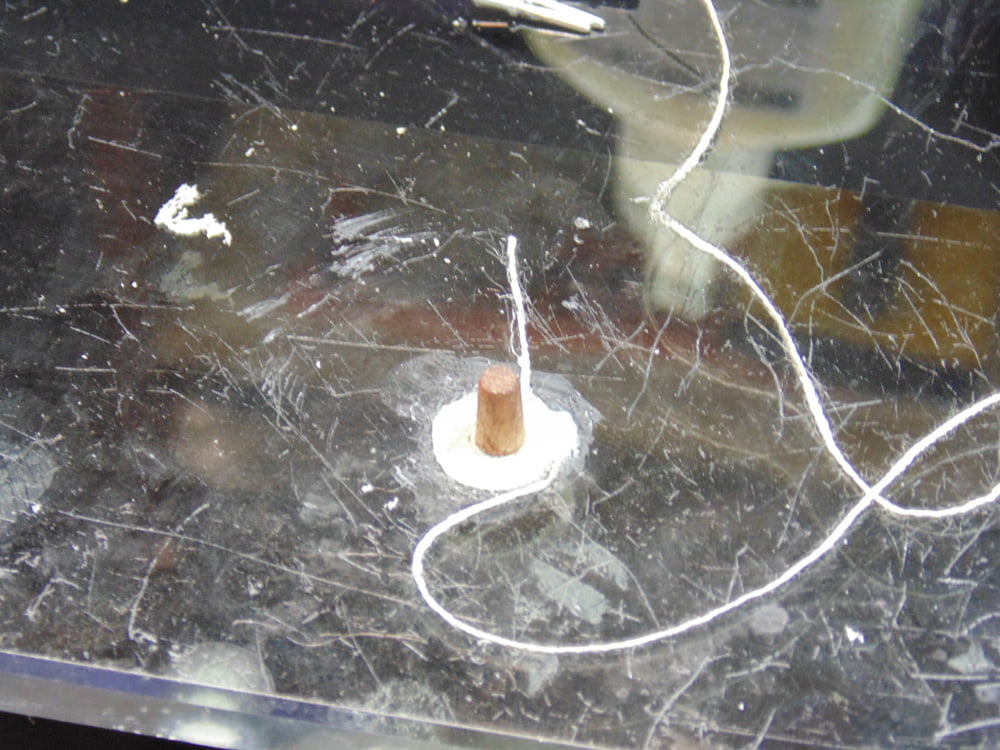
On the deck at the main mast there are spirals of extra rope. Use a bit of scrap dowel with a dab of glue as a starting point. Once it and the line have fully dried place a tiny bit of glue on a flat surface to hold the dowel in place. My Author’s/replica building desk top is glass. This makes it much easier to get a hobby blade under the spiral to remove it, use something similar.

Use a small paint cup and add a peanut sized amount of wood glue and a few drops of water. Mix this up and lay down some glue and begin to wind your spiral. It will look messy at first, but when the glue dries it will look much more the part. Have patience and keep pressing down as you continue to move along.
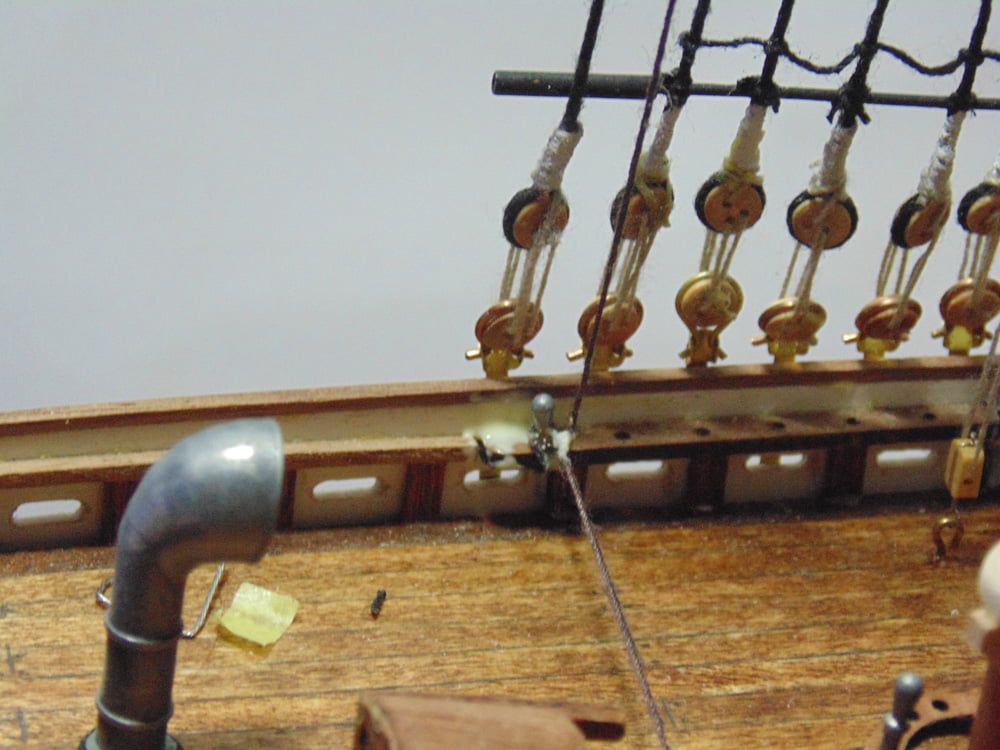
The aft end of the upper boom needs to be rigged in blocks then lashed to these two points on the deck. I would strongly advise you to remove these parts. First, scuff up the end of the brass eyelets and use five-minute epoxy to secure them. Second, drill and pin the cross shaped parts and do the same with pins and epoxy. Just lash them loosely for now, meaning no glue.
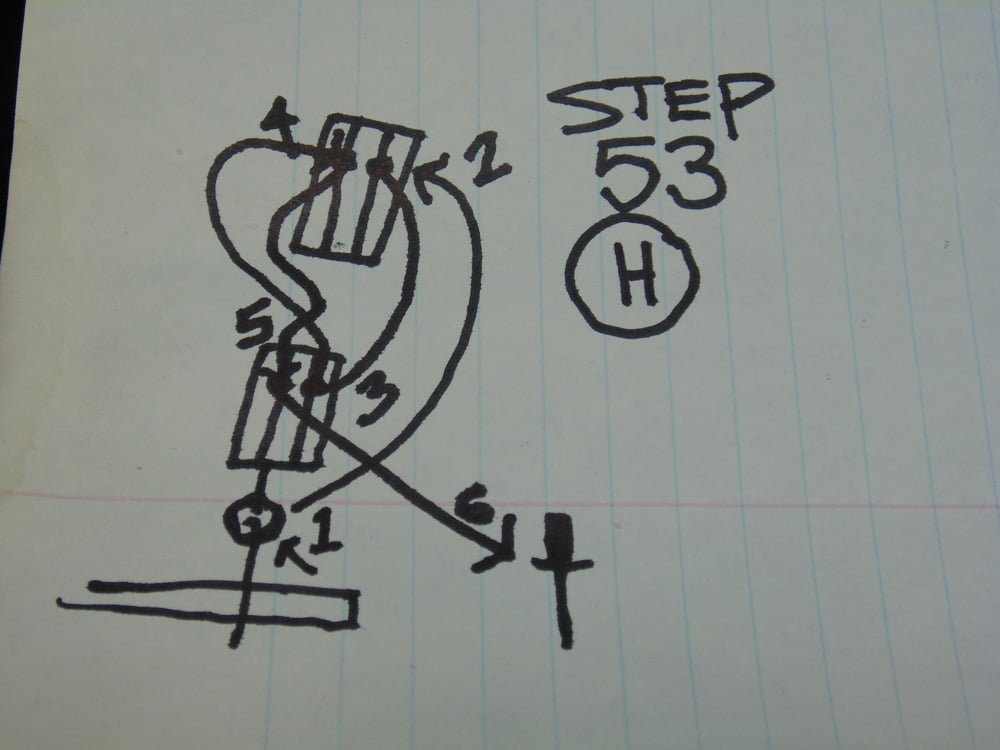
For the main boom end you’ll need to double thread the blocks. I spent half an hour just trying to work out how this is done since the instructions are not very clear. I’ll save you that expense of time. Here’s my diagram. You begin at the eyelet, moving to the points in the diagram to lace the block and get the effect of four lines between the blocks. Also, I reinstalled the eyelet pin with epoxy and waited an hour for it to fully cure. There will be a lot of tension on that pin so make certain it won’t go anywhere.
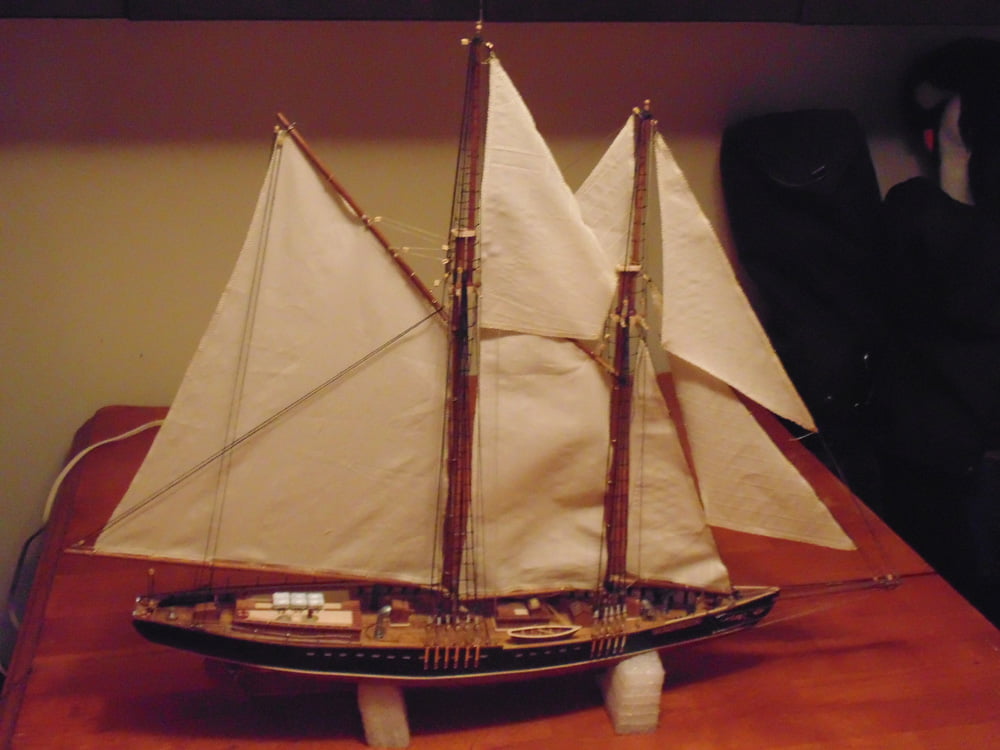
When the proper amount of tension/down force is put on the end of the main lower boom the entire replica (masts, rigging and even sails) tightened up very nicely. Be it plastic or wood, it’s all the same principle.
When the double blocks are laced you can pull down the boom and adjust the tension. This has to be one of the most satisfying parts of the build to watch everything, masted, rigged and sailed as one component. You might even giggle, but for sure it should bring a smile. The amount of tension needed is enough when the entire replica lifts at the bow without any play in the masts or the rigging.
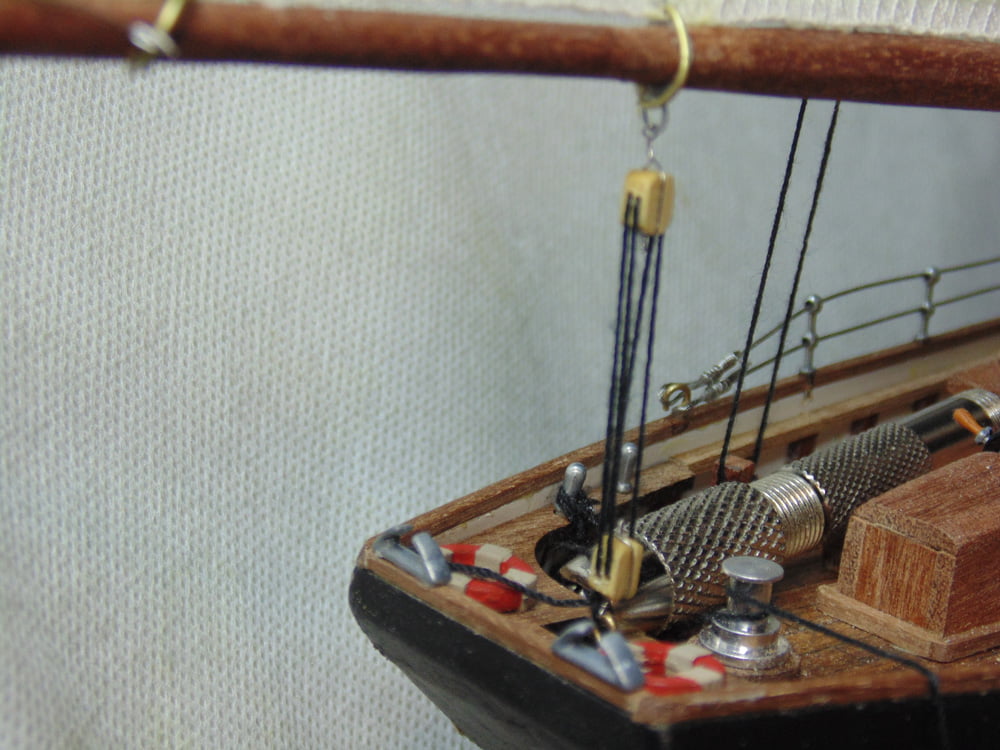
The upper boom lines can now be secured to match the tension of the lower boom. This will take some of the load off the double blocks and give another point to keep the replica as one component from bow to stern.
This completes these two steps and adds so much character to the model. Once more, you’ll dedicate dozens of hours on this sail, but take the time needed. Sure looks great in my book.
Thanks again for taking the time to follow the build. If you have any questions about Artesania Latina products or the techniques used please feel free to ask when you pick-up or place your next Sunward Hobbies order
If you have any questions about the products used or the methods in this article, please feel free to ask the staff when you pick up or place your next order from Sunward Hobbies.
About the Author:
H.G. Barnes is a former voice-over artist and retired sales and marketing professional. He’s the author of two large volume science fiction adventure romance novels with many more in the works. For well over 40 years he’s been building scale model replicas and now does commission work for clients in Canada and the USA, plus completes projects for companies in Asia and Europe.
Currently H.G. is involved as an Associate Editor with KitMaker Network’s Online Magazine Channels.
First Post: Part 1
Previous Post: Part 20
Next Post: Part 22