
Artesania Latina Bluenose II Build – Part 9 of a Series
In this Sunward Hobbies tutorial, I’ll be continuing with Artesania Latina’s Bluenose II build with Part 9. Previous: Part 8
In this tutorial, you’ll be seeing sections 20 through to 24 of the Artesania Latina 1/72 Bluenose II fishing schooner. I’ll be showing you more helpful tips to make the build more enjoyable, plus we’ll be adding some great bling to the project.
Full disclosure, I spent some years in Lunenburg Nova Scotia as a child when my father was fishing for scallops. So, it’s fun to be able to add some life on the Bluenose II.
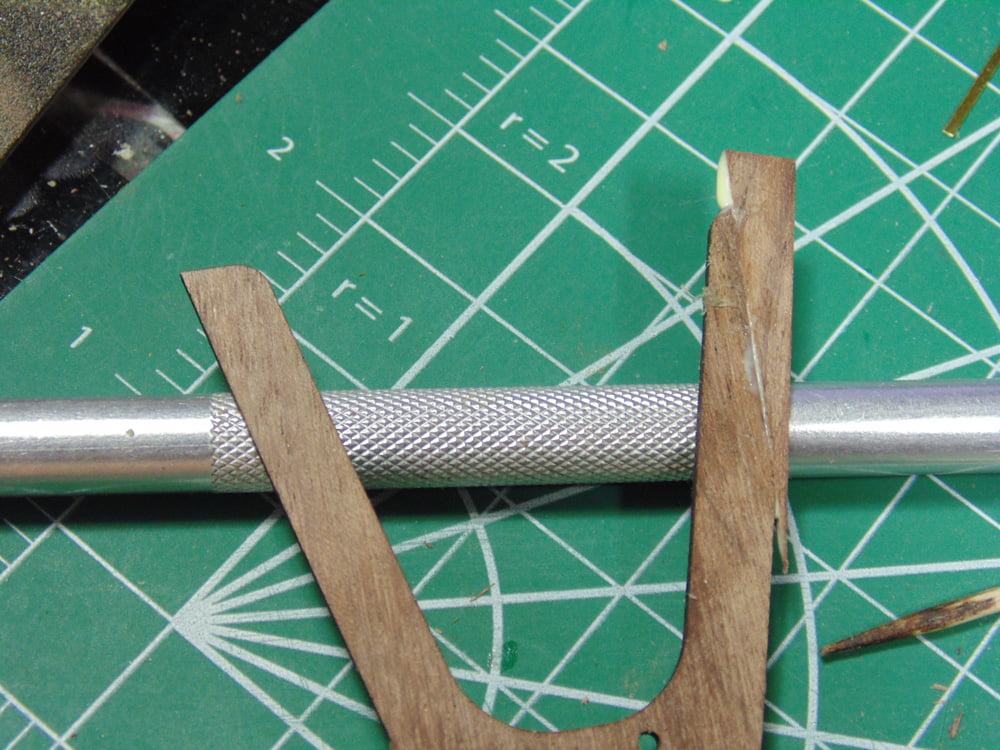
In section 20 you’ll be affixing the “floatation line” or tummy belt. The wood provided is high quality, yet still delicate. Please use an equally high-quality sand paper to reduce the width. Sunward hobbies have an excellent selection of sandpaper; thus, you’ll have what you need.
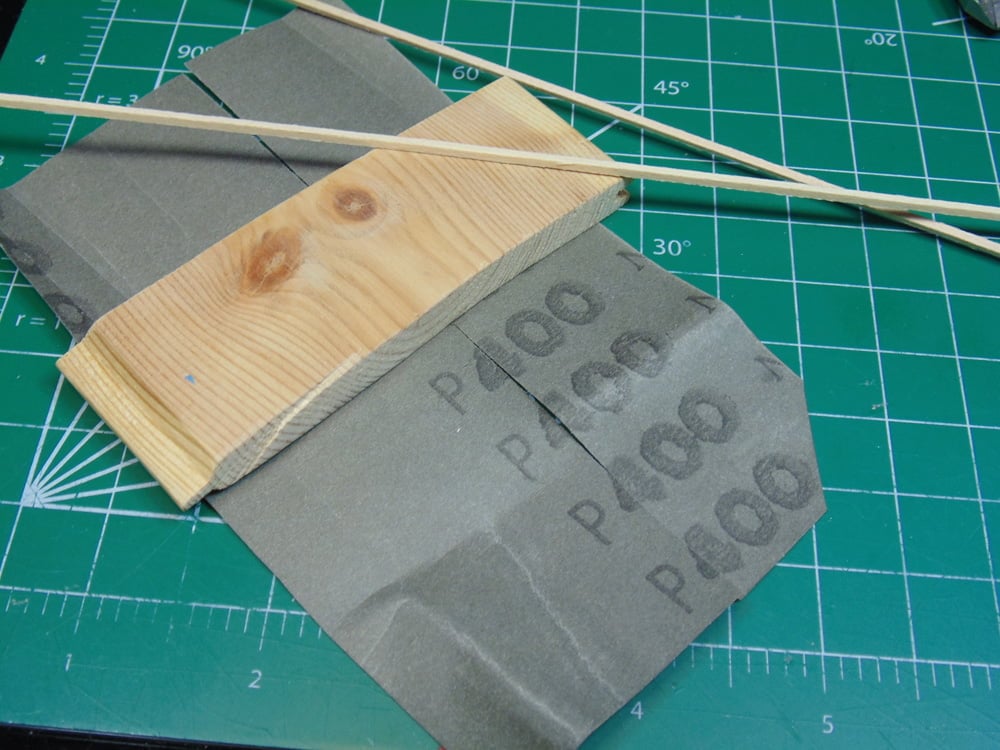
Here’s a tip, move in sections and use wood on wood to prevent marring or marking these delicate strips. Wearing gloves will cut down on the oil and gunk from discoloring the important detail. Here, I’m using Mr. Hobby Detail holding sticks because the wood is super smooth and will not hurt nor make any impressions in the parts. Along with ensuring the parts do not move while sanding.
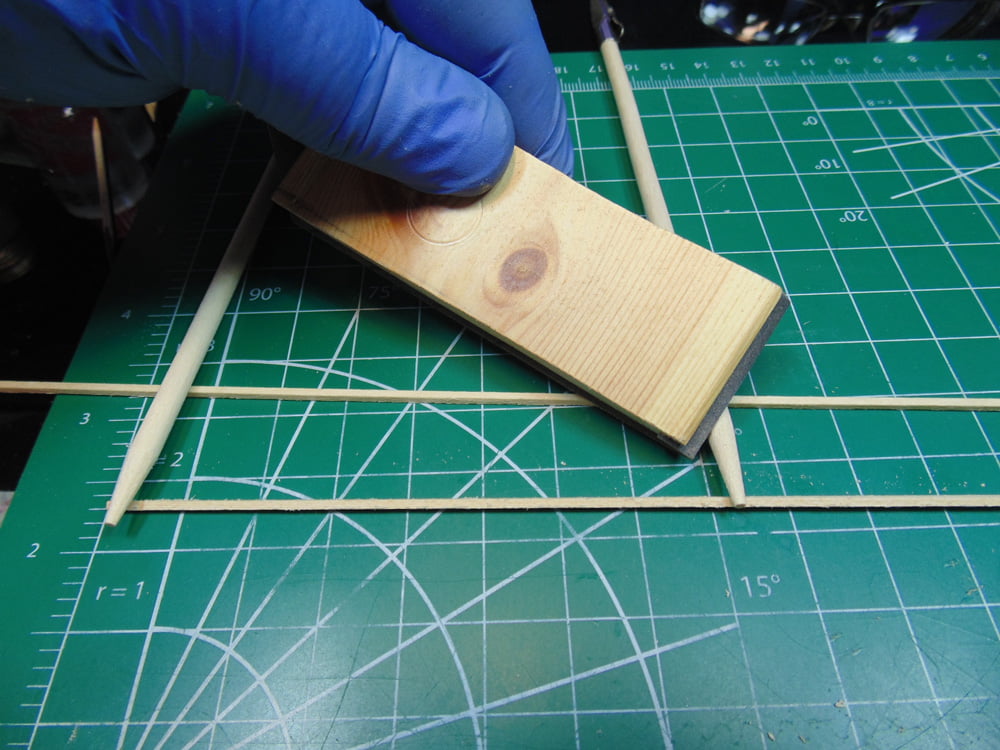
Some people might be intimidated with this task but don’t fret, take it slow and easy along with following the advice and you should be fine. Make certain you sand in one direction, obviously, and constantly check the width of 1mm as you progress.
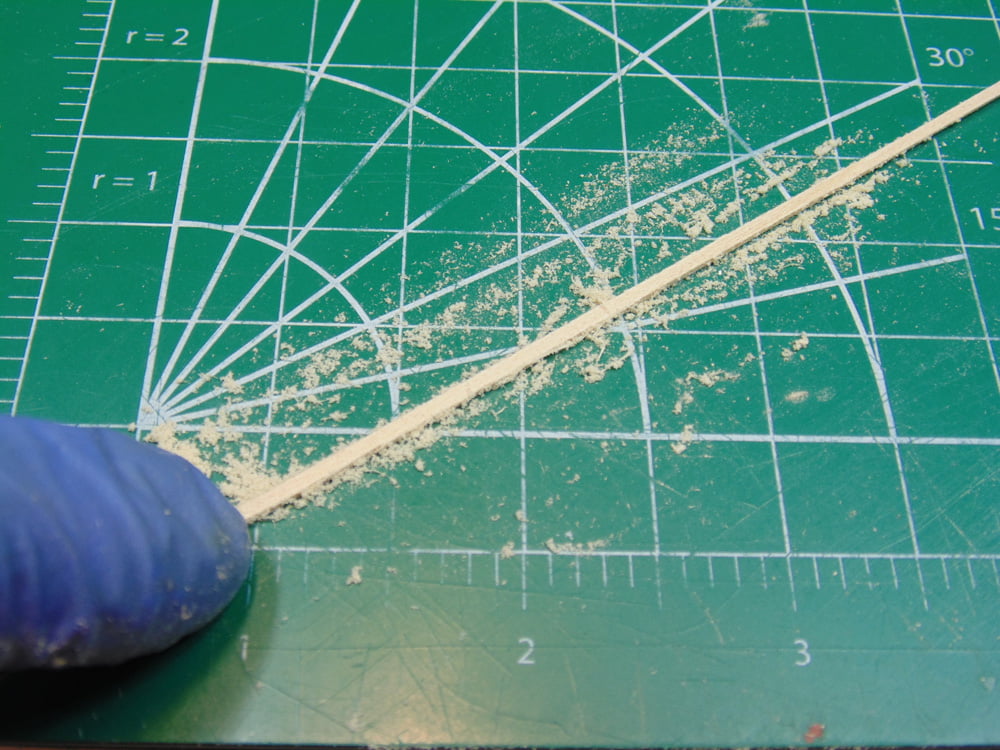
I won’t powder coat this for you… it took some time, but it was a very relaxing few hours to get the width correct. Yes, it was also messy. Please remember you’re dealing with a superior quality product. Here’s another helpful tip, run your sander along all the edges. This will prevent your clothes and gloves from hooking a stray wood fiber and inside the grooves of the wood will give you dust which helps the glue. Sunward Hobbies carry dust masks and I’d ask that you please consider wearing one. The wood particulates are very fine and caution should be observed.
With your Elmer’s carpenter’s glue or PVA glue you buy at the store start at the middle of the ship. Avoid using rubber bands at each end for placement. I tried this and failed on a test hull. A simple toothpick works great as a glue applicator. Please excuse the rough look of the black hull, all that gets cleaned up after the handling is done.
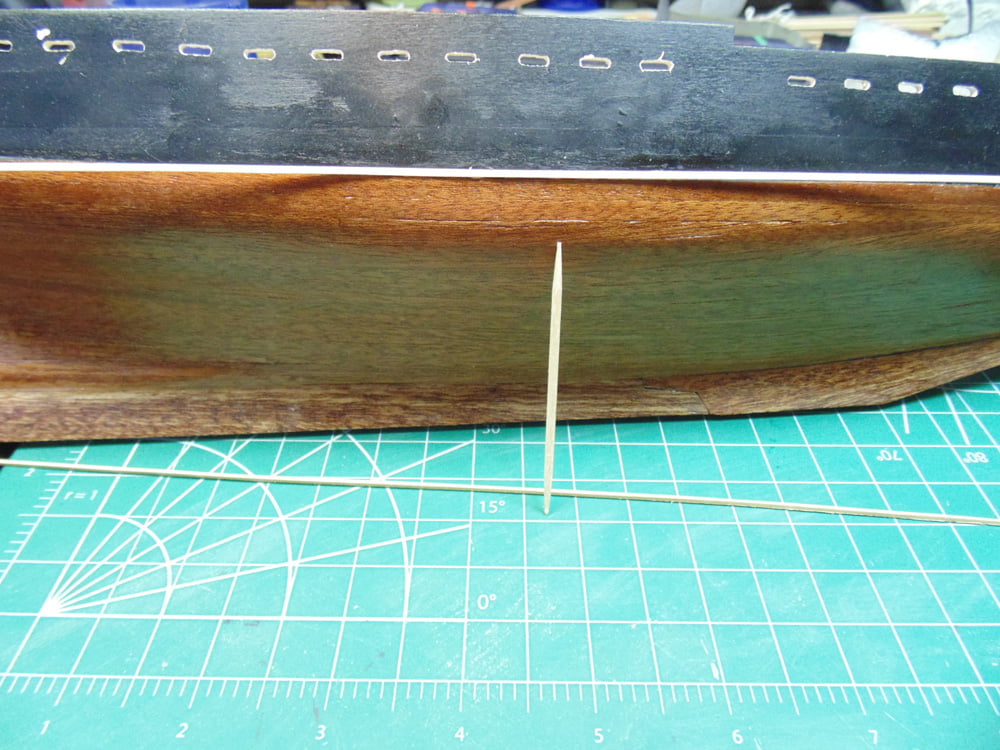
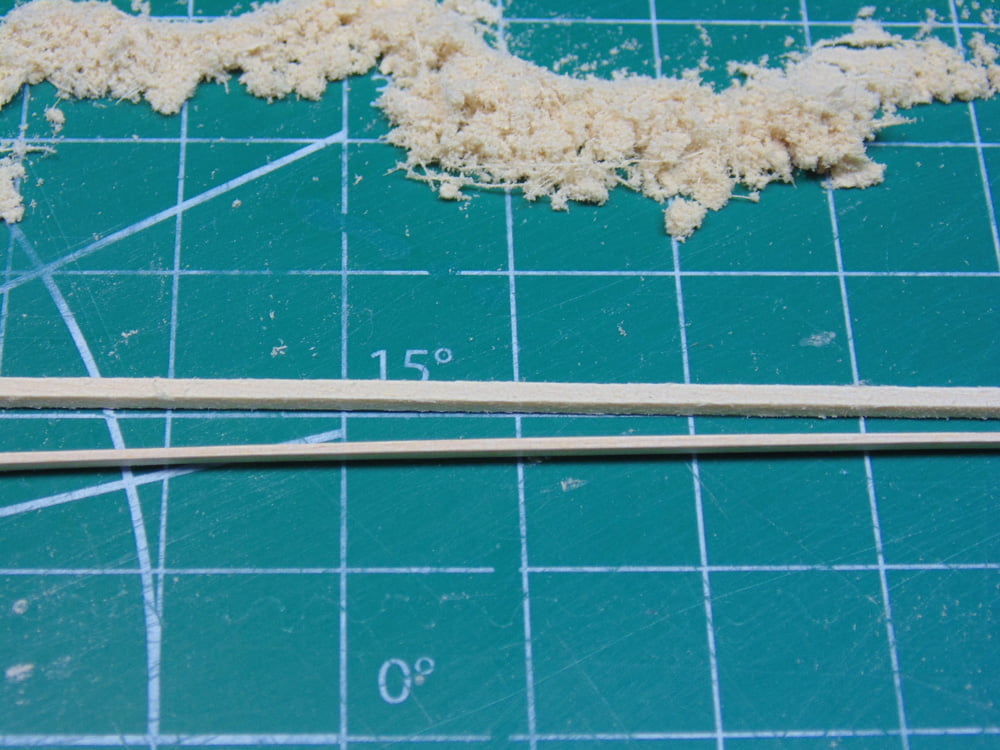
Here is an important part, The width of the wood strip is now cut down/sanded considerably. When you trim be sure to move the saw inward. Use a good quality razor saw for this delicate operation and with every pass clean the teeth.

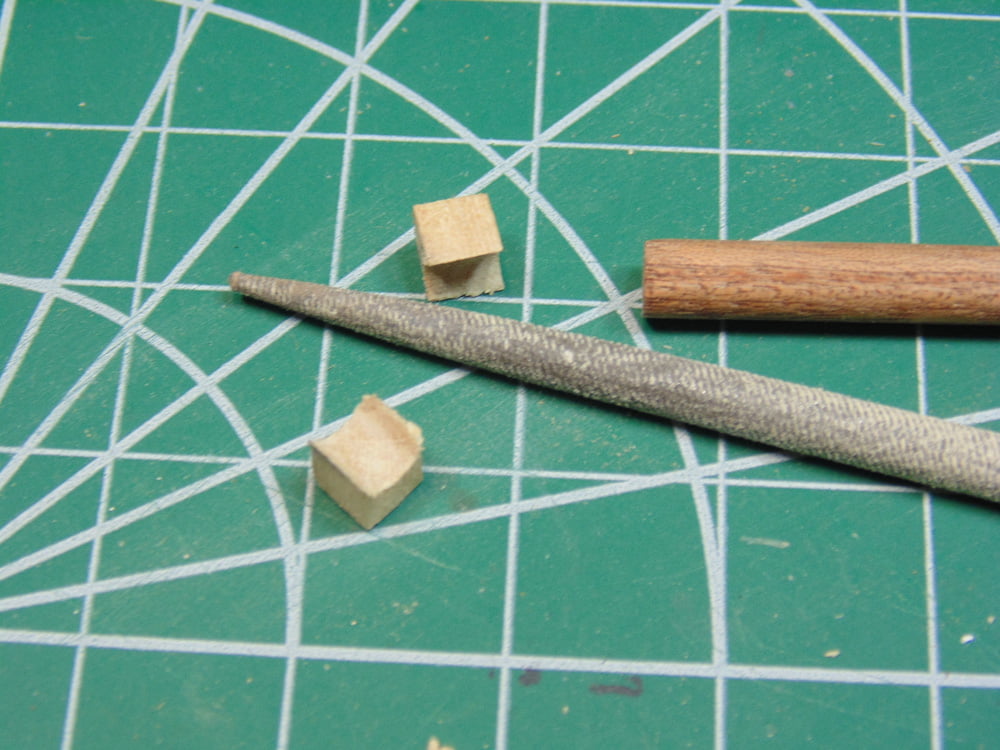
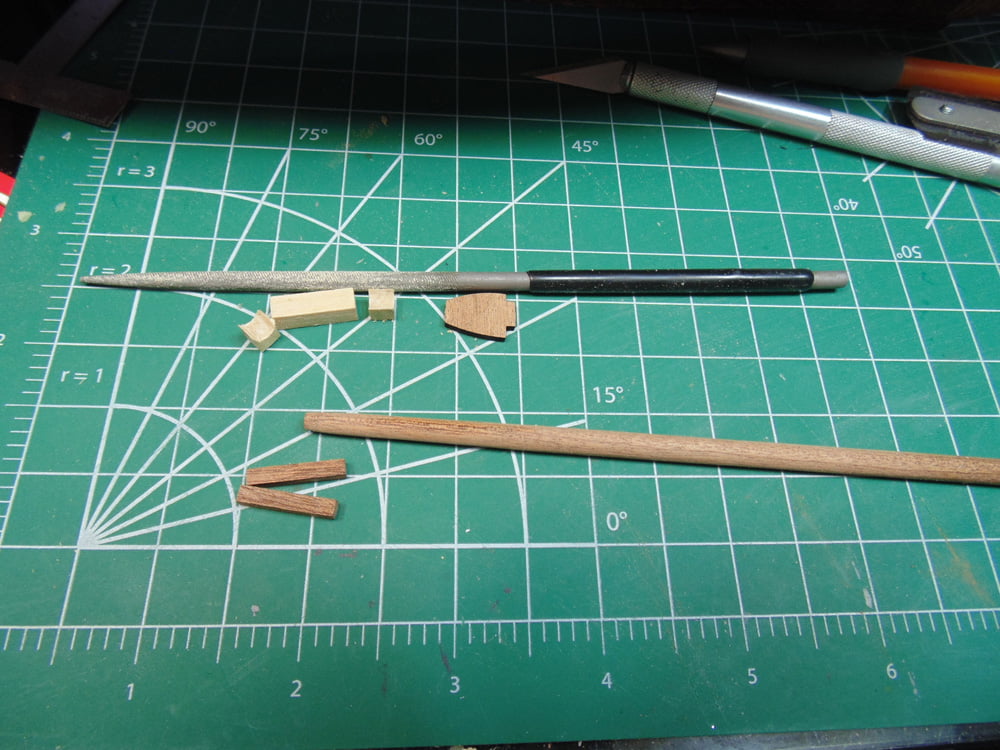
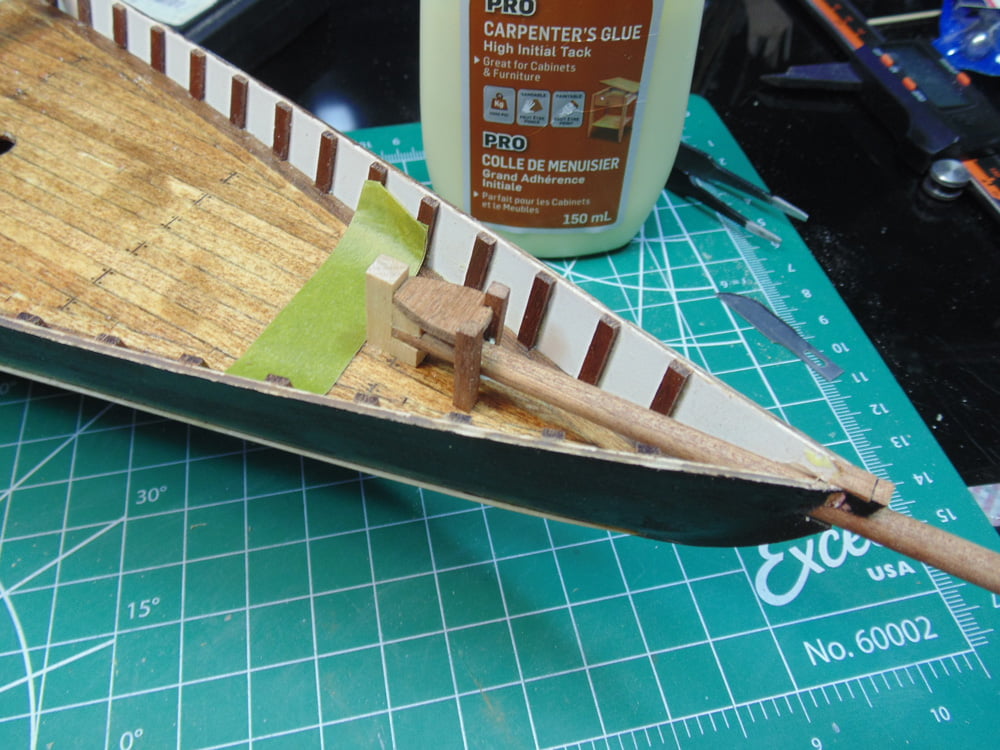
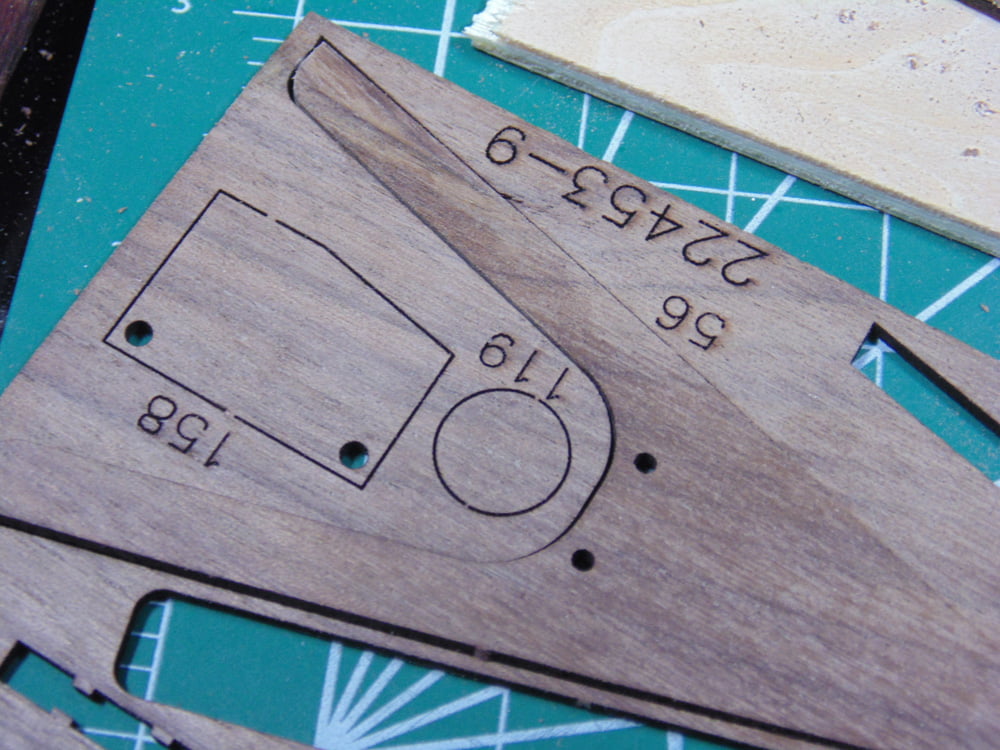
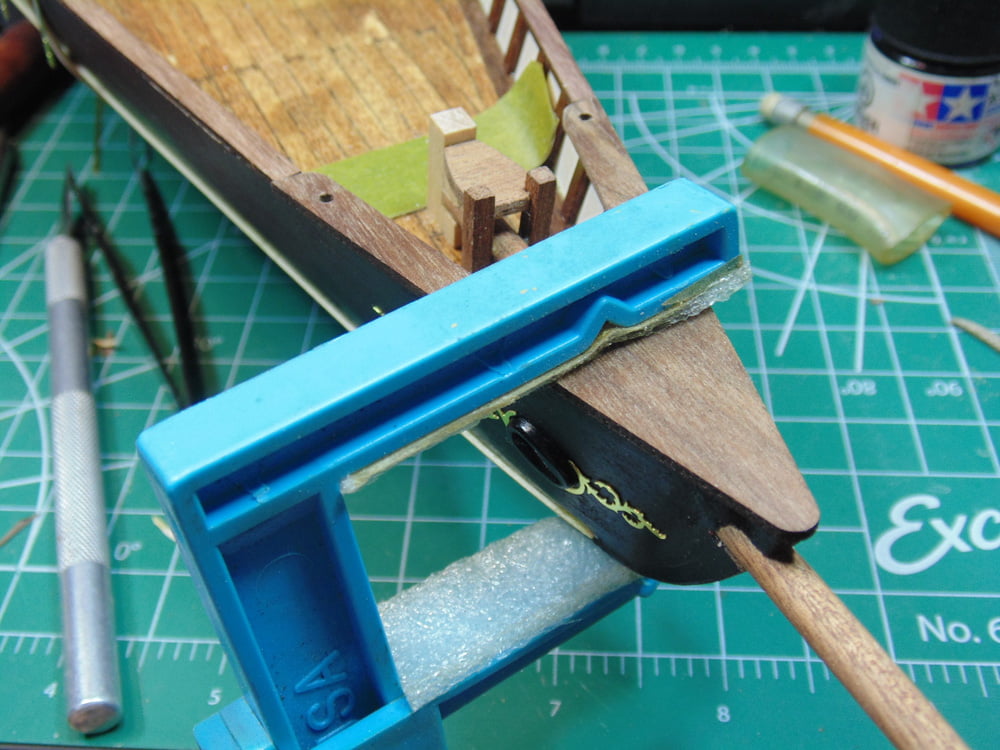
Now you get to add some cool detail to your model. Step 20 also asks to build and fit the bowsprit. Pick up a set of Tamiya basic files. The round one has the ideal width for the task and you’ll be needing it later. This wood sanded and filed like butter and was a treat to work with. It took only minutes to form the curve, yet was as solid as any aged oak I’ve used in the past.
There aren’t a lot of parts here to begin the phase, although I’ll add again to sand the edge of the laser cut wood. My part 48 kept working its way off and leaving a soot mark behind.
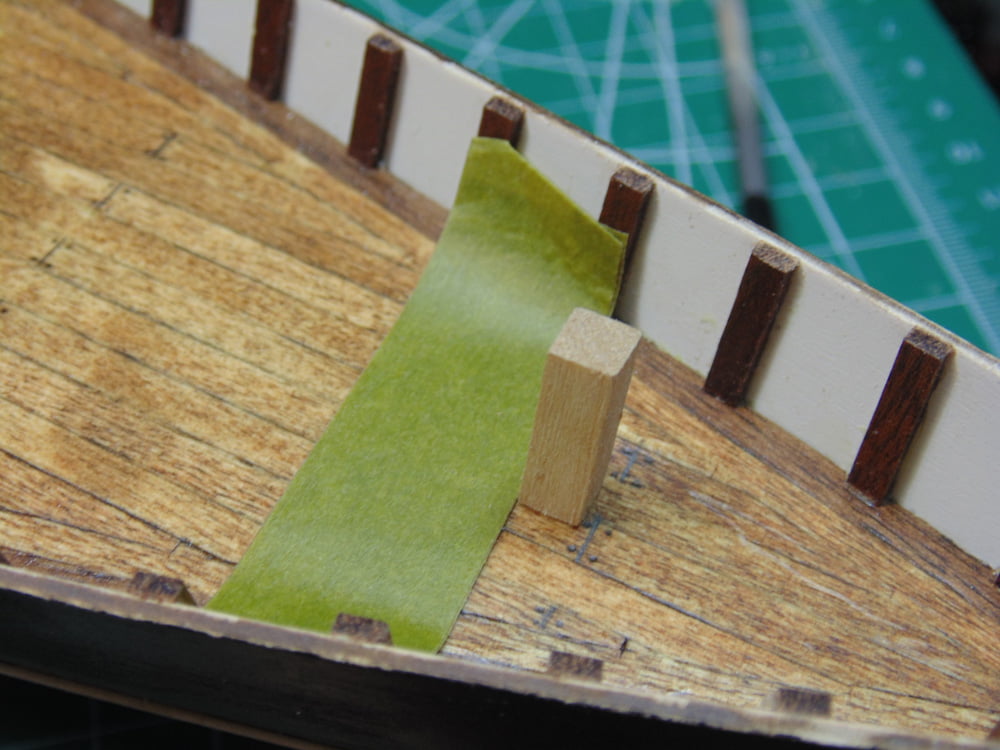
The wood planks you’ve installed are a good reference for placing the key block. Eyeball the ideal location though. Unless you were spot on with building the hull there may be some warping. Use some tape to mark the location for this block.
Another reason to pick up the Tamiya basic file set opening up the hole for sprit. You can file gently to get the size needed, again it was very relaxing work.
For the sprit’s conical shape I wrapped some rubber around the end and put it in a drill. I don’t have a lathe currently and the drill worked fine. Just work at it slowly and use a micrometre to test your progress. The very tip of the bow is a little delicate, so take it easy here. Note the thickness of the floatline, this will get sanded down flusher later.
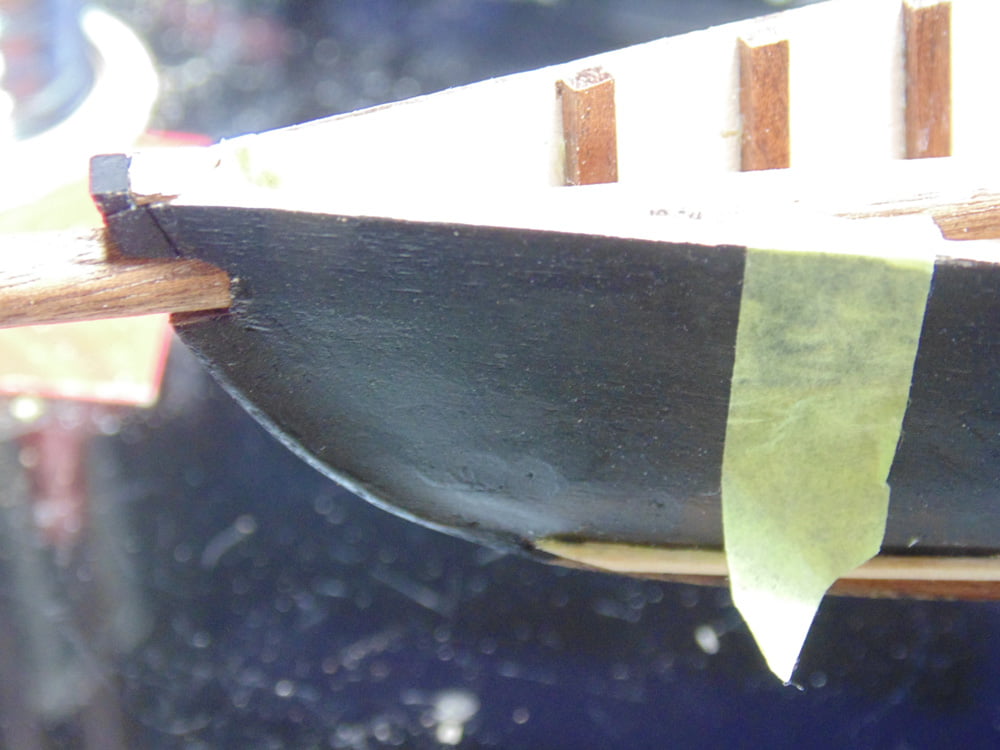
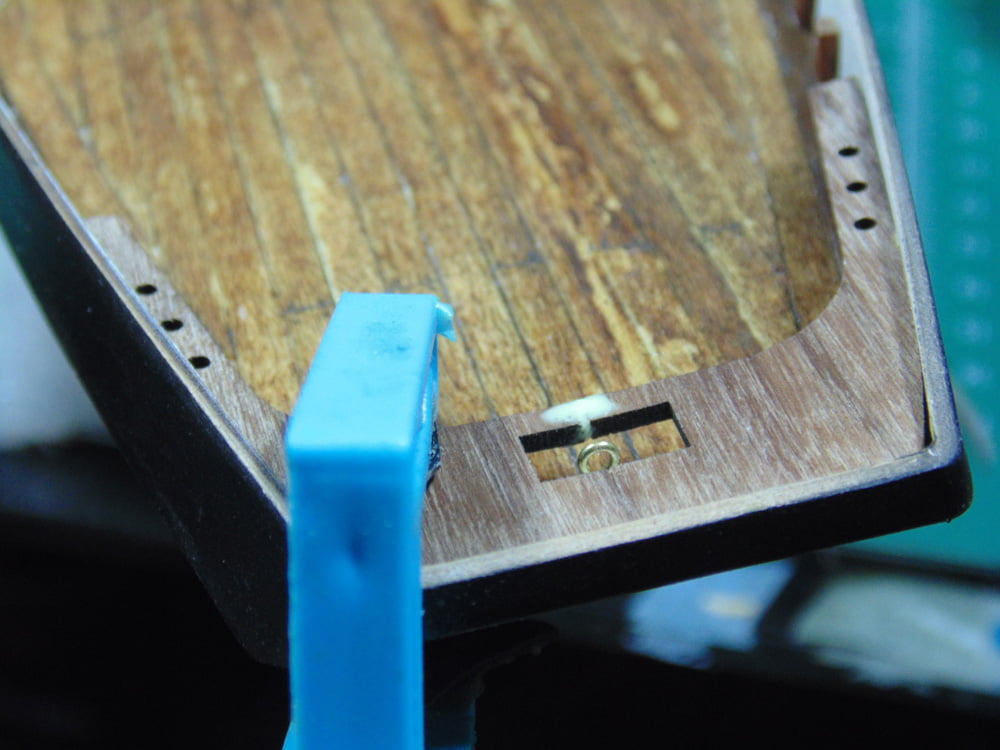
In section 21 some nice metal detail goes on. First though the instructions demand filling the opening of the bowsprit mouth. Because you have very gingerly used your Tamiya file to make this opening the 5mm width I do not feel this necessary, however you may.
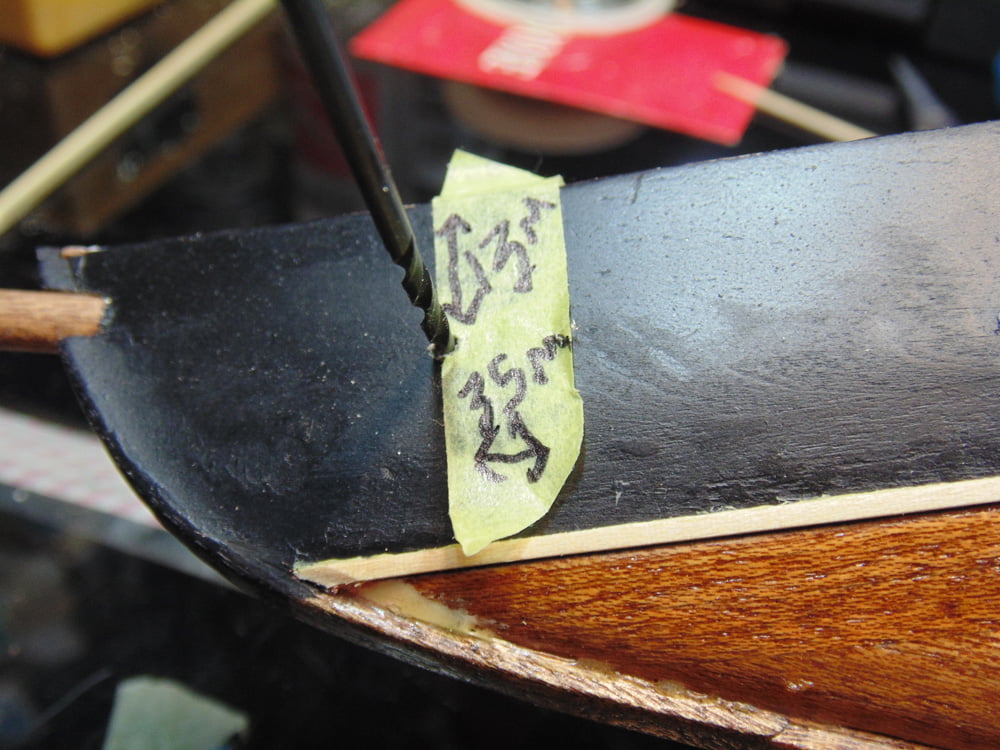
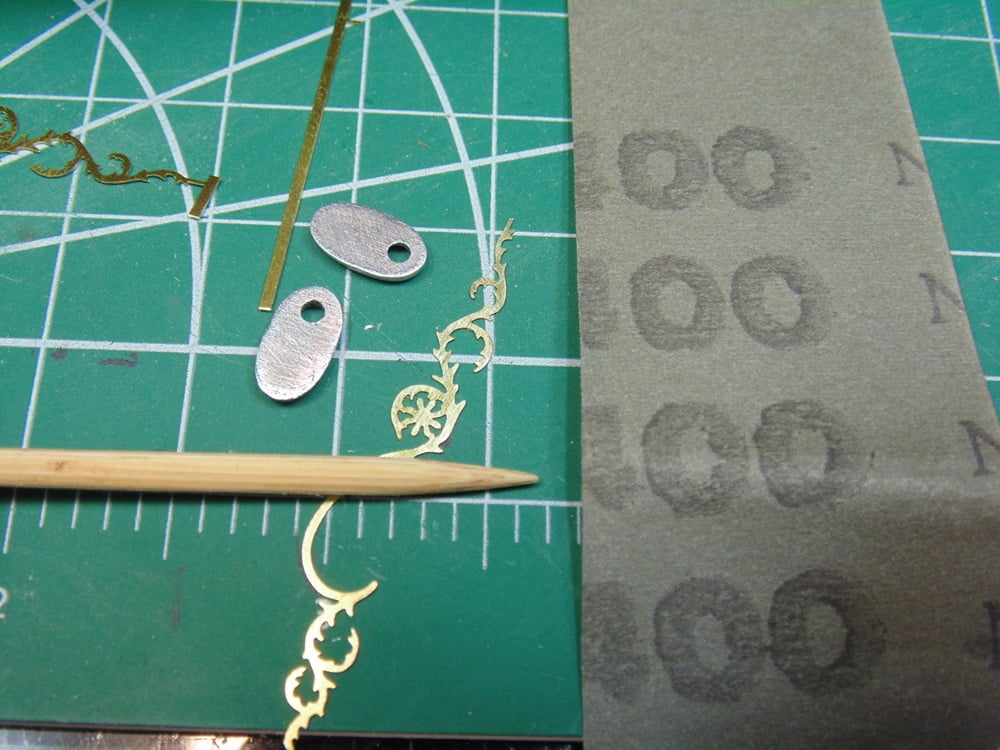
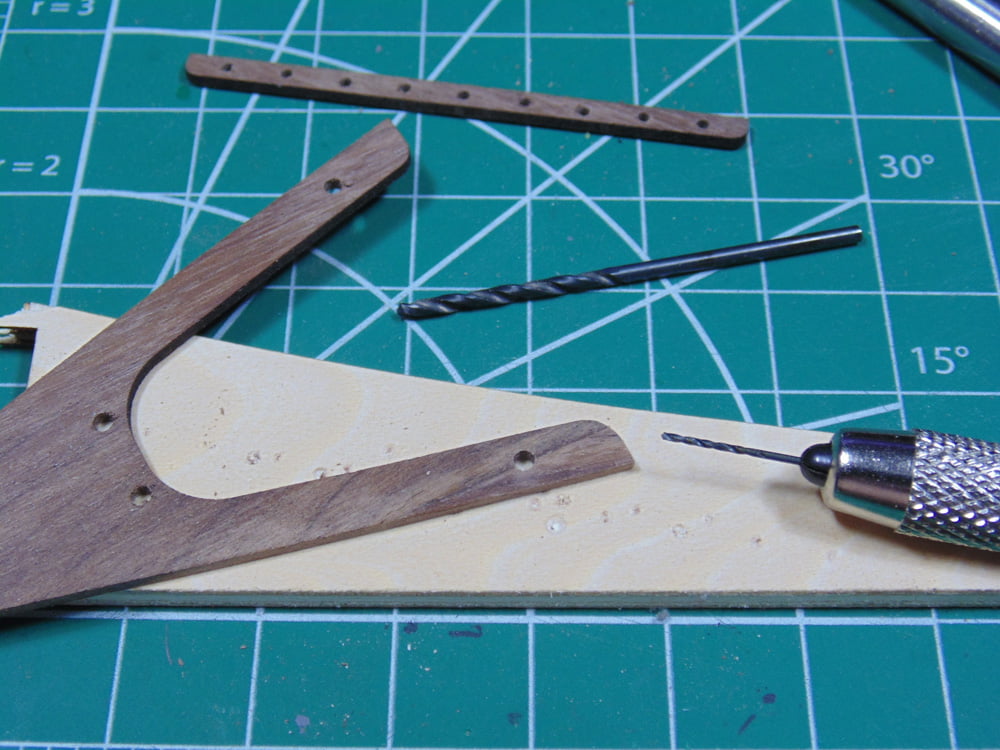
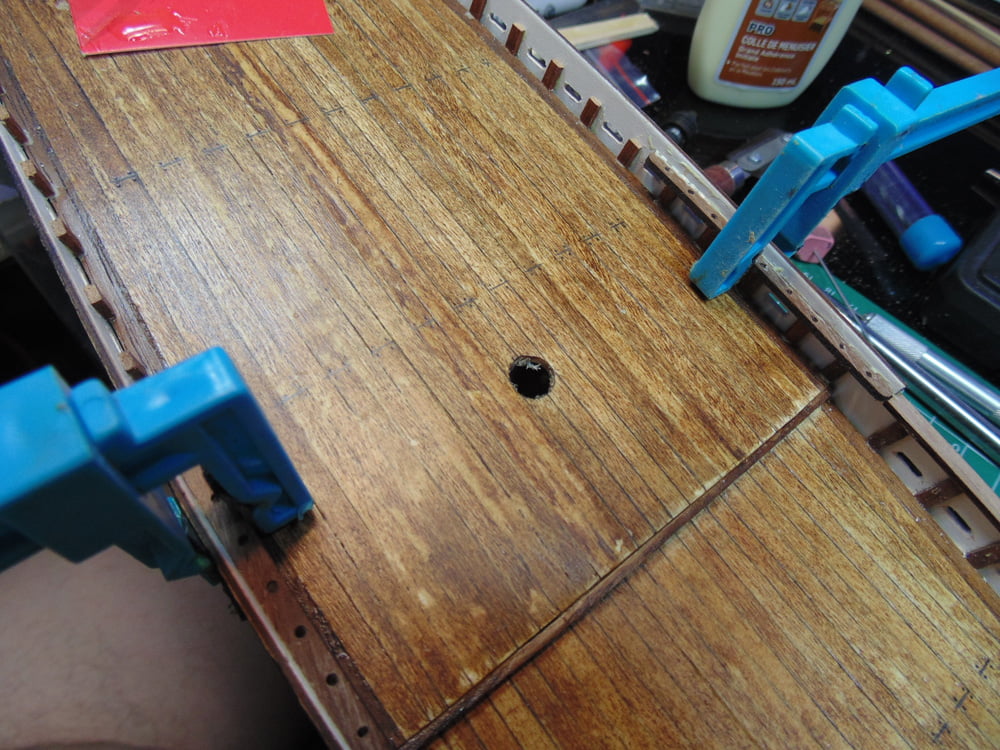
The measurements for the two anchor hawse openings are super simple. On the test model the 2mm drill bit was way too large. Start with a 1mm pilot hole first. Then increase to a 1.5mm bit. That will cut down on splintering plus help your lungs.
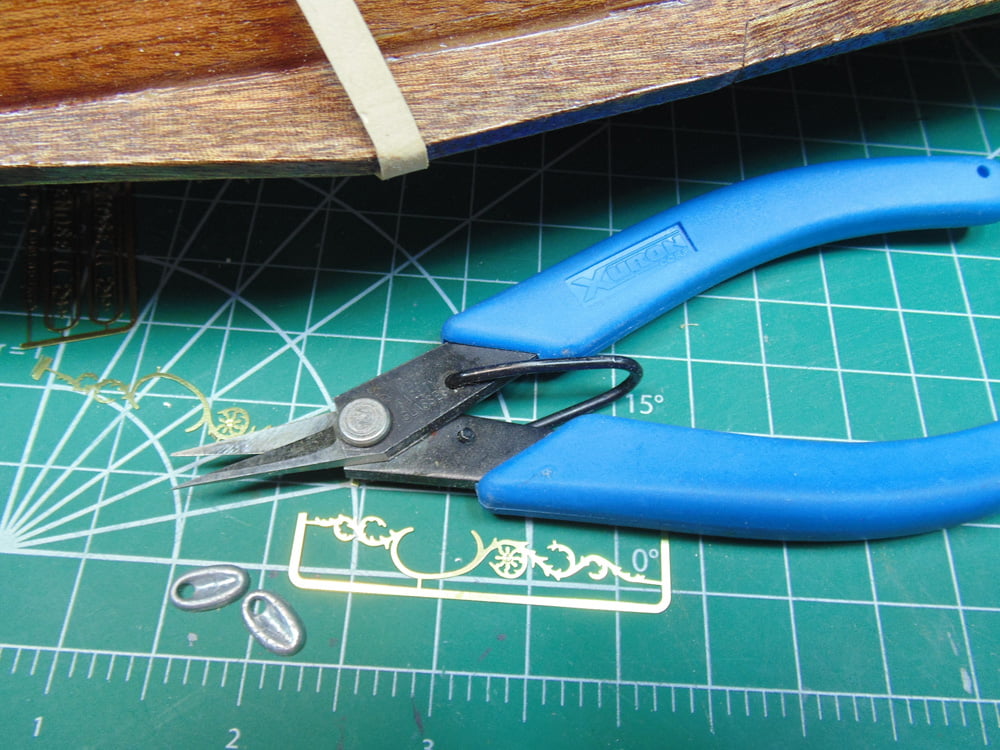
There are plenty of photo etch cutters on the market. I like the Xuron Photo-Etch Scissors for hogging away at thick metal slabs. Artesania Latina did not scrimp on the brass with this replica. It’s very carefully done to scale and soft enough to sand. Here’s another tip, run your fingers along the edge to test for smoothness.
Always sand your parts top, bottom and sides for cement and paint. Scuffing with a larger grit will ensure that you get a solid bond to the model and have decent adhesion with the paint/primer should you choose to prime these parts. I’m not going to.
Use a stick or leftover wood frame from the kit to hold the part as you paint it. This will help later when it gets installed.
Here some Tamiya X-1 Acrylic Semi Gloss Black went on. Semi gloss clings very well to metal parts. You can always paint or spray them later to dull or brighten the finish.
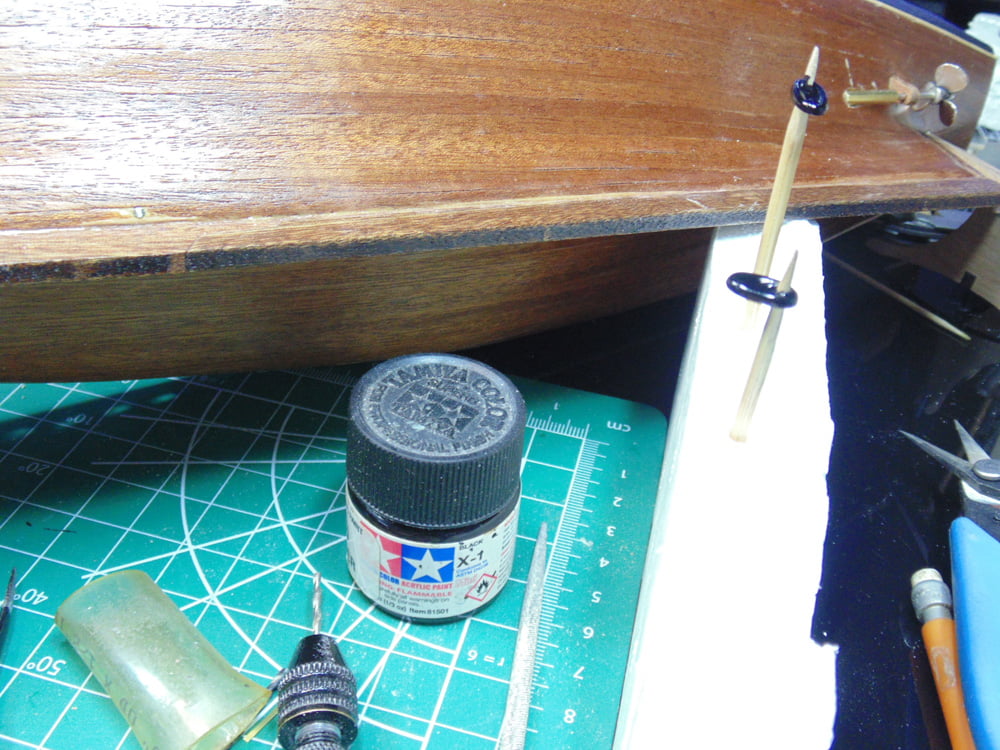
With the photo-etched part placed add the anchor hawse to make the final fit of the adornment. The BSI Insta-flex thin super-glue I’m using will seep under the edge of both the adornment and the hawse with no issue. Twist the stick you’re using gently and this task will be complete. Don’t worry about the ill painted hull, it gets a treatment later during the final finishing.
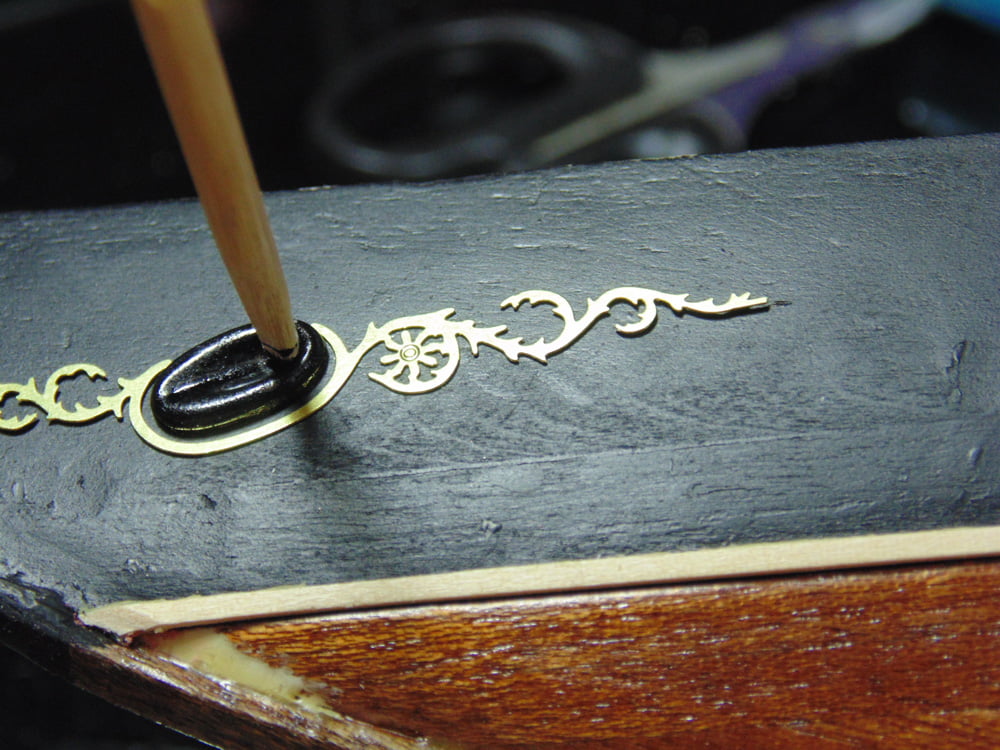
Here you can see the finished adornment and anchor hawse. The wonderful thing about this ship was it was designed to look good yet do a solid day’s work.
In section 22 we add railing detail. The shape of the hull didn’t match so I split the middle then clamped it with my Excel Hobby Blades small “F” clamp. Make certain you open up the hoses on this part and know that the “Eye hook” needs a longer drill hole.
Getting the distance correct was a head scratcher. You can go to the Bluenose II historical site to get the right distances or follow this. Knock 2mm off of each end and you’ll have the ideal 7mm spacing.
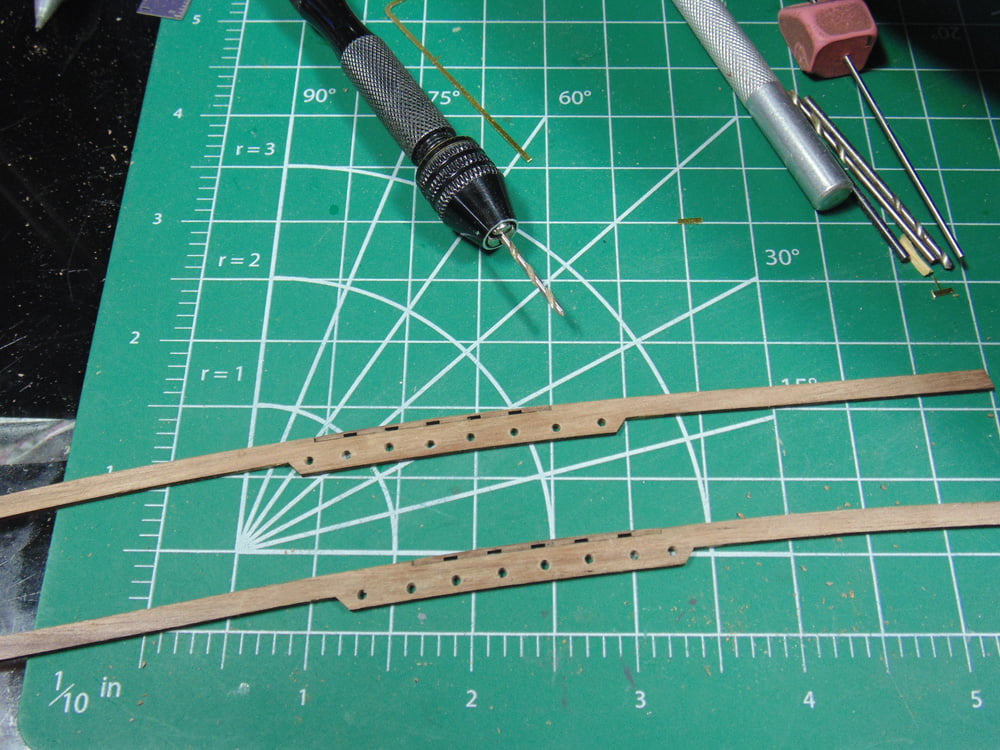
These parts go on top of the bulwark. There isn’t much to cling to, thus using a rubber band really helps. Here’s a tip, lightly sand the top and be mindful of how flat it is.
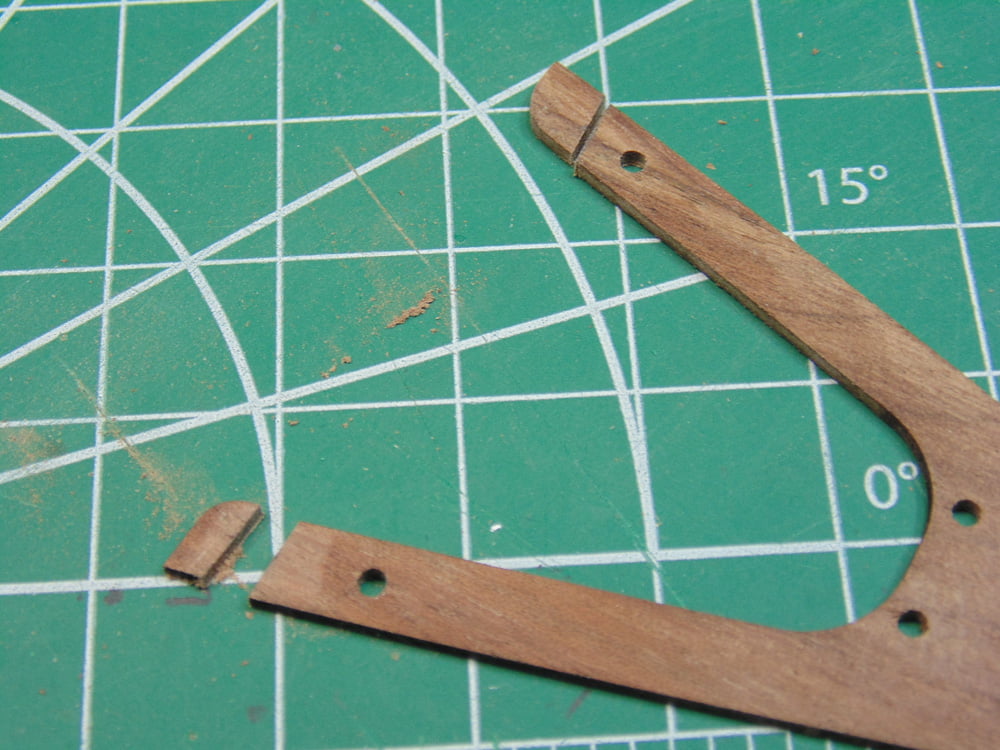
In section 23 there is a little work to be done on the bow. My kit had a flaw where the corner was missing. The parts tree was used to cut a new section for the error. I simply sanded it to shape. The instructions call out for some holes to be drilled, yet they were already there.
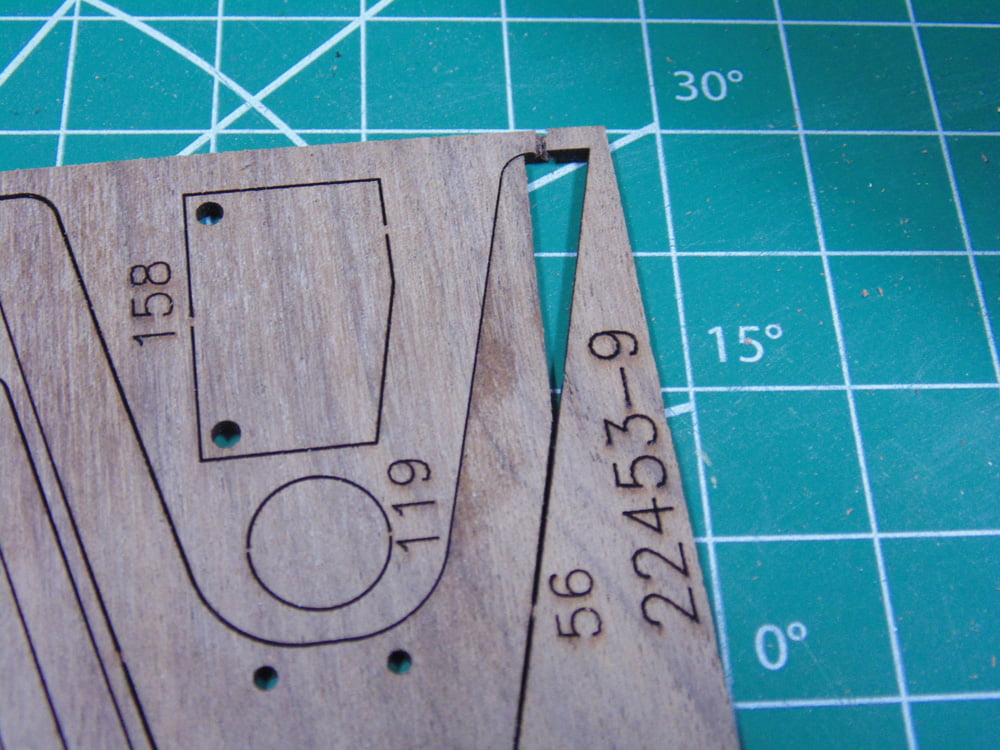
The hole spacers in section 23 need to be measured. I used a punch tool for a drill point then some scrap sprue tree as a backing for when I drilled. This is beautiful wood but you have to be slow and gentle when working or drilling it.

Once again, use pilot holes on the delicate wood parts. This part broke twice on me.
For some reason the bow cap was way off. Not a big deal really, just some fine tuning needed. Find a side where it looks good then make your adjustments from there.

Scroll or read down into the instructions to get rigging and eyehook placement and this will aide in your adjustments. Where I cut my part may not be what you decide upon.
This part had to be sanded on the sides as well. It took little time and will have the nose shaped later. It was super simple to do. This is a larger “F” clamp with some packing foam as a protector. Remember, this is wood and not always perfectly shaped. The clamp helped bond the cap to the bow and was very valuable in straightening the slightly warped hull.
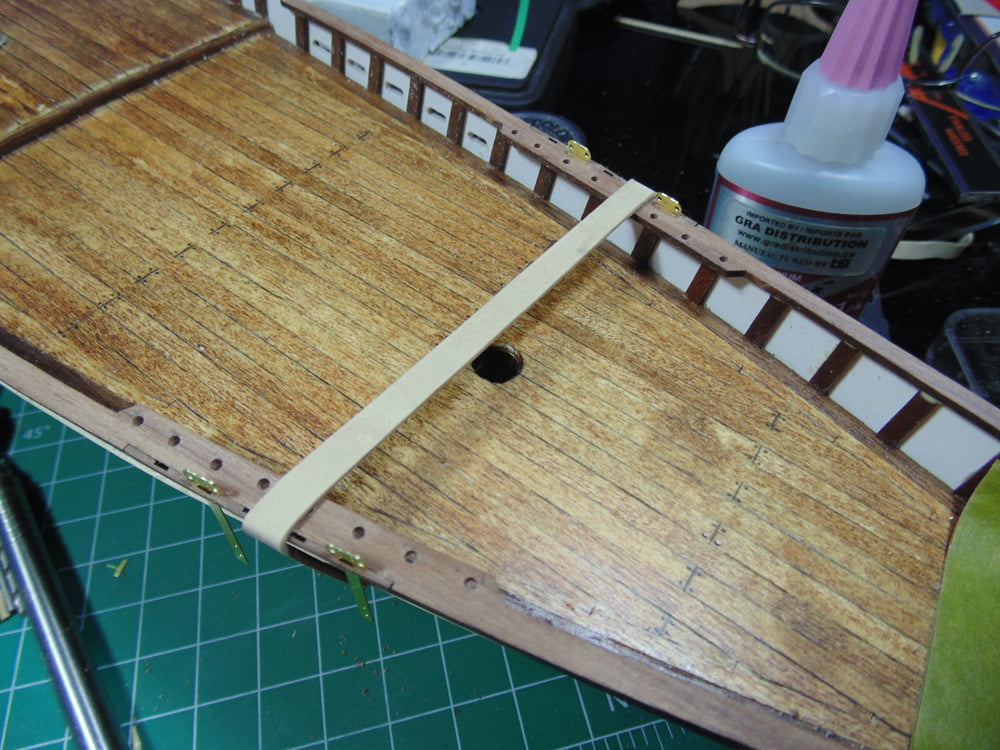
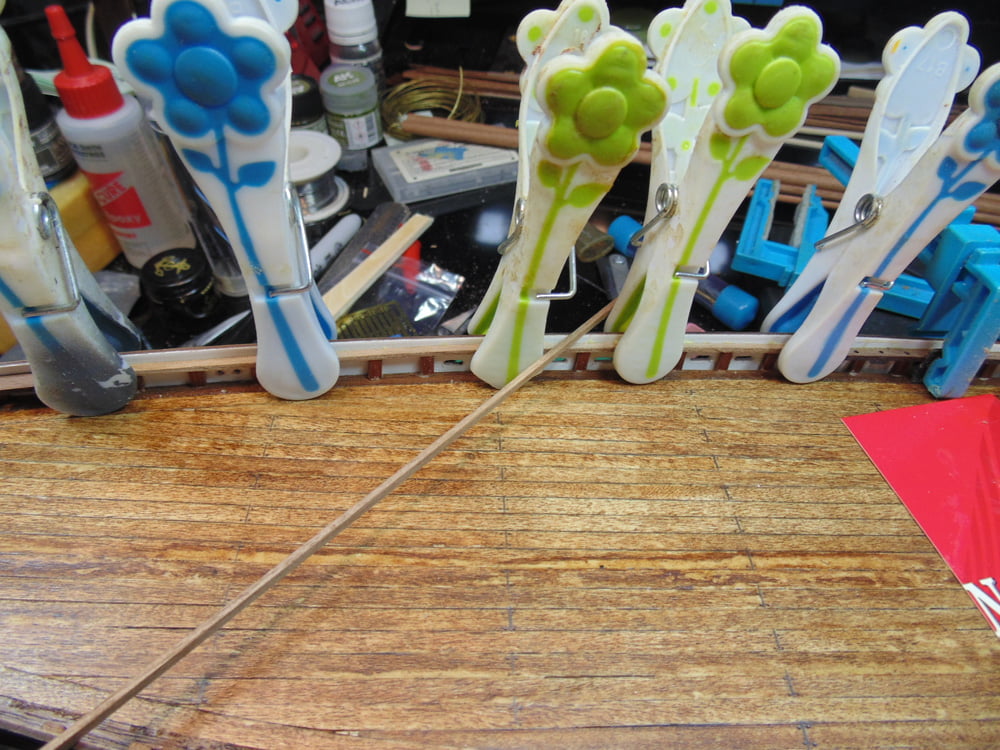
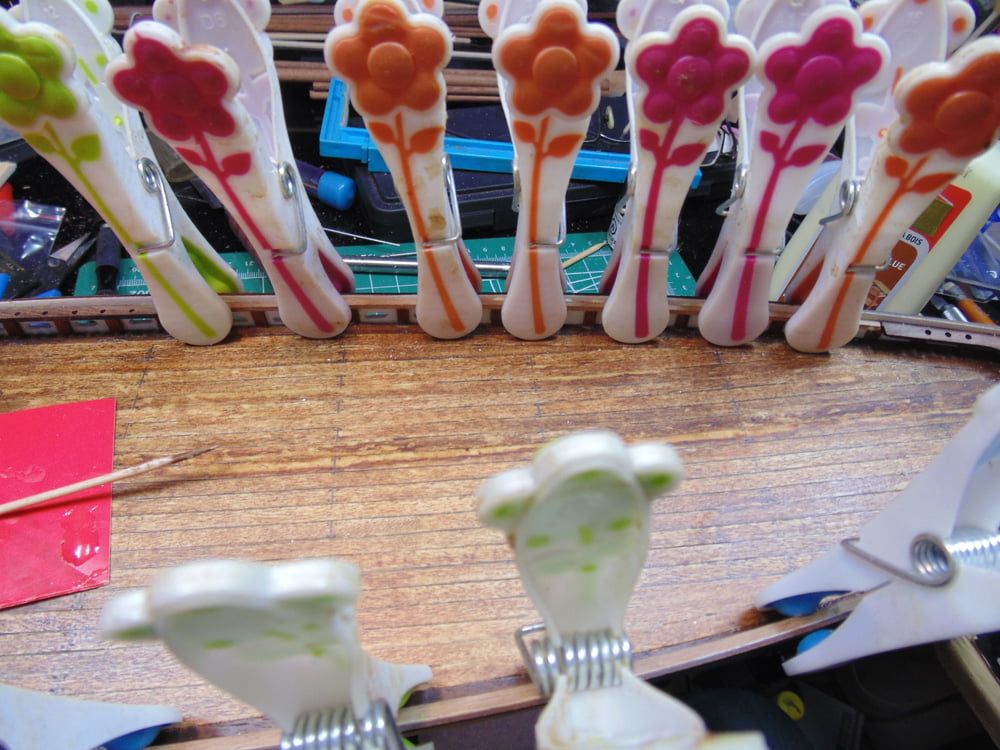
In section 24 you’ll be doing the hand rails, mid ship rat line spacers and adding some life to the model. I really enjoyed how Artesania Latina set up the construction so you could have some joy even in the early phases of the build. You’ll see what I mean in a bit.
The rat line spacers are not laser cut with a curve. You may have to clamp them to form fit.
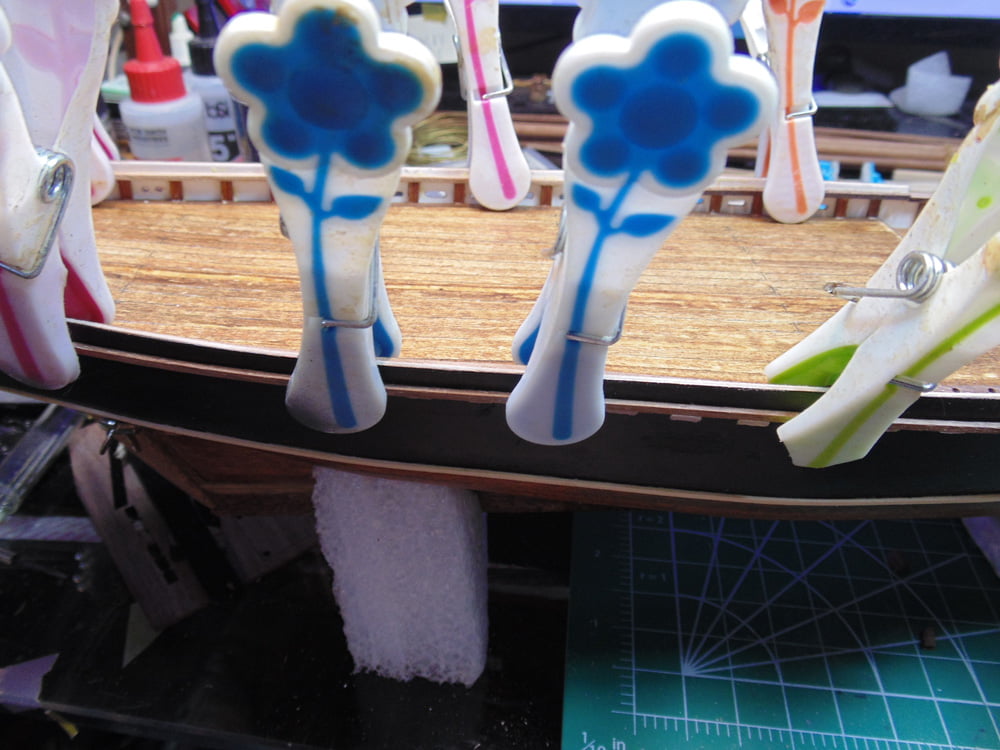
The hand rail strips should be sanded as they have many burrs and are very delicate. A Tamiya sponge 800-grit took care of this with only a few passes. Clothespins held the parts. About the flowers… it was all the local store had in stock.
These parts, as well, are not shaped. Here’s another tip, work in short sections and clean-up as you progress. Removing excess glue now will save you huge amounts of time later. Sometimes a dab of epoxy will set a point as well.
Use the same process for the bow guide rail.
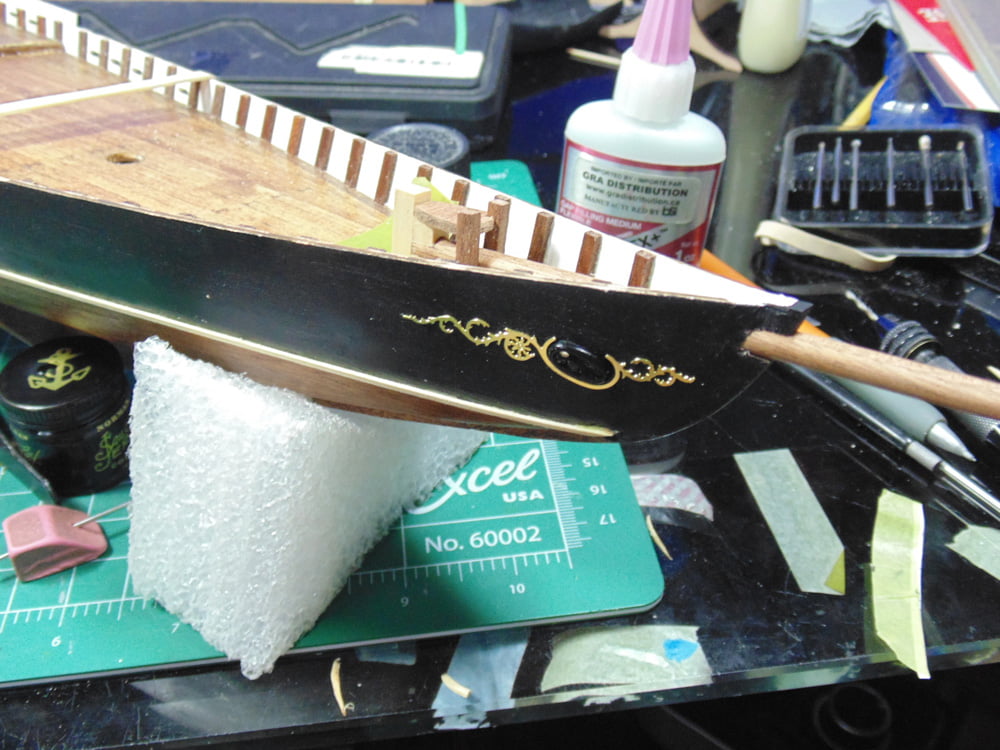
And here you can see the joy in this section of the Sunward Hobbies blog. She has her name plate, guide rail, sprit along with the formed bow cap.
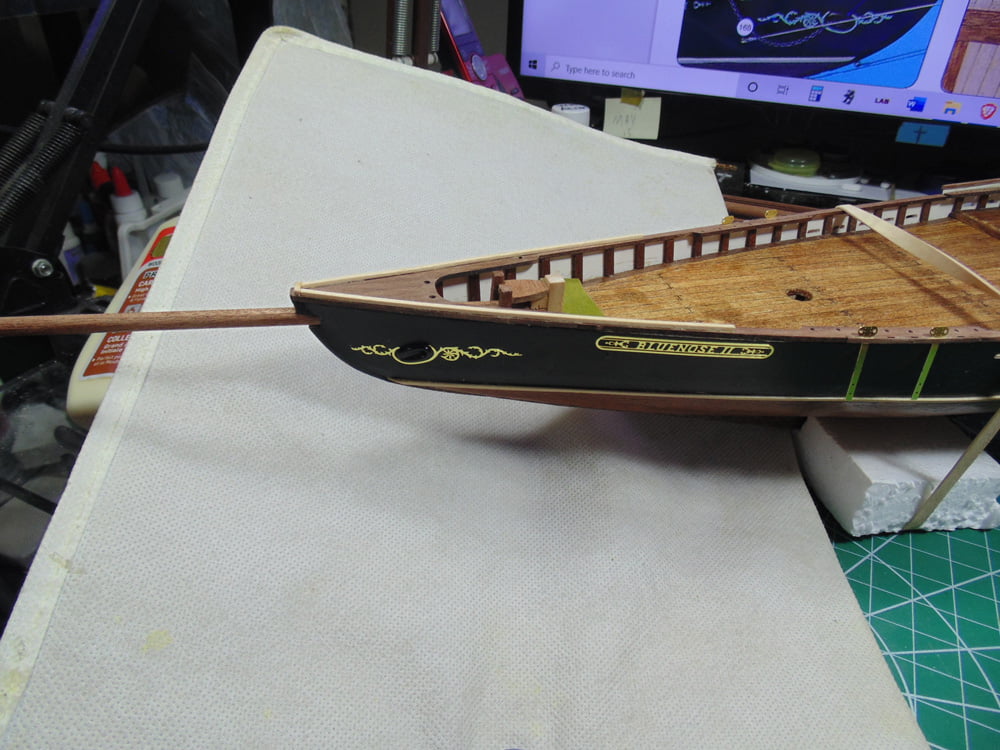
Forgive the camera angle, yet notice how the hull warp has almost completely disappeared?
I’m not downplaying the number of hours you’ll need to invest into a project like this, but make no mistake this was a lot of fun and incredibly relaxing.
Thanks again for taking the time to follow the build. If you have any questions about Artesania Latina products or the techniques used please feel free to ask when you pick-up or place your next Sunward Hobbies order
If you have any questions about the products used or the methods in this article, please feel free to ask the staff when you pick up or place your next order from Sunward Hobbies.
About the Author:
H.G. Barnes is a former voice-over artist and retired sales and marketing professional. He’s the author of two large volume science fiction adventure romance novels with many more in the works. For well over 40 years he’s been building scale model replicas and now does commission work for clients in Canada and the USA, plus completes projects for companies in Asia and Europe.
Currently H.G. is involved as an Associate Editor with KitMaker Network’s Online Magazine Channels.