

Tech-Tips by Harvey – Where to Start
Have you ever bought a model kit based solely on the box art? I have! Many also buy older kits to re-build them to modern standards on the same kit they built many years ago as a child. This article focuses on some basic tips for building vintage classic kits. The purpose is not to super-detail an old kit but rather apply the simplest techniques to update the kit to more modern standards based on your improved skillsets as an adult, without spending huge amounts of time or aftermarket on an old kit.
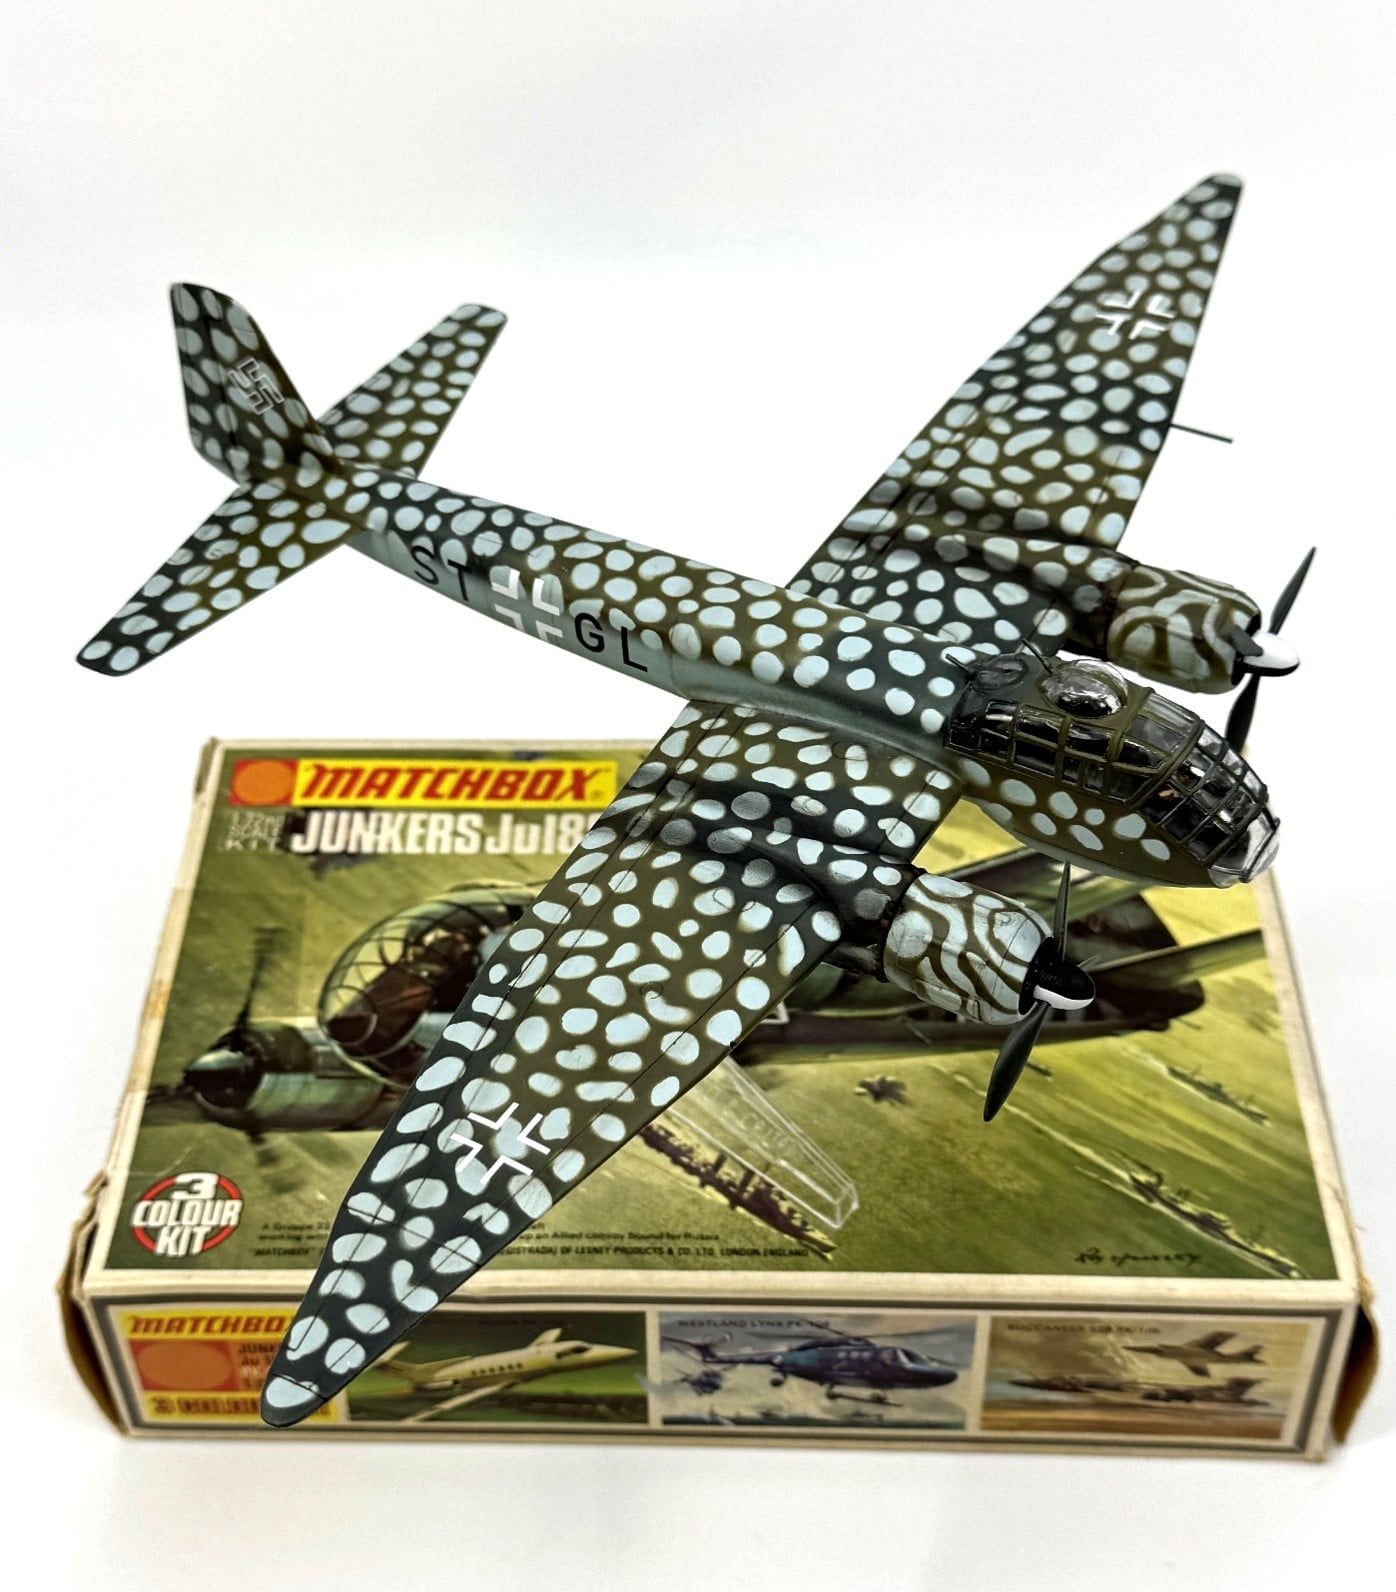
I have been building models since I was about 8 years old, from my very first Airfix Beaufighter which I need my neighbor to ,help me finish it! I still have many kits that are considered “vintage”, because of those early fond memories. One kit that I built long ago was the Matchbox 1/72 Ju-188. This kit sold me with Roy Huxley’s stunning box art.
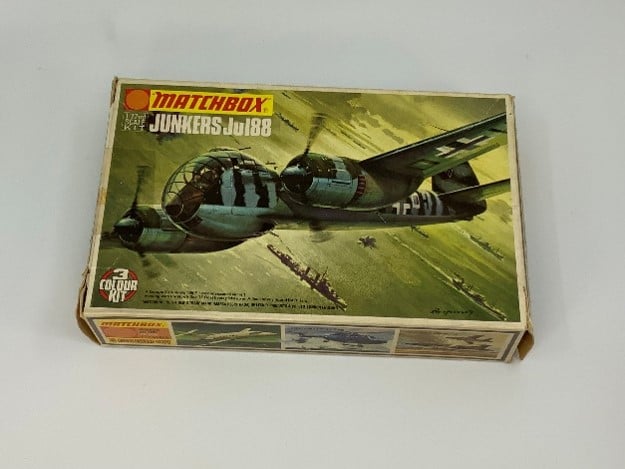
So with my current skills along with new paints and techniques, here are some tips for building that old vintage kit sitting in your stash!
The Matchbox kit
This kit was released back in 1974 in those lovely off-orange, grey, and green plastic.
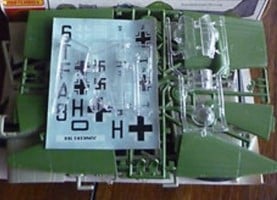
At the time it was one of the best Matchbox kits, but now has been replaced by more accurate Ju-188 kits. Remember you are building this model for pure fun and not as a competitive accurate entry to a high level model contest! So the first tip, is NOT to over-estimate your goal, and instead live with the limitations in molding and technology of that time. It is missing several windows and has simplified landing gear with no wheel well detail whatsoever – not to mention dimensional issues.
Decide Your Scope of Effort
In building these older kits, I treat them as quick projects that do not take a lot of time, with the goal of adding another finished model to your collection and one away from the “stash’. Decide what needs to be replaced and what does not.
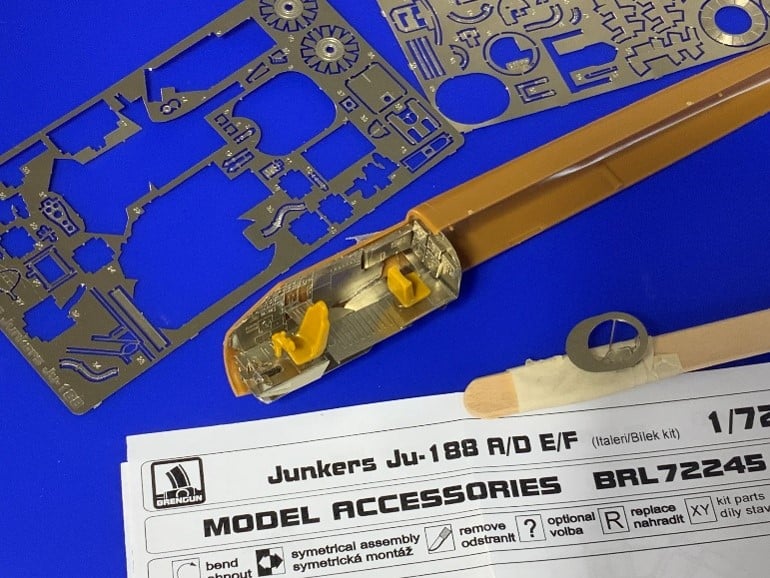
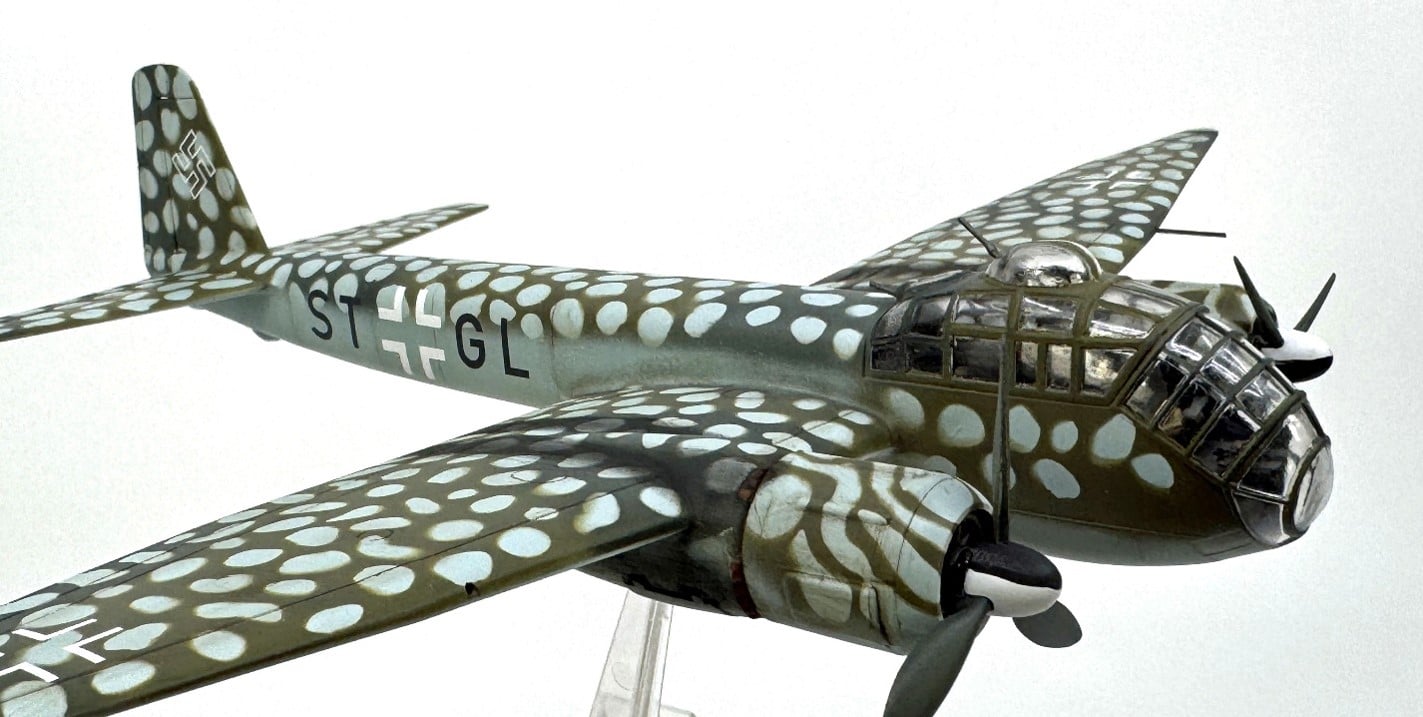
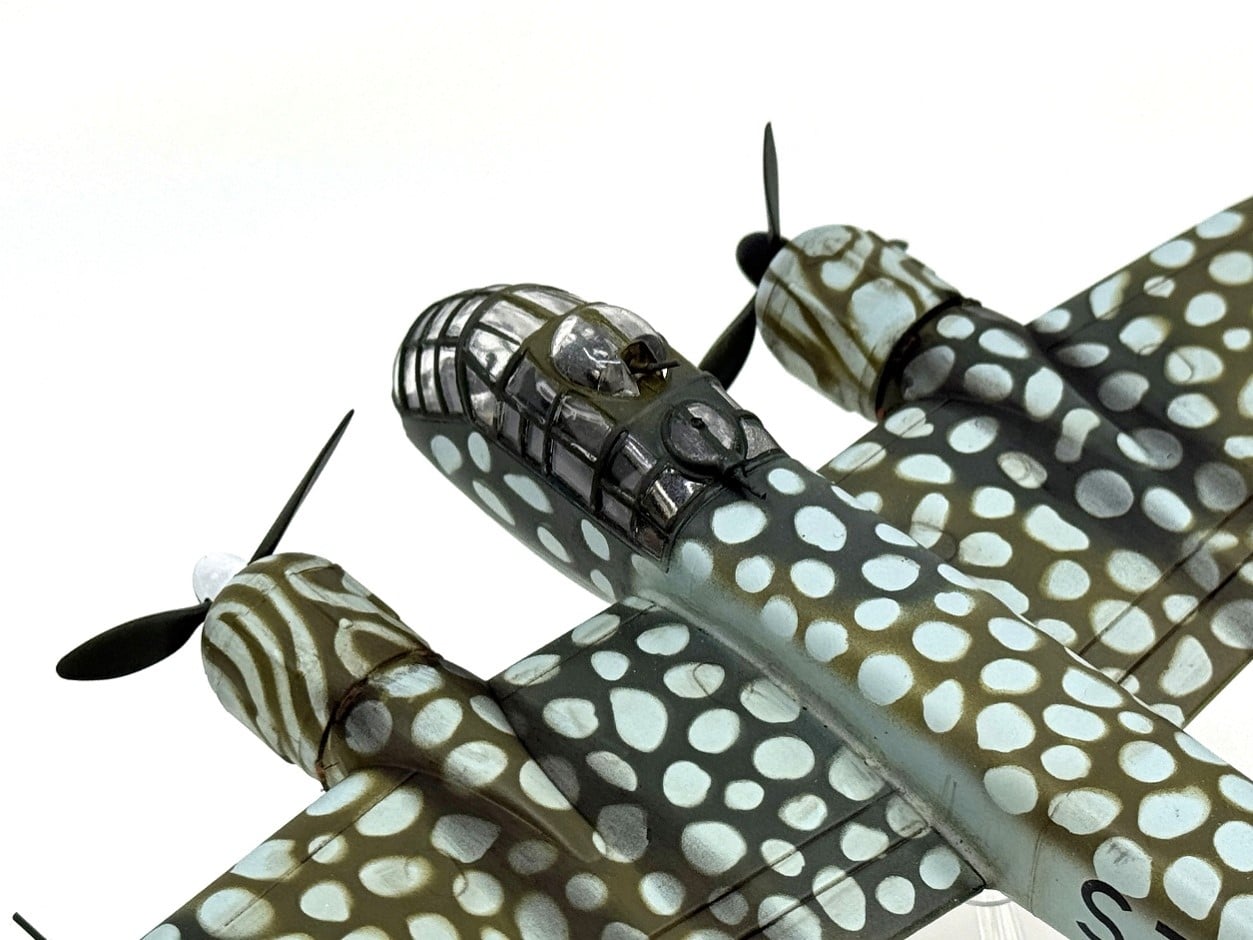
On this model I did decide to replace the cockpit as it was very sparse with a canopy that allowed the cockpit to be seen. I used the Brengun PE cockpit set. Note that while this seems “advanced”, I had this photo-etch (PE) set already. I still kept it simple as I only used the floor and side walls.
The Canopy
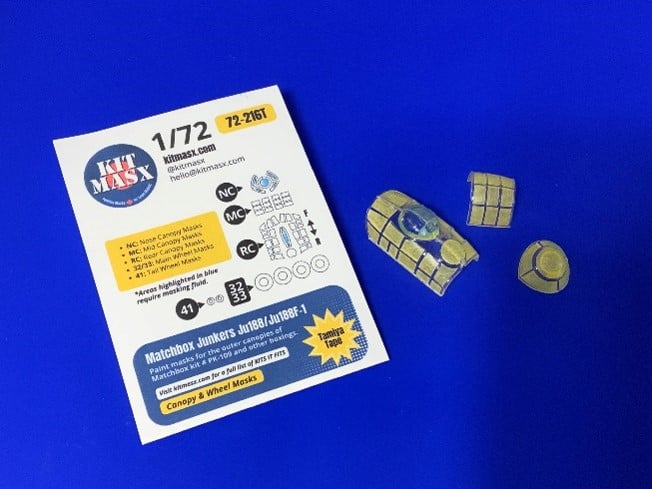
Building vintage kits always has the challenge of getting modern clear part canopy masks. A company out of Kelowna British Columbia Canada, has now emerged to make masks for vintage kits. The company is Kit Masx. They specialize in making canopy and other masks especially for older kits. When I inquired about doing one for the Matchbox Ju-188, they actually made a set and even sent me them in less than two months from inquiring, thank you Janelle! The Kit Masx SKU number for this kit is 72-216T.
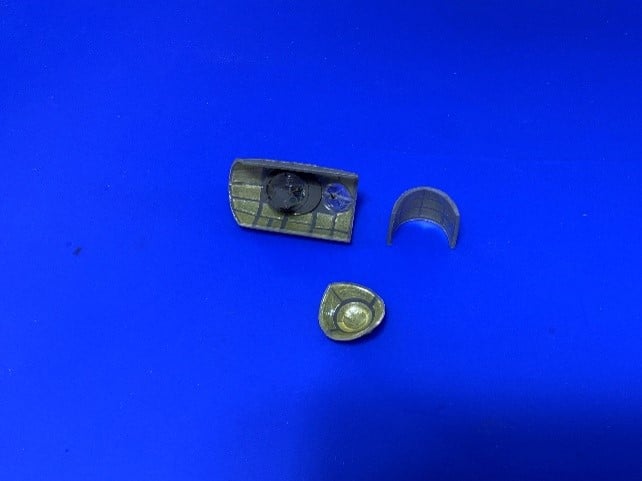
Here is the cockpit masking completed with the installed Brengun PE gunner’s position. Notice how the simply use of different colours of paint applied by a toothpick, along with paper seat belts also add huge interest to an otherwise boring interior.
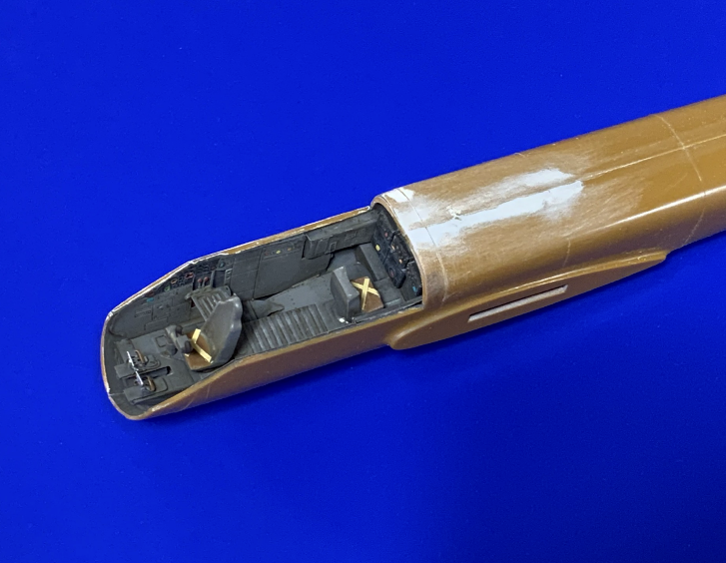
I use Weld-Bond white glue to glue all my canopies to a model. It is strong, does not leave residue and has no fear of fogging that super glue may have on such clear parts.
Fixing Kit Problems
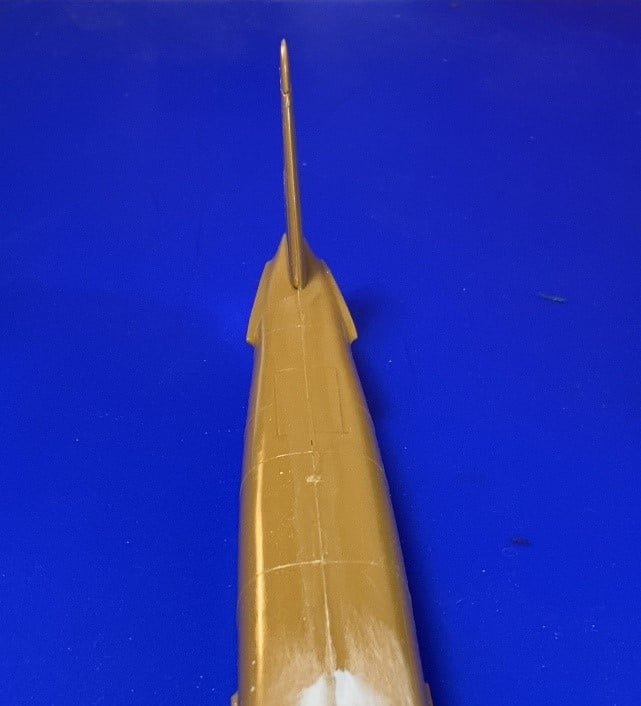
I found my rear tail warped. Fix this by immersing in boiling water for a few seconds, and bending back to shape.
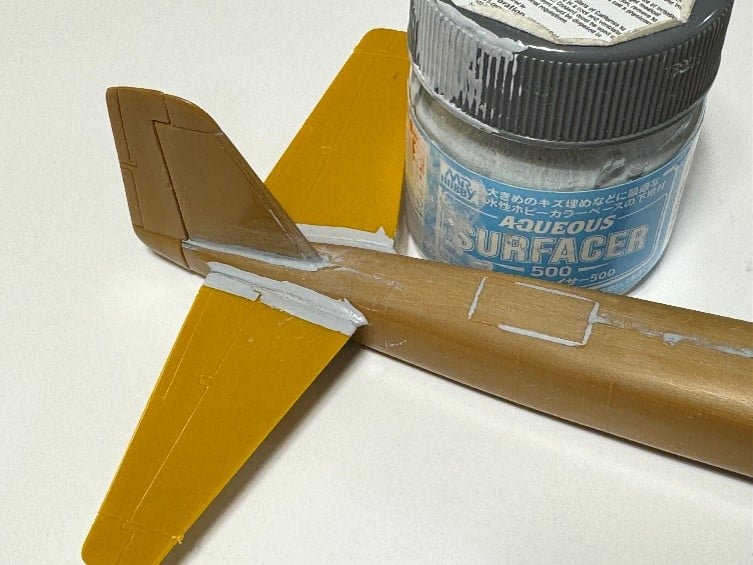
A useful tip is to use Mr Hobby Aqueous Surfacer 500 (water-based primer version) to fill minor gaps and seams. Just put some on with a brush and wipe it off with your fingers!
Painting
The base colour is AK Interactive’s RLM 65 RC271. My “splinter” camouflage colours were Tamiya a mix of roughly 50:50 Tamiya Olive Drab XF-62 and Khaki XF-49; and Black Green XF-27.
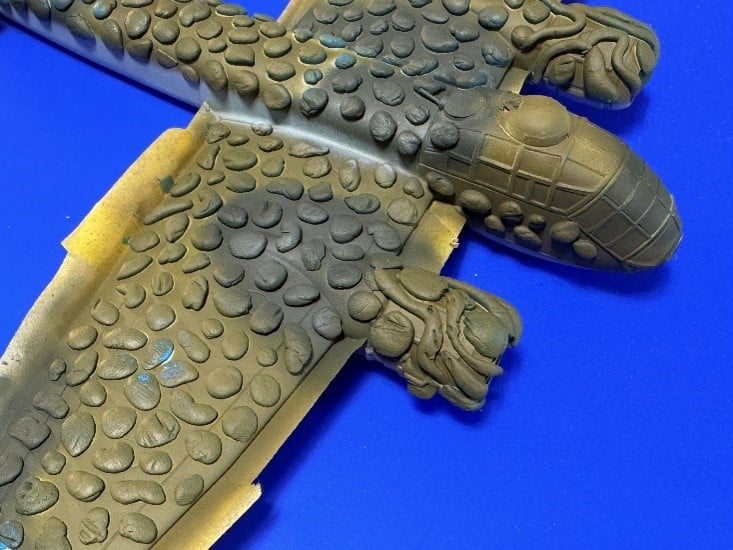
Since this aircraft had tiny spots over the splinter camouflage, I kept it simple by using Lepage’s “Blue-Tak” as a “reverse” mask. Random “blobs” of this putty-like material was applied to the surface BEFORE the splinter camouflage was applied. While technically incorrect, this camo actually had the lighter blue areas sprayed OVER the splinter camo, but it was a fast way to achieve the same effect.
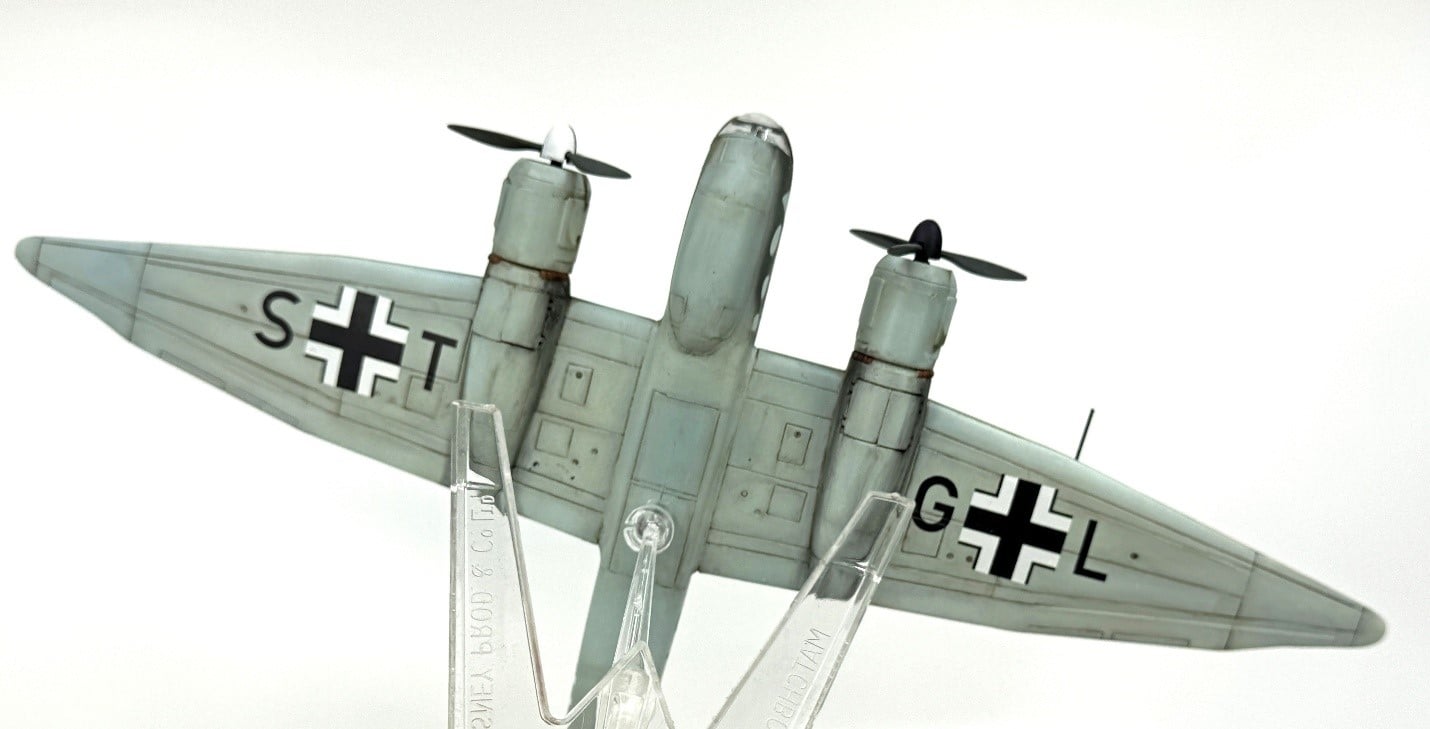
Since most decals in these old kits have deteriorated over time, we are fortunate to have a myriad of companies that provide state-of-art decals now! For this aircraft, I used the excellent decals of General Fieldmarchall Erhard Milch’s aircraft from Owl Decals. These went on without issue using Microscale Micro Sol/Micro Set decal solution.
Final weathering was achieved by simply applying by a light raw umber wash along panel lines, and wiped away with a sponge.
Conclusions
While the Matchbox Ju-188 is a dated kit with its fair share of flaws, it can still be a fun quick build. This project took me less than a week to do! So you can apply some basic techniques to make that old kit sing again!
Harvey Low
(November 2026)
About the Author:
Harvey Low has been building plastic models since age eight and fast-forward fifty years and he is still building. Now professionally full-time for clients, museums, and magazines. He has written well over thirty articles for mainstream magazines such as FineScale Modeler, and Scale Aircraft Modelling. His specific interests are WW2 Japanese and Italian subjects.
Harvey has been competing in model contests since 1981. He has competed internationally and in 2018 achieved Master Class at the US A