
Masking Basics
In this Sunward Hobbies tutorial we’ll cover the basics about masking. I’ll show you some simple techniques to make the task easier and give you a clean professional look. As always, all the materials, supplies and models are available at Sunward Hobbies.
I’ve used a dozen different masking products over the decades with nice results and Sunward Hobbies have a great selection of Masking Products. The reason I’m showing you these particular items is I find them the easiest to use, yet will show you more in the future. There are so many different situations where one Masking Product will work better than another, but this will cover the essentials.
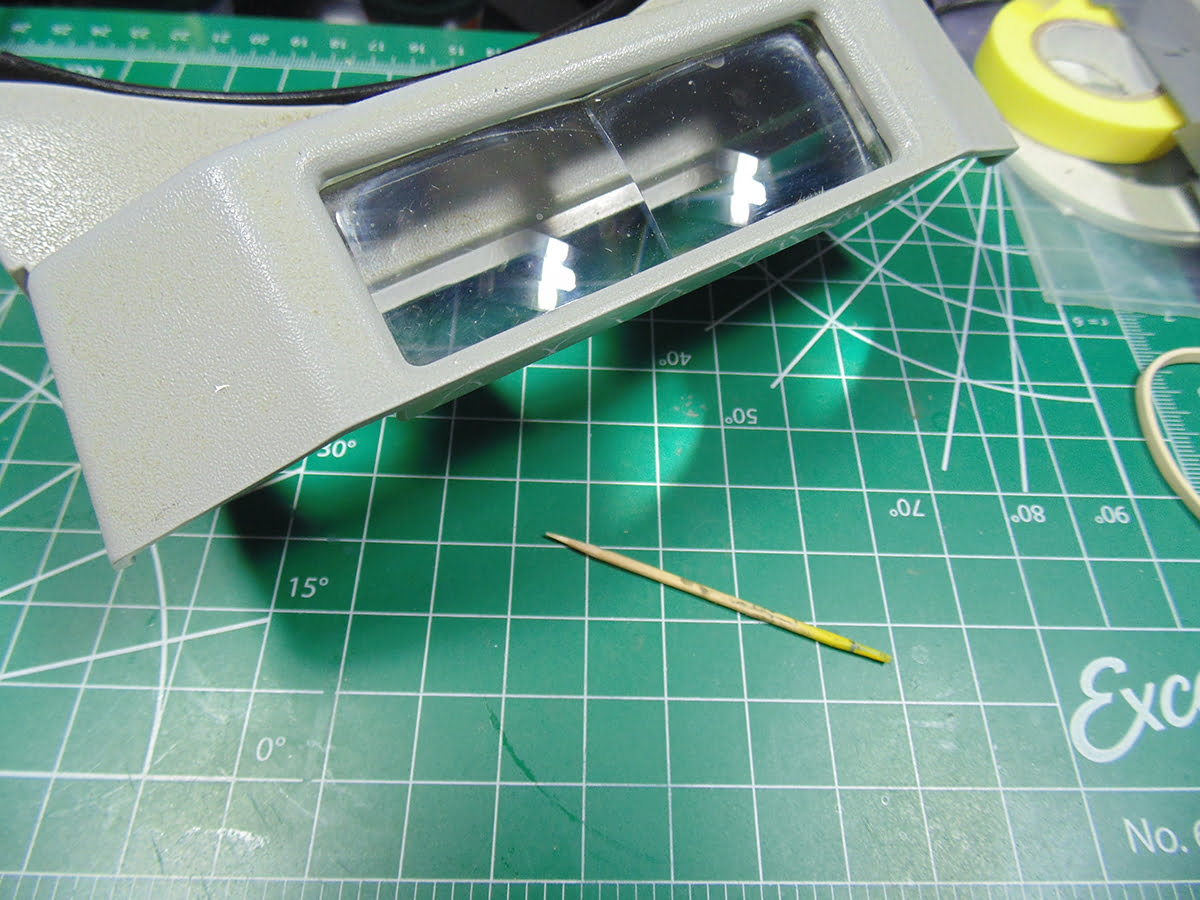
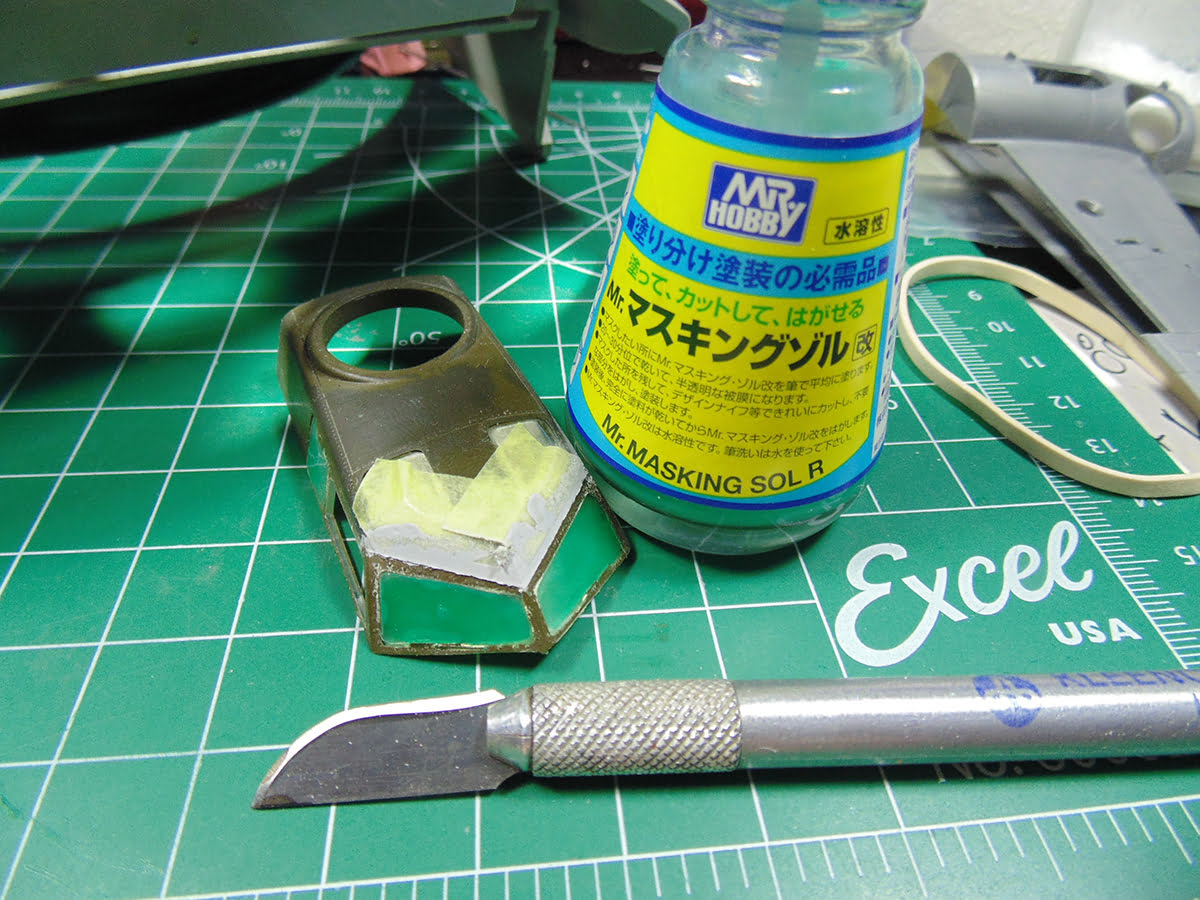
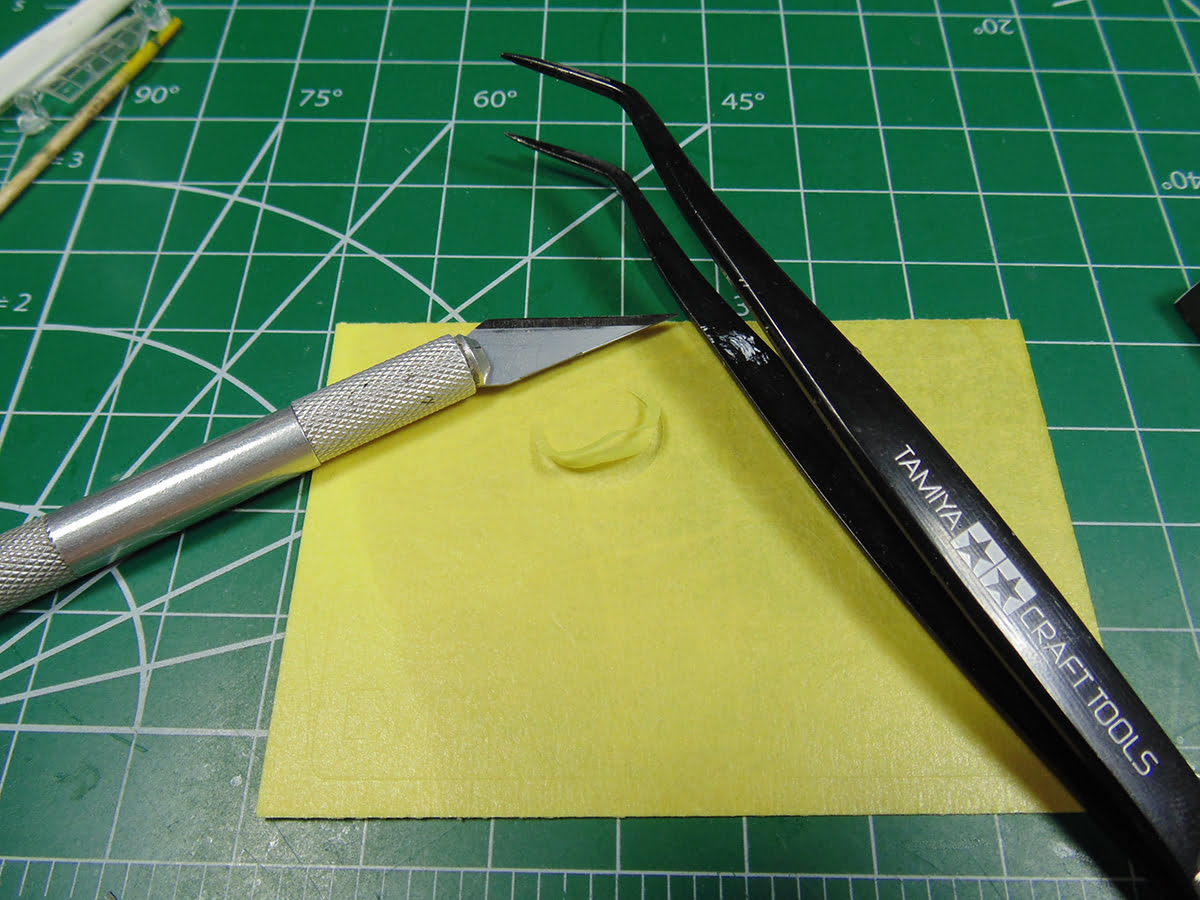
For best results consider purchasing a decent set of magnifiers. These are my #7 2.5X mags. They’re very comfortable, super easy to adjust and affordable. Sunward carry a great selection of magnifiers and I can attest to how much of a game changer it was for my skills when I put one on. Next, have a few toothpicks ready, which you’ve sharpened, to get into tight corners.
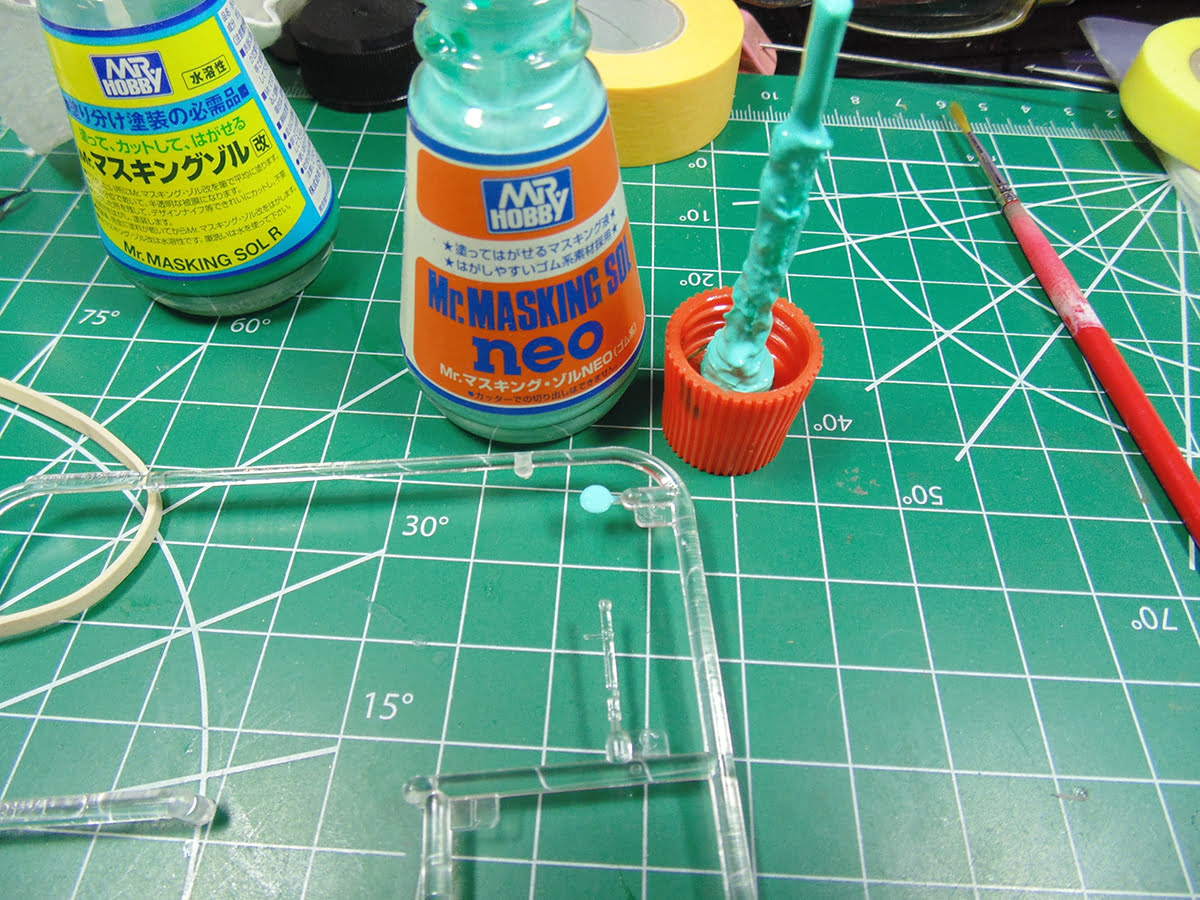
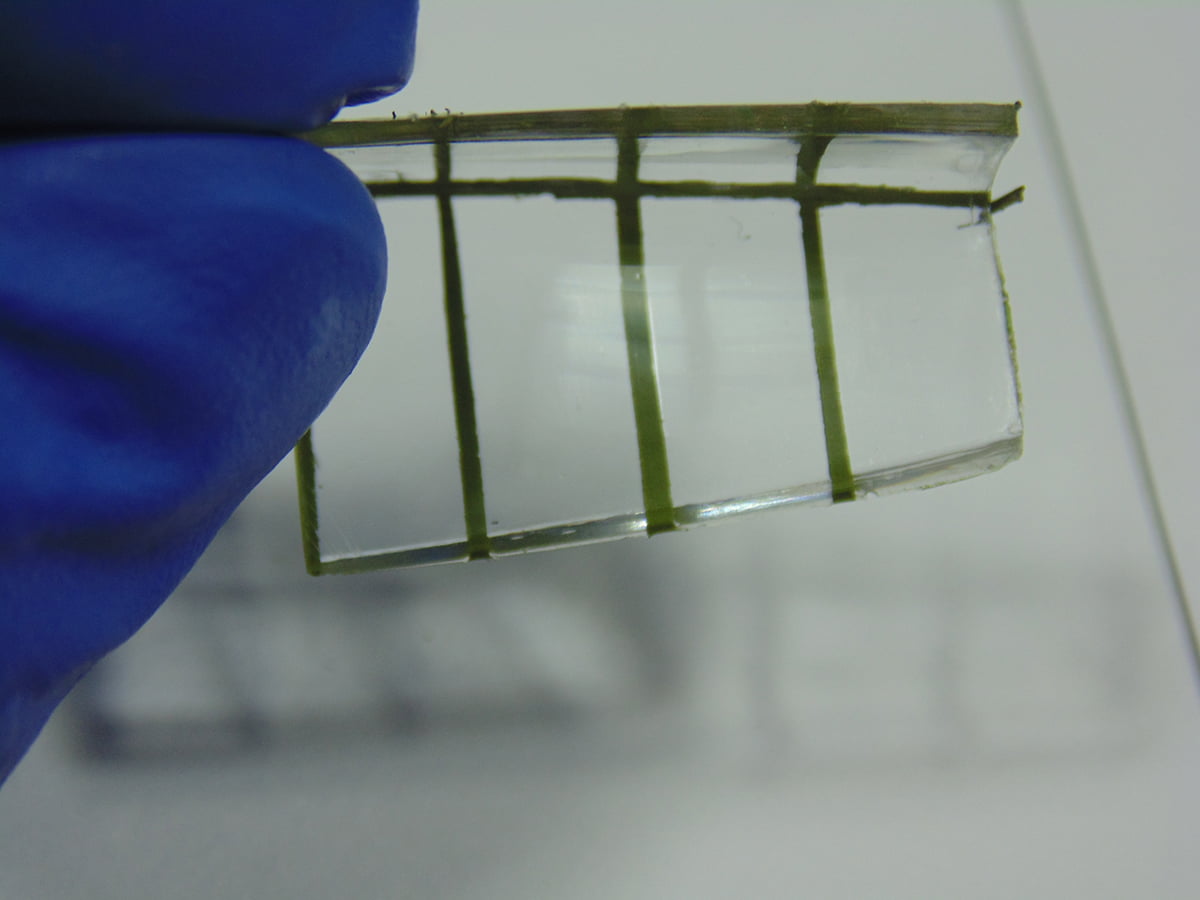
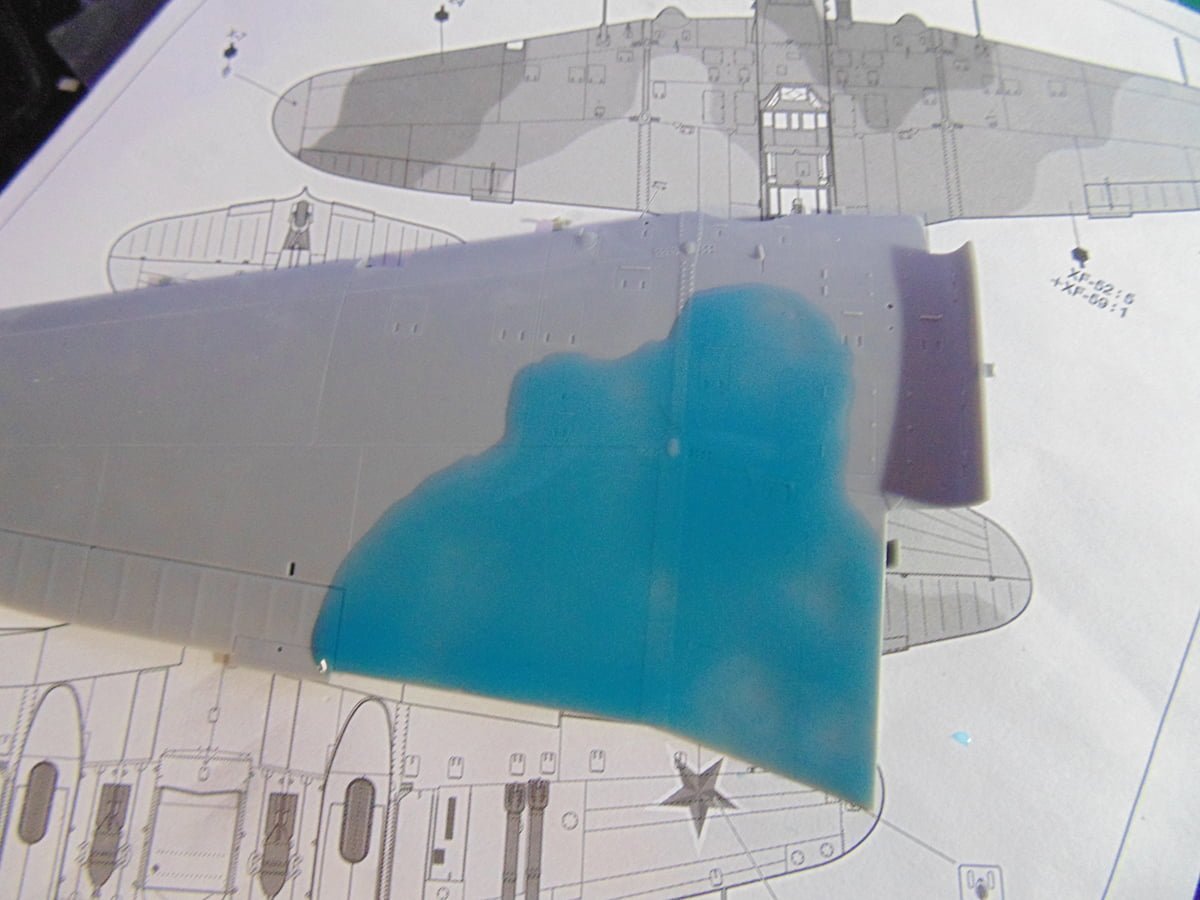
First, we’ll try a few brands of Masking Fluid, beginning with Mr Masking Fluid NEO. NEO is a lesser expensive option and works well on larger less complicated parts. This is the landing light lens of a Tamiya 1/48 Brewster Buffalo WWII aircraft. I’ve used the applicator brush to carefully apply a thin coat. A thin coat will appear as a solid milky green.
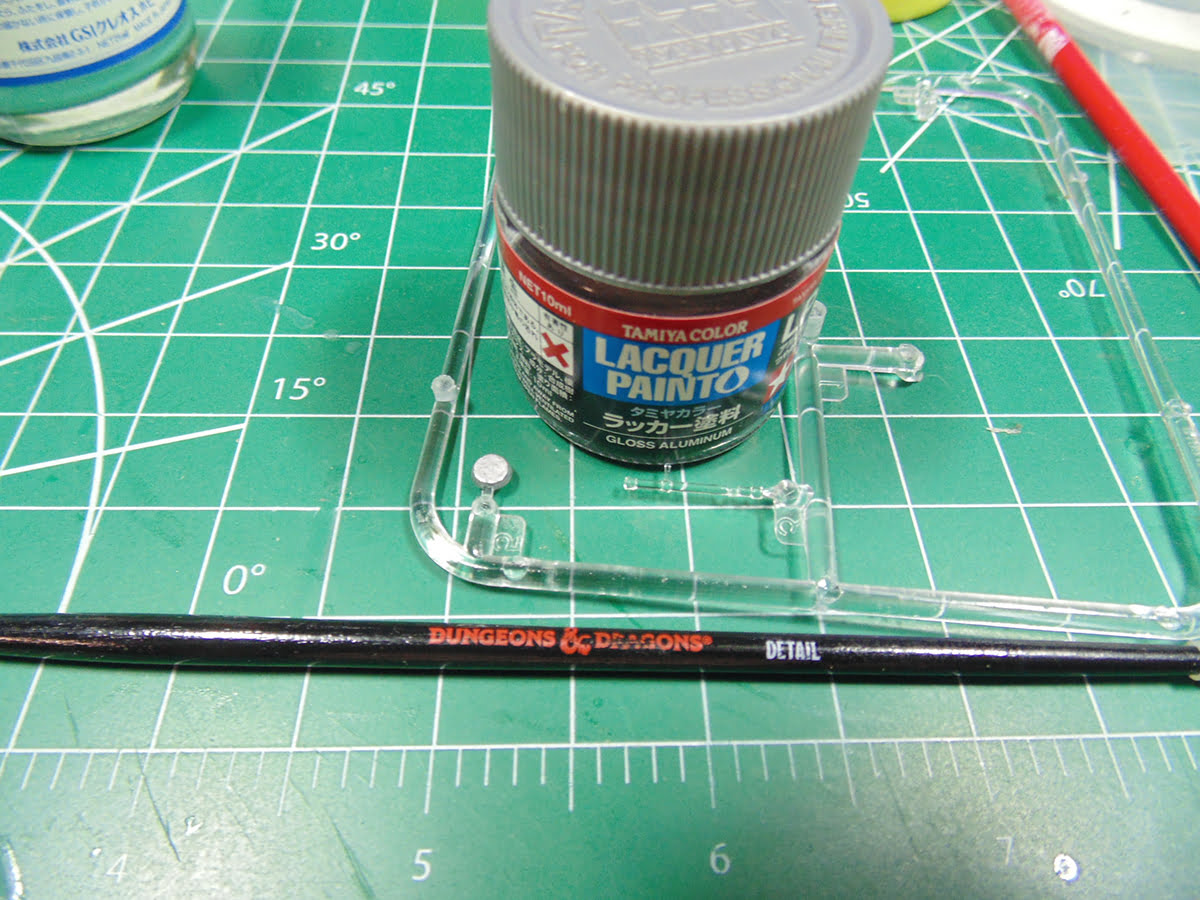
On the underside of the lens is a layer of Tamiya Lacquer LP70 Gloss Aluminum. NEO is a thick fluid so there’s little chance it will spill down. However, you have to be careful because NEO and paint do not mix well and you’ll have to strip it both and begin again.
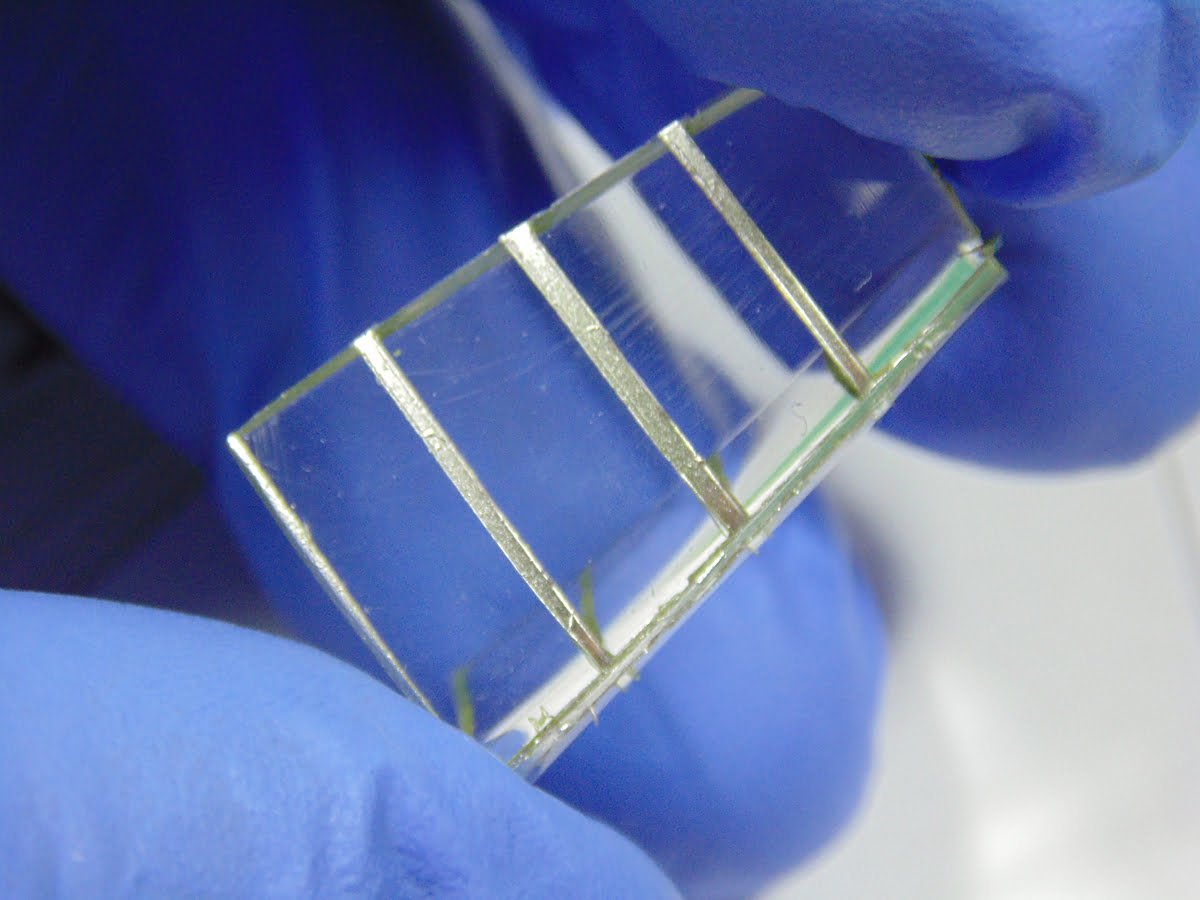
I didn’t record the dry time. You’ll see a noticeable shift in transparency and colour tone. A couple of tips with this product are, 1) try to have an excess at one corner or edge. This will help your tweezers or knife grab onto something. NEO dries much thinner than when applied. 2) Pull away from the edges that are painted. This will prevent any paint from being chipped as the dried fluid has a very healthy hold on the part.
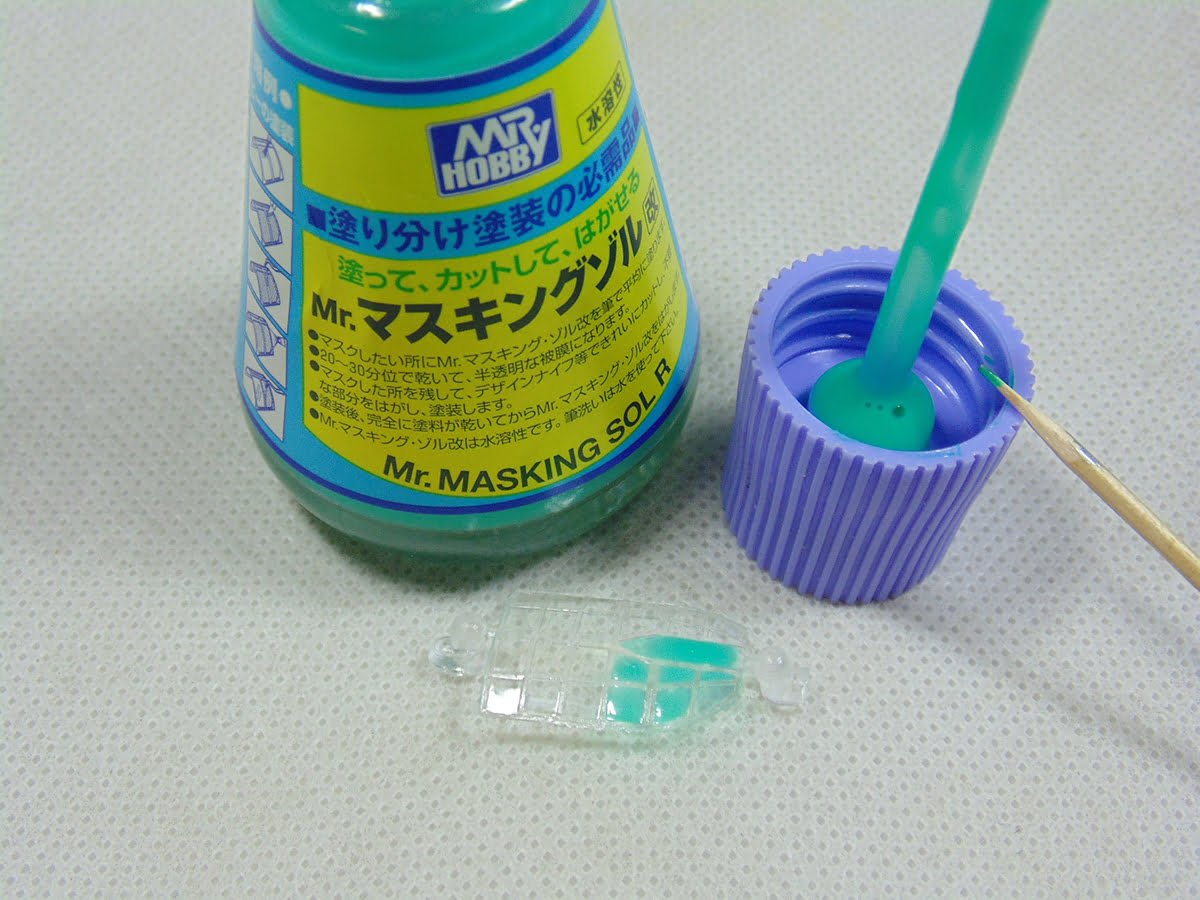
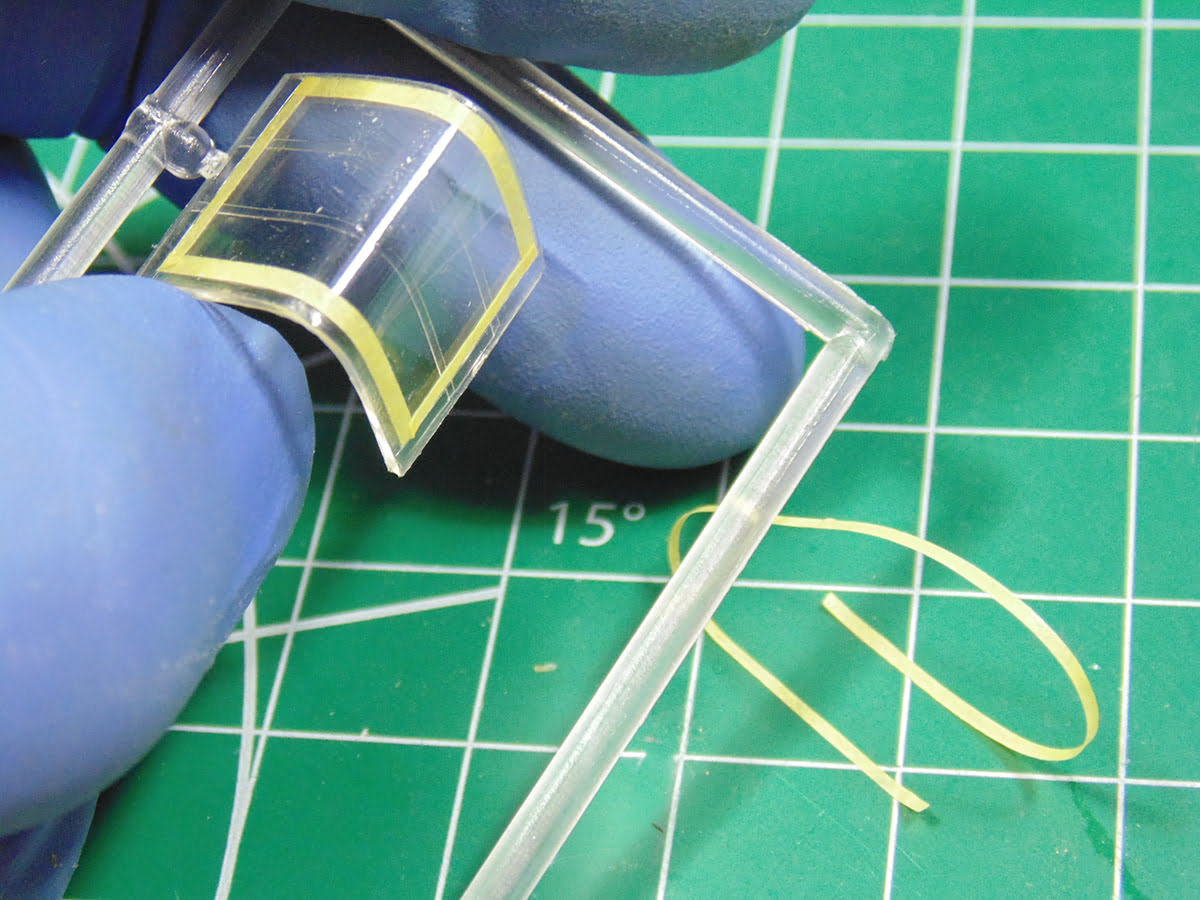
Now let’s have a look at my “GO TO” Mr Masking Fluid SOL R product. SOL R is a little more money, but worth every nickel. It has several advantages with the first being it can be easily cut after fully curing. In this example it’s a 1/48 Revell B-17F windscreen part. No matter how careful a modeler is mishaps happen. I simply wait for the SOL R to dry and roll my Excel Hobby #12 blade along the frame and pull the away the excess.
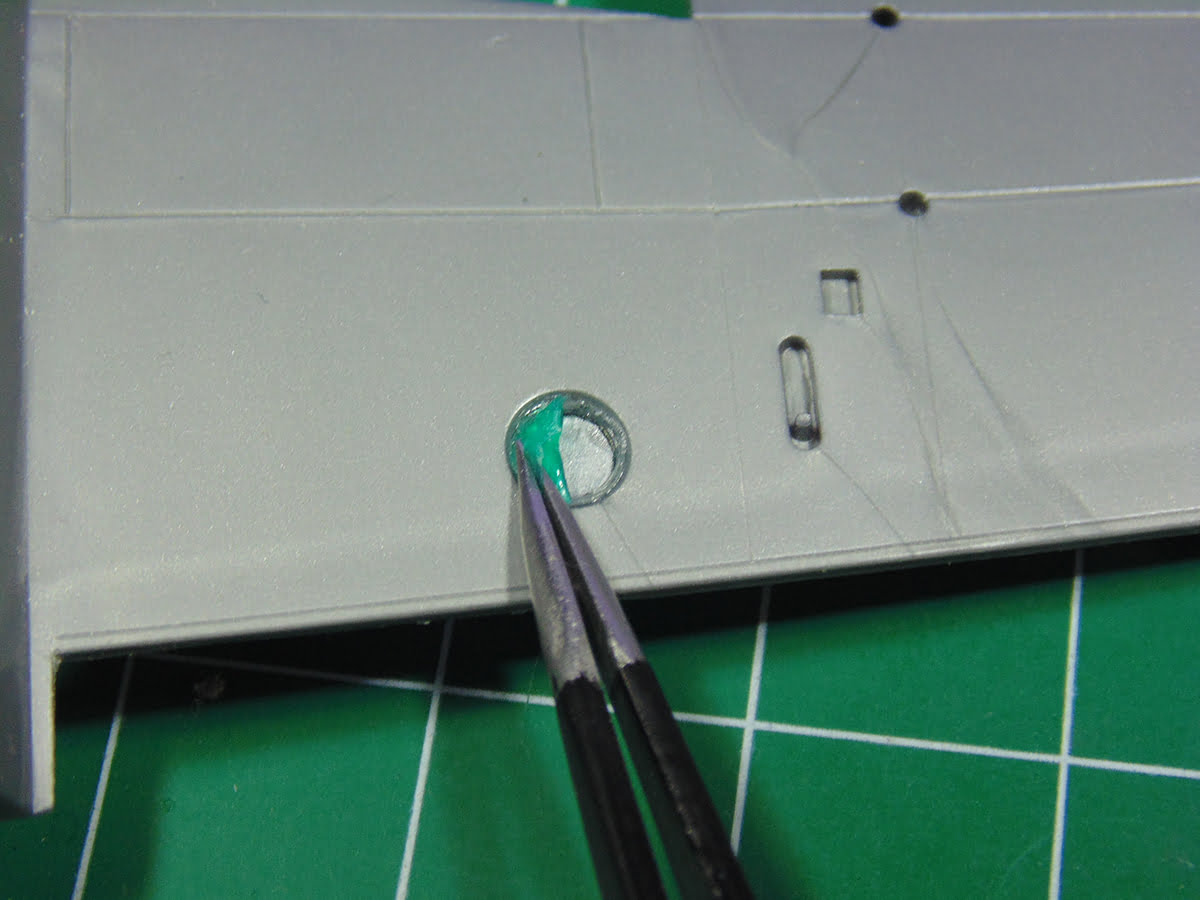
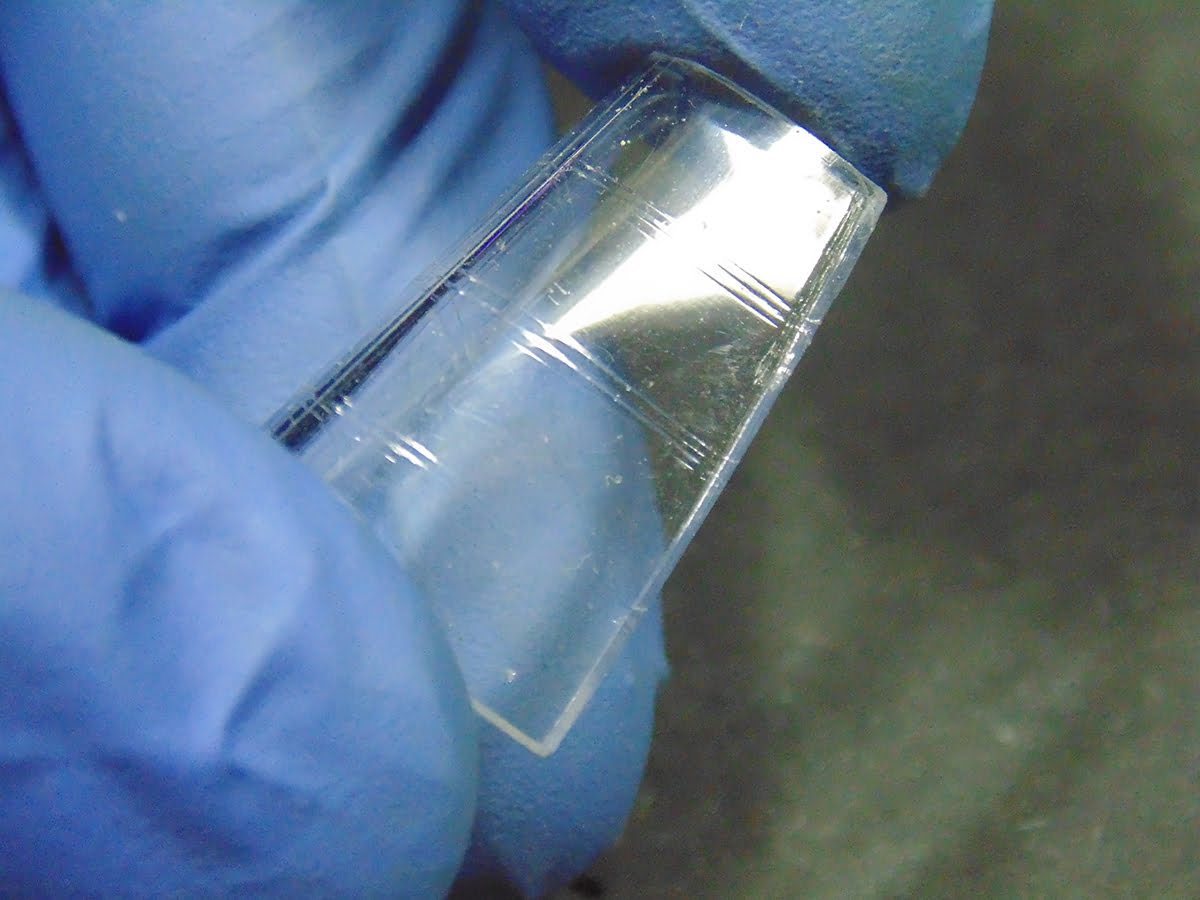
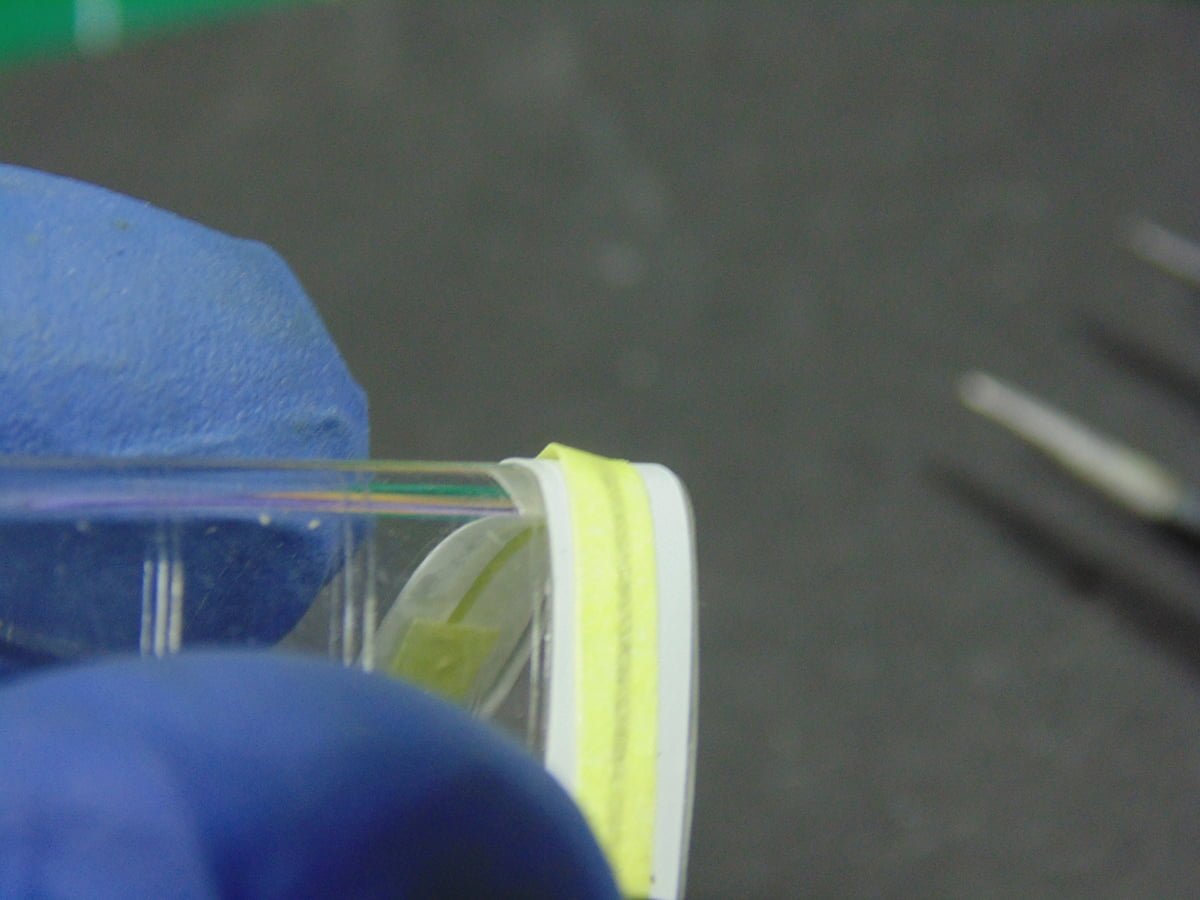
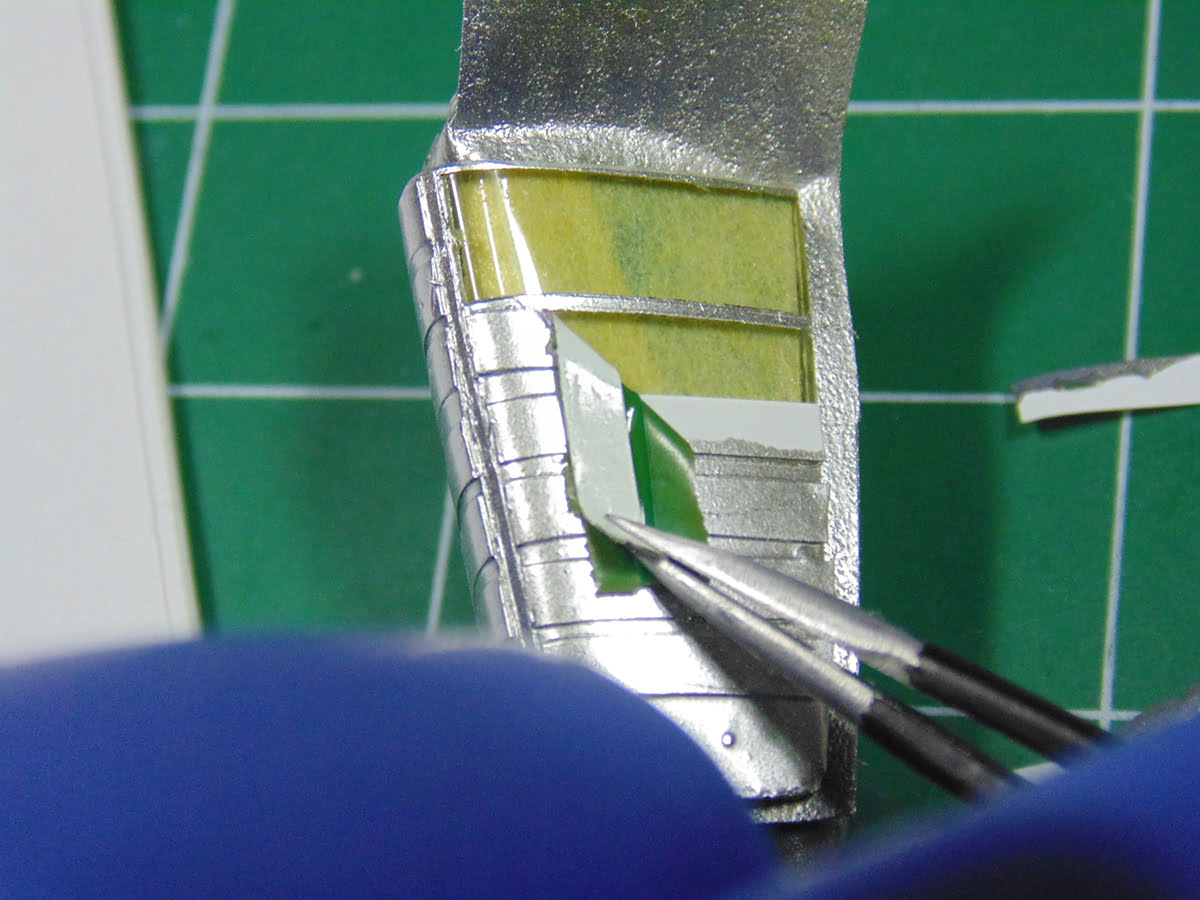
Another huge advantage is how fluid SOL R is when I need to get into tight corners. Here is the belly window section of the Brewster Buffalo. It has many small windows that brushes have a tough time getting at. Keep the brush/applicator out and lift away a tiny amount as needed. Use that sharpened tooth pick and carefully push the SOL R up to the frame. Now you can see why I suggest using a magnifier. If you turn the part and work in one forward direction up to each frame you’ll have less spill-over.
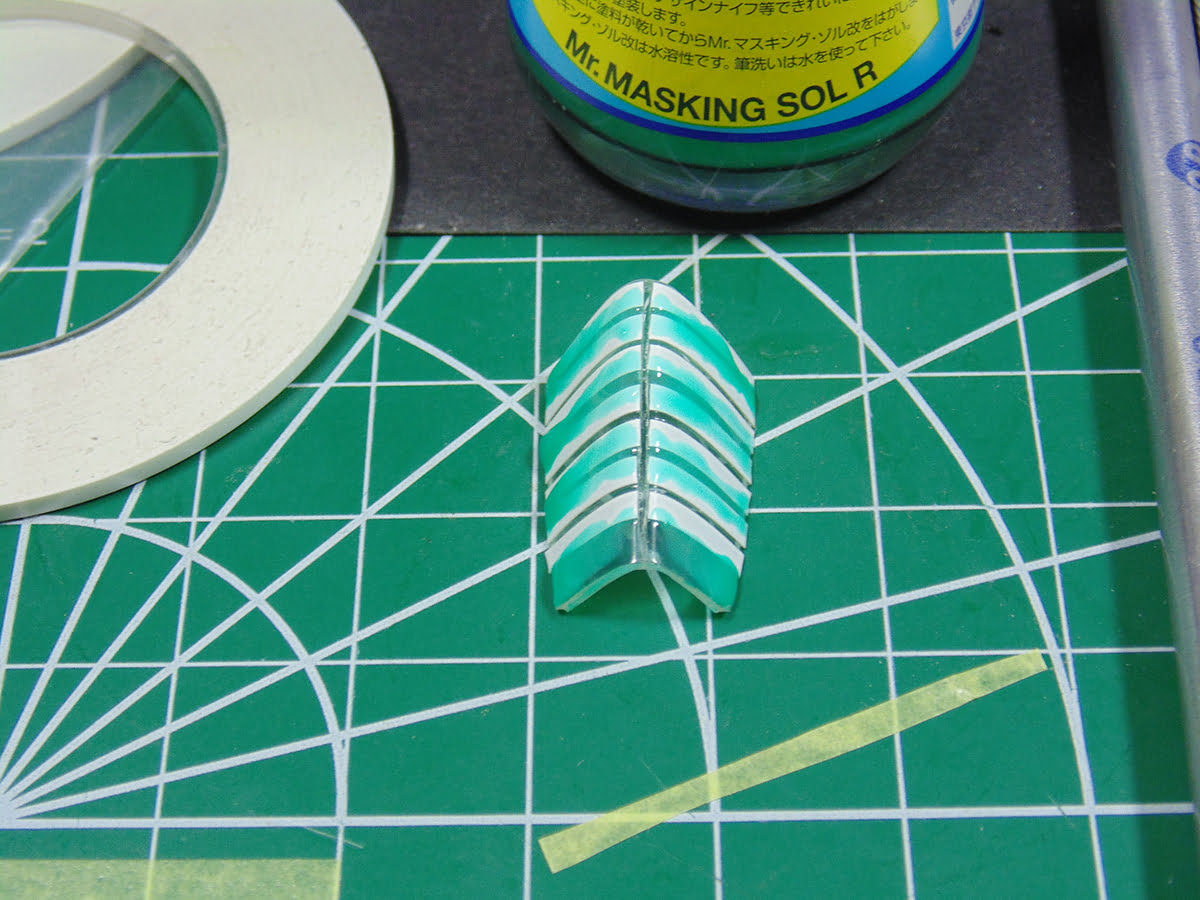
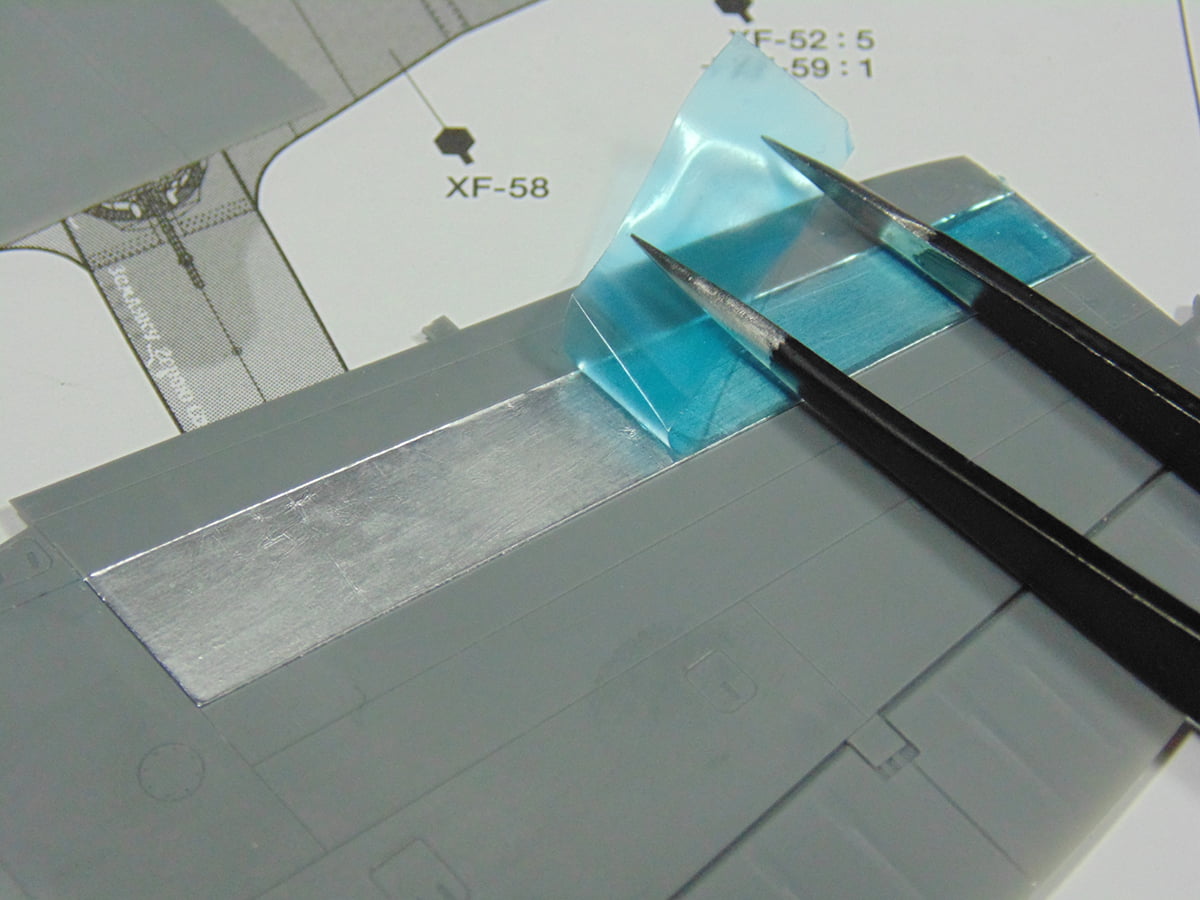
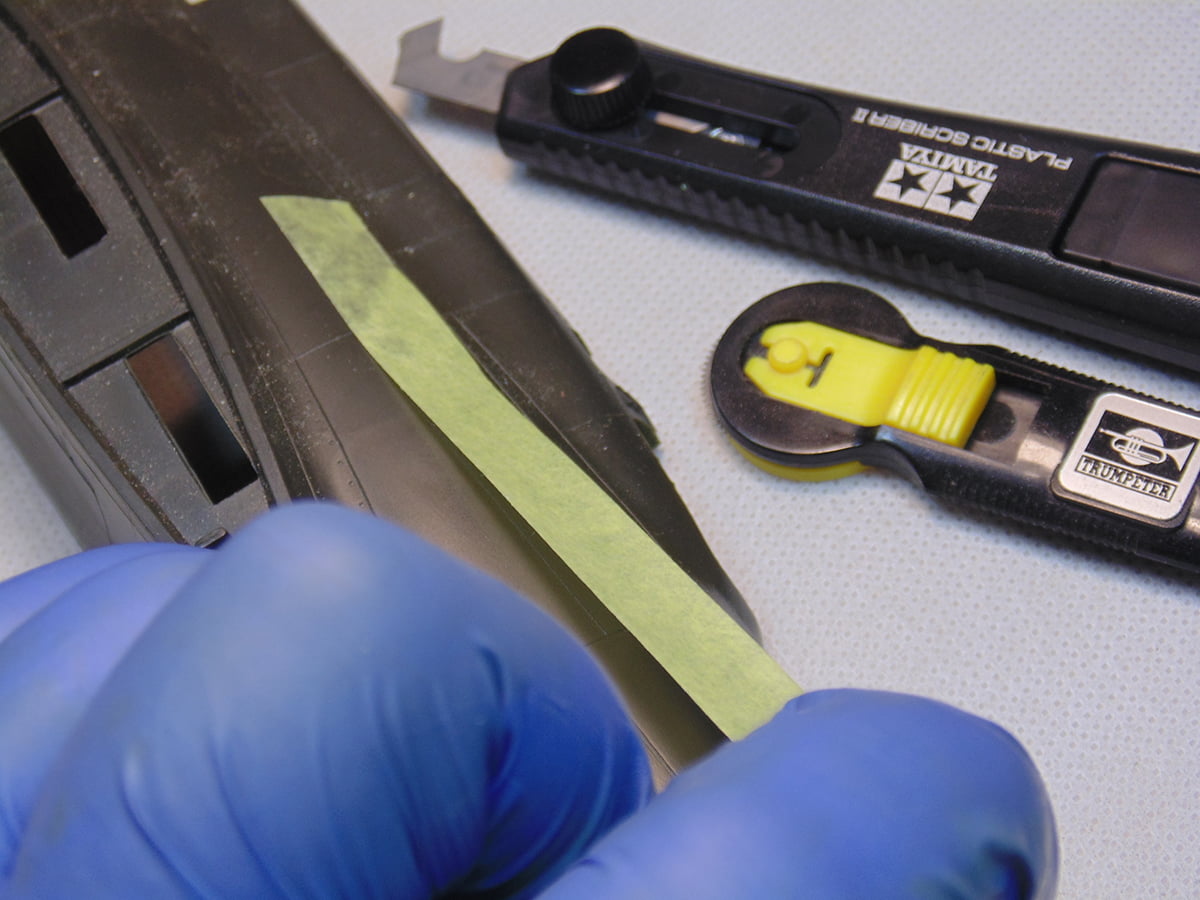
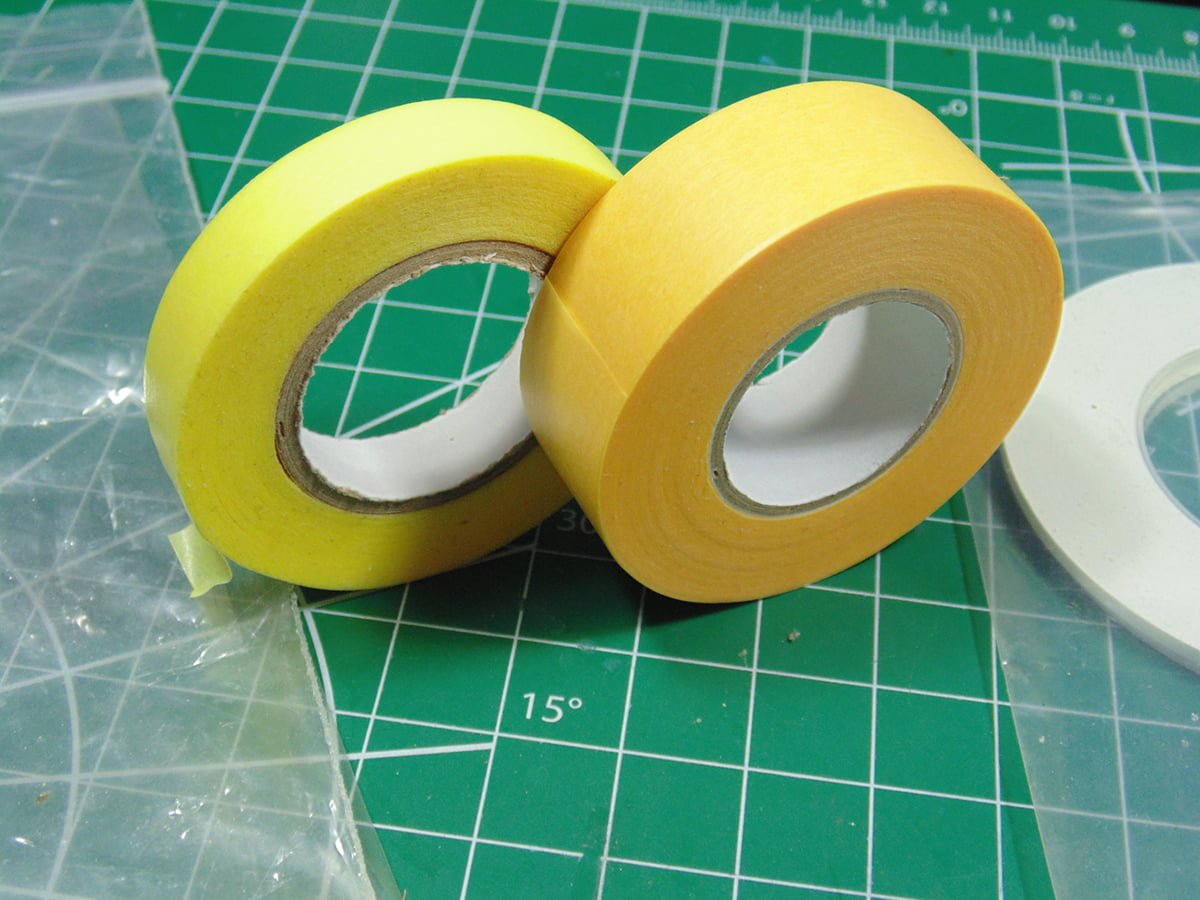
On many models the clear frame may not be very pronounced. In this case a flexible masking tape is idea. This is 3mm Tamiya tape for complex curves, as is the Buffalo’s back canopy.
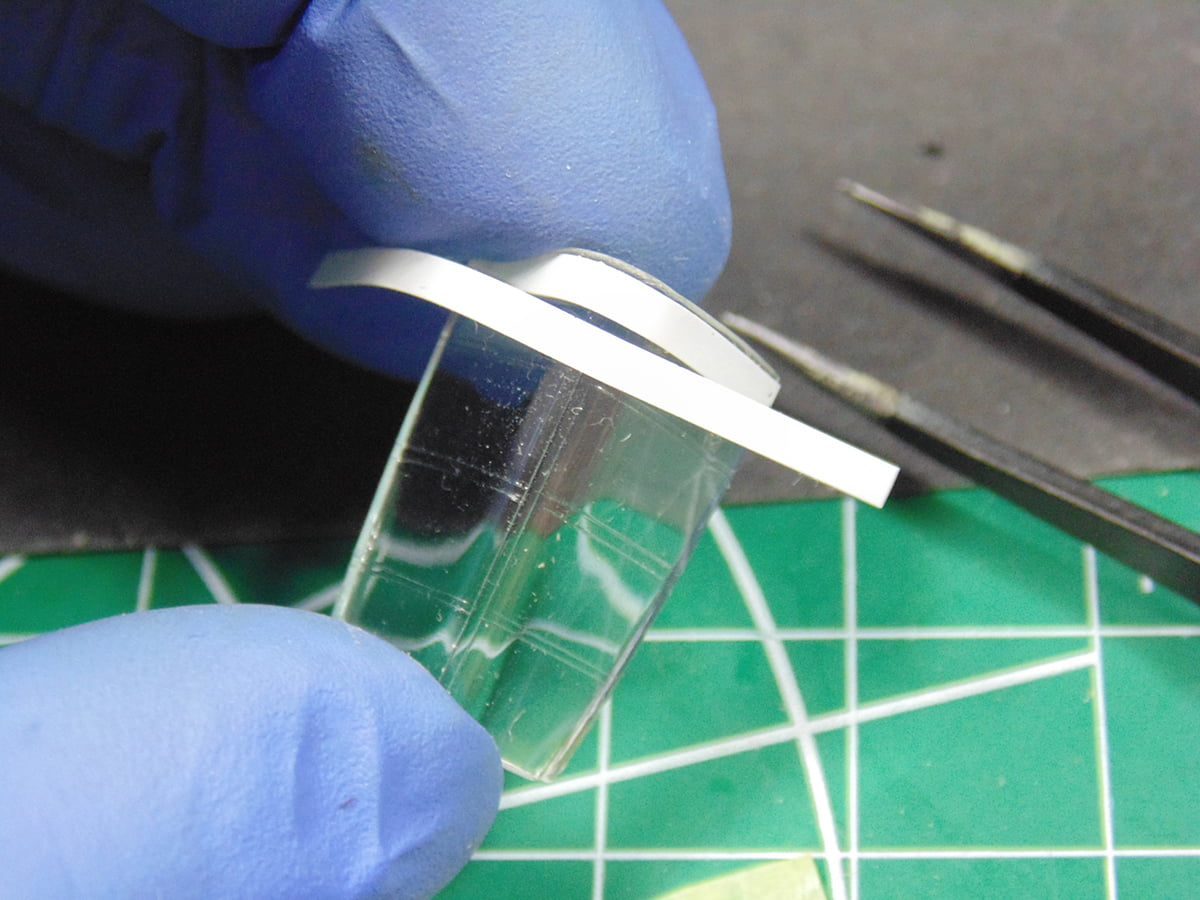
You can clearly see how the flexible tape conforms to the mold of the clear part, while standard yellow hobby masking tape lifts. This will become a bleeding/overspray issue when painting or spraying.
SOL R is idea for filling in gaps like these because it’s easily painted and will flow into the edge of the white Tamiya tape but not under it.
I took the time to complete this part for you. Now that it is fully masked and the SOL R has dried I’ll spray some AK Real Color Interior Green and let it fully dry. Note that the interior is masked with hobby tape and filled with Blu-Tac to allow it hold onto my painting stick.
Here’s a tip, when masking thin strips like this canopy frame make sure you give the paint a full day to completely dry. Keep in mind, there is no primer because the interior green is acting as the primer.
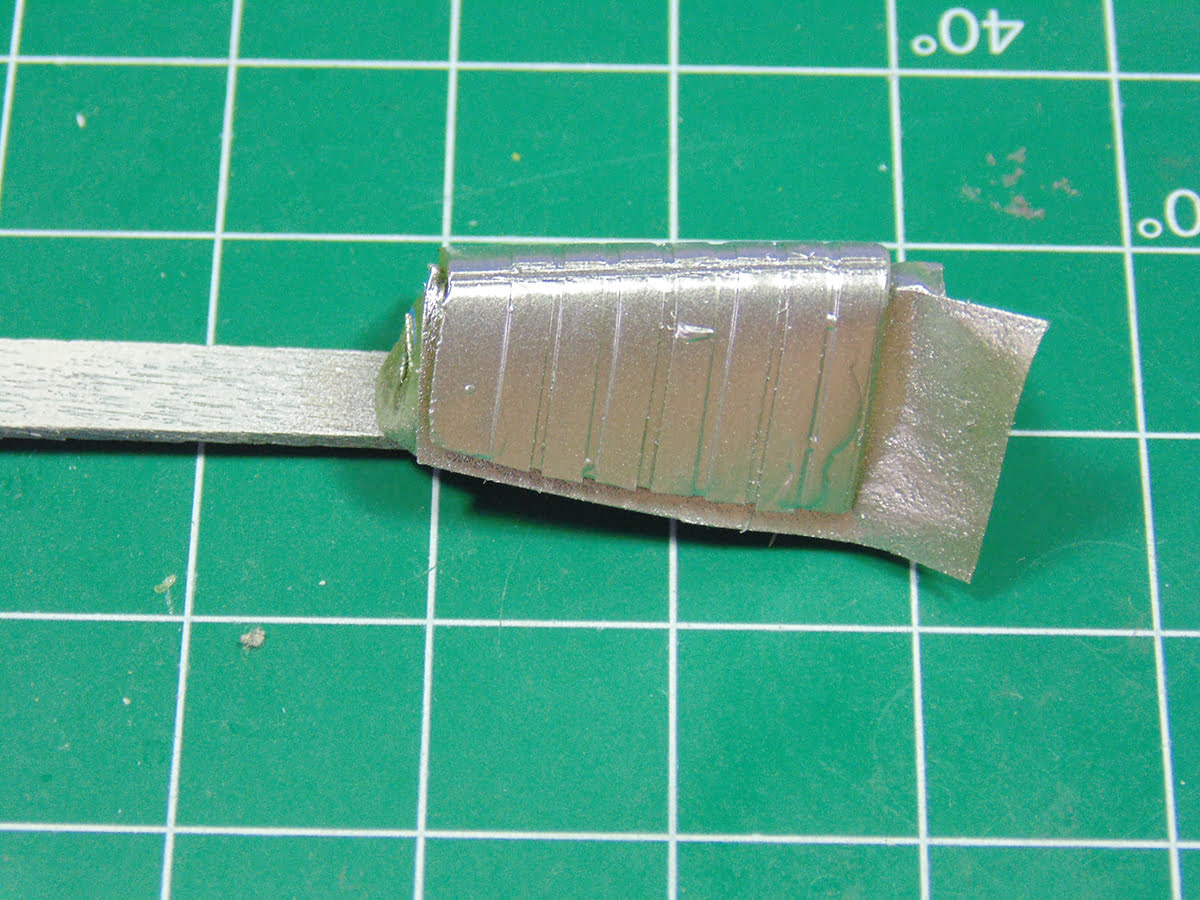
Next, I’ve sprayed AK Interactive Xtreme Polished Aluminum AK481 and let it sit for 6 hours in my extractor to fully flash off. Trust me, it’s worth the time as opposed to pulling away tacky paint and have to start all over again.
Even though the tape and masking fluid come off easily it’s always a “best practice” to pull away from the painted edge.
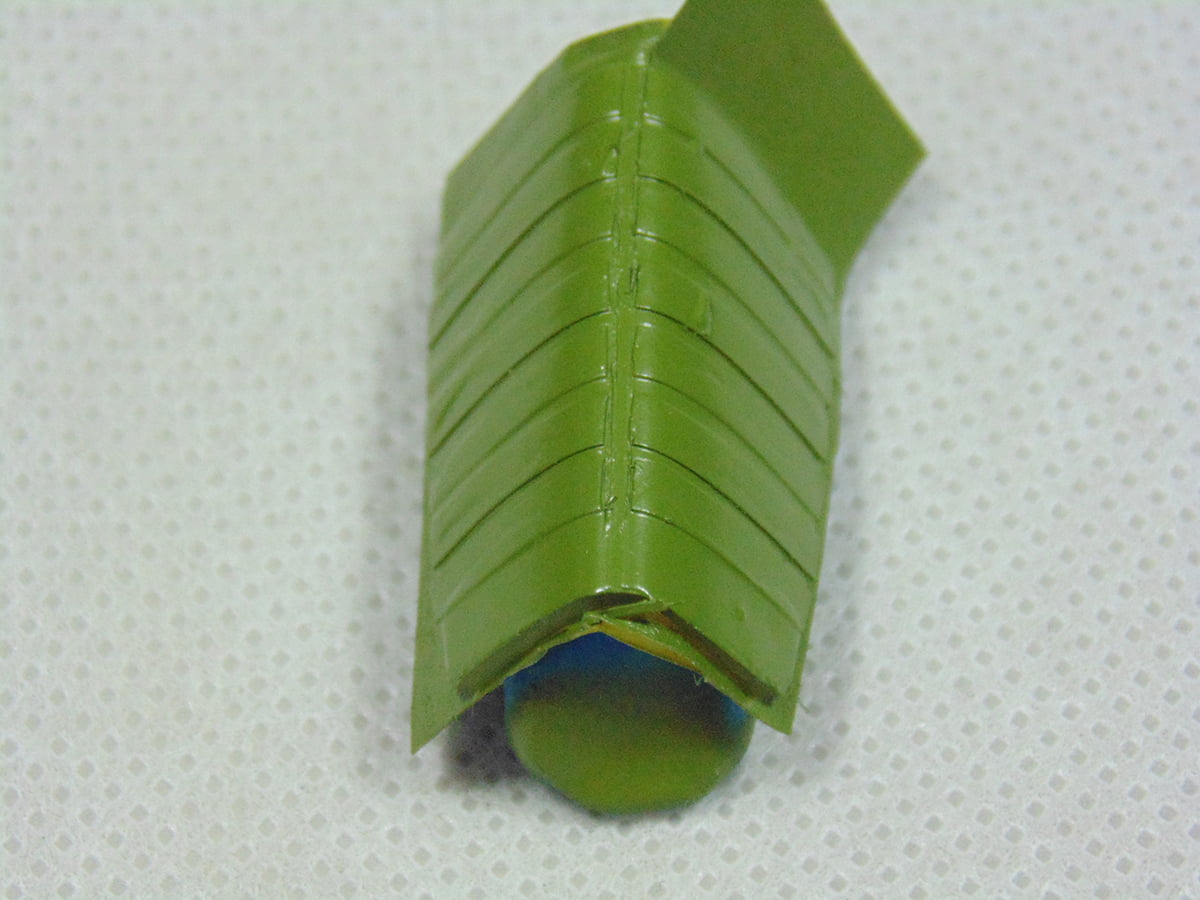
And here you can see the unmasked results. Disregard the top frame, it has to be cleaned of dust and debris still. The tape gave us a sharp line that would have been difficult to paint or cut. This also shows how easy and quick masking a complicated area can be.
Both Mr Hobby Masking Fluid products have almost no smell (maybe a very mild vinegar), last for many months on a part before breaking down and can be very thinly applied. I used more so the camera would have something to easily film for you.
Another weapon in your arsenal should be Microscale Micro Mask MI7. The critical factor with this product is that the paint be completely dry, especially Vallejo, being that it’s a water-based acrylic. Here, I’ve painted over bare metal foil and sloppily too.

Micro Mask is extremely easy to cut and has a very low tack. This means the chance of lifting paint or delicate metal foil is very slim. After the fluid had dried, I ran my blade down the panel lines and pulled away the excess. Next, we’re pretending the part was painted to show how easily it came away from the aluminum.
The instructions say to allow Micro Mask to fully dry to the touch before cutting. Yet, I’ve found when cutting curves it has a tendency to lift due to the low tack. Again, I purposely was sloppy when applying it. You can see the camouflage pattern just above the part being worked on.
Here’s a tip when using this product, when it feels just a little tacky and NOT fully dry that’s the time to cut it. You can imagine all the different ways this product could be used. You can create your own stencils, have a sharp-edged camouflage pattern or even make your own shapes, such as flames on a Hot Rod.

Now let’s look at some tape. The main reason for using tape is that gives a very sharp demarcation line. There are many companies which make pre-cut or die cut masks. I’ve used dozens of these with mixed results. Sometimes they are not the proper shape/size or just as annoying they are not fully cut through. Others are vinyl and often lift at the edge after being painted or don’t stay put around complex molds, yet leave a nasty adhesive residue. Making your own die cut masks is expensive and just as time consuming as doing it by hand. Fifty percent of the time I’ve tossed the pre-cut product and did a better job by myself.
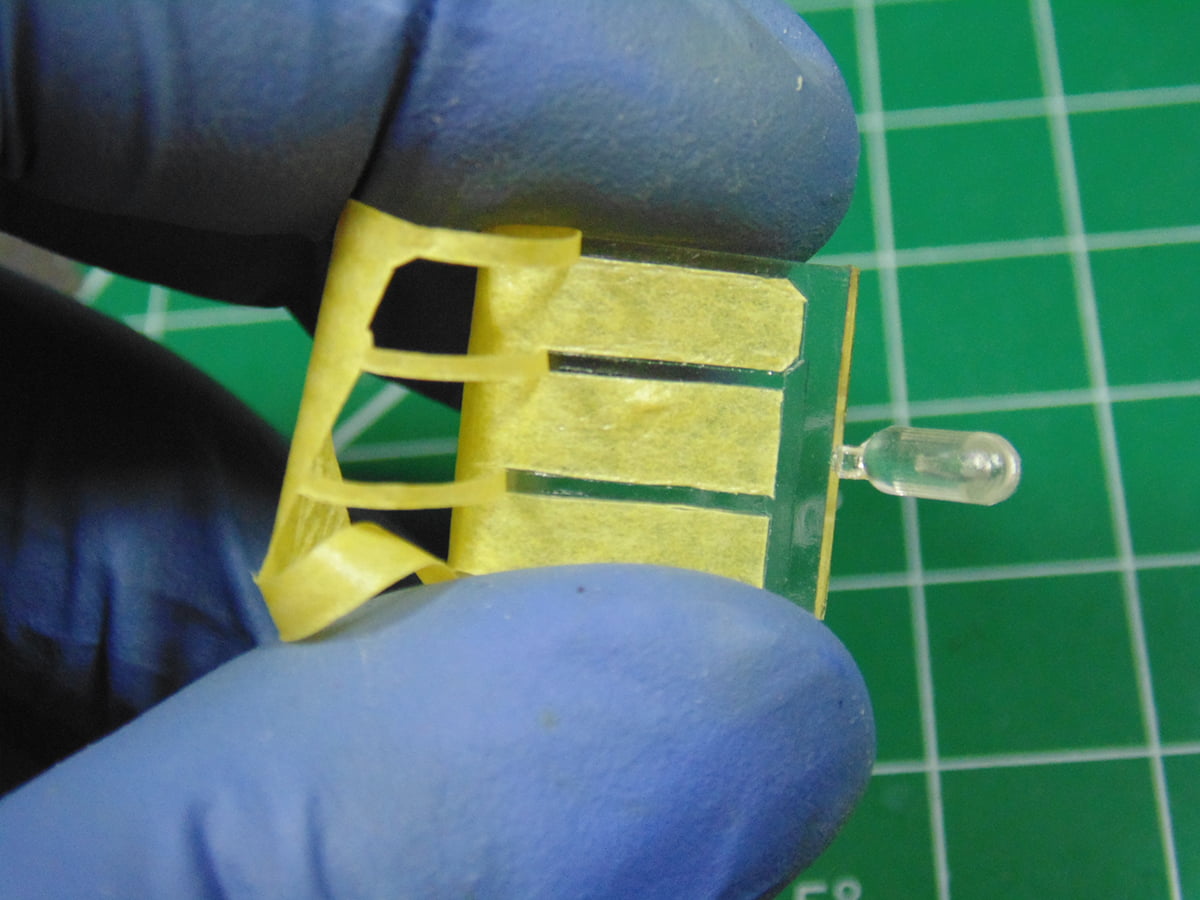
In this example you can see some 1mm strips went on a sliding canopy of the Buffalo. It’s almost ready to have more tape fill the gap or use a masking fluid.
To avoid having the tape lift make certain you burnish or press it down properly. Here’s a tip, when pulling the tape from your Excel Hobby self healing cutting mat you can avoid tape curl by pulling from one end at a flatter angle.
You will run into occasions where strips of tape will not cut it and a blade is needed. Here’s another tip, after you place your wide tape down run a sharp tooth pick up to the frame then run it along the lengths.
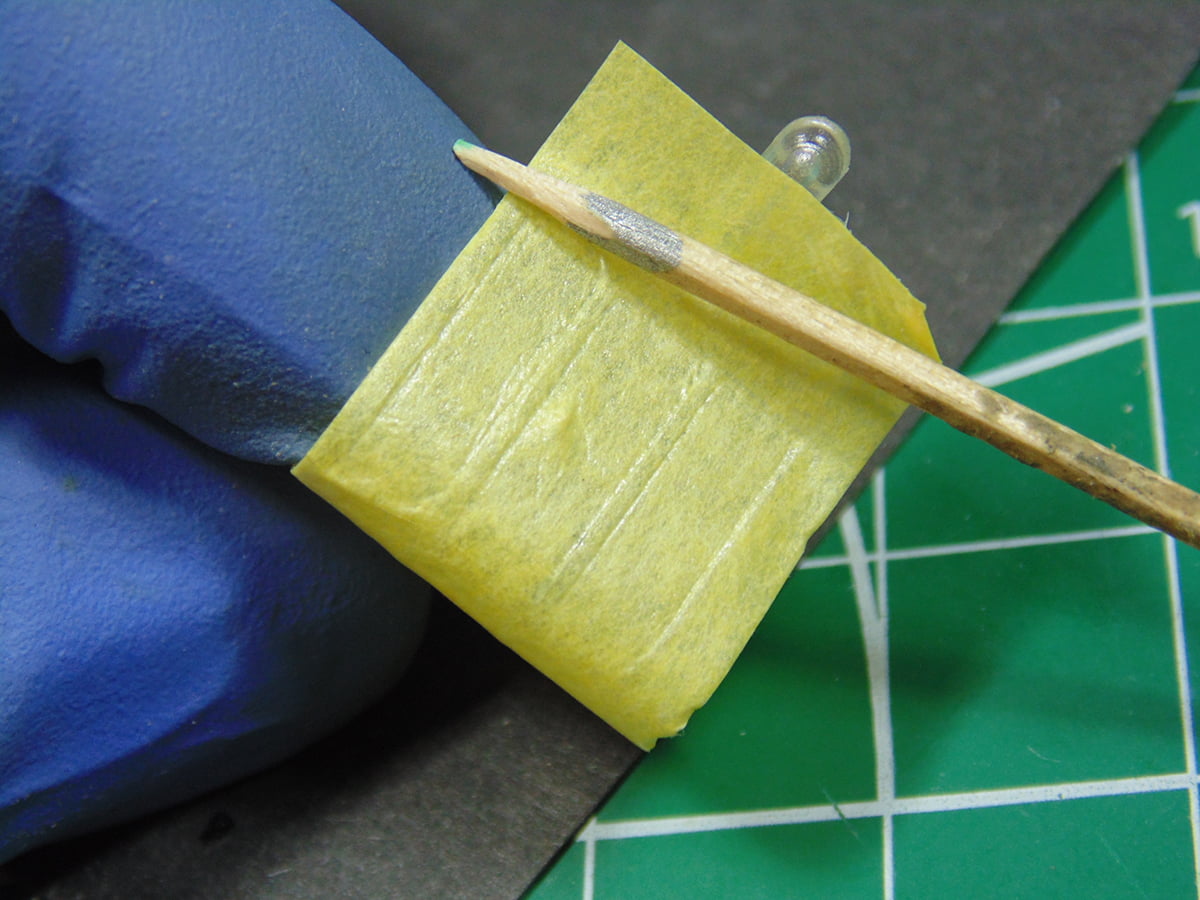
Now you have a guide for your blade to follow. Note that the upper window is longer and has an angled frame section. The type of blade used defends on if you prefer to roll cut, as with a #12, or slice, as with a #11. Regardless, make certain to use a brand-new blade when beginning a new clear part masking job.
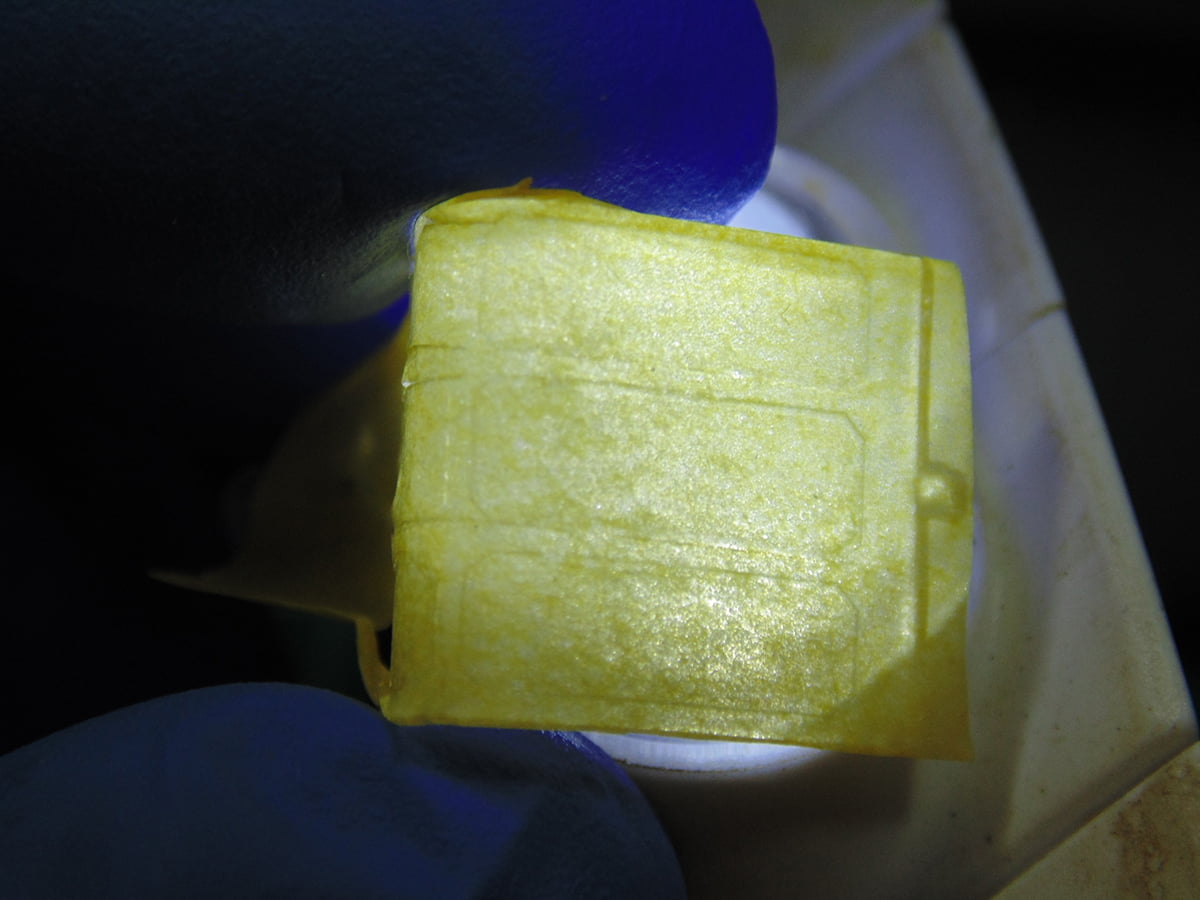
If you find the frame is not pronounced enough, lay down your wide and put the part over a light source. This picture is a bit light-blown yet you can still see the small angles on the right of each window which need to be cut. Sure, you could mess with cutting tiny bits of tape for these angles, but you increase the chance of primer and paint bleeding under and tape lifting when hit with a fluid medium.
Finally, another tip, keep your tape clean. Be that in a holder or always standing upright or going back into a clean bag after each use. Our work benches can get pretty messy and if your tape falls on its side it will pick up everything. So, the next time you go use the straight edge it will have all these bits which will interfere with your paint going on cleanly.
Thanks for following along and as always if you have any questions, please feel free to ask the staff when you pick-up or order your next batch of Masking supplies.
Best of health and enjoy your hobby.
About the Author:
H.G. Barnes is a former voice-over artist and retired sales and marketing professional. He’s the author of two large volume science fiction adventure romance novels with many more in the works. For well over 40 years he’s been building scale model replicas and now does commission work for clients in Canada and the USA, plus completes projects for companies in Asia and Europe.
Currently H.G. is involved as an Associate Editor with KitMaker Network’s Online Magazine Channels.