
Large 1/12 Scale Kit
This is the second part of the Revell 1969 Camaro Z/28 3in1 1/12 Scale 85-2812.
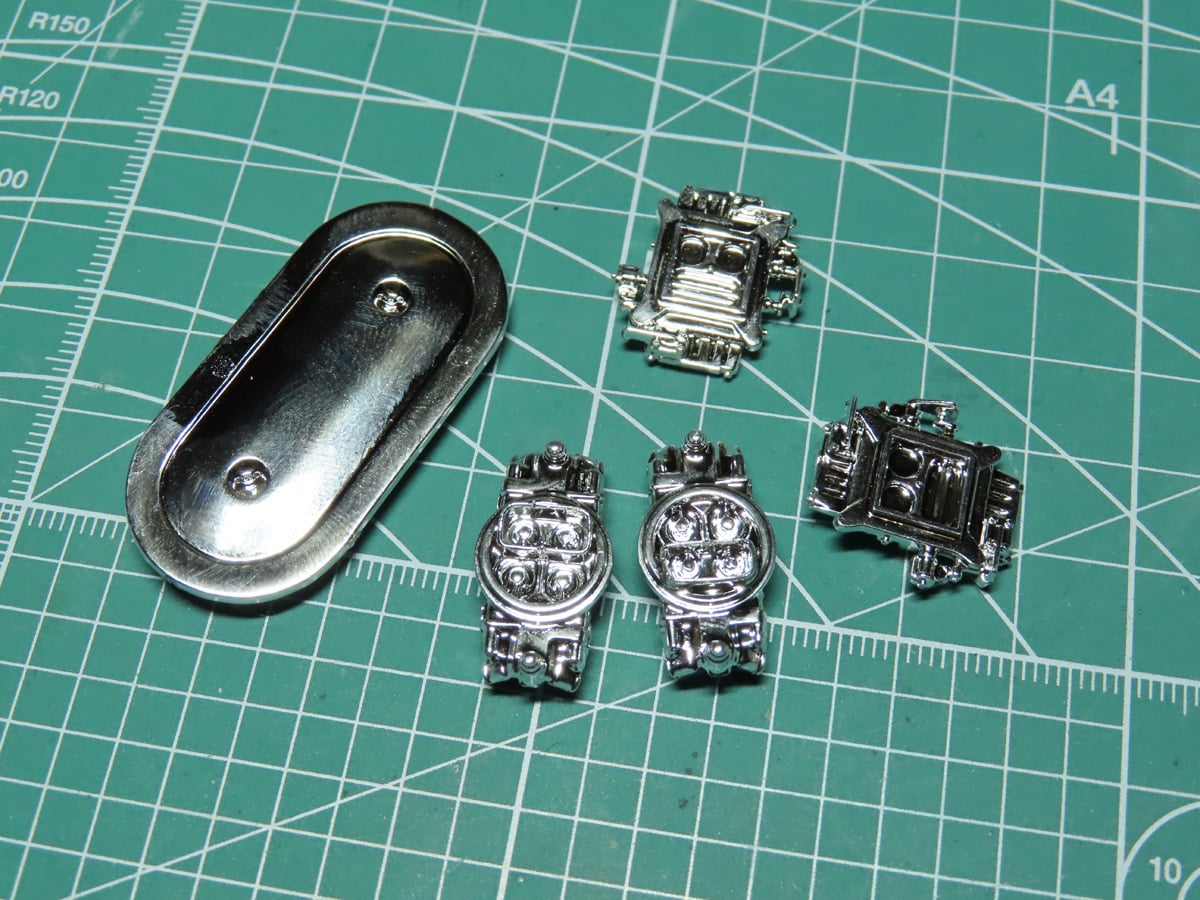
One of the things that has made me reluctant to build car models in the past is chrome parts. While it’s nice that model companies provide chromed parts, there are times when it feels counterproductive as flash or other imperfections might remain on the parts, and I essentially have to ruin the nice chrome to keep the rest of the kit accurate.
These days there are lots of new chrome paints on the market, and most of them are quite easy to use, and with a bit of practice, you can achieve some excellent results.
Before we get to building the engine, I’m going to show you a quick and easy way to strip the chromed parts so that we can easily clean and repaint them.
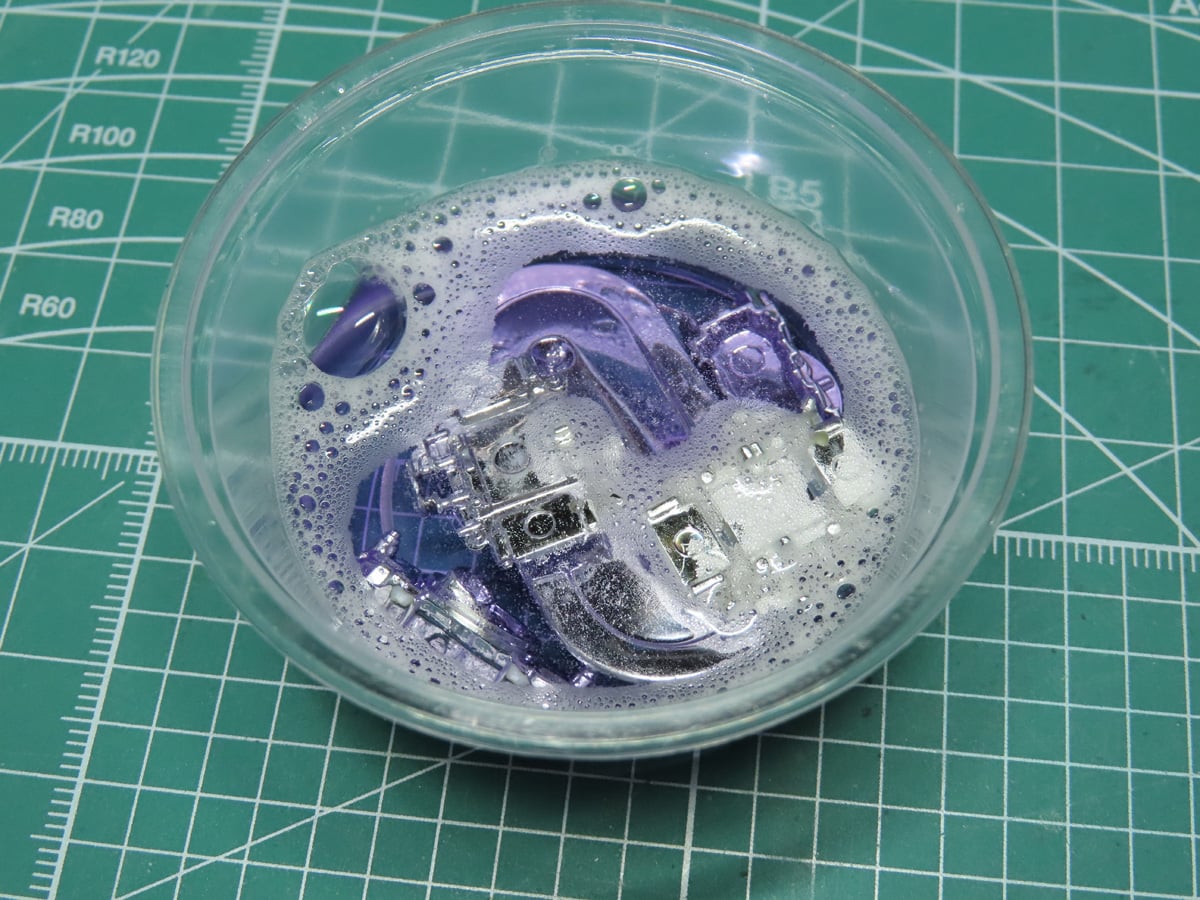
I’ve placed the parts into a small ketchup container, and I’ve filled it with some Super Clear degreaser. Be sure to use this in a well ventilated area and wear gloves. This Super Clean is in a big purple bottle and is easily found online or in your local automotive section.
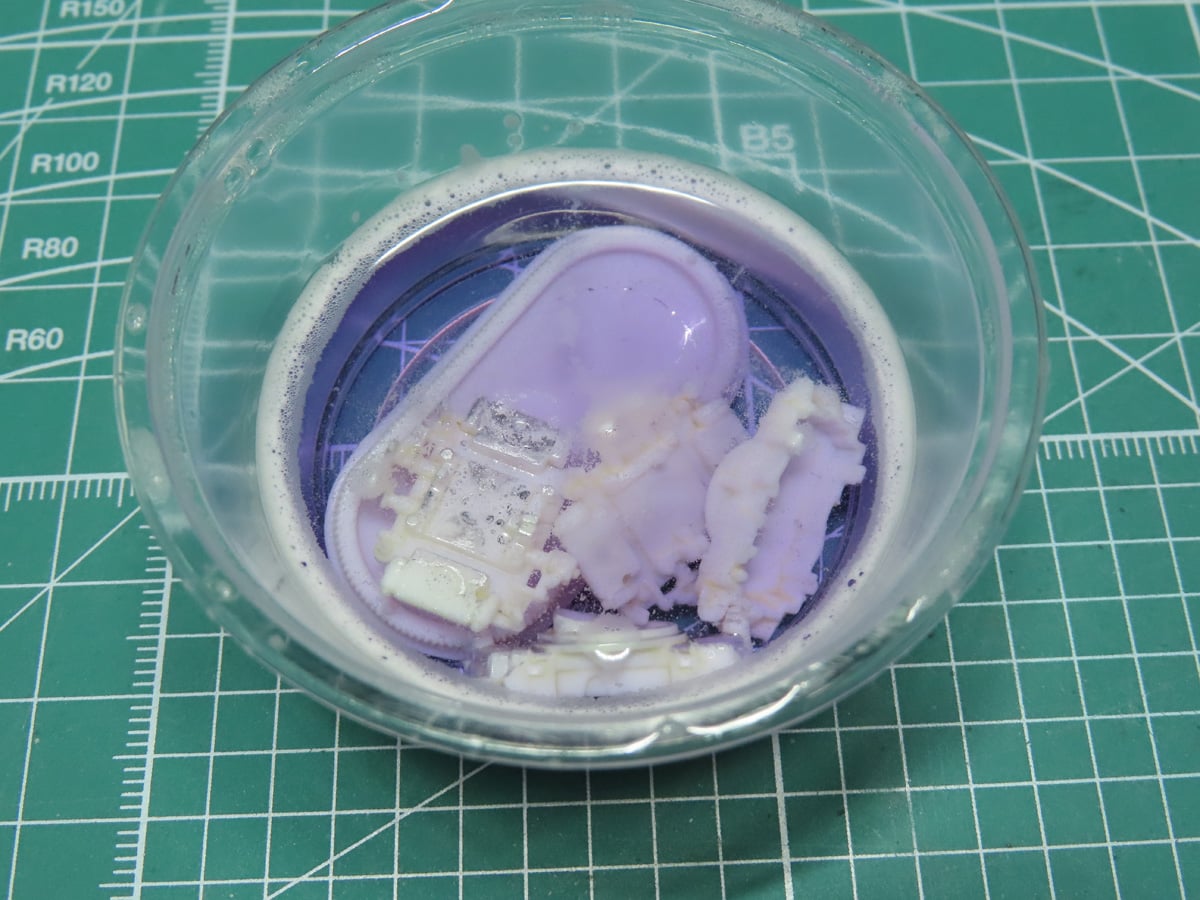
Within literal minutes, the Purple Power has nearly dissolved all of the chrome and left the bear plastic. I swirled the container around a few times during this process just to make sure that all of the chrome had been removed.
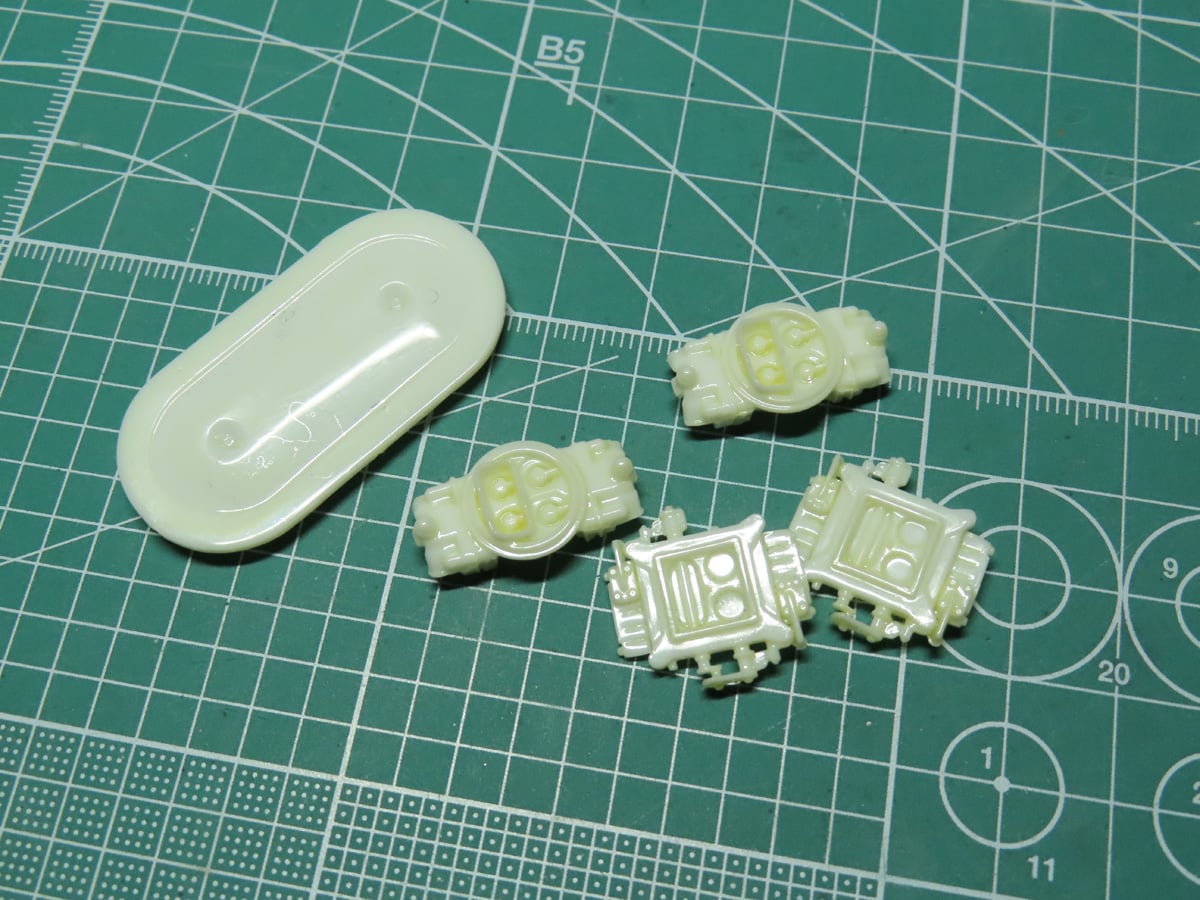
Once I was satisfied with the parts, I drained the Super Clean and used an old soft toothbrush and some dish soap to give the parts a final cleaning. Now the parts are ready to be cleaned and sanded.
On past projects, I’ve tried bleach, and one modeler I know soaks the parts for 24+ hours in Coca-Cola. When I used the bleach I could see that the parts had become more brittle, and 24 hours in Coca-Cola is a long time to wait for cleaned parts.
I’m really pleased with the Purple Power and just how fast it works. In about 3 minutes, the parts were stripped of chrome, and the plastic never became brittle.
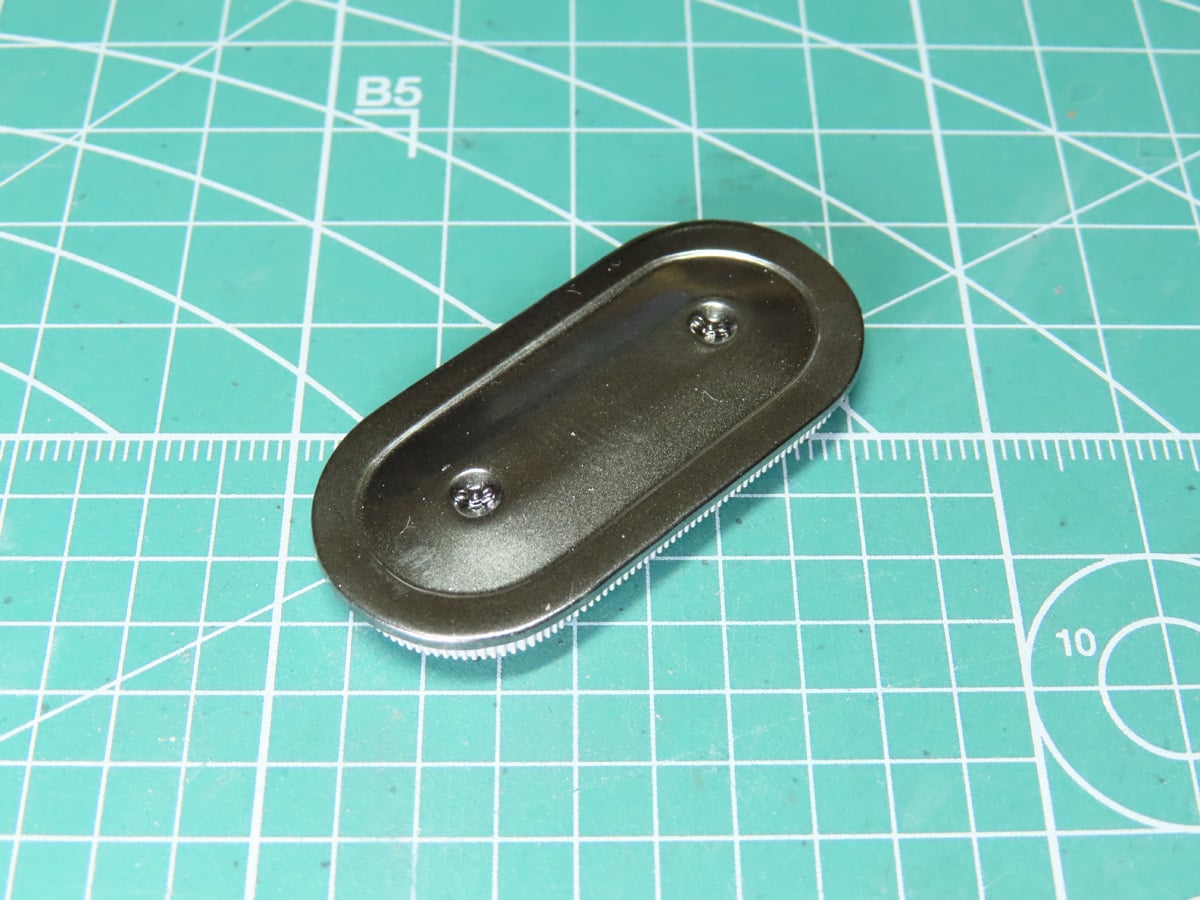
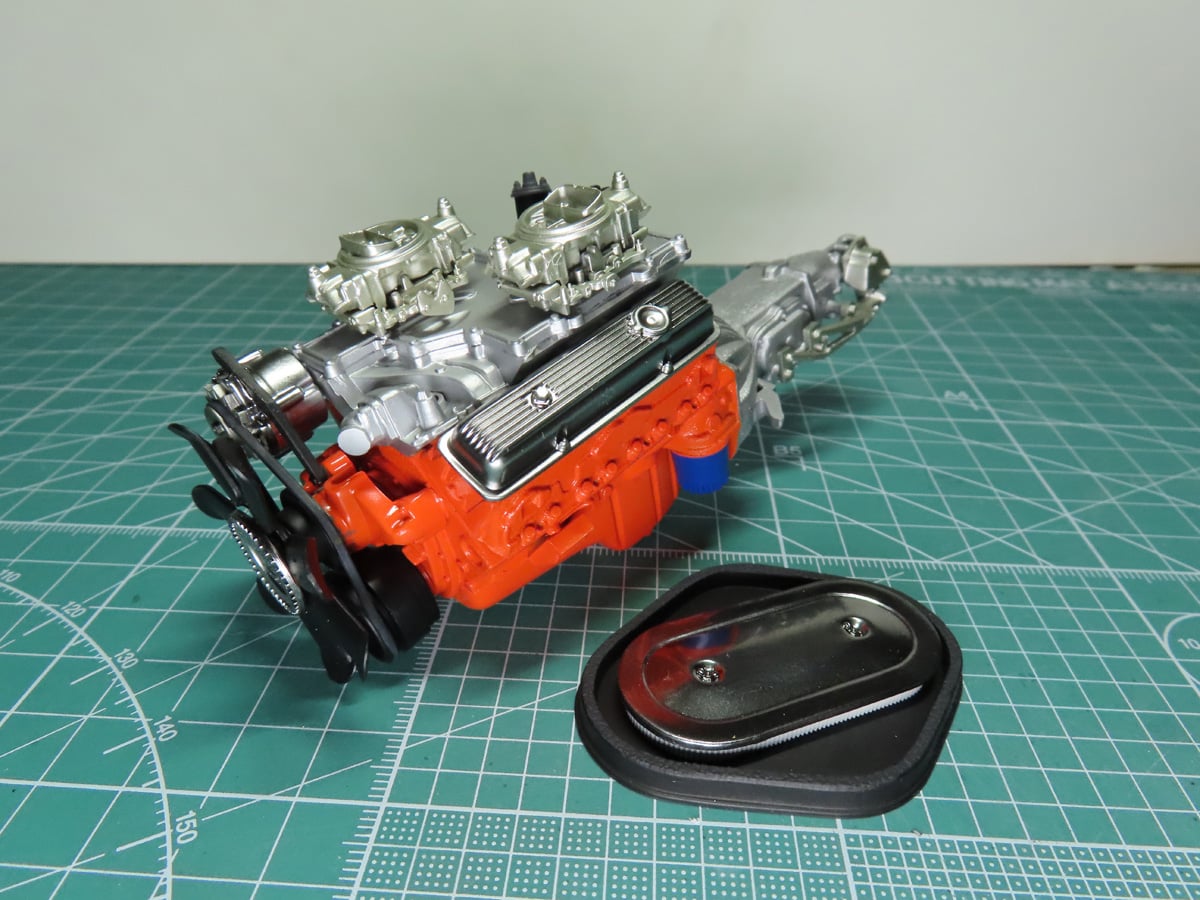
I gently sanded the top of the air cleaner with Tamiya 600-grit Sanding Sponge. The side of the filter was painted with Tamiya LP-39 Racing White. This was masked off, and the top was painted with Alclad Chrome.
I want to go into more detail in a future post detailing how to apply and use Alcald Chrome. This was the first time I had ever used it, and I have to say that I was very impressed with the finish, and I think it looks a lot more realistic and the provided chrome.
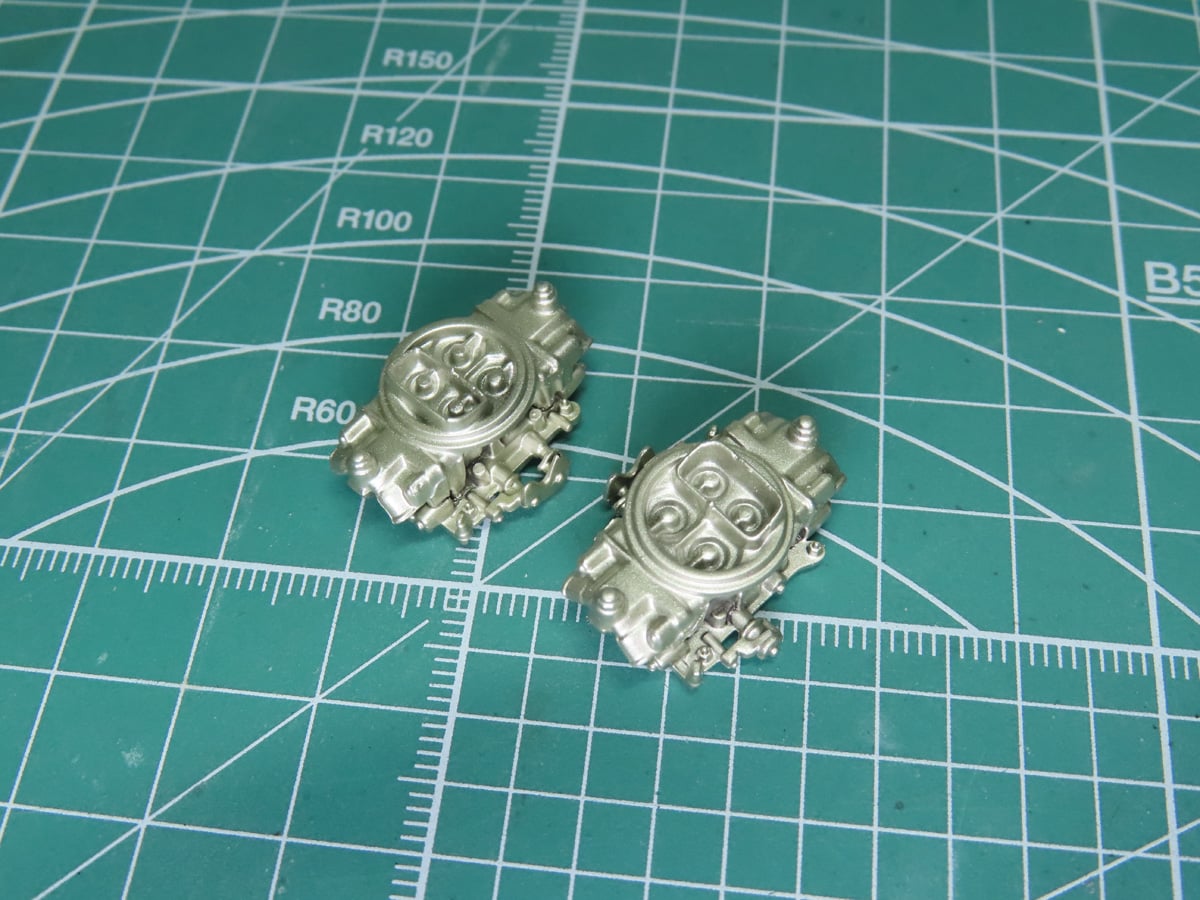
For the carburetors, Revell suggested a 1-1 mix of Silver and Gold, but in the end, it looked like copper, and I wasn’t as pleased. That was when I remembered a new paint I recently purchased, Tamiya LP-71 Champagne Gold.
This was sprayed over a black base coat of Mr Surfacer 1500, and the color looks nearly identical to the reference pictures I found online. It’s a paler gold color with just a hint of green. I would also suggest Tamiya Titanium Gold X-31 as a suitable color.
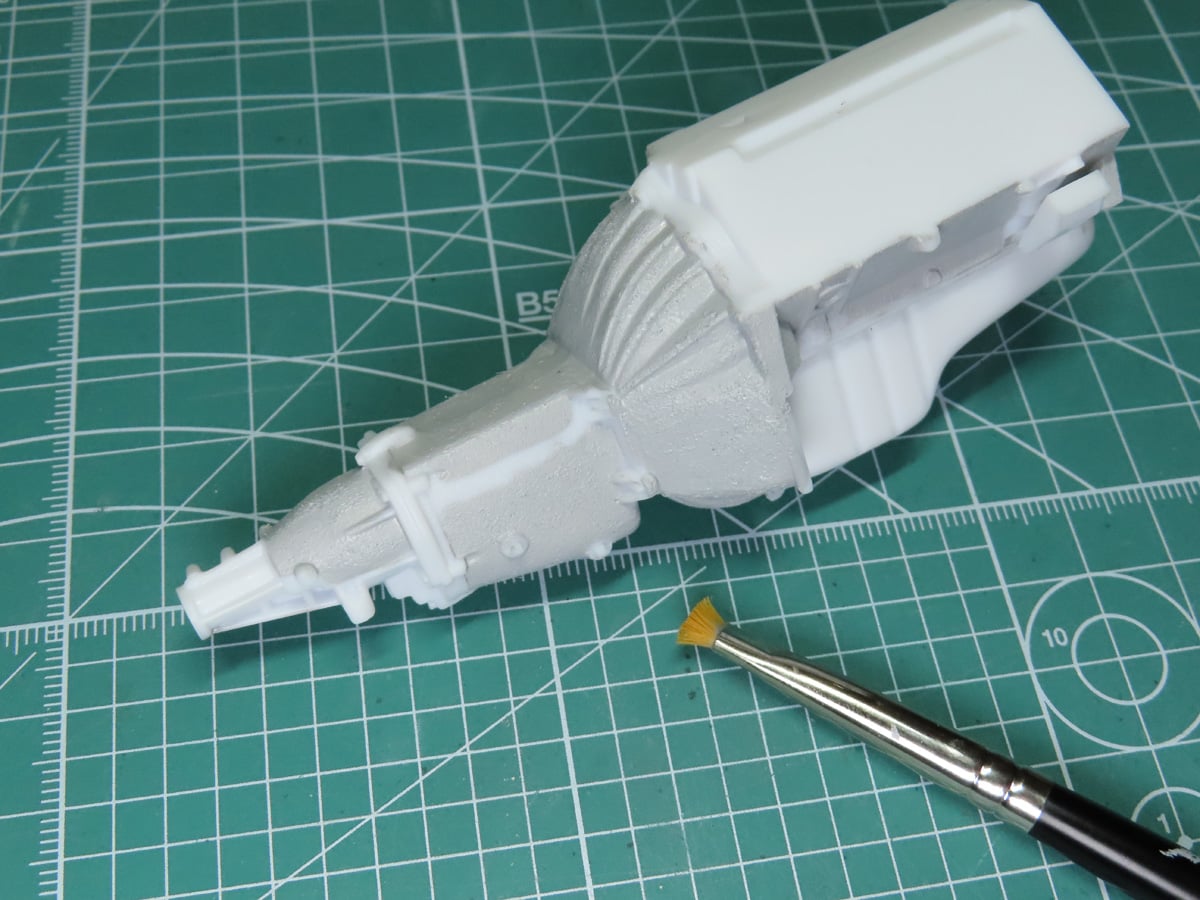
The main halves of the engine were a bit warped, and this required some filling and sanding to smooth down the parts. As a result, I lost a bit of the rough casting texture.
To replicate the texture, I used Tamiya Liquid Surface Primer Grey. This is a lacquer based primer, and so it will bite into the plastic. I applied the primer in small sections and left it to dry for a few minutes. It will quickly become tacky, and at this stage, I took my flat brush and stippled straight down onto the surface. This caused an impression in the primer that replicated the original finish.
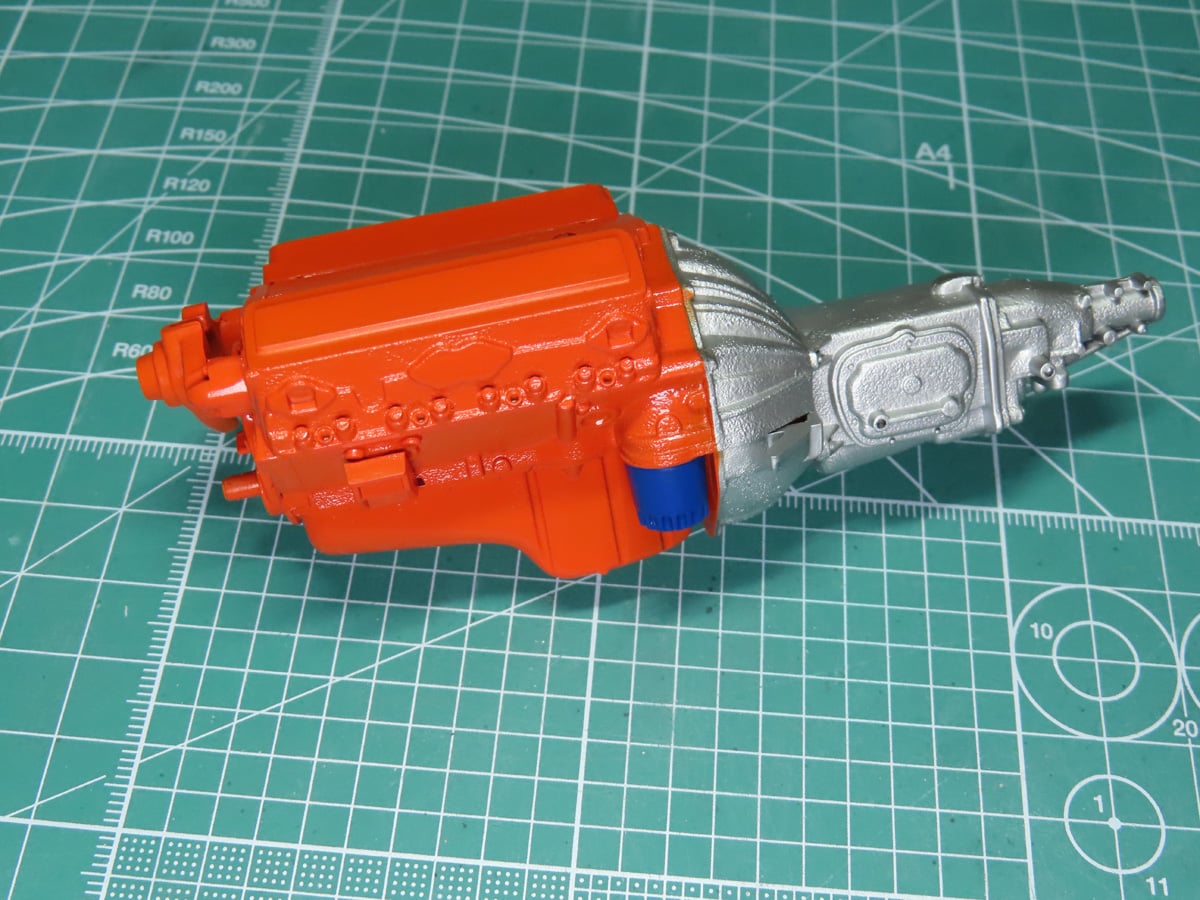
Now came the time to paint the engine, and I started by painting the transmission with Tamiya LP-11 Silver.
For the main section of the engine, I wanted to try and replicate the unique Chevrolet Orange that they use. I started with some Mr Color C59 Orange, but on first glance, it looked a tad brighter than I wanted. So I added 3 drops of Mr Color C3 Red, and this was just enough to darken the orange to the color I had envisioned.
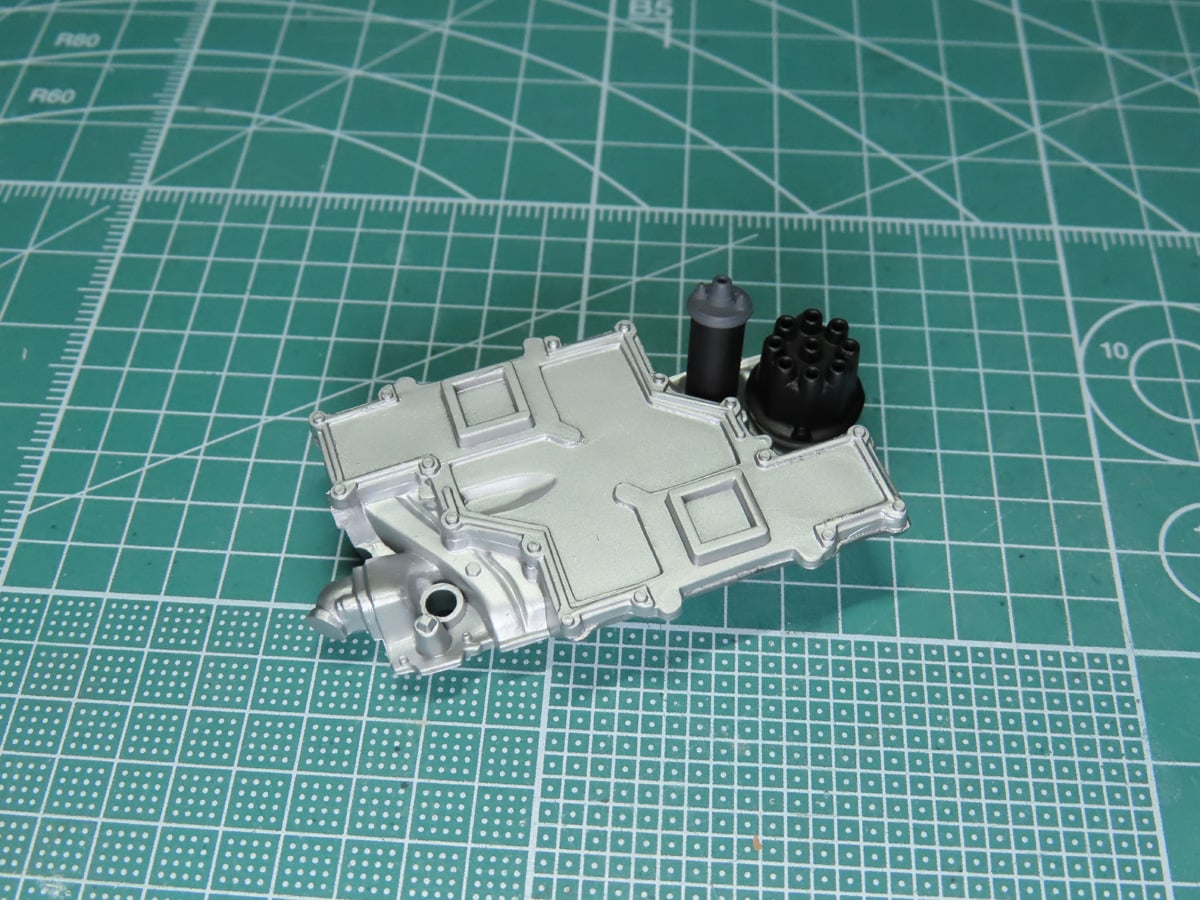
The intake manifold was also painted with Tamiya LP-11 Silver. The distributor and ignition coil were also added to the back. The ignition coil is supposed to rest slightly slanted according to the instructions, and this step was vague, so I hope I got the angle correct.
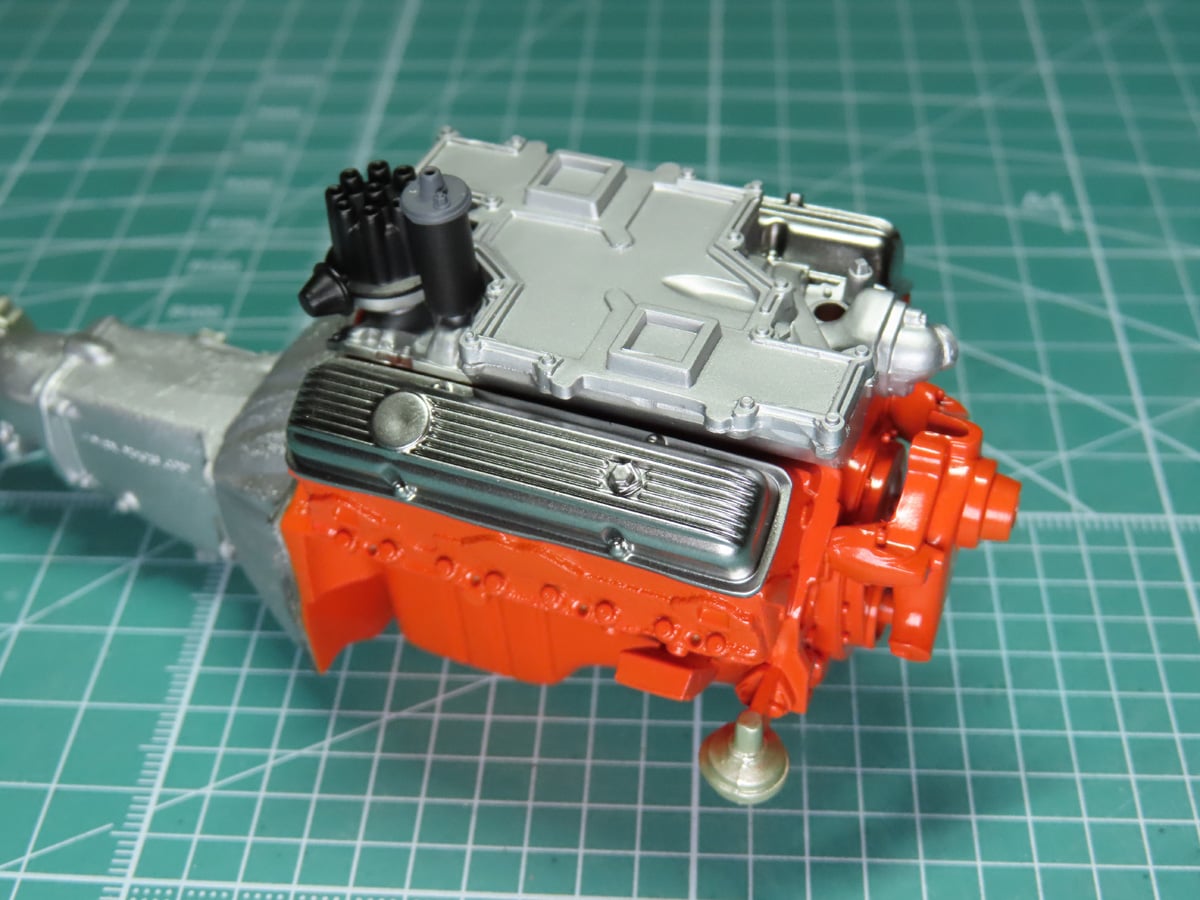
The intake manifold and the covers were added to the rest of the engine. The covers were chromed parts that were also repainted with Alclad Chrome.
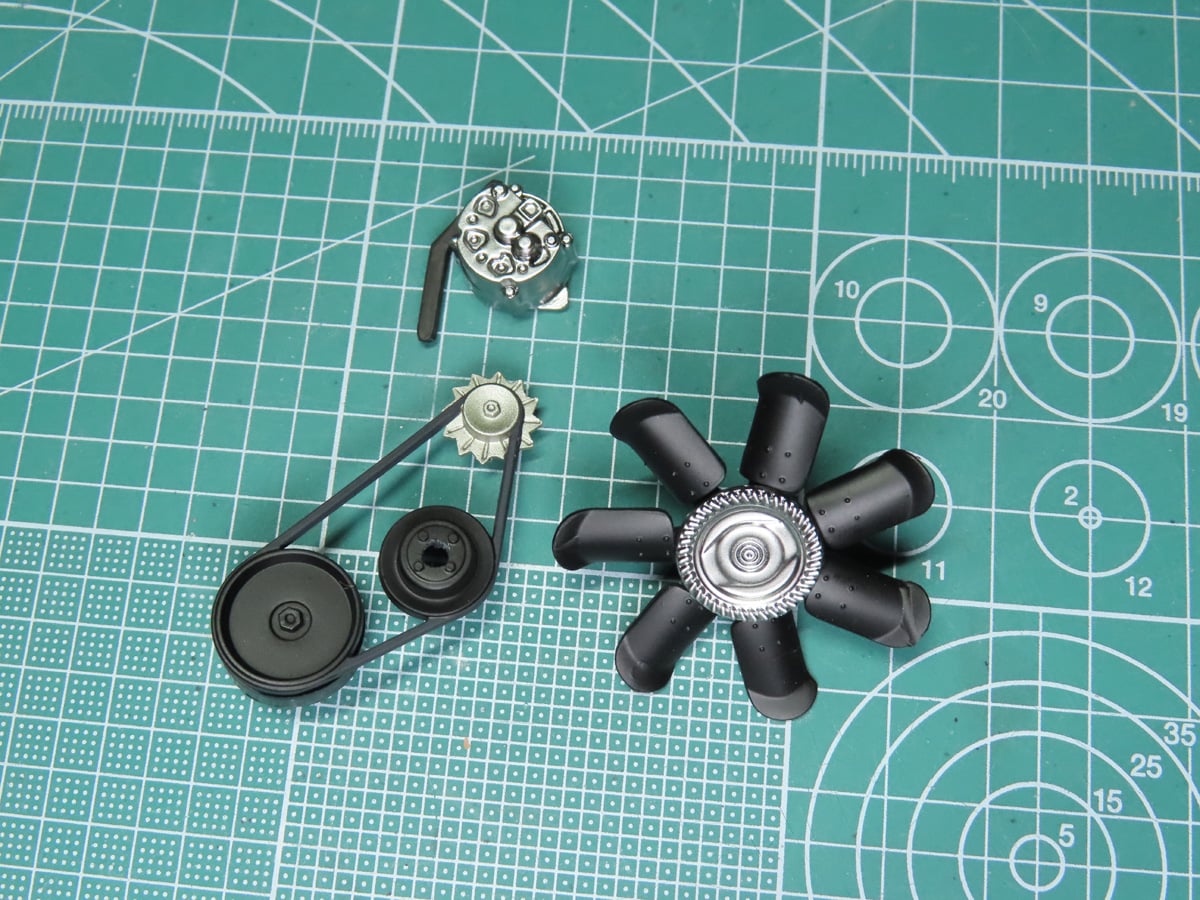
The Alternator and belts are now ready to be added. The belts are slightly warped, so I’ll have to glue these parts to the engine in small stages to keep everything properly aligned.
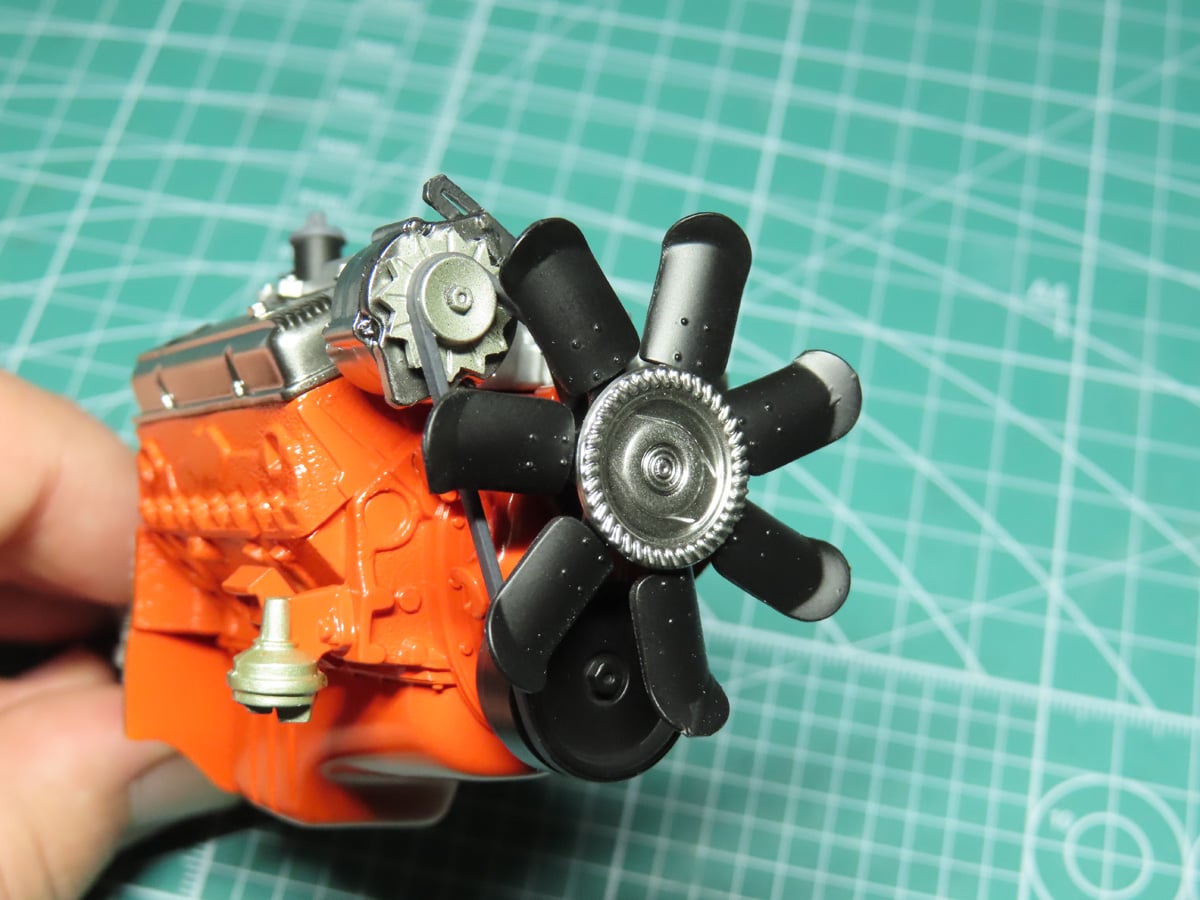
The instructions were again vague on the placement of the alternator mounting arm, but with some careful gluing, everything fits just in place.
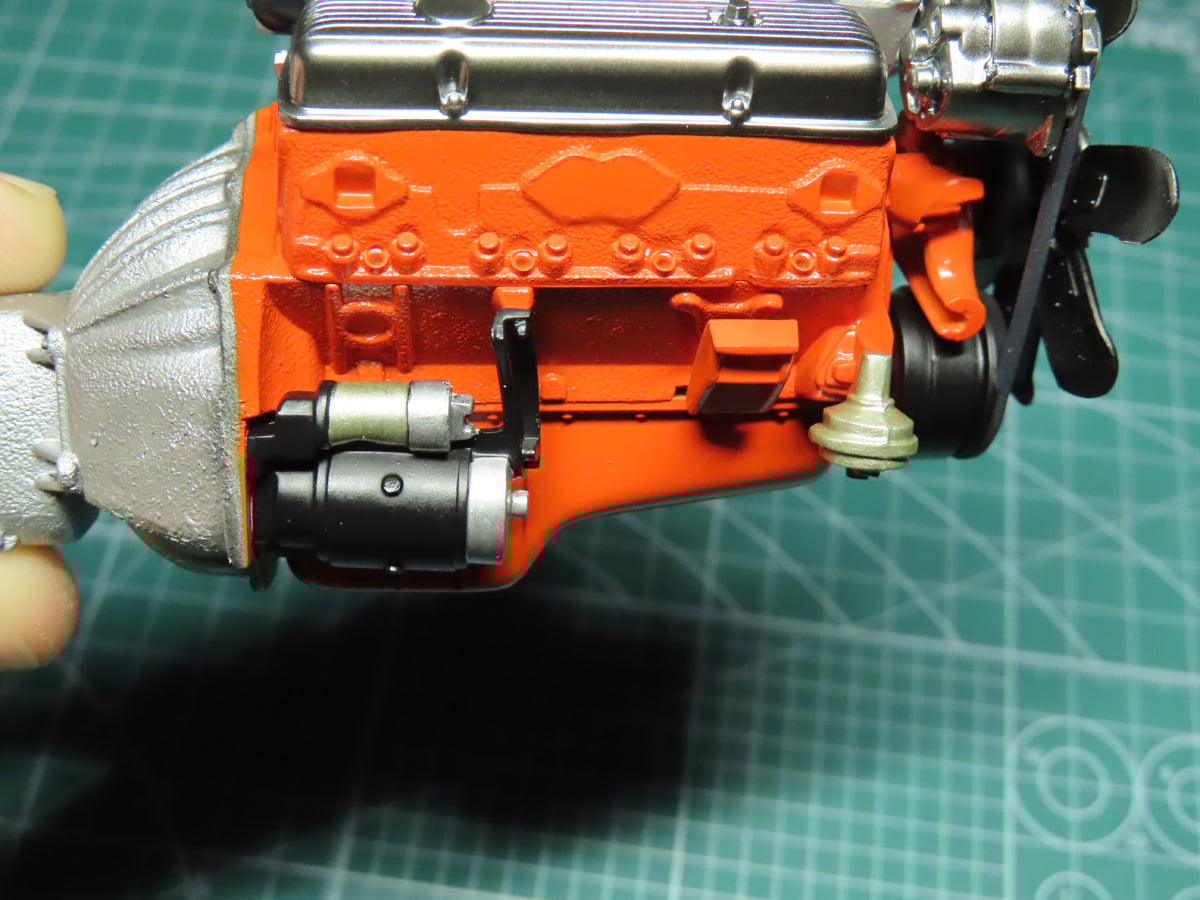
Lastly, the starter was added to the side. The starter just sort of “fits” in place, so double check your alignment and that it’s as snug to the engine side as possible.
And this is as far as I’ll get with the engine today. I planned to proceed further, but I needed to add on some small decal stencils, and I had temporarily misplaced them.
Next time, I’ll resume with the decal work, and we’ll continue and finish up with this engine.
I must say that this is a very fun kit, but it does show its age in a few places, which is something to keep in mind as you work on this kit. Little things that are warped or need special attention to align properly. So far, nothing incredibly major, but small things that will help the rest of the build go more smoothly if you take a bit of extra time to properly correct them.
I was thinking of having this as a bit of a used car, and adding some dirt and weathering. But looking at this detailed engine, I’m starting to think I might just build it clean as a showroom car. I’m really loving the reflective nature of this Alclad Chrome and the realism that it’s adding to the model. I’m excited to talk about that more in another post, as I think you’ll be like me and rush out and grab some for your next project, once you see just how easy it is to use and the great effect it can add to your model.
To be continued…
About the Author:
Jared Demes is a modeler from southern Alberta. He has been building models since he was 4 years old when his Dad first introduced him to the hobby. He has written for several magazines including, Fine Scale Modeler, Scale Aircraft Modeling, Phoenix Scale Models, and others. He has an interest in all modeling subjects, with a focus on WWII Japanese aircraft and Science Fiction.
Jared has won several IPMS awards for his modeling, and currently operates his YouTube channel rebelsatcloudnine, where he showcases model builds and product demonstrations.
Next Post:
Previous Post: Part 1