
Revell 1980 Ford Bronco Bass Boat and Trailer Set Build Part 1
In this Sunward Hobbies article I’ll be introducing you to one of the coolest Revell kits in the store. The Revell 1980 Ford Bronco with Bass Boat and Trailer Set Gone Fishin 1/24 Scale 17242 85-7242
Not only do you get two kits in one box but you also get a snapshot of a component of a terrific diorama, should you choose.
Before the rise of video games there were pinball machines. Some of the theme gave you an actual workout. Gone Fishing was my favorite, so this project will bring back many happy memories.
Who doesn’t like 4X4 trucks and fishing boat? The artwork from Revell is wonderful. Again, a snapshot in time of a vacation we all should enjoy and not a mosquito in sight… I love it.
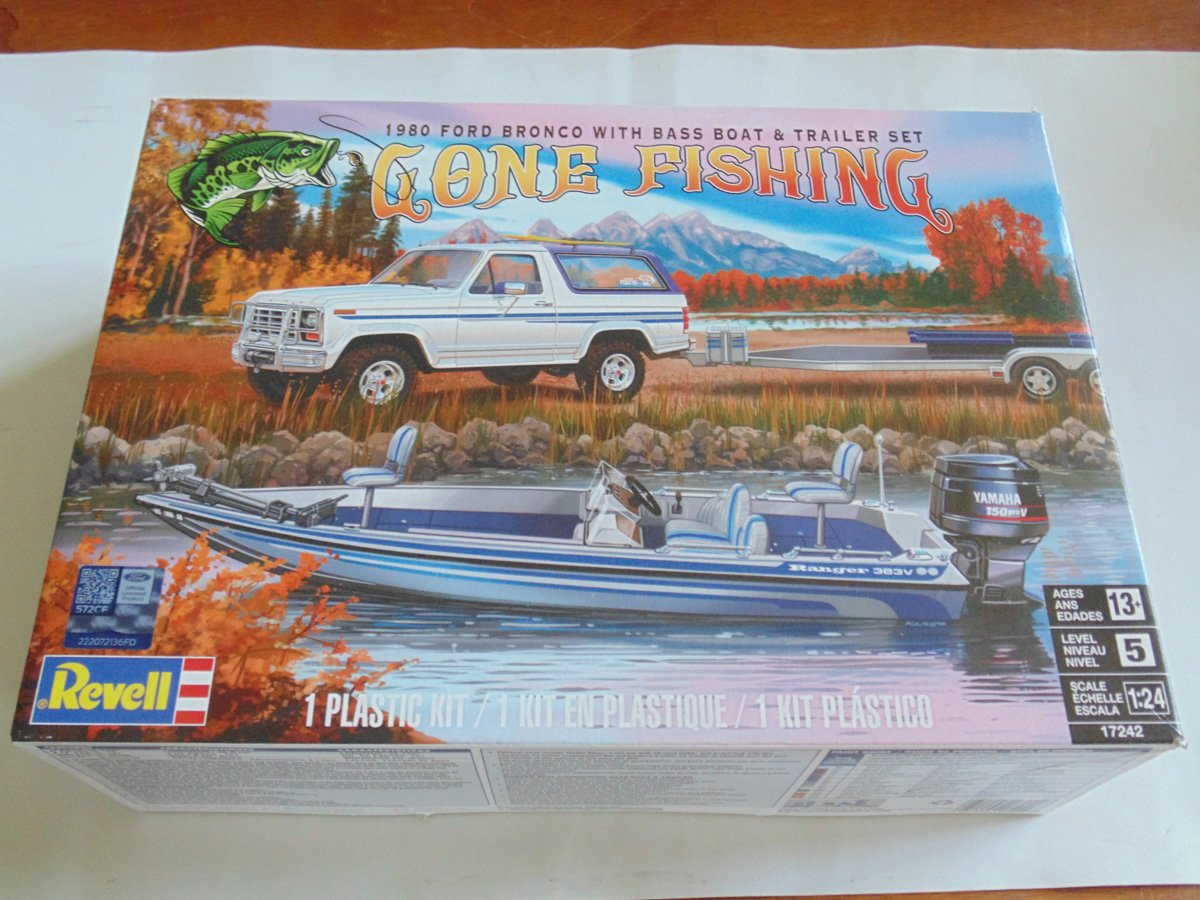
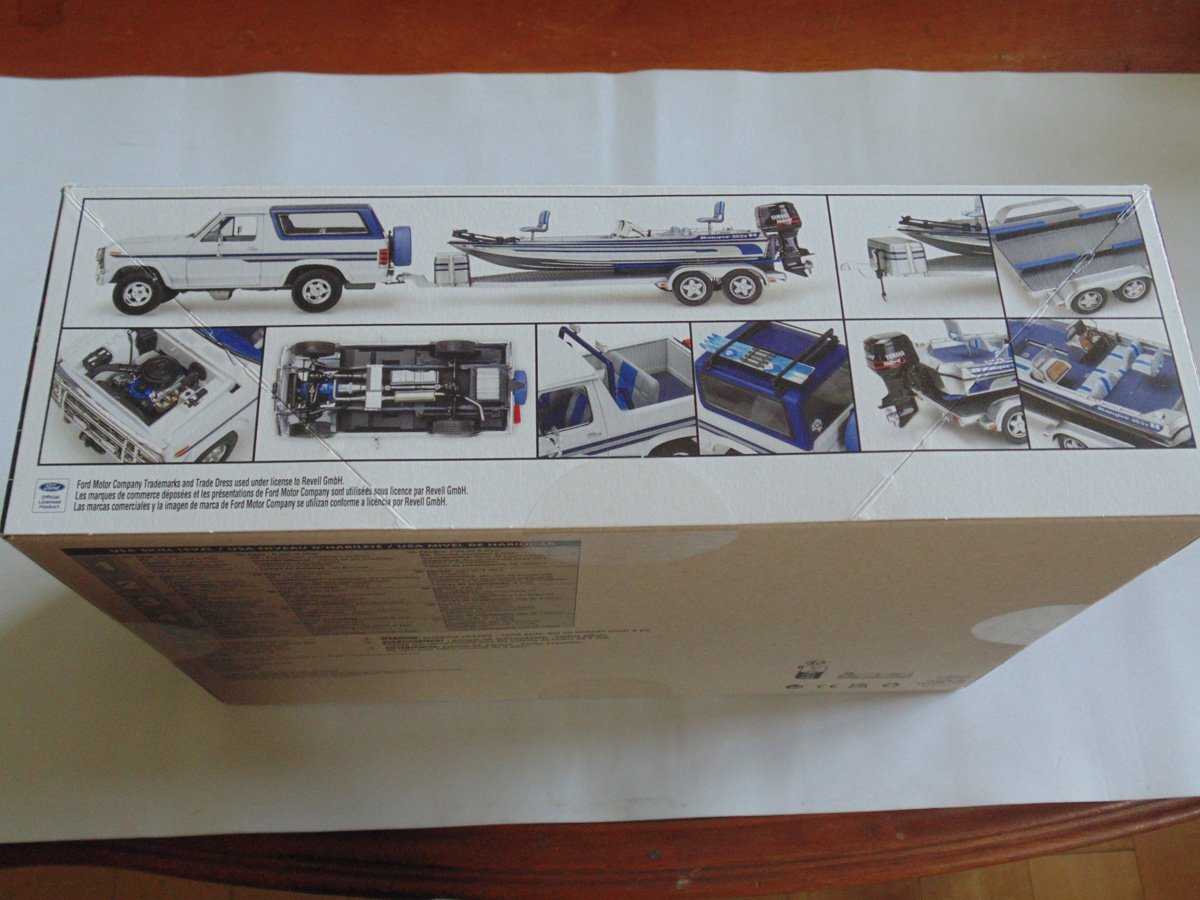
There’s a very helpful guide to painting on one of the side panels. Make no mistake though, you will have to invest many hours of fun into completing this look.
The instruction in pdf format: Revell 17242 instructions
Review and summary of instructions:
- Page one of the instructions should always be read. Revell tell you some usual important reminders, yet often there are points to remember for a specific kit. So, give each page a thorough look over.
- Page two and three are a must to label with some masking tape. The paint guide is numerous due to the many parts. Make your build more enjoyable by being able to quickly flip back to where you need to see something.
- Pages 3 and 4 highlight all the parts. Even for an experienced replica builder this is a joy because you can, super fast, get a reference of the parts.
- On page 5 you get to do some engine work. Pay close attention to the paint location and flip back to the guide as often as needed. These parts do not need much clean-up should you choose, unless you wish to hyper detail the model.
- Page 5 of the instructions with sections one through five
- Page 6 shows the location points and painting spots to highlight. Please bear in mind that this is not just an “in-box” review but a build for the store. Therefore, I’d strongly recommend you tackle each page at a time. It will go way faster and be more enjoyable.
- Page 7 Shows the front drive train and body. I’ll be going to Step 15 to paint it up before adding the clear part in Step 14. Revell did a wonderful job with making this model kit easy for all ages and expertise levels.
- On page 8 you will need to pay sharp attention to the connection points. The interior dash and roll cage parts have to have the plugs snipped off a little. It’s an easy process, so don’t worry about messing it up. Just use a finger nail width as your space to get it right. Remember to have all your parts and components fully painted before they are installed.
- Page 9 shows you how to add the all-important details. You will get to see this in greater depth as the building articles show up on the Sunward Hobbies blog page.
- In all the dioramas I make for clients around the world, every available opening trunks areas are free to see. Please consider masking and painting these important spots, if you wish. It’s always wise to have your locations painted prior to adding any clear parts.
- In page eleven you will have a super fun time finishing up the truck with water skies and building the frame for the boat. I adore these little mini models and I hope you will as well. Sunward Hobbies have all the paint and supplies you will need to enhance this project.
- Steps 34 through to 38 on page 11
- On page 12 is where the boat and trailer come together. I’ll go into more depth on decal placement during the build article. Suffice to say these are super neat steps. You may have to ream out some of the joining holes, all kits have slight differences.
- Revell didn’t scrimp on the detail of the boat. Normally this is a throw in item. Page thirteen has you adding more niceness to the back and upper deck. Play close attention to where you put the fish finder part in part forty-eight in order to allow room for the windshield to fit right.
- On page 14 I’d heavily advise to take your time when impregnating the parts in the slots. Test fit them a few times and you may have to gently bend the shaft of the side maneuvering device. These are brilliant little add-ons you’ll have fun with.
- Page 15 has you adding the needed interior parts of the launch craft and side decals. You must have the side walls primed and painted for these decals to move around whilst getting them in their final position. Revell hired a highly talented company to print these, thus treat them with care and take your time placing into the right spot.
- Page 16 gives you an overview of the truck’s finished, but it is also neat guide into how to paint your project. Always, always, always read through the instructions and form a plan of your own to build the replica. This might sound simplistic, but trust me going back to the basics on every model or project when tackling them will help.
Now let’s dive into the parts.
The chrome plated parts are super well designed. Be careful when disconnecting them from the sprue tree. They are in their own pouch for protection.
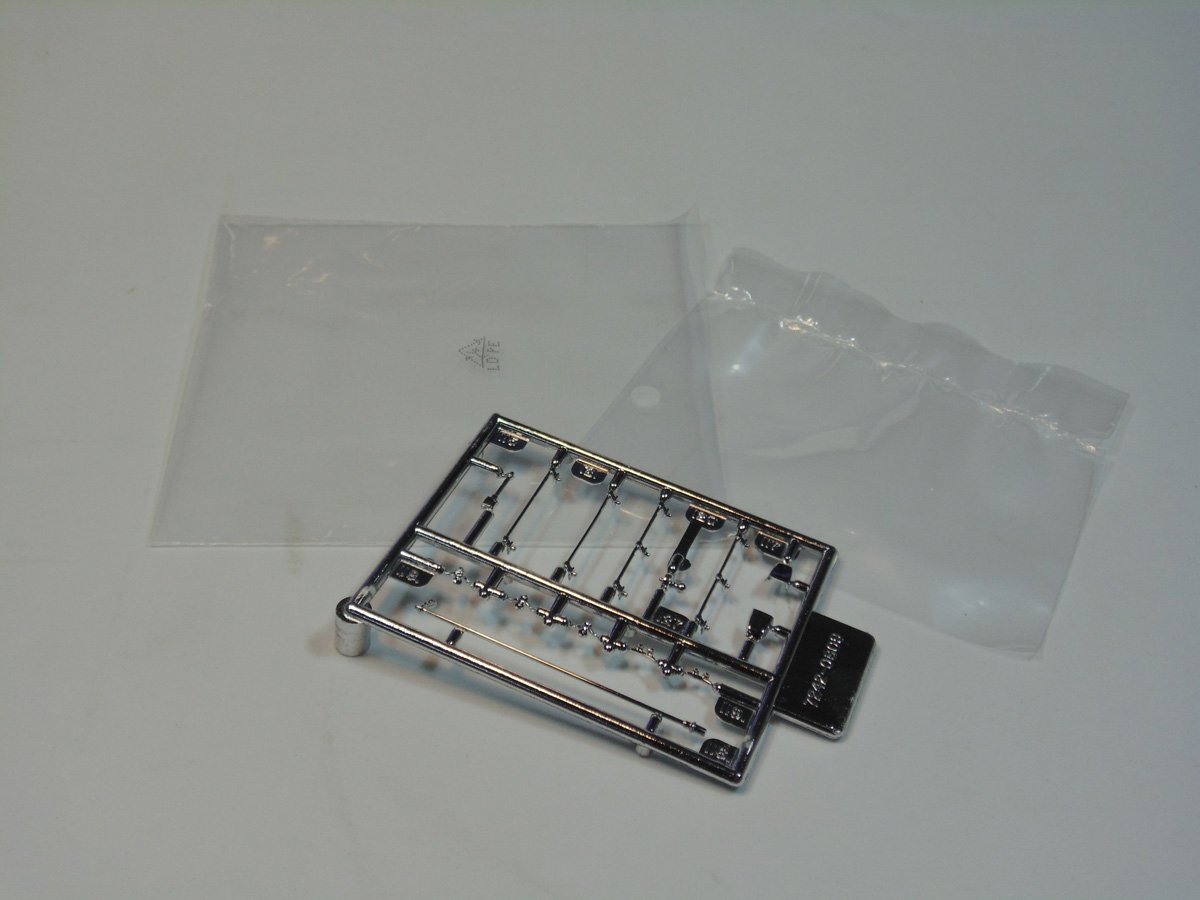
You will easily notice how delicate these parts are, so pick up a quality side cutter tool from the Sunwards Hobby store for your projects.
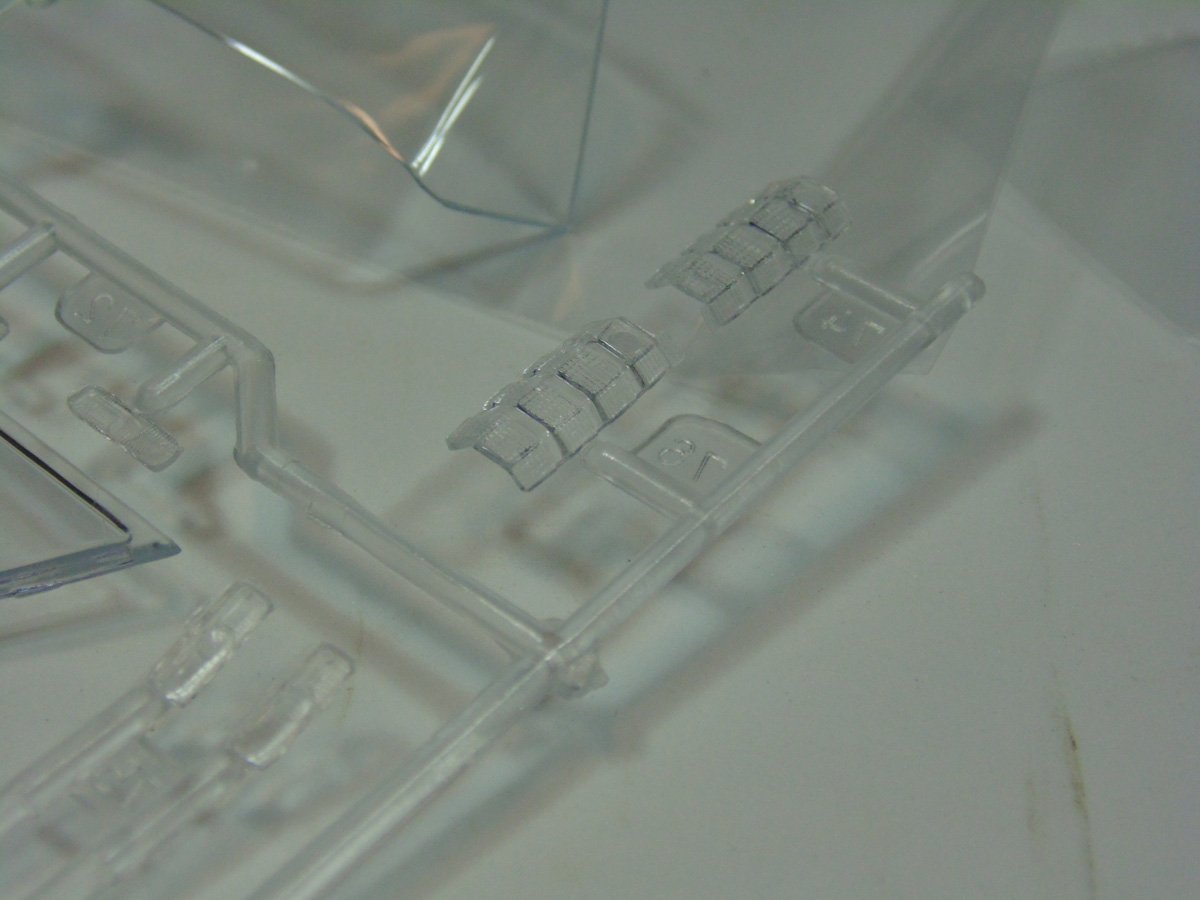
The clear parts are really nice and very clean. Wear some nitrene gloves when handling them to prevent finger marks.
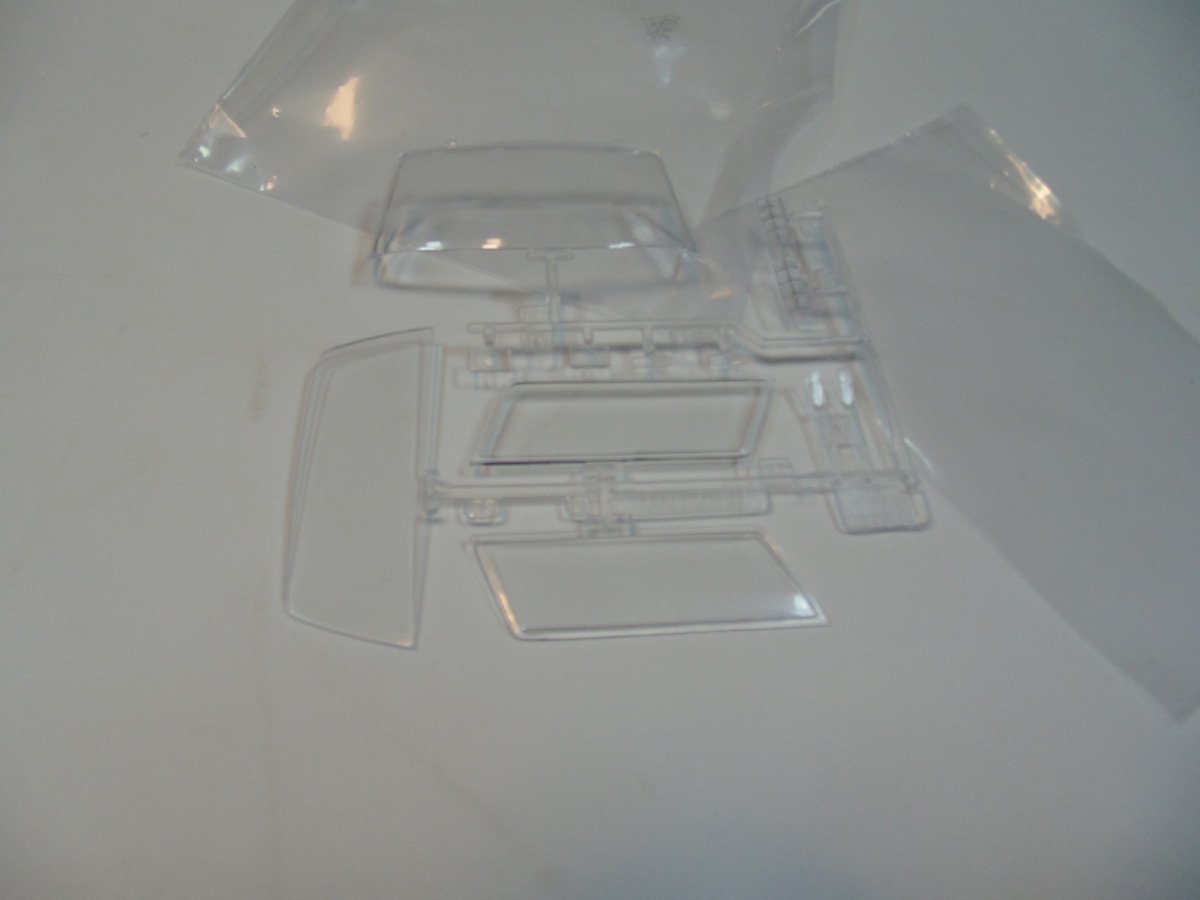
You can see the details in the accurate clear styrene.
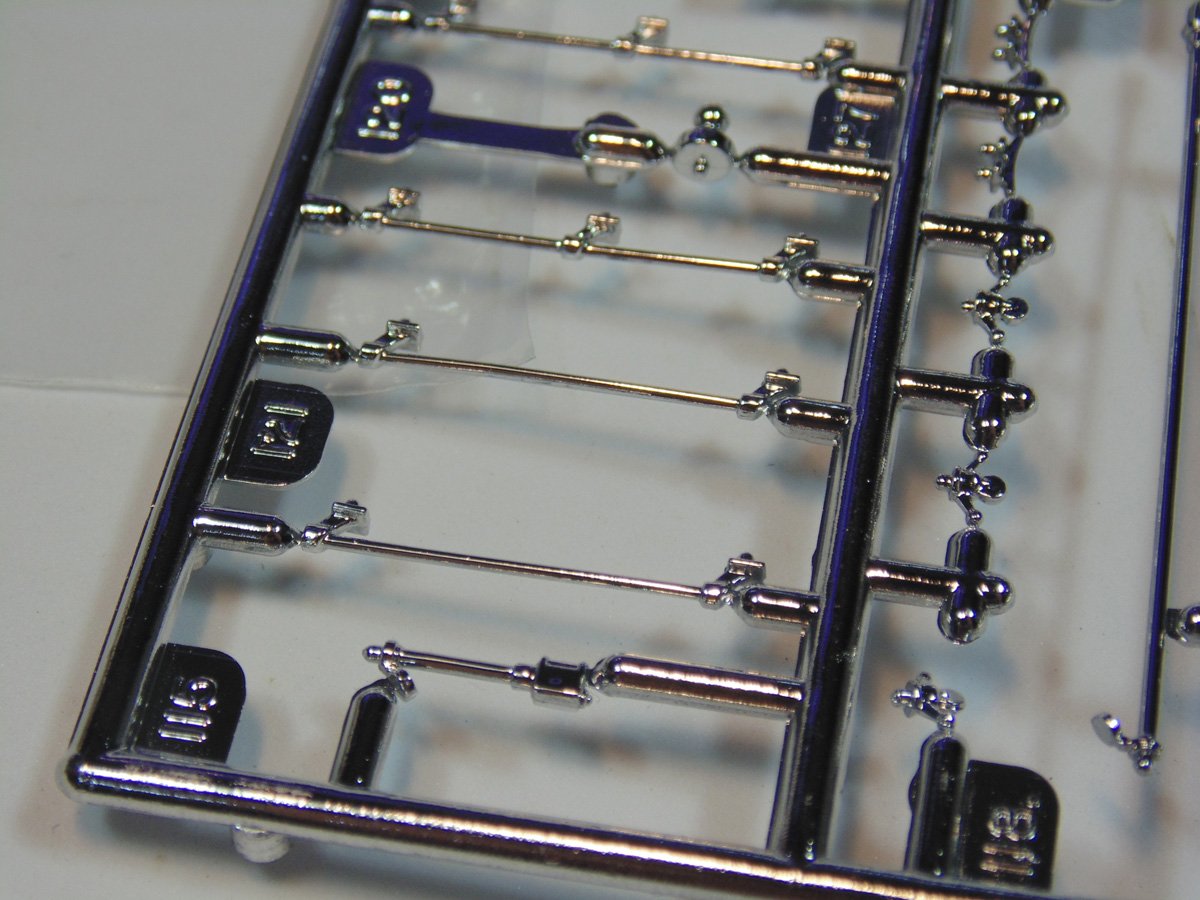
There are plenty of highly detailed parts for you to add, including these chrome parts for the truck.
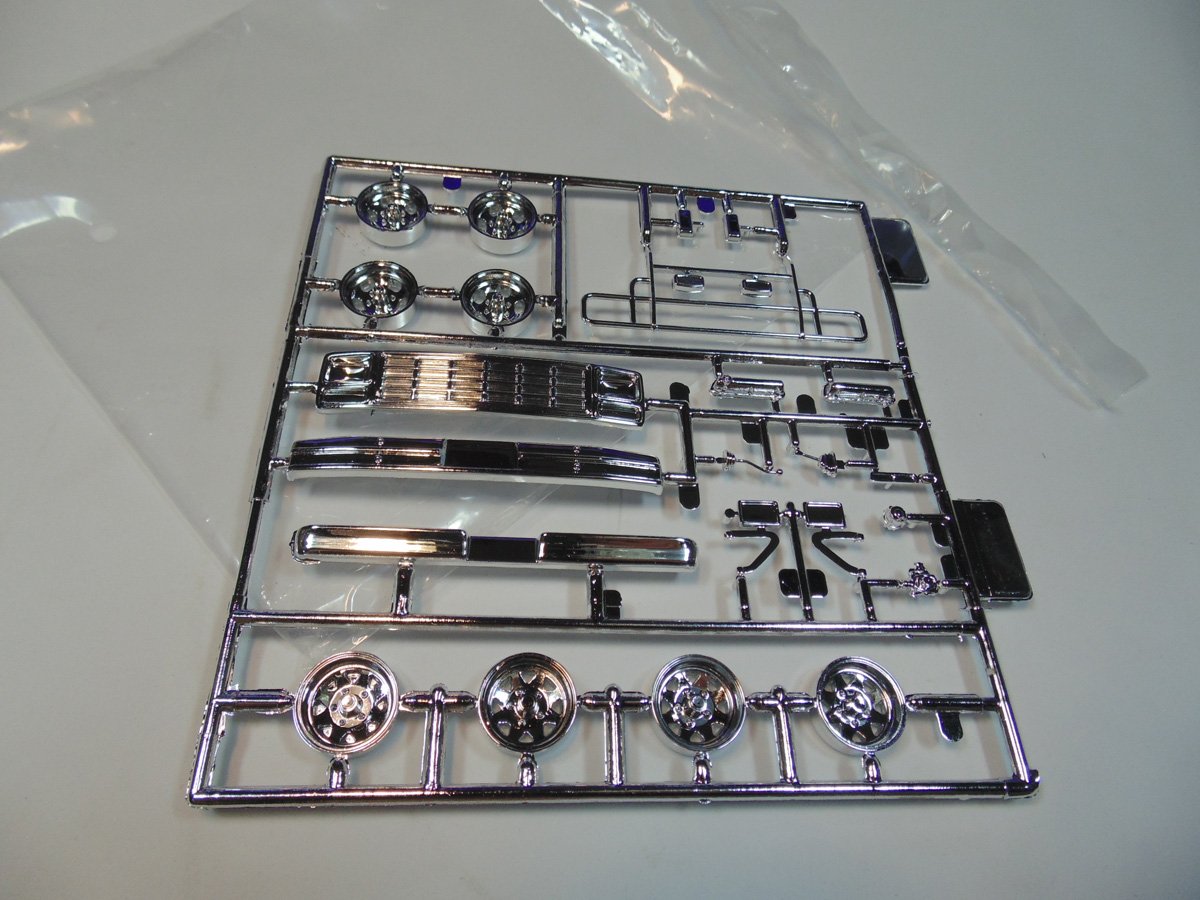
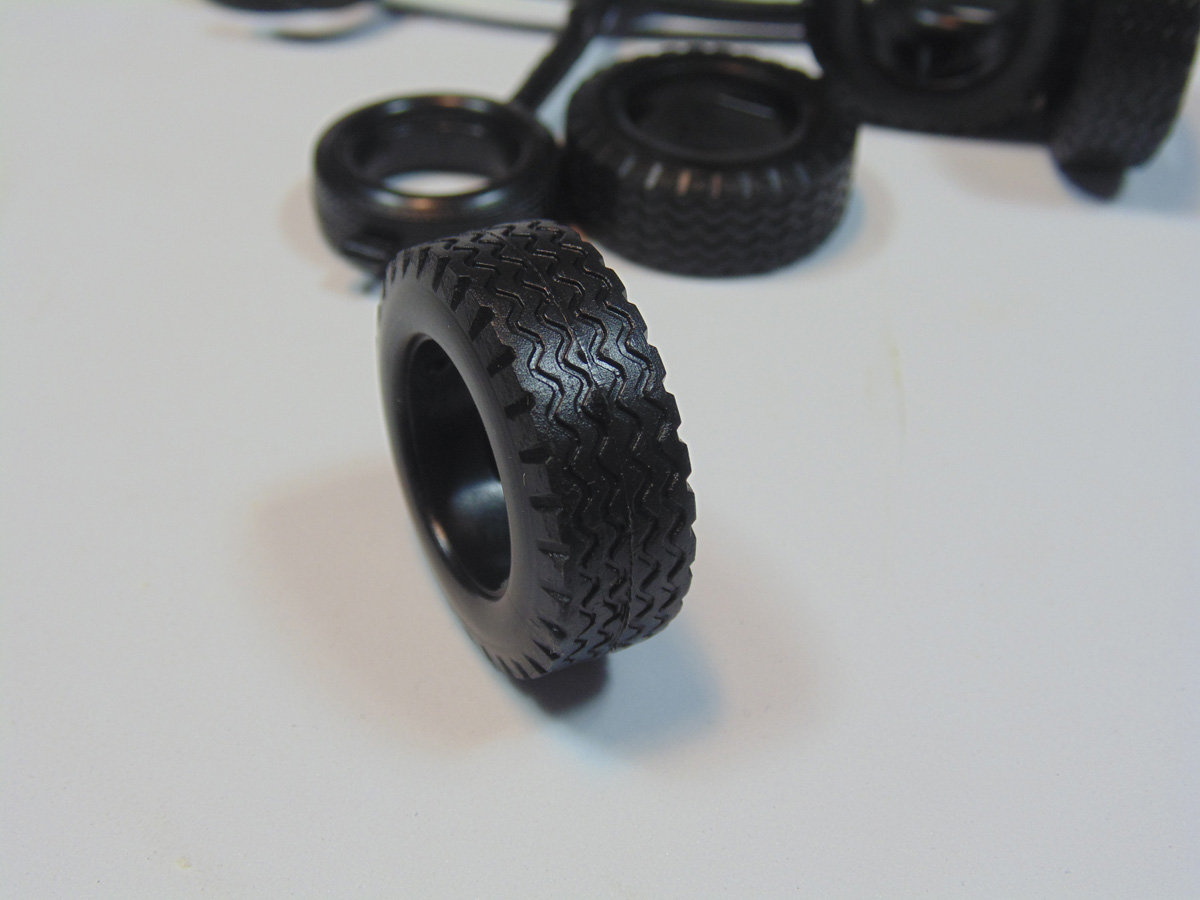
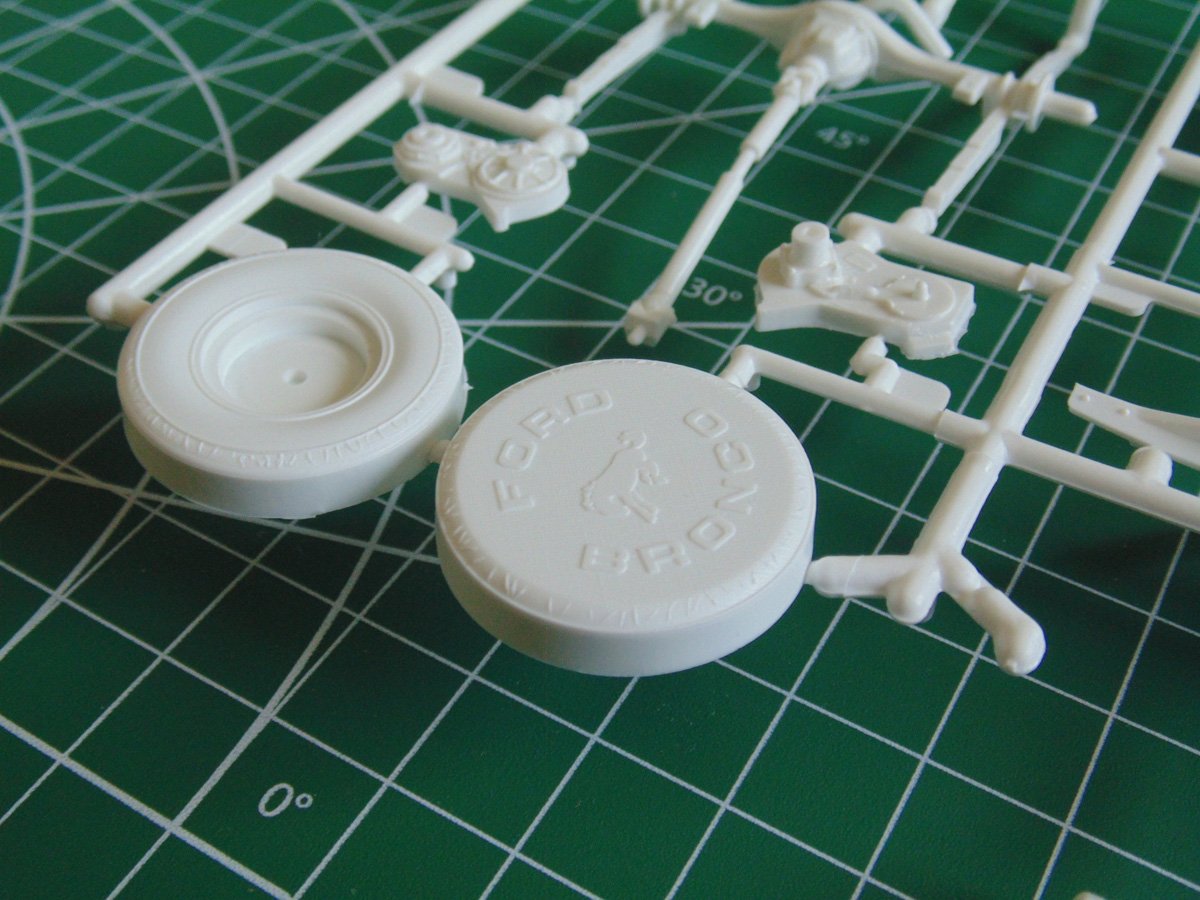
You’ll especially love the rims with open spaces in the supports. The connection points are very solid so select one point to affix your parts joiner tool to clamp on to.
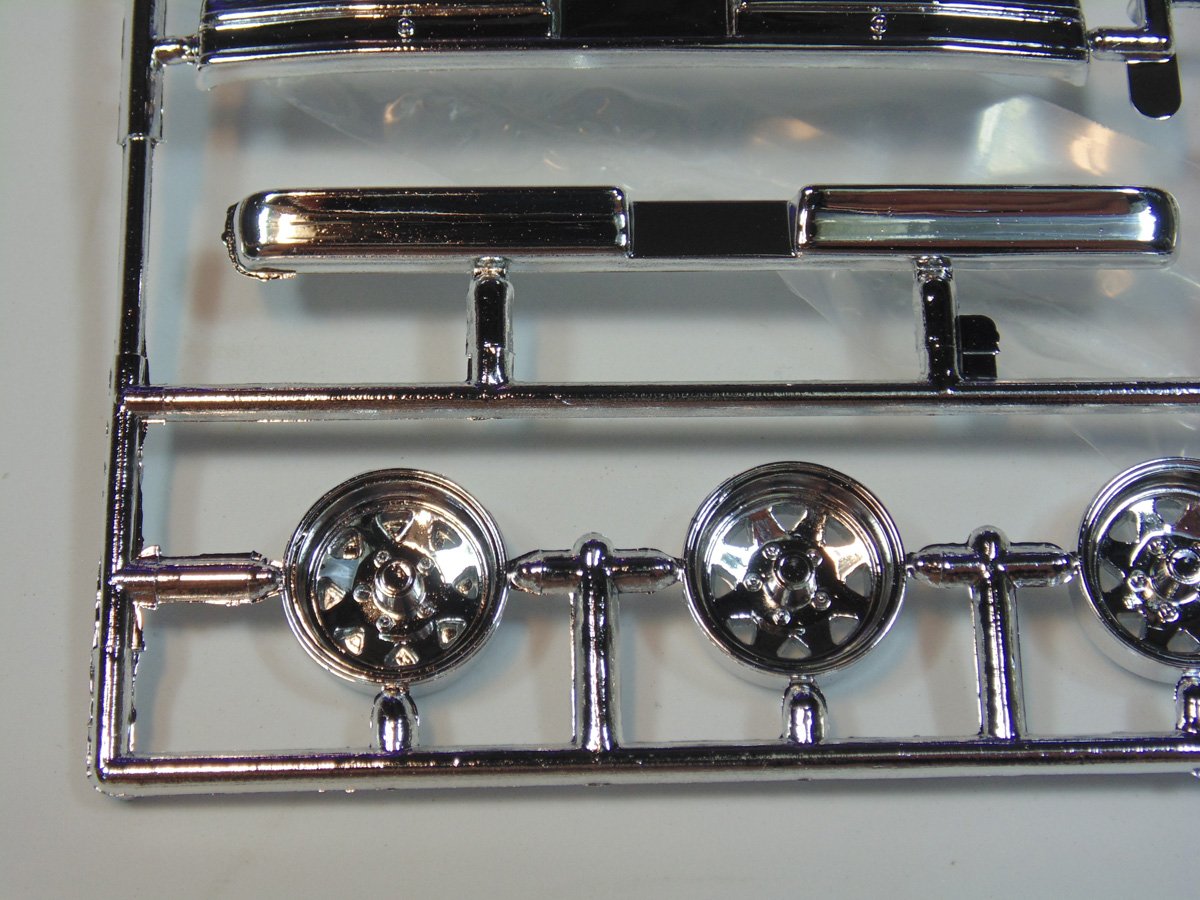
The tires will be easy to attach to the rims so long as you remove flash from the interior.

Theirs some great detail on the tires so please consider picking up an easy-to-use weathering product as I’ll be showing you in the build stage.
The sprue trees are not labelled; hence you will be going from one to another sprue tree to gather your parts. It’s a simple task and not a worry.
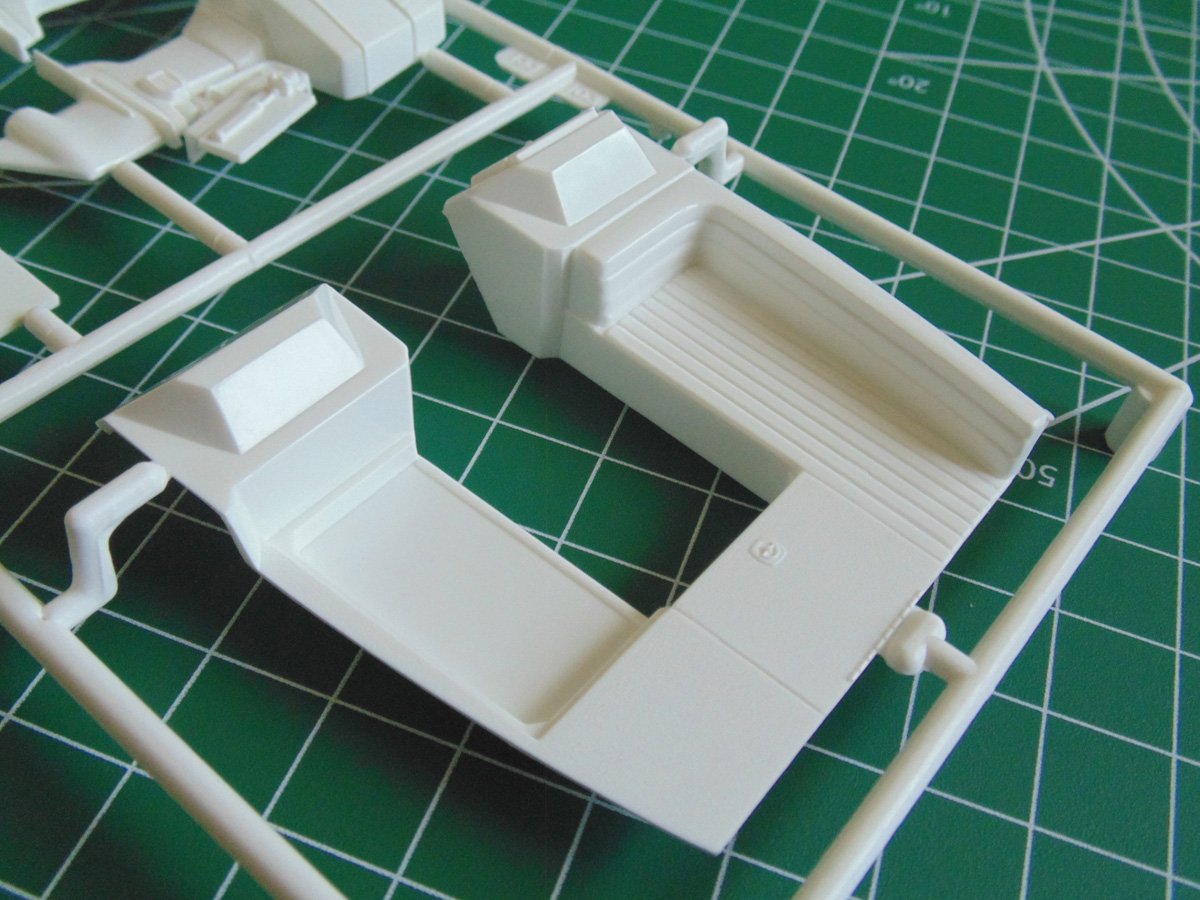
There is some cool detail in the upper deck area that you go can wild with in terms of weathering, should you choose.
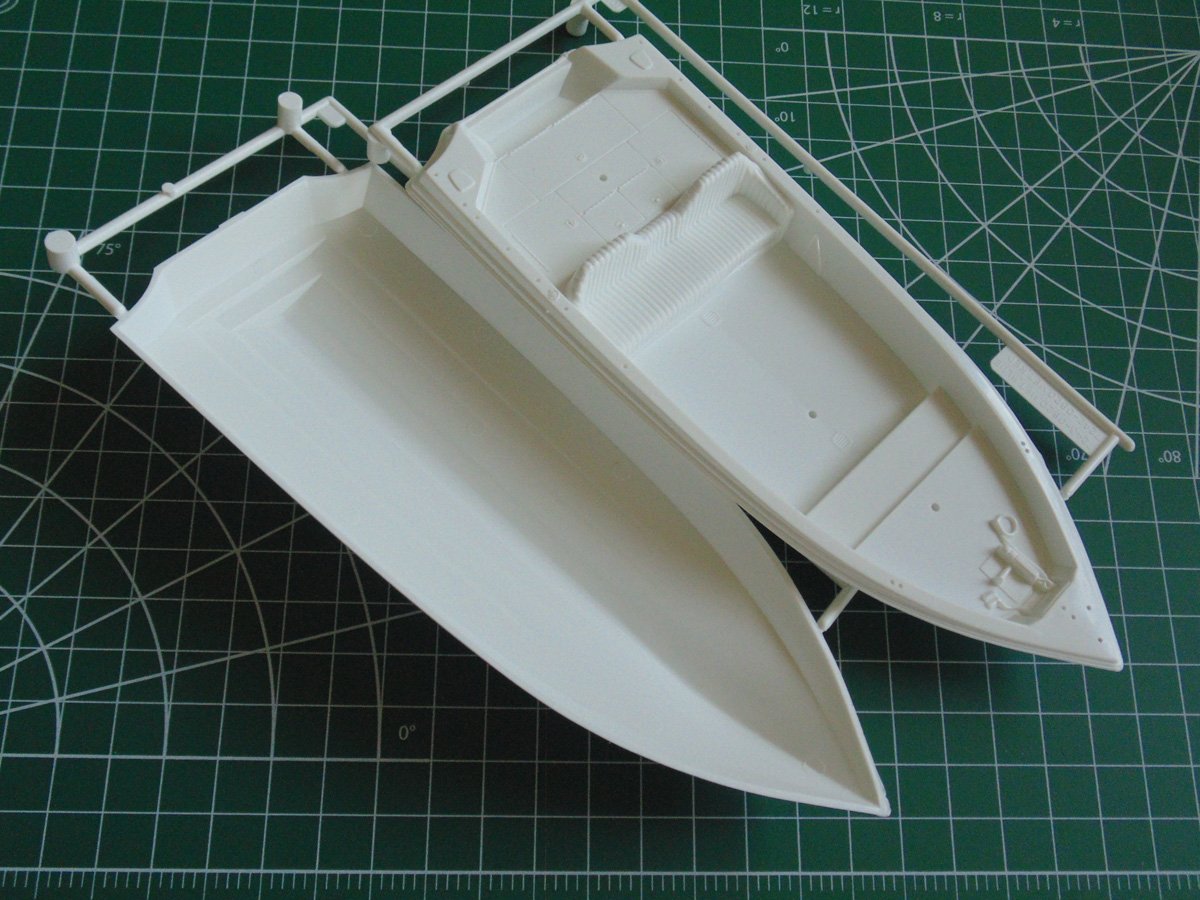
The lower and upper halves fit superbly. Thank you Revell!
I know it might come off sounding silly but the back of the boat has some interesting detail which needed to be highlighted.
You select how the appearance of the boat carrier looks, although there’s plenty parts in the kit for you to have a gussy of a time enjoying yourself with.
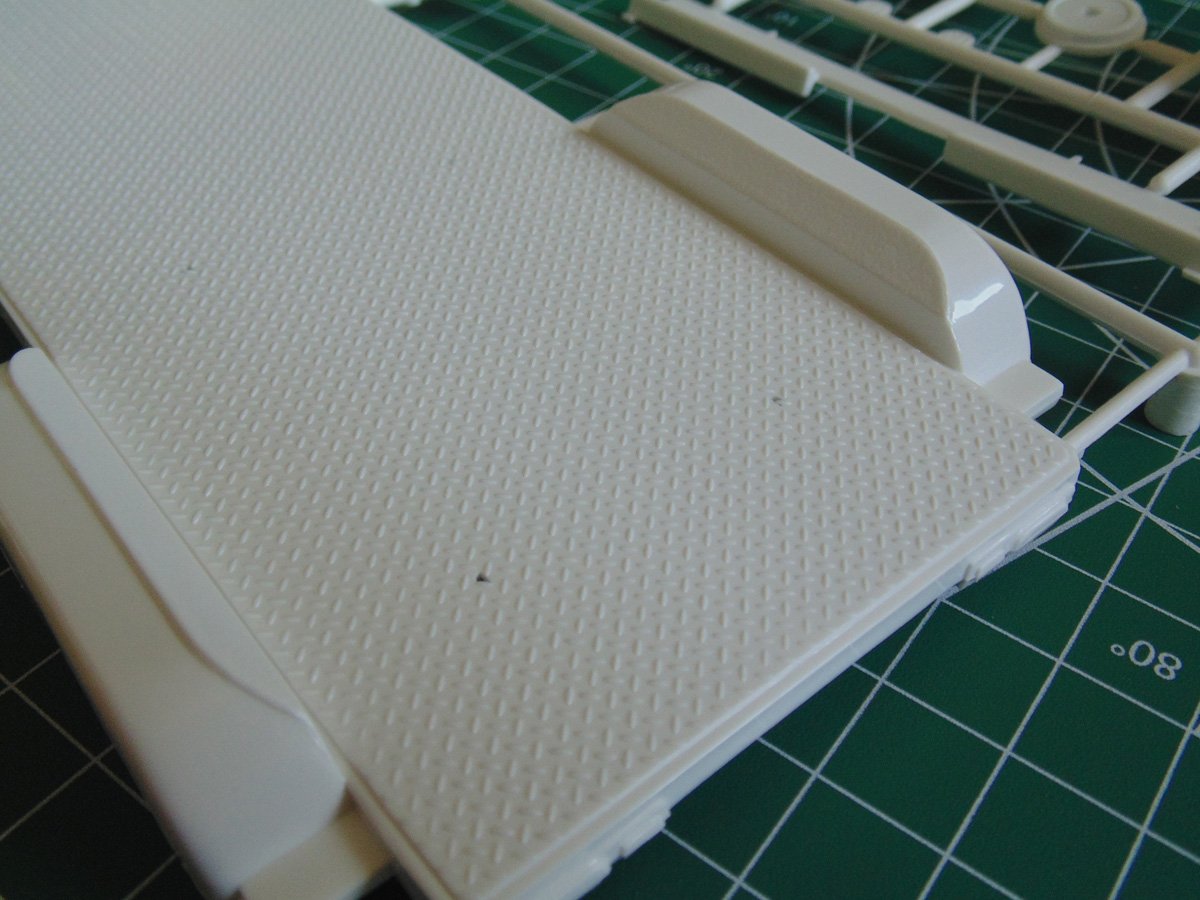
The cross hatching is really well pronounced, but you will have to open the holes slightly for the other parts to fit.
More splendid details for the truck.
What a remarkable job Revell did replicating these points.
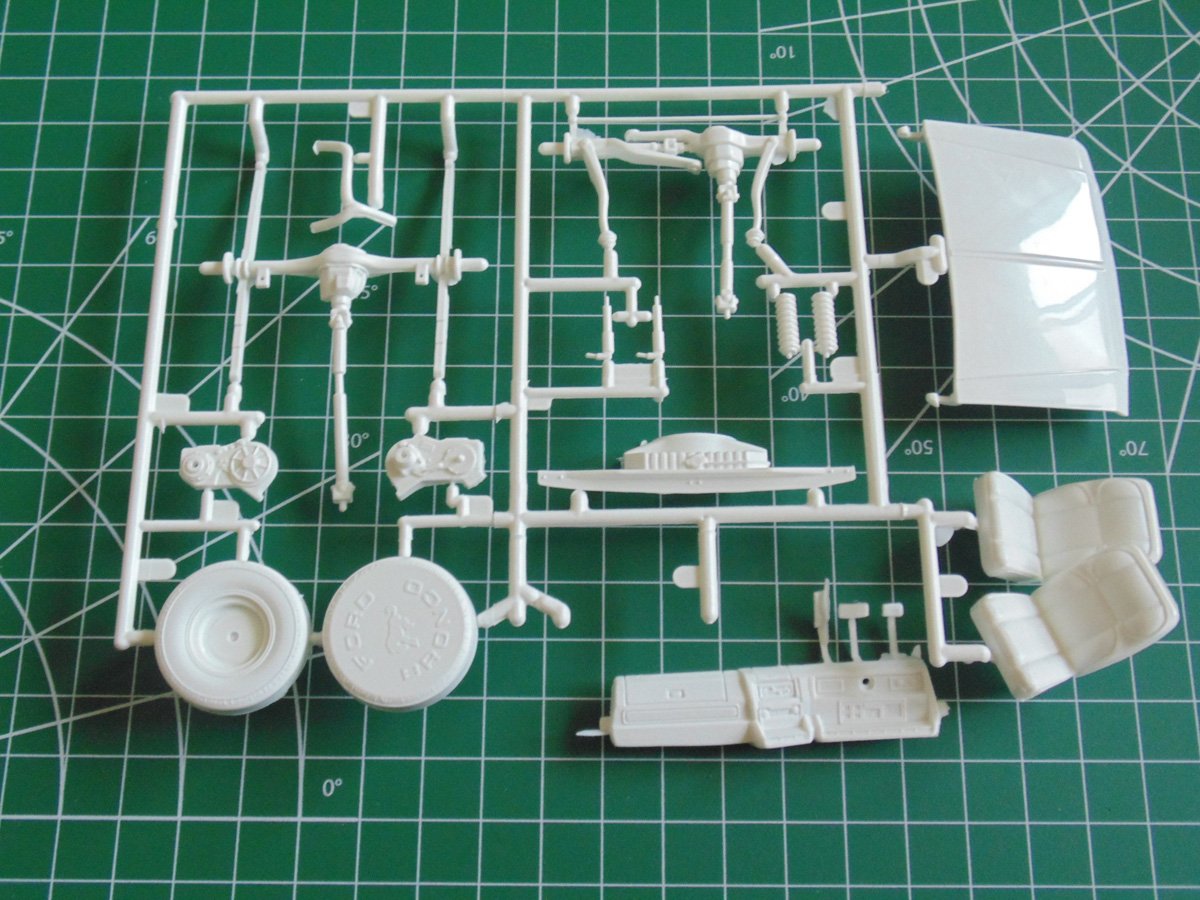
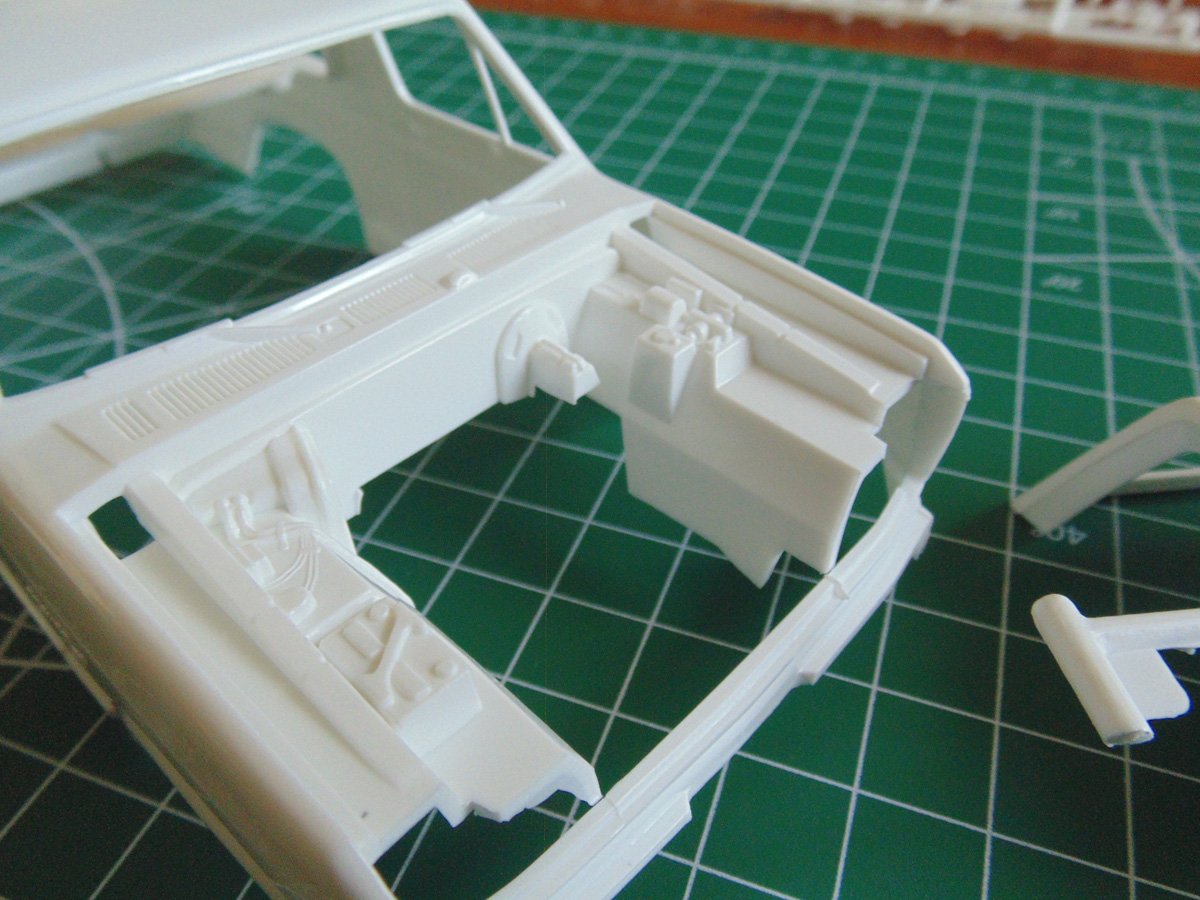
The dashboard of the part has nice detail as well for you to paint. Ask the staff about which selection is the best for your skill level.

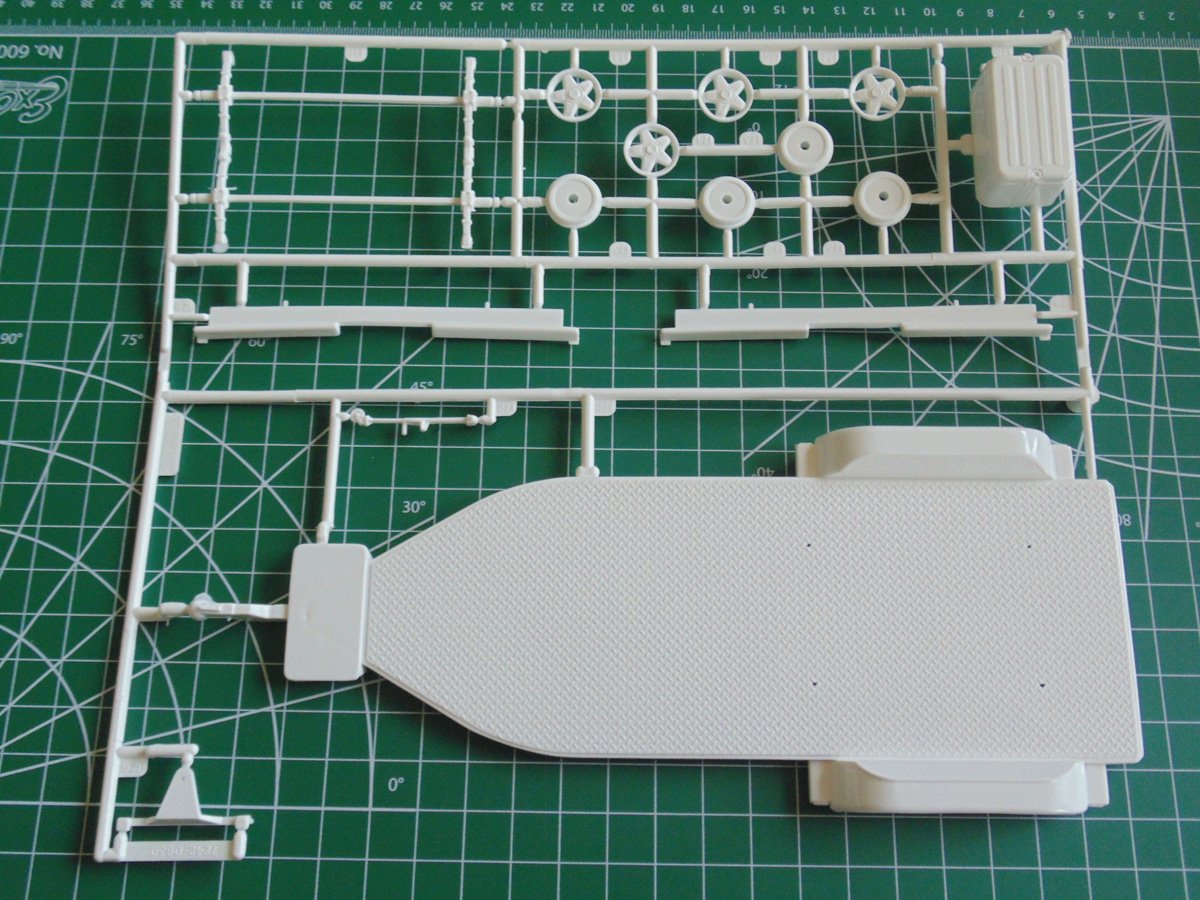
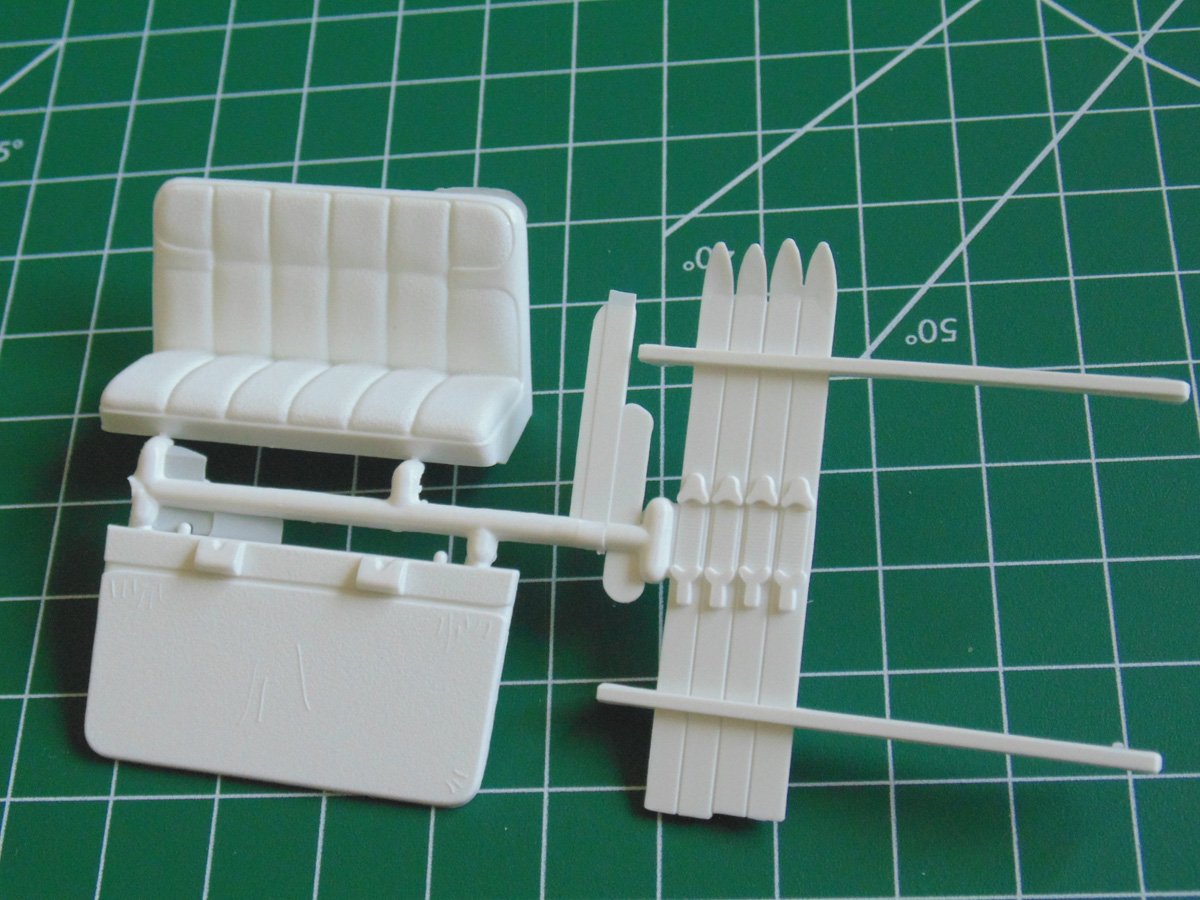
Skyboards, back seat and arrester plate all made well.
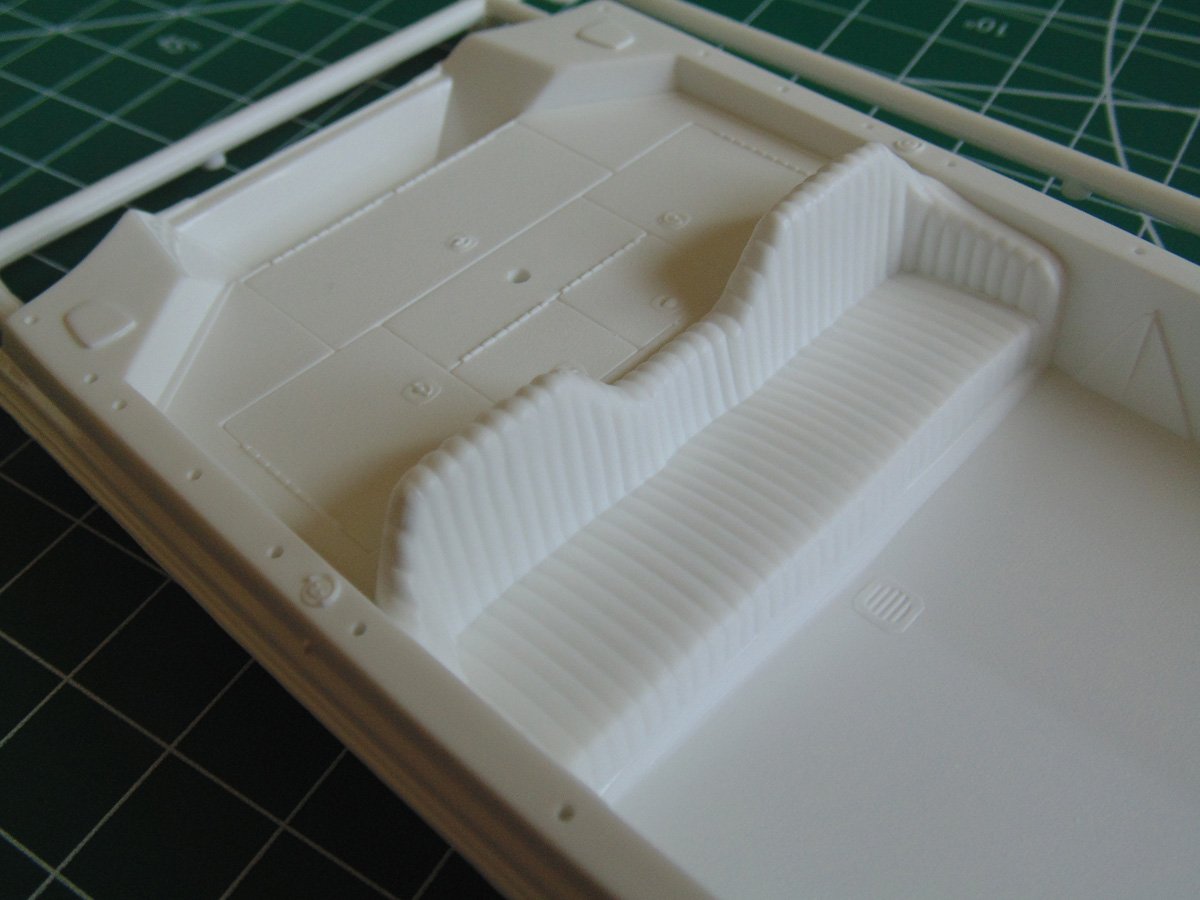
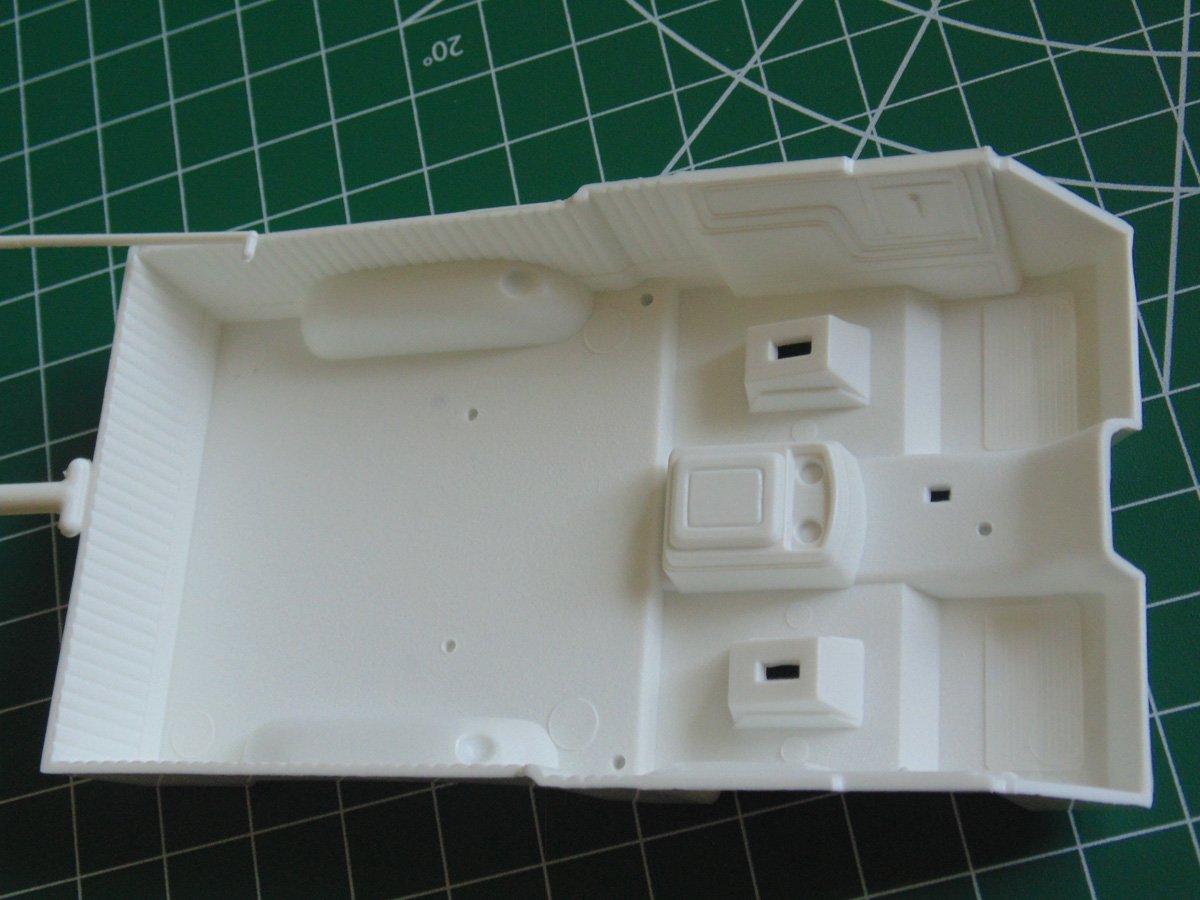
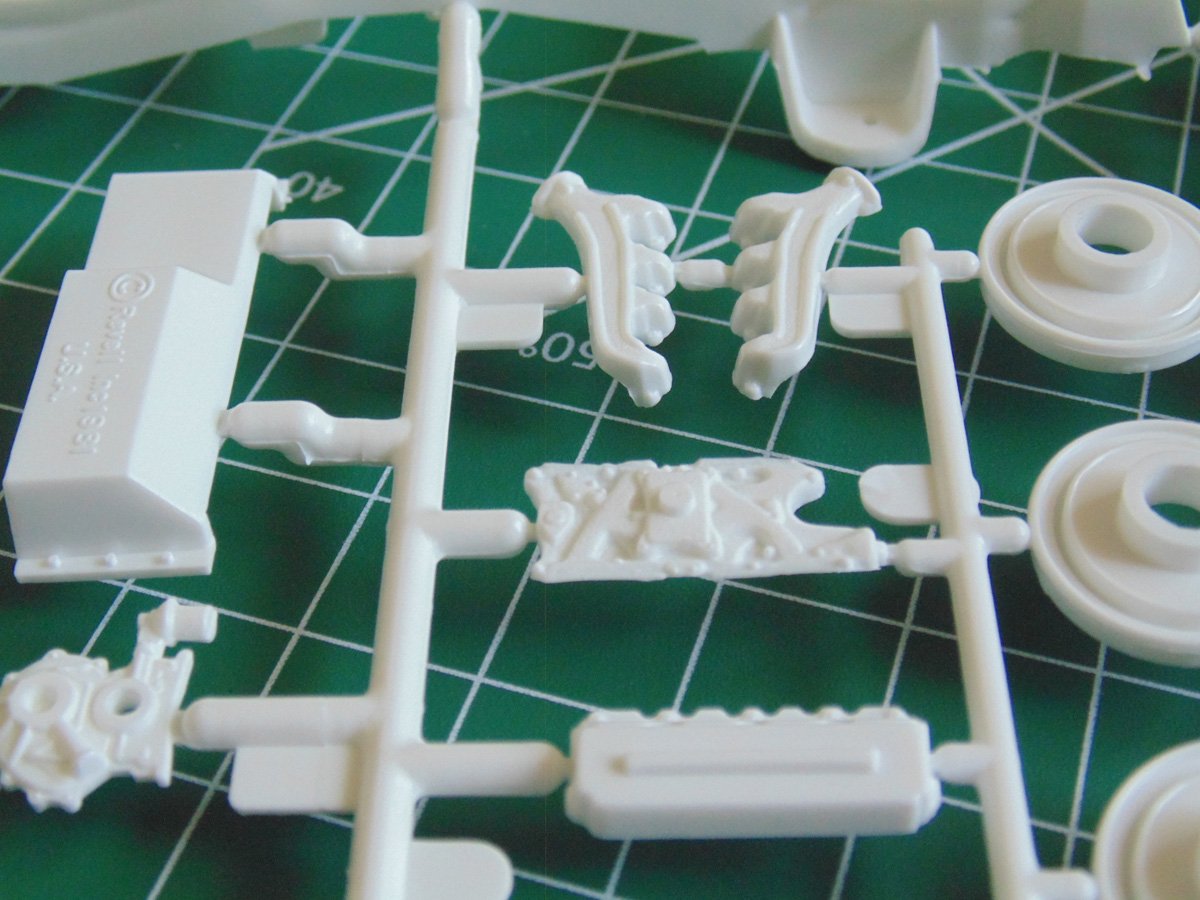
The truck tub has loads of detail that are worthy of painting up.
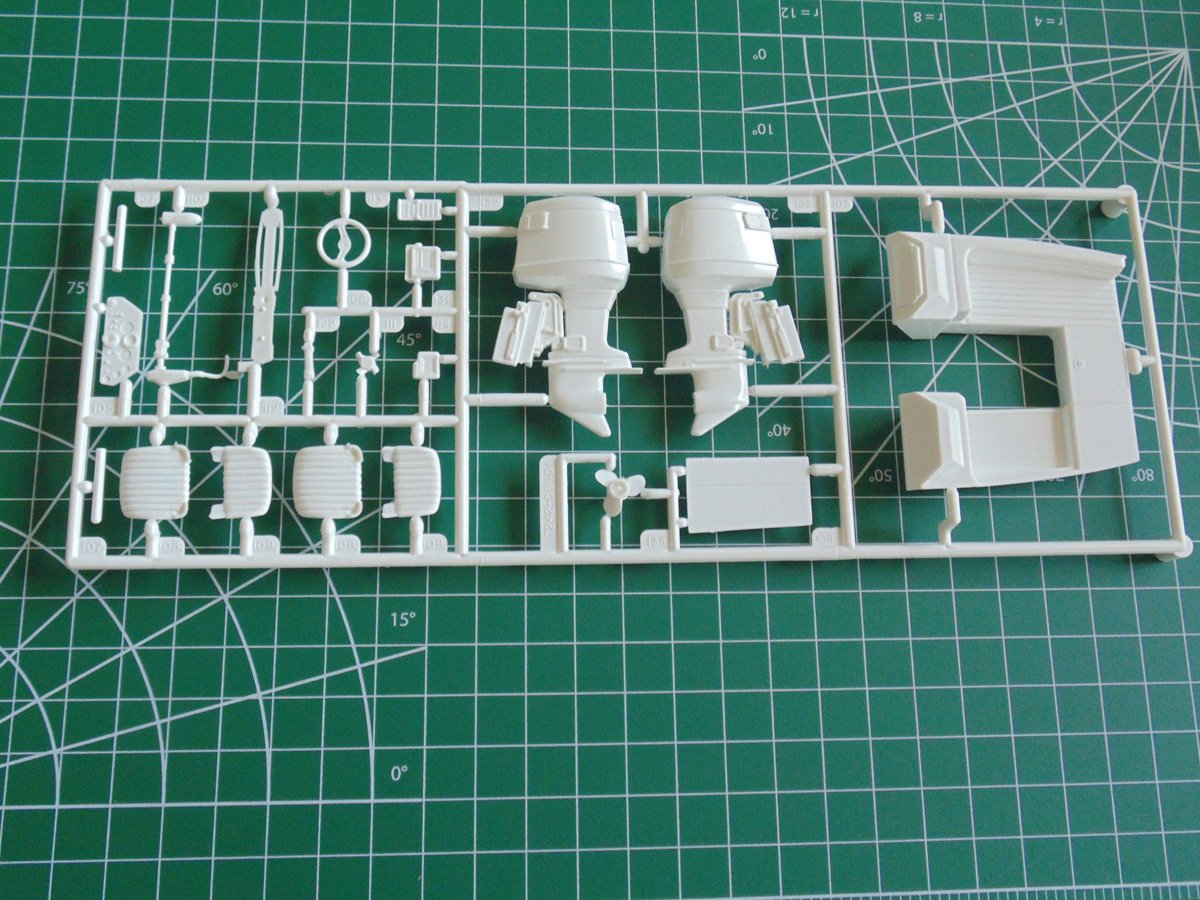
The engine and frame parts of the truck have a nice amount of detail as well.
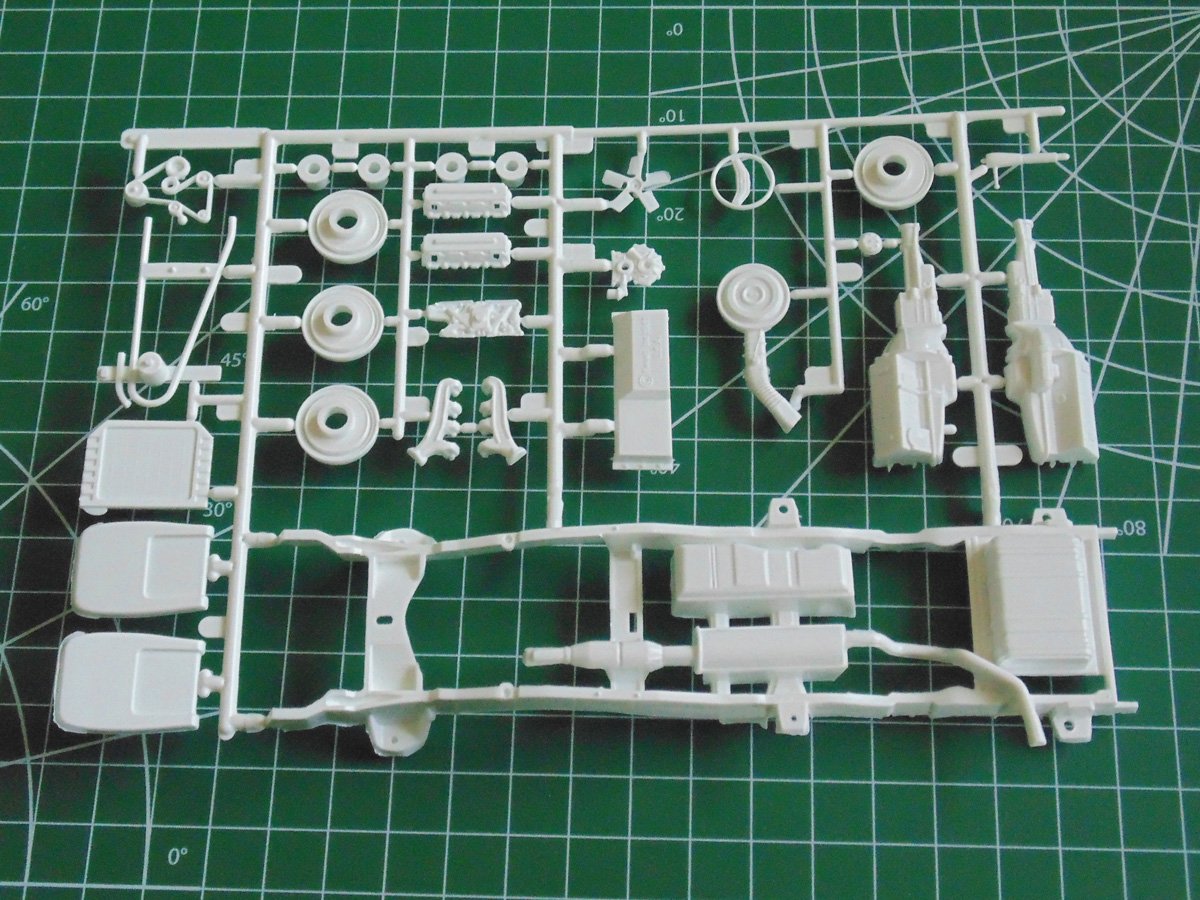
All the parts look ok but you will need to do some flash clean-up. Just in minor places to get a decent fit.
This is a renowned kit for its complexity along with being well respected for the end result. The added touch-on make a huge improvement.

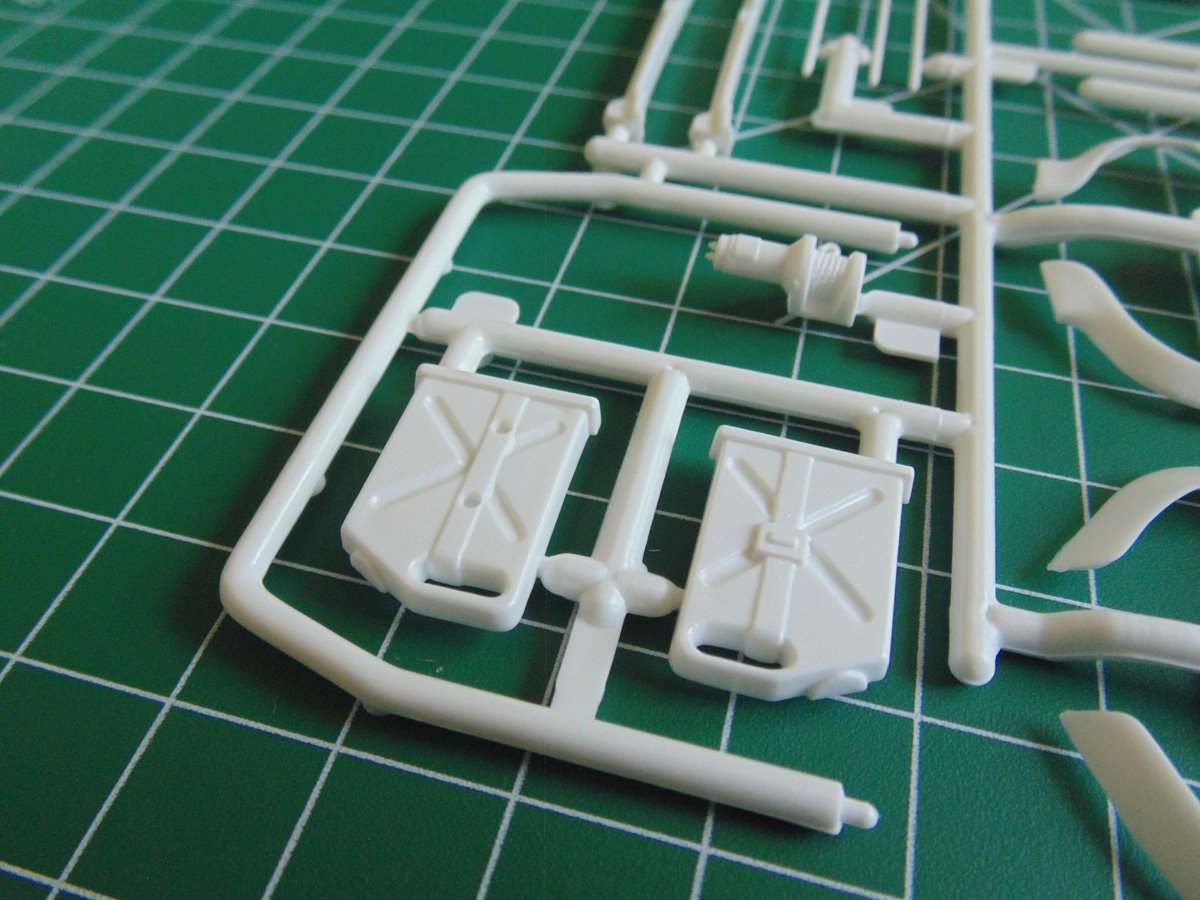
The fuel canisters can be easily hand painted.
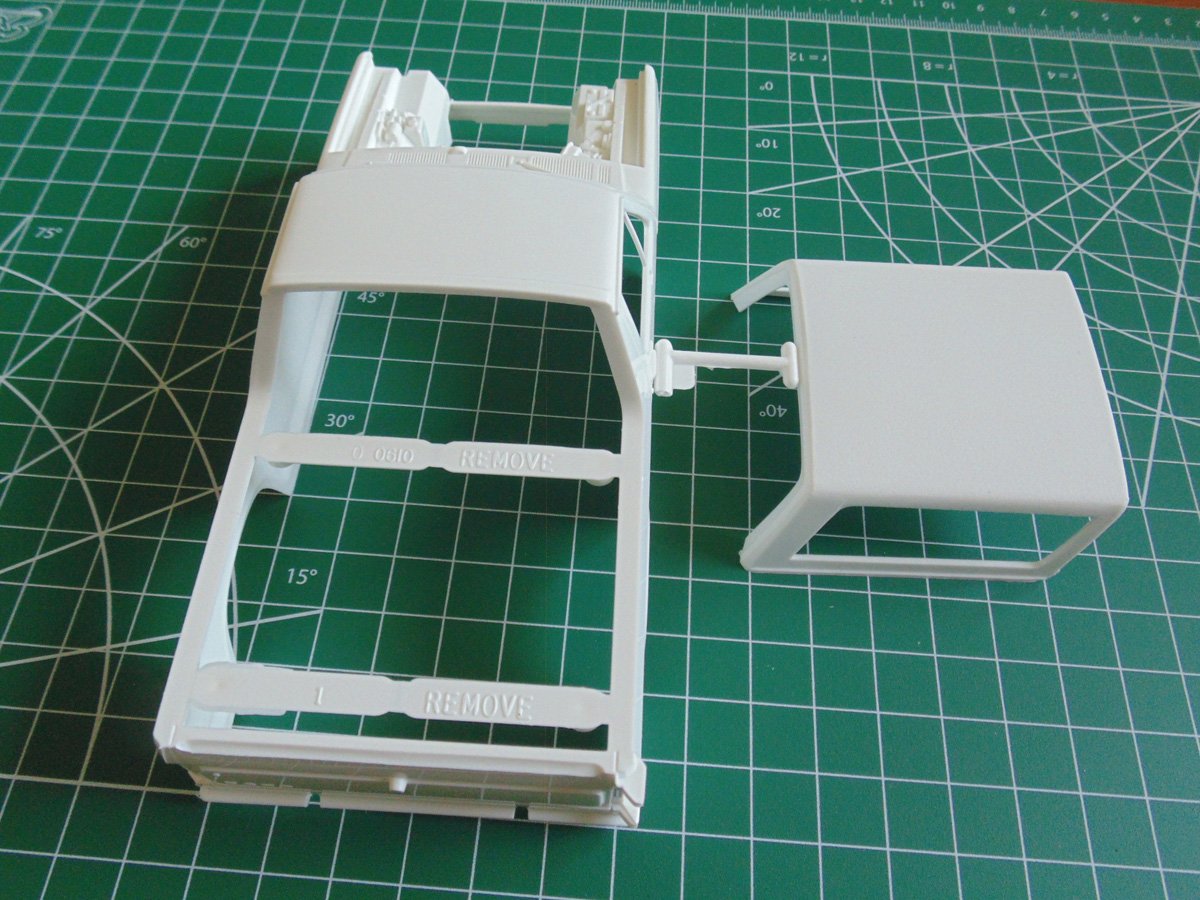
The truck body and rear cover.
You get plenty of points to highlight with the interior of the engine bay.

Let’s not forget about the crystal-clear parts. These are very cleanly and carefully made. Some of the best I’ve ever seen.
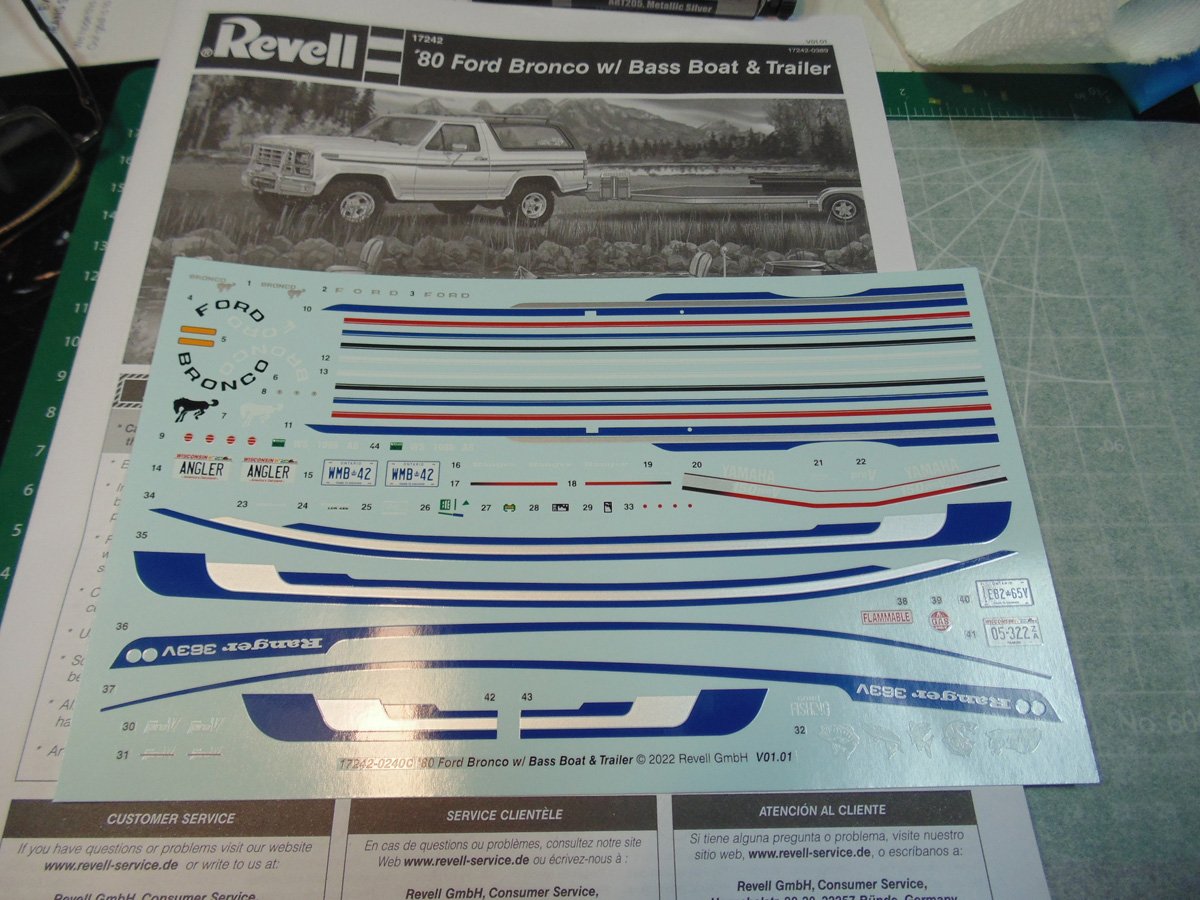
These decals are glorious! There are so many tones and the shapes conform extremely well to the many surface changes. I’ll get into that much more in the build article.
If you have any questions about the product in this “in-box review” article, please feel free to ask the staff when you pick up or place your next order from Sunward Hobbies.
H.G. Barnes is a former voice-over artist and retired sales and marketing professional. He’s the author of two large volume science fiction adventure romance novels with many more in the works. For well over 40 years he’s been building scale model replicas and now does commission work for clients in Canada and the USA, plus completes projects for companies in Asia and Europe.
Currently H.G. is involved as an Associate Editor with KitMaker Network’s Online Magazine Channels.
Next Post: Part 2