
Revell 1980 Ford Bronco Bass Boat and Trailer Set Build Part 2
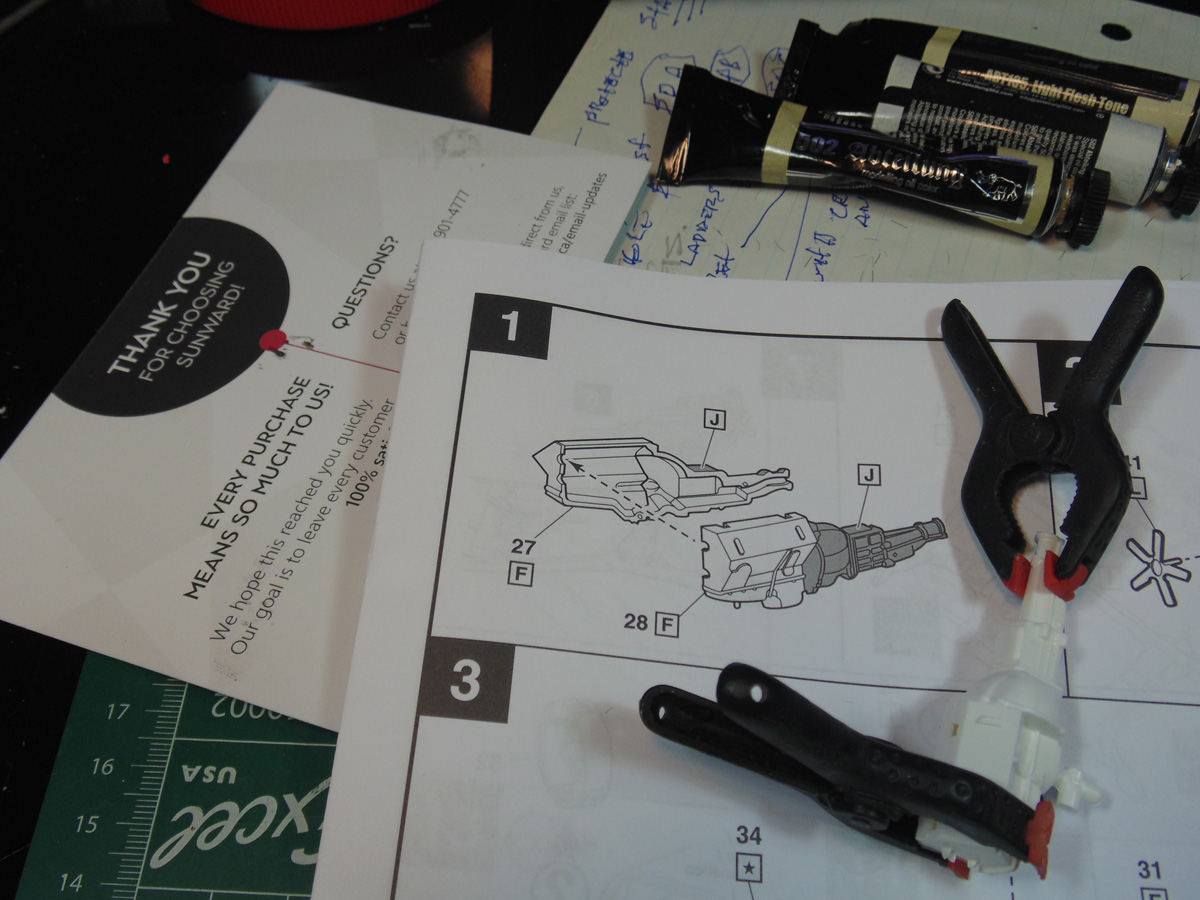
In this Sunward Hobbies article I’ll be kicking off the build of the Revell nineteen eighty Ford Bronco and bass boat with the trailer. You’ll see plenty of tape masking tips along with ways to paint this super interesting version in time. The Revell 1980 Ford Bronco with Bass Boat and Trailer Set Gone Fishin 1/24 Scale 17242 85-7242
Hat’s off to the store for carrying non-rock throwing machines of a war. Let’s dive right in.
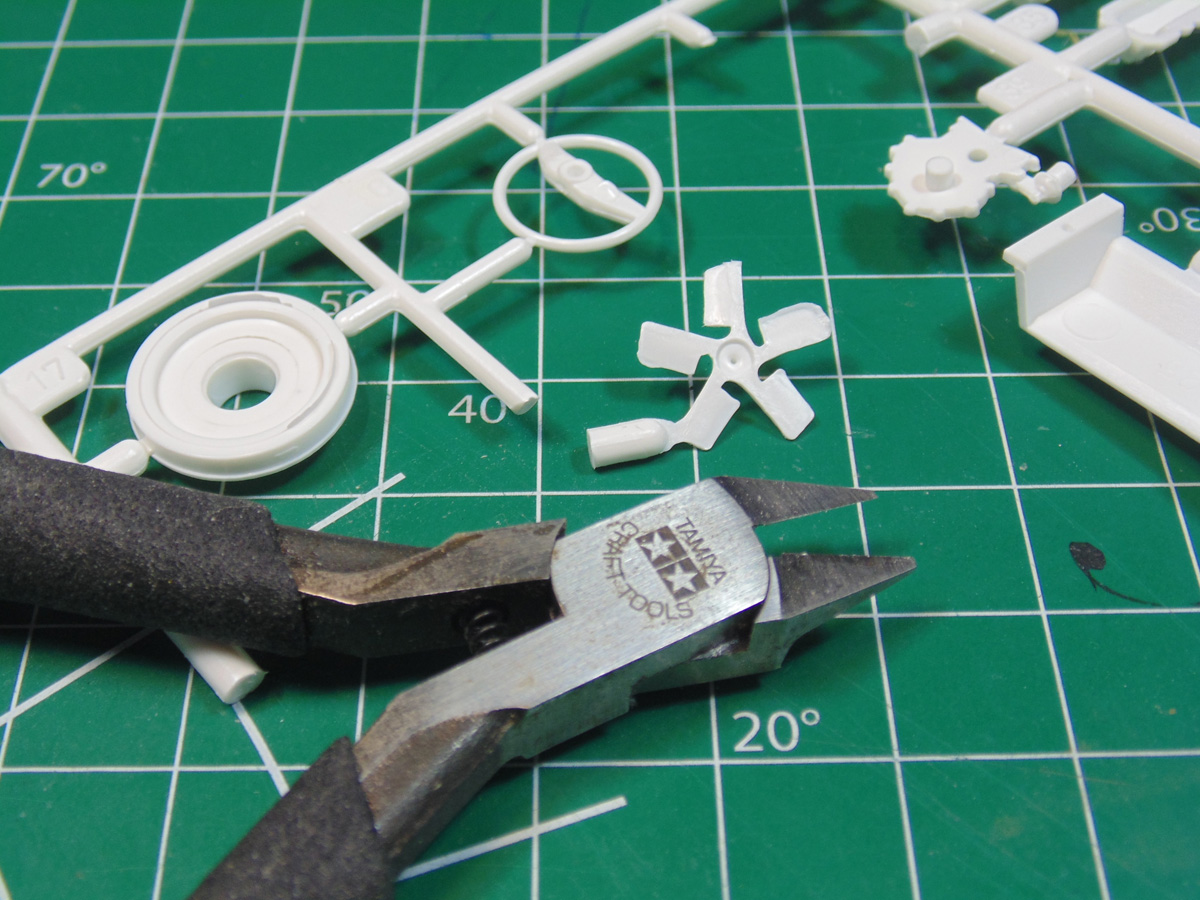
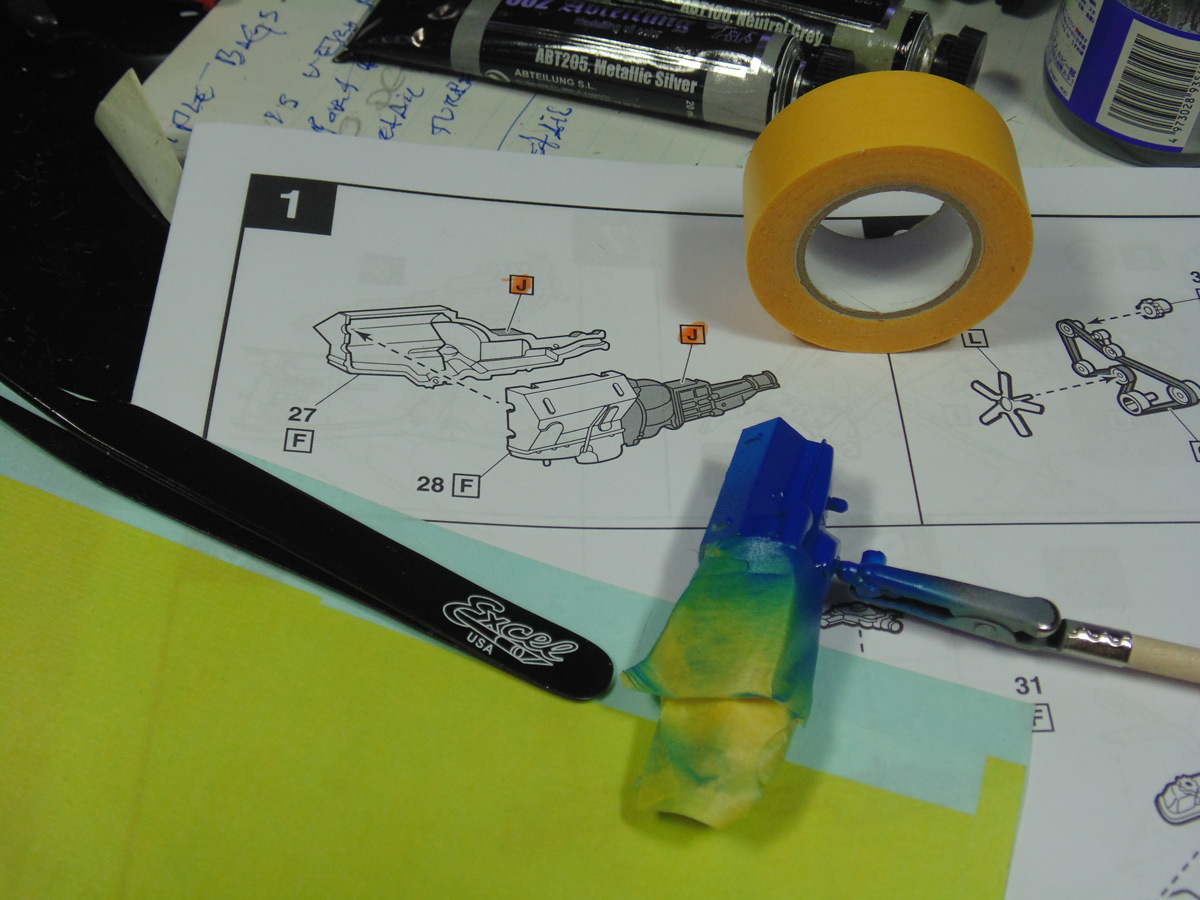
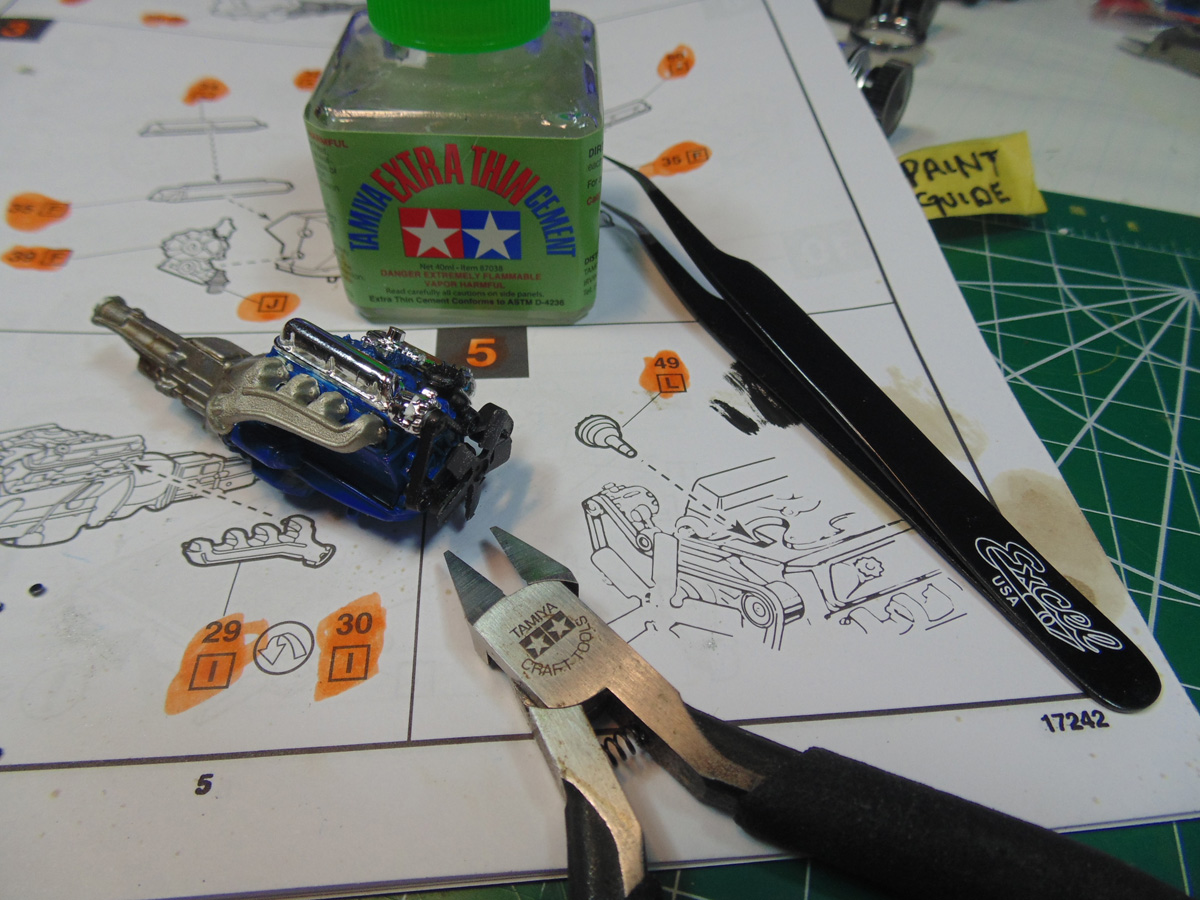
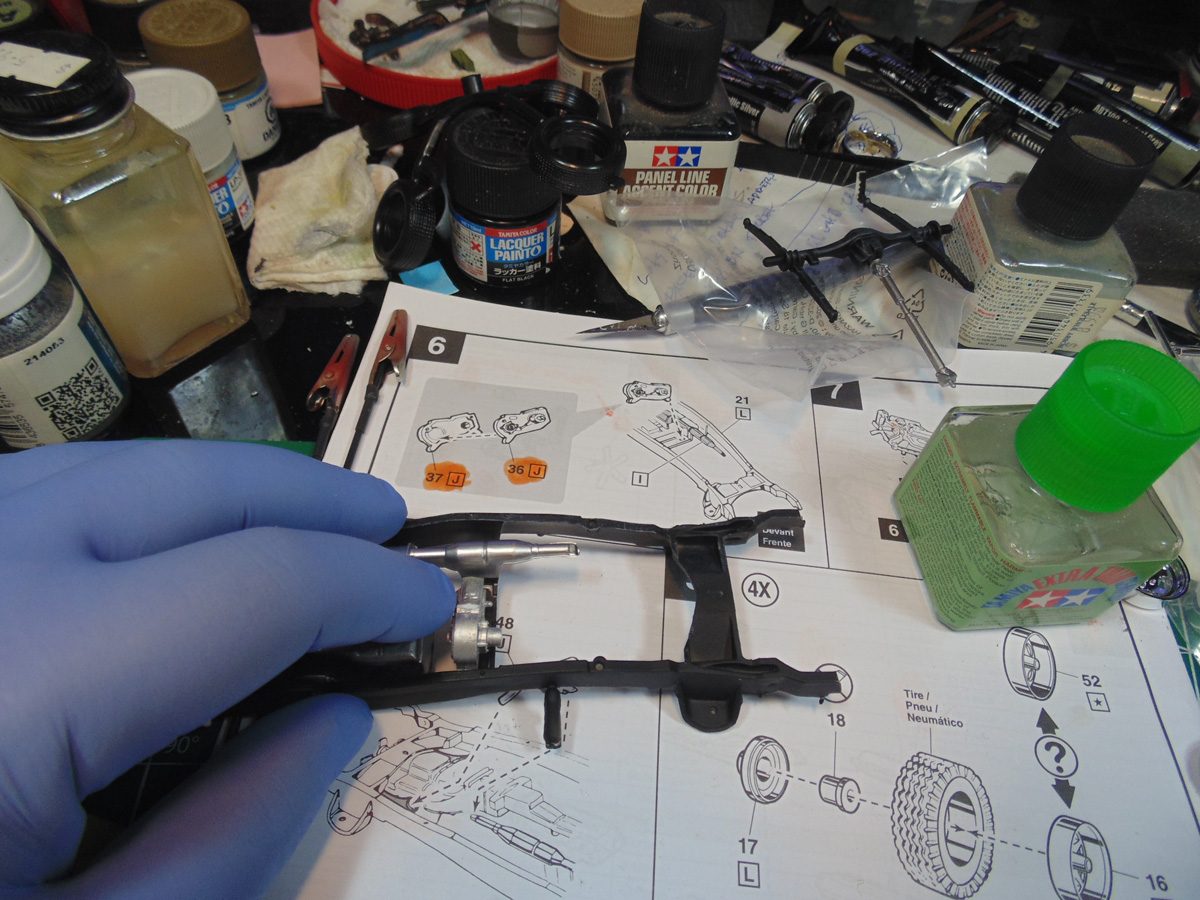
The engine parts need a slight amount of clean-up on the connection points in order for them to fit well. It is certainly something you can easily do, yet it is necessary.
Leave the ends of the connection points on your parts for an easy way to join them to a crimping holding stick. Pickup, from the store, a decent side-cutter, such as this Tamiya brand, to make the job move along more smoothly.
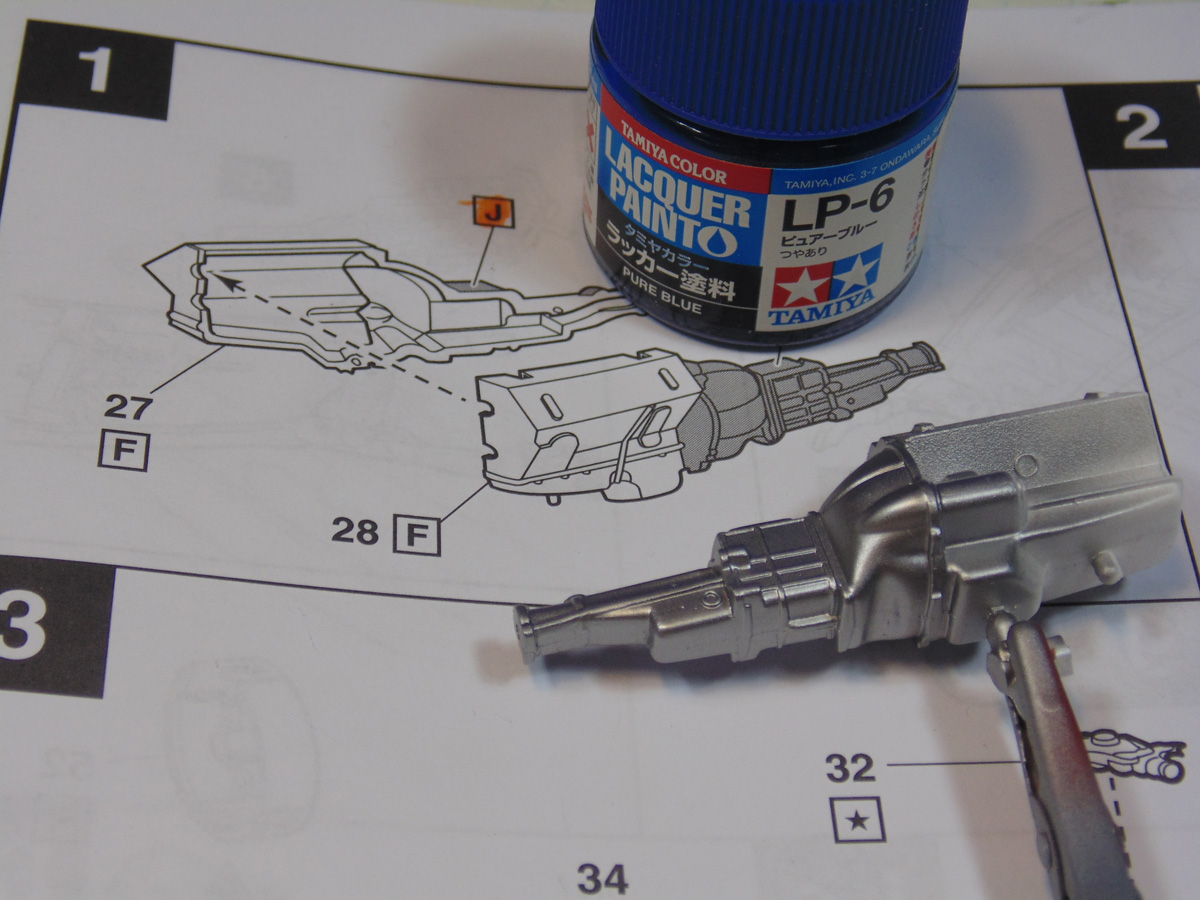
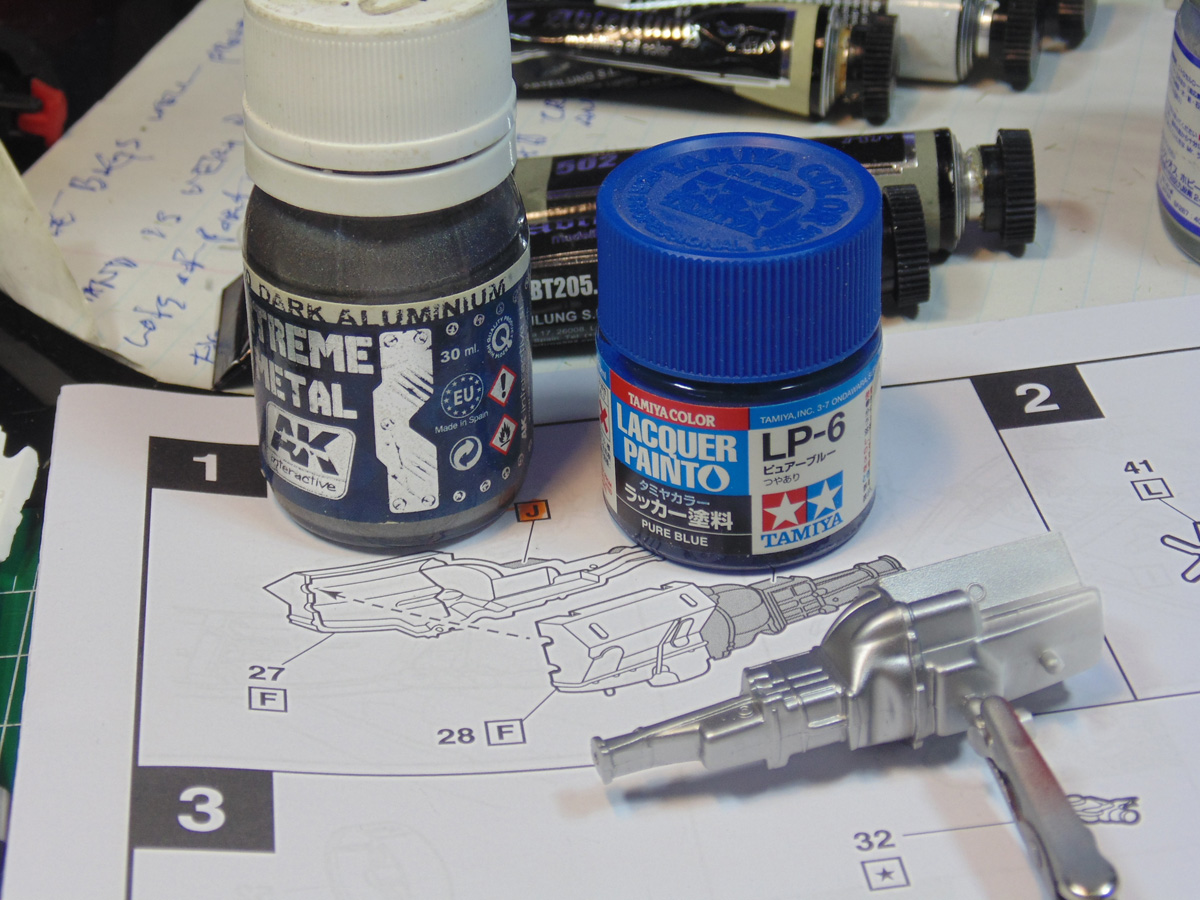
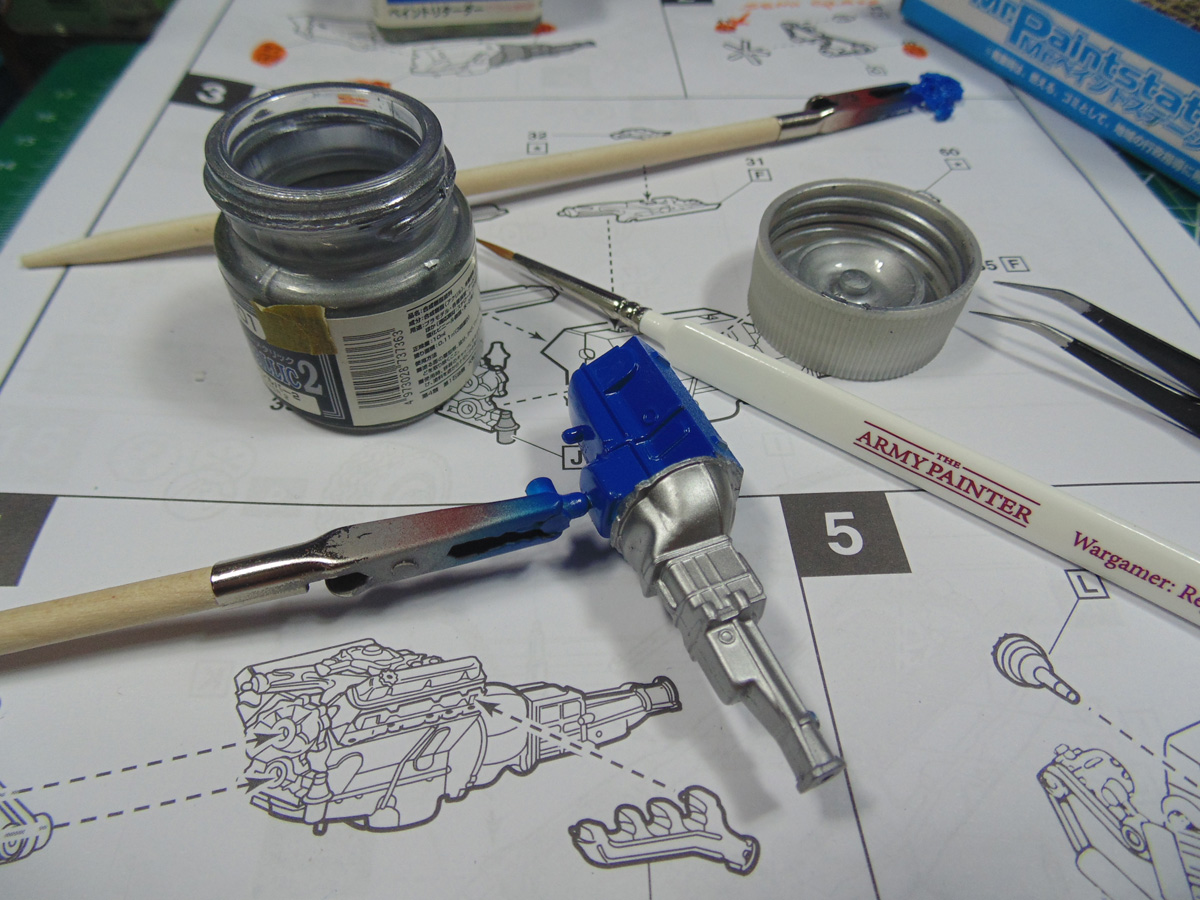
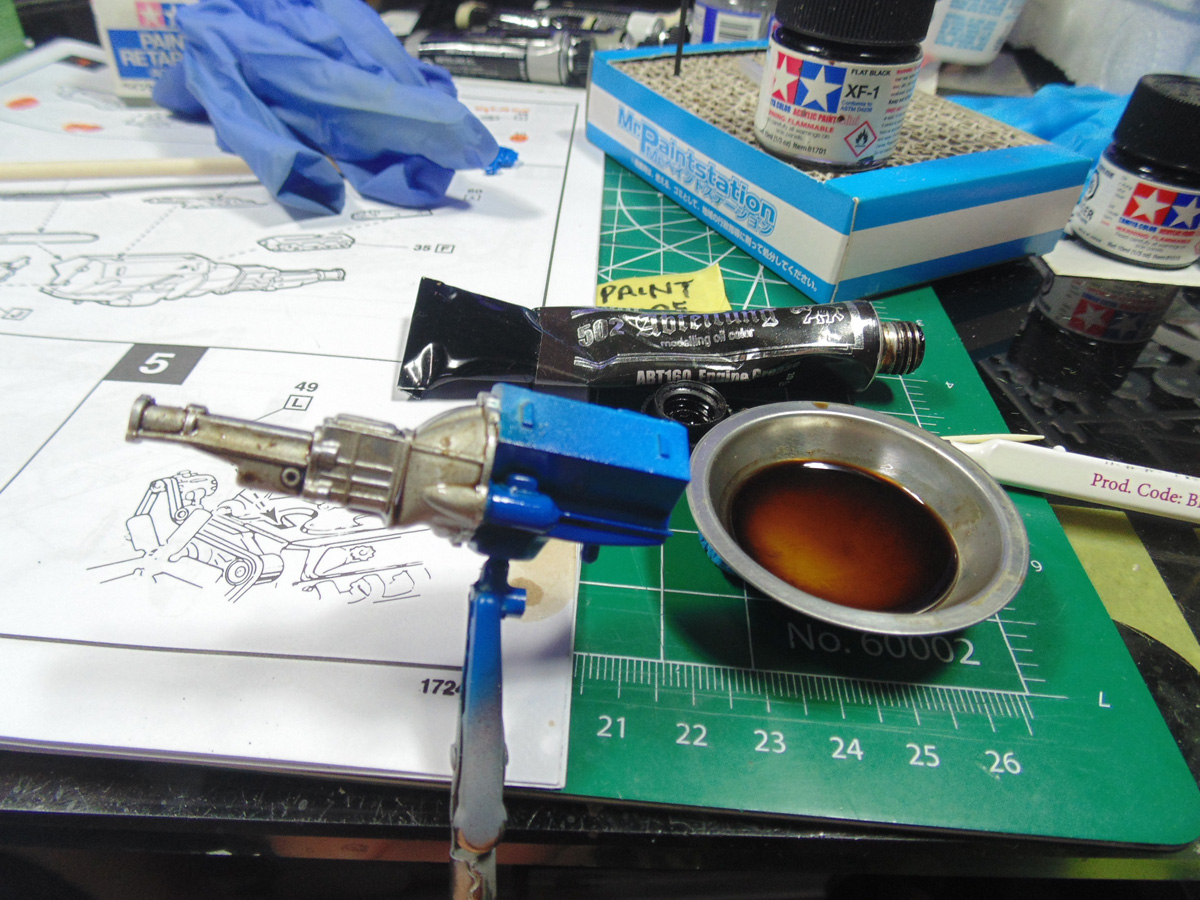
Here I’m setting up for the engine paint work. The AK Interactive Xtreme Metal steel colour is a great choice because it adheres to this type of plastic and melts in well, even without having the surface being coated in primer. Let it settle in for a few hours before you man handle it.
There are certain parts of the engine you can have fun improving. Over the steel colour I painted a few of the caps with dark aluminum, just to give the look more depth. Again, let this rest for several hours before handling it.
With the different tones on the transmission now hardened I’ll spray the engine block. You will need to lightly prime this space with any primer you can buy at the Sunward hobbies store prior to painting. Some masking should be considered. In this case I used Mr. Hobby one-millimeter precut strips as a starting point to get tight to the edges more easily. Then came the bulk of the masking with Tamiya Masking wide tape I purchased from the Sunward store. Just gently touch the wider length on the thinner one to get a decent bond.
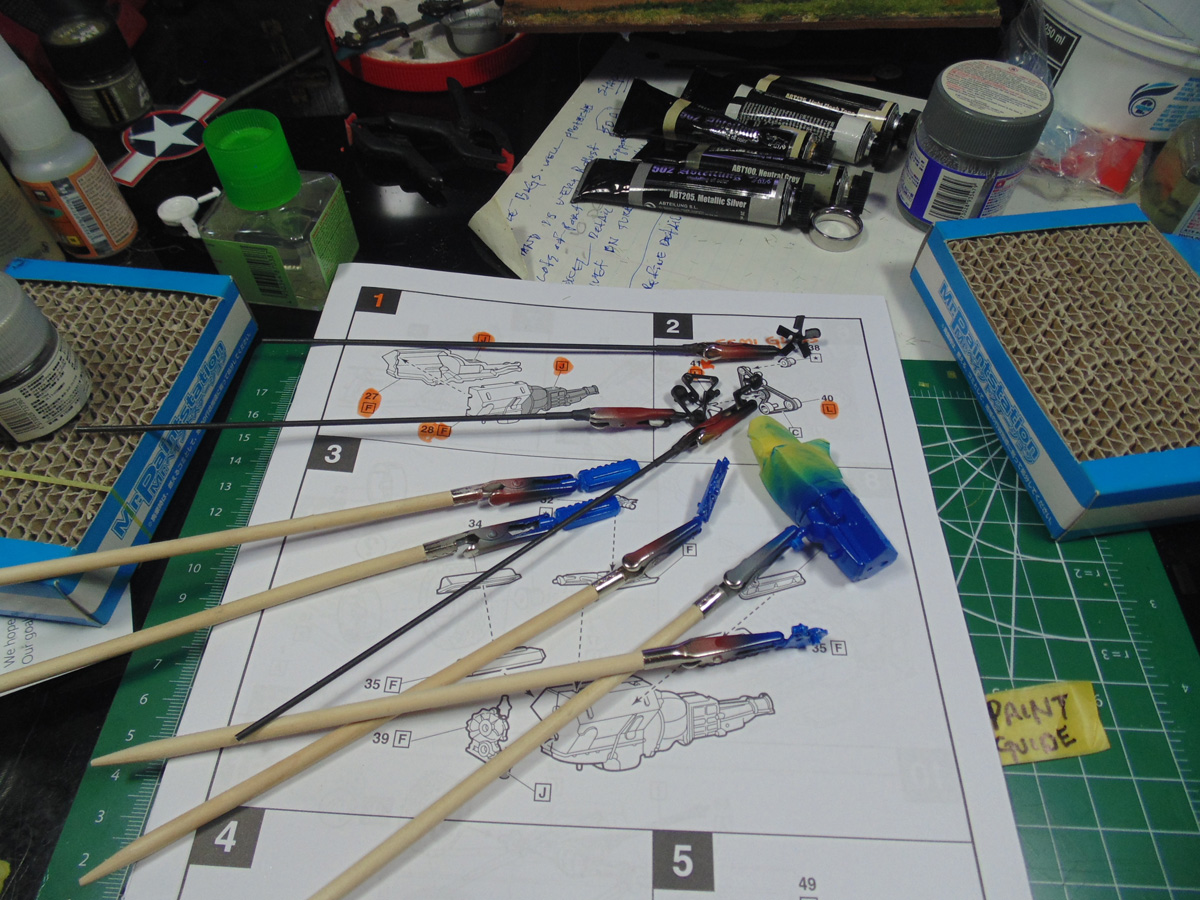
The other engine parts are easy and fun to paint up. Make sure you have them on sticks for comfortable handling. Sunward Hobbies have all the items you need to get the task done. Please excuse the clutter on my author’s desk, it’s part of the process you will experience.
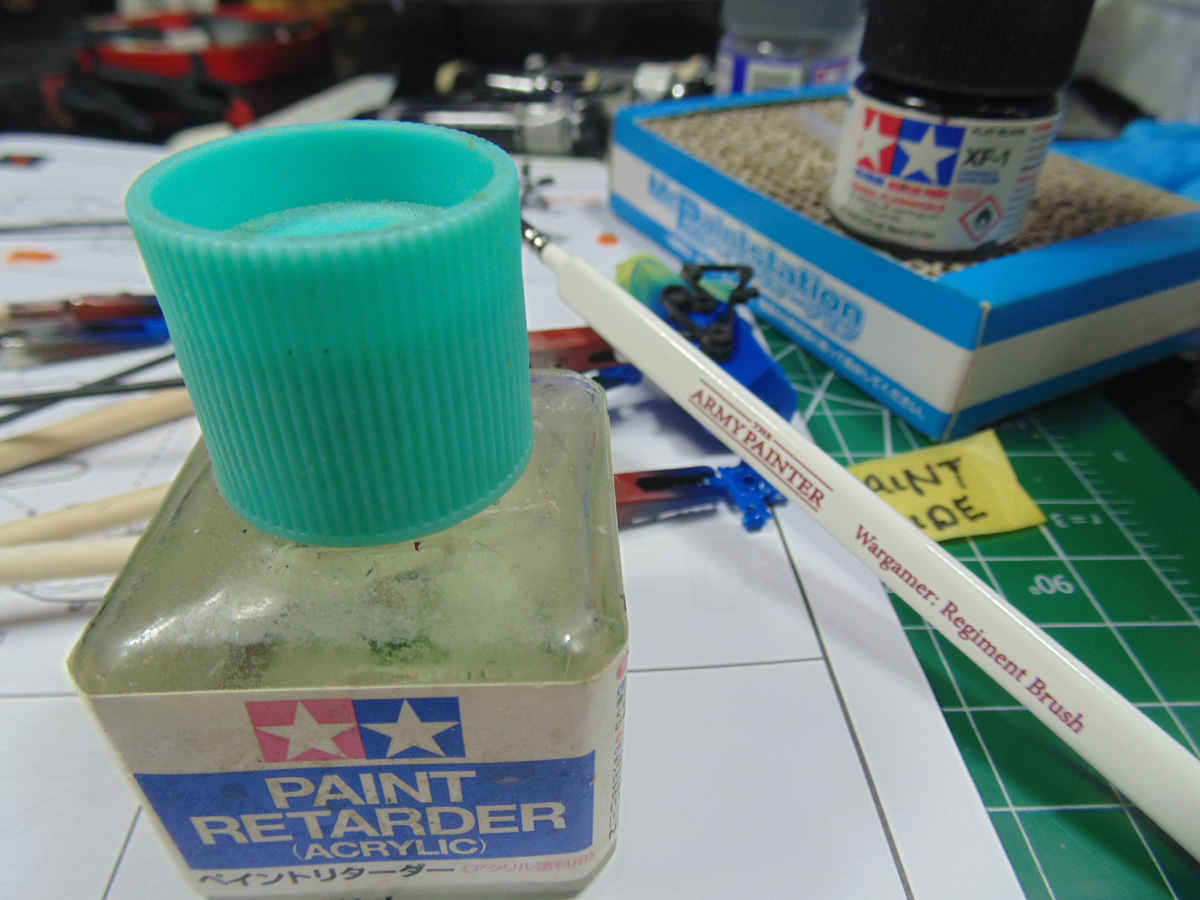
When touching up minor spots I’d strongly recommend buying a jar of retarder to blend with the paint. Mixing it is a cinch by simply placing your brush edge in the fluid then on the open jar lid. Swirl it about for a few seconds and you’re good to go. Tamiya paint retarder 87114 slows down the rapid drying time so the surface can level for a smooth finish.
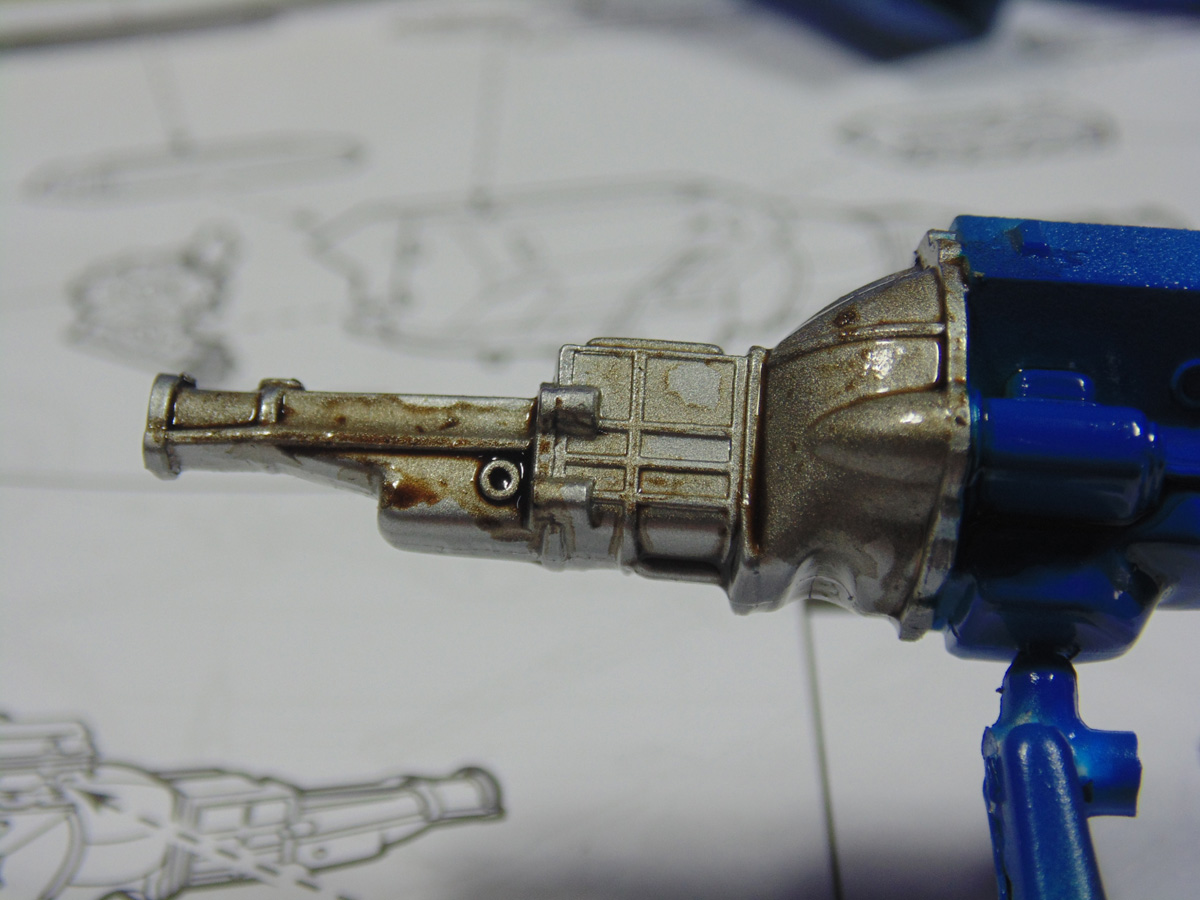
Here you can see the subtle tones of metal on the transmission. This is easy to pull-off and definitely easy to notice after the engine is installed. Pick up a quality set of brushes from the store. They will go miles with all your future projects.
Adding an oil wash will also add life and realism to your project. Sunward Hobbies carry these artists pigments and are a must have for slight areas you may want to put a little extra boost to the appearance. Cut the mixture with enameled thinner by fifty fifty or less to gain the desired tone.
When adding any oil wash, it’s really important to remember, regardless of the colour, they need time to adhere to the paint before you clean-up the excess. Pick-up some fine Tamiya cotton swabs from the store and dip them in AK Interactive thinner to lightly remove the unwanted spots.
The same thing applies to the smaller parts. For this fit I would ask you to consider allowing the oil wash to firm up for several hours if not an entire day. Sure, it looks neat, but you will get anything you touch afterwards very soiled and tough to clean-up. Just a tip.
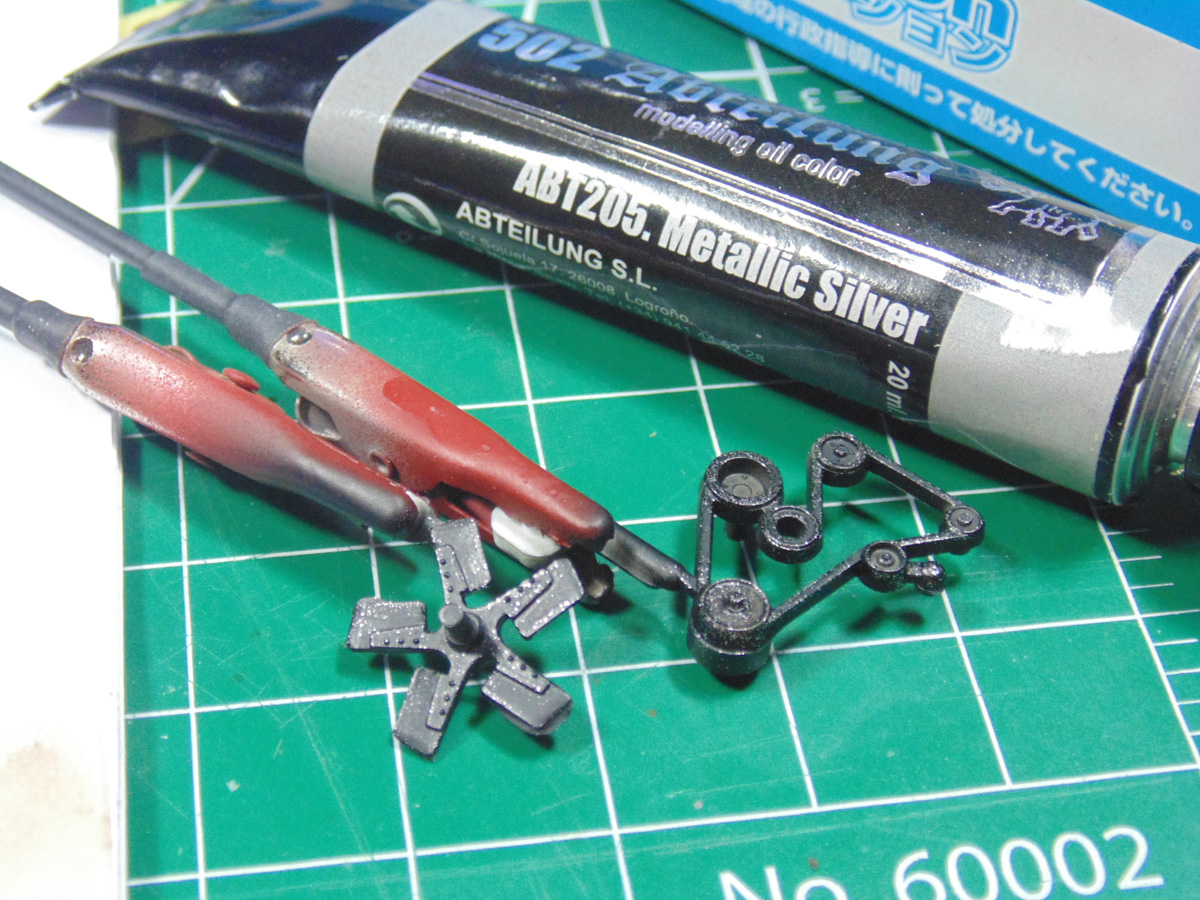
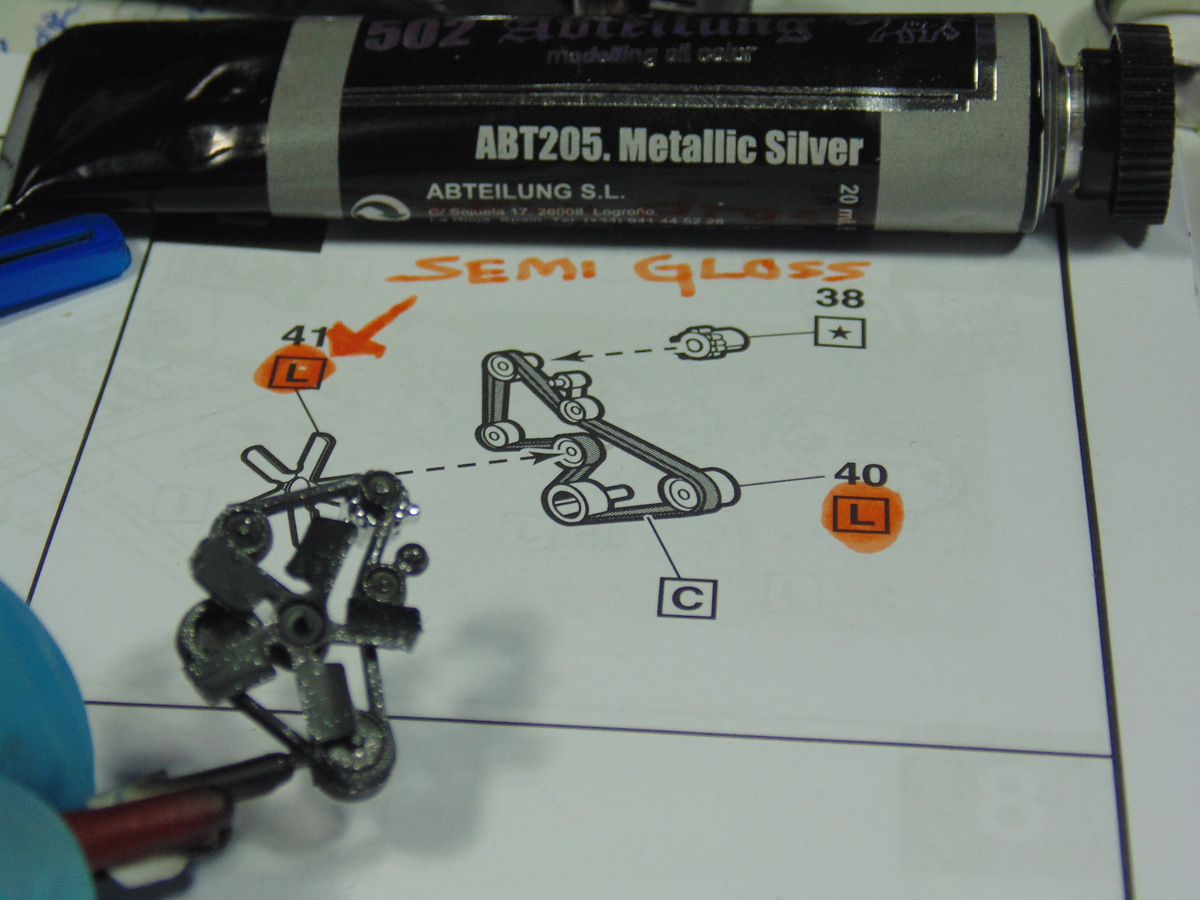
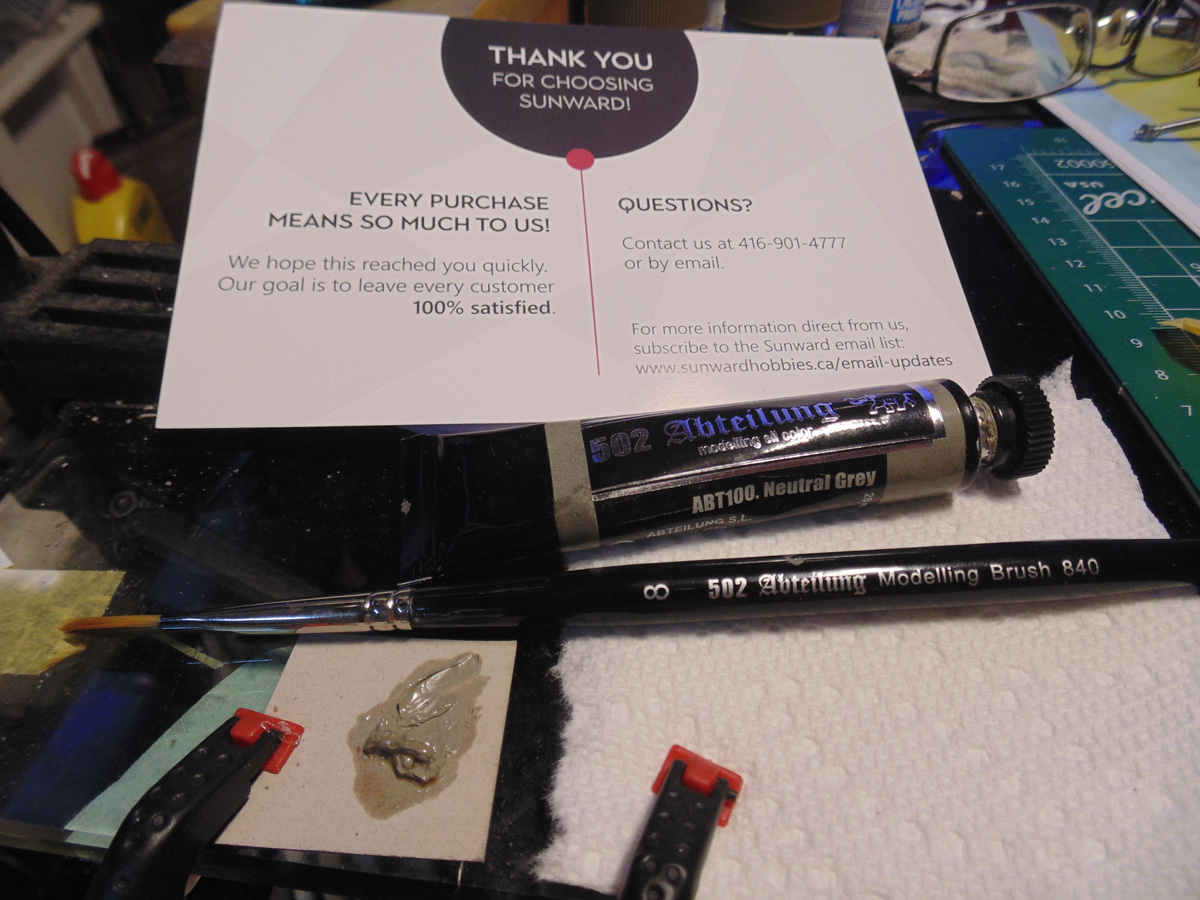
Here I’m slightly dry-brushing Abteilung 502 I bought from the Sunward store. It’s a brand that’s easy to use and blends well with enamel thinner. Swirl off the majority of the pigment before you feather on what you want the appearance to appear like.
Make sure to add a little to both sides due to them both being seen. Allow the glue, paint and metallic oil pigment to set up for a couple of hours before you add this item. This will lessen the chance that they may come apart.
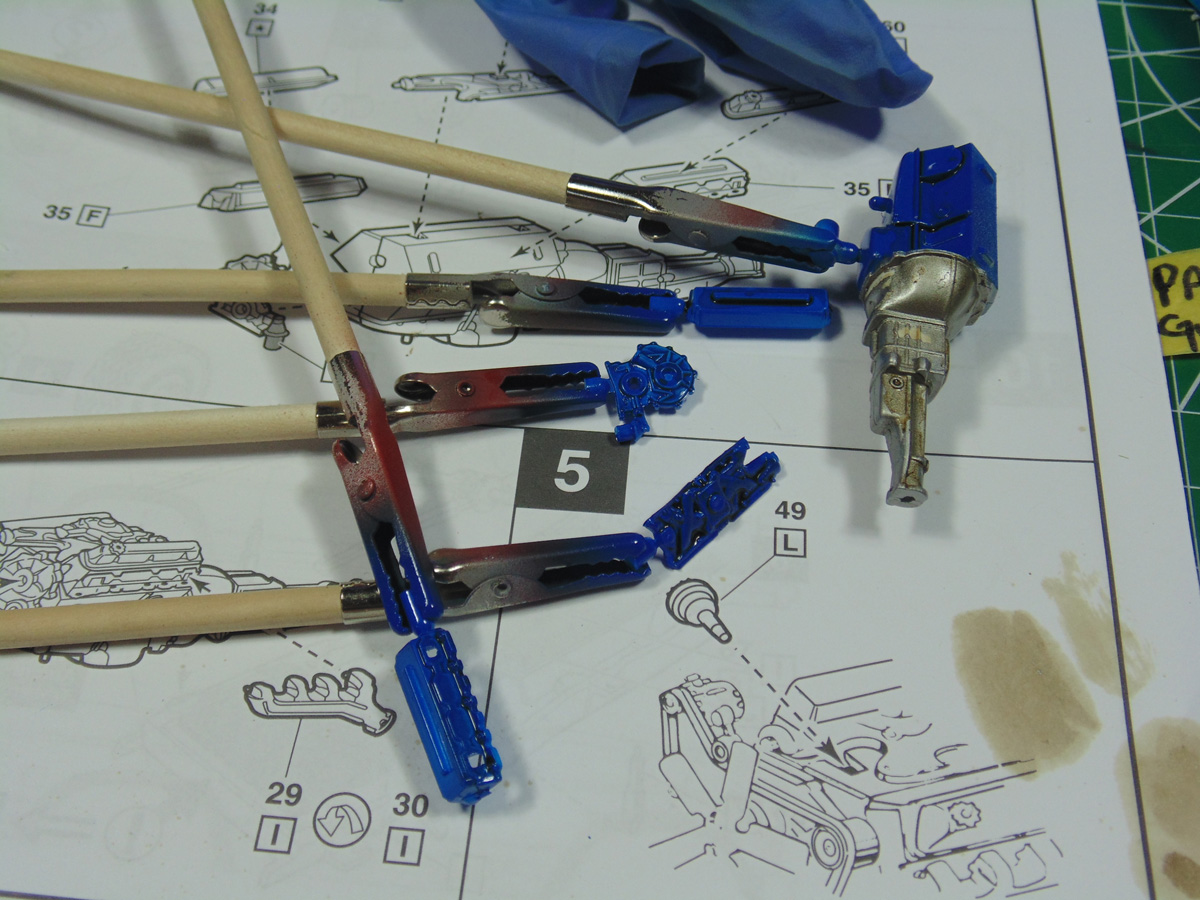
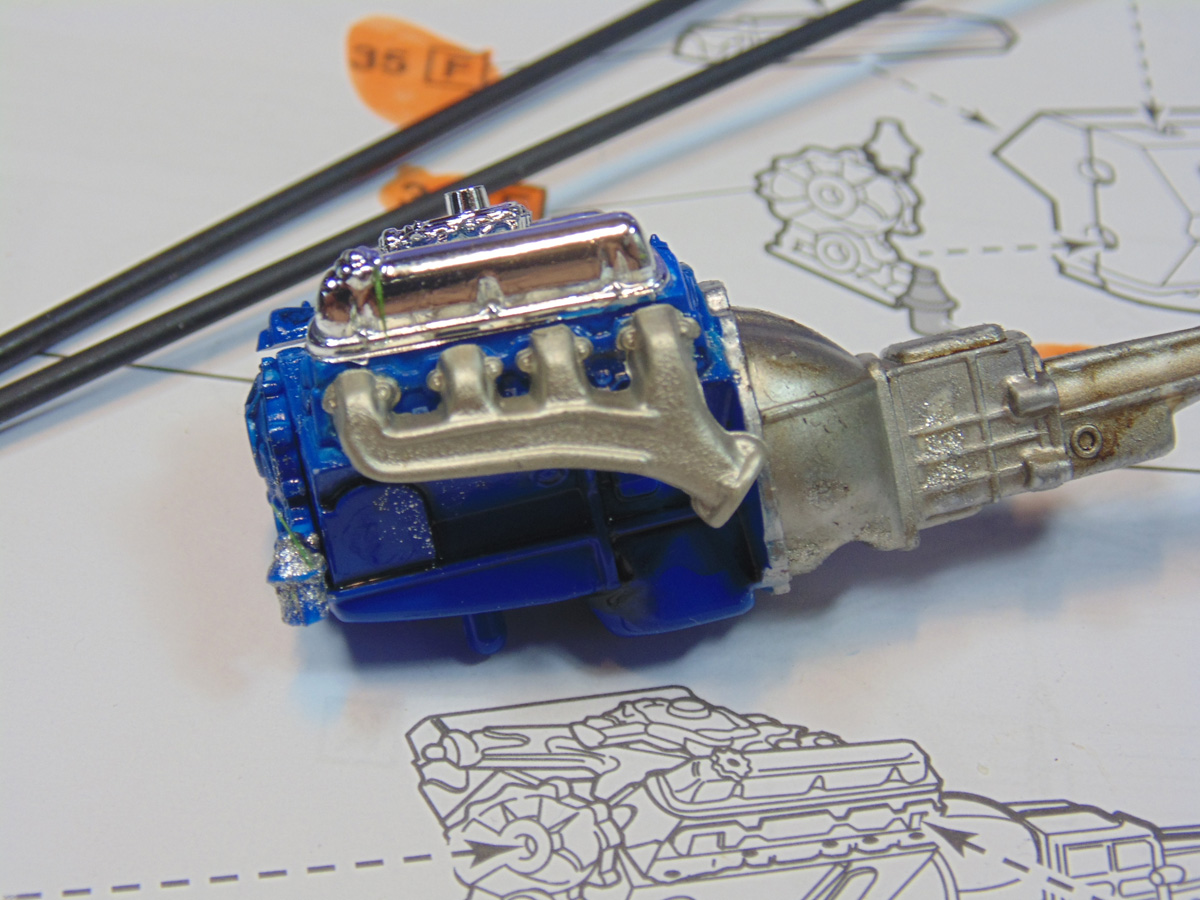
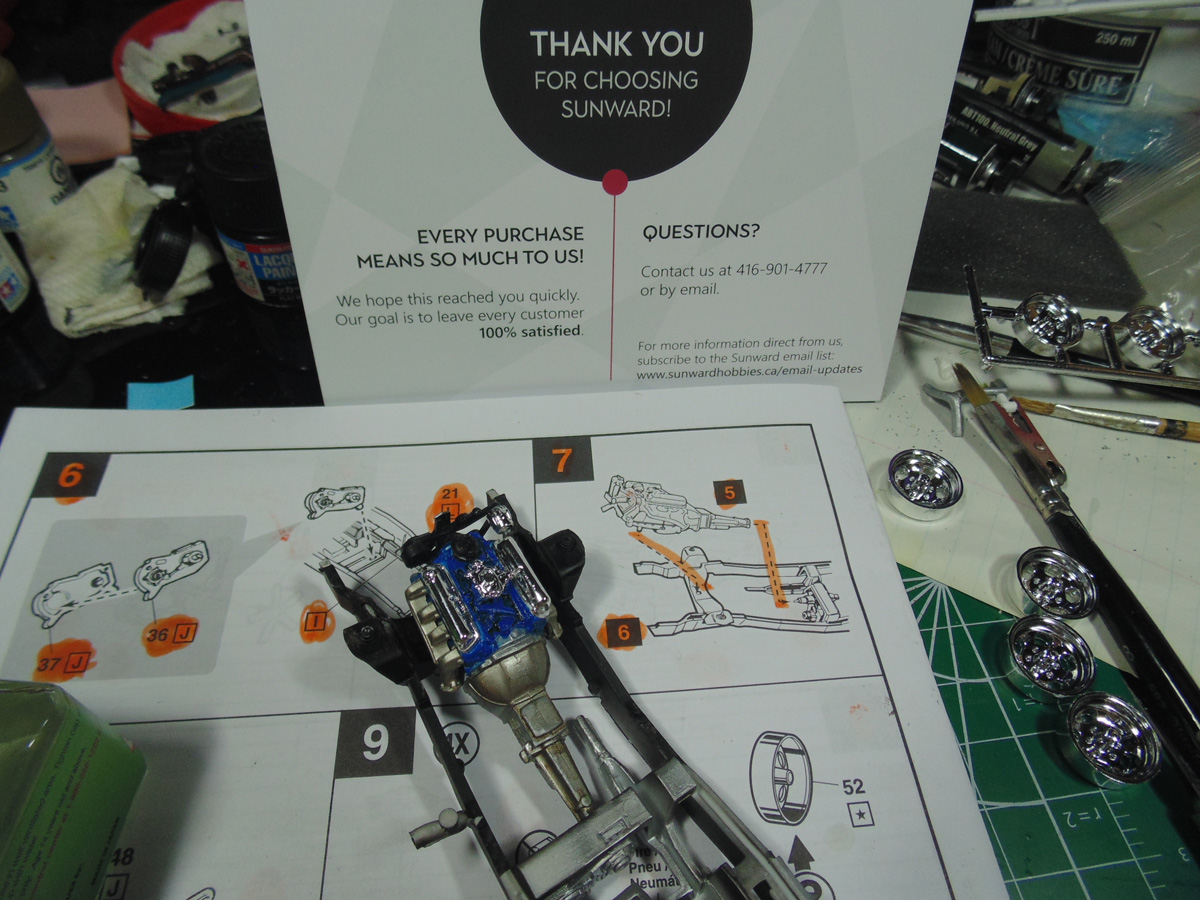
I’m giving Revell another tip of the hat. The engine has some splendid details to add on. You can go to town adding wiring or even adding more slight weathering effects to the little parts. Spent a few minutes to remove the paint and primer from the connection pins in order for them to slip into the slots.
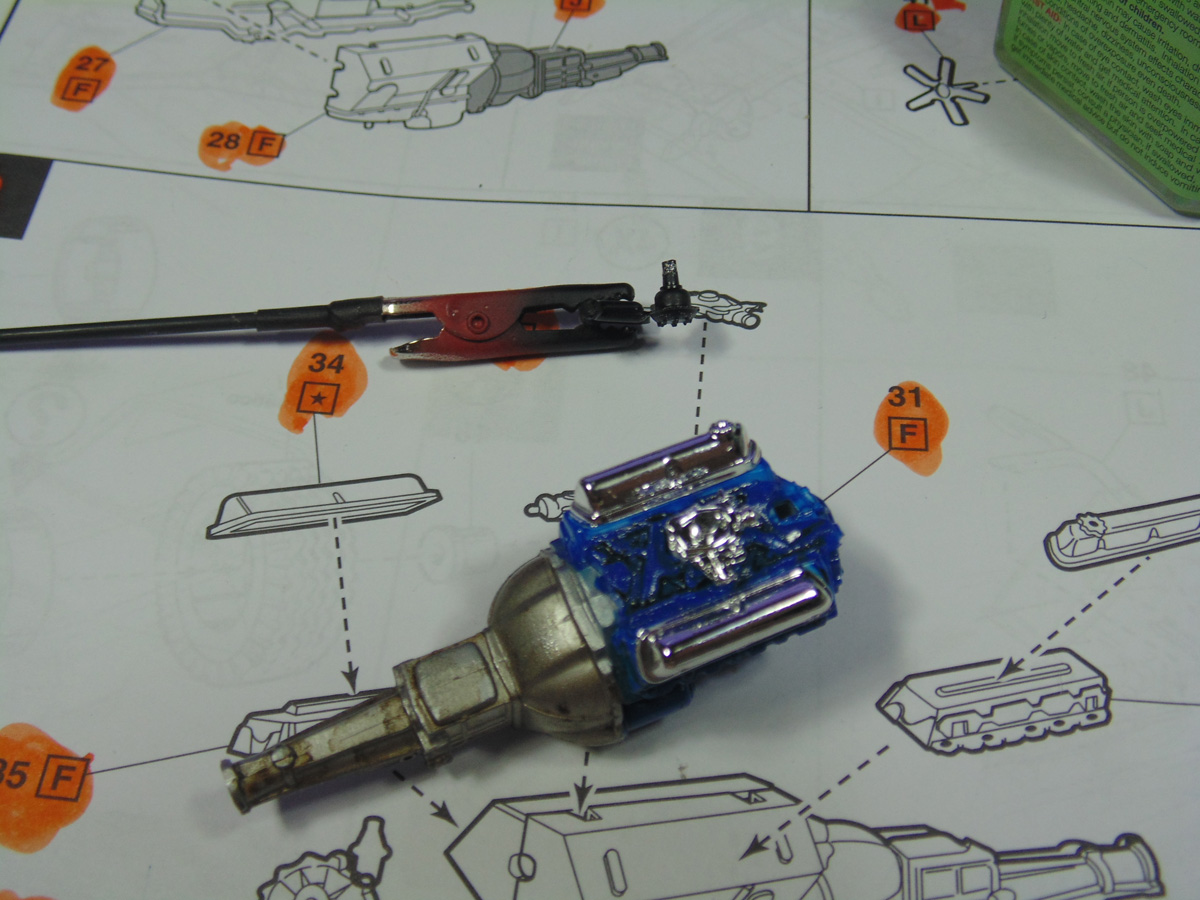
The exhaust manifolds were sprayed with AK Interactive steel. For obvious reasons they did not need to be weathered. This simply shows that you do not need to spend time highlighting some parts if you are using the right product. Consult a member of the Sunward Hobbies staff. They are all extremely helpful.
To get the spacing right in order for them to clear enough distance from the radiator you will have to snip a tiny bit of the connection pins. They will still inject easily and the cement will bond this securely. Let this rest for an hour before going back to it.
Always use a quality side-cutter and tweezers for these small, yet important, tasks. Please use a small bit of paper towel to wipe the tips of tools after each task to keep them fresh for the next one. This way they won’t contaminate any further work.
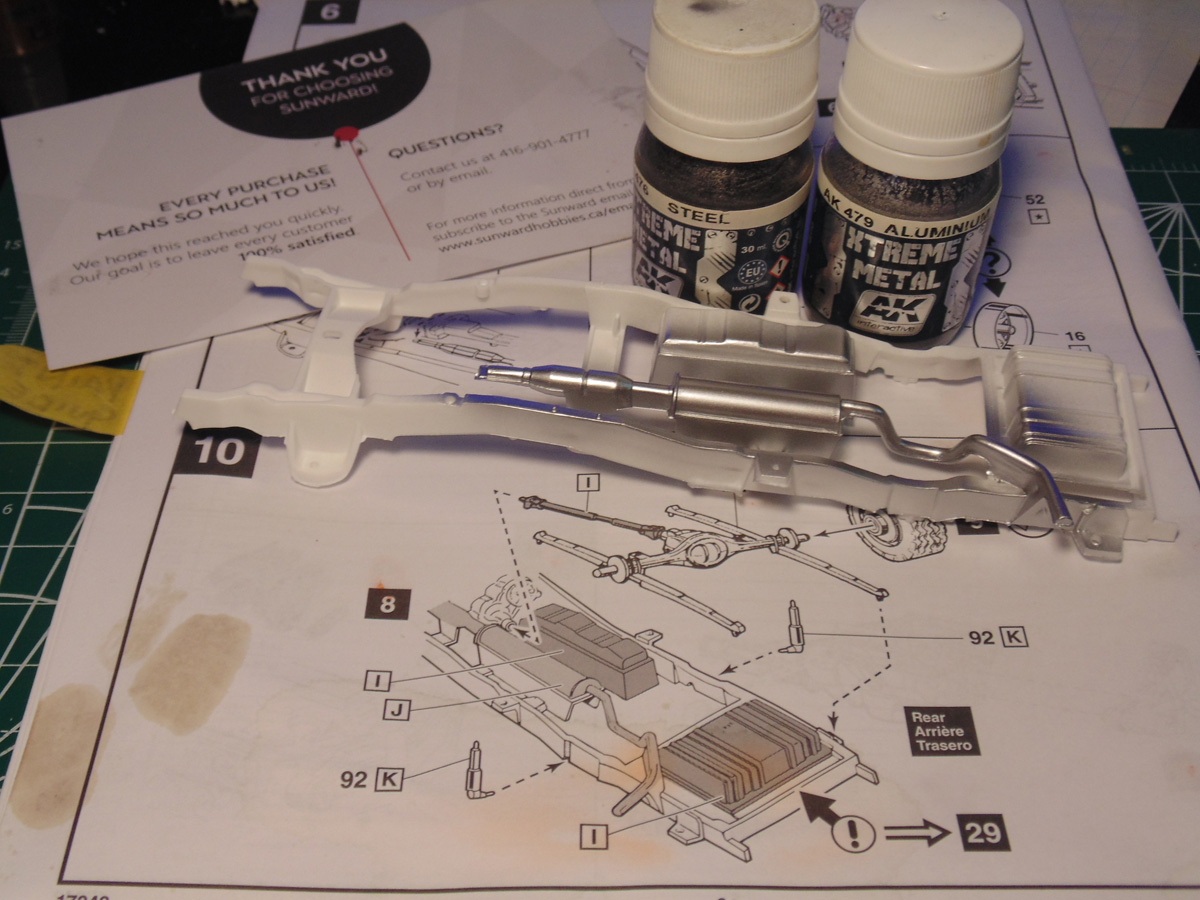
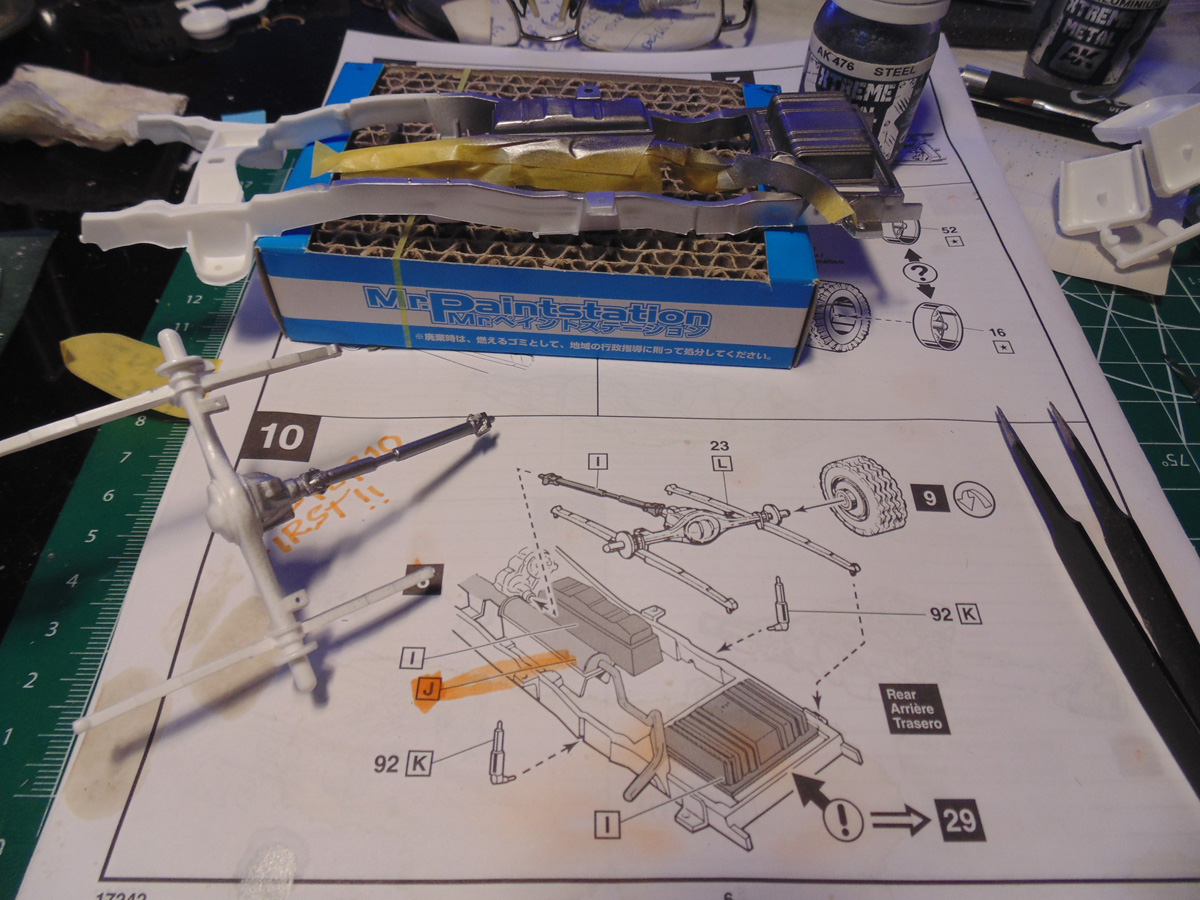
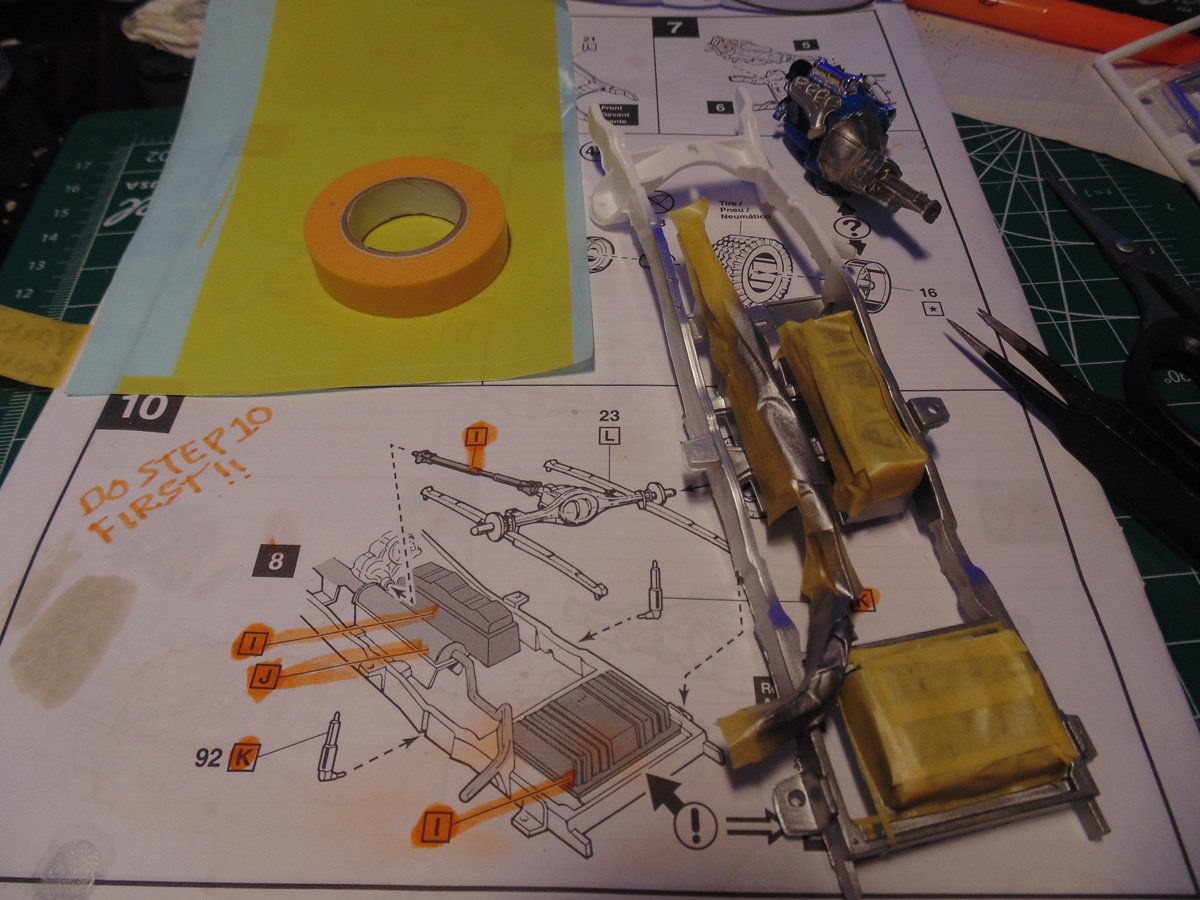
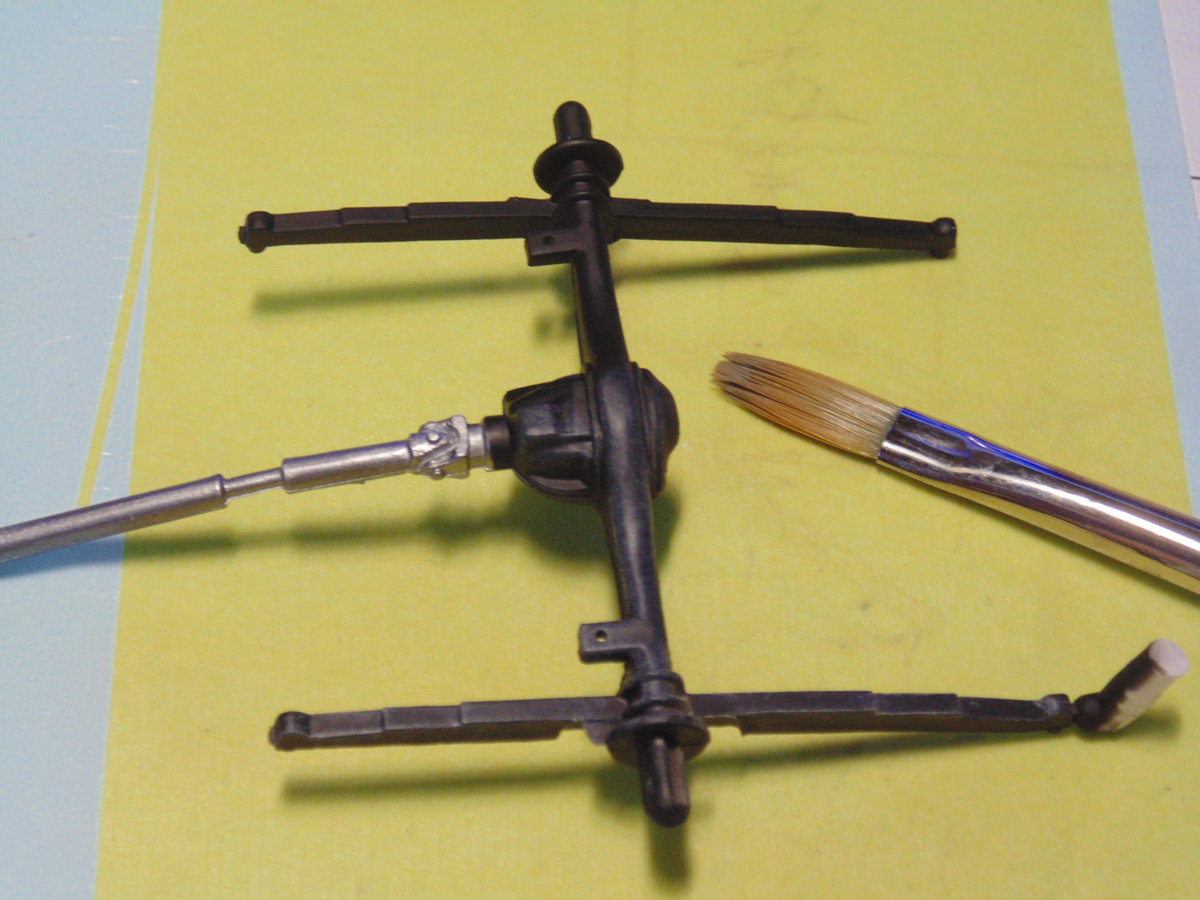
The frame is a one-piece affair. Get the lighter metal shade completed first. AK Aluminum is easy to spray or even to hand paint and looks glorious when it has eight hours to dry.
Mask the length off as best you can. I employ a dozen widths for this tape. Ask the Sunward Hobbies staff which will suit your skill level. For myself, I take ten-millimeter and eighteen-millimetre widths and put each length on my cutting boards and slice them away as they are needed. Sure, it looks a bit messy, but this isn’t about perfection because the model is not perfect on the underside.
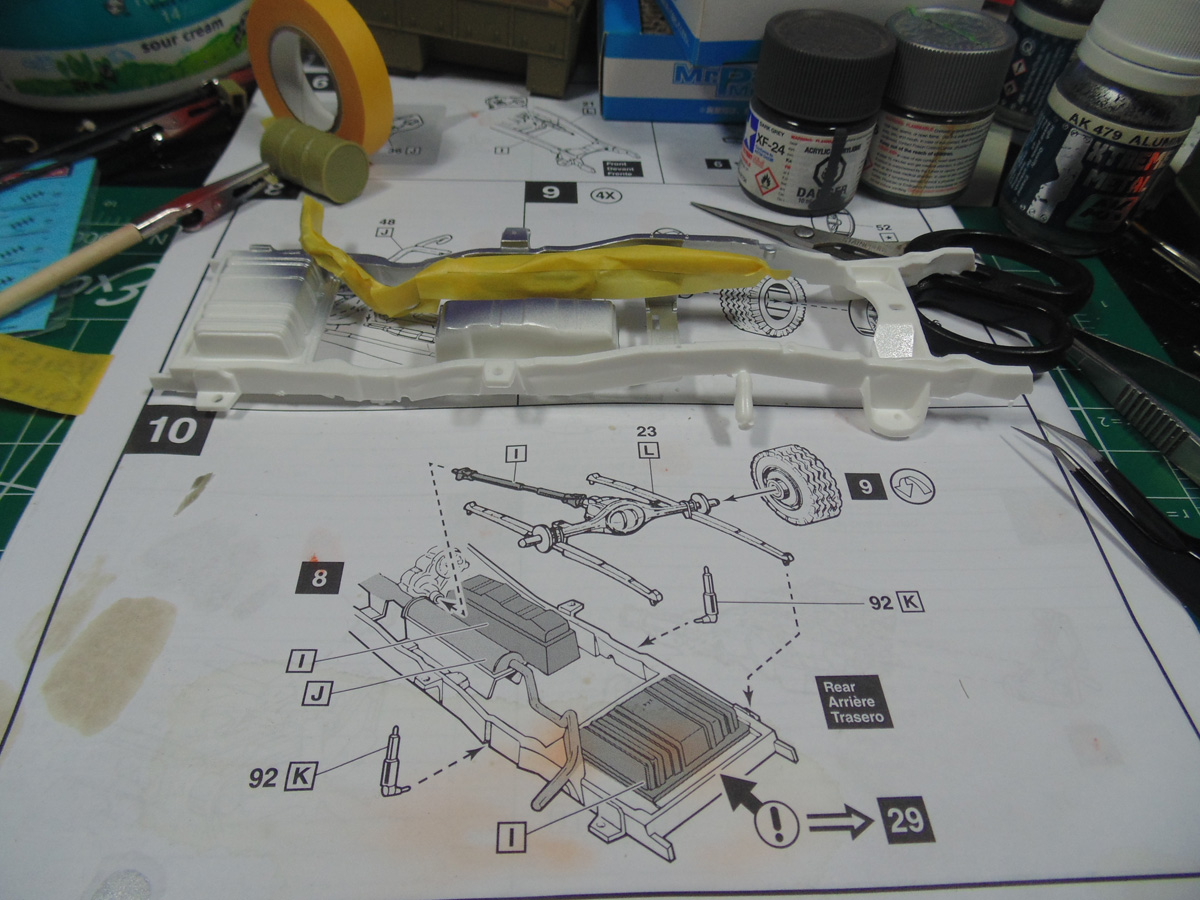
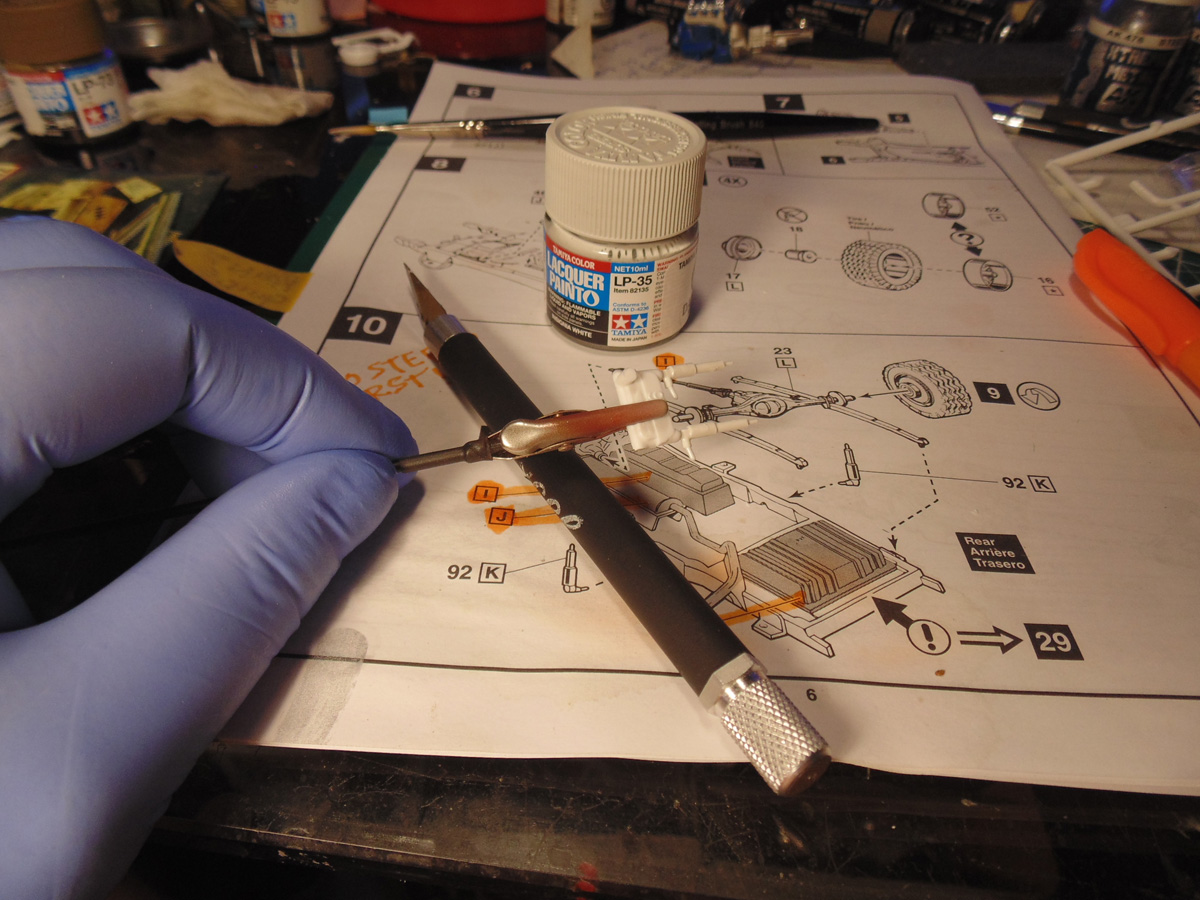
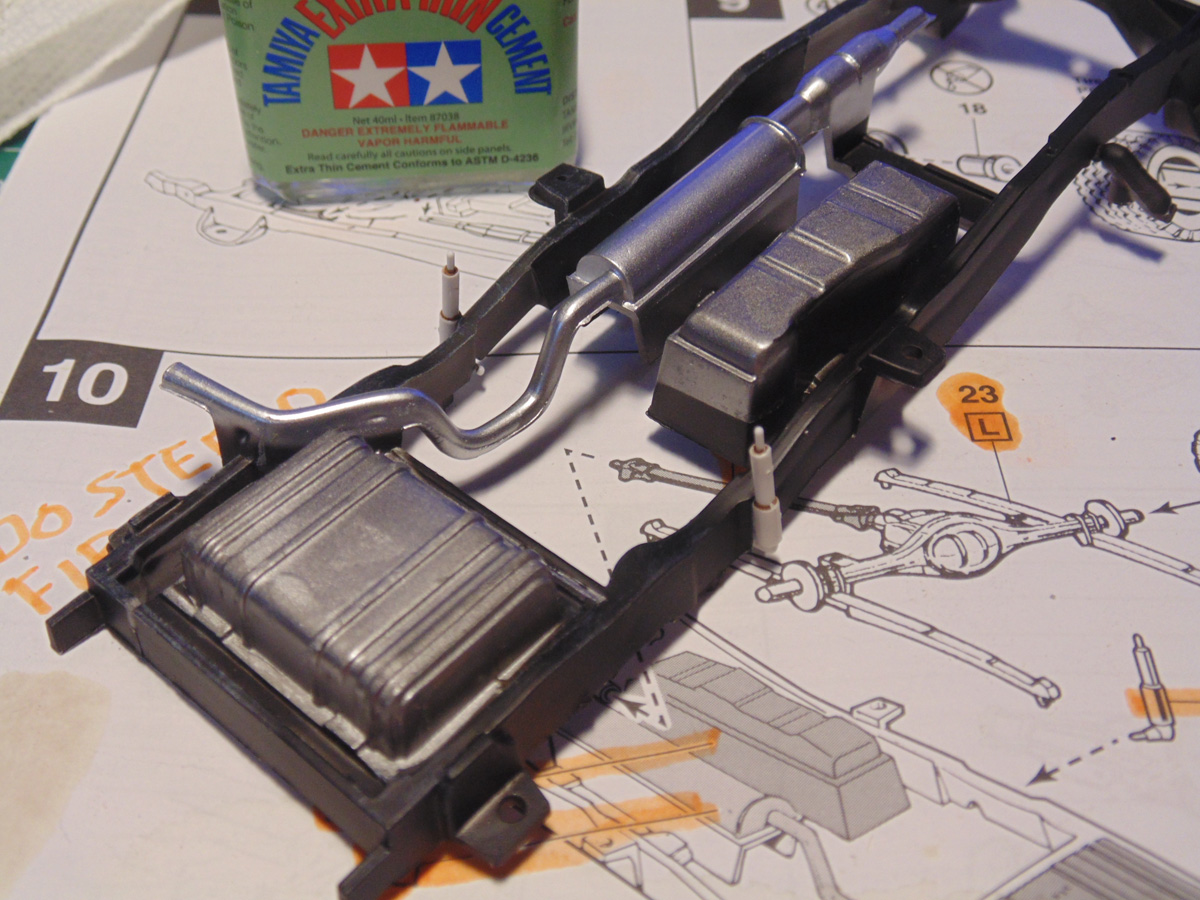
Here you can see the darker metal tone Revell have called out for the fuel tanks and drive shaft. This is why you mask previous areas. The rear axle should be forgotten because its paint colour does a great job with offsetting the look of the floor. You’ll see this later, yet for now just follow the steps. You’ll, for sure, want to tackle step ten first in order to make the process much easier.
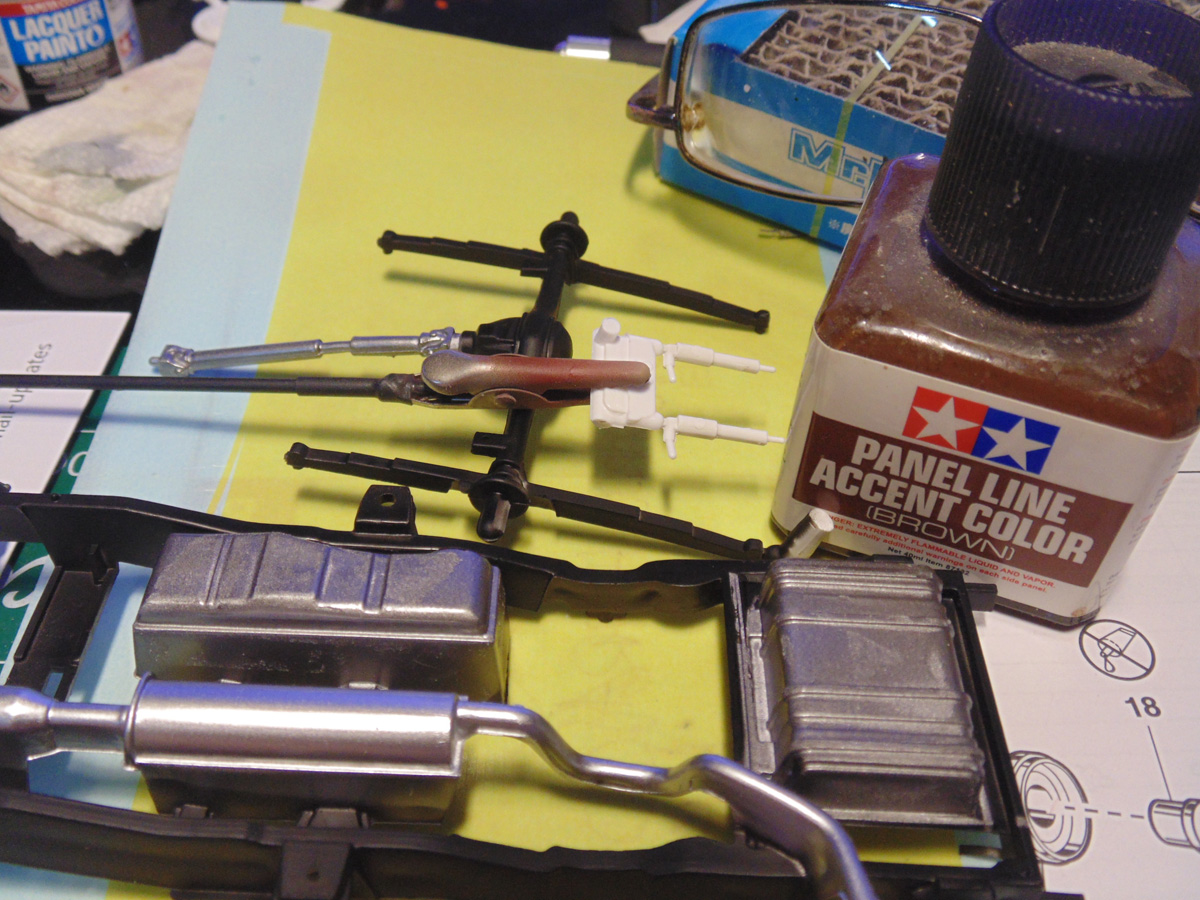
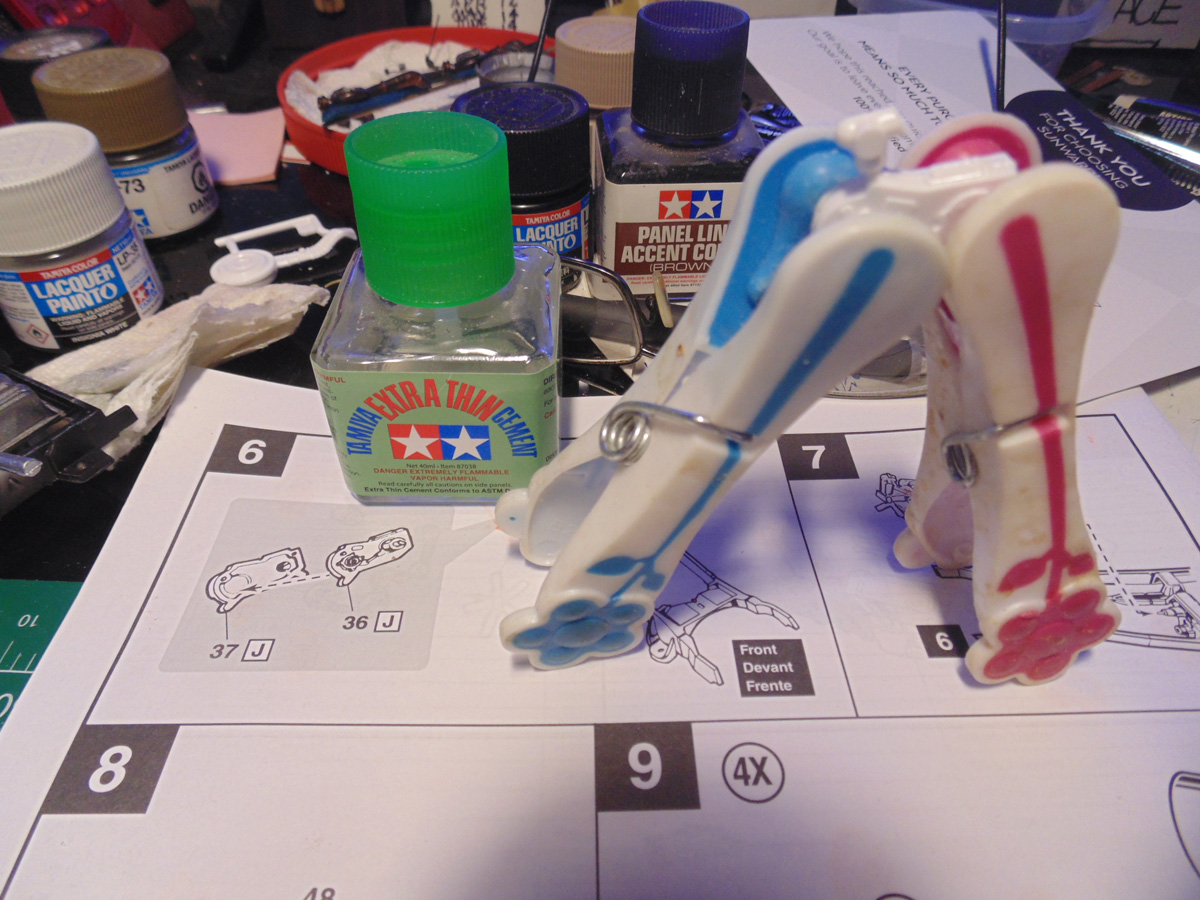
The aft shocks need special attention with cleaning up the flash and connecting points. In this article I sprayed them off white insignia. The colour is more realistic to a vehicle that has recently come out of a car wash and is driven to go fishing.
Masking this area is your call, yet it does make a difference if you want the replica to look more emboldened in colours. You can paint the entire section flat black as if it was shot with rubberised undercoating. My purpose is to show some alternatives.
Adding a panel line accent will draw out the details once the paint has fully dried. It is a super easy way to add more like to your project and takes just a few seconds. Wipe the included brush applicator on the opening of the jar’s mouth to remove the bulk of the fluid so you can more control as to how much is applied.
Adding a few highlights to the raised points of the parts is really easy. Lay down a drift of artist oil on a none gloss coated little slip of heavy paper (this can also be done with paint from a jar). Just make sure you clamp down so it does not roll around. Naturally, you will need some paper towel feather off the edge of your paint brush.
Here you can see the left side of the back suspension being dry brushed. It is a very rewarding process where you can see instant results and always brings a smile to those you show it to. Make certain you wipe off the brush edge many times. I swirl the tip for a few seconds until what I see it is just a very slight colour and then it gets applied.
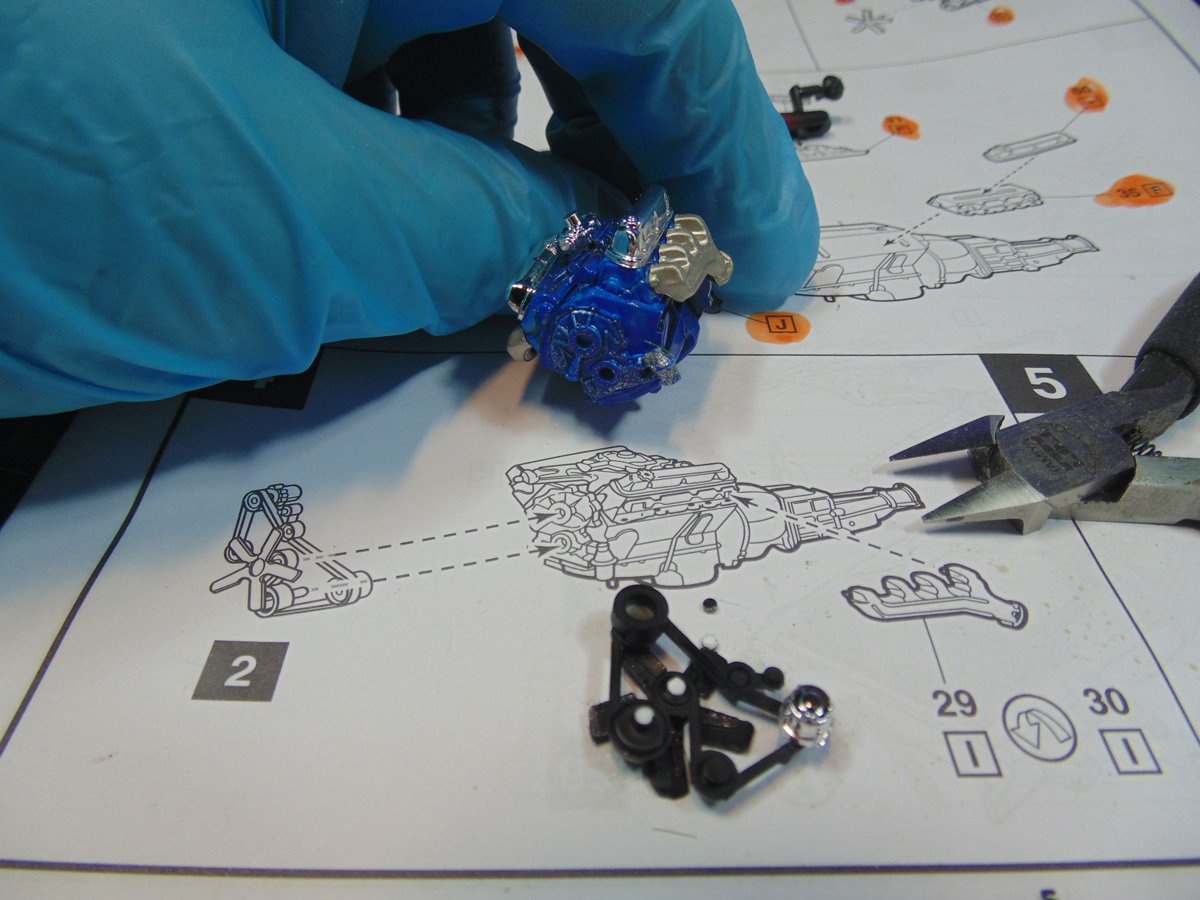
You’ll need to clamp together the transfer case. It is a very robust couple of parts and will be a glue mess on your fingers, thus use a couple of clamps. Please forgive me from moving back and forth between steps. You will have to do the same, should you choose.
The undercarriage looks, I hope with all the different colours and shades, good. Once again, it is to show you some basic options to add more interest to the model. It’s always a joy to remove masking tasks from miniatures and the real thing. Yes, I’ve been there. Placing the shock absorbers should be done moments prior to adding the springs.
The pipes for the exhaust manifolds must be cleaned of any flash if your kit is the same one. It is no big deal to do this. Use the back of a number eleven blade tip to scrape the unwanted material away to achieve the desired appearance. Sunward Hobbies have these Excel blades in stock and they work great for all projects.
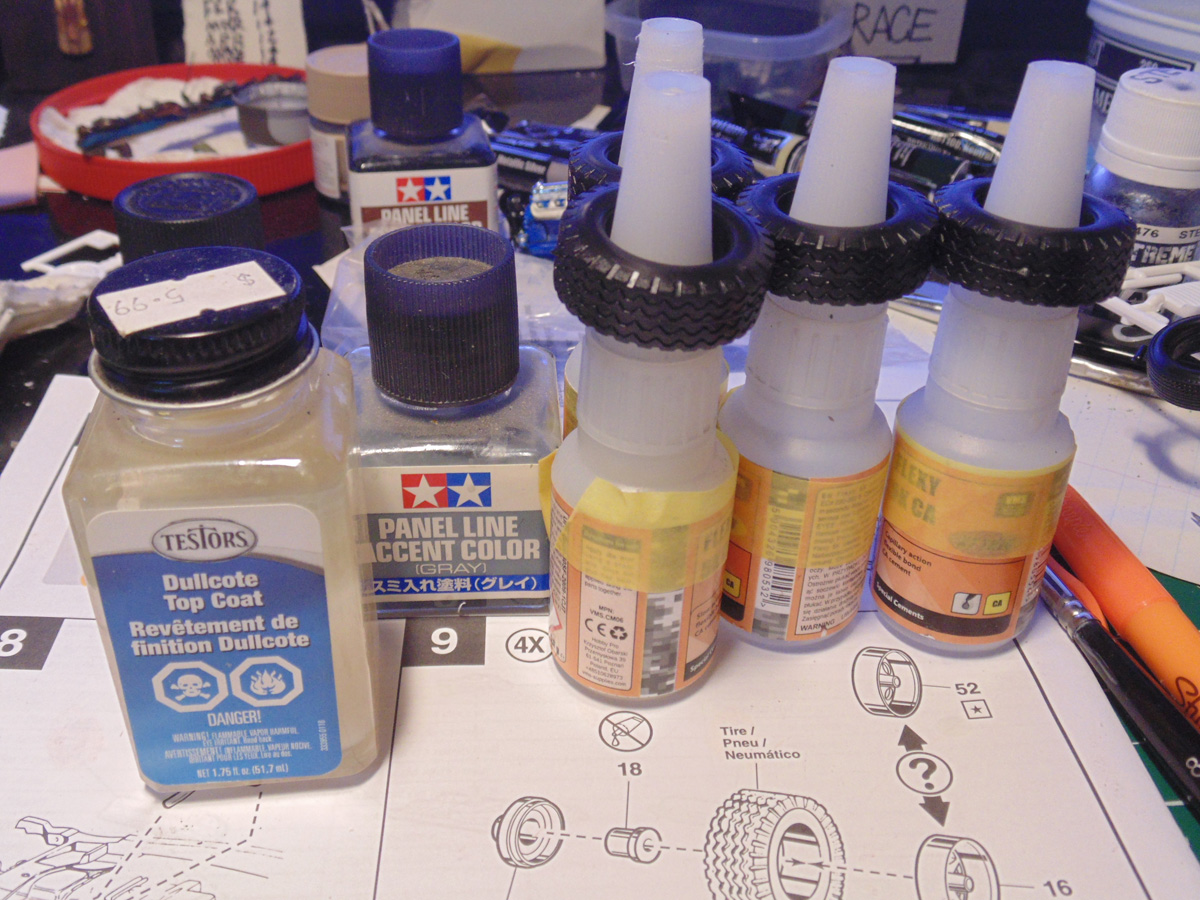
Getting the tires set-up for some dust was very easy. This is just a base colour. Tamiya panel line accent works wonderfully here. It slips into the canvas and dries within three hours. Also, you wash any extra material from your skin with common dishwashing soap. These will be later hit with some Testor’s Dullcoat top coat to do two things. First, it sticks to this type of material and second, when it dries to the pigment do not move it for an hour.
The transfer case has to be held in place because the connection point is a bit troubling. Core out the points and hold it in place for a few minutes and it will hold… problem solved! I would flood the painted area with cement and let it sit for a day, just to be safe.
When you insert the motor, it has to have the joining parts smooth. Otherwise, you’ll have to wiggle them from side to side in order for them to get in place properly. It is a simple task if you have enough glue fluid at the point where needed. Make sure to eyeball the upright shape due to the connection point of the transmission.
If you have any questions about the product in this “in-box review” article, please feel free to ask the staff when you pick up or place your next order from Sunward Hobbies.
H.G. Barnes is a former voice-over artist and retired sales and marketing professional. He’s the author of two large volume science fiction adventure romance novels with many more in the works. For well over 40 years he’s been building scale model replicas and now does commission work for clients in Canada and the USA, plus completes projects for companies in Asia and Europe.
Currently H.G. is involved as an Associate Editor with KitMaker Network’s Online Magazine Channels.