
Tamiya Lockheed Martin F-35A Lightning II 1/48 Scale Kit 61124 – Part 9
In this Sunward Hobbies article and review I’ll be wrapping up the build of the Tamiya F-35A Lightning II in 1/48 scale (item # 61124). You’ll see the necessary touch-ups, applied stencils and the open canopy. Previous: Part 8
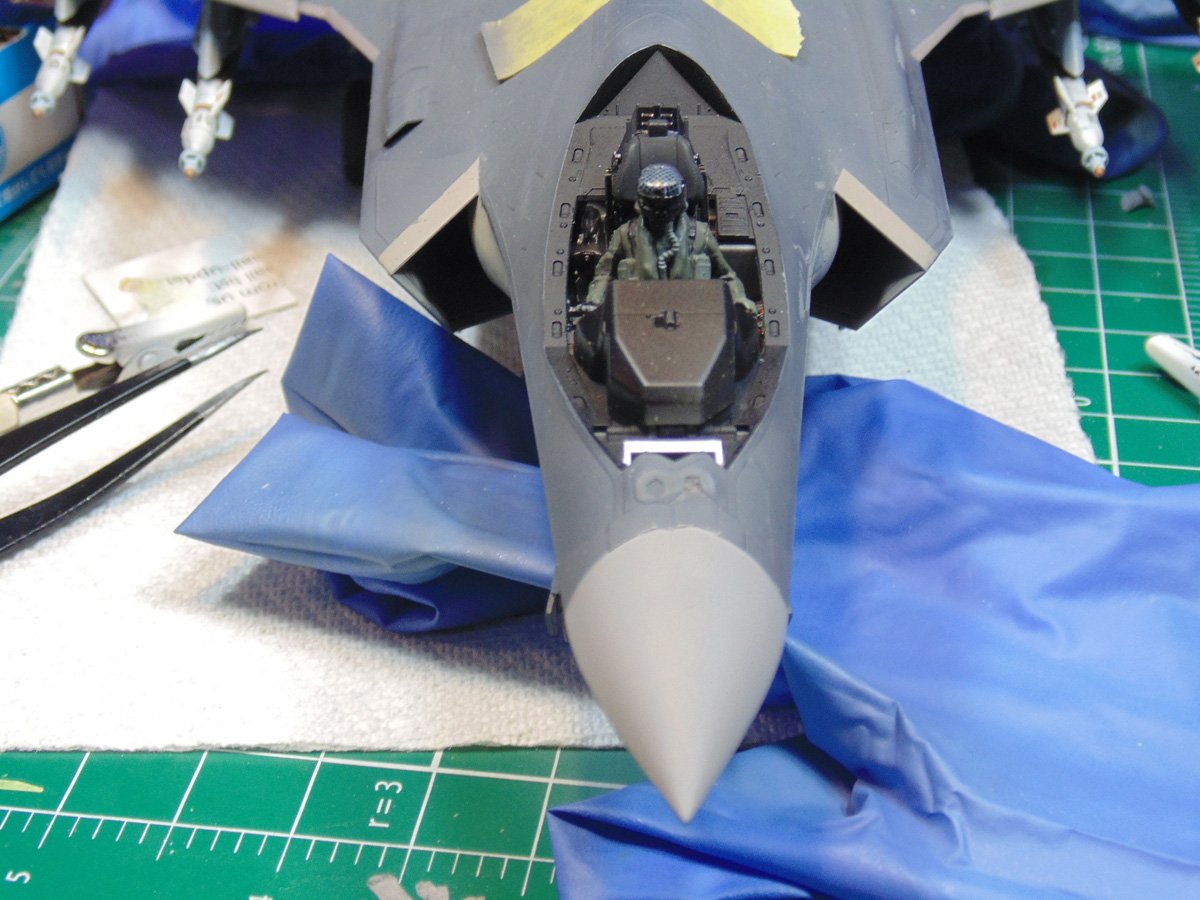
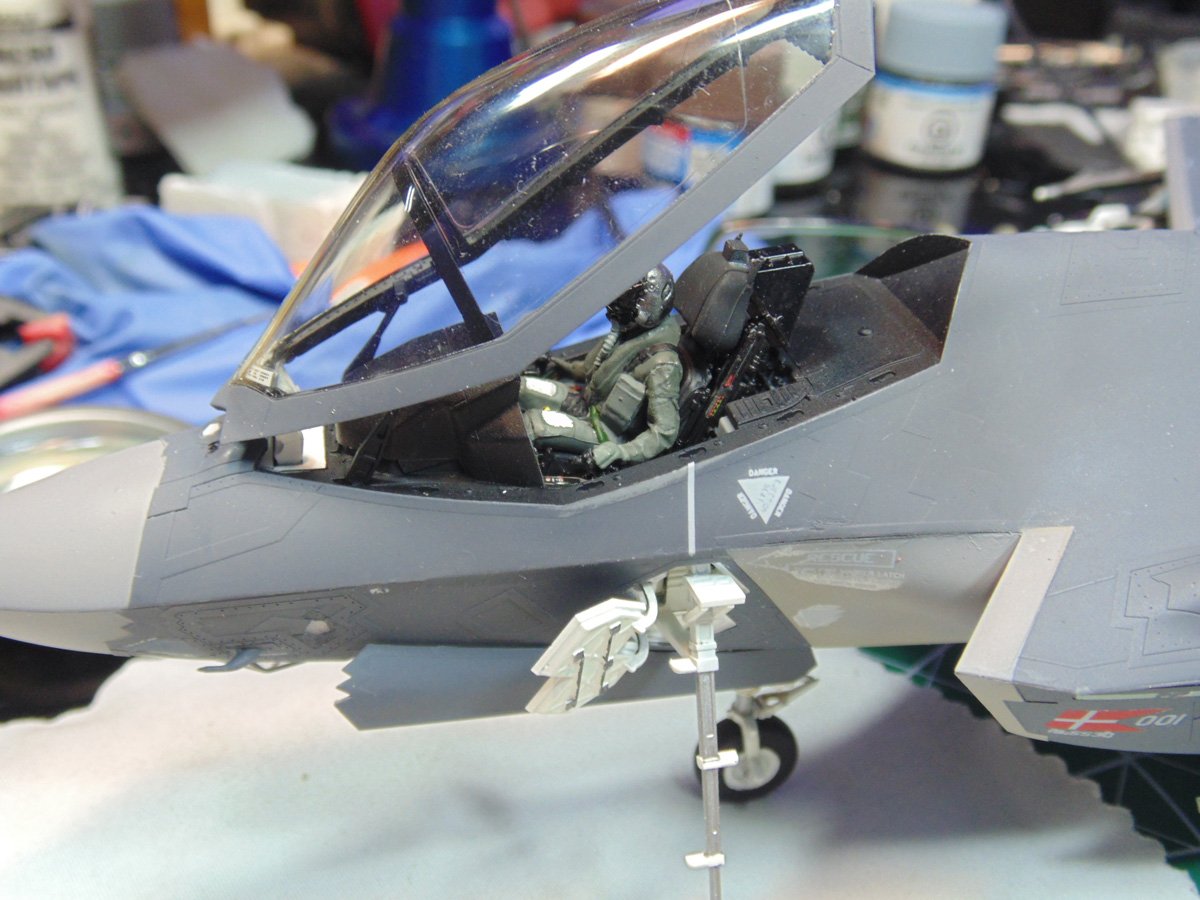
With the pilot figure aligned I dry brushed the high points. It’s obviously your call, yet I feel it adds a new dimension and look to your model.
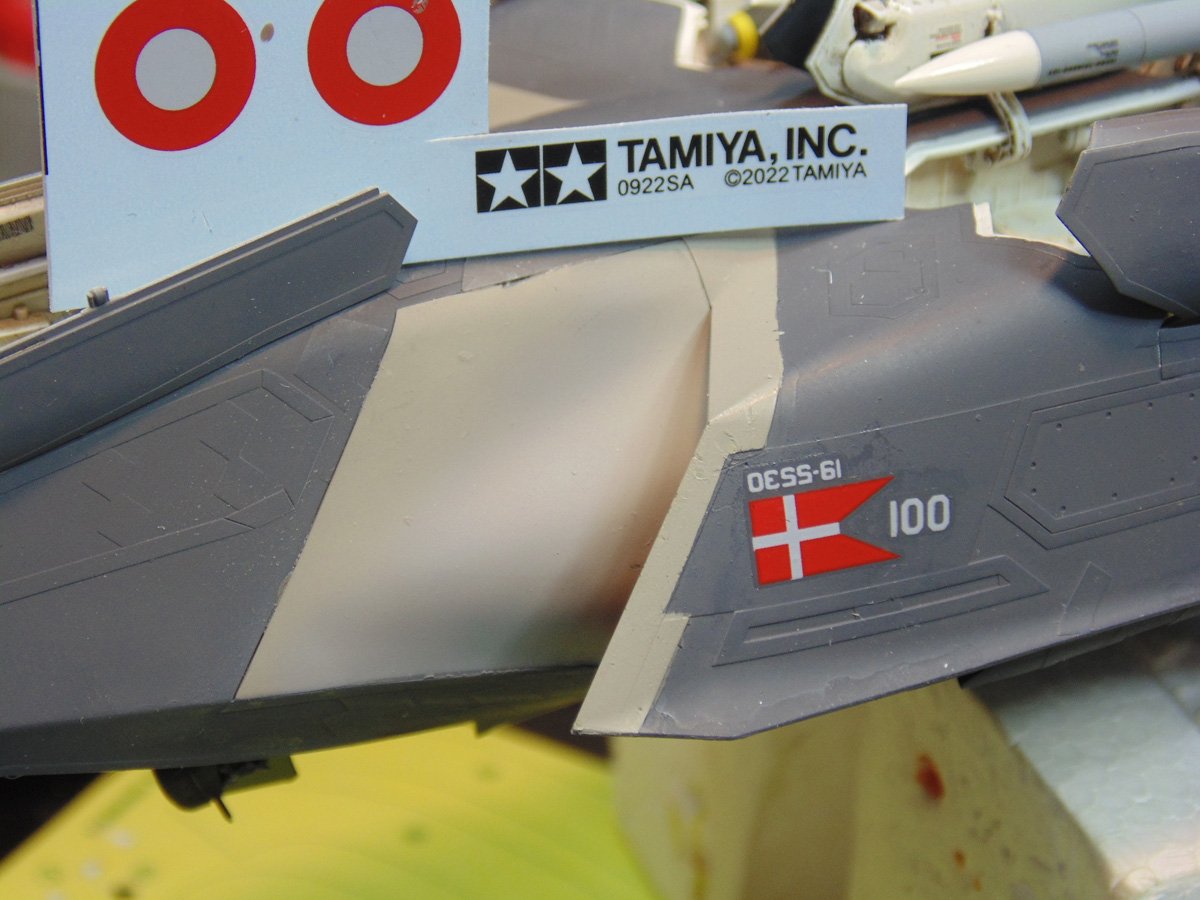
Of the thousands of replicas I’ve built over 40 years, none have had Danish markings. The only decals with color in this kit are from Denmark.
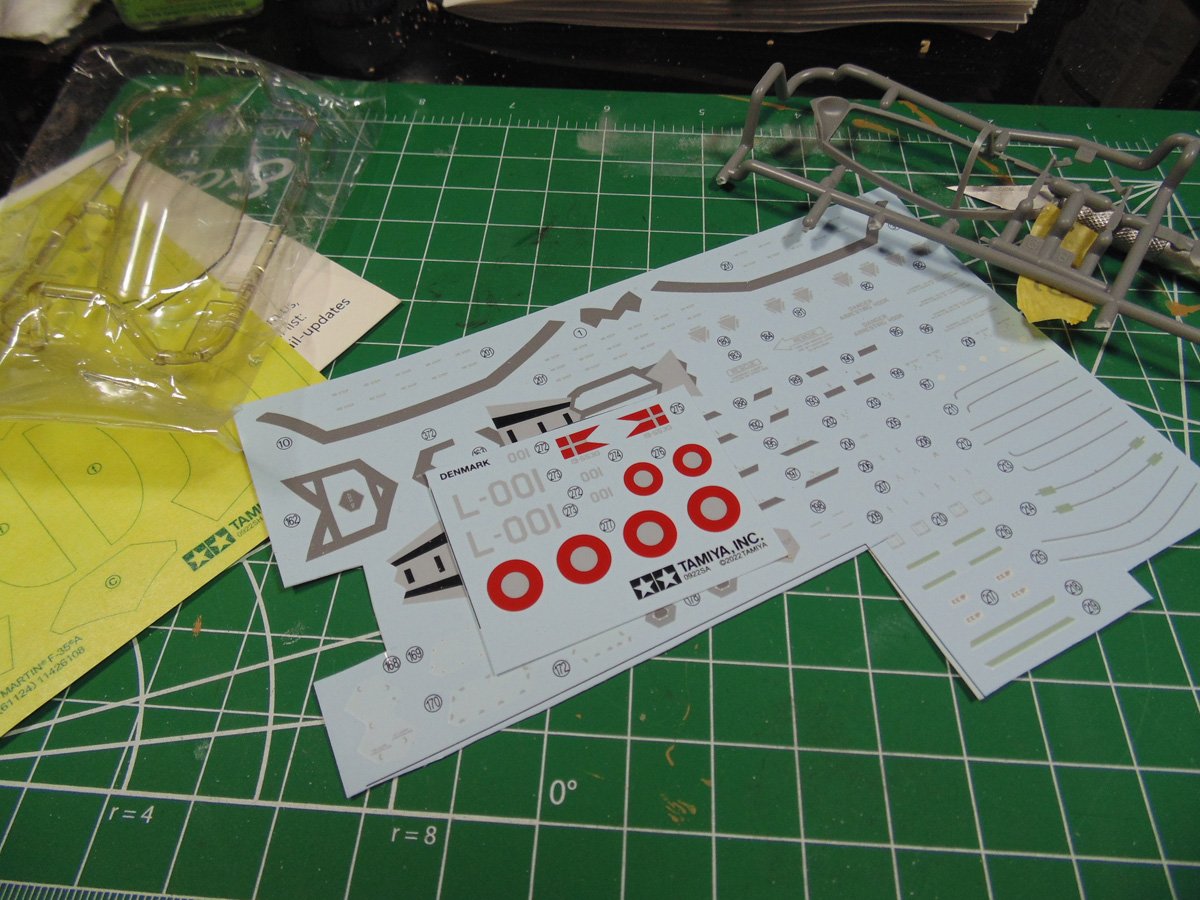
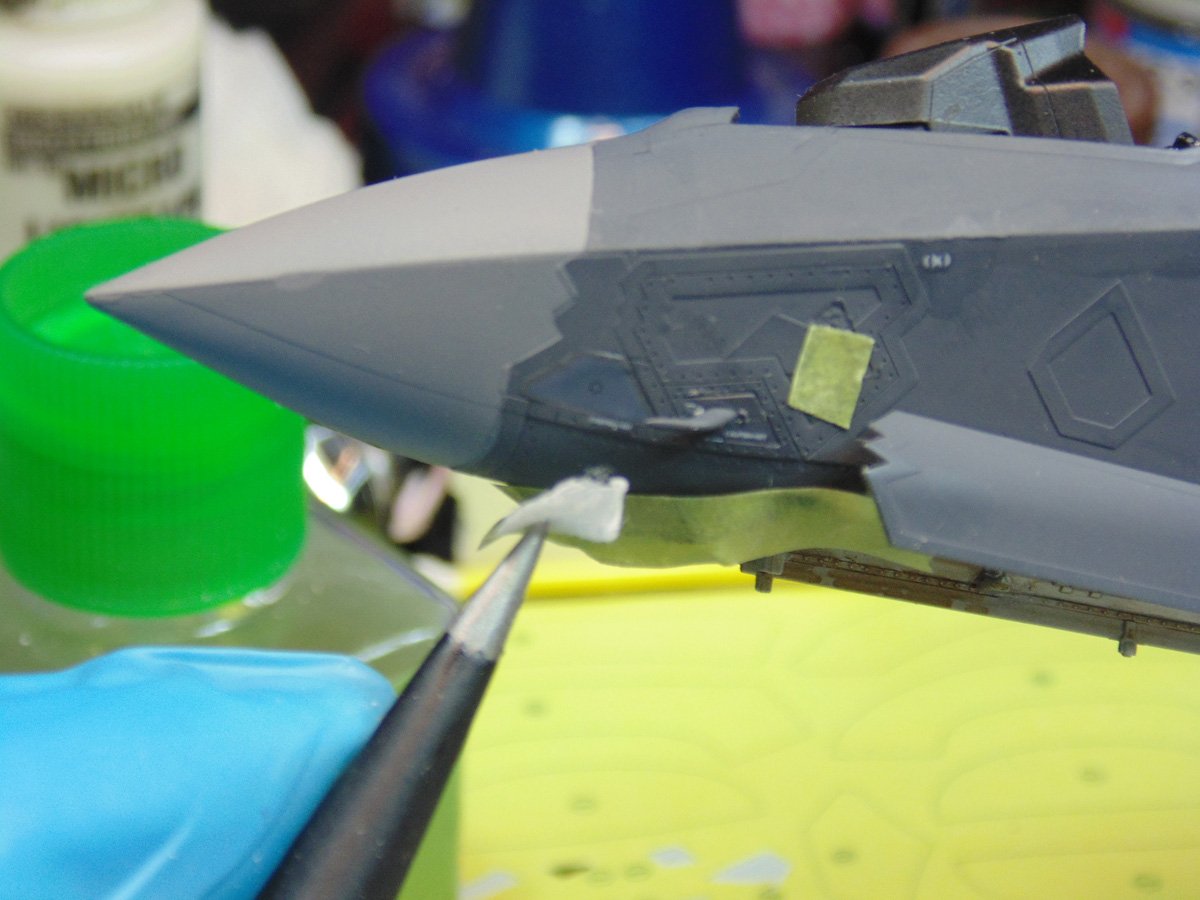
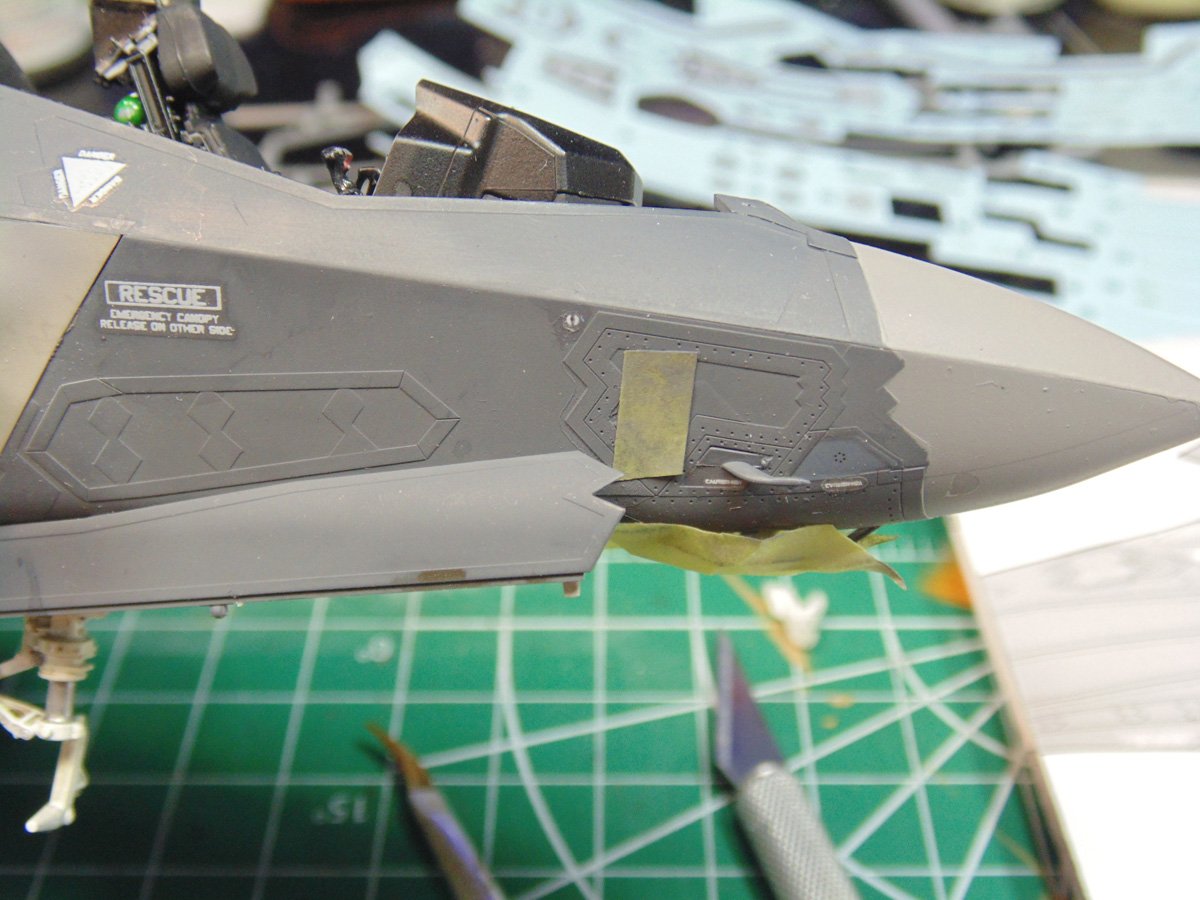
There is no reference to locate them in the instructions so I went with an other’s countries’ and used thin strips of Mr Hobby masking tape as a guide. Then I made a tiny drill hole as a centering point. You can pick these pre-cut sheets at Sunward Hobbies. They go a long way and are super handy for masking and many other tasks, such as the one here.
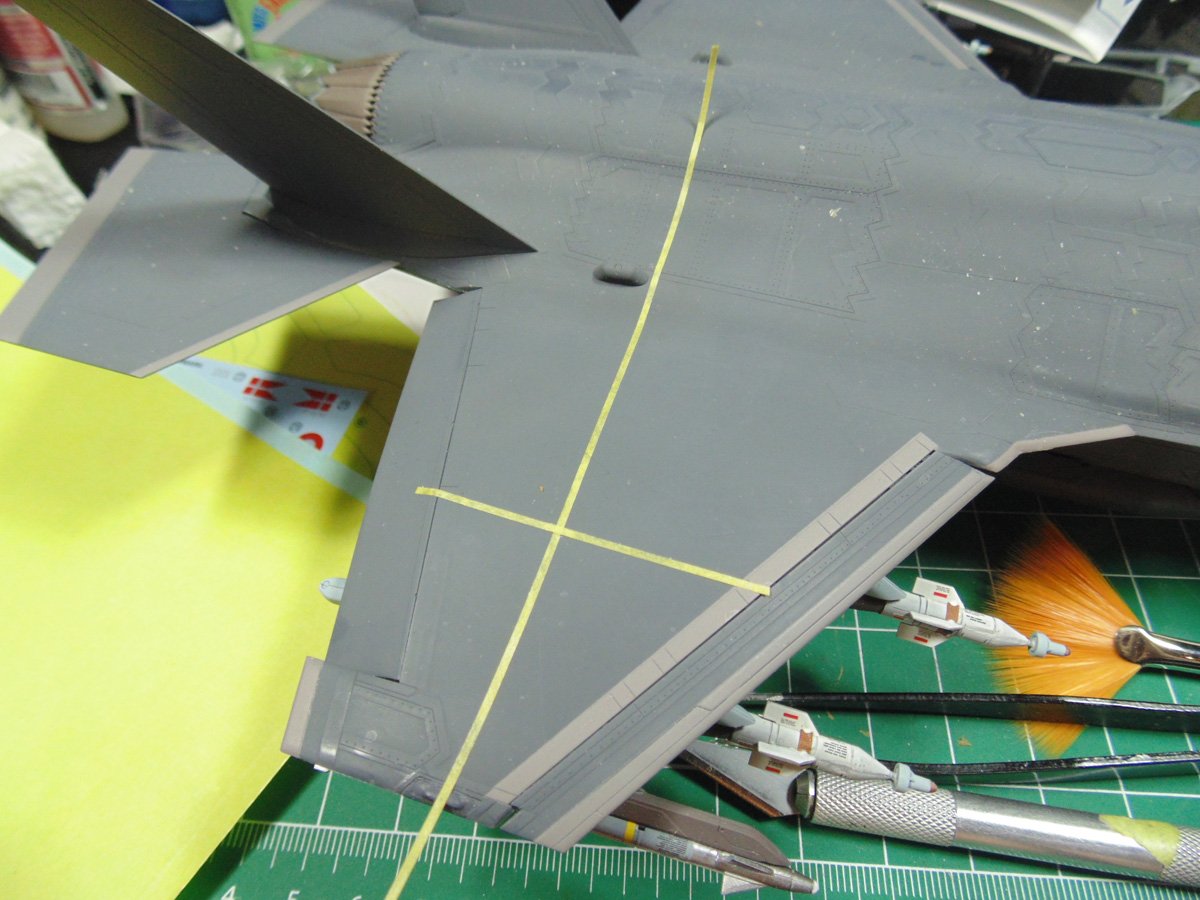
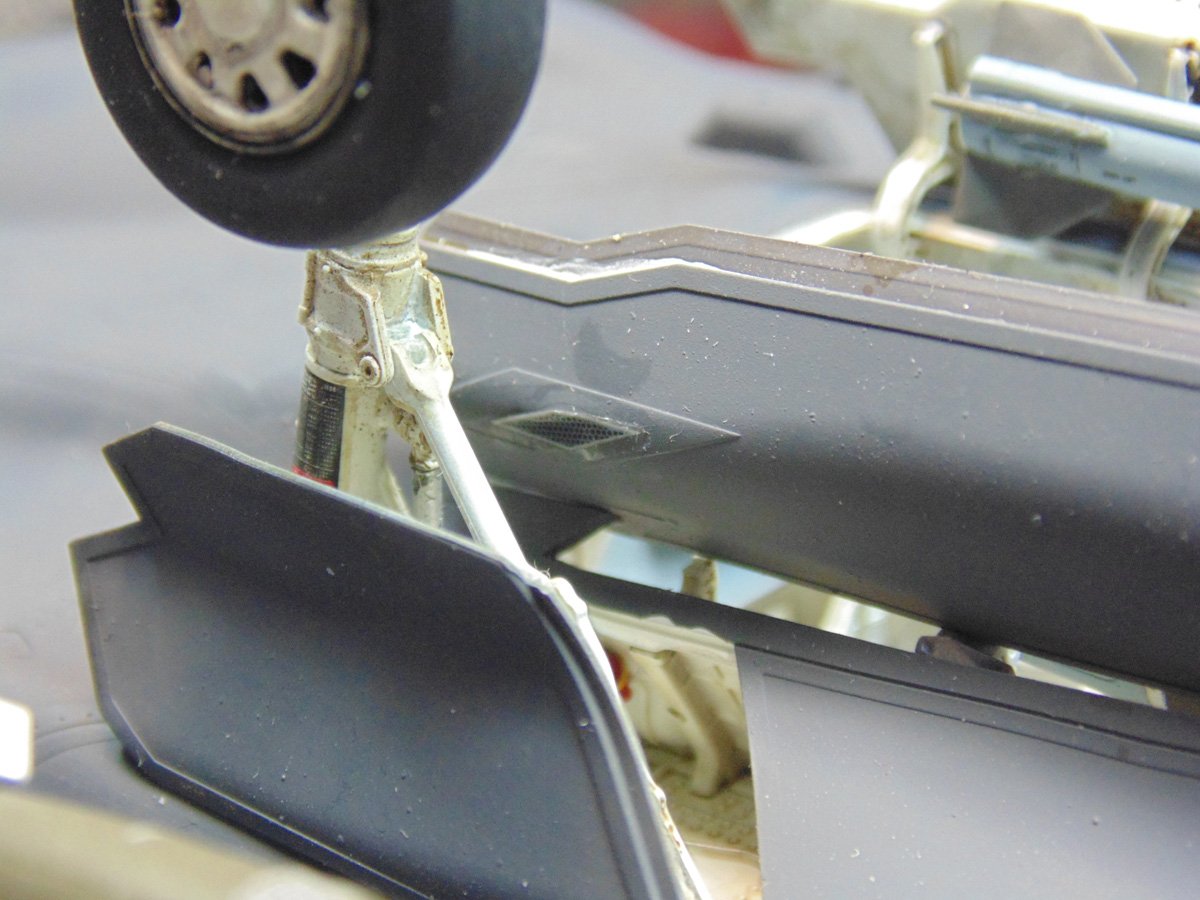
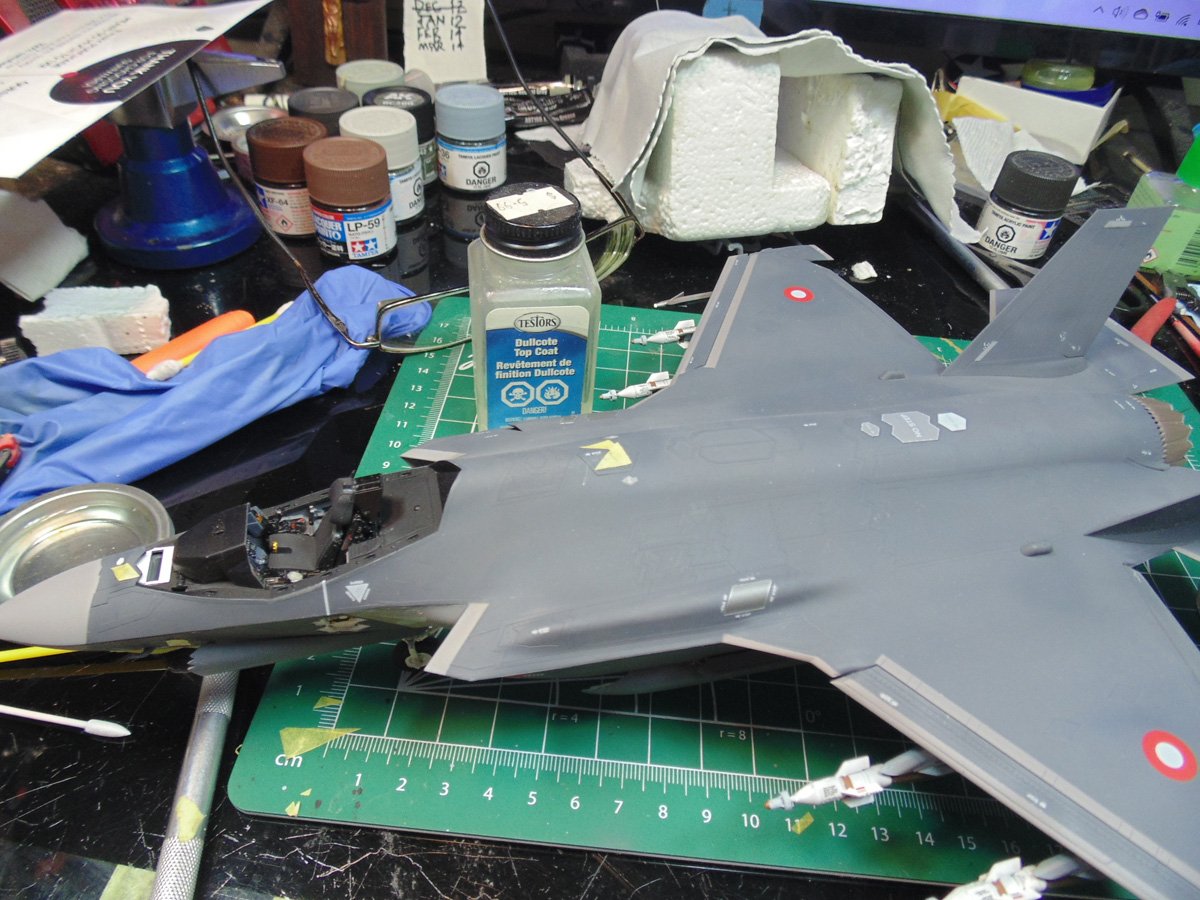
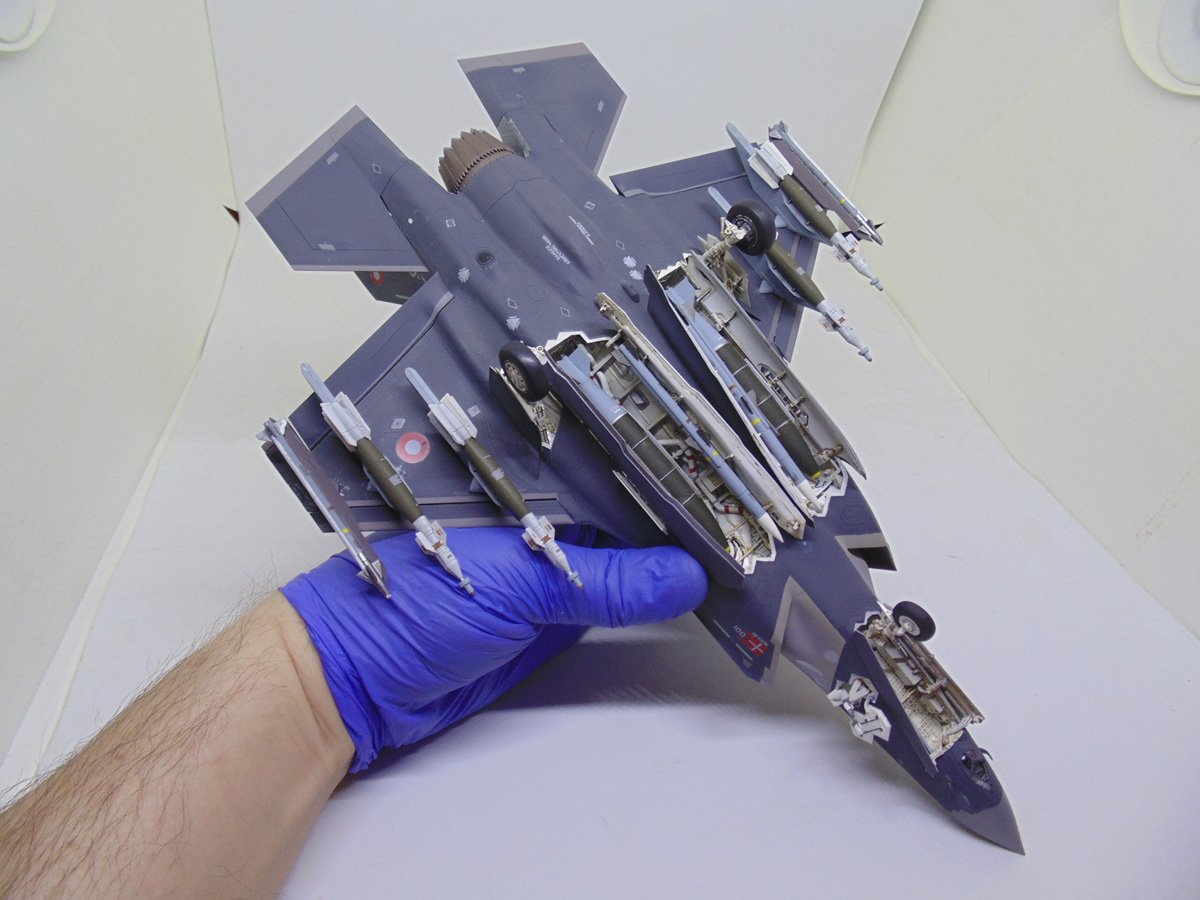
With a complex model, such as the Tamiya F35A, you’ll need to consider masking and then re-masking certain places. This is why I advocate not cementing down major parts until you are sure the area is fully painted and ready to be handled. The chance of damaging or loosening parts is heightened due to all the tape work. Here you can see all the key components have been removed to fix the dark grey.
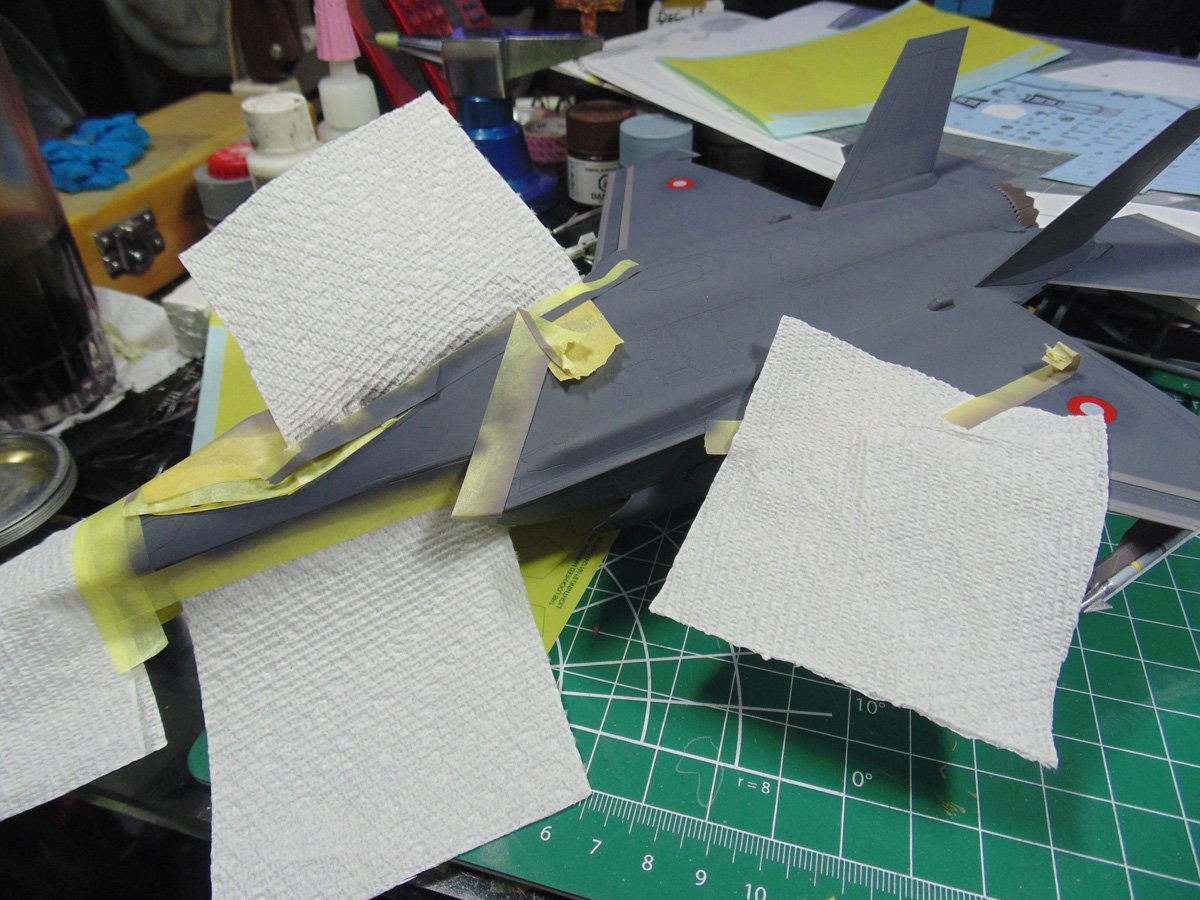
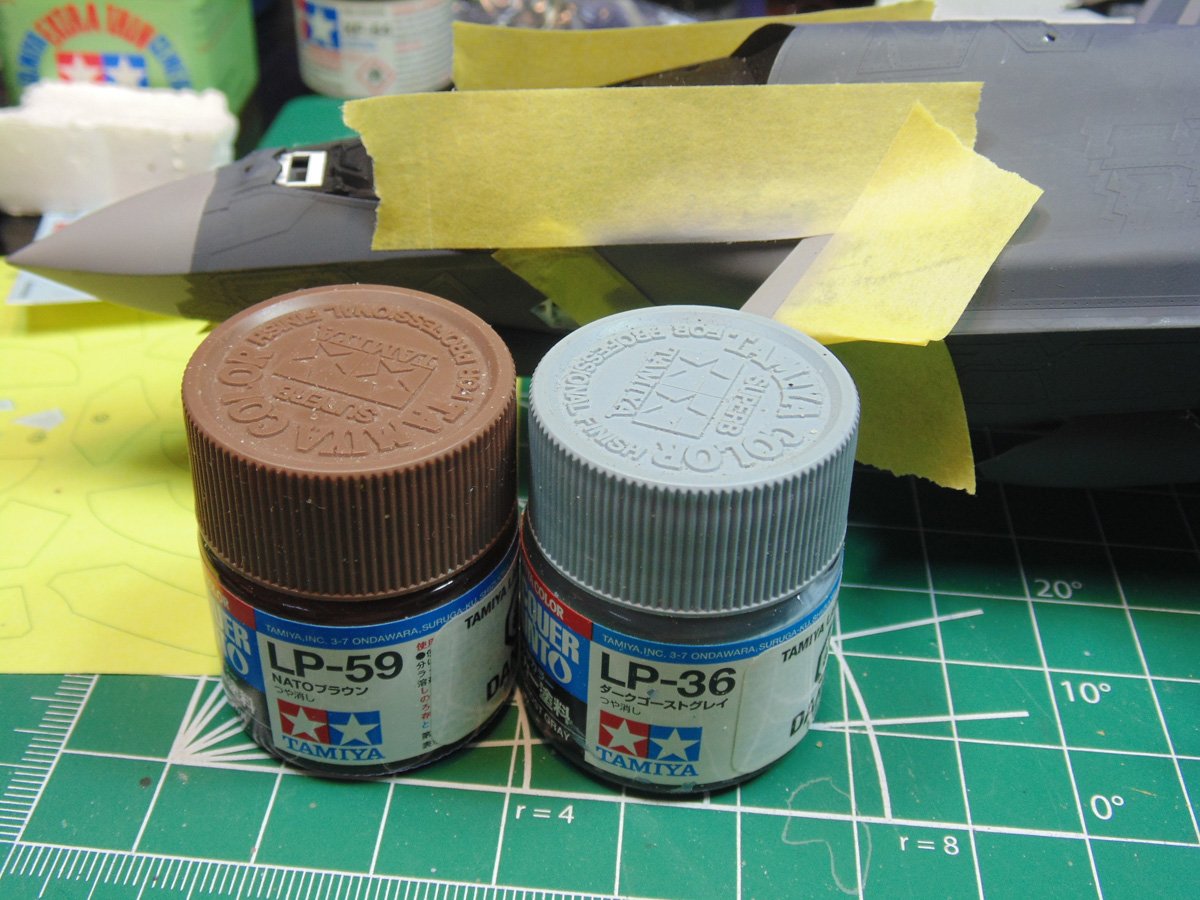
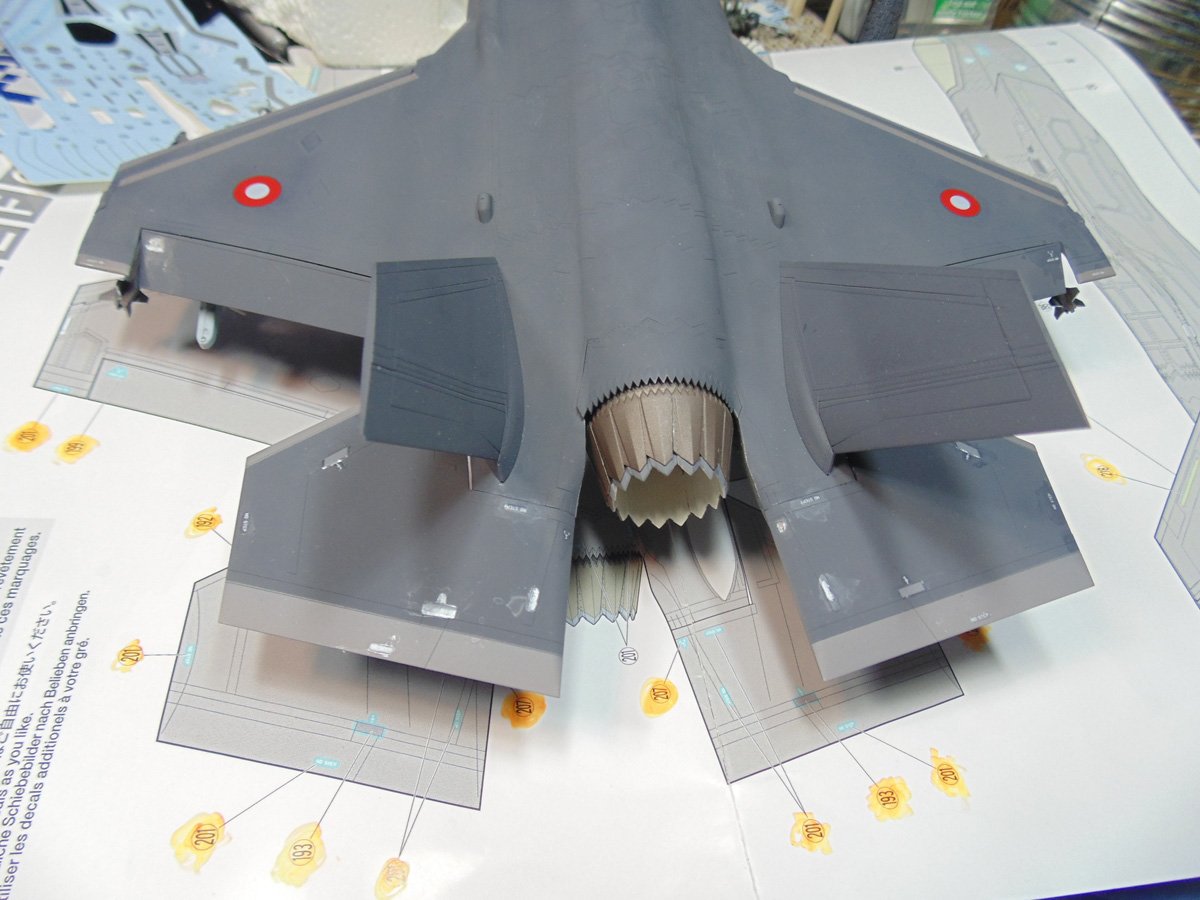
Tamiya LP-59 and LP-36 Lacquer Paints are called out for the base colours of the intakes. I’m dusting them over the pre-mixed blend I made prior and adding an honest weathering look. Always mix your paint solution with the darkest colour last in your mixing cup or airbrush. Adding an extra drop of thinner will also help.
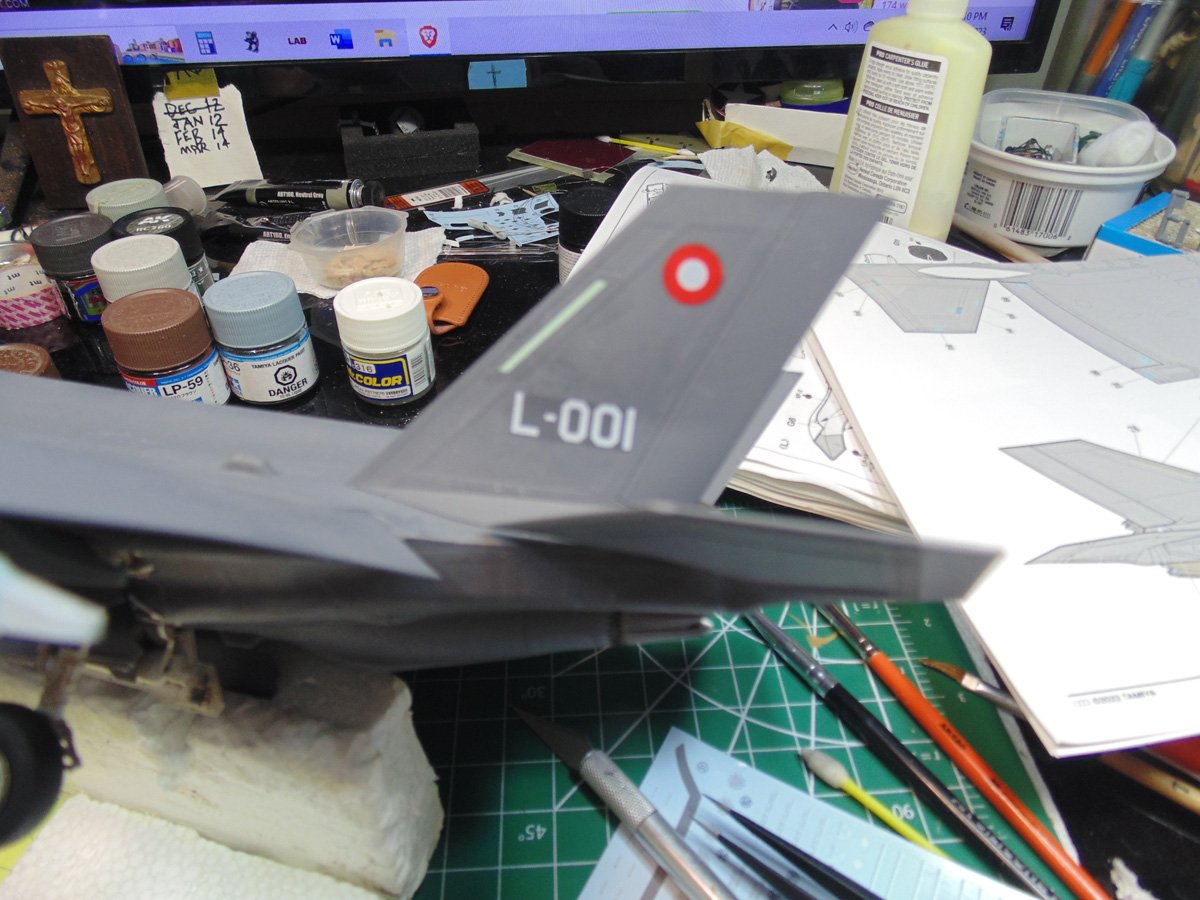
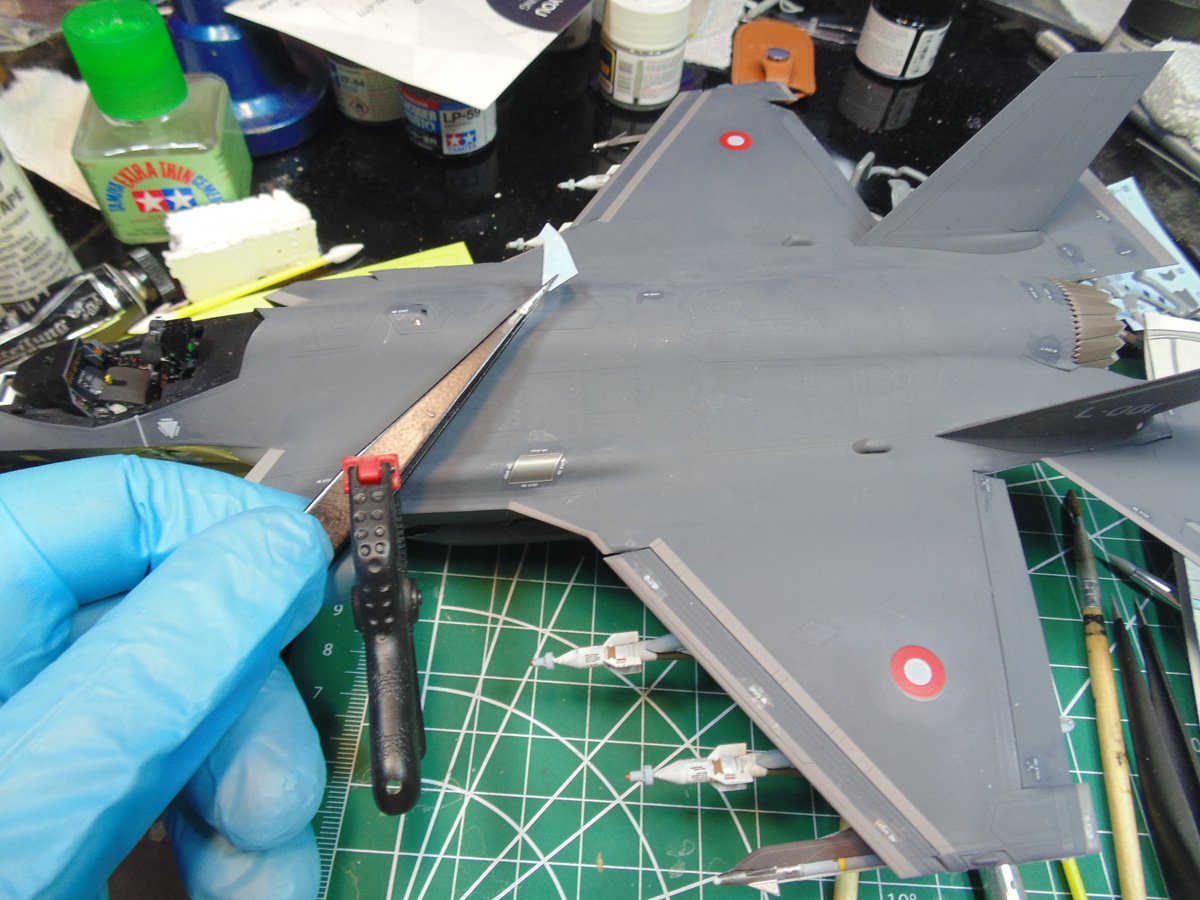
Here I’m adding the decal markings. Be certain to flood the area with whatever setting solutions to maneuver the decal around. Then use a bit of paper towel at the tip of your tweezers to sop up the excess moisturizer.
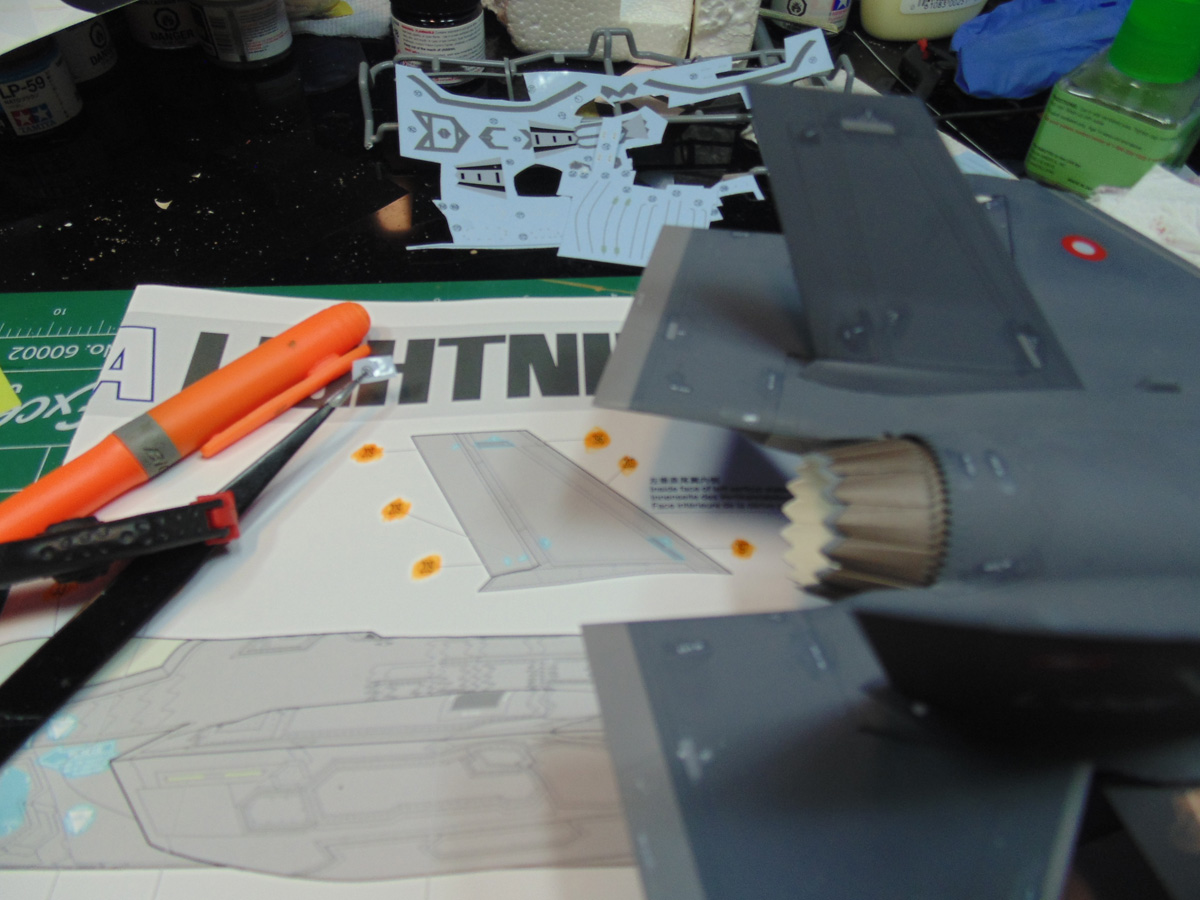
There are plenty of stencils to go on this replica. The most difficult are the ones on the stabs. Tamiya have very specially labelled each one, but you have to have a minimal amount of setting fluid on the surface to recognize the exact location.
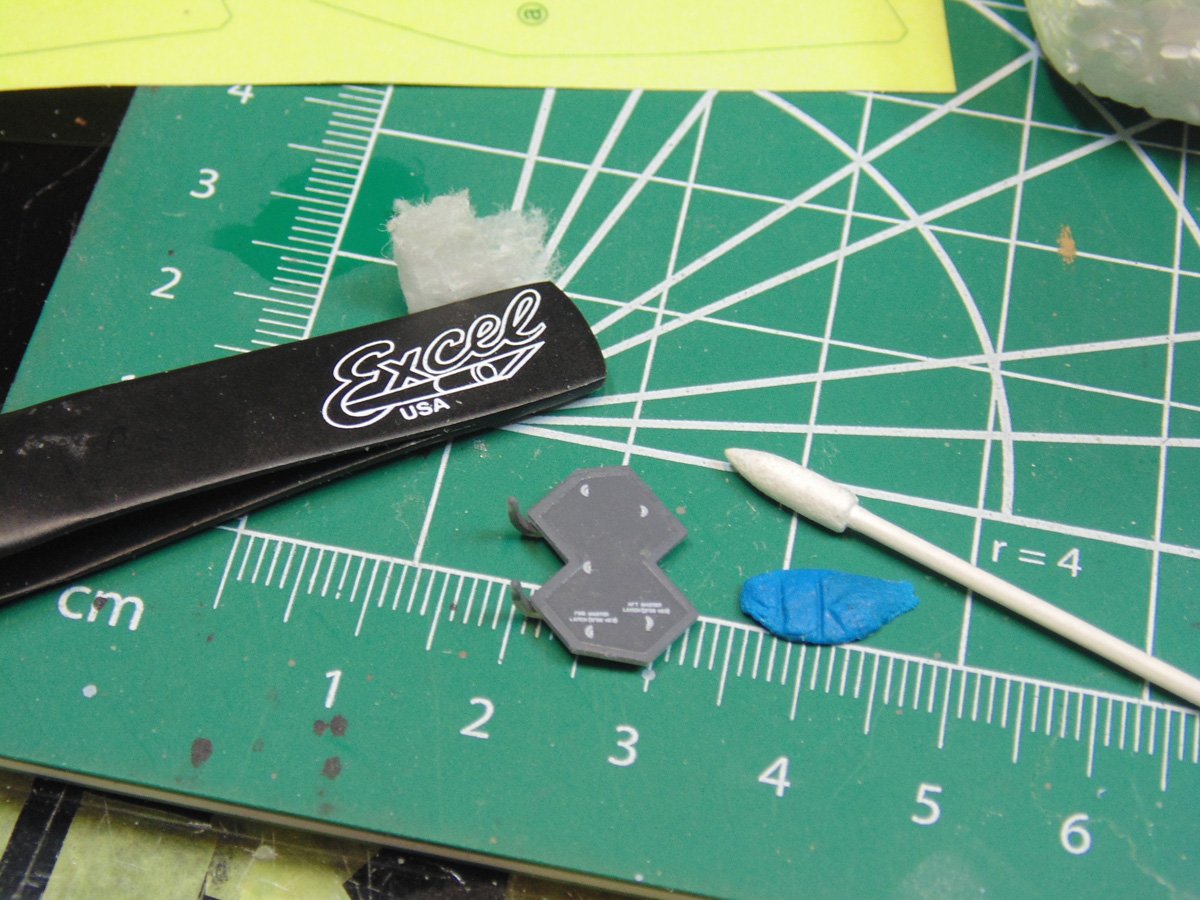
Sometimes it’s easier to lift the decal off the sheet with tweezers. Use some poster-tac to nail down the part so it doesn’t move all about. Tamiya cotton swabs will clean up any mess. The less handling the better on these small bits.
You are going to be dull coating certain sections. Try to clean up as much excess setting solution as possible and be sure to mask any clear parts. Please consider wearing Nitryl gloves while doing these small tasks. Here you can see multiple decals/stencils in the same location. Let the prominent one full dry (six hours) first before adding the smaller one.
Adding stencils is fun, you get instant gratification for a jog well done and get to see your replica come to life. I always mark each one done after being placed.
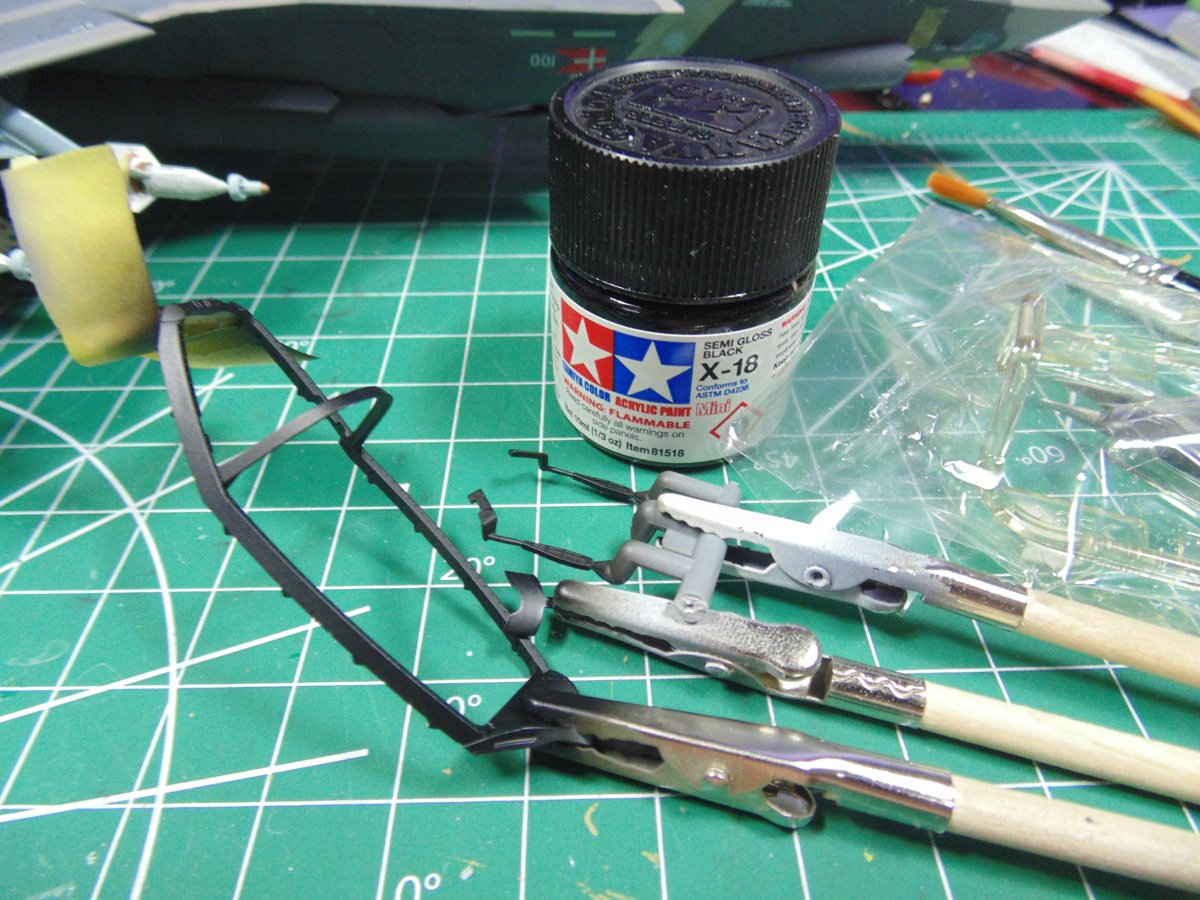
Using some small common clamps on your Excel Blades tweezers will help with holding the stencils while you do final preparations for laying them down. Dowse the decal in filtered water and let them set for 30 seconds before application, especially the ones going around curves.
Make sure you ask off the clear parts prior to dull-coating and sealing in the decals. This is also the ideal time to add small parts you might have worried about being clipped off.
Some places are a challenge. I have a forehead lamp that makes doing tasks like this ease. If you don’t have such a devise I wouldn’t worry about it for a second because it’s almost impossible to see.
Remember, there’s plenty of places to clean-up the watermarks. You decide if they are wiped up after the second application of the setting solution is done or the first. Personally, I wait because it saves time and effort. Use a good quality cotton swab from Tamiya or Mr. Hobby, makes the world of difference and saves you time.
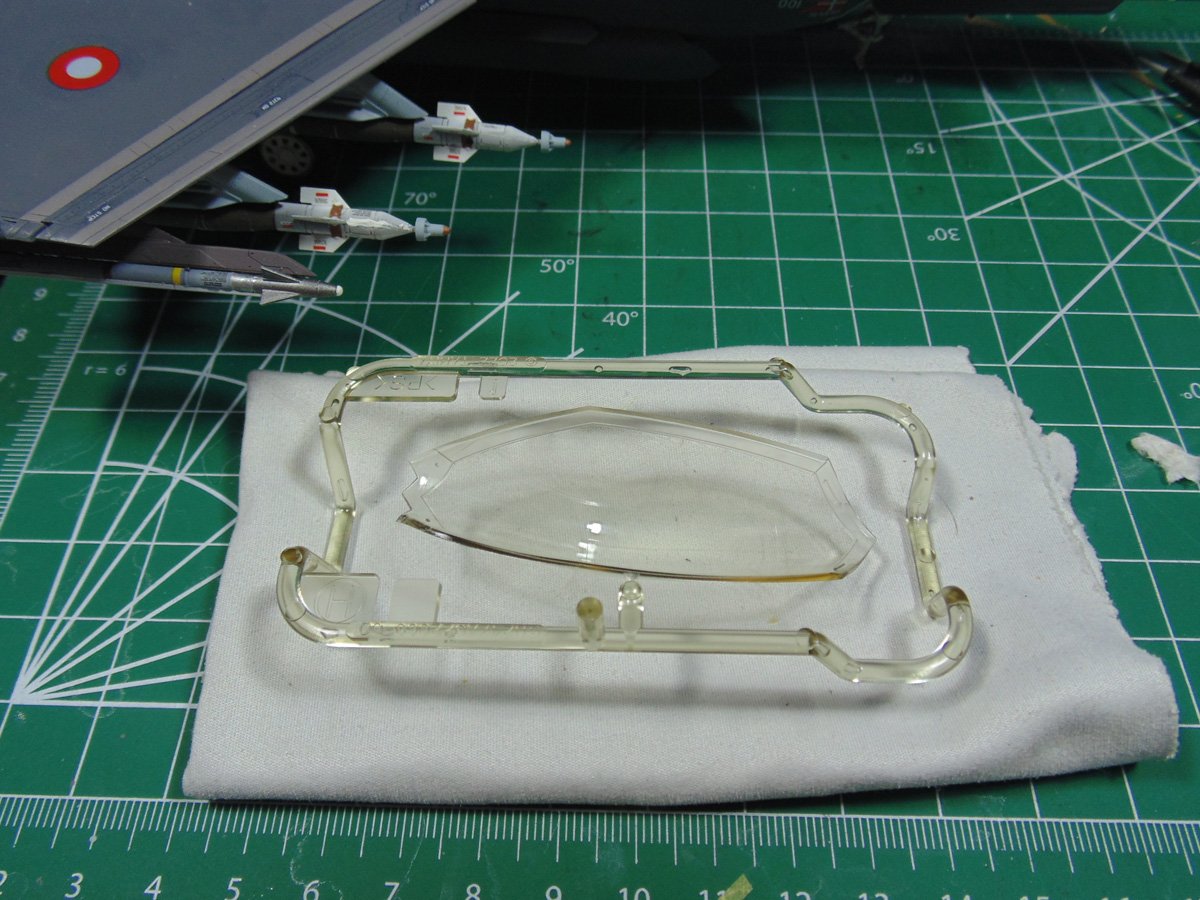
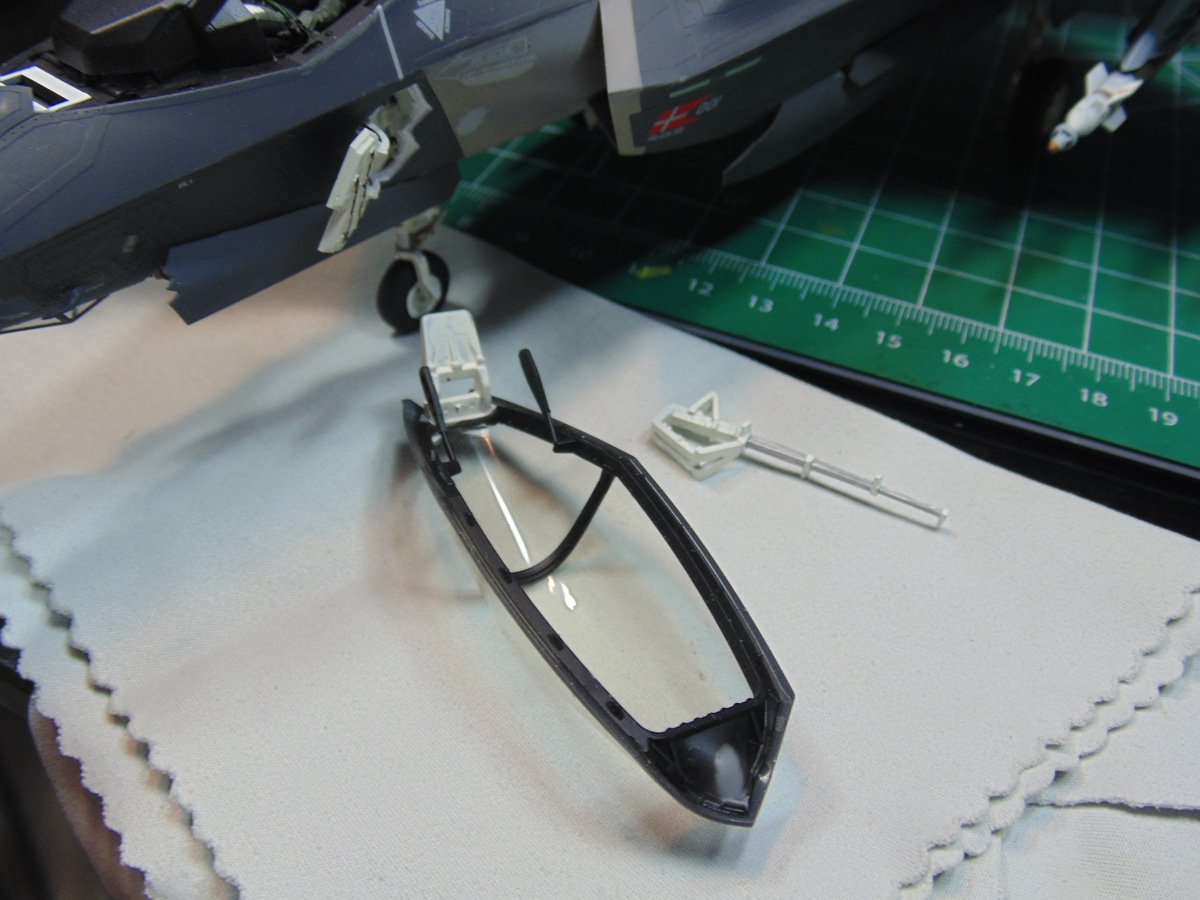
The inside of the canopy is only an issue if you don’t clean off the connecting points. The retraction arms must be cleaned of paint and flash. Here’s a modeler’s tip, let the cement and the paint blend for a few seconds to form a welding agent. Just be ready to affix the part quickly since the cement will dry fast.
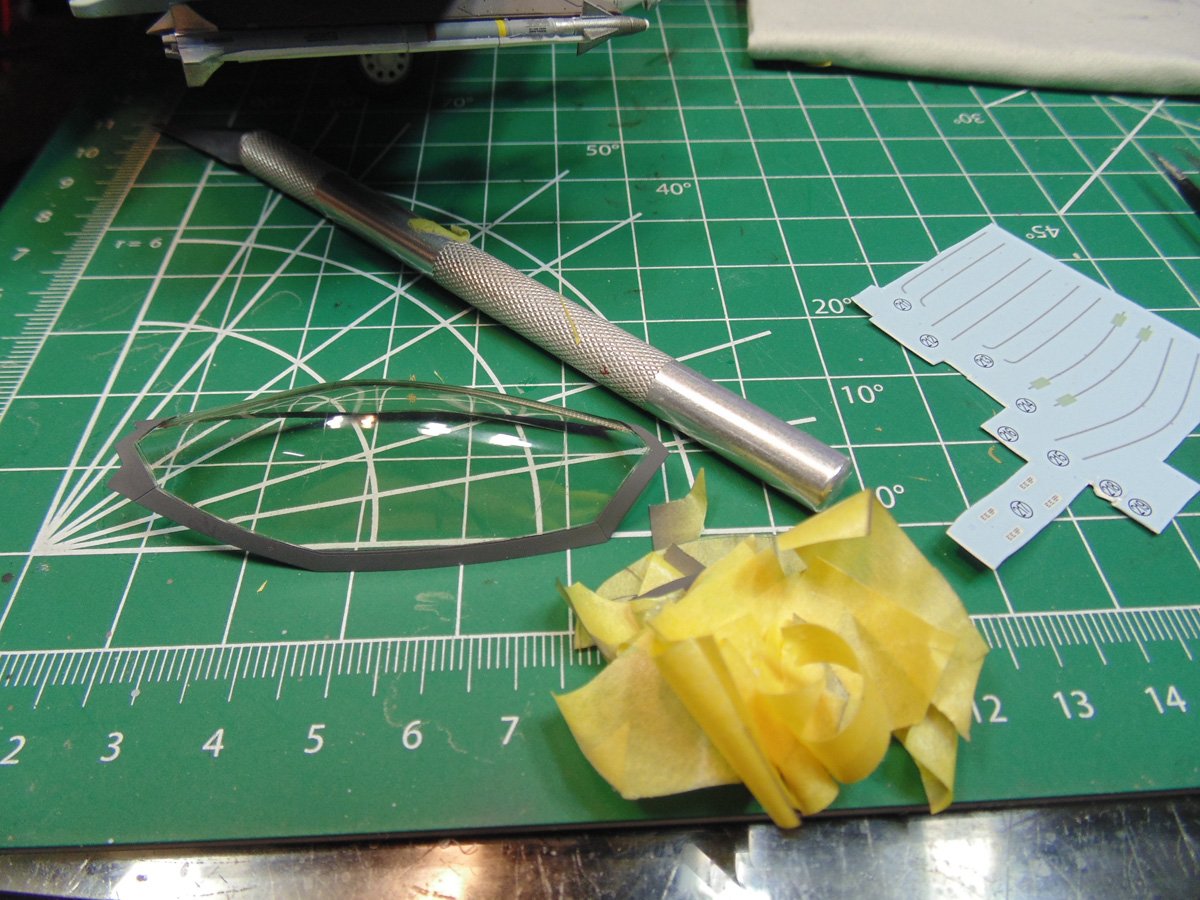
The canopy parts are great, however, there was an error in one of the two supplied. Just go with one which is perfect. Keep your clear parts on a soft cloth when handling them, snipping them from the sprue tree, it will help with scratches later.
To insulate the inside of the canopy, slice your tape in small increments. This will take a few more minutes but it’s way easier to handle, plus you can remove these bits of tape faster.
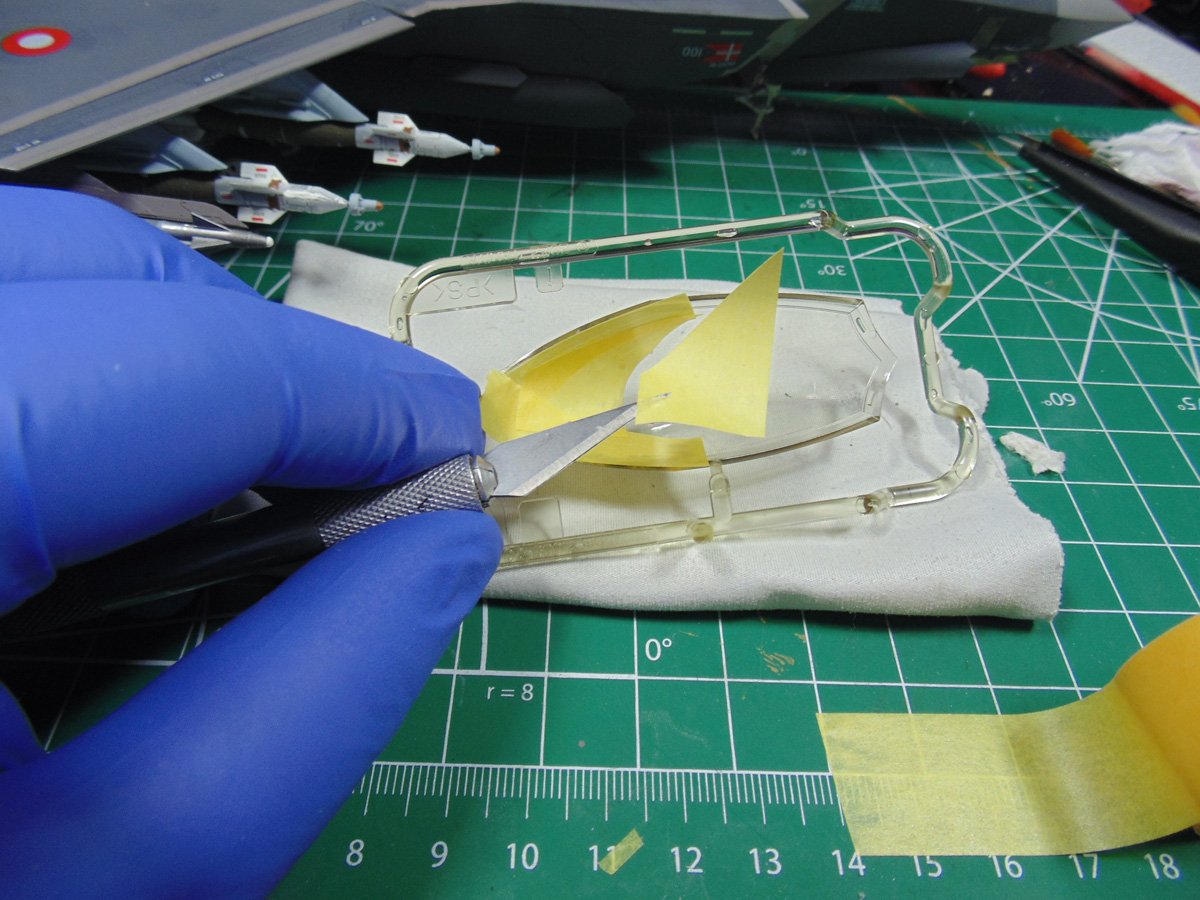
Make sure to trim the edges of the canopy. Your forearm hold down the sprue tree while the other holds tweezers and a blade or micro scissors trims off the unwanted tape. Be super couscous during this phase, go slow and make each precise.
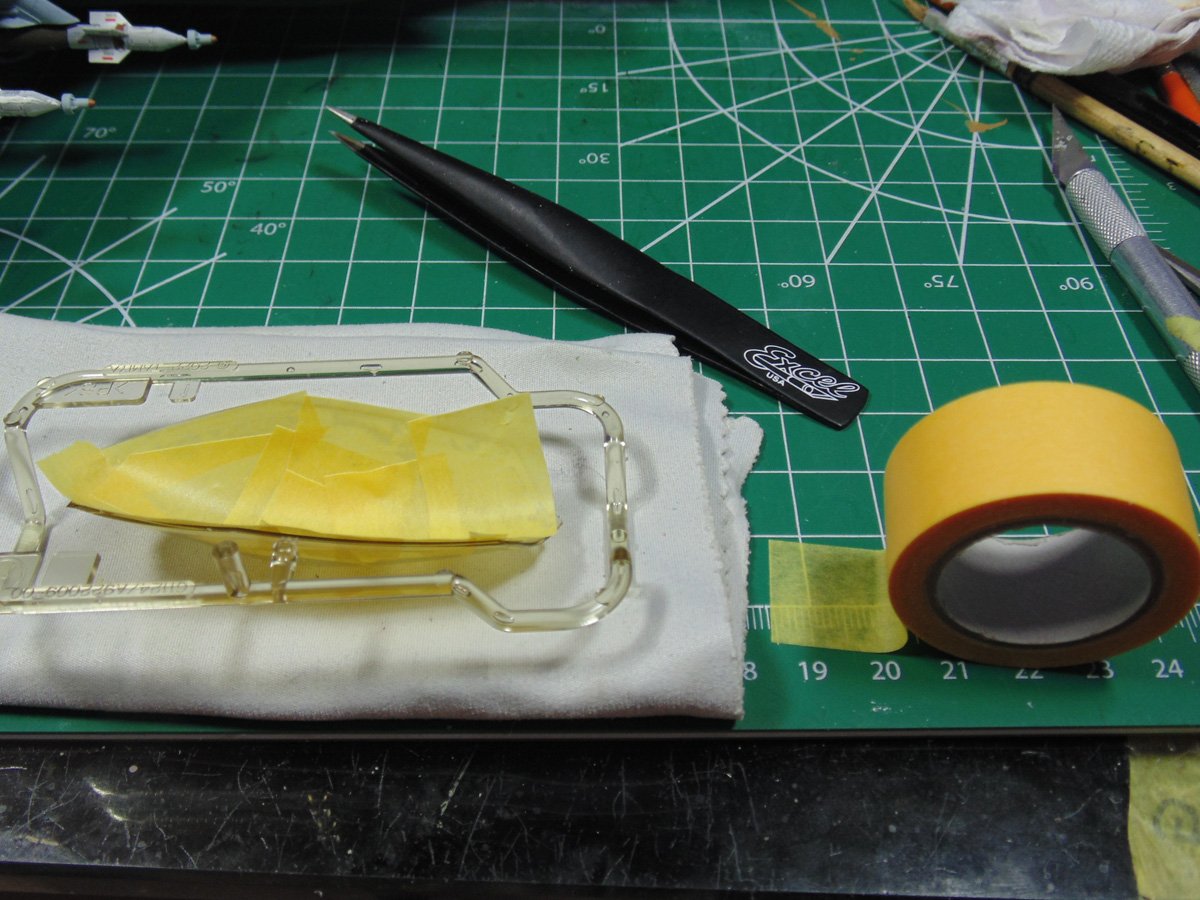
The supplied masks are not dye cut. Play post attention to how you cut them. I always use a brand-new blade in these instances. Sure they are all marked but it’s up to your steady hand to slice them.

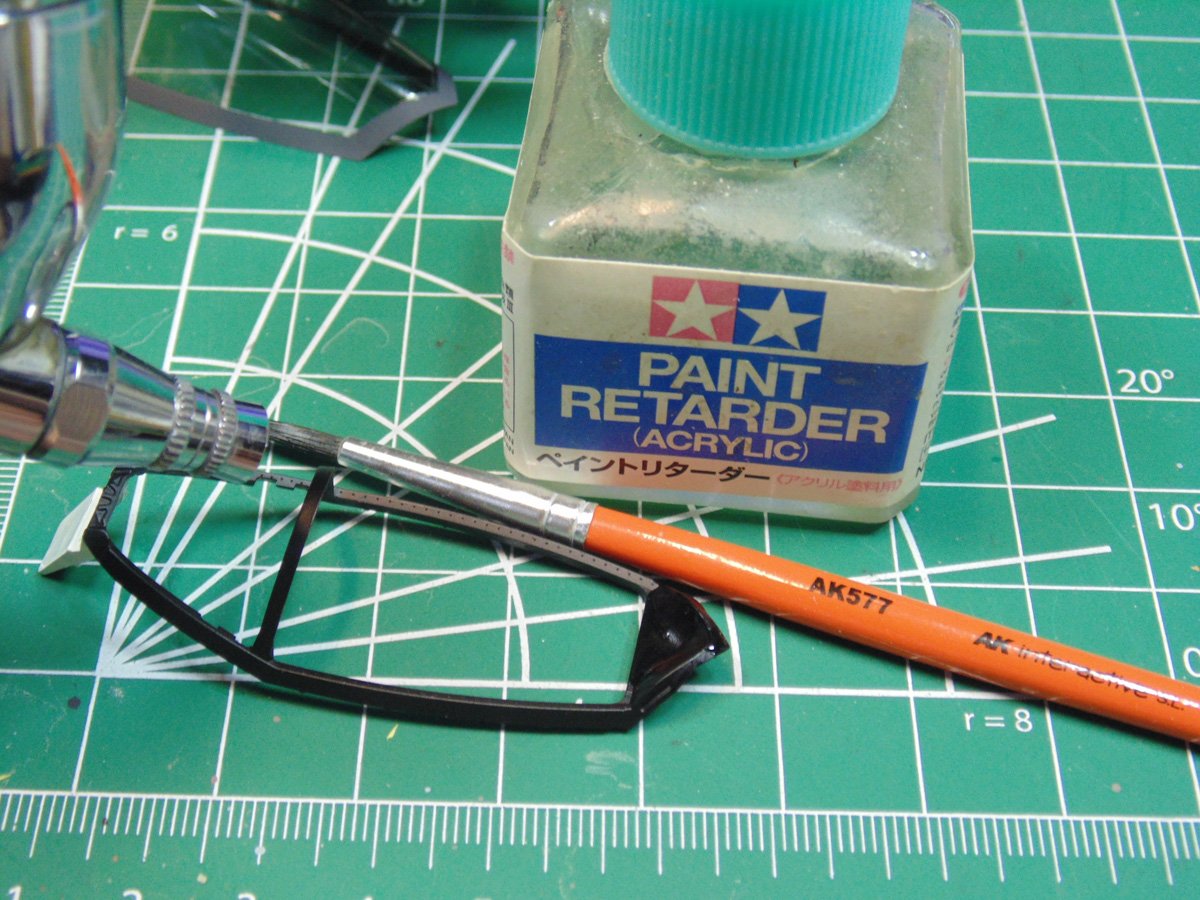
Tape curling is a pain. Avoid this by pulling the tape as horizontal as you can from the backing paper. If you just yank it off the tape will curl up and make placing it in the precise location and angle aggravating.
Consider using some poster-tac to affix the inside with a parts stick. Sunward Hobbies carry these nifty little tools and are a must for every modeller.
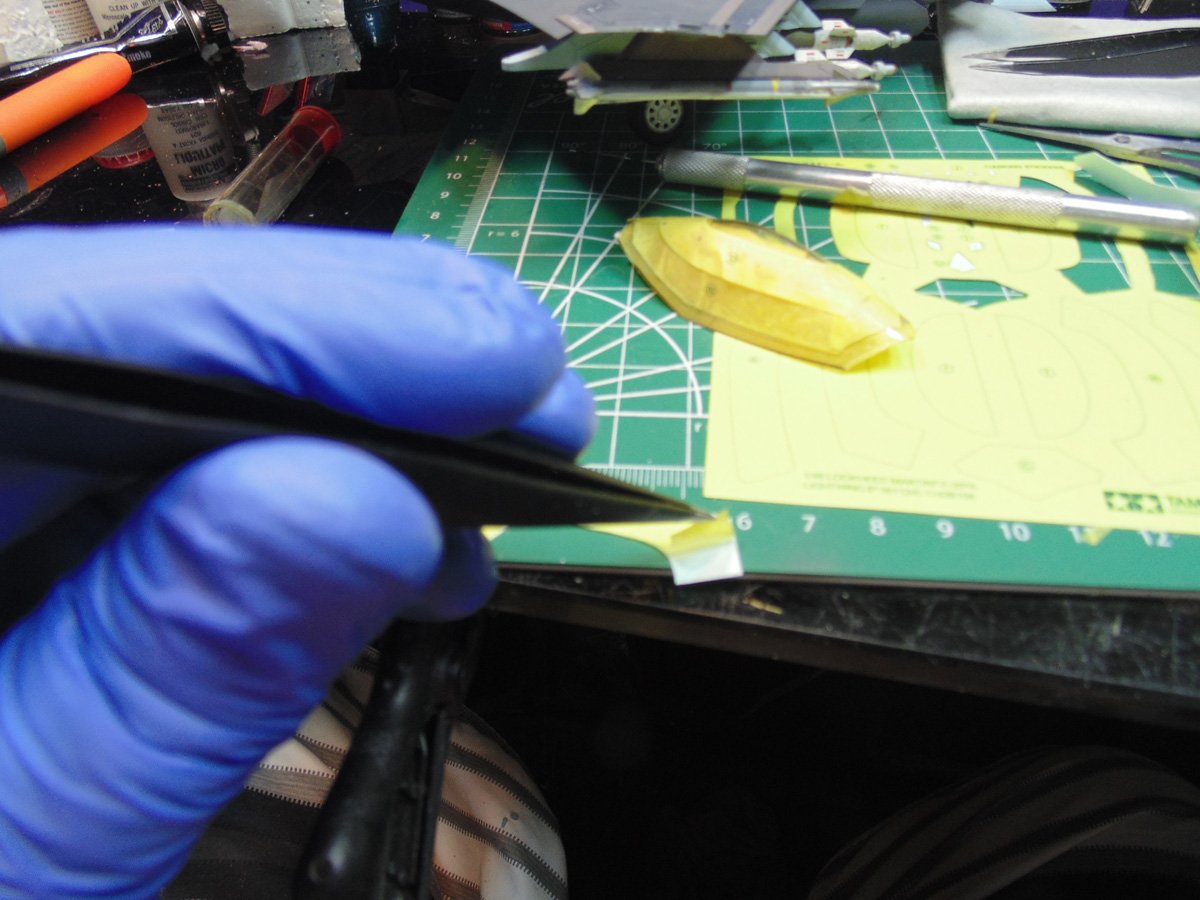
Be mindful when removing the tape or masks. The surface of the clear-ish parts is very soft and pheon to being marred and scratched.
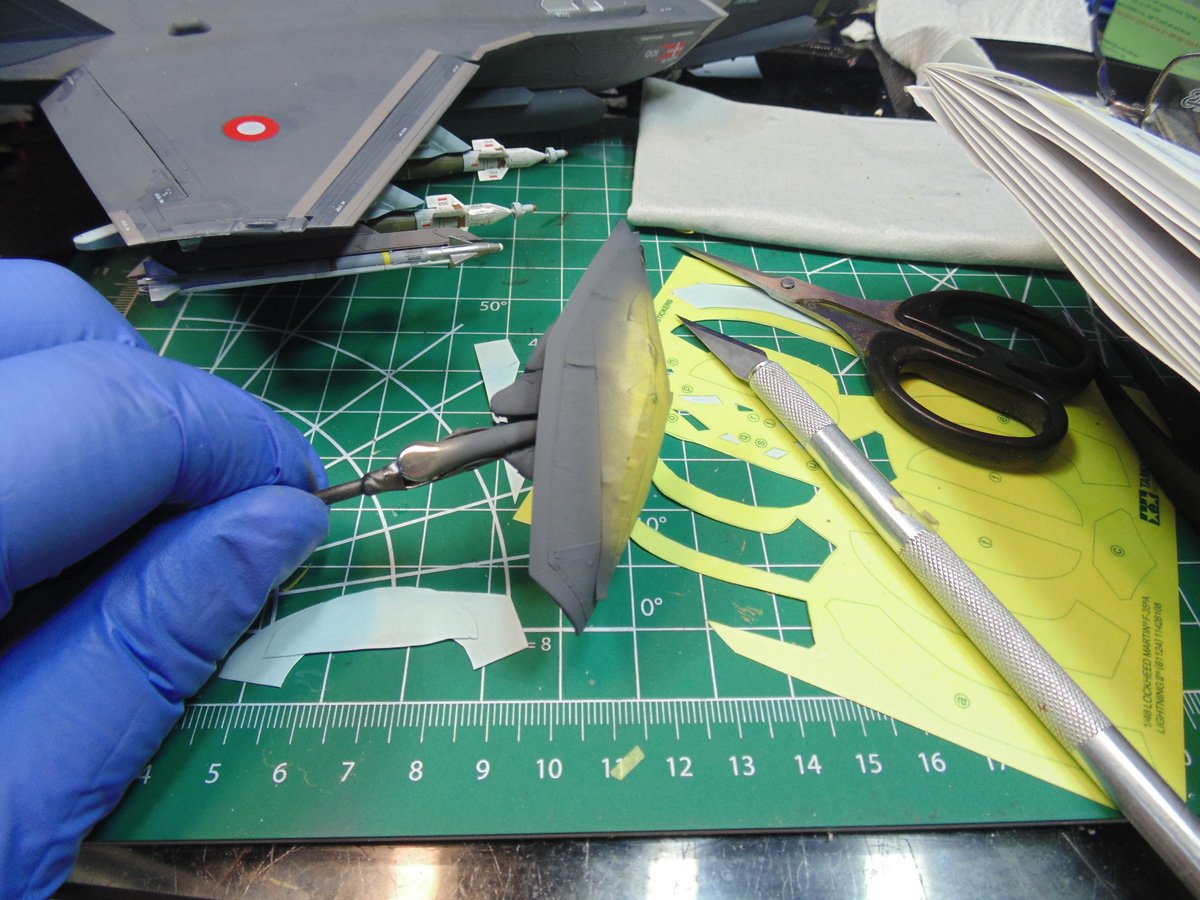
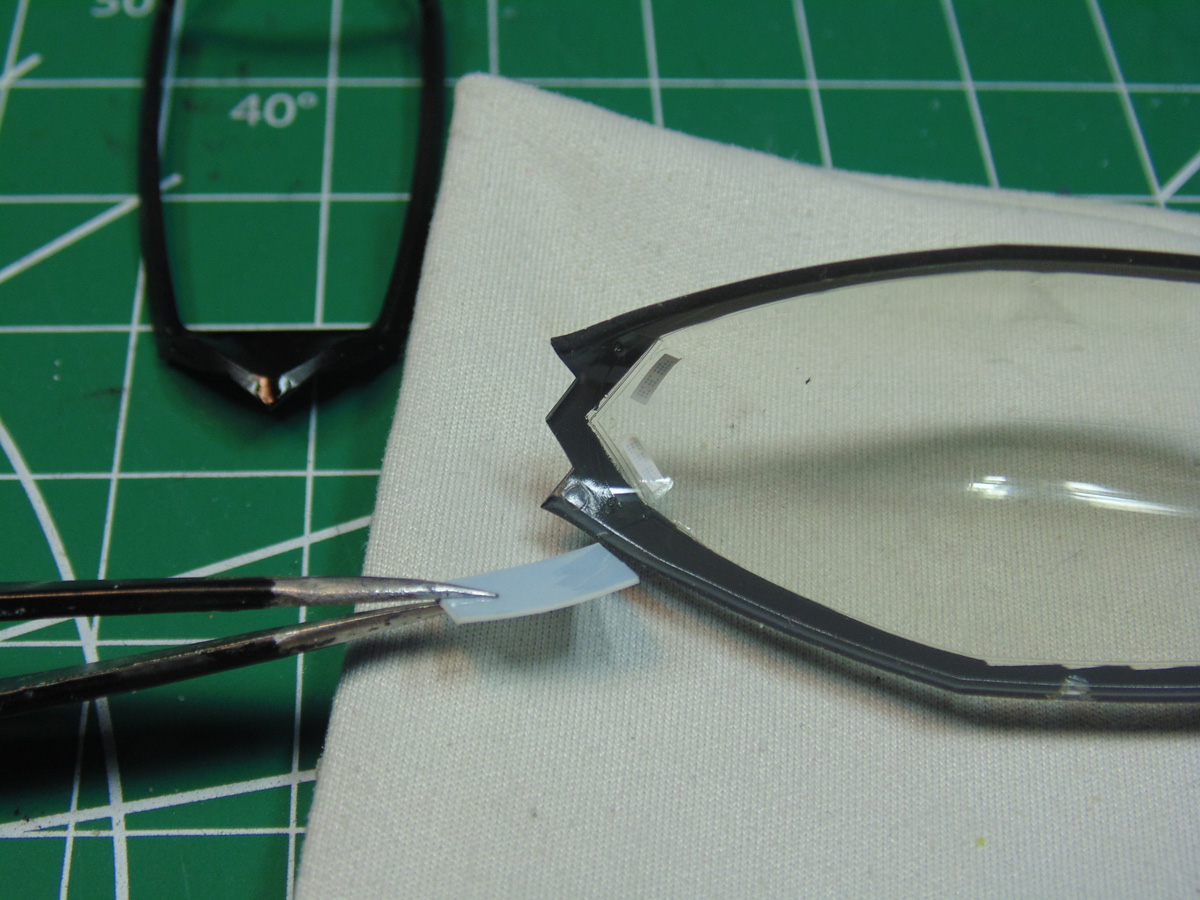
Obviously, you can see the white edge of the opened canopy. Holding the part was a supplied parts stick. It, however, left a gap in the paint. Mixing some X-18 semi-gloss black with a retarder worked well, but you have to let this dry for at least an hour.
The inner decals of the canopy have to be flipped so you can see them. Use a length of paper towel to dry them off after being saturated in water. Do not put any setting solution on the clear part. Let the glue from the backing paper to allow the stencil to adhere. I used my tweezers to flip the decal over and rub it in the wet glue paper solution. Just a tip.
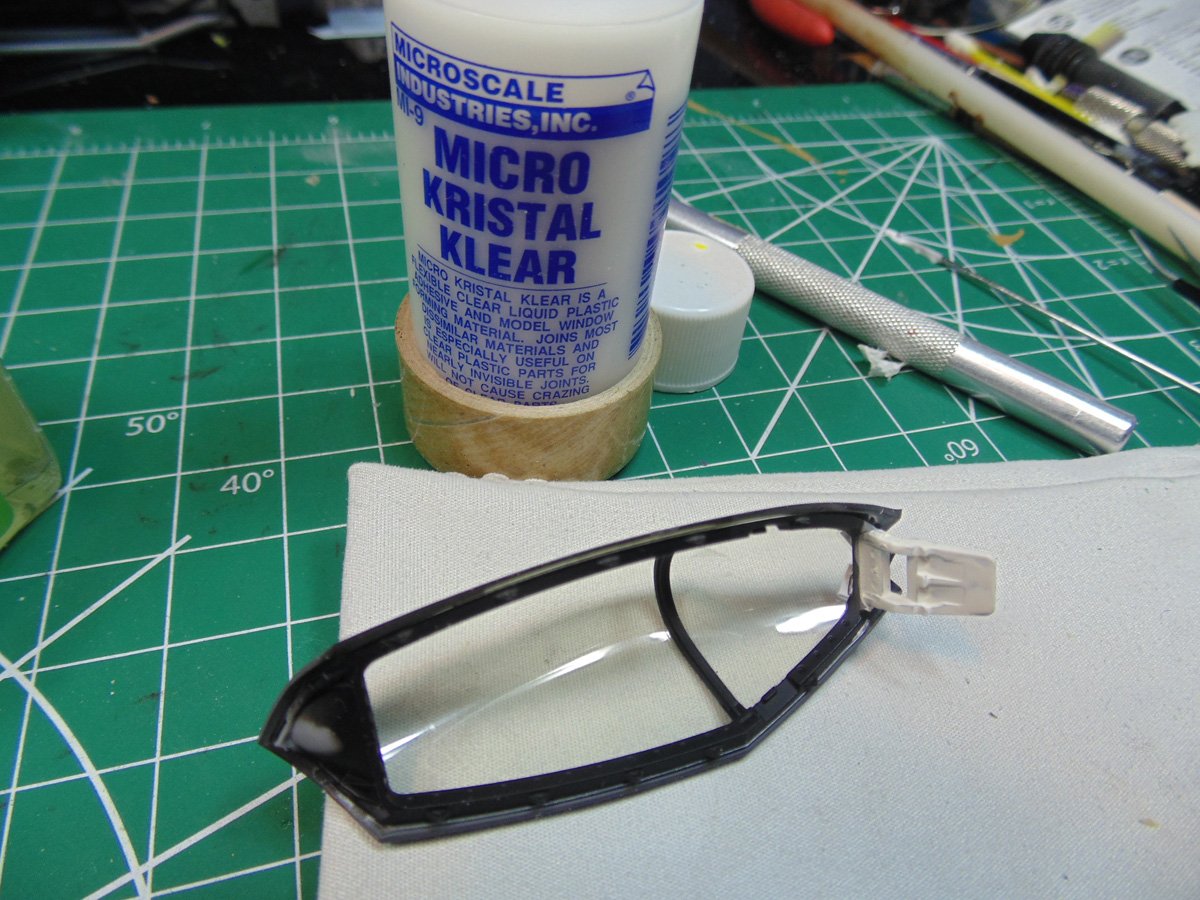
I used Kristal Klear to affix the frame. But only on the unseen edges. It has a strong bond and is somewhat transparent. Regular glue would have messed up the clear surface.
Now that I’m certain everything fits well the parts get attached. More-over the clear parts get covered and it’s time for a wash.
Do your best to scrape off the paint on the connecting points of these small parts. They are vital to the look of the aircraft and you’ve spent a ton of time preparing them. Always use the least amount of cement as possible when dealing with clear parts.
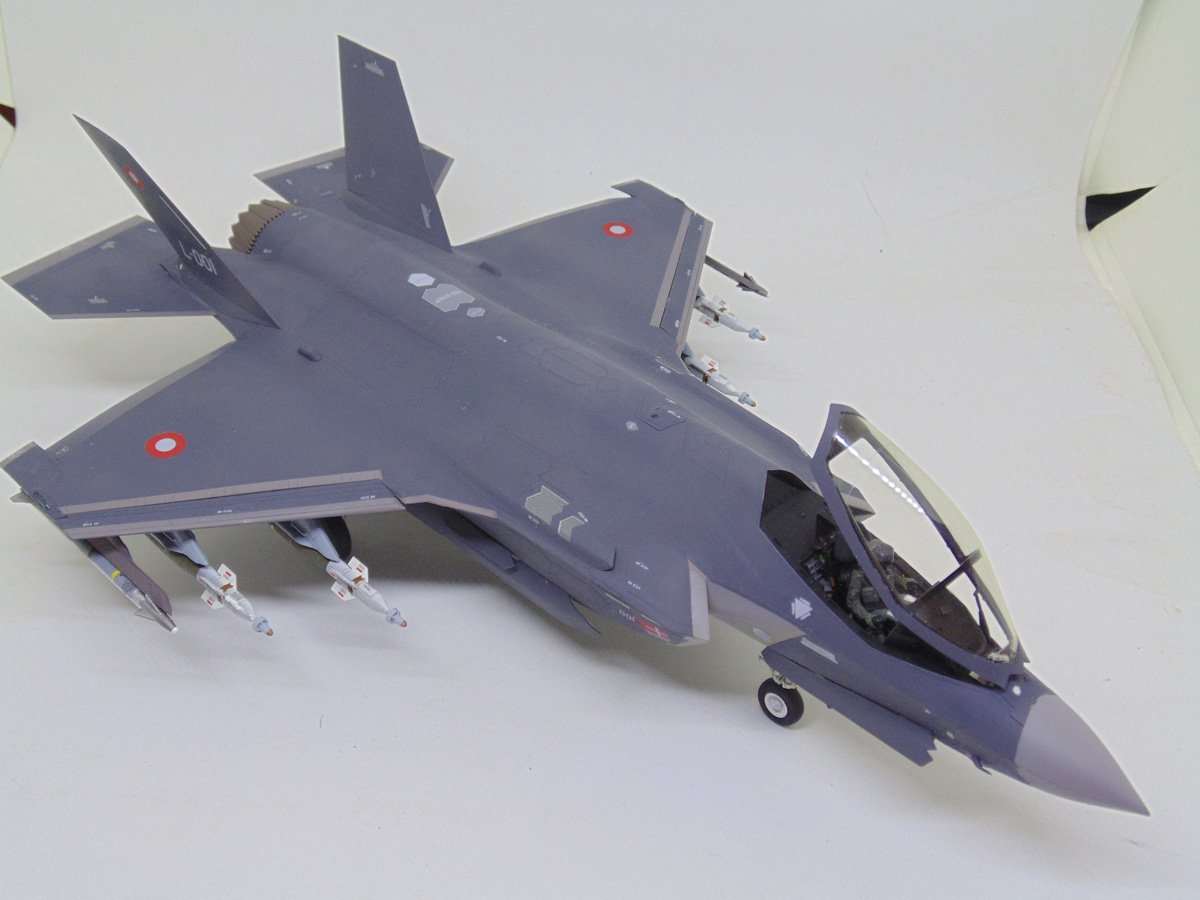
Here’s a rough look of the end result. Plenty more to do but you get the idea . Always, always test fit your subsections. Note the ladder and door are rough fitted in place.
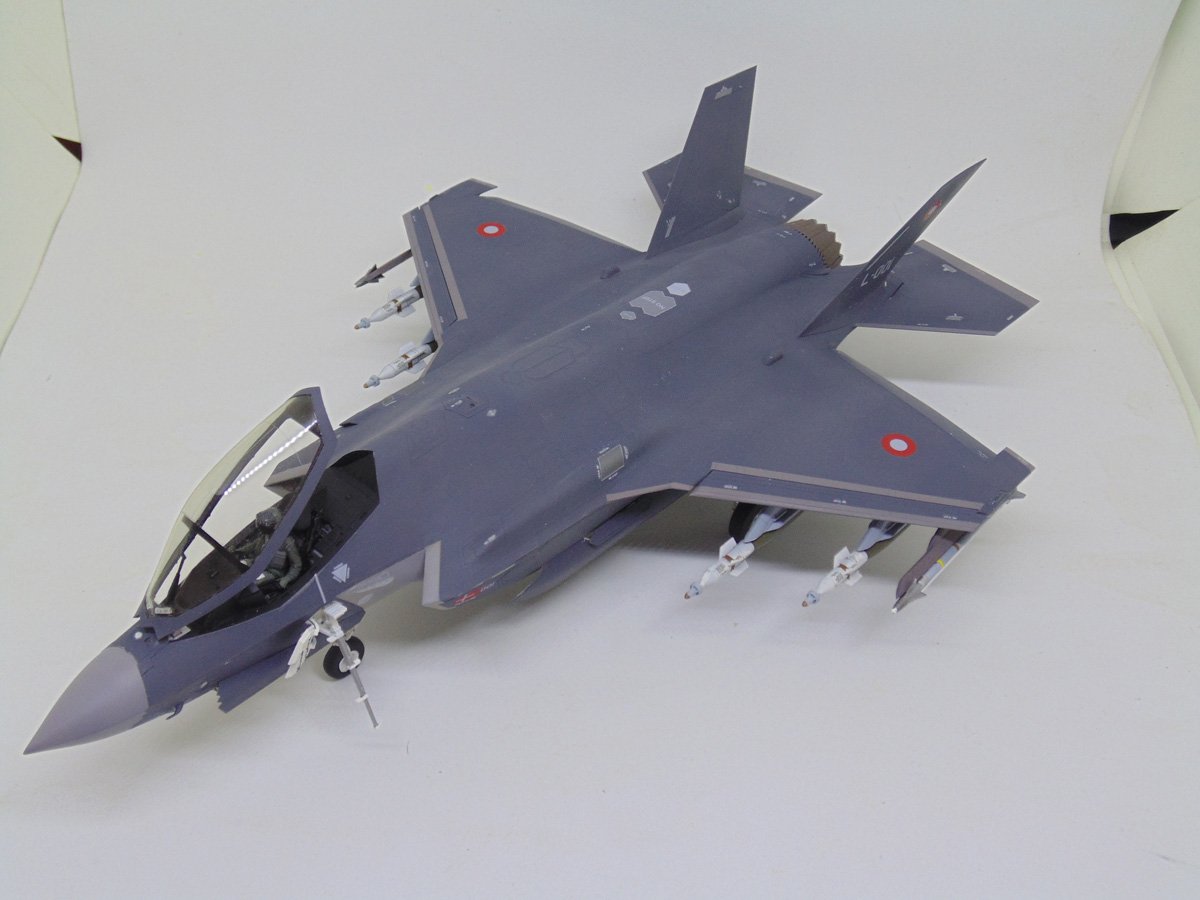
With all the little hic-ups worked out, which I won’t bore you with, she’s ready for some beauty shots.
If you have any questions about the products or methods used in this article, please feel free to ask the staff when you pick up or place your next order from Sunward Hobbies.
About the Author:
H.G. Barnes is a former voice-over artist and retired sales and marketing professional. He’s the author of two large volume science fiction adventure romance novels with many more in the works. For well over 40 years he’s been building scale model replicas and now does commission work for clients in Canada and the USA, plus completes projects for companies in Asia and Europe.
Currently H.G. is involved as an Associate Editor with KitMaker Network’s Online Magazine Channels.
Previous Post: Part 8