
Basics of Painting Camouflage on Plastic Models
In this Sunward Hobbies tutorial I’ll be showing you some fun basics of how you can create your own Camouflage. You’ll find some great time saving tips along with simple artistic examples.
All the materials used in this tutorial unless otherwise stated can be purchased at Sunward Hobbies. No special tools or products went into what I’m about to show and are techniques almost anyone can do.
There are a lot of very cool items available at Sunward Hobbies to make your project not only look more realistic but let you have much more fun and satisfaction with the completed result. Don’t be afraid when you look at what an advanced modeler has displayed and think, “I’ll never pull that off.”.
Here are 4 products that are super easy to use and give you terrific results.
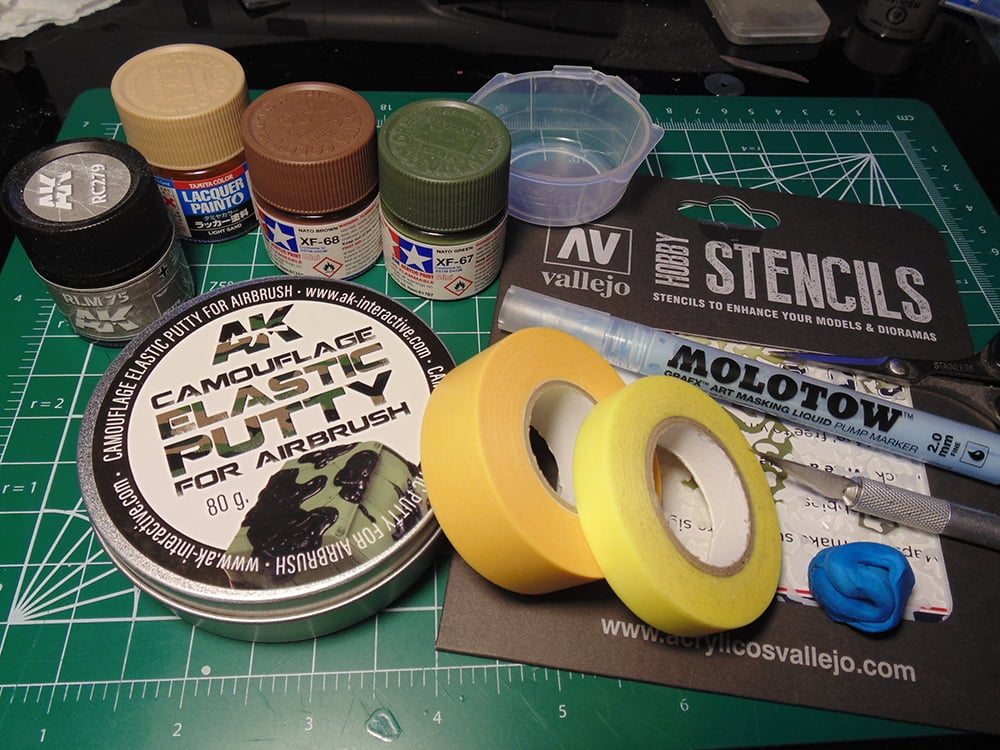
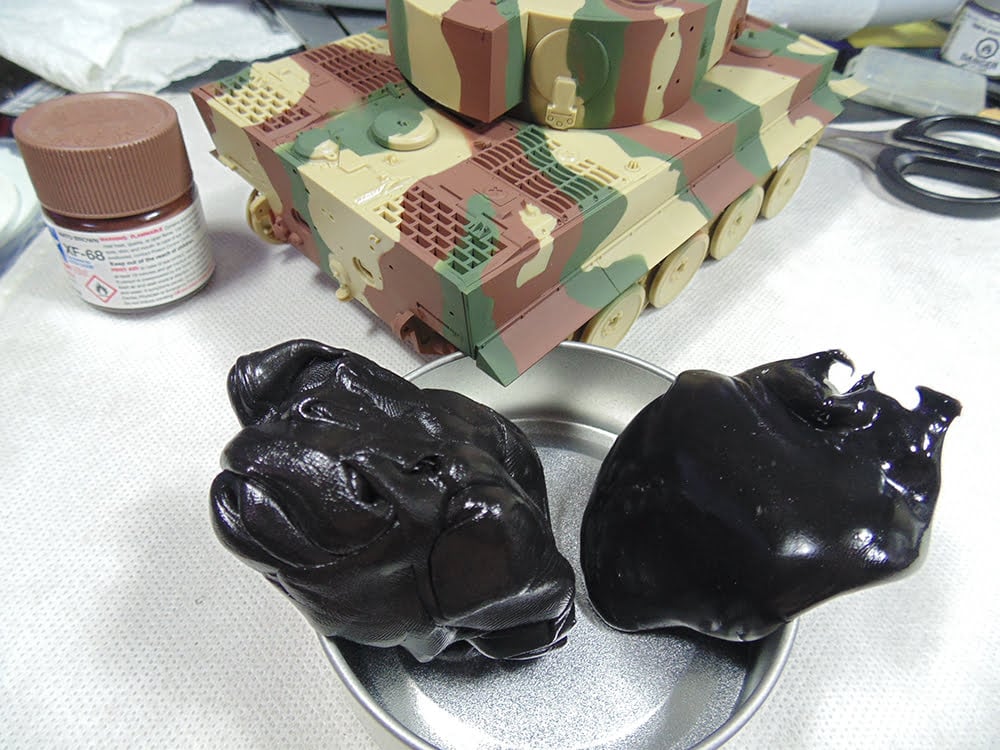
I’ll start you off with a really interesting product that makes doing camouflage on most models a joy. AK Interactive Elastic Putty will help you form or cut the desired shapes. Here’s a few tips; when you remove it from the tin and sealed bag take a half an hour and knead, stretch and play with it. They claim it leaves no oily residue. I beg to differ. When you’ve worked it with your hands for a while wash them. Next, it will self level so the thinner you make the layer of putty the less it will flow into places you don’t want.
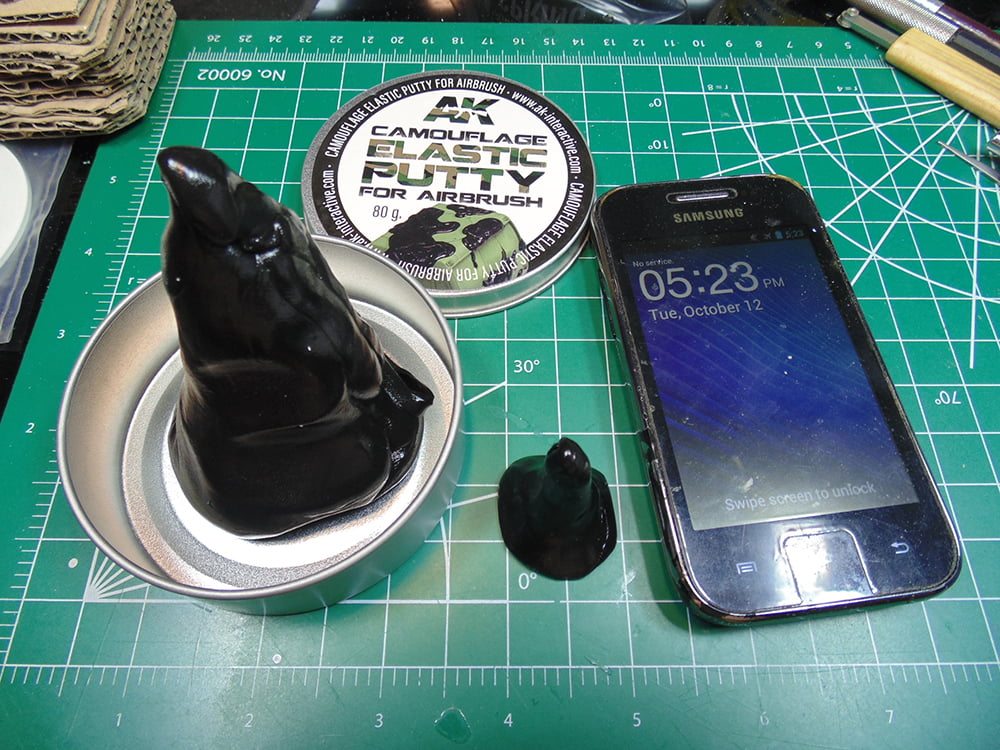
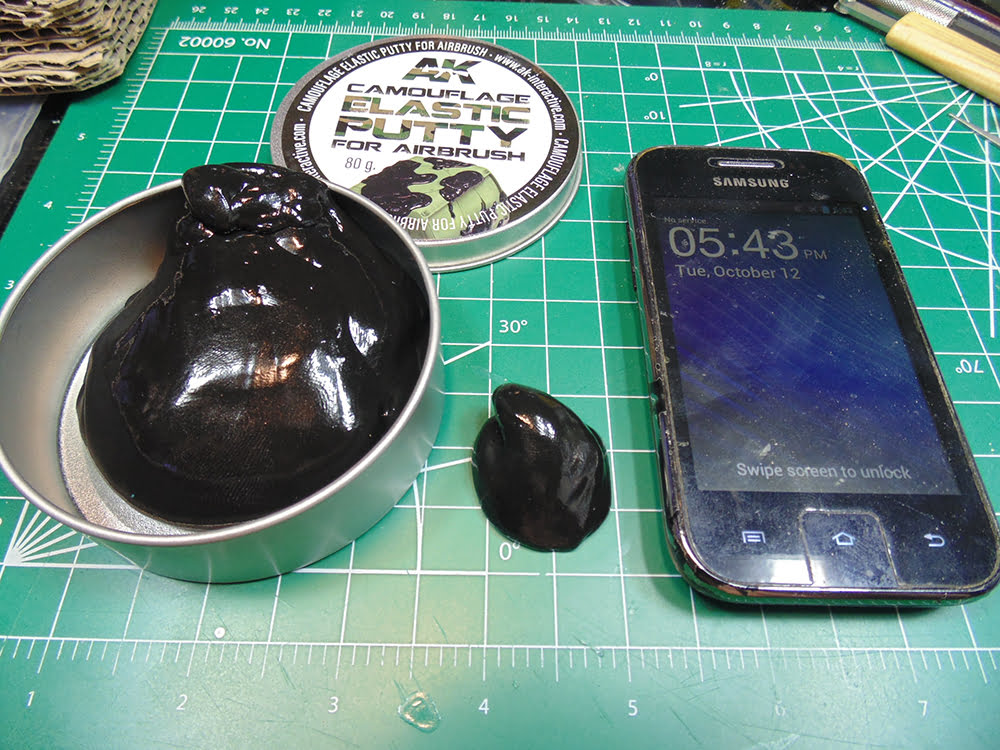
And with AK Interactive Putty settling:
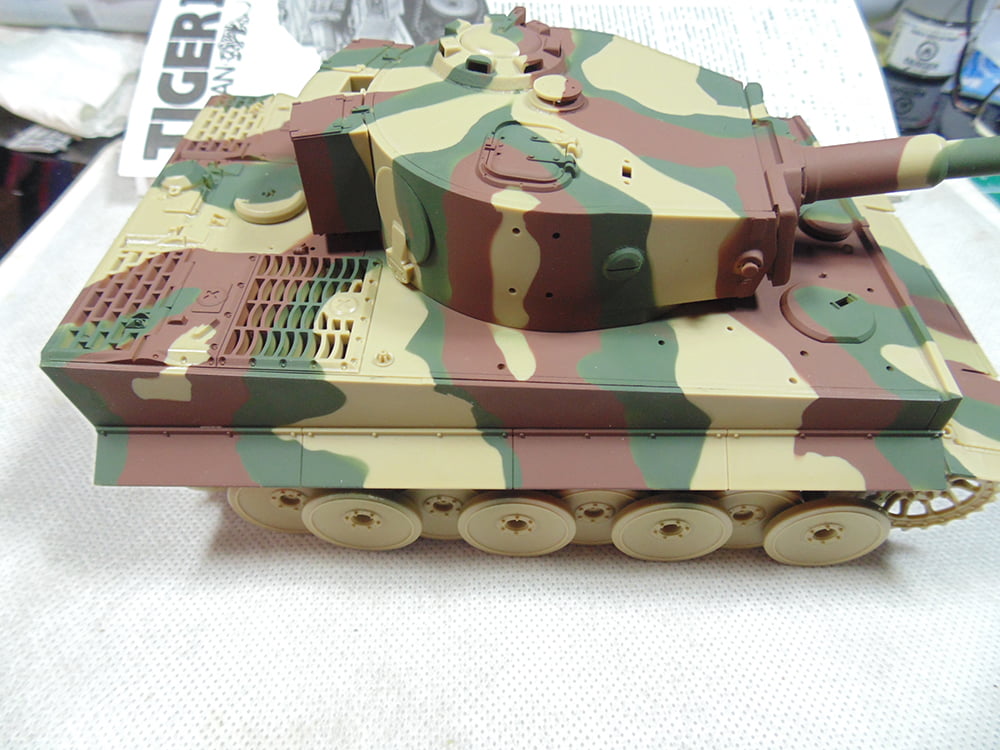
You’re all set to go, now let’s get a subject. In this example I’m using a Tamiya 1/35 Tiger 1 Mid Production, which you can pick up at the store, along with Tamiya XF67 NATO Green and XF68 NATO Brown.
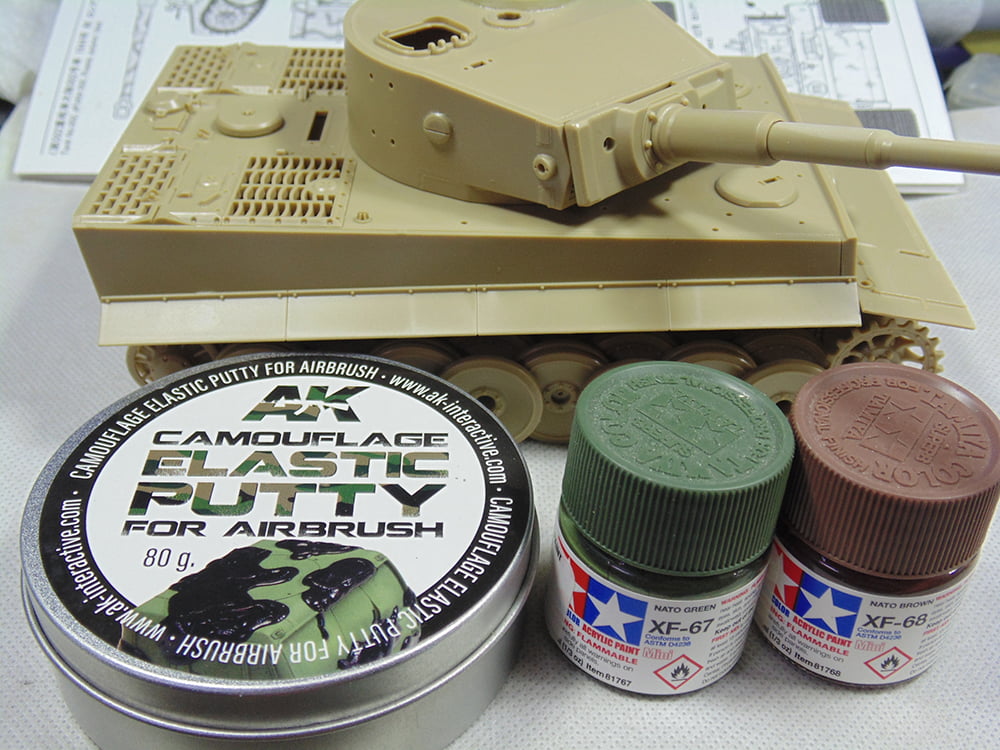
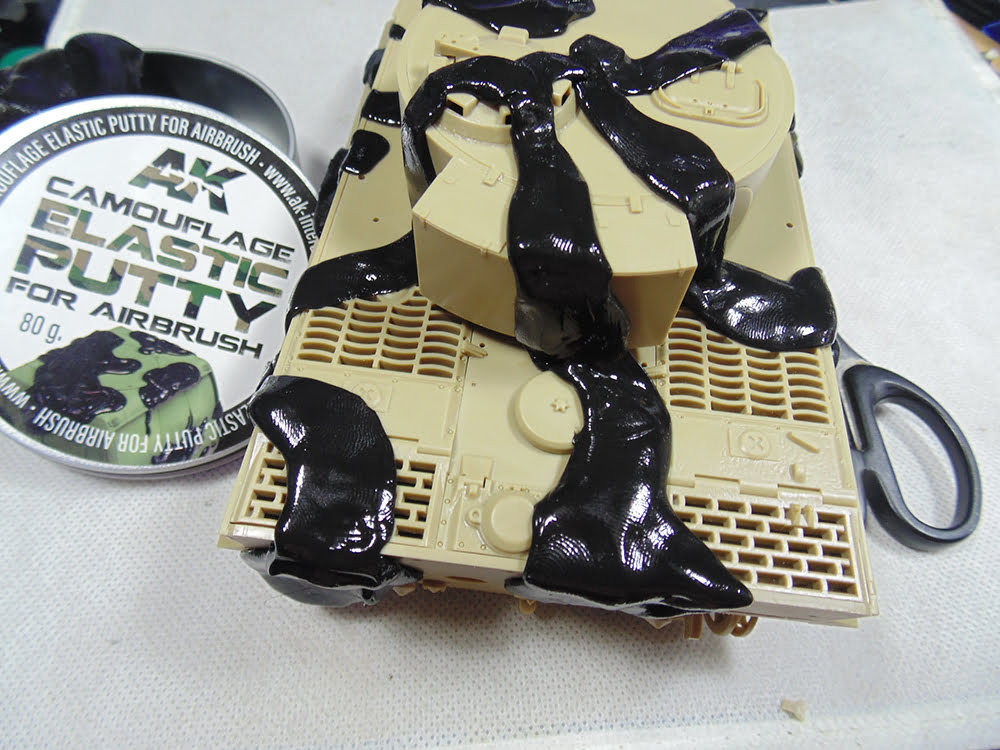
I took the time to build the model up to this stage. It is missing a lot of parts, of course, but the point is to paint the camouflage. Here you can see the organic look from just forming the putty using artistic licence.
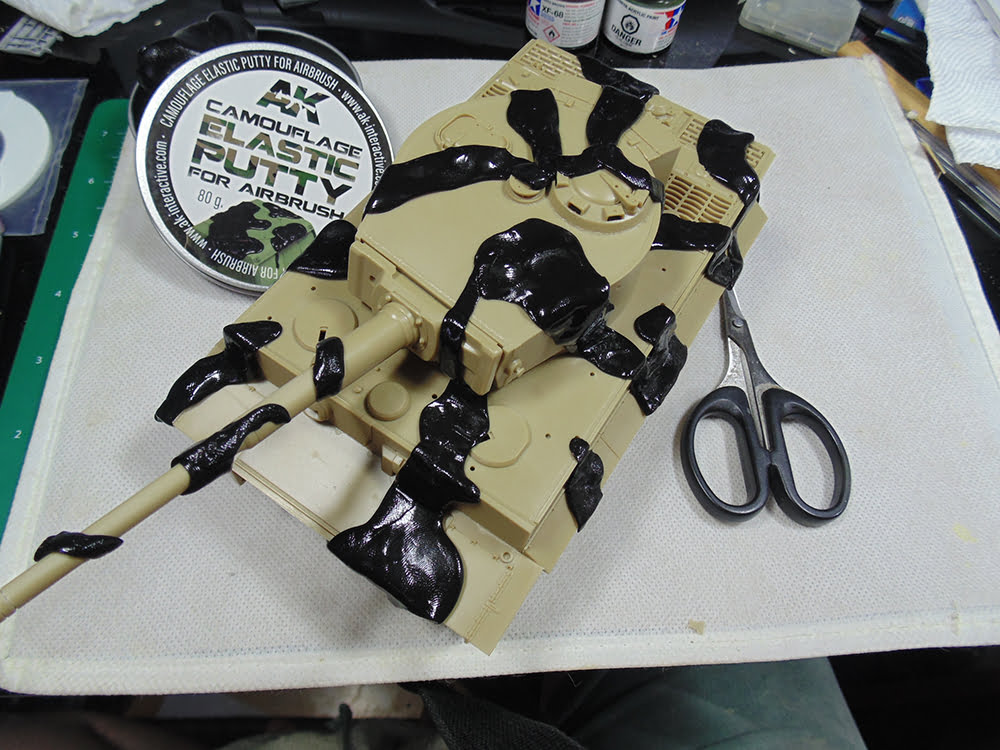
After the carpet of putty is at its end, use a pair of Tamiya hobby scissors and simply snip off the excess.
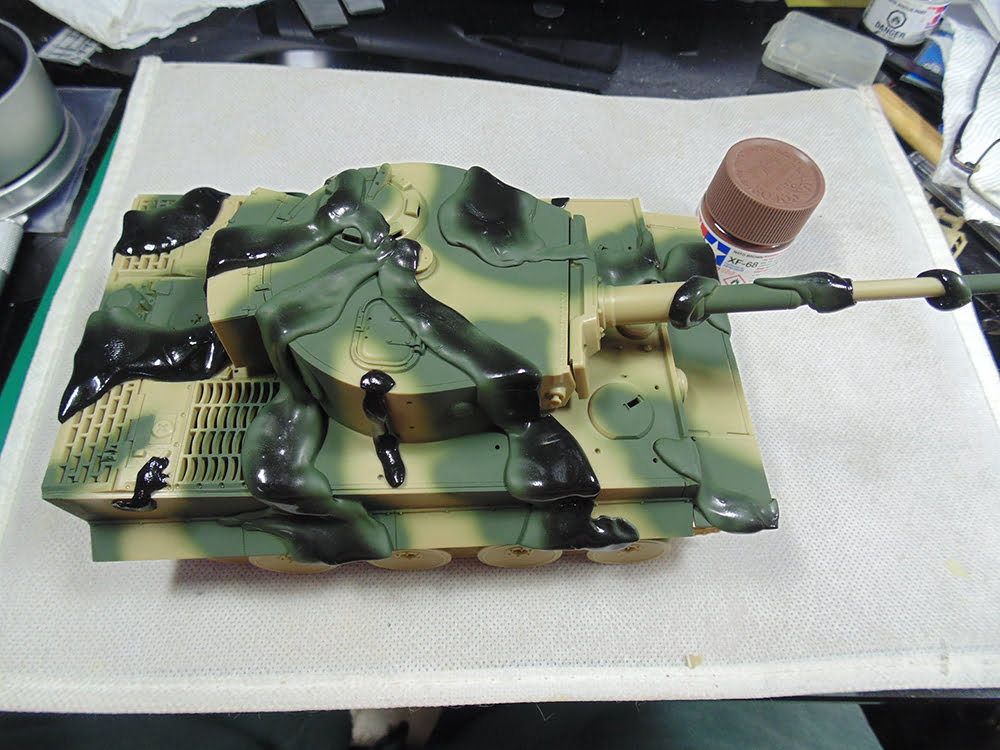
Now that the sand yellow colour is protected you can spray or hand paint your next choice, In this case the green. I decided a few more slashes of yellow would break things up a little, hence the added black.
AK Interactive Elastic Putty conforms nicely to contours, yet sometimes a gentle push into places is needed.
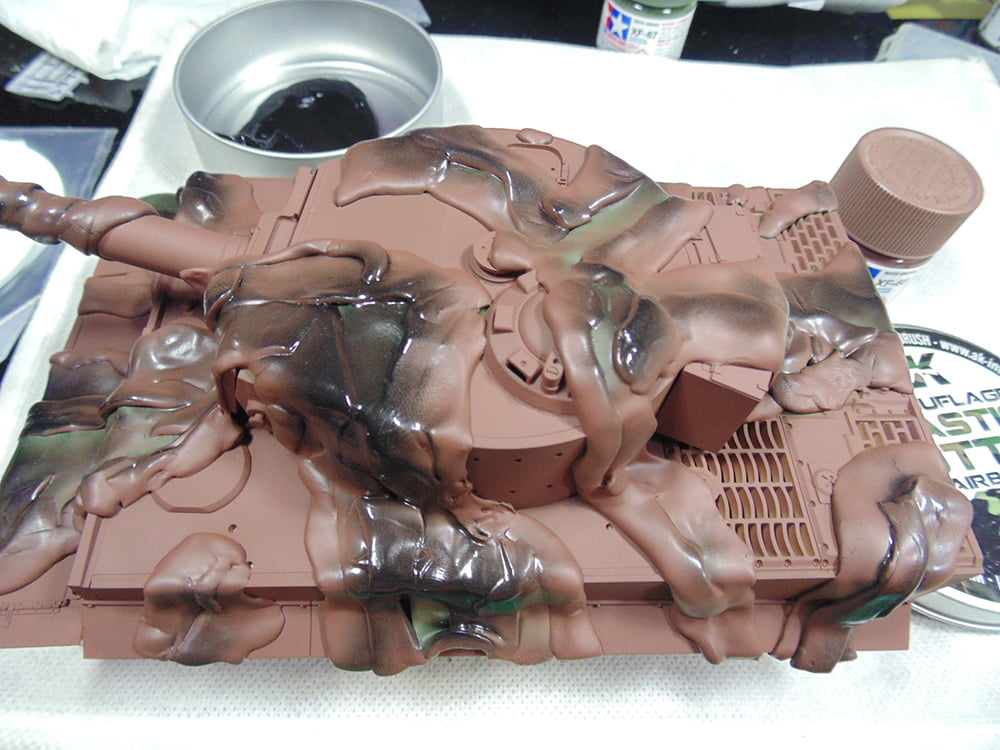
Now the fun part. Let’s pull that mask off!

Obviously, this project is far from being completed. What I did, though, shows how quick and simple using AK Interactive Elastic Putty can be, not to mention rewarding.
The beauty of this product is that you can make many shapes either large or small to match most hand sprayed schemes as they appeared in that time period. Also, the putty does not cling tightly to surfaces so it’s a breeze to remove without worrying if it will lift your paint. Then you just pull and stretch to blend the paint in with the black.
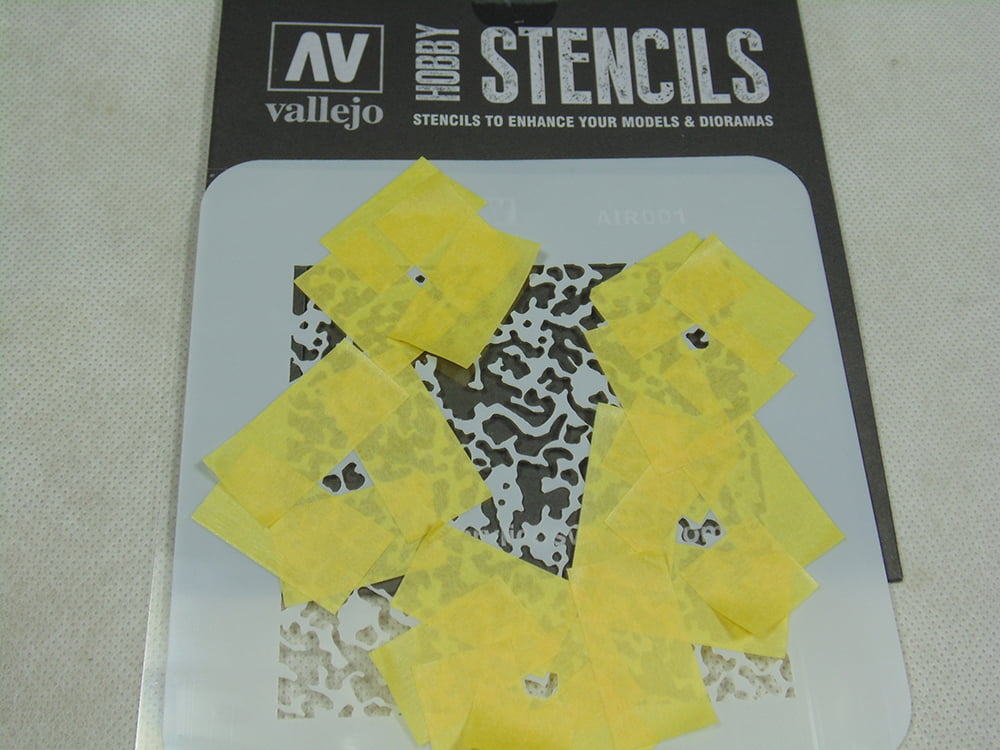
When it comes to German WWII mottled camouflage many casual hobbyists will shy away from it for fear of either over or under doing it. Sure, it takes a steady aim, skill and practice when free-handing something that intricate. Vallejo, among many others, have made this fear disappear with reusable die-cut plastic Vallejo stencils.

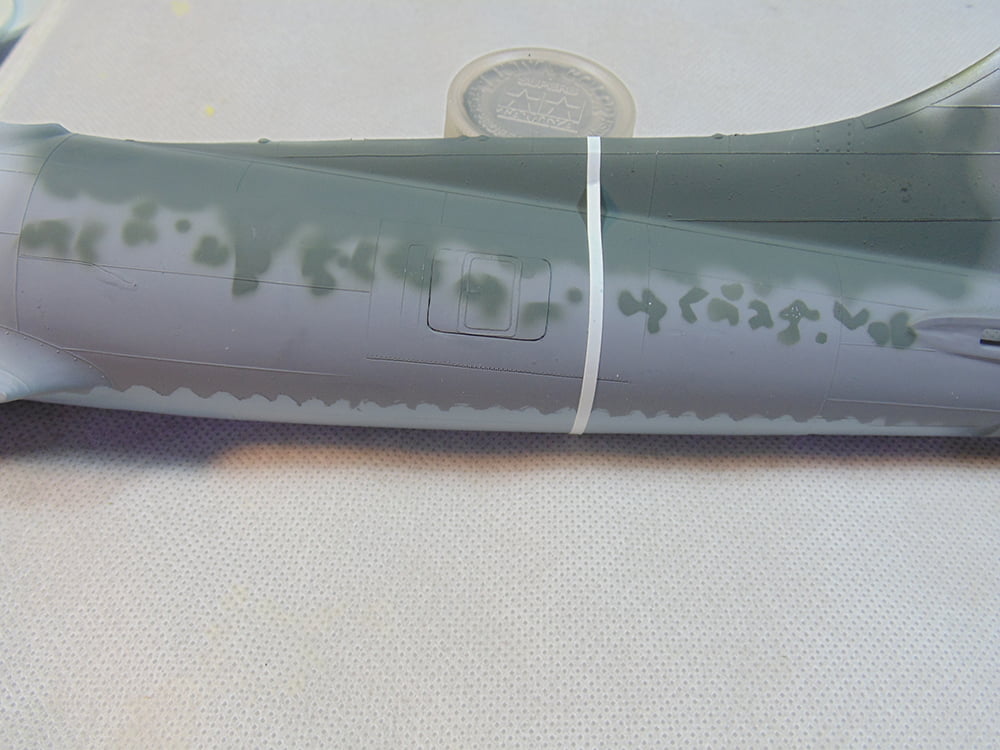
In this example I’ll use my B-17 mule. First some AK Interactive Real Colors RC279 RLM 76 for the belly.
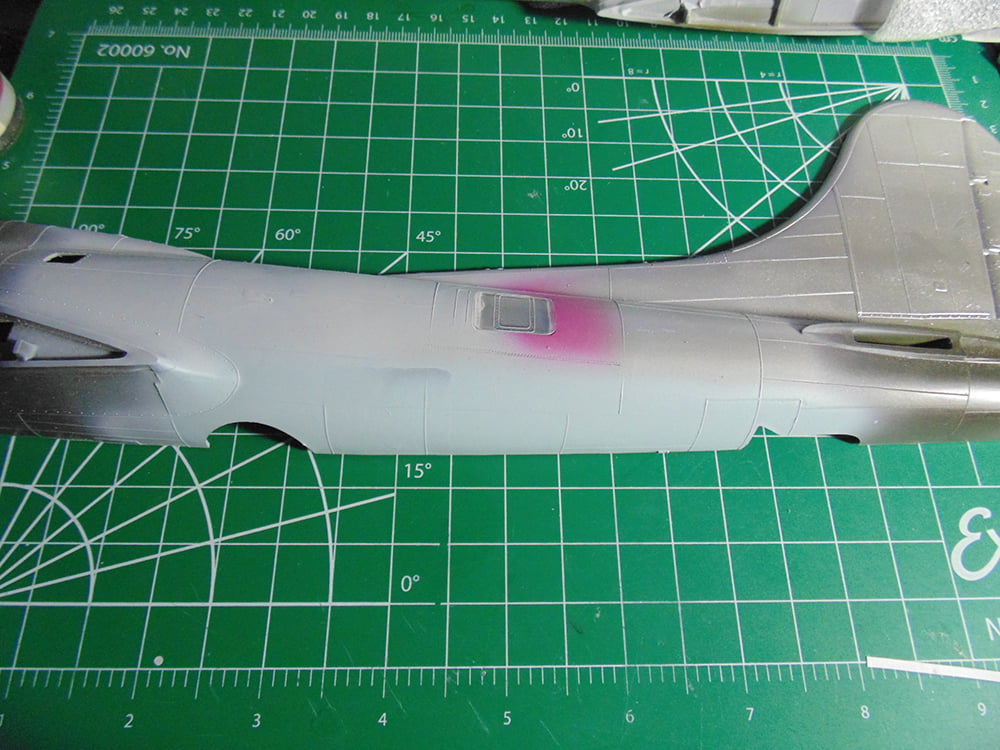
Next, some wavy transition to AK RLM 75 by using Tamiya 18mm masking tape. It’s super easy to do, simply draw your pattern and cut.
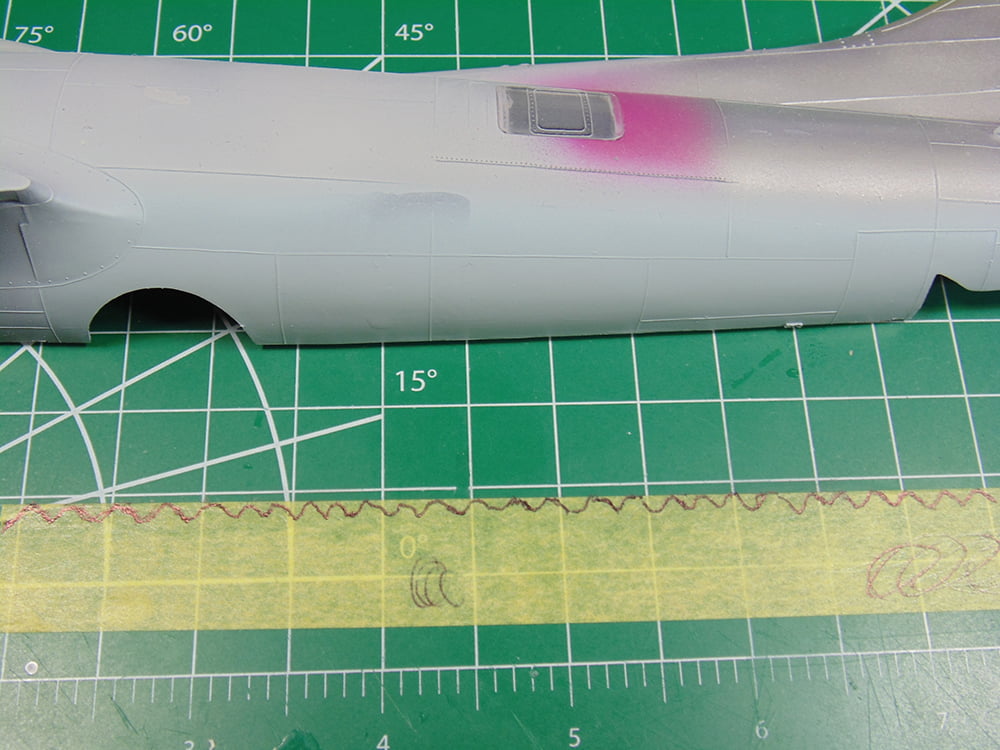
Place your cut pattern down and spray the next colour. I’ve measured out enough tape to show you two options. There will be both a soft and hard edge.
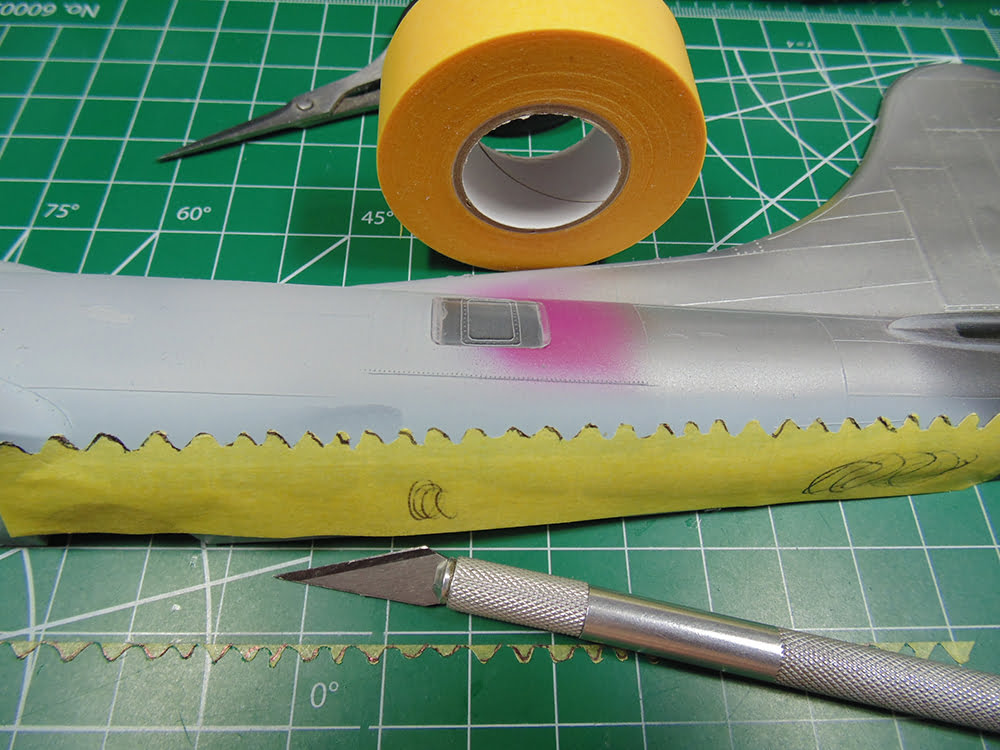
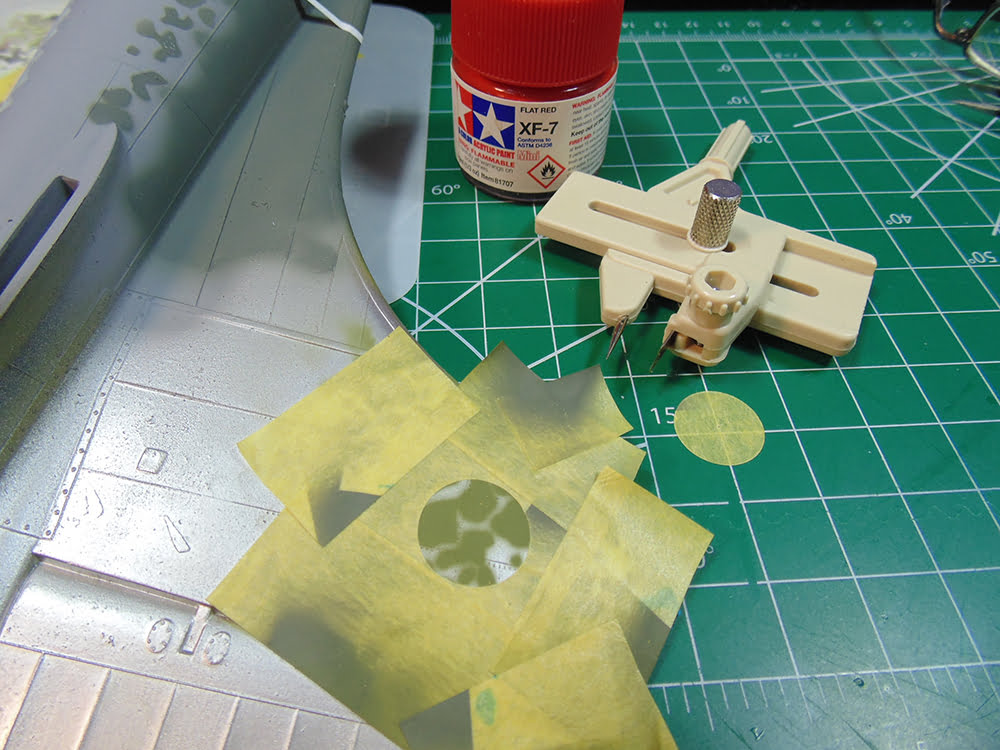
Now here’s the magic of this Vallejo Hobby Stencil, you can mask off small shapes which resemble the shark skin’s mottled look. First, here’s a tip, if you know there will be many small pieces of tape needed, do a quick count and have them cut and at the ready.

Here I’ve selected 5 shapes for the demonstration. Cut your tape with a curve that matches the shape and to remove the harsh straight line. Note, look for shapes closer to the center to make holding the stencil on the model much easier. This alone will give you a hard edge when the stencil is pressed flush to the surface.
For a softer edge you’ll need the stencil away from the surface. Obviously, the further away the softer the look. You can use rolled up tubes of tape or in this case worms of poster tack or Blu-Tac not currently available in store.
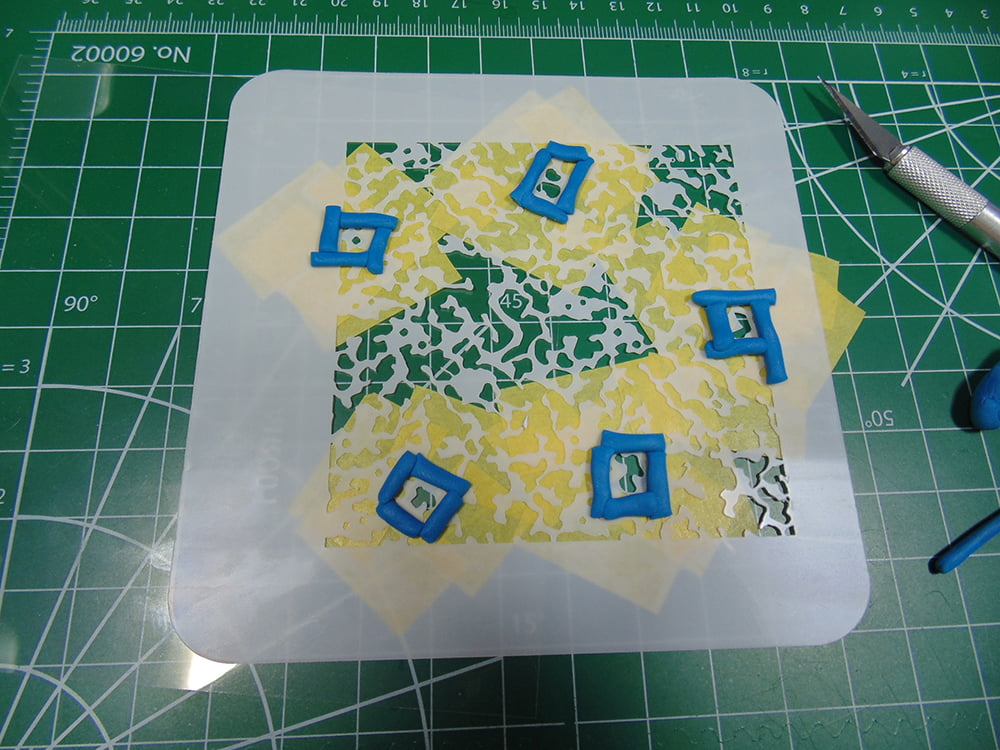
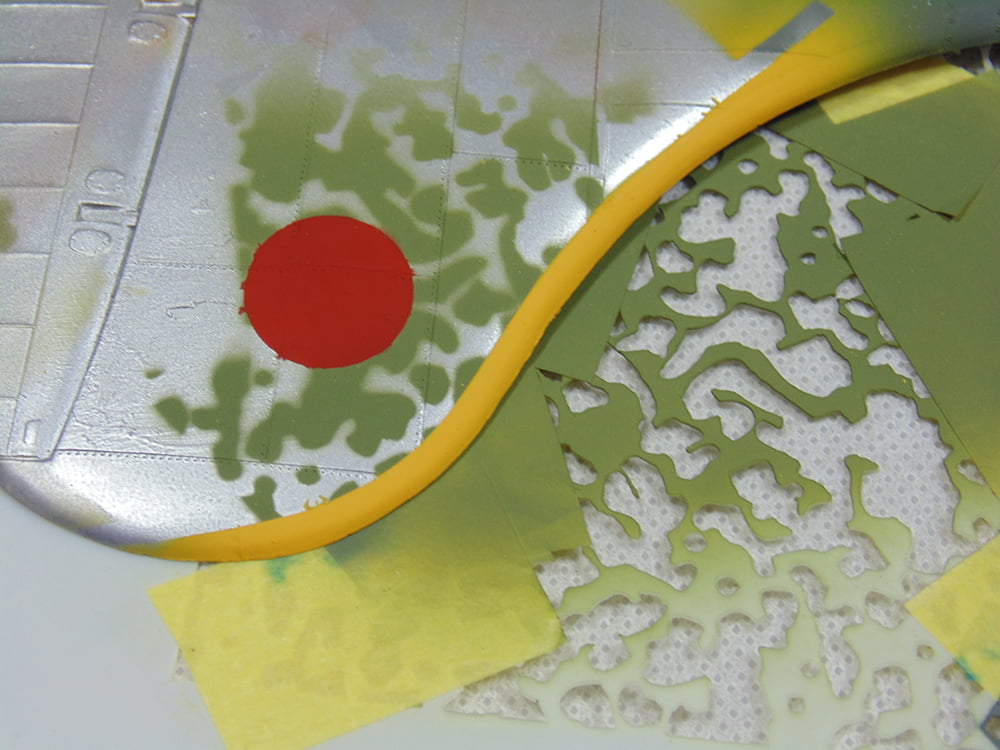
AK RLM 74 was used for the upper colour. These three RLM shades are very common for German WWII aircraft, but the way they were painted differed as much as the person spraying them. On the right is the harder edge while the left shows how I was learning to use the tool. As I mentioned, pick shapes in the center of the stencil.
I have to admit that I really liked this pattern and wanted to show you more. For example, many Japanese aircraft were mostly bare metal with limited paint. The stencil looked similar so I put it flush on the aluminum section of the B-17 paint mule. Then I used my compass cutter, lovely tool and highly recommended, to make the roundel.
This was a fun little test and I hope you agree that it looks the part. I see many more little experiments such as this in the near future.
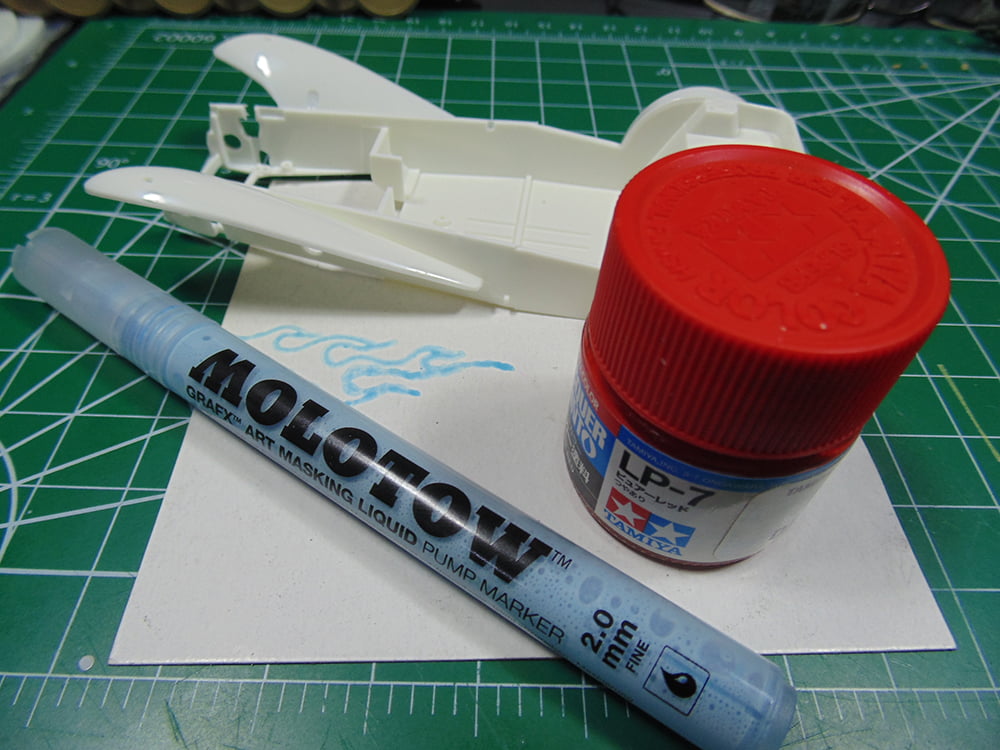
Before I get into the final segment, I’d like to show you something I’ve been wanting to try for ages. Molotow are renowned for their chrome products, and deservedly so. This is their GRAFX liquid masking marker. It’s very easy to use, you simply shake well to mix the latex, thinner and color then press down gently on the white tip until it turns a pale blue.

It took about 20 minutes for the solution to dry with the results being quite nice. I learned that it should be applied quite thick for ease of removal, but where it was thicker the result is excellent. The key take-away is no brush strokes and no perceivable height difference with the added green. Well worth the money I invested.
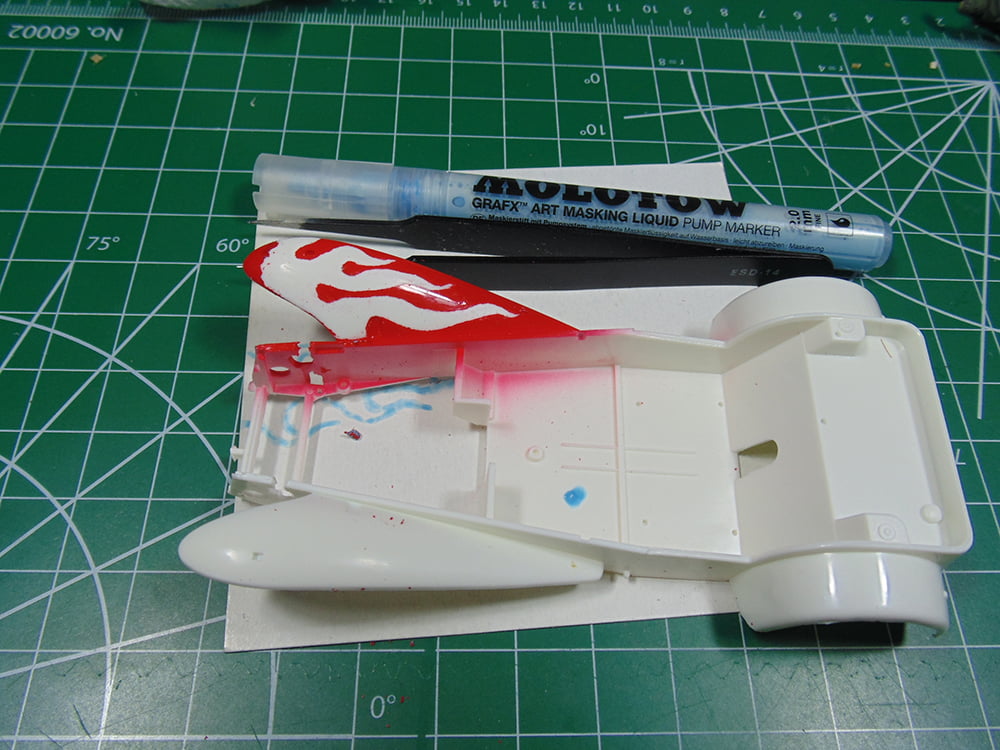
I admit to being out of practice with drawing, but wanted to give the Masking Marker a go at flames on a car. In this example it’s a Tamiya Lotus S-7.
The results would have been better if more fluid was applied. Like I said, the old art skills are a bit rusty. However, this was not a failure by any means. With more practice you can bet on seeing this Molotow in future articles. One last thing, there is zero latex odor!
Now we’ll pull some out good old hobby masking tape. I’ve tried dozens of different tapes in an effort to save a few pennies. The results were always a tiny bit of paint lifting or poor adhesion or left behind adhesive residue. Hobby brands use a high-quality tape product, so that’s what I use and that’s my opinion.
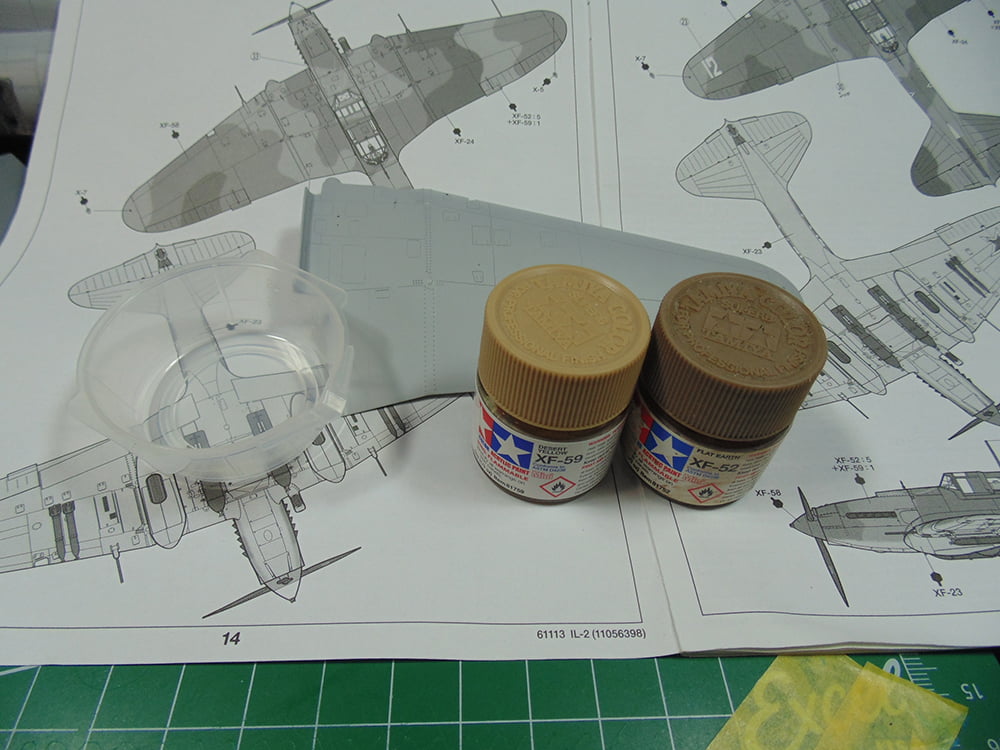
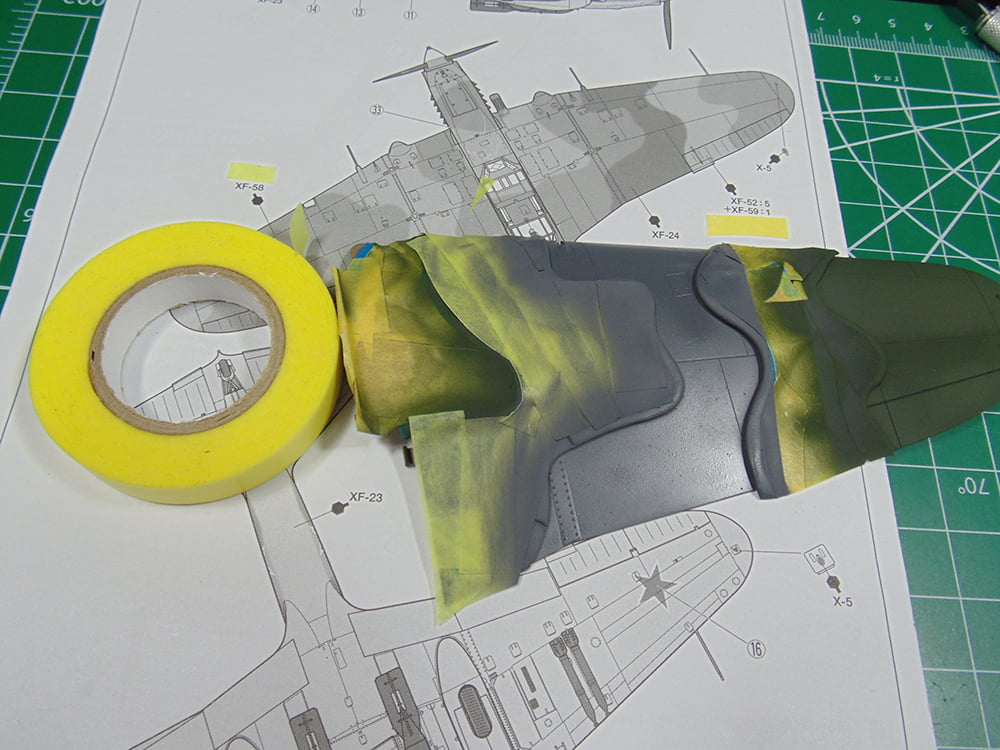
In this example I’ll be completing the entire upper right wing of a Tamiya 1/48 Russian Shturmovik. With the part prepped and primed I now needed to mix some paint, as per the instructions. These Mr. Hobby mixing cups are great with content hash marks and a pouring spout.
It isn’t vital to be accurate with the first colour. Just make sure you have the entire area covered and try to graduate from lighter to darker colours. It is difficult to get a lighter colour to mask the darker unless you hose down the area, which fills in recessed details. Just as with the stencils, the thickness of your poster tack worms or rolls will determine the softness of the edge. It all boils down to the look you’re after.
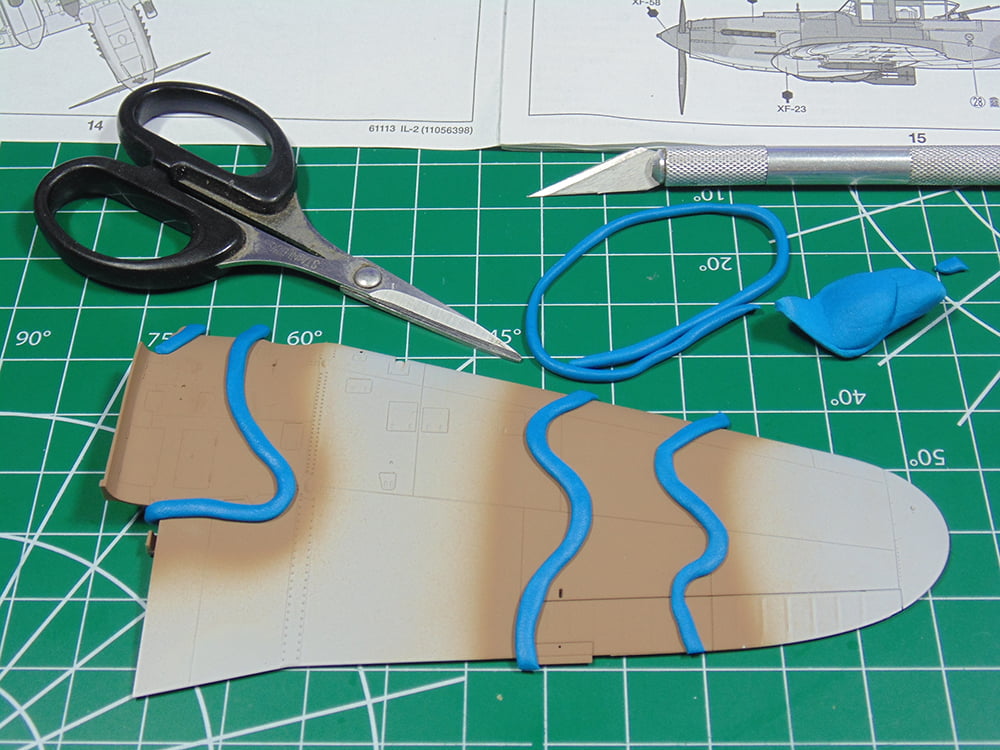
Keep in mind you’re always masking for the next colour. Also, pay close attention to the edges that fall off the part. They need to be secure or the next colour will bleed under your mask. Here’s a tip, use your cutting mat and make the rough curves and bends in the tape. Then place them and move on. It will speed things up as opposed to cutting countless little strips.
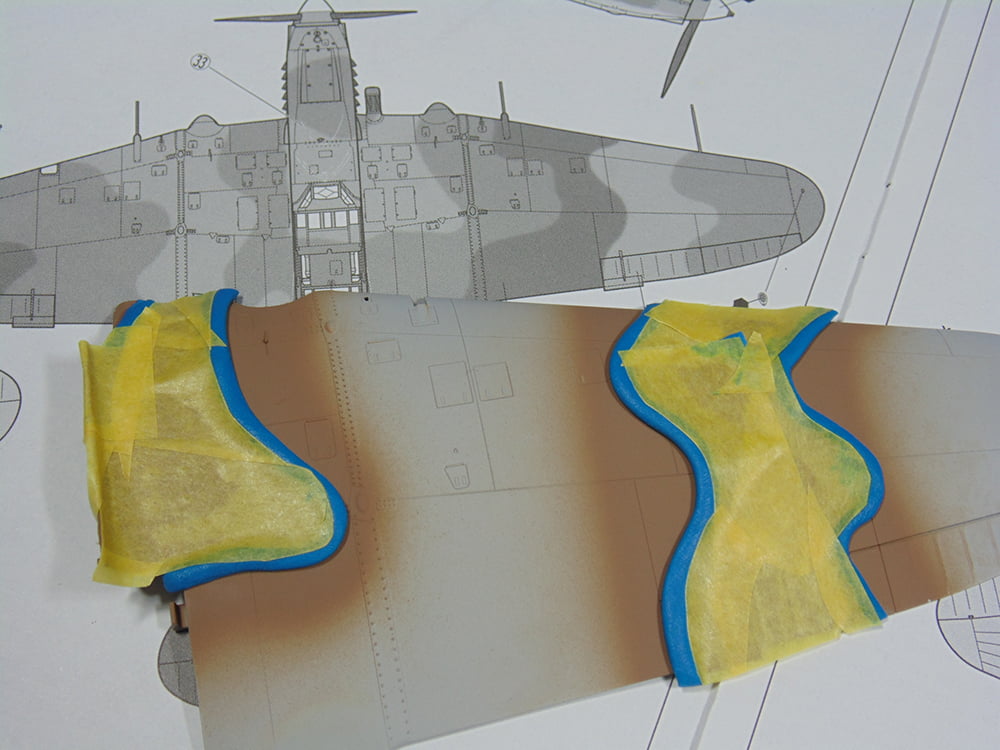
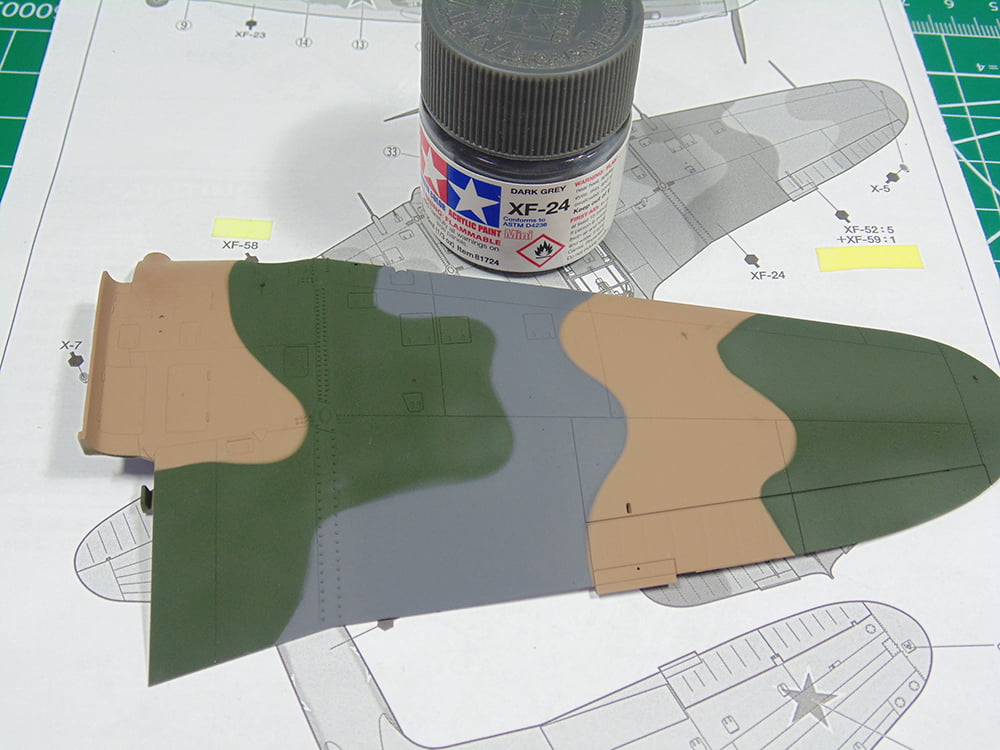
With the green sprayed I masked for the dark grey. I’m running low on wide tape. That’s why the narrow Mr Hobby Masking Tape was used. Make certain you spray or hand paint the leading trailing edges.
This wing part is ready to be assembled and move on to the next stage. You can clearly see how some of the edges have a slightly softer look. When you spray at 90 degrees to the part the lifted tape prevents the paint from collecting as heavily as the open area. Move your arm from side to side when spraying instead of twisting your wrist, in this case.
Sunward Hobbies have a great selection of items to help with recreating camouflage. If you have any questions about this article or the products used don’t forget to ask when placing your next order.
Thanks Everyone and best of health.
About the Author:
H.G. Barnes is a former voice-over artist and retired sales and marketing professional. He’s the author of two large volume science fiction adventure romance novels with many more in the works. For well over 40 years he’s been building scale model replicas and now does commission work for clients in Canada and the USA, plus completes projects for companies in Asia and Europe.
Currently H.G. is involved as an Associate Editor with KitMaker Network’s Online Magazine Channels.