
Tamiya Bismarck Battleship 1/350 Scale Kit 78013 – Part 2
In this Sunward Hobbies article you will get a close look at what is inside the Tamiya 1/350 scale model of the German battleship Bismarck (items# 78013).
In this Sunward Hobbies tutorial you’ll get to see Part 2 of the Tamiya 1-350 Bismarck build project. I’ll show you the all-important parts clean-up along with painting and masking tips in Steps 1, 2 and 3.
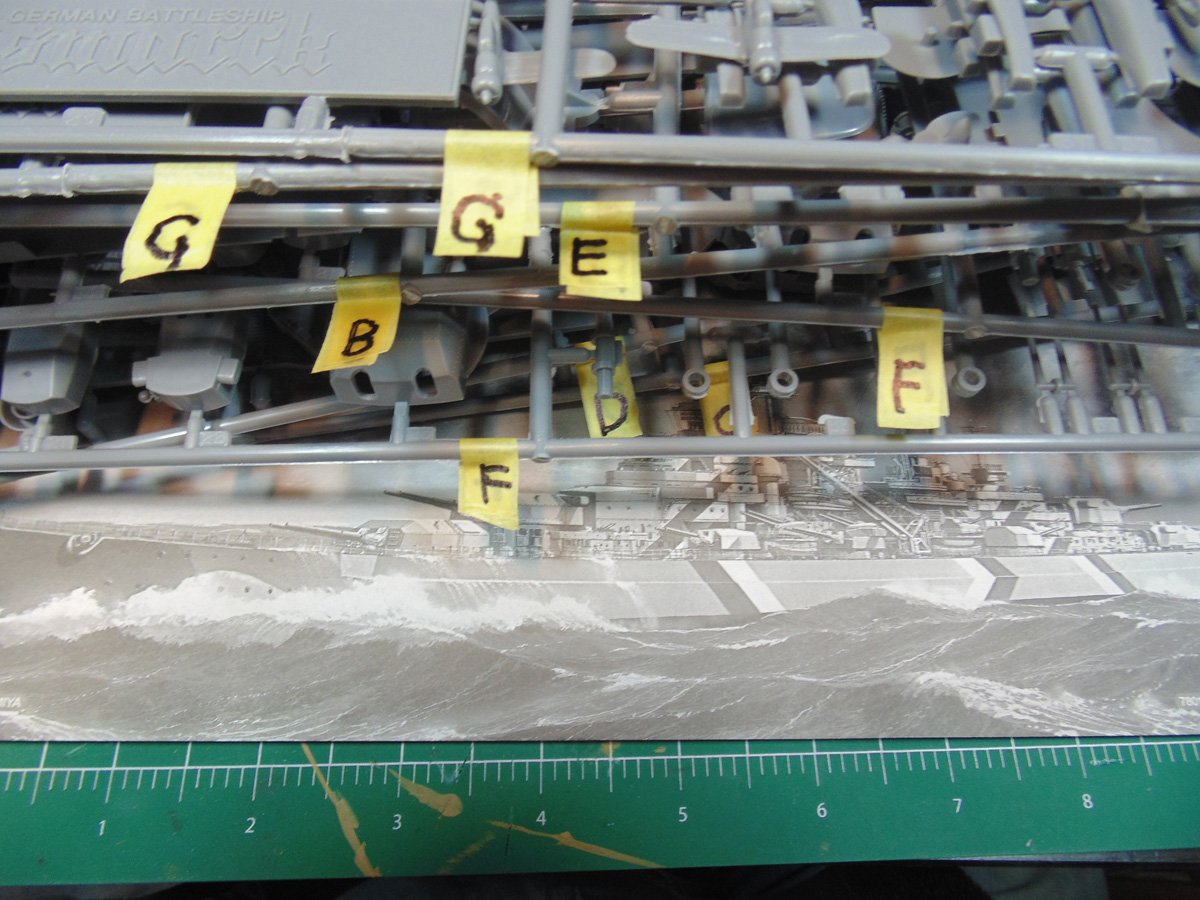
As mentioned in the parts review article, the sprue trees have been boldly labeled for easy selection. Now we are ready to dive into the build.
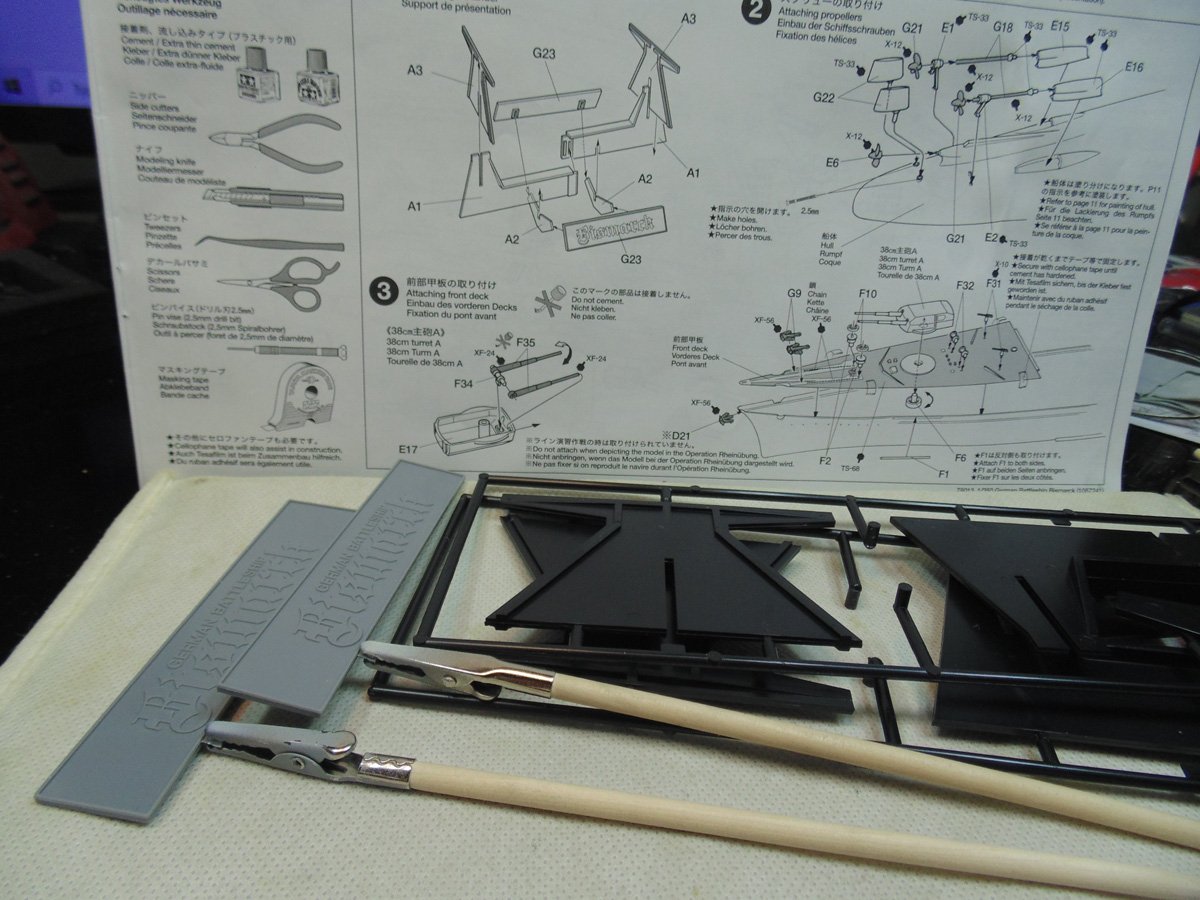
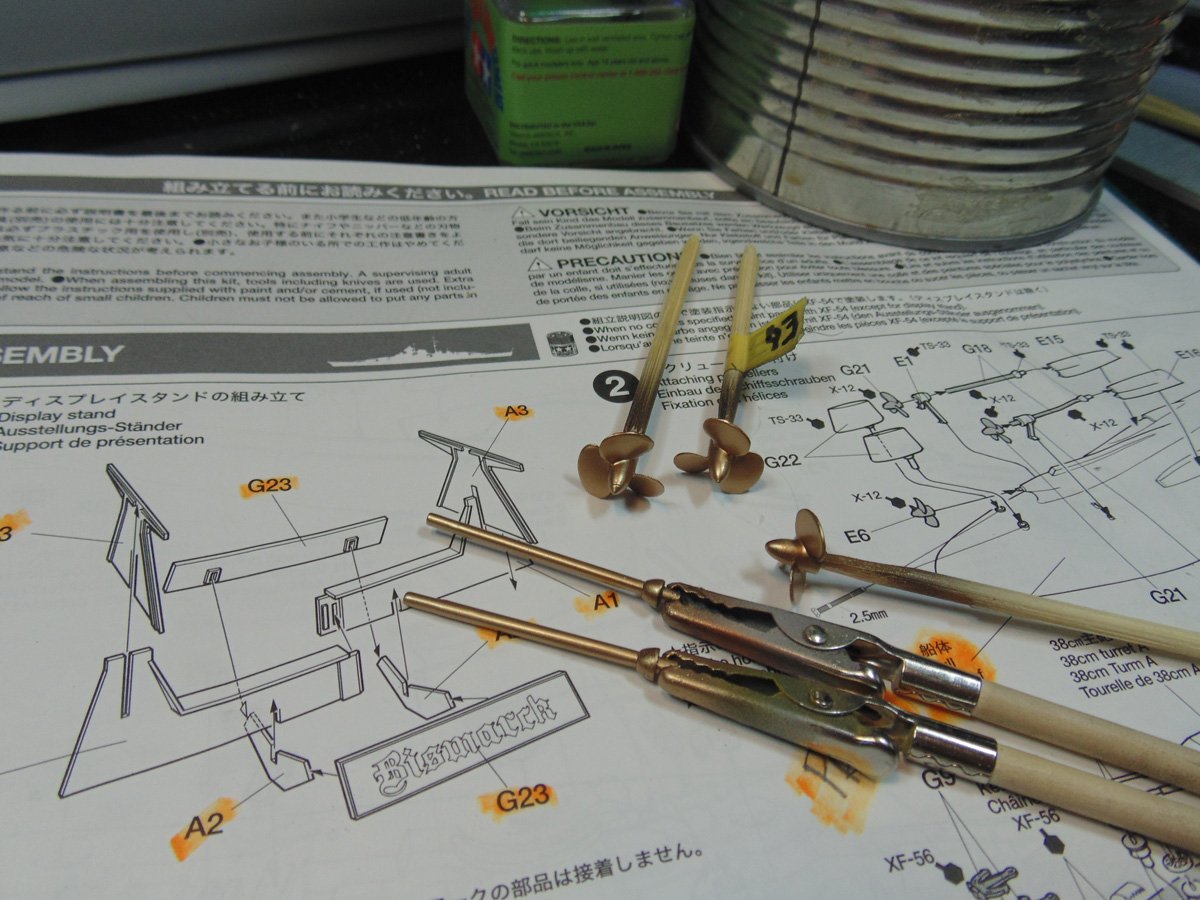
It’s important to build the stand first for the hull to have a raised platform to protect the rudders and propellers. Tamiya suggest a special polystyrene glue for this assembly. After several tests on the sprue branches, I found that Extra Thin works just fine.
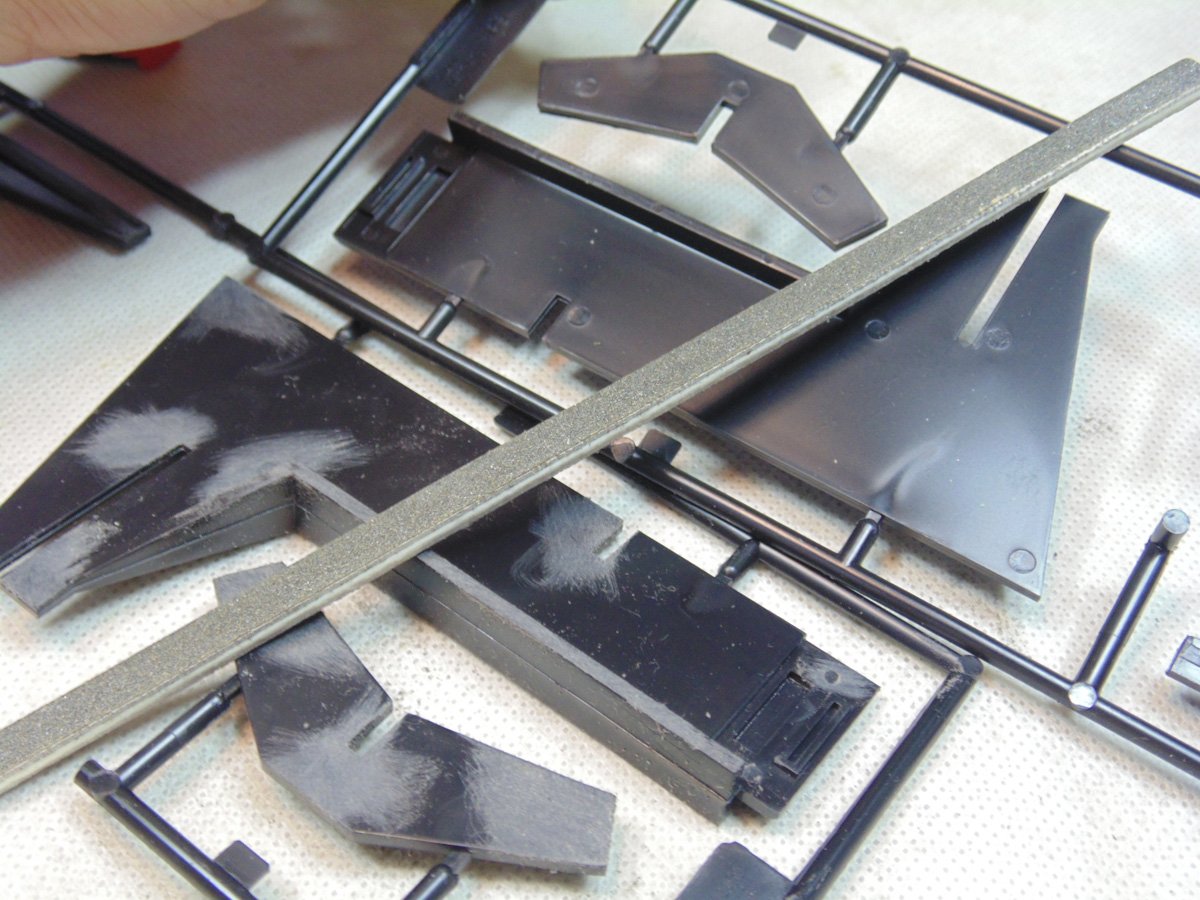
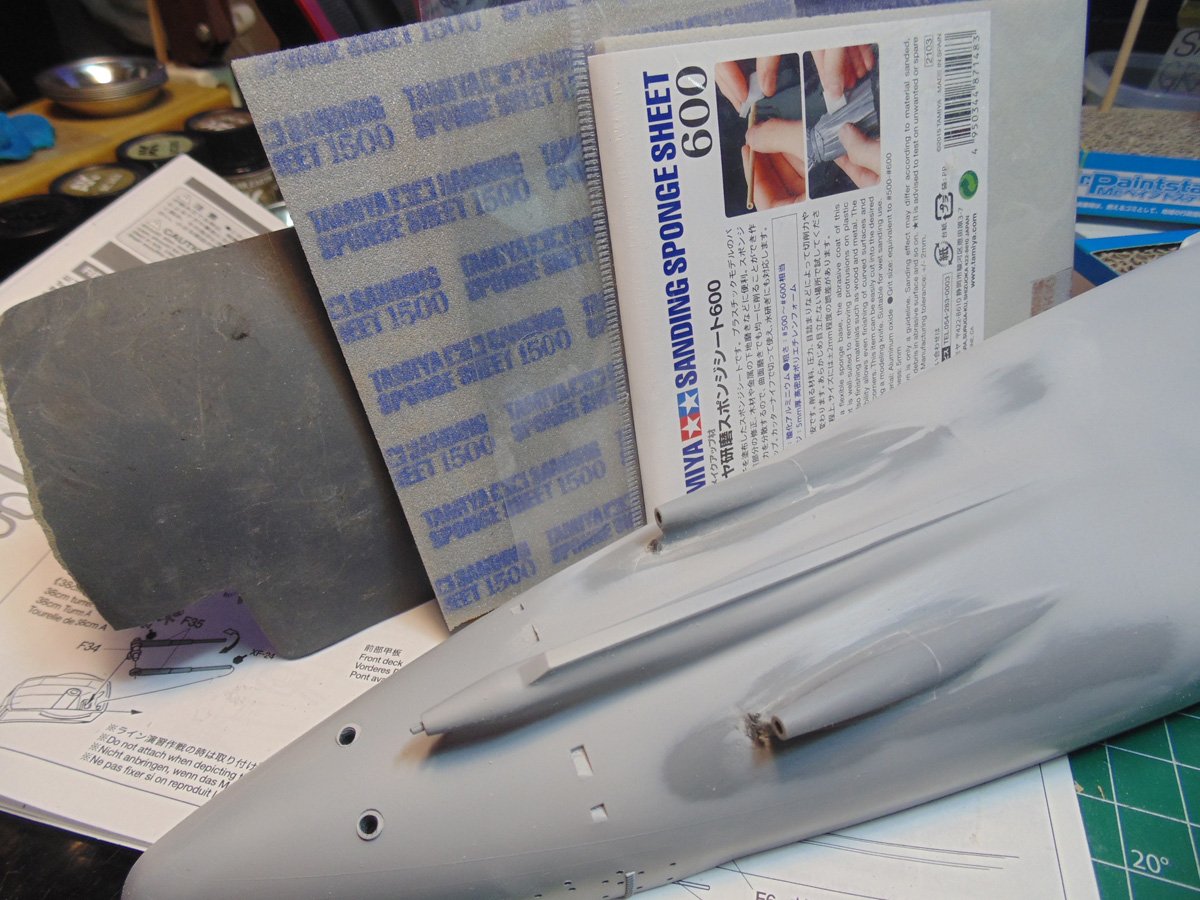
All the parts have some very visible ejector pin marks. It’s worth an hour or so to sand them relatively smooth. Sure, you could fill them, but you’ll have to sand the filler just the same. Sunward Hobbies carry a vast amount of sanding solutions for your every need. Consider picking up a pack of these “Thiny-Sticks” to get into those hard-to-reach spots. Begin with a coarse grit to get rid of the heavy flash. Then progress up several grits to a final pass with a fine grit or polisher, depending on the look you’re after.
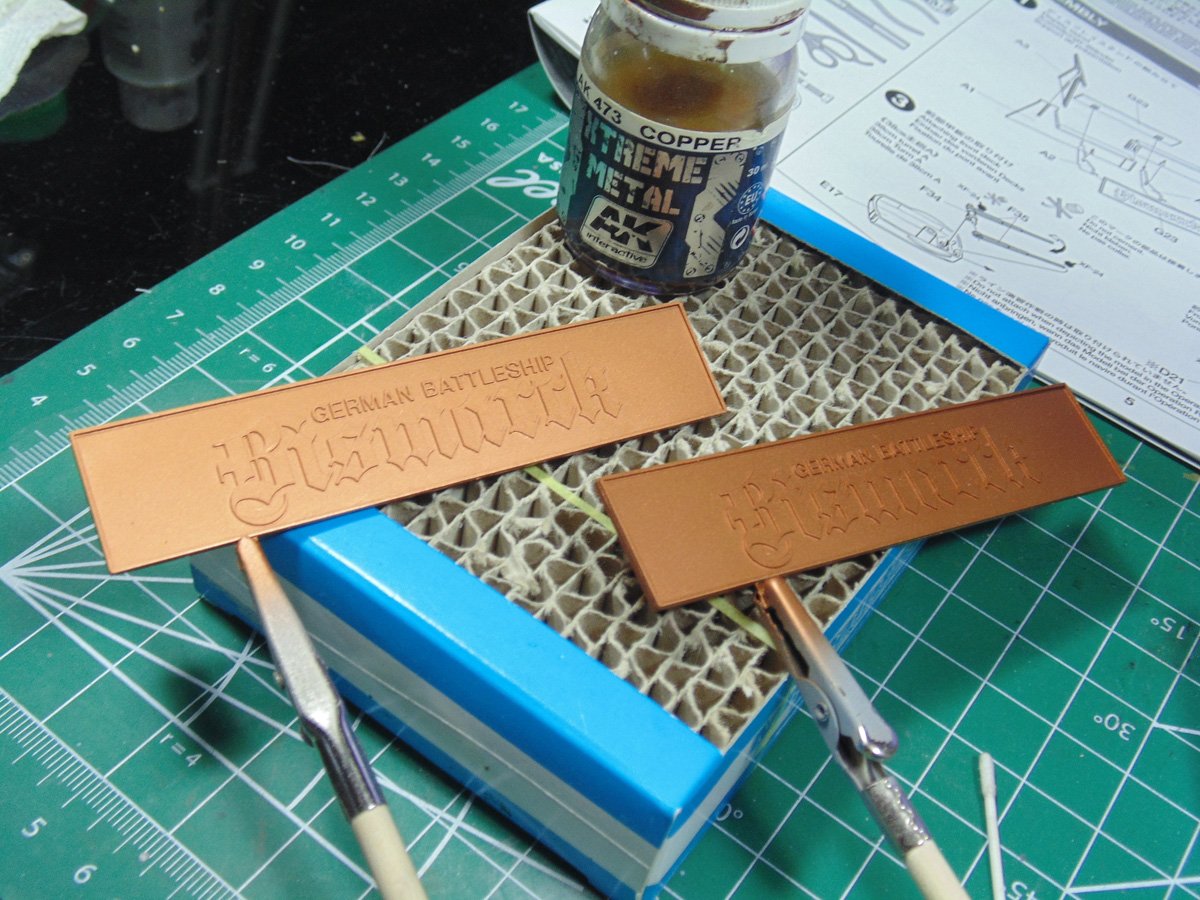
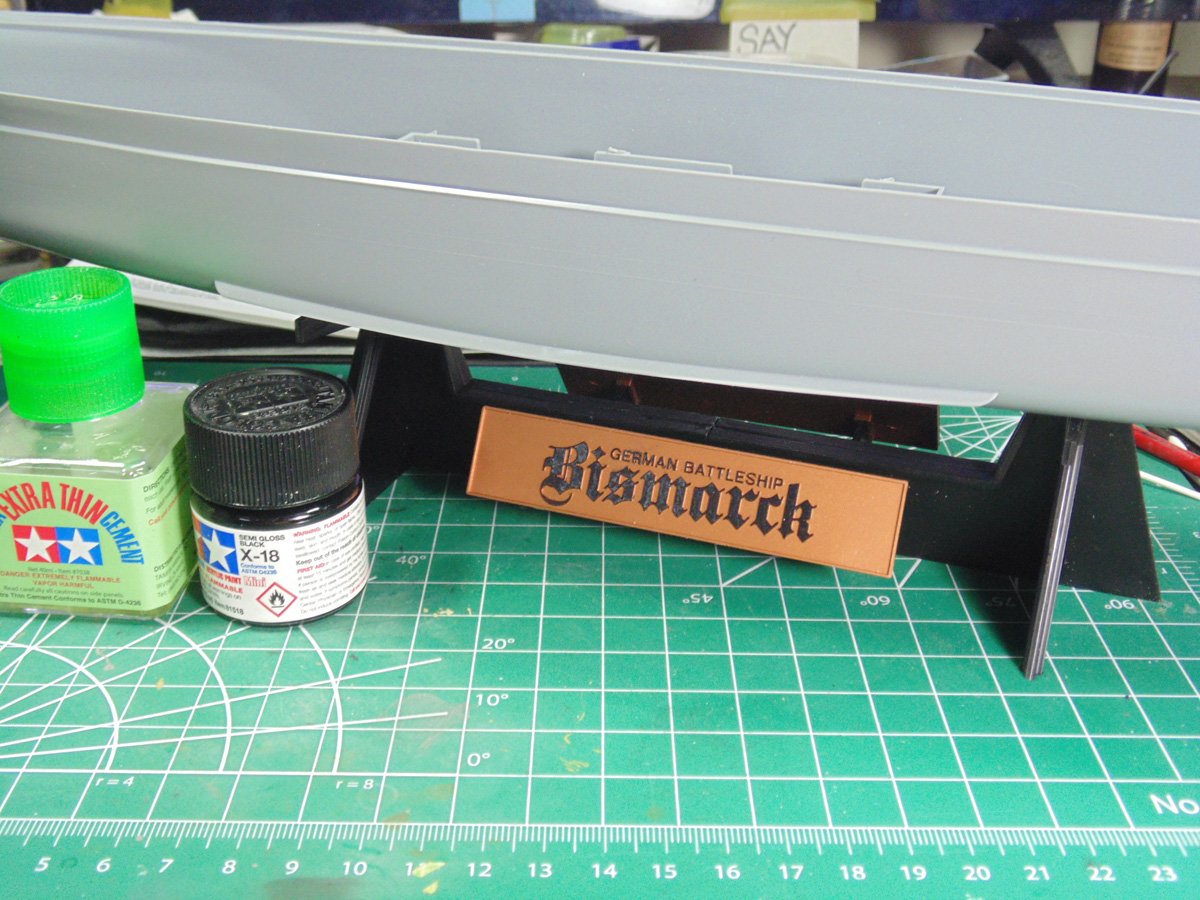
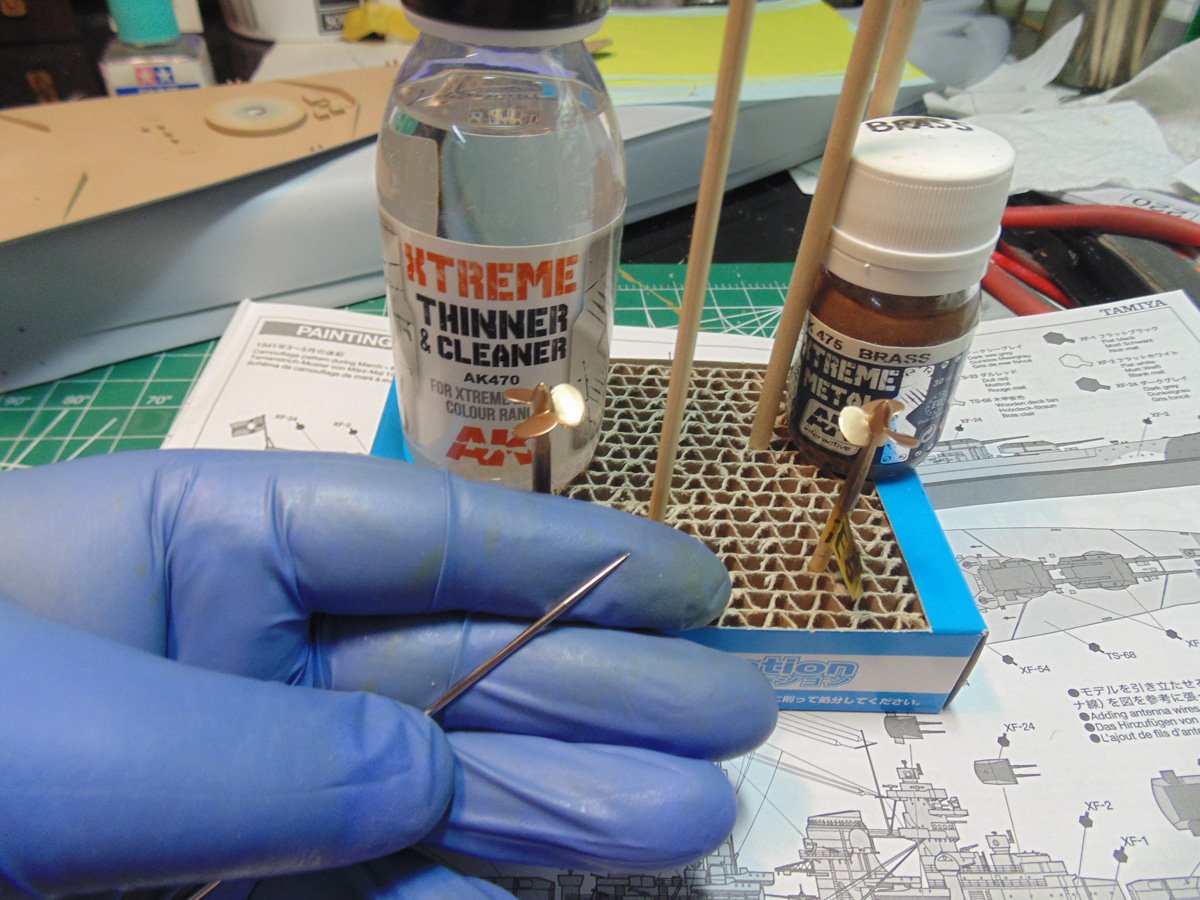
Enamel paint adheres extremely well to Tamiya plastic, so I don’t need to prime the name plates. AK Interactive Xtreme Metal is my go-to product in these cases. The dull finish really brings out the colour and is very durable.
The stand’s parts now all prepped, I’ll coat them with semi gloss. The reason for this is the toned down look will not distract from the model. If it were finished in a high reflective gloss that very thing may happen. Also, I did not remove the seam line figuring it would add a little more detail and depth. With the parts being sanding down there’s no need for primer.
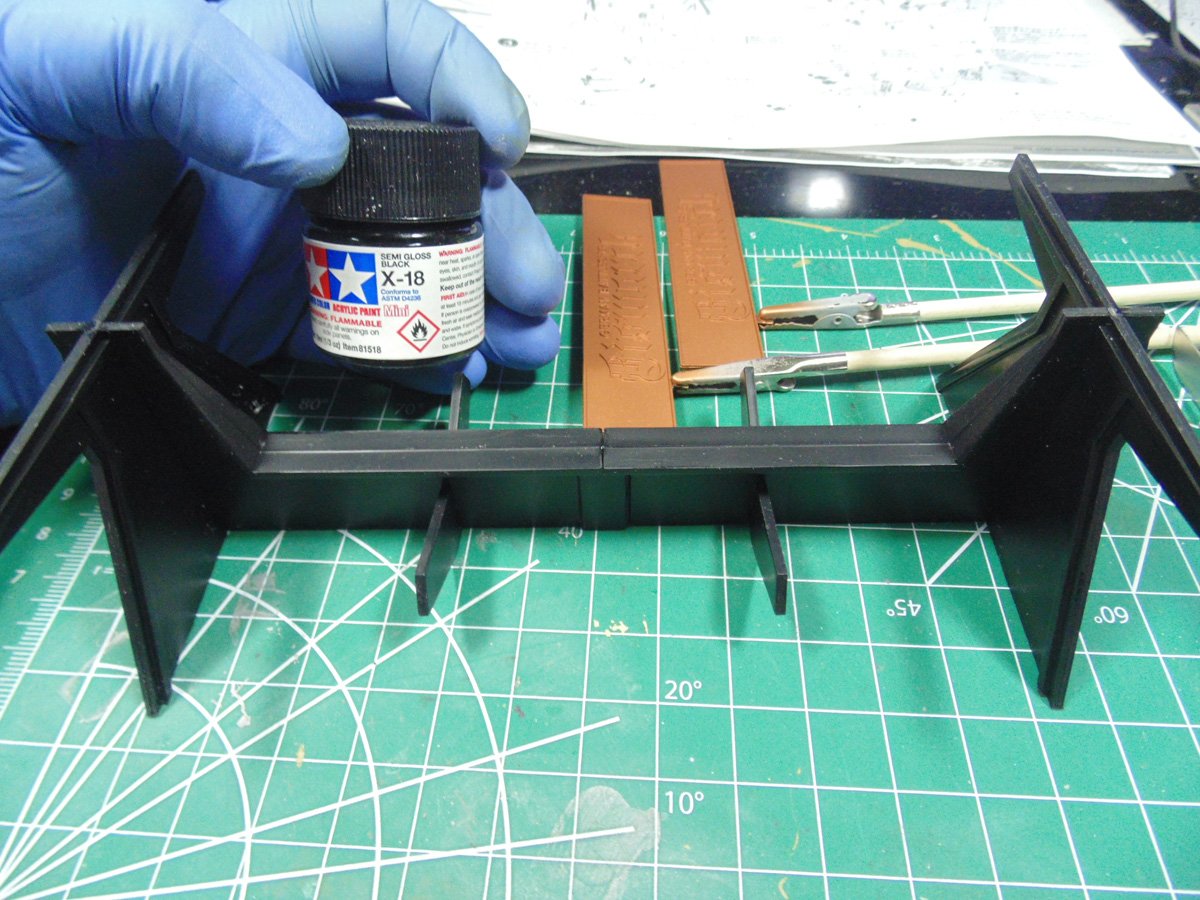
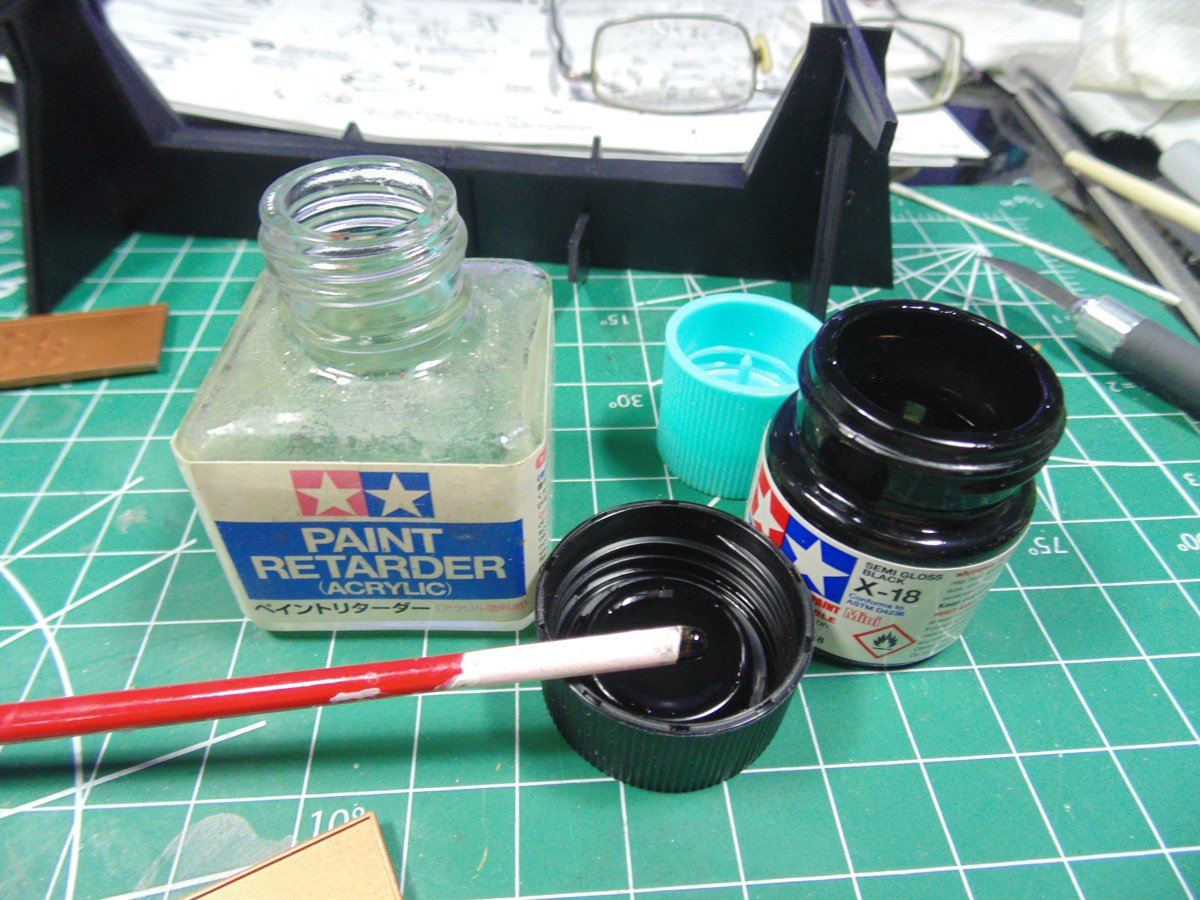
To paint the lettering, I’m sticking with the Tamiya X-18. My brush is a flat 2-millimetre fine hair product I bought from the store. Make sure you snip off any wayward follicles to prevent a mess. Tamiya paints dry quickly and this is the reason few models use it for hand painting. Retarder will seriously help with this issue. Dip half a centimetre of the blunt end of the brush and swirl this in the extra paint in the jar cap. You’ll get four times the amount of paint down and a smoother more level finish.
The beauty of enamel paint is that other mediums, like acrylic, have a difficult time bonding to it. If you do have any mishaps, wait for the paint to dry and then use a toothpick to very gently remove the error.
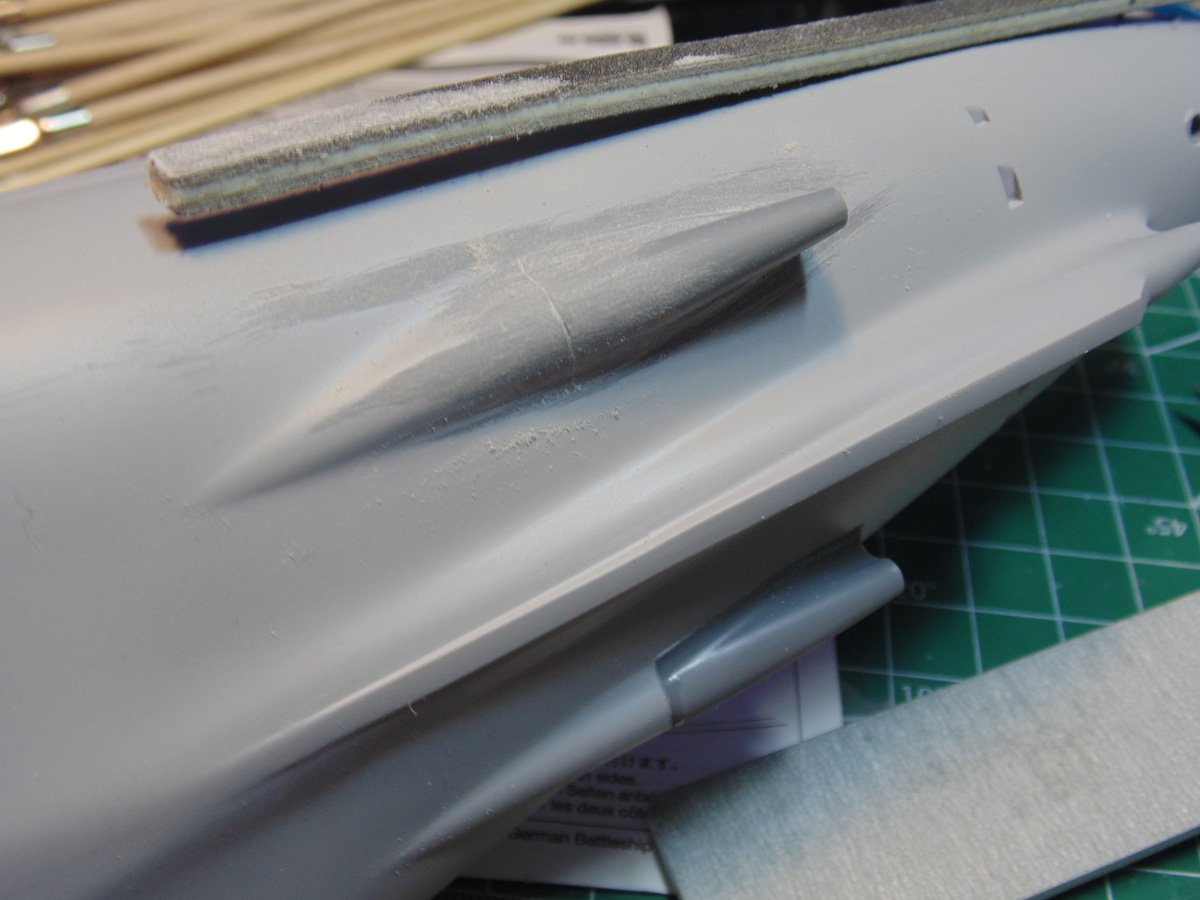
The forty-four-year-old molds still have great detail, yet they are not without areas needing attention. Before adding the left and right propeller extension parts clean up the seam lines. This way you’ll have more room to maneuver your sanding sticks.
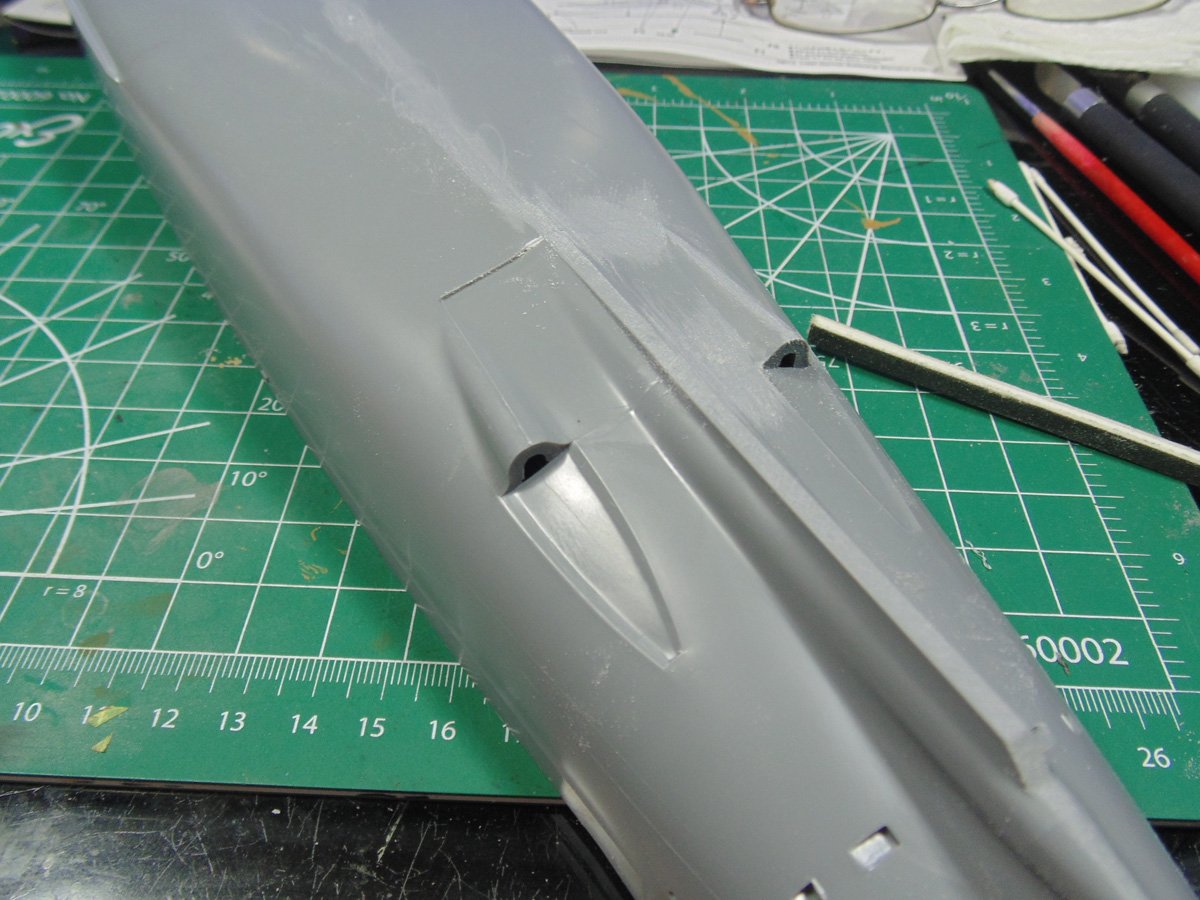
I won’t bore you with the entire length of the hull being cleaned up. Suffice to say, this line runs all the way to the bow. Feather out the surface with a fine grit sander and feel the sanded area for imperfections prior to priming.

Prior to priming, or anything being painted, you should thoroughly wipe down the surface with a damp lint free cloth. Then use your airbrush or a hair dryer to ensure there’s zero debris left behind. Unlike the sanded stand parts, you need to prime for the paint to bond due to all the handling which will take place many times during the build.
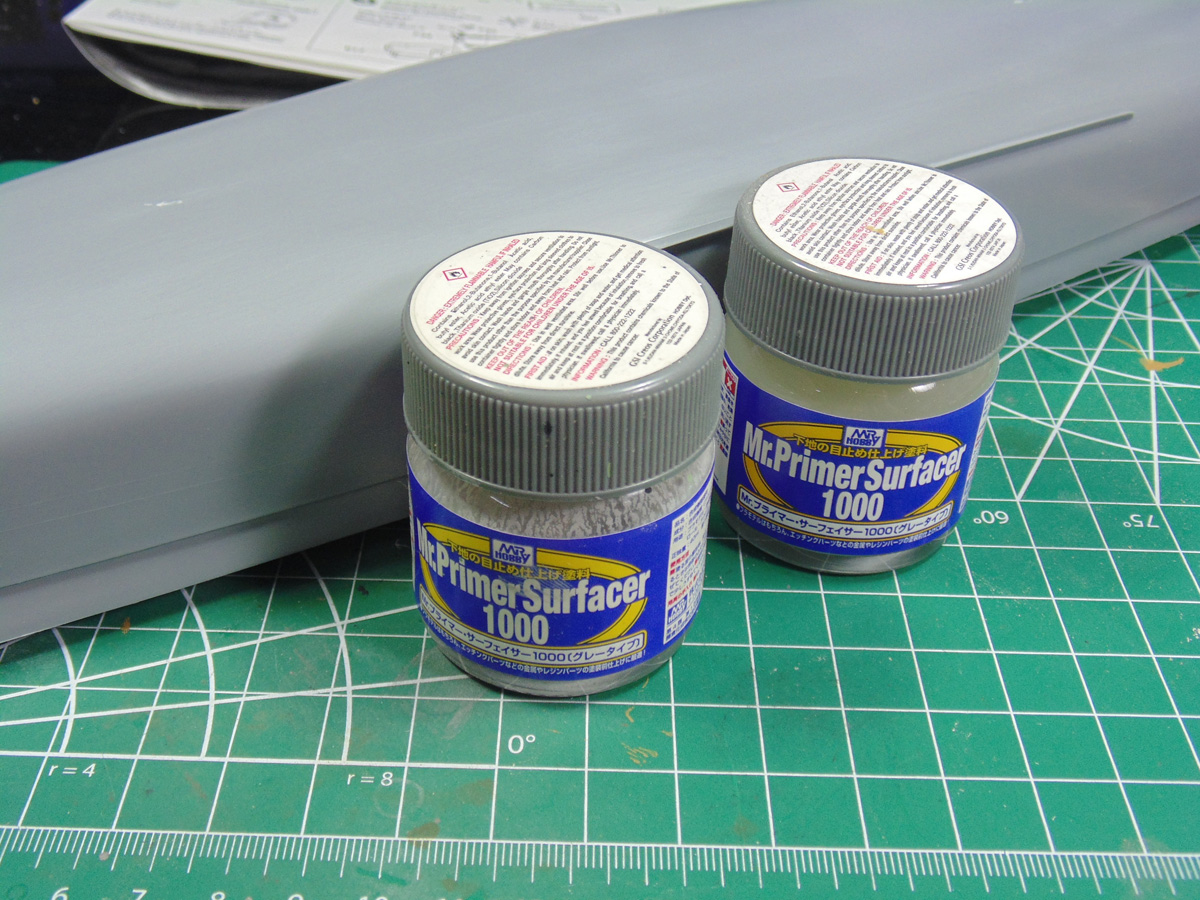
My favorite primer is Mr. Surfacer 1000 cut 50/50 with Mr. Color 400 lacquer thinner. It fills in minor scratches and levels out wonderfully for an awesome finish. A few coats are needed to attain the proper result, as you’ll soon see.

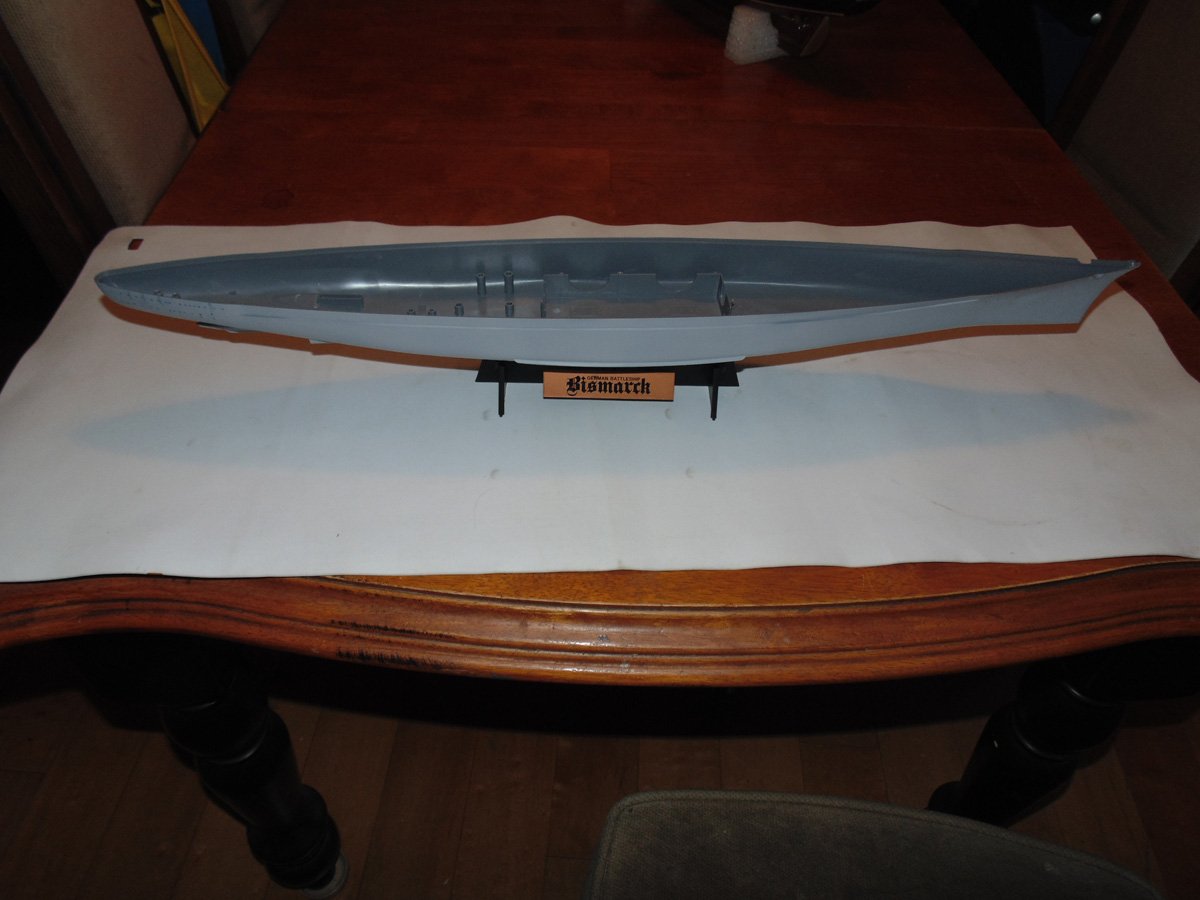
Here’s a look at where we’re at. This is a very large project, as you can see being measured by the width of my antique dining room table.
I will not sugar coat the work ahead. There are seam lines on every part. Here’s another tip, keep the numeric tag (where possible) from the sprue tree so they don’t get mixed up. These shaft supports are keyed specifically for port and starboard, thus are labeled accordingly. In many cases you can save a boat load of time by using the back of your hobby blade to hog away the thick unwanted material prior to sanding the parts smooth.
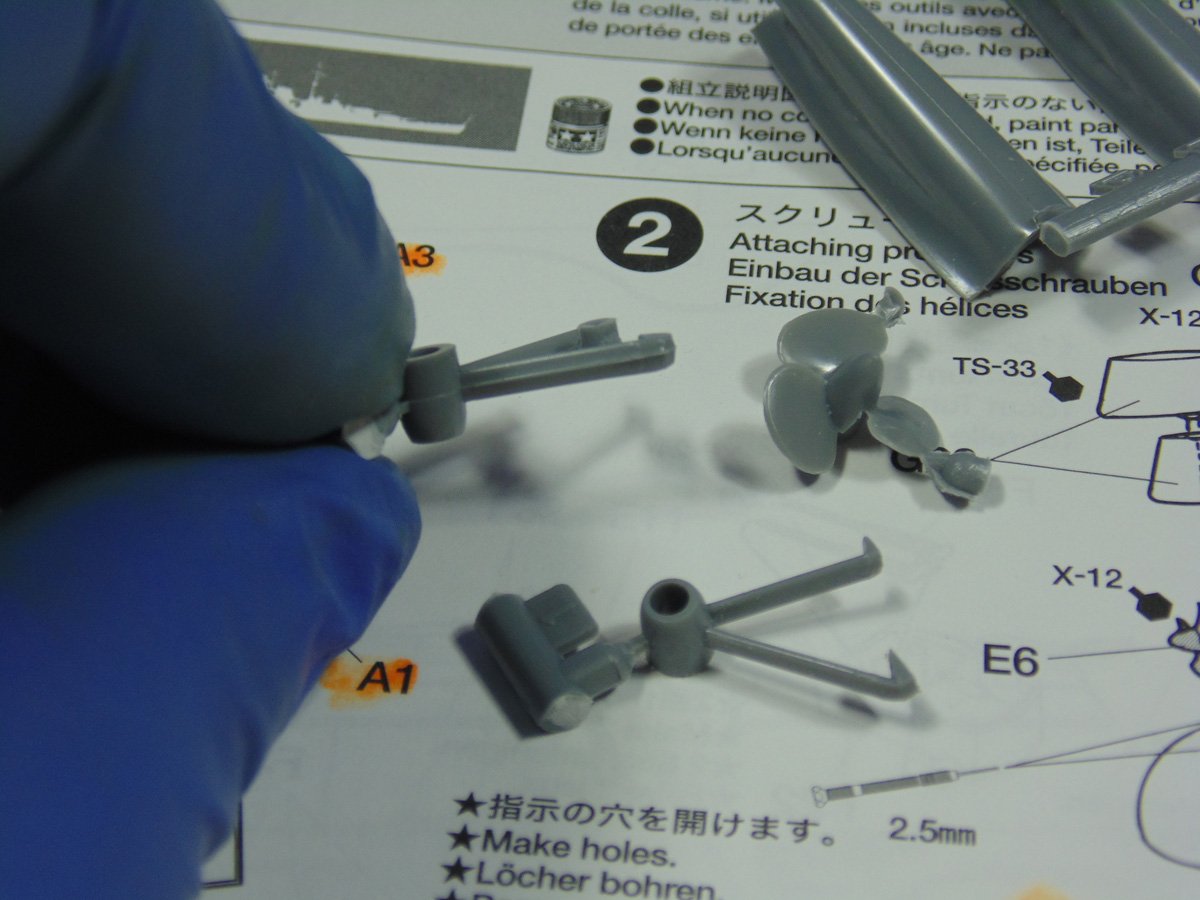
The rear points on the base of the extensions require special attention. They need to be formed flat on all three sides to fit correctly and lay down flush with the hull. Avoid using a sander here. Instead use a hard flat file. Sunward Hobbies have a great selection of these inexpensive tools which come in handy on almost every modelling project. I lay the file down and run the part over it for better control and accuracy.
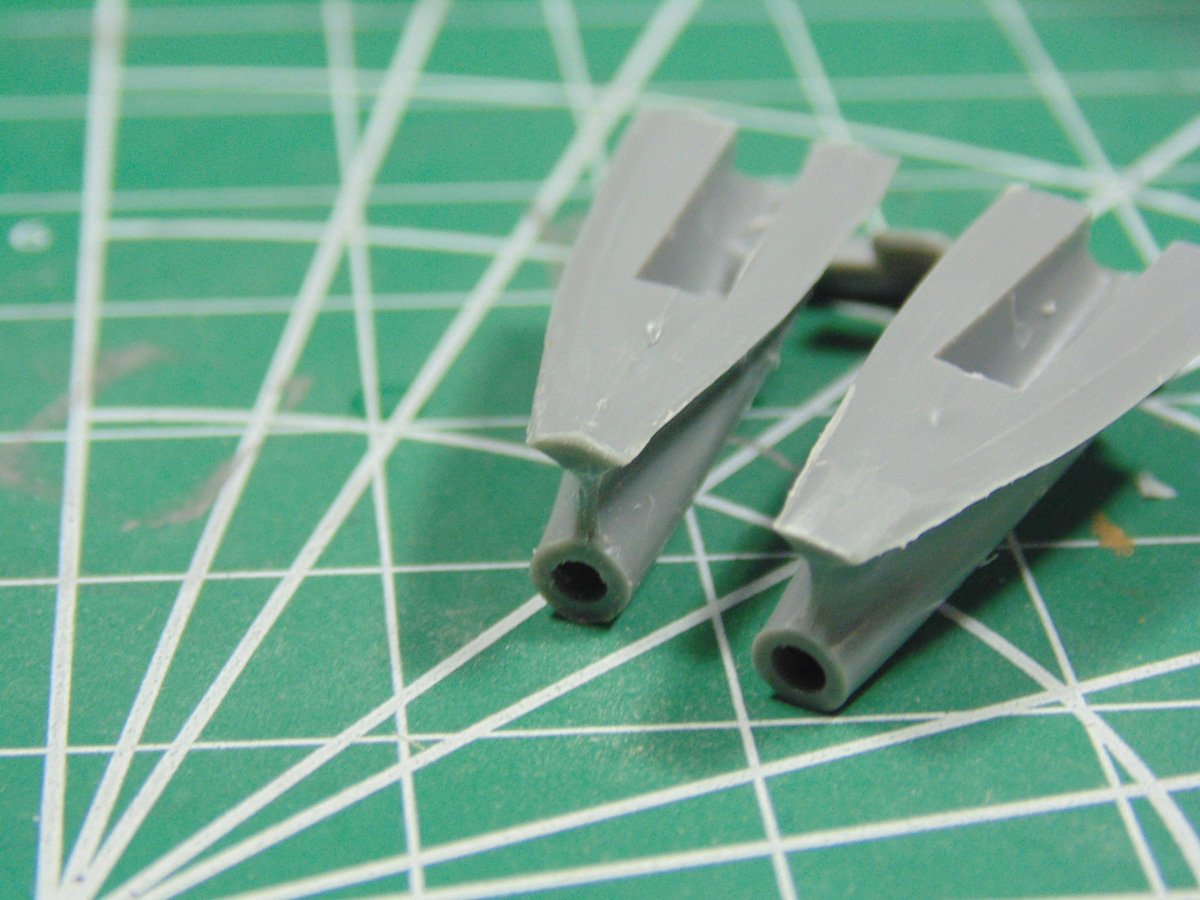
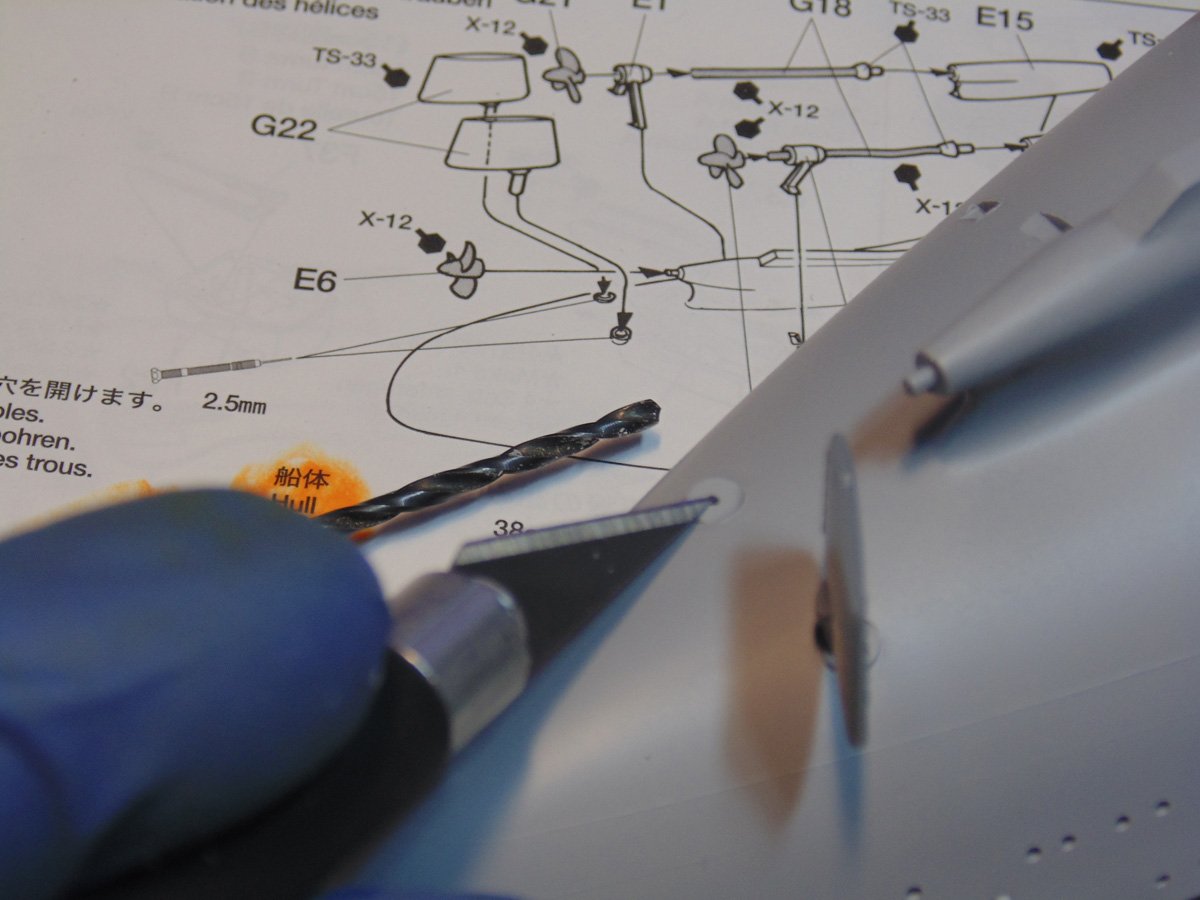
You’ll need to drill the holes for the rudder posts. Use the tip of your Number 11 blade to make a pilot marker for the drill bit so it doesn’t move off center. I found a 2.35mm bit is better than the 2.5mm, which was a sloppy fit. You can pick-up some hobby bits at the store which are super sharp and made for these tasks compared to a hardware store utility brand.
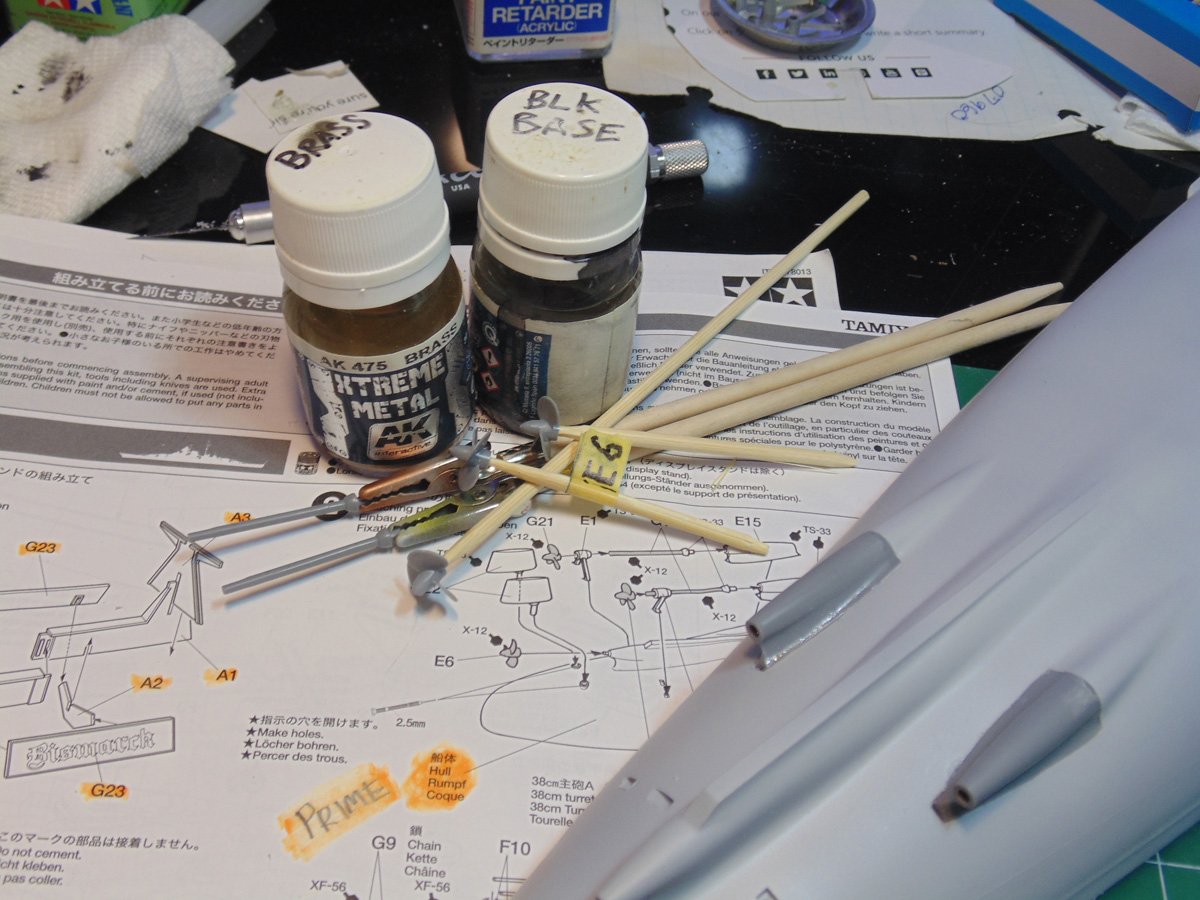
With the extension parts drying I moved on to the pretty parts of the Bismarck. First, wherever possible I use skewers in the connection holes to hold my parts. It makes it easier to sand them smooth and obviously to paint. AK Xtreme Black Base needs a solid twenty-four hours to harden, otherwise the top coat will blend in making an awful mess.
After the glue has completely hardened, and I mean completely, you can marry the extensions with the hull. Again, don’t be afraid to use a coarse grit to remove the bulk of the unwanted material before using finer grits. Any micro scratches will be filled in with the primer and even it can be buffed smooth if needed.
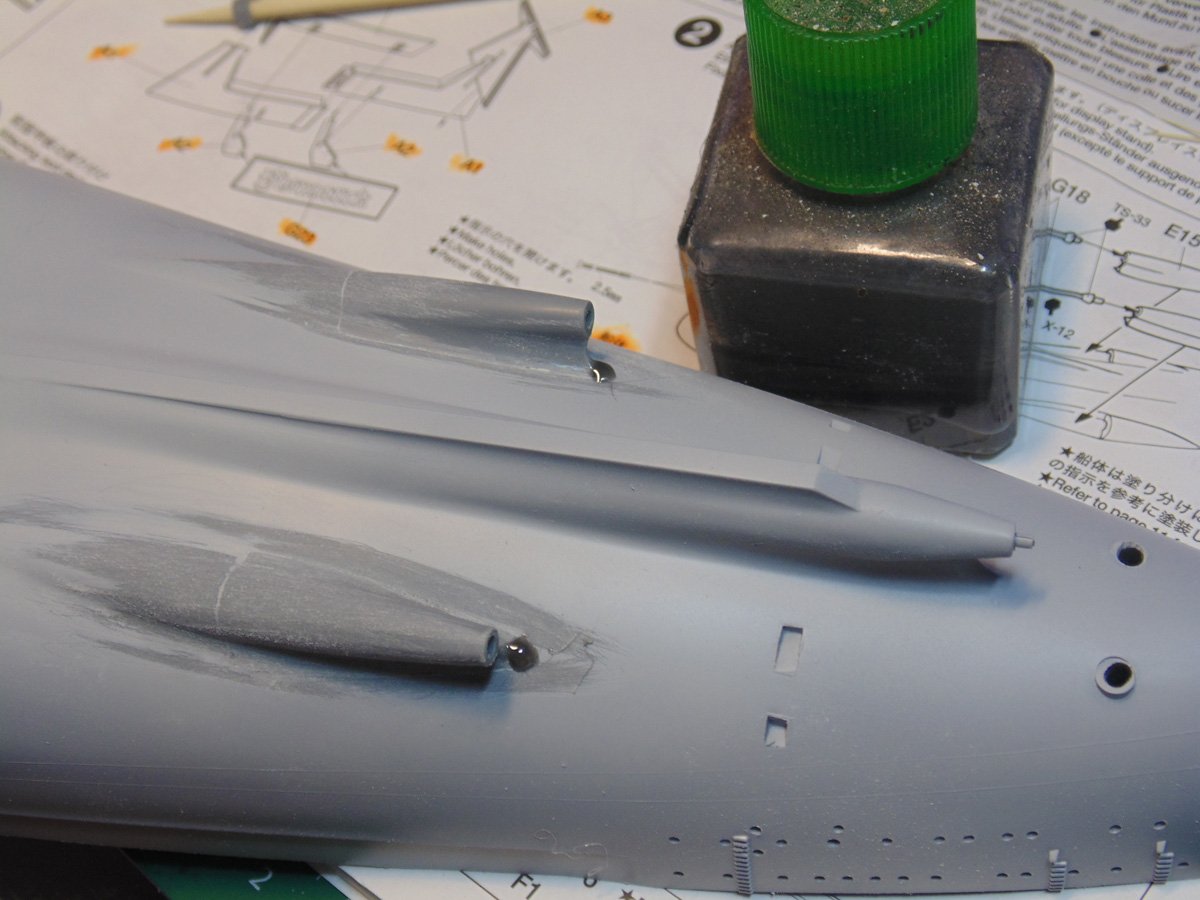
At the top of the extensions there is a noticeable gap that has to be filled. Here, I’m using drops of thick “Sprue-Goo” because it melts into the native Polystyrene. It also sands down smooth much better (in my experience) than non-PS products. Note the mishap with the rudder holes, happens to the best of us. I’ll show you that repair in a future article.
After the major leveling is complete you can now buff down the surface before re-priming. Tamiya sponges are super high quality and conform to rounded surfaces giving you all the control you’ll need. The last step is using a 2500 grit sanding pad or paper.
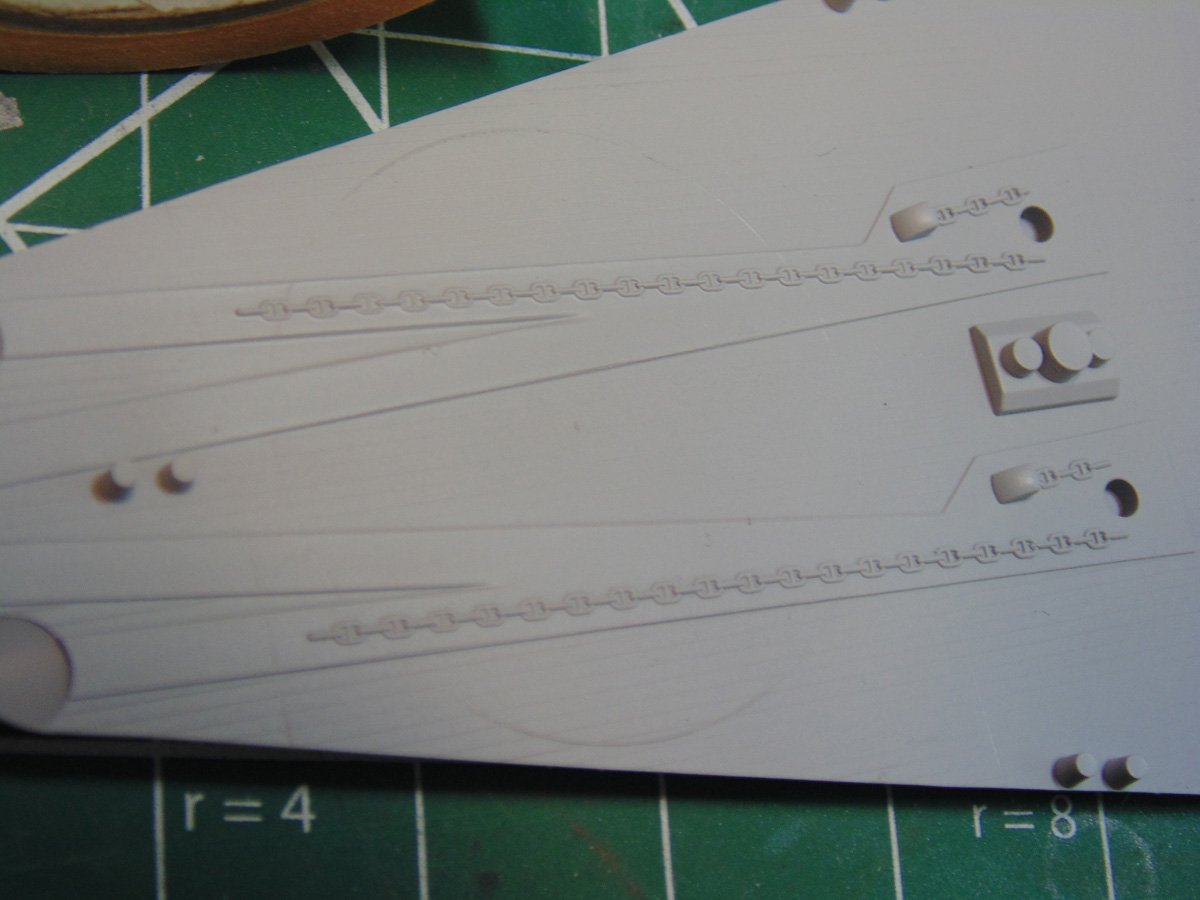
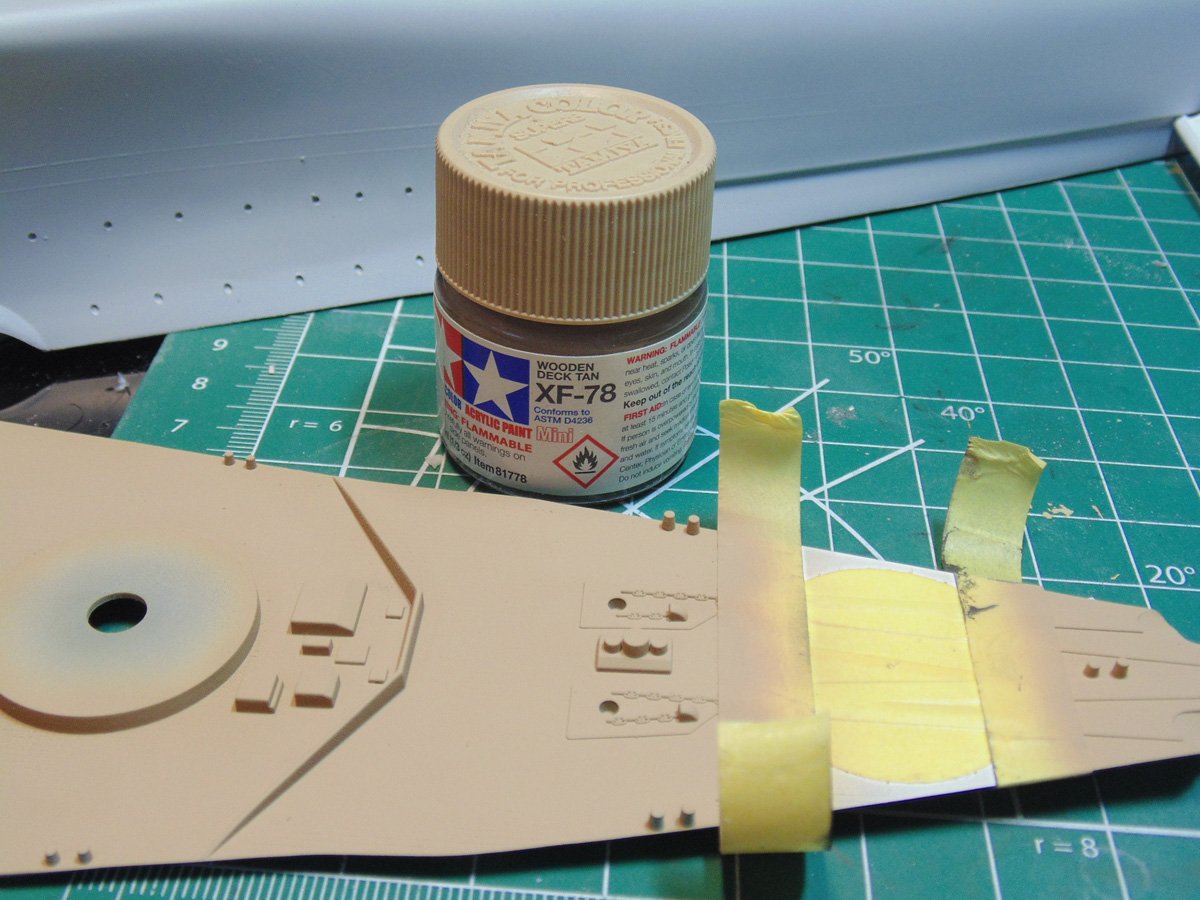
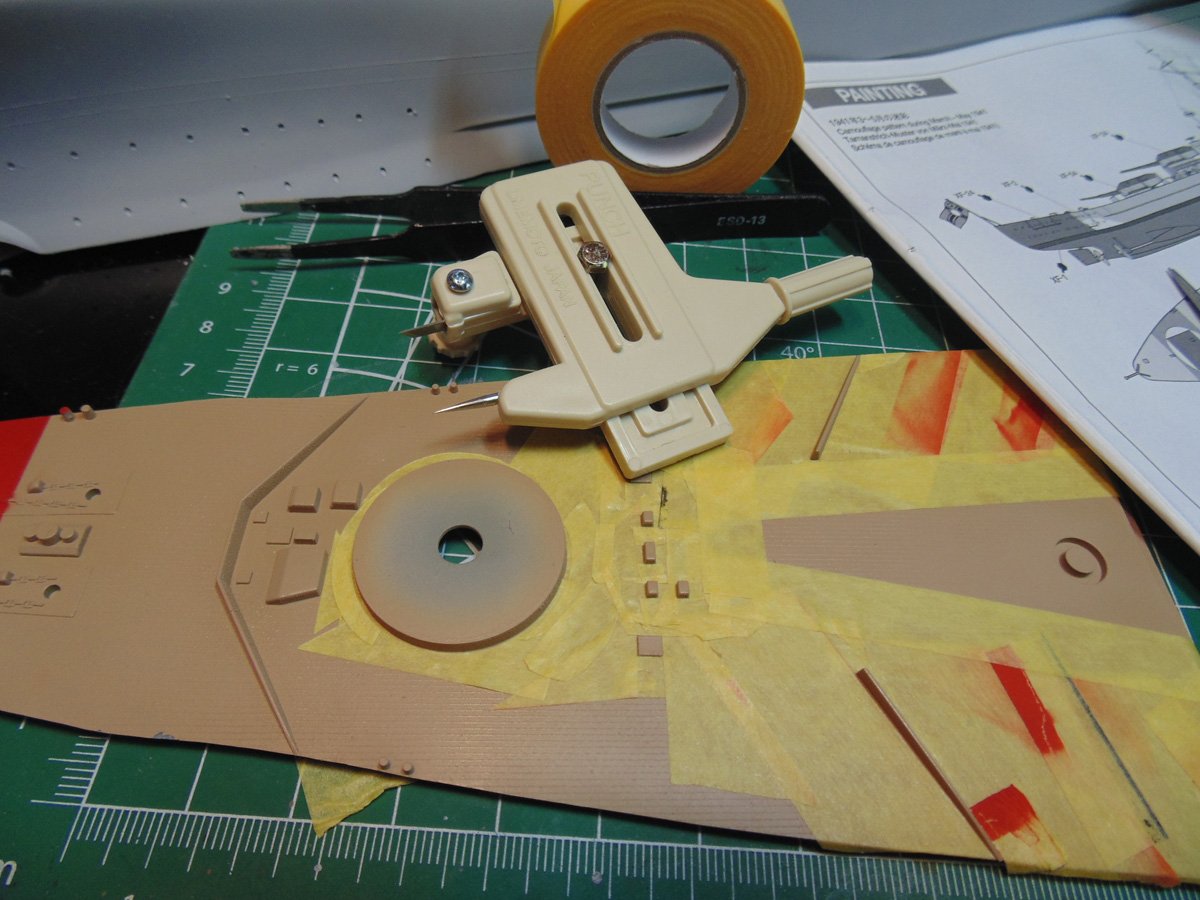
I did not have the correct Tamiya TS-33 dull red hull colour to complete Step 2. While I’m waiting for my order to come in there’s plenty to do which does not require the hull, and I mean plenty! With the forward deck section cleaned and primed there are a few steps to take care of before adding any detail parts. Tamiya graciously made faint raised lines to guide you with painting the white circle and red border for the insignia. If you look closely, you can see these lines.
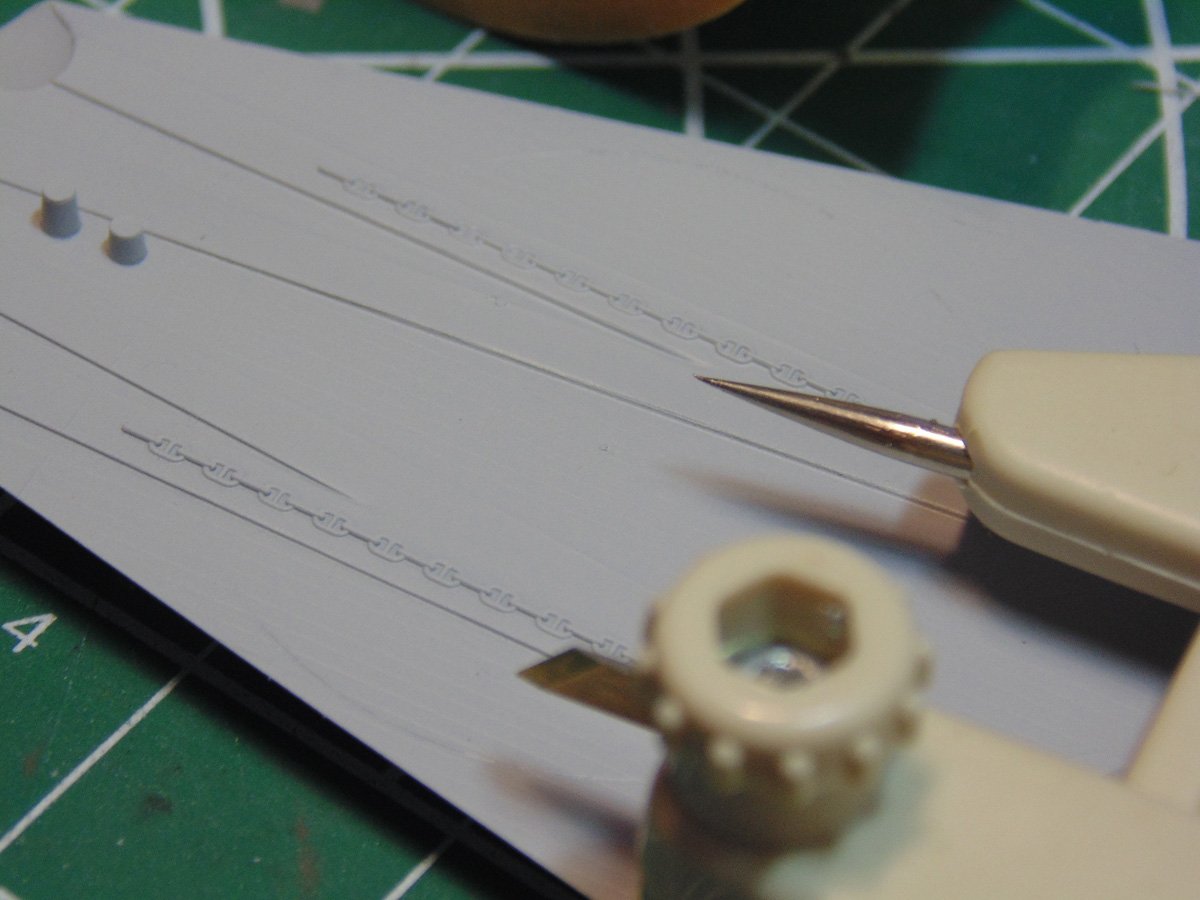
There’s also a centering point nub, making it a cinch to calibrate your circle cutter.
Naturally you’ll lay down the brightest or lightest colour first. Make sure you paint or spray well over the area to avoid any colour fading at the edges. To be on the safe side I’d put on a coat of semi-gloss clear to prevent any paint from lifting after the white has had a few hours to dry into the primer. Whenever you can use a wide enough strip of tape to make your circle mask. I need to order more.
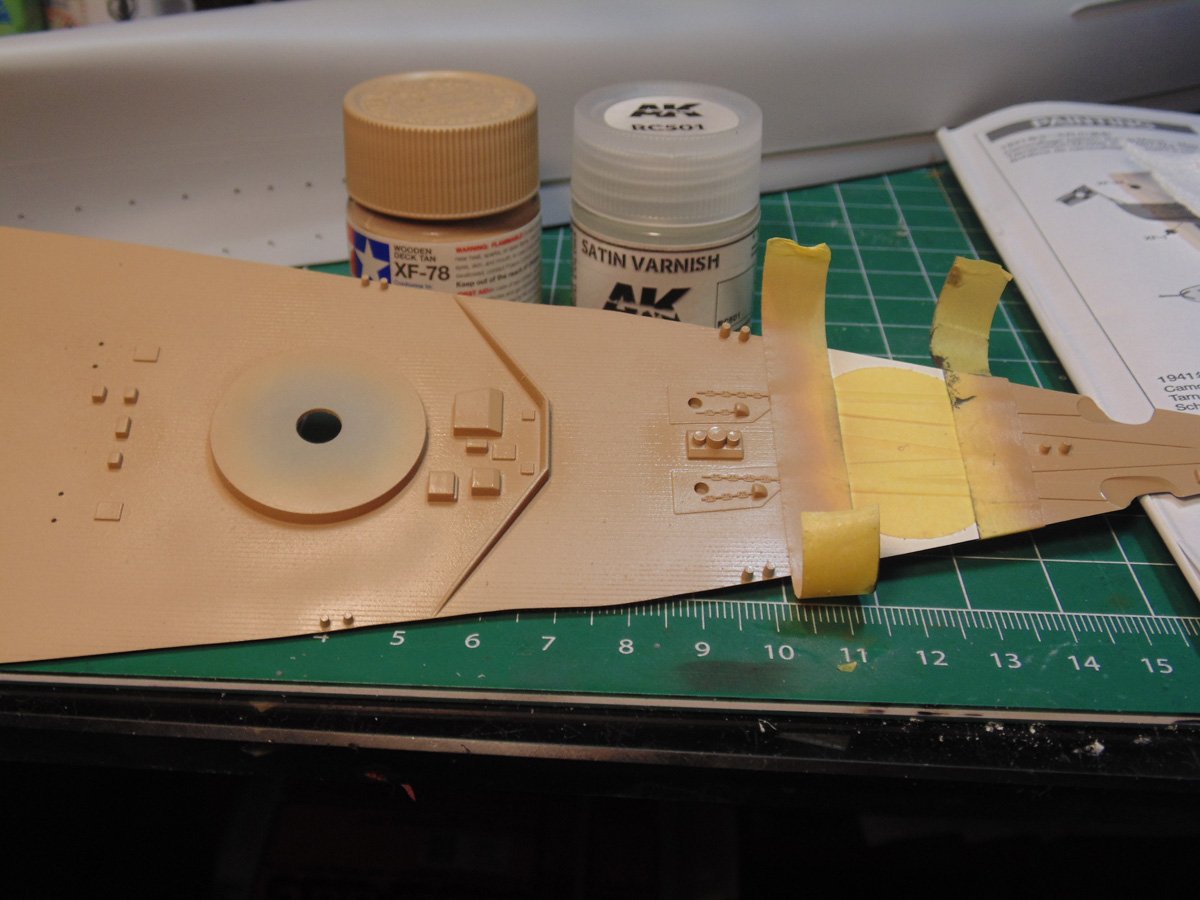
Obviously, the next darker colour is the wooden deck tan. Mask inside where the red border is to go. This will prevent that “multiple layer of paint look”, thus giving a smoother finish. XF-78 needs to be shaken quite a bit for the pigments to mix properly. Turn the jar sideways and watch the bottom for bubbles to know when to stop.
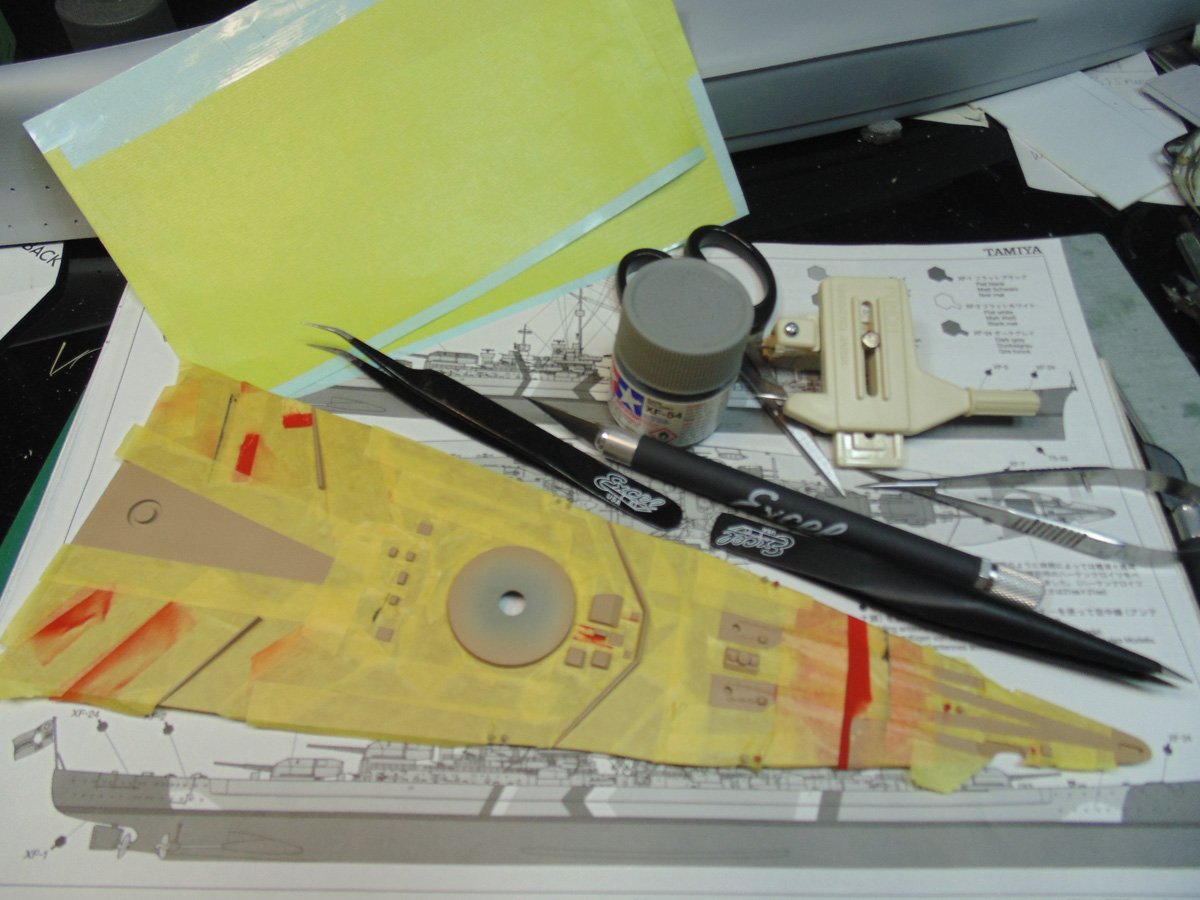
Now I’m going to add a couple of coats of semi-gloss varnish to protect the deck tan colour from lifting. Even though it’s fully primed there is going to be a lot of masking and due to the raised plank lines I can not de-tac the tape. The masking must remain in place because of the upcoming red and other colours on the many raised details.
Getting the red to have straight lines over the raised details can be a challenge. Use a thin strip of tape, such as this Mr. Hobby pre-cut sheet, as a starting point then move up to wider strips. Thin strips conform much easier and are more workable.
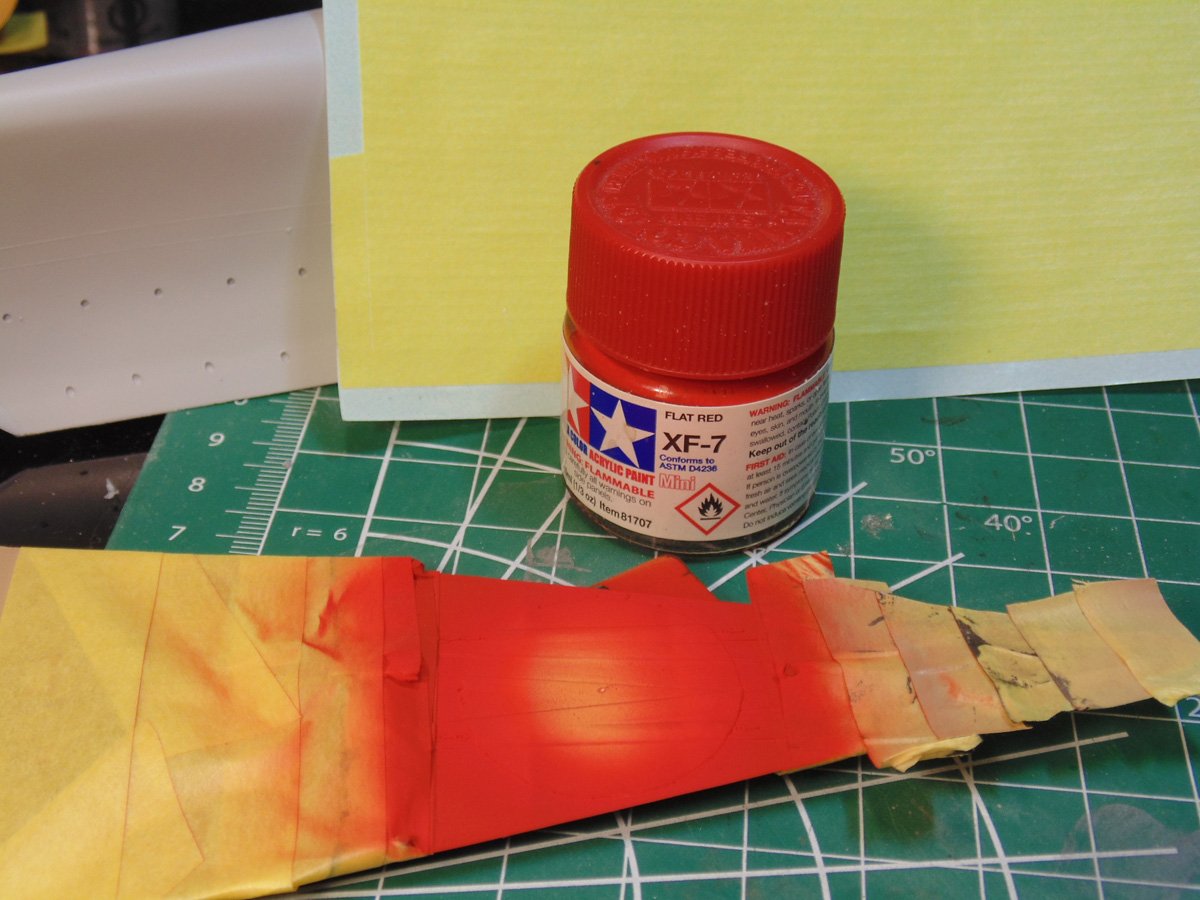
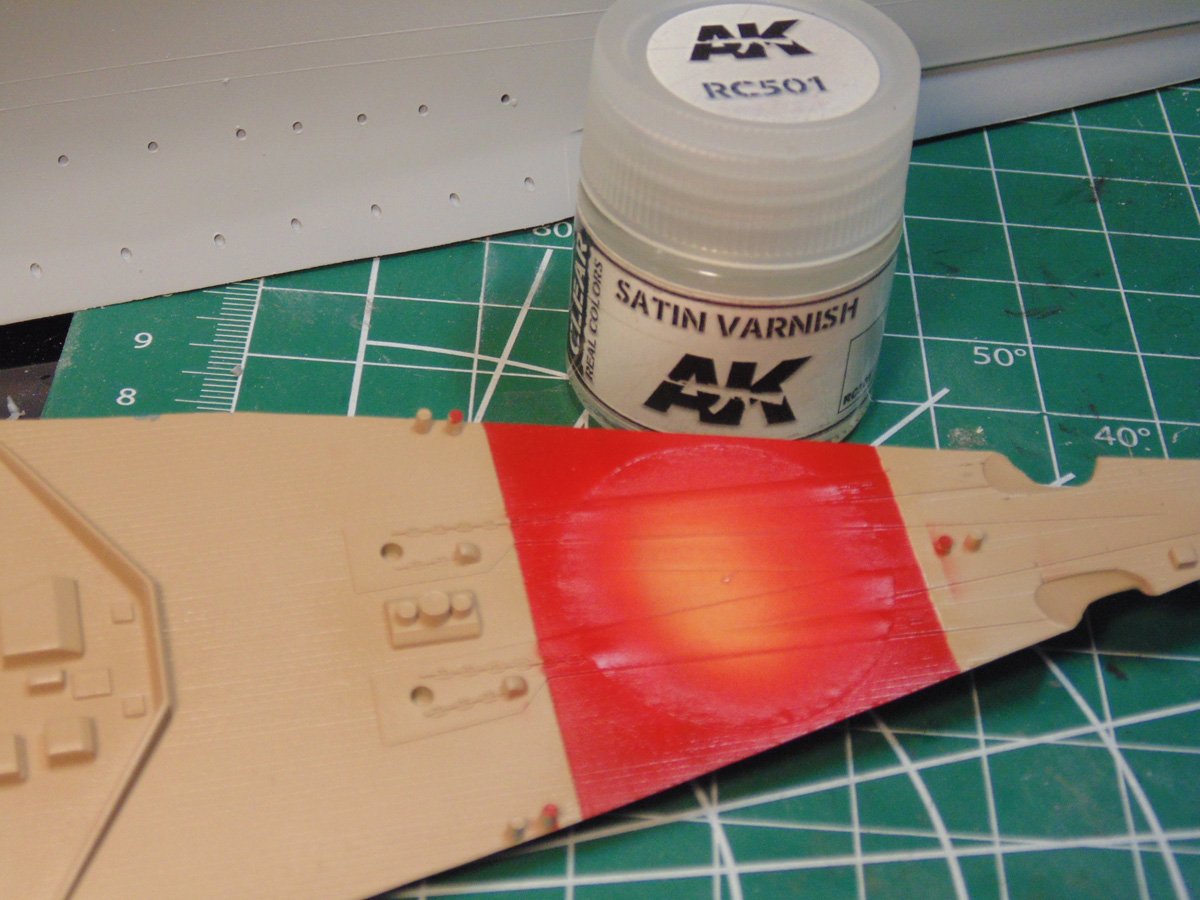
Once again, protect your paint with a coat of varnish. As thorough as I am there’s a chance of overspray, but nothing a little touch-up paint can’t remedy.
With the AK Black Base fully hardened after a day and half I sprayed the brass. Here’s another tip, use AK thinner and cleaner for your air or paint brushes. It’s very well refined and does a fast job. Make absolutely certain you clean your tools right away, otherwise it can be a nightmare to remove enamel when it dries.
There’s a whole heap of masking to do to make these raised parts pop into life. Yes, it takes many many hours to pull this off, but when you see the crisp definition between the paint colours you’ll forget all the tedious work. Use your circle cutter to make perfect curves to fit around places such as the turret mount.
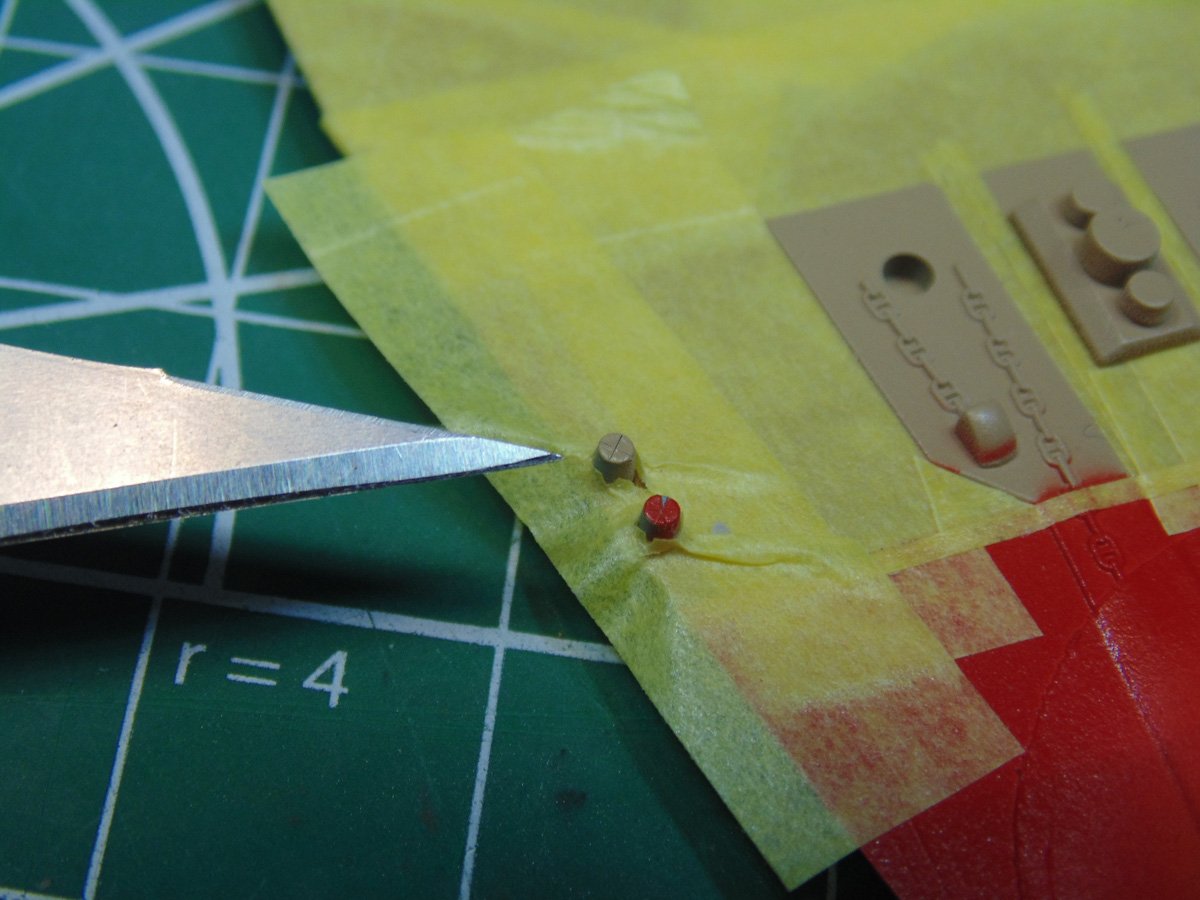
For tricky spots, like these tie downs, press down on the tape to find the center point then slice a cross in the tape. Then gently force the plastic through. Now you have a much flatter length of tape instead of a hard to work with bulge, plus you get the start of a painted surface.
I use a whole host of tools when masking. Some I didn’t put in this picture, such as punches and different blade shapes. My point is use whatever it takes to prevent the paint below from having overspray.
With the masks removed there are only some simple minor touch-ups needed. I recommend using tweezers to lift the masks, but there are times when a blade tip is needed. You can see how this step of the build has come to life. Now I can add the detailed parts. Remember to throw out the used masking tape after two uses.
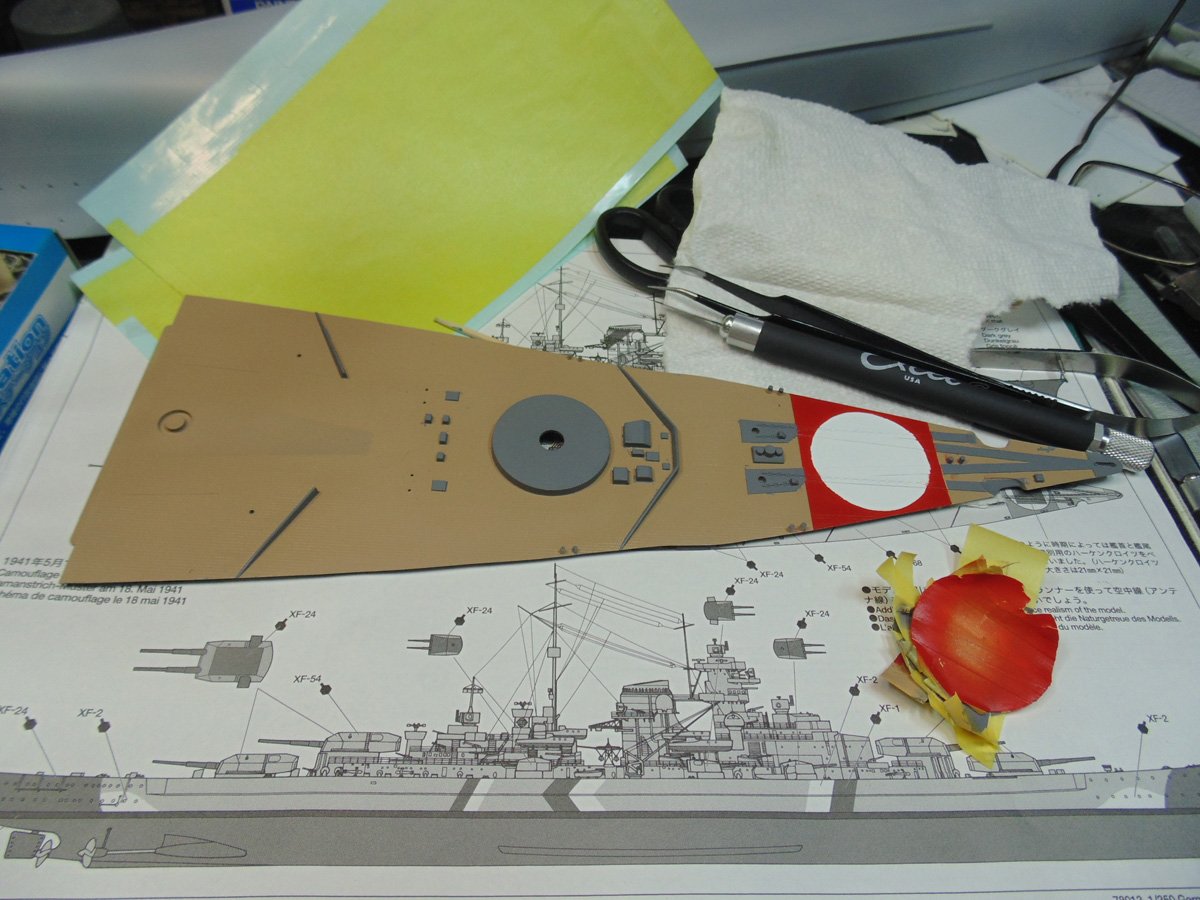
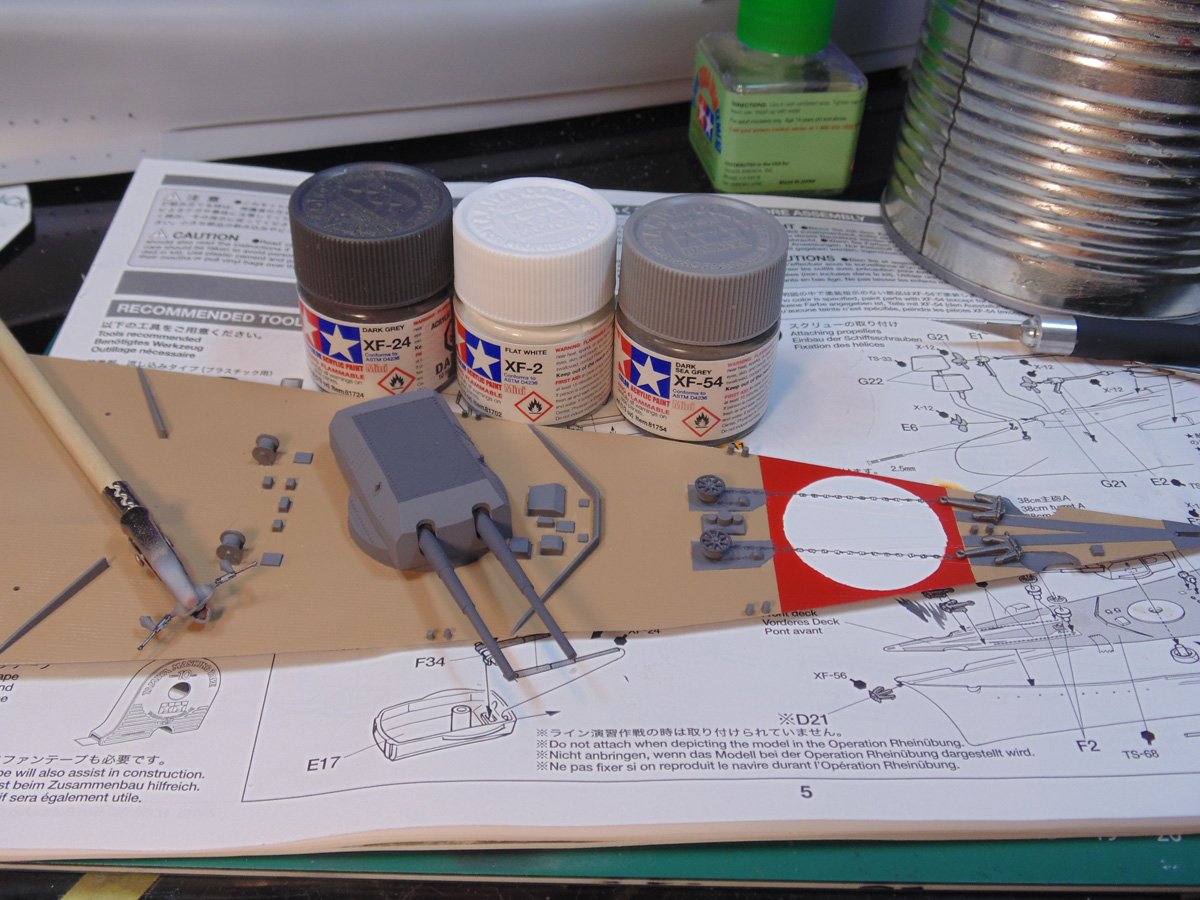
I need to order some decals, but you get the idea. The main gun barrels are a very tight fit. Squeeze them together so they’ll slip past the openings. The big guns do move, but I’d find a position and just leave it. The tiny guns in the parts clip will be added toward the end of the build for fear of snapping them off during handling.
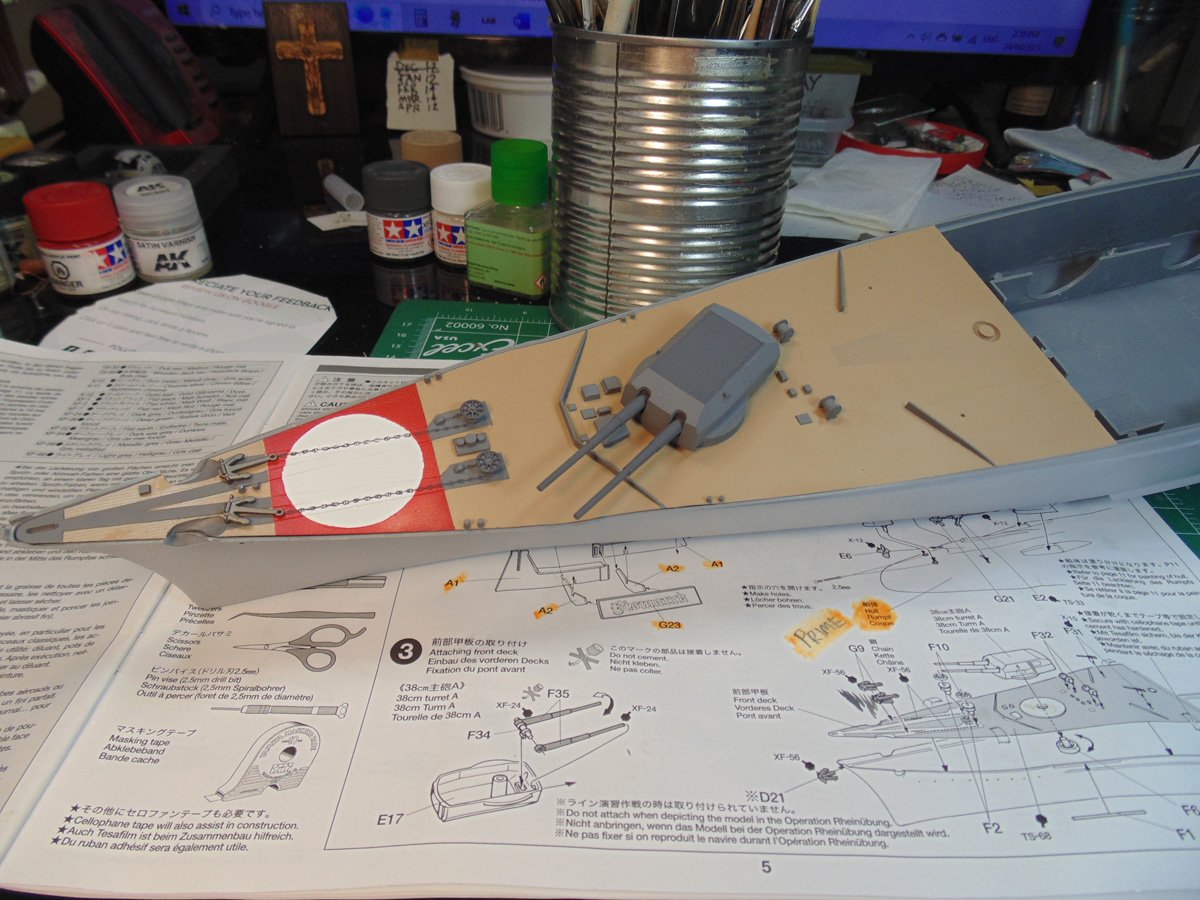
I’m not going to add this section of the deck until the hull is painted and varnished. The main reason is I don’t have a solid handle on how all three components fit together. If I need to make adjustments it’s best to have them loose. As it looks so far though, a thumbs up is instore.
If you have any questions about the products or methods used in this article, please feel free to ask the staff when you pick up or place your next order from Sunward Hobbies.
H.G. Barnes is a former voice-over artist and retired sales and marketing professional. He’s the author of two large volume science fiction adventure romance novels with many more in the works. For well over 40 years he’s been building scale model replicas and now does commission work for clients in Canada and the USA, plus completes projects for companies in Asia and Europe.
Currently H.G. is involved as an Associate Editor with KitMaker Network’s Online Magazine Channels.