
Tamiya Bismarck Battleship 1/350 Scale Kit 78013 – Part 1
In this Sunward Hobbies article you will get a close look at what is inside the Tamiya 1/350 scale model of the German battleship Bismarck (items# 78013).
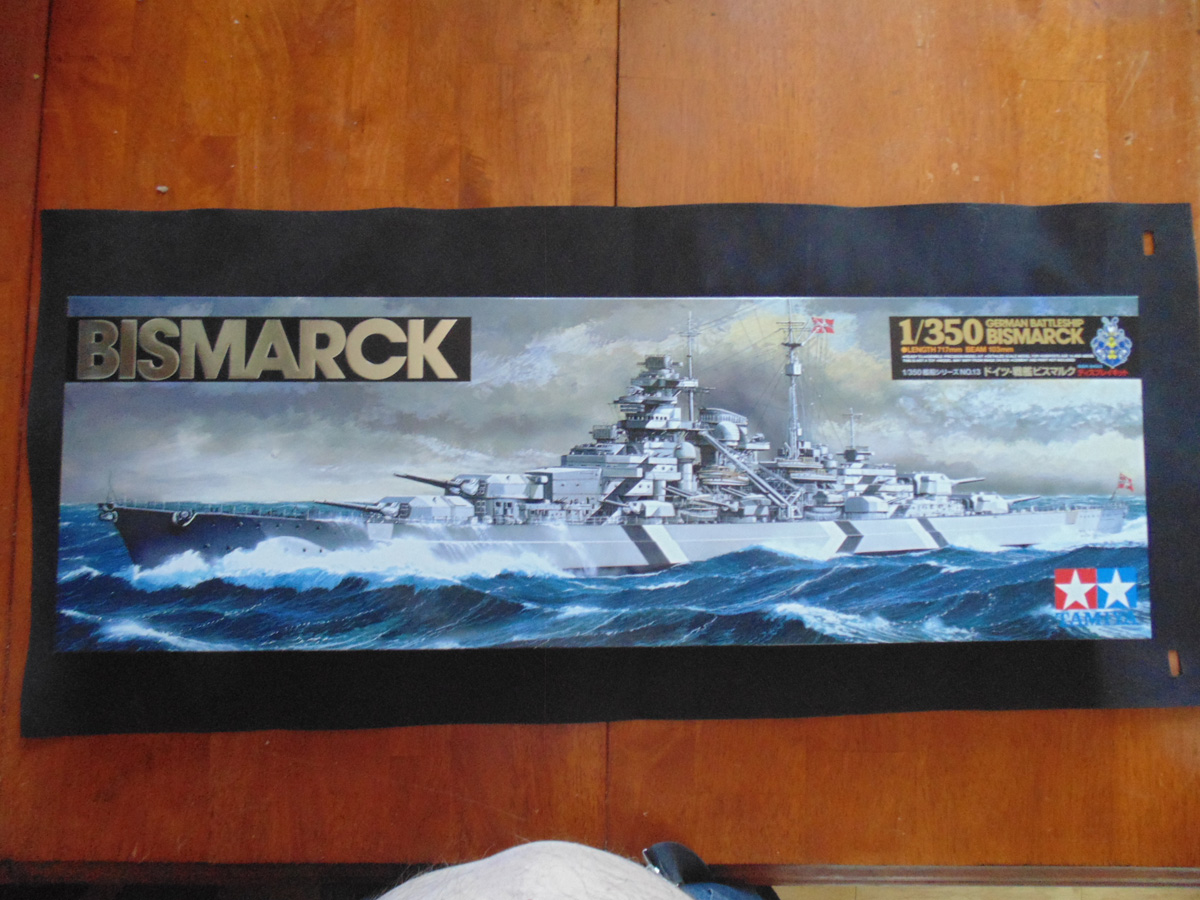
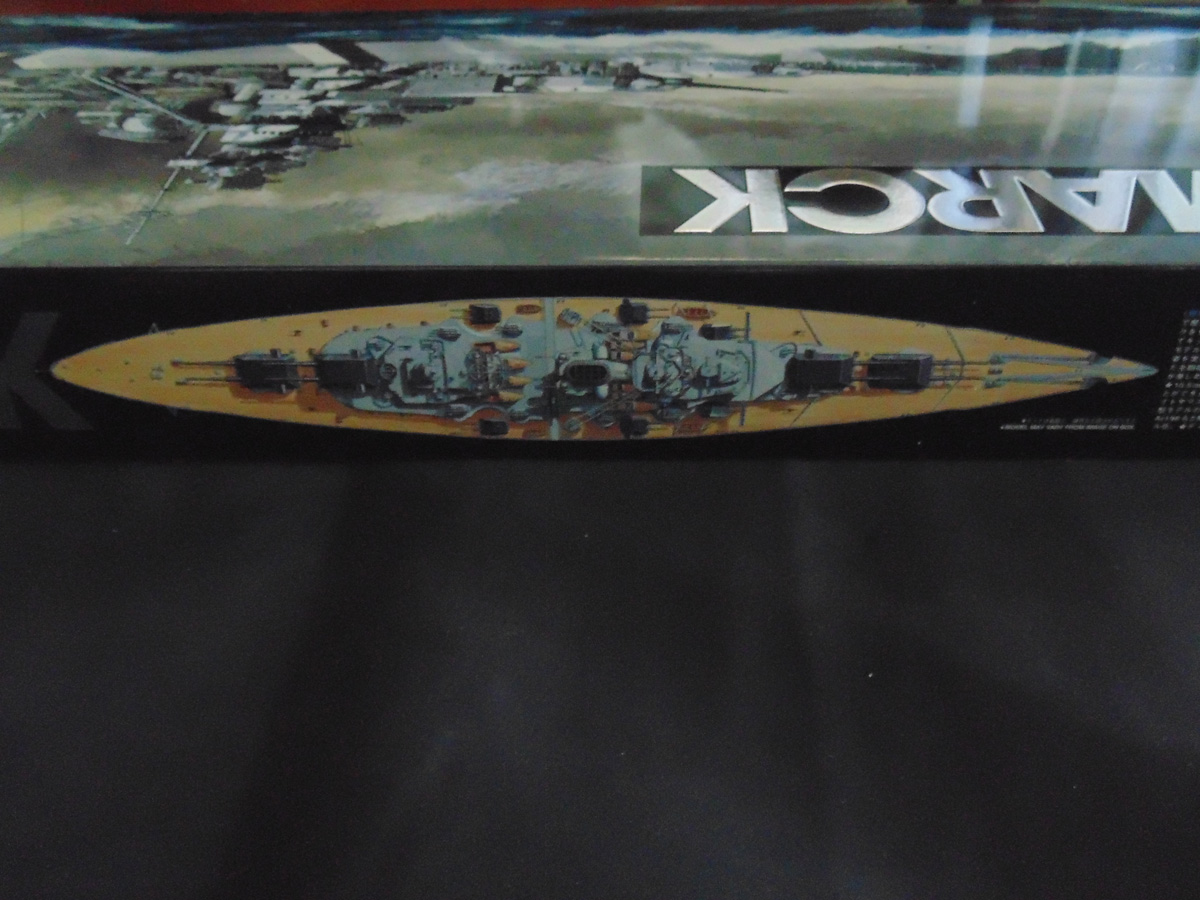
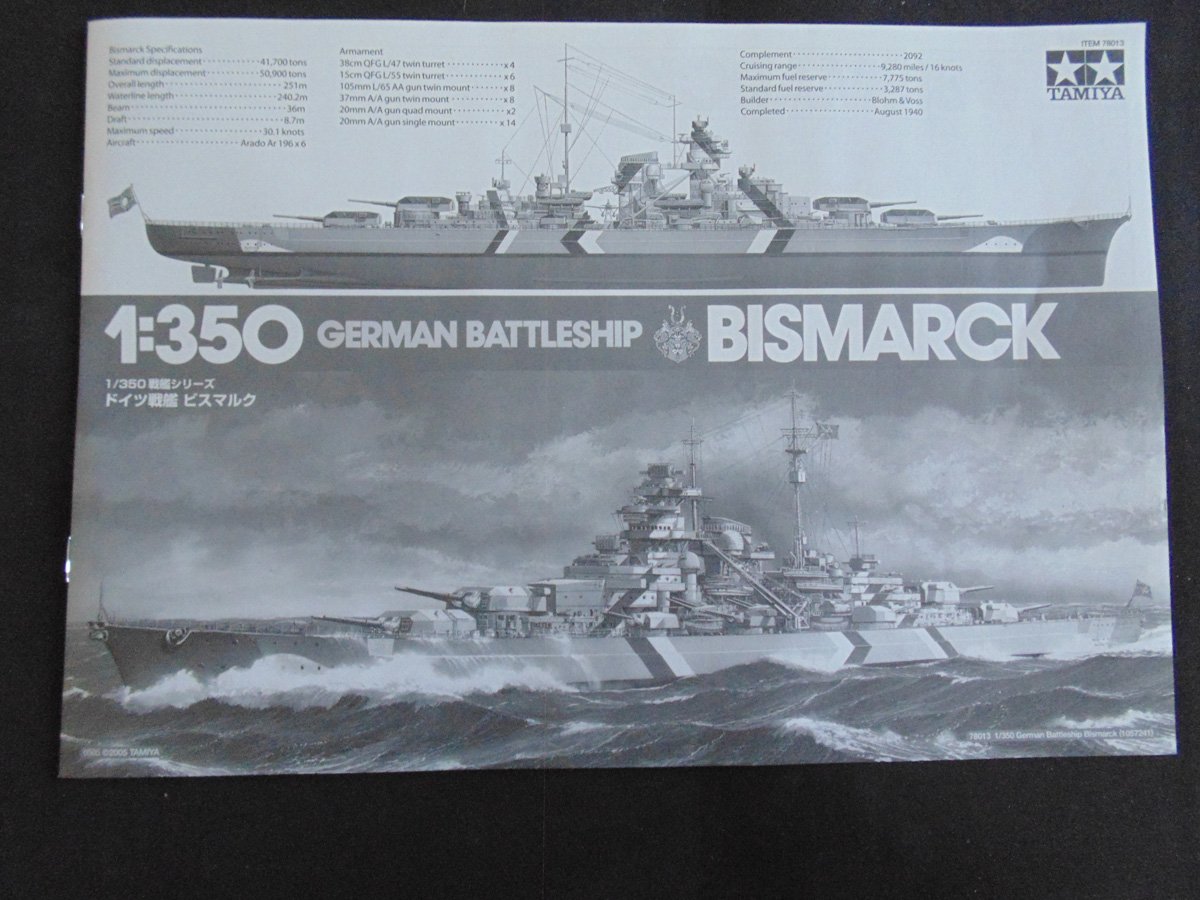
When the clear wrapping is removed you get a true sense of the nice artwork on the top of the box. This is definitely worth saving as a back-drop on your shelf, being that the model is almost the same length.
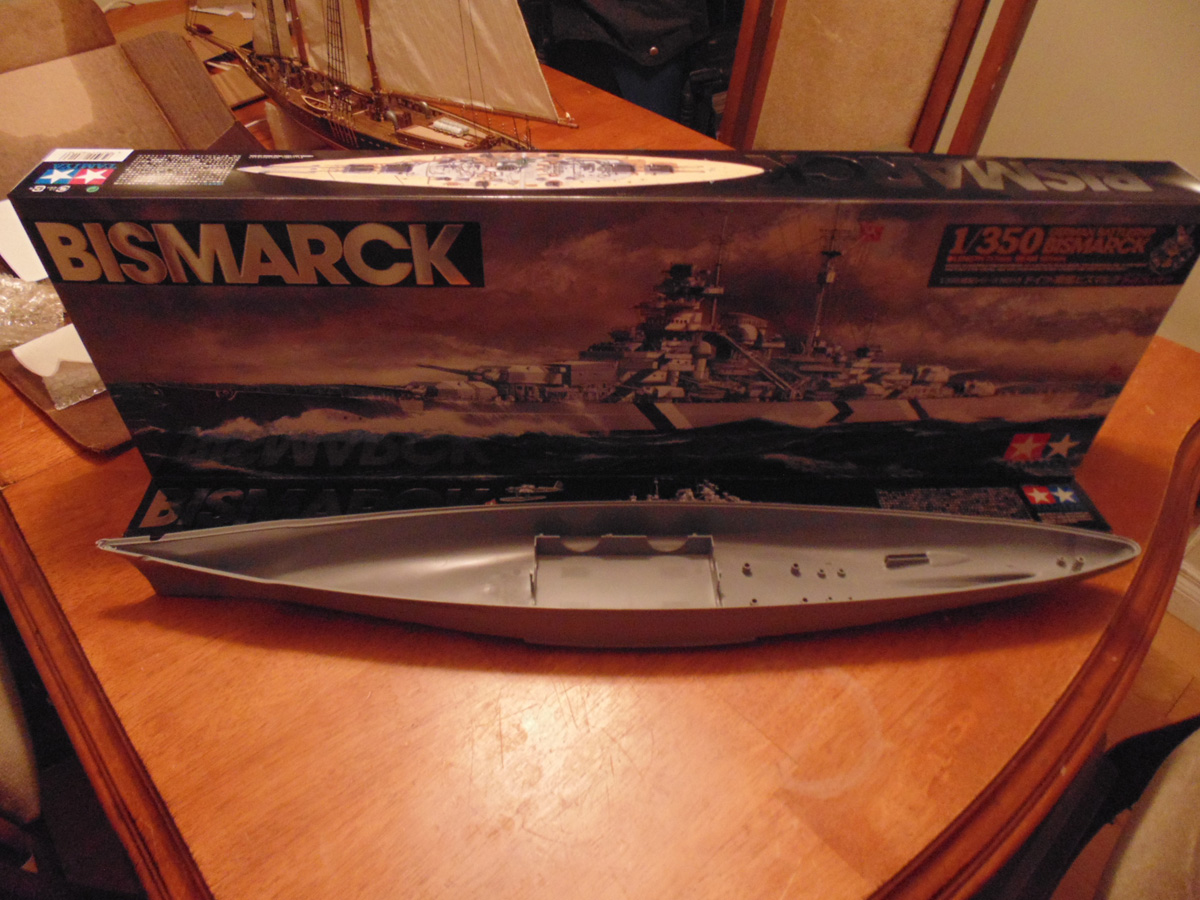
I send completed replicas around the globe, so I’m always impressed when a company ship items with care and concern that they arrive in good order. It’s one of the many reasons I buy my supplies from Sunward Hobbies. Tamiya made an excellent cradle to keep the one-piece hull part from warping during shipment.
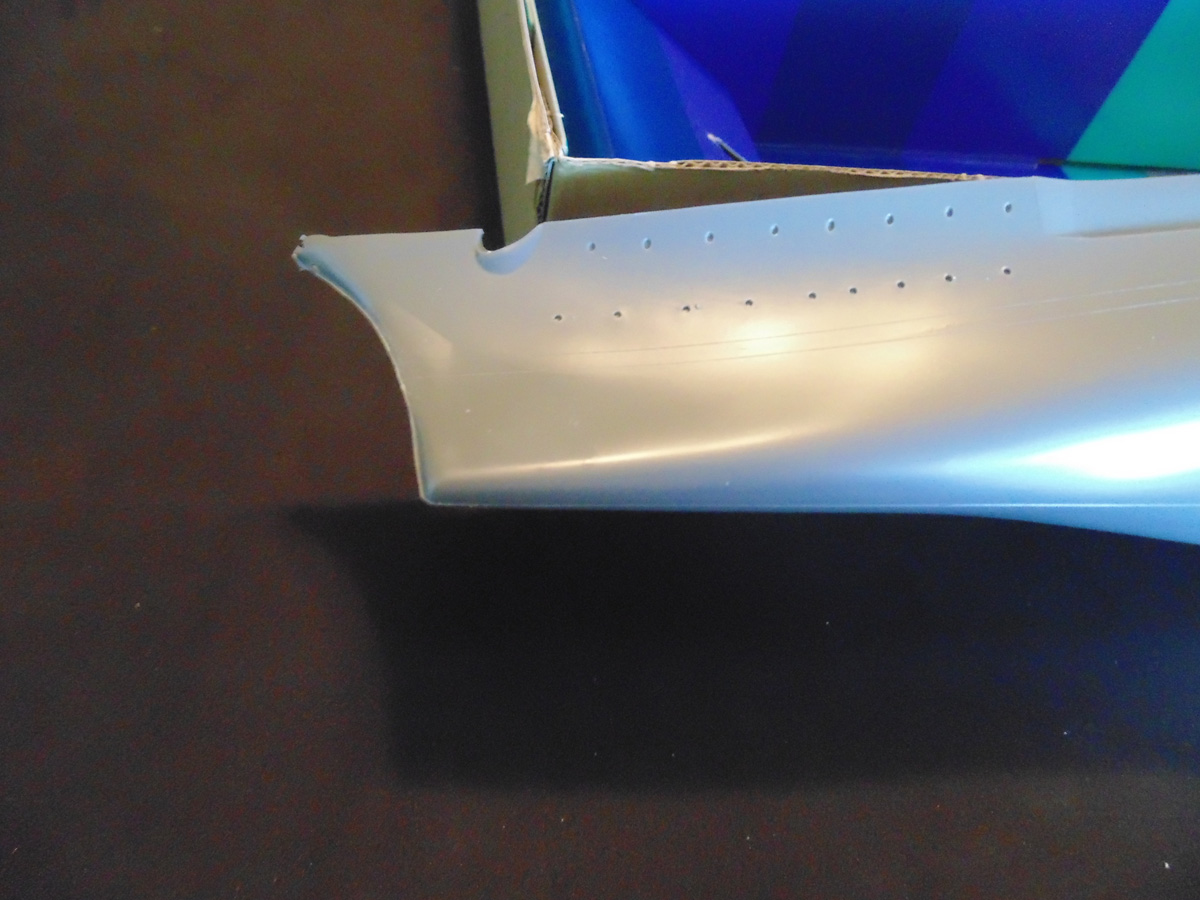
Please remember this kit was molded back in 1978 so there is going to be some flash to clean up. Believe me, I’d much rather sand and fill seam lines than attach these huge halve side parts. Also, you may wish to drill out the port holes. Note the demarcation lines for painting below the portholes. Thank you, Tamiya!
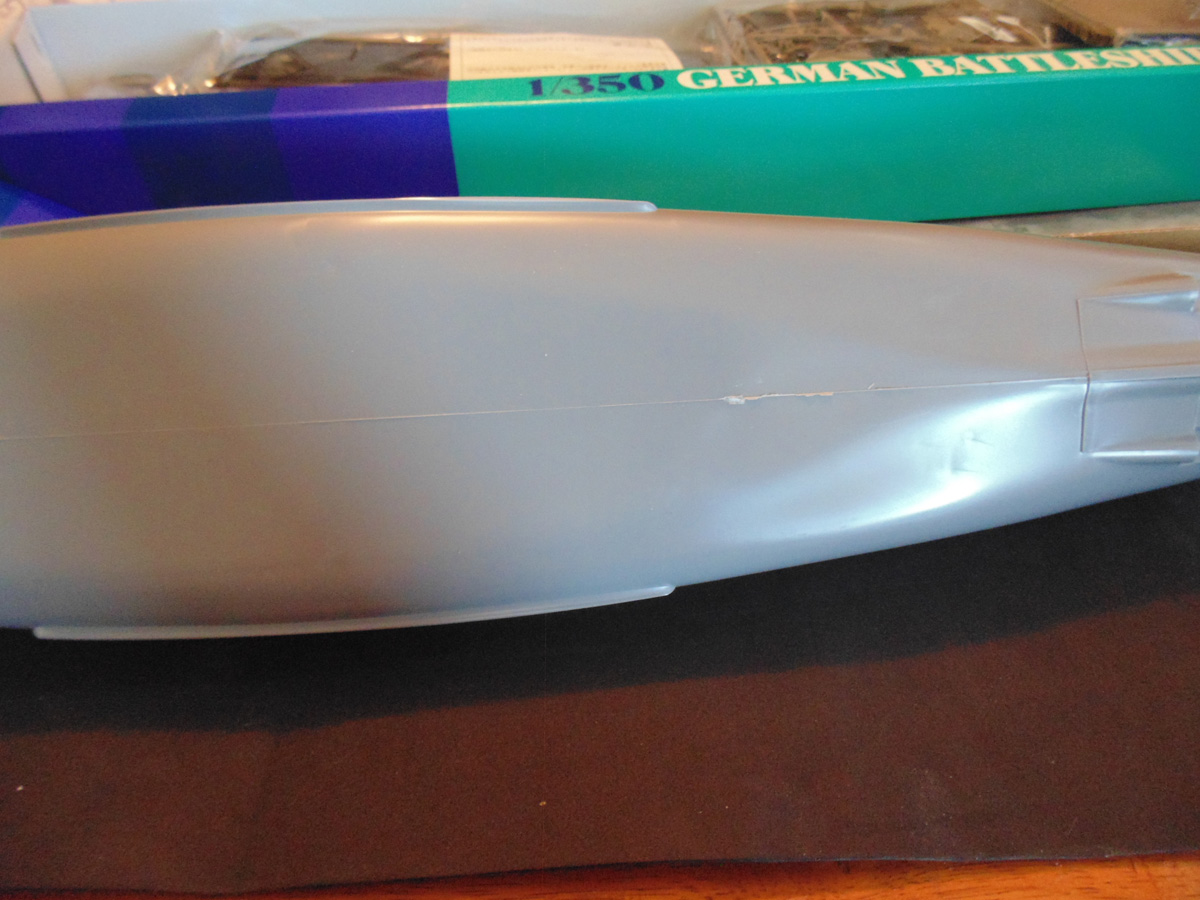
Moving down to the mid hull area, there are places to fill after sanding. Obviously this is an option, but if the replica is going to be displayed on a mirror or glass shelf the imperfection must be addressed. Sunward Hobbies have all the products you’ll need to rectify this issue.
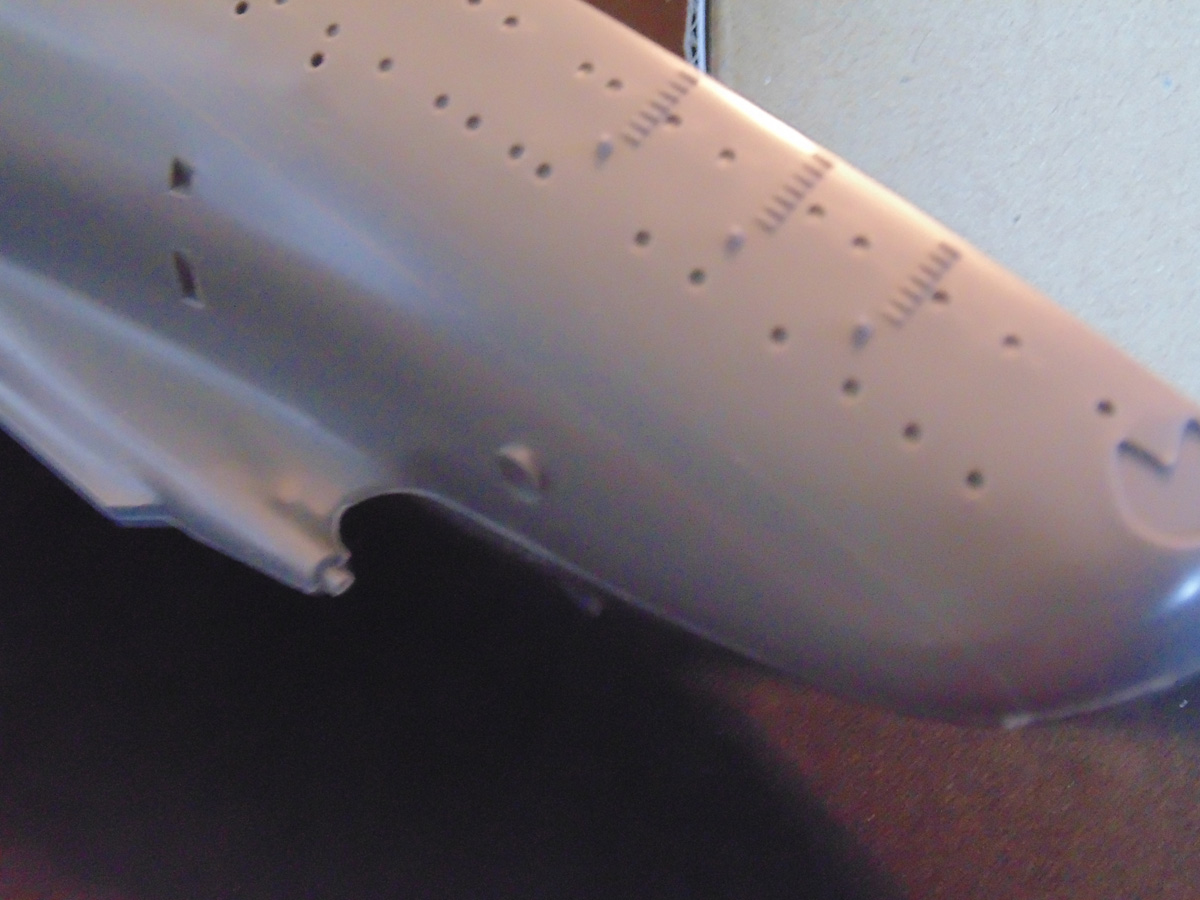
What is necessary is to remove the flash from the lower stern area seam line. That said, there is plenty of nice detail to work with. Again, you decide if the port holes should be drilled out or not.
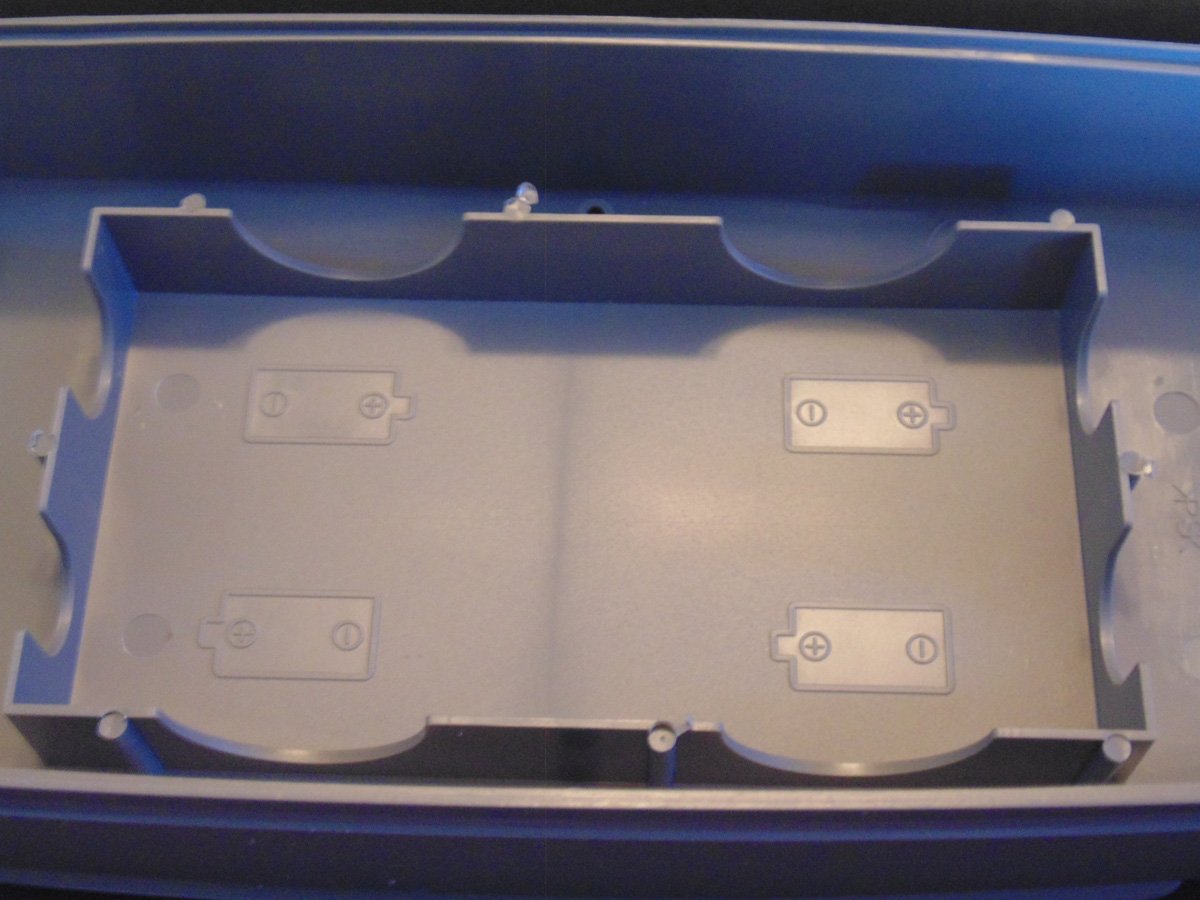
Back in the day there was a separate kit upgrade to light the ship’s open portholes. This further illustrates that the kit can be built up into something as extraordinary as you want. Even if you don’t use this feature the extra plastic makes the long hull part more rigged.
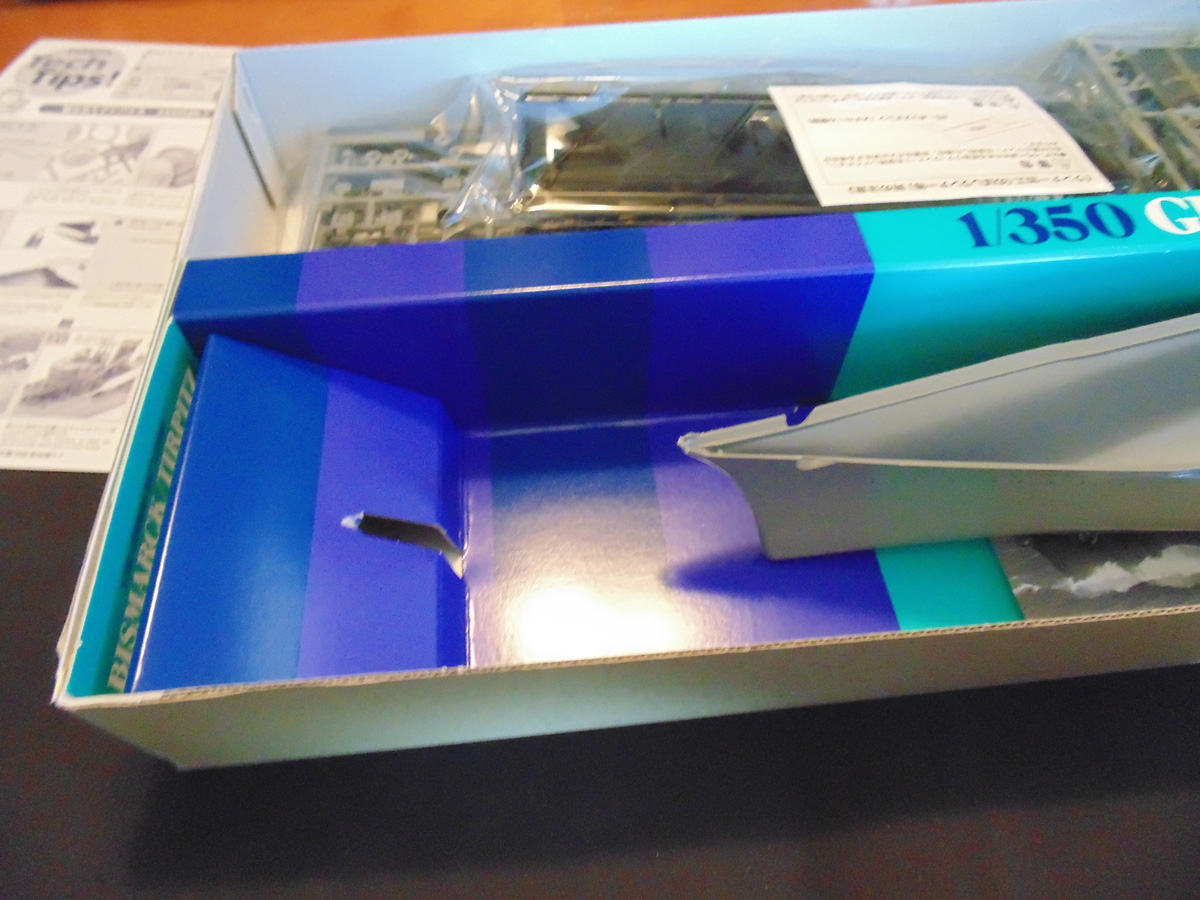
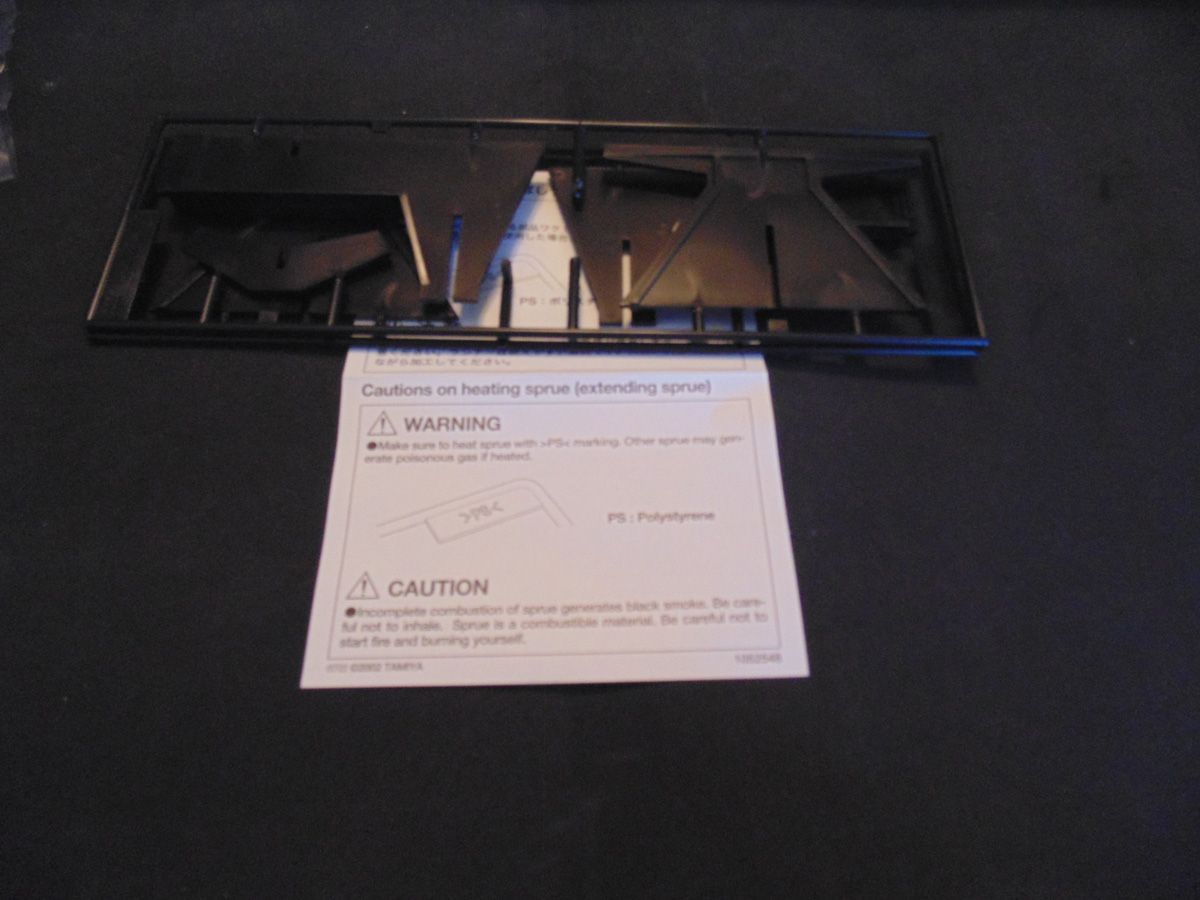
Digging into the parts you’ll find first the black stand. It’s super important to be mindful of the staples used to close all the parts bags.
I’ve already test fitted these parts and can say they are quite robust and will hold your Bismarck securely. I’ll get into this a little more during construction.
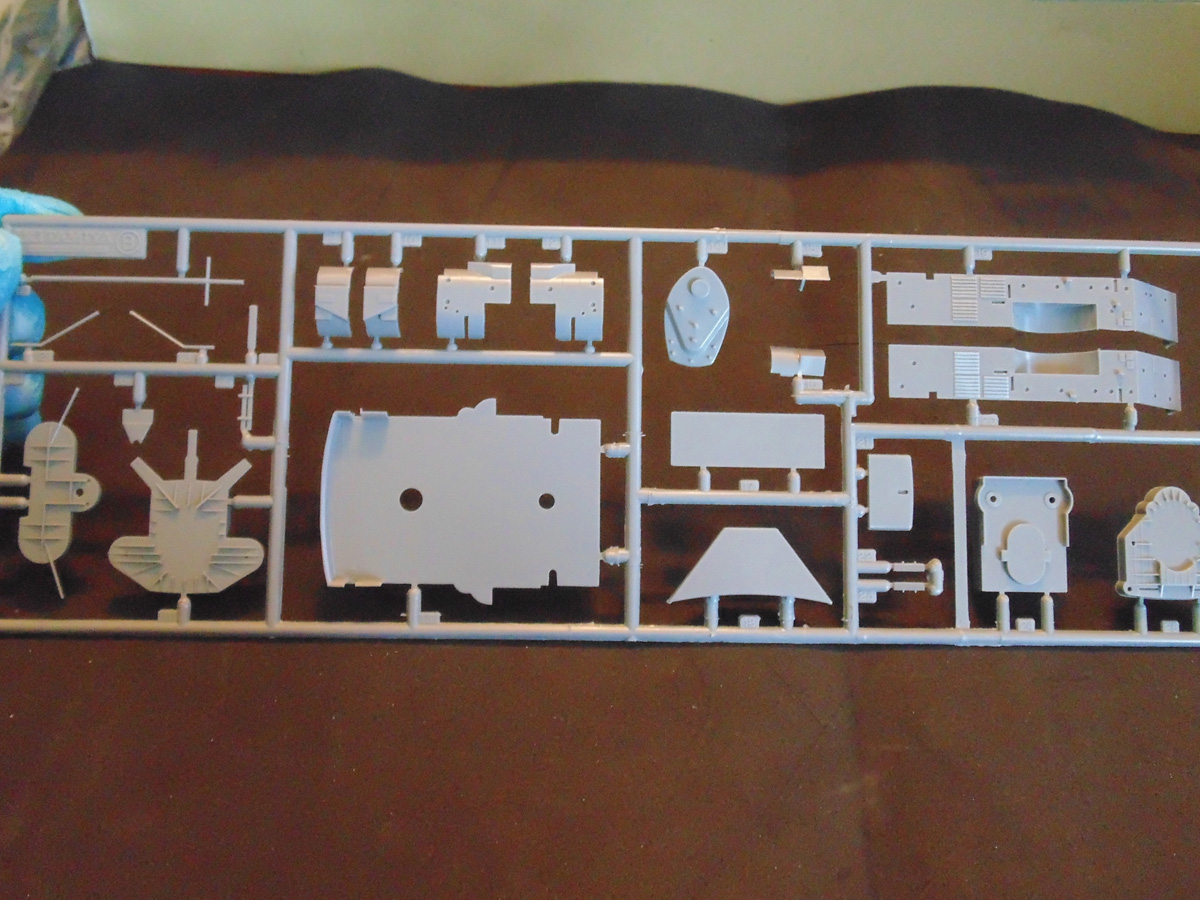
I’ll run down the list of the main parts sprue trees alphabetically beginning B. For a forty-five-year-old kit there is plenty of detail often lost on modernly molded models. The side walls are thin, portholes are 100% straight and the parts will be easy to handle for both small and larger fingers.
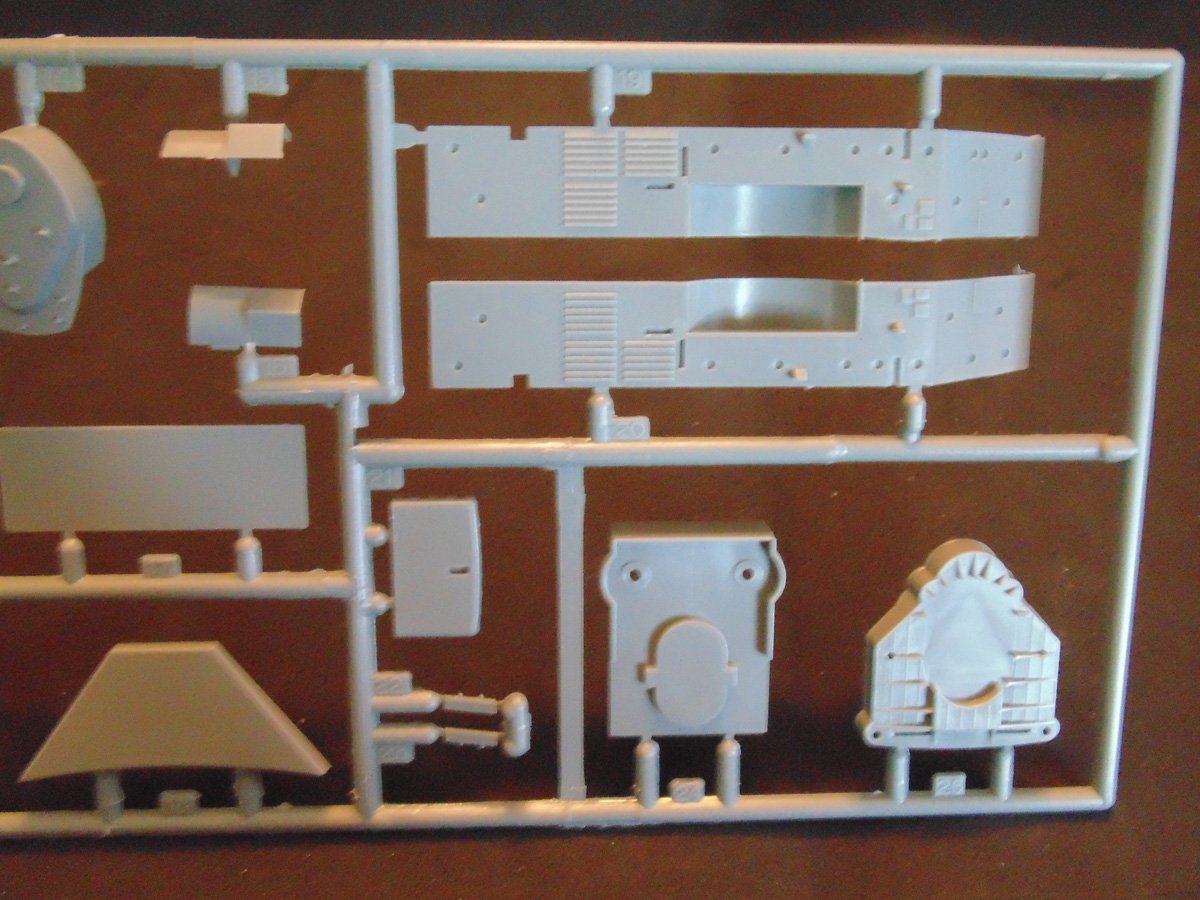
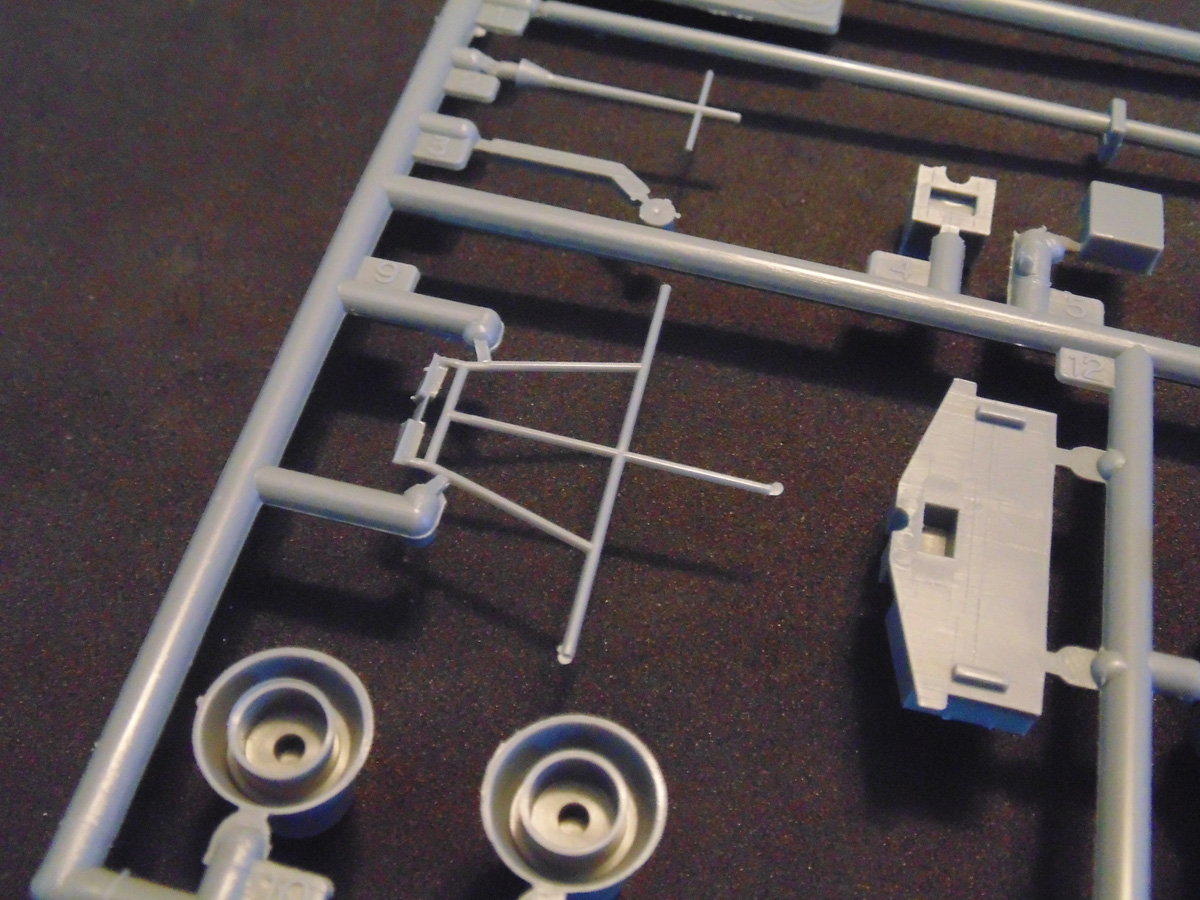
The ladder work and support frames are nice. These parts can be left on the sprue tree for priming.
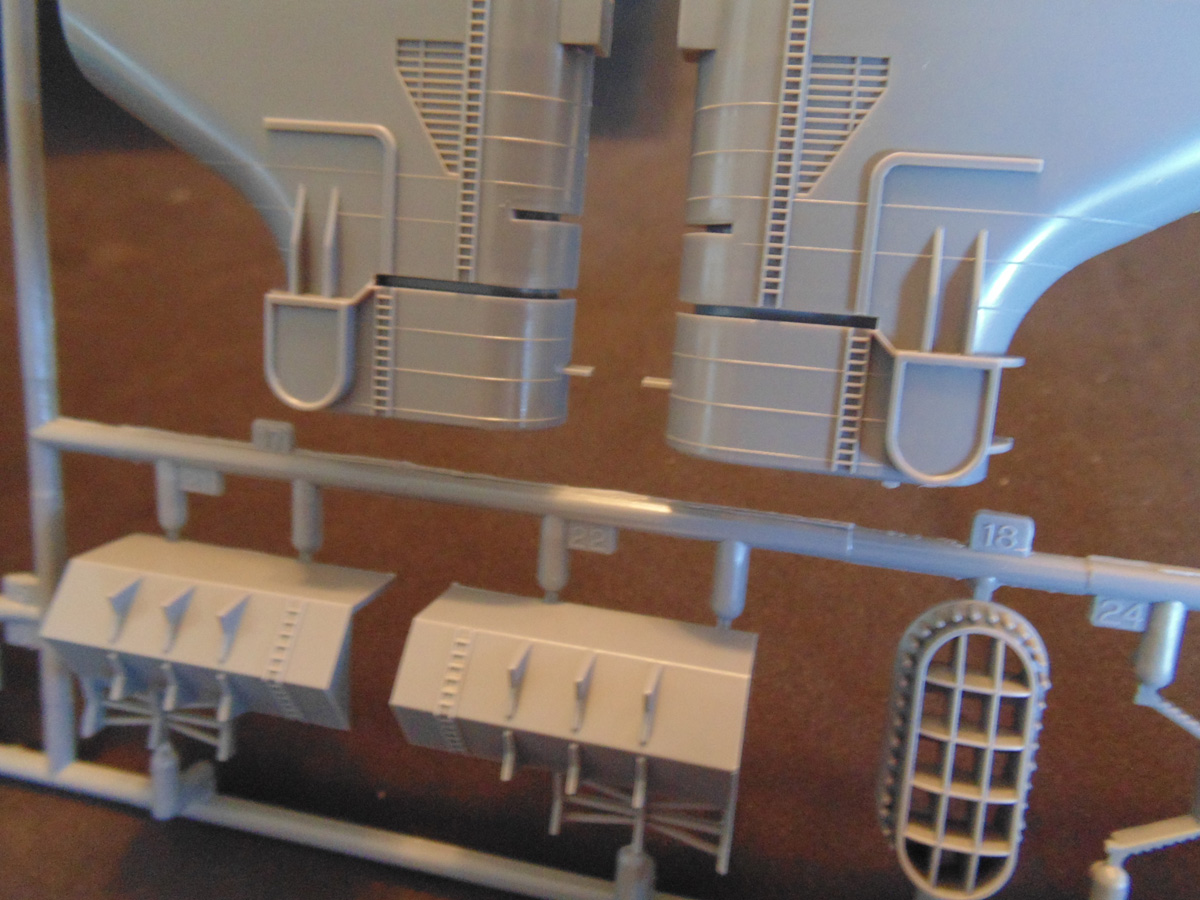
Next, the upper deck area and exhaust funnel have ladder work along with the tip being angle vented. No small task to pull off back in the 70’s considering the technology available.
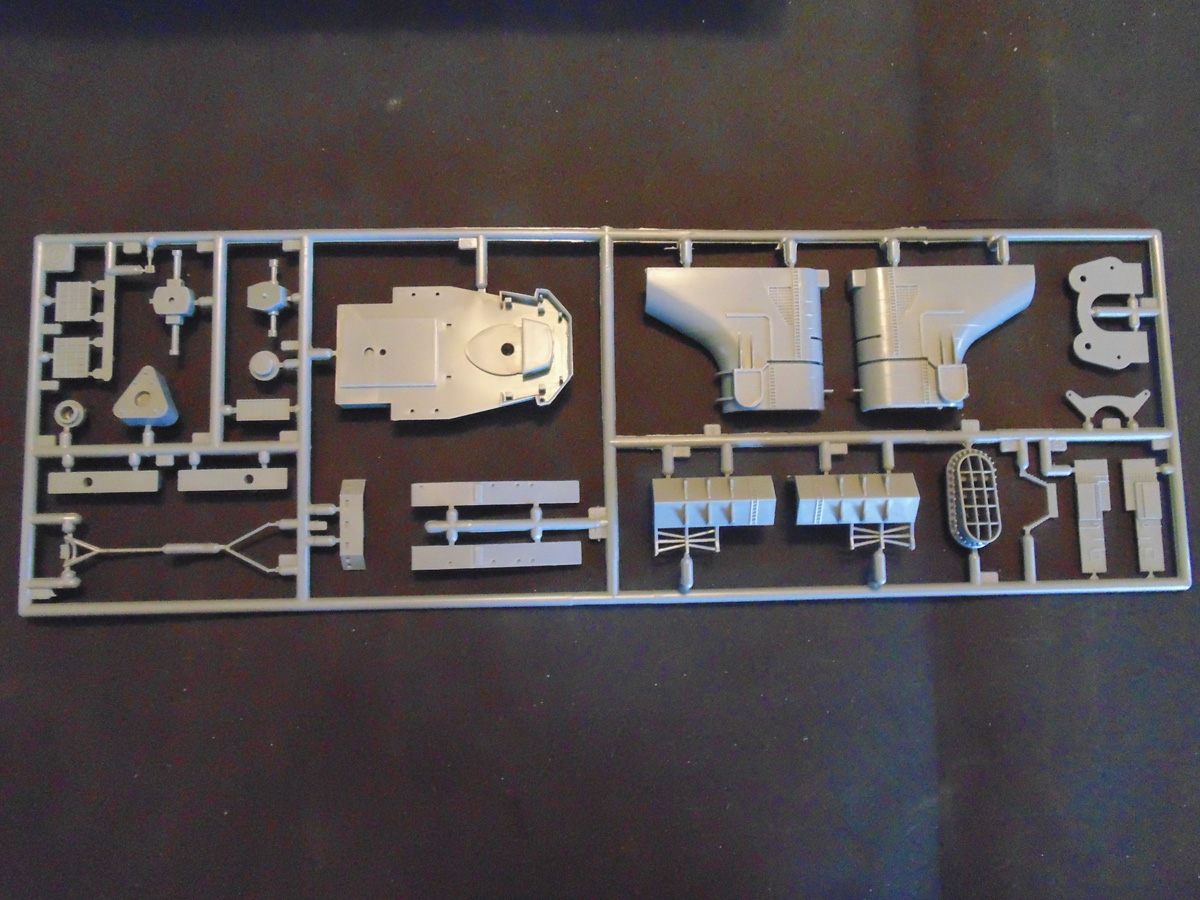
These areas will make for a nice pigment wash if you opt to go down that route. The stack has super nice detail regardless if you want to weather it or not.
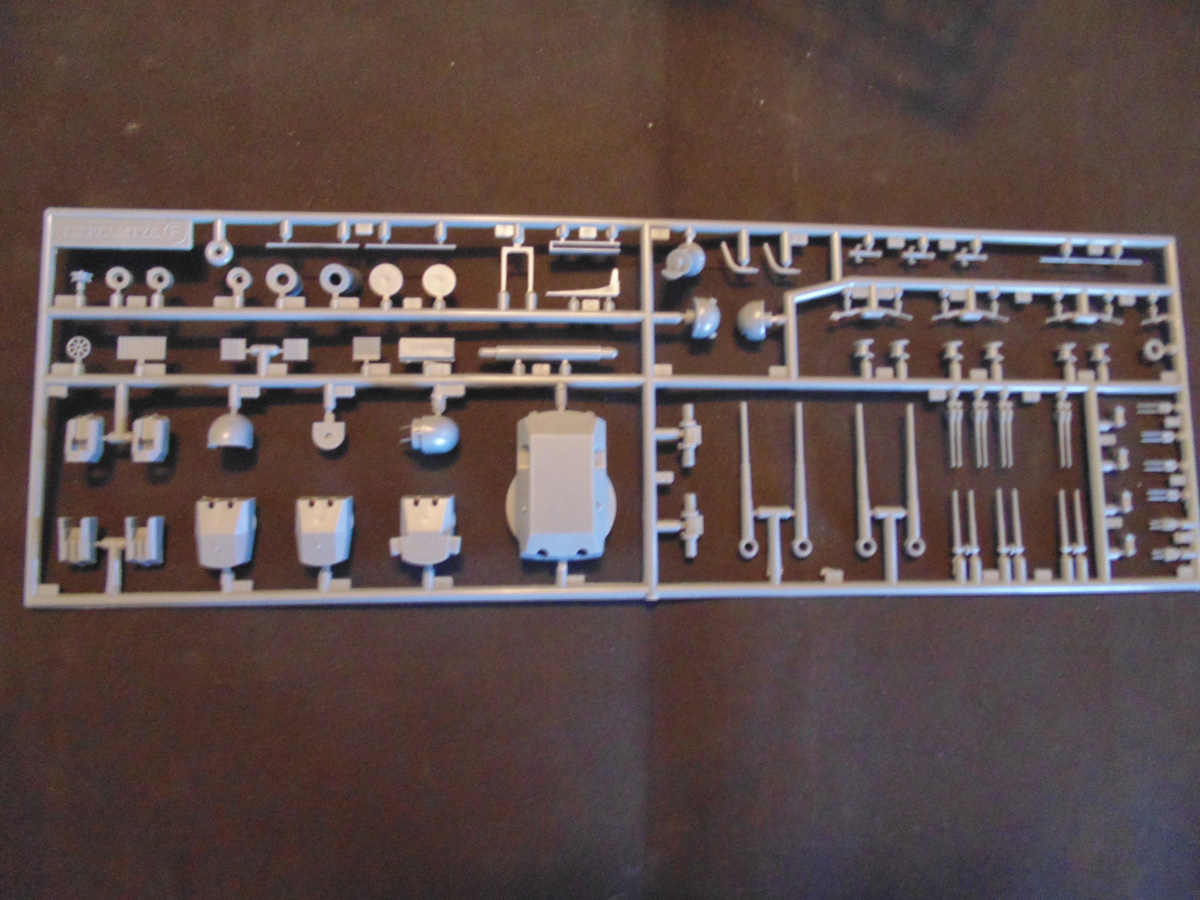
The main guns and propulsion parts can be easily hand painted or airbrushed. Perfect for all ages. Please excuse the slightly out of focus picture.
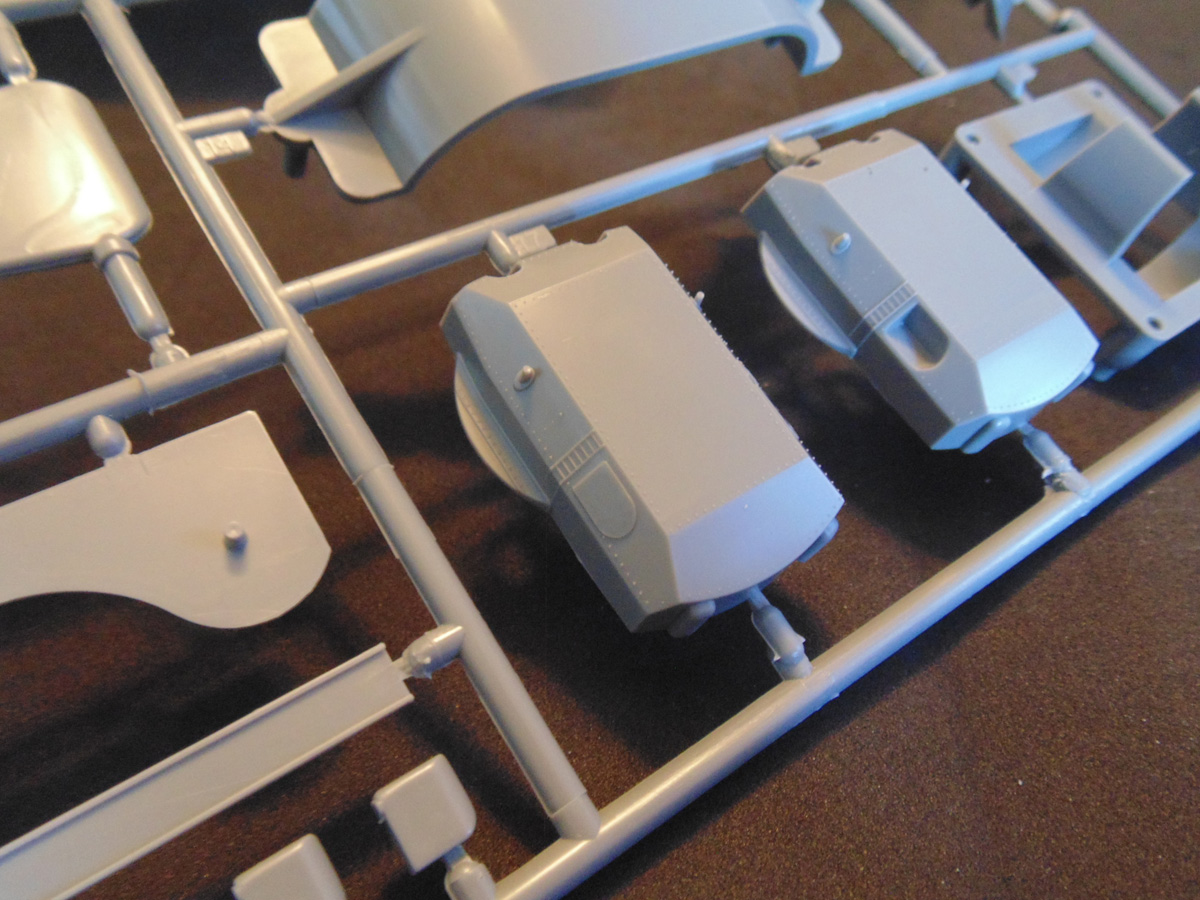
You’ll need to do some sanding on the edges of the turrets along with coring out the inserts for the connection pins. The raised rivets still look great after all these years.
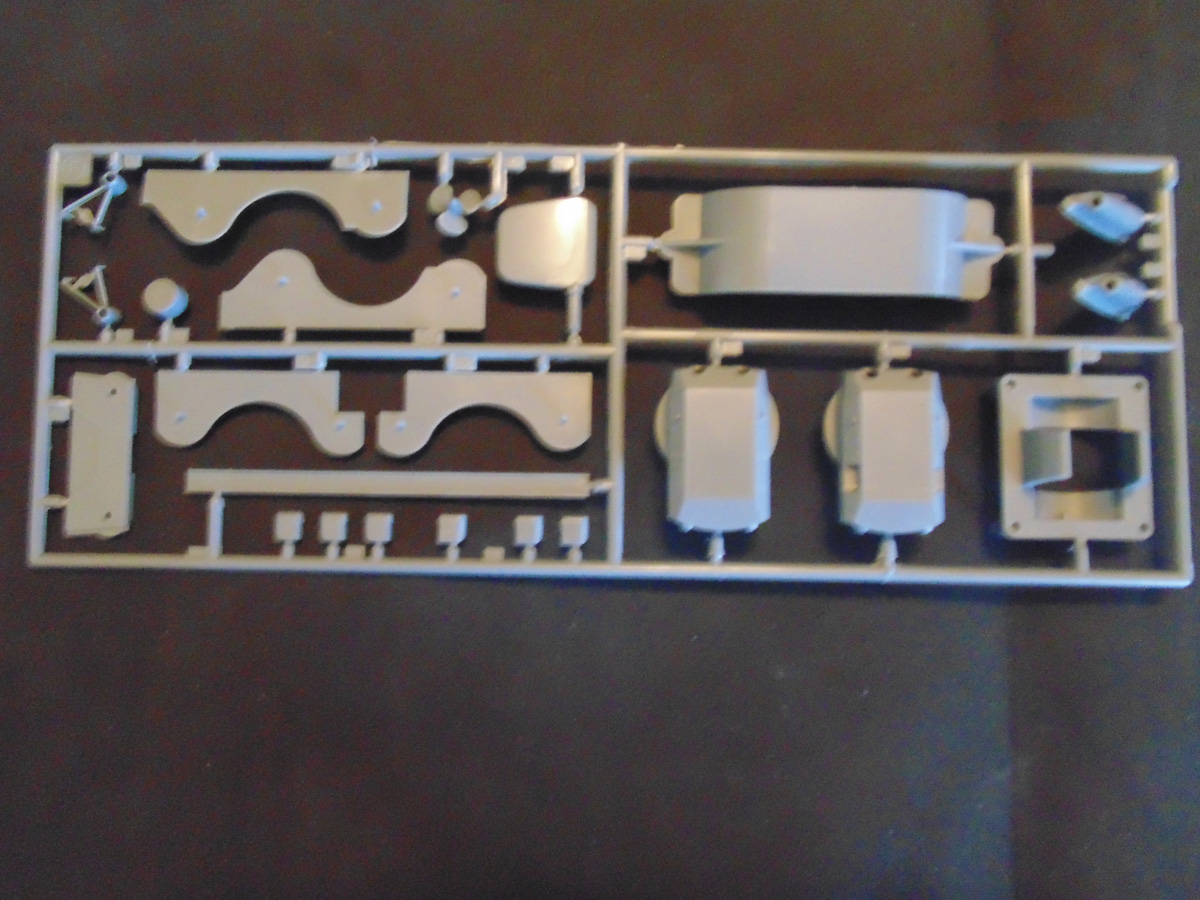
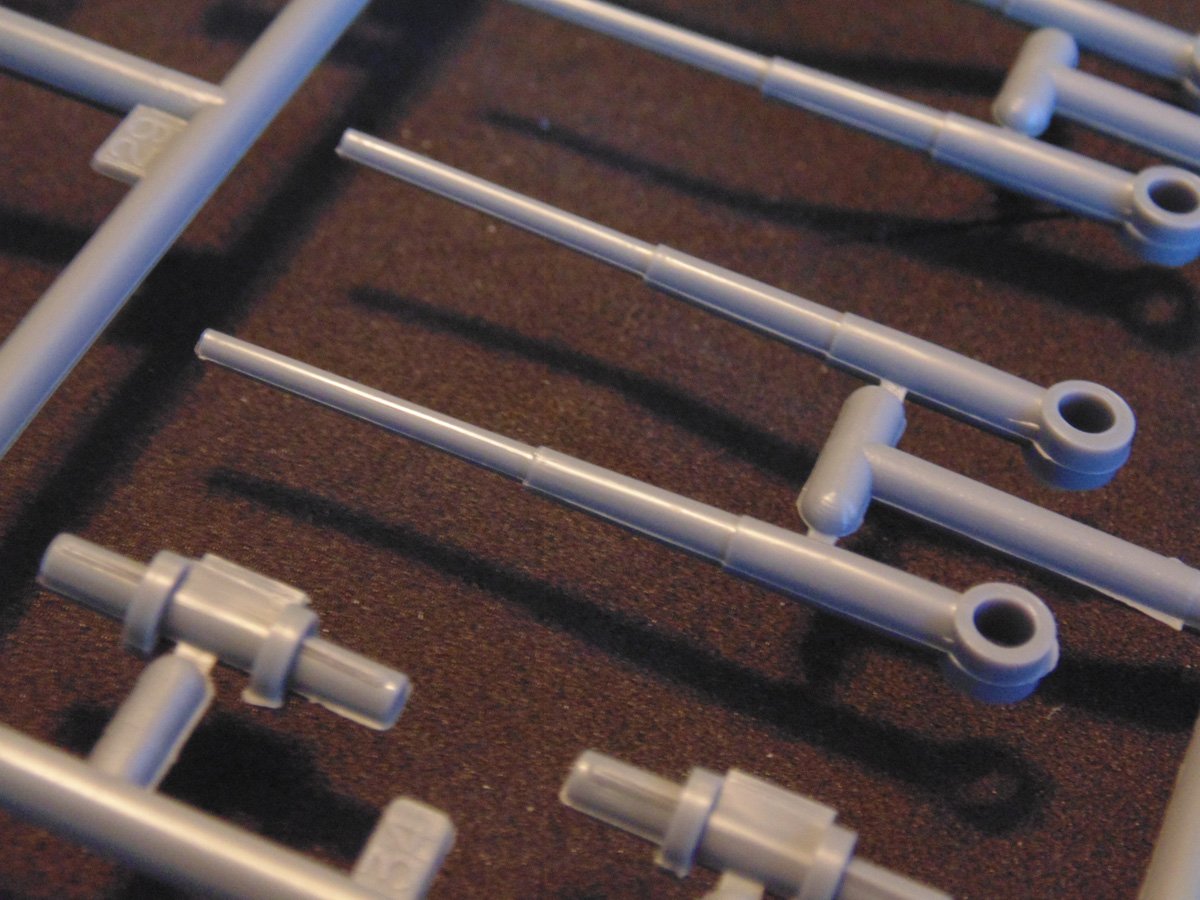
Sprue D has some treats. The radio and range finder are cleanly molded as are the anchors. Sure, you’ll have to do some clean-up, yet overall, they look terrific just out of the box.
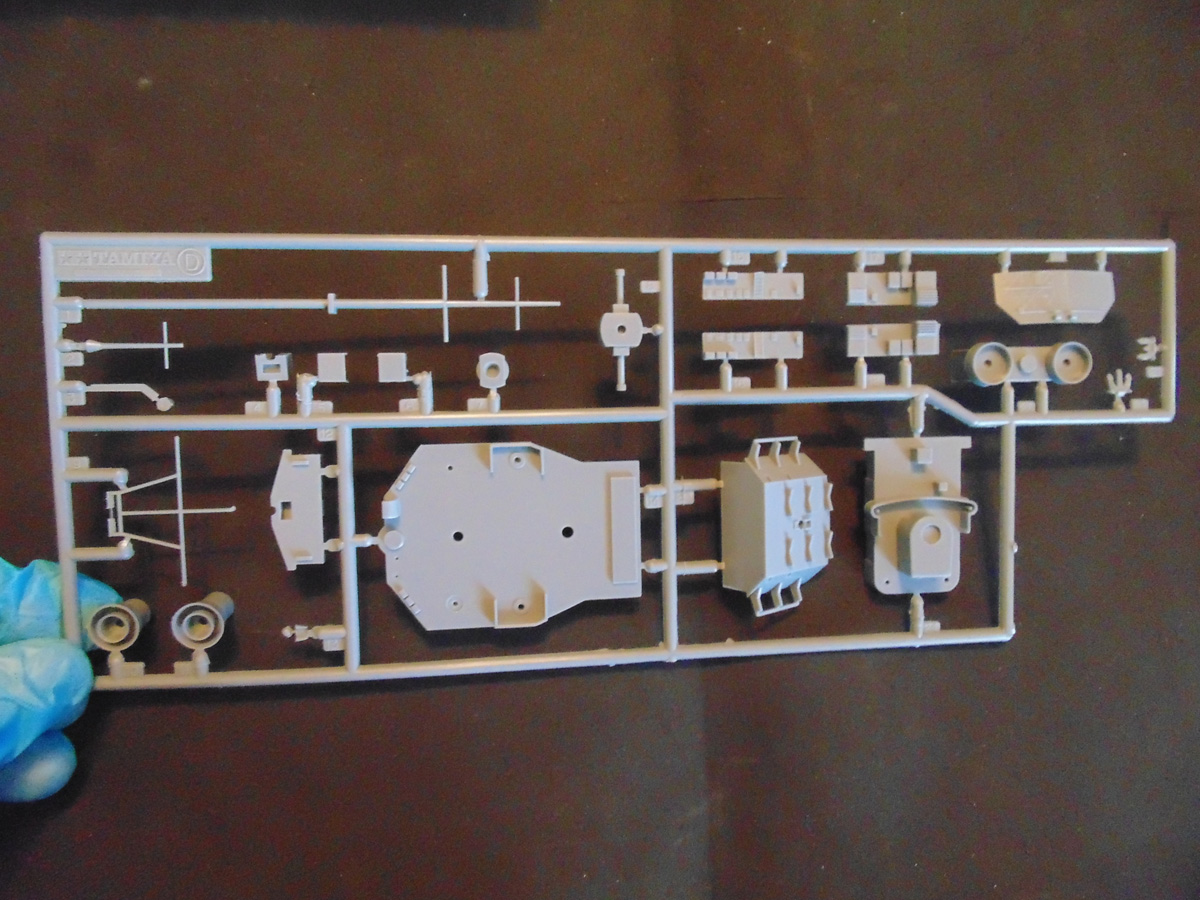
I particularly like the thinness of the posts for the radio gear and the masts. Make sure you pick up high quality and sharp Tamiya side cutters. Sunward Hobbies have them and they’ll make your building experience so much more enjoyable.
There are two F sprue trees. As you can see they hold many of the turrets and gun barrels. Again, another reason to buy a high quality set of side cutters.
Both of these F sprues have a concerning amount of flash, so take it slow when removing it. The barrels are not hollowed, thus you may consider drilling holes for the ends, more on that in the build articles.
In sprue G you’ll have some seriously fun time building mini models. From the flood lights to the aircraft and yachts, these small parts add an enormous amount of detail and realism to your project.
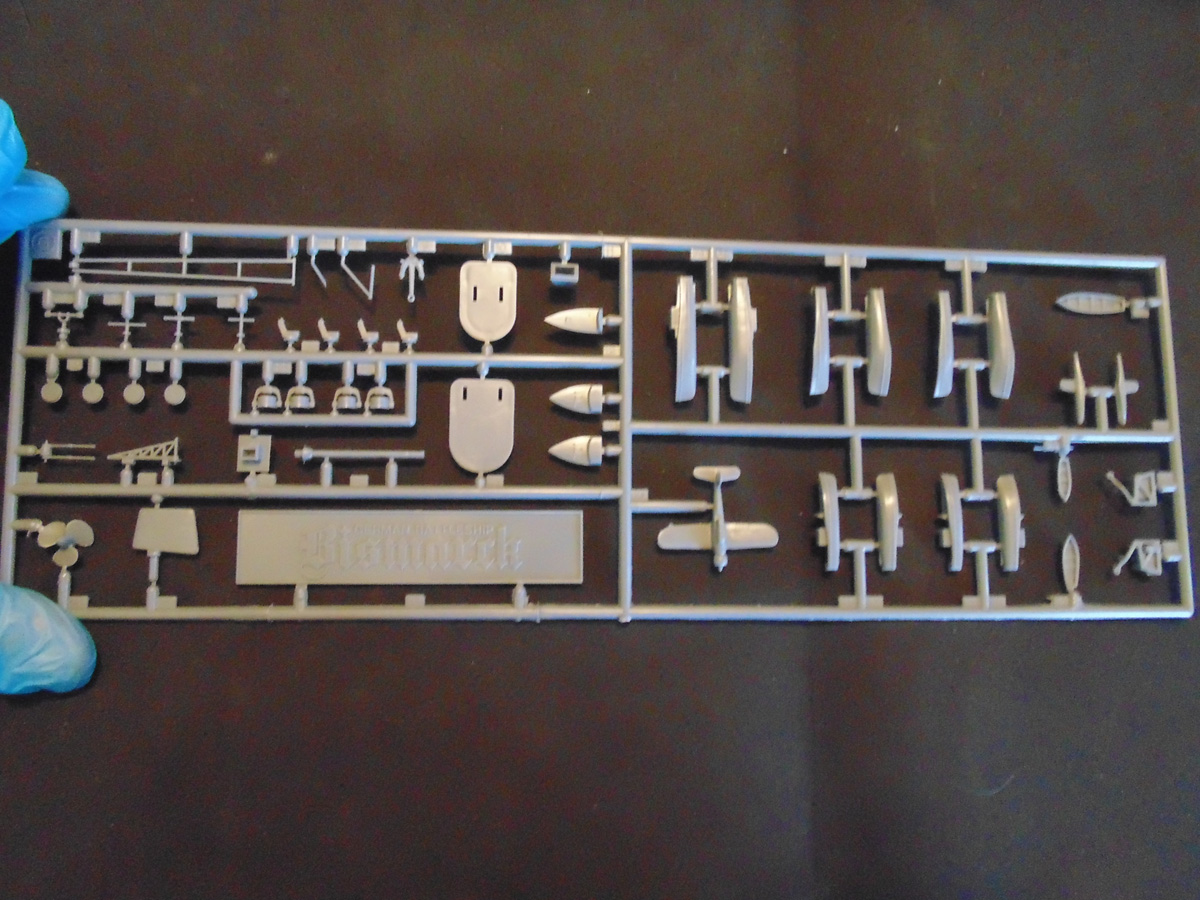
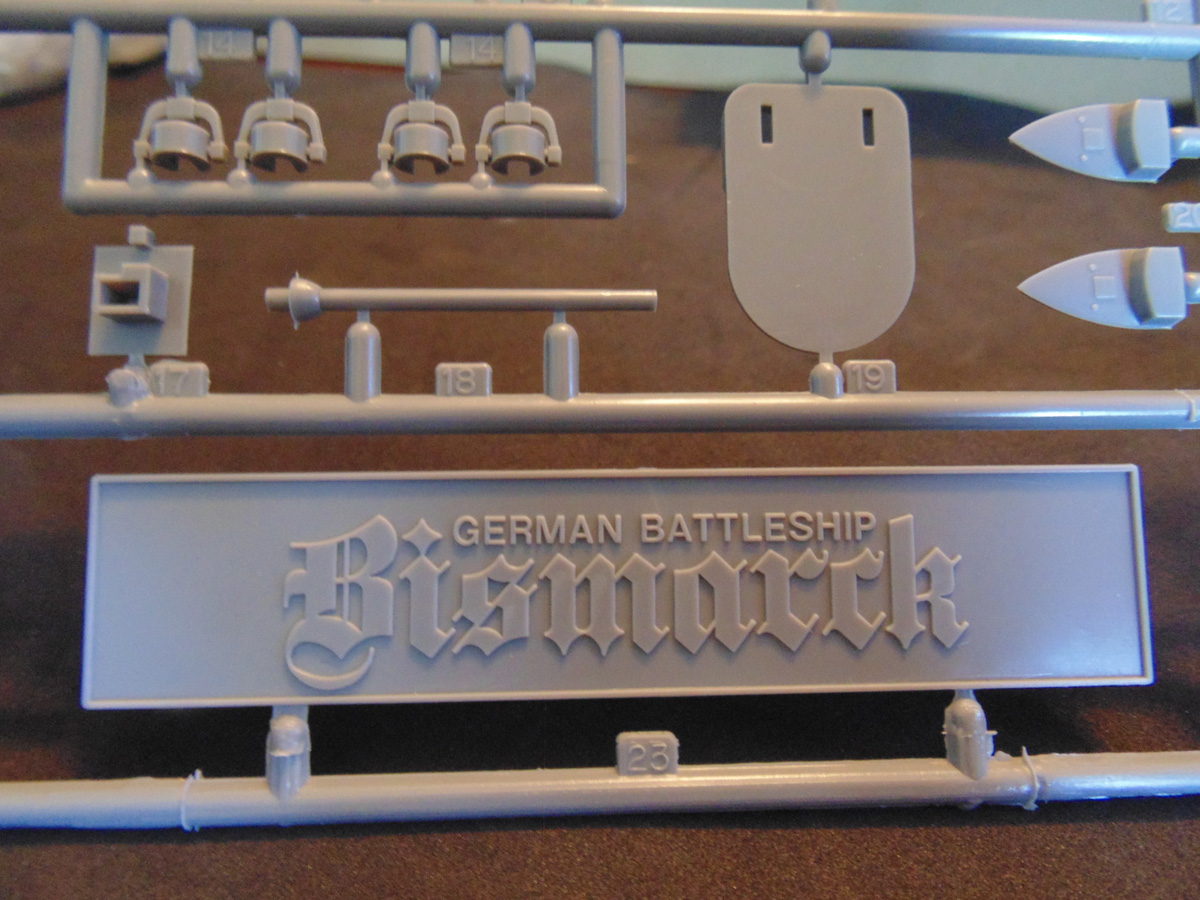
These identical sprue trees are very well crafted for beginners, enthusiasts and ,yes, seasoned model builders. The raised lettering will make it easier to hand paint.
The deck parts are very flat in shape which should make for an easy assembly. With all the details though you’ll need to have a game plan to either mask those off or consider hand painting them. You’ll find this out in the build stage. I’ll show different ways to make this fun and rewarding.
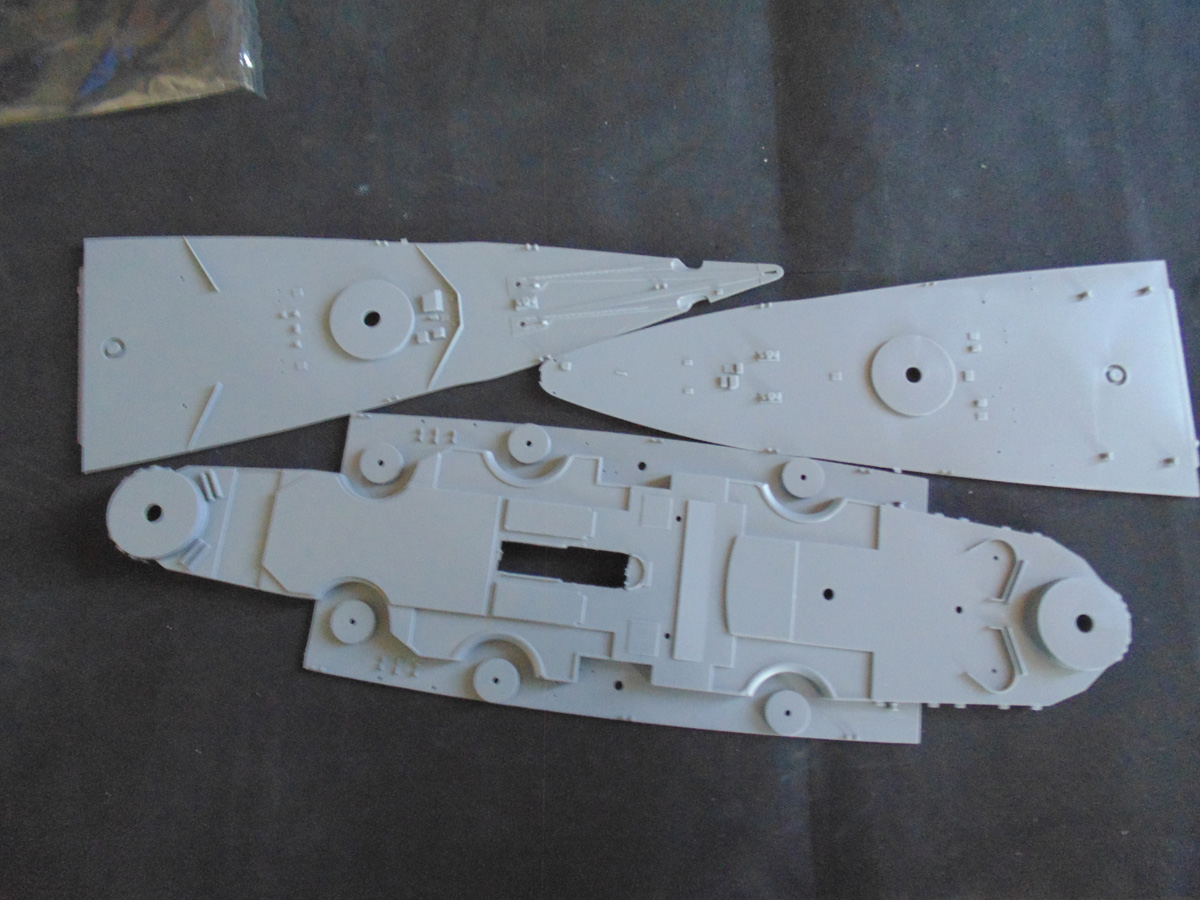
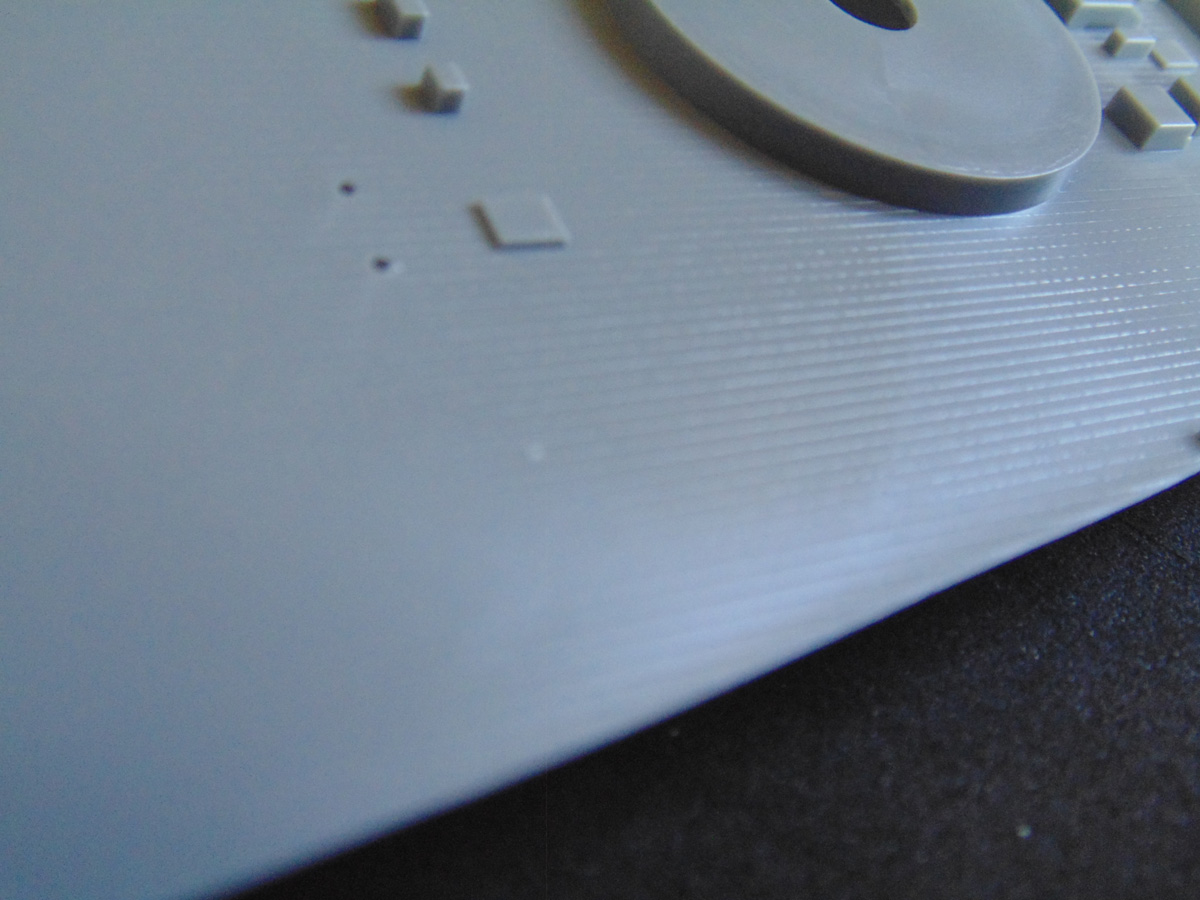
All the appropriate sections that had wood planking have been replicated in plastic and will show the lines even after being hand painted. Naturally, I’m going to airbrush the planked deck then add oil pigments for the desired look.
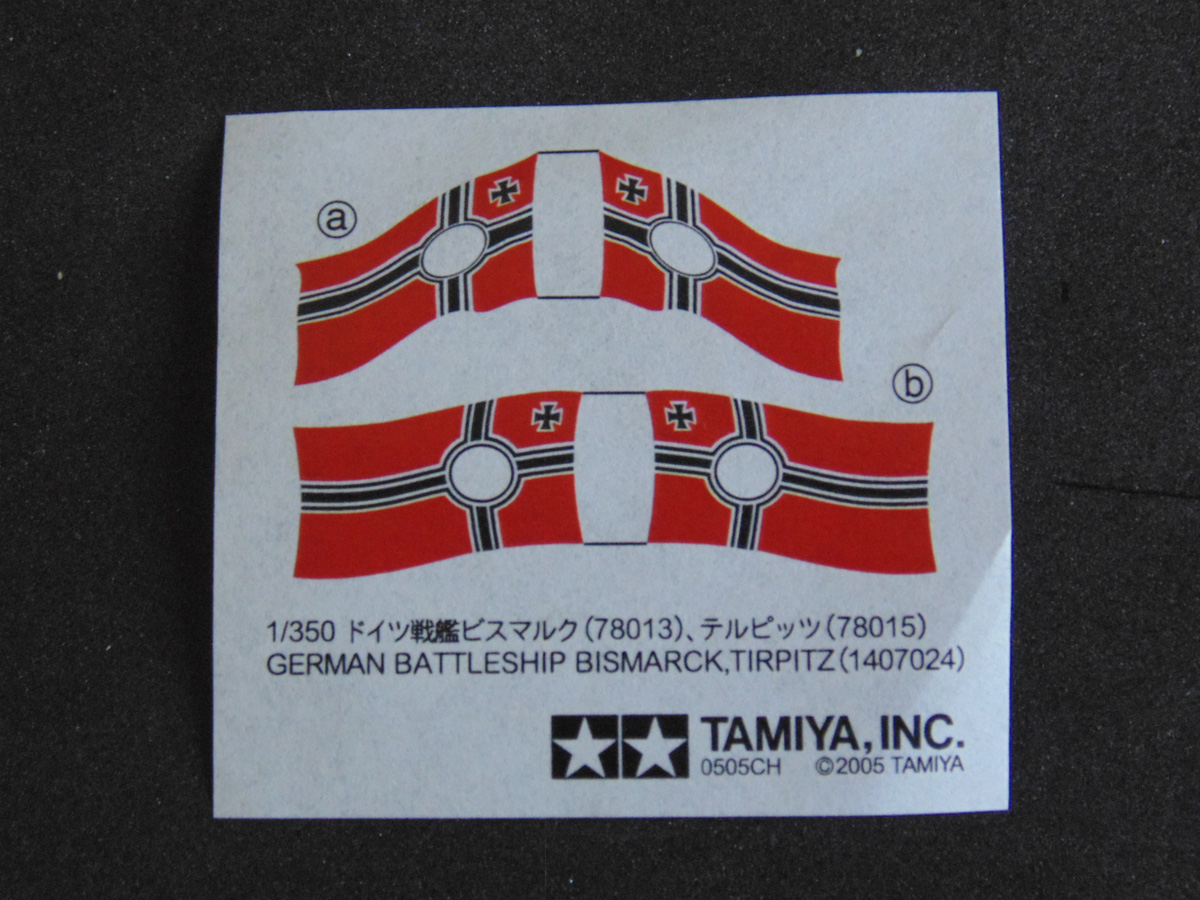
Tamiya supply a pair of flags for the masts which do not include the swastika in the roundels. You can get these symbols from a variety of aftermarket companies.
The booklet style instructions are well laid out on thick high-quality paper. Listing the battleship’s specifications was a nice touch.
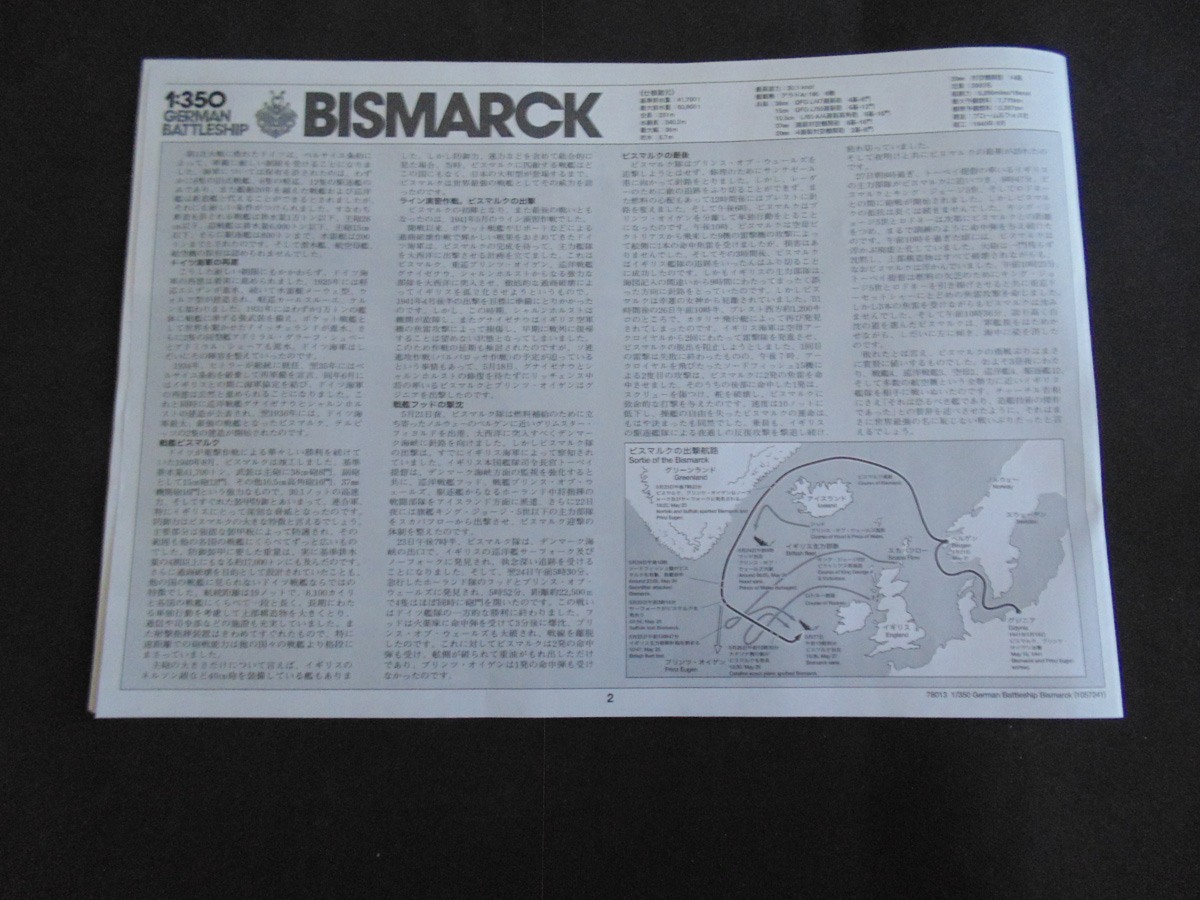
Page one has a map and timeline of the voyage and subsequent battles which ensued. Again, another nice historical touch by Tamiya.
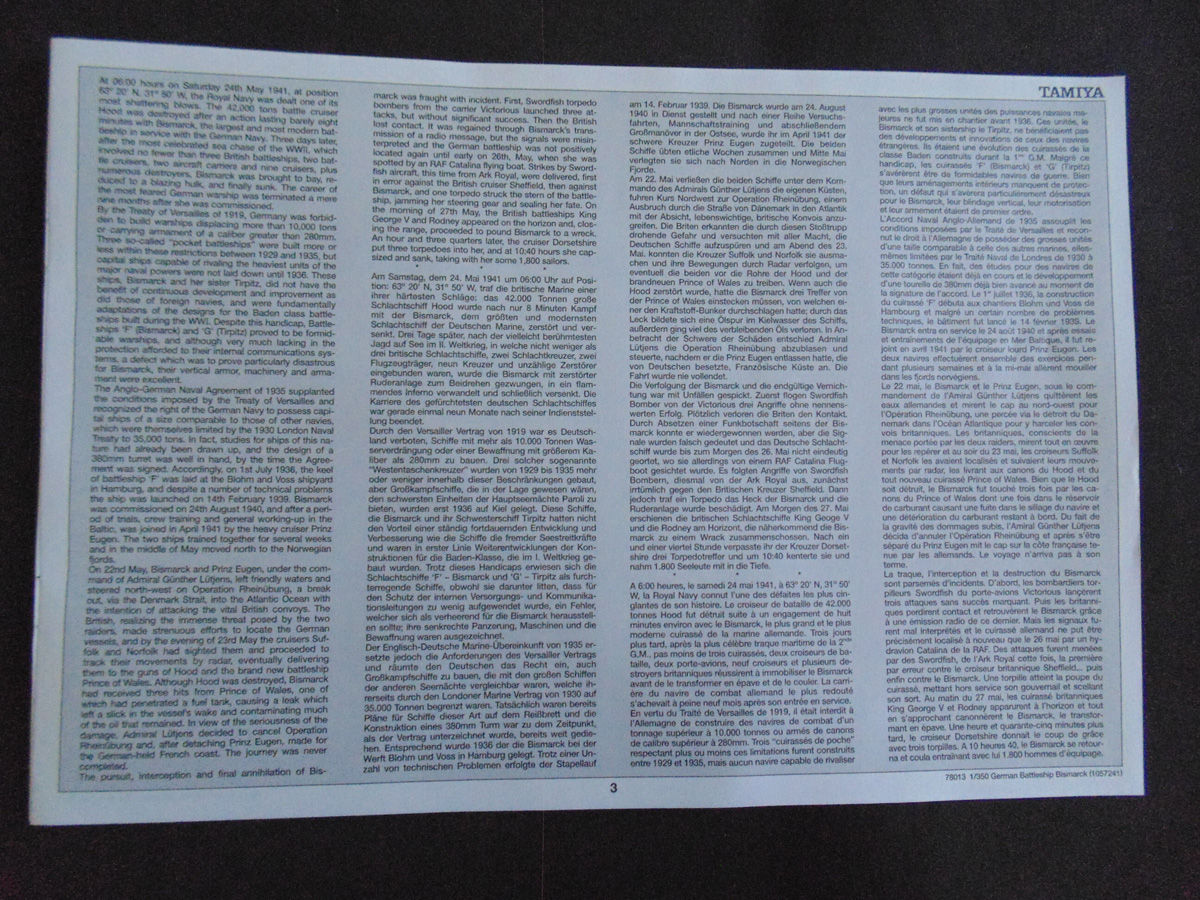
Page 3 has the text of the combat in multiple languages. While not very in-depth, it gives the modeler a starting point to do their own research.
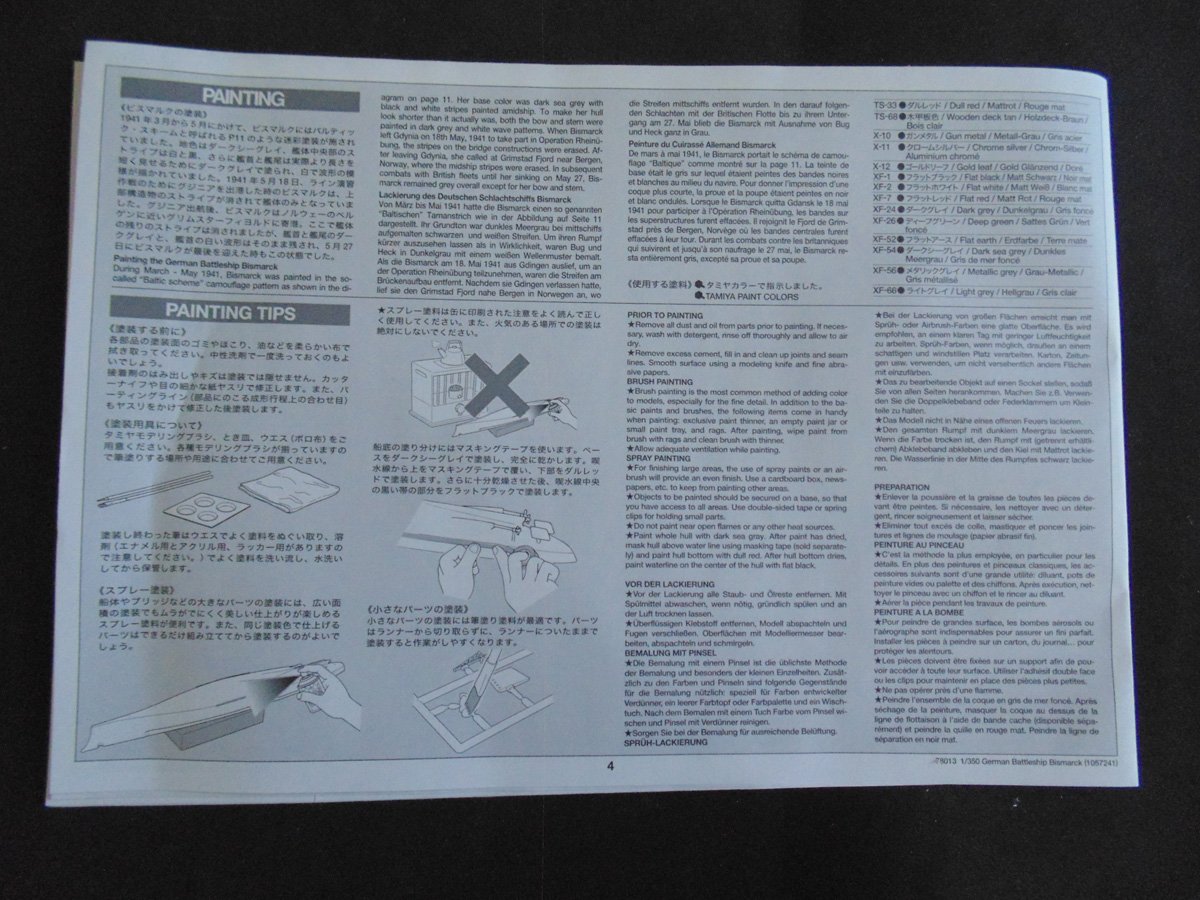
Page 4 lists tips for beginners and even though I’m a professional museum-quality replica builder I read everything in the instructions. You’ll always get tips you’ve forgotten about which may be specific for the model you’re working on.
Page 5 illustrates the beginning of your voyage. Please make sure to read through the entire booklet a few times because you may have to bounce around between steps to accommodate painting and rigging placement.
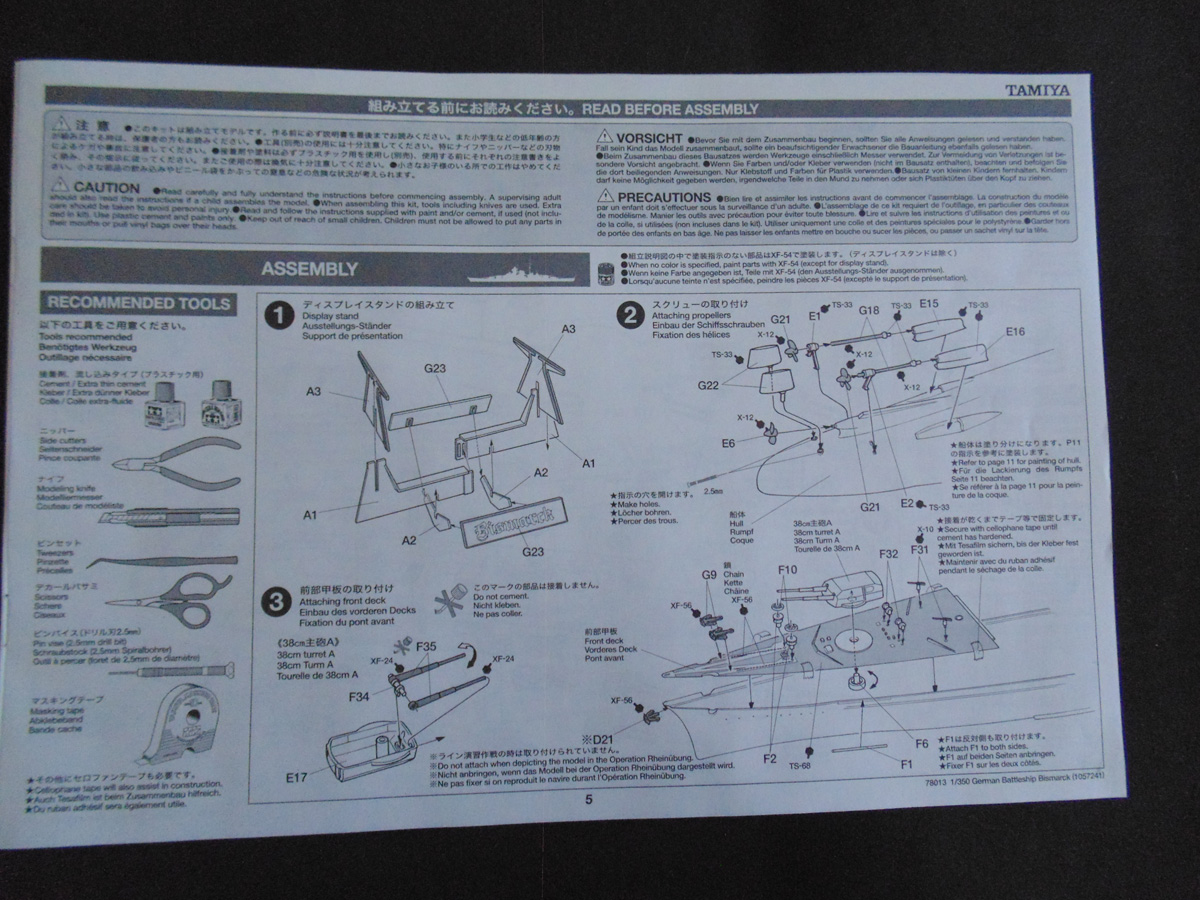
Page 6 shows the placement of many guns in steps 4, 5 and 6. Everything is labeled with color codes and movement arcs. Obviously you’ll have these items painted prior to installation.
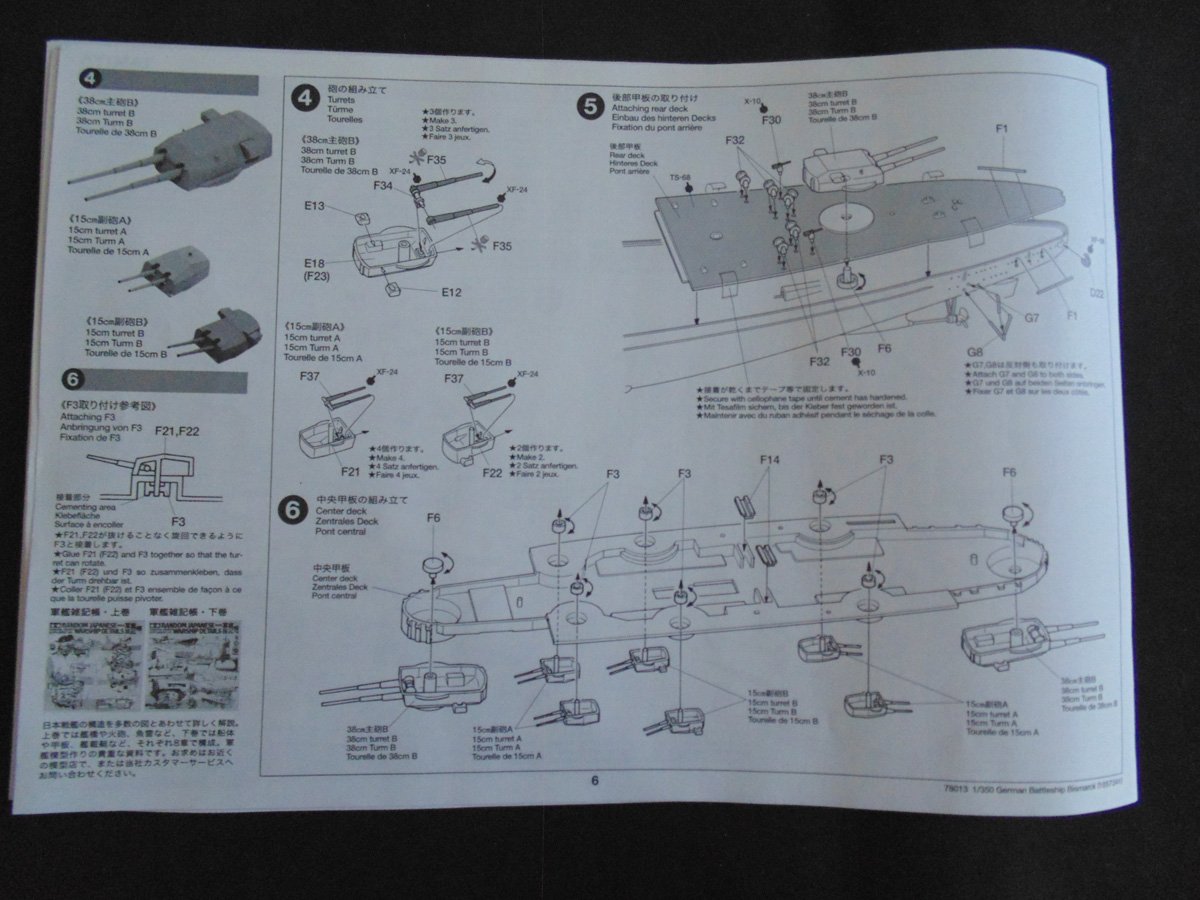
On Page 7 the anti aircraft armament gets assembled and installed. It’s noteworthy to point out that this is the section to remove should you with to use the formed battery box below.
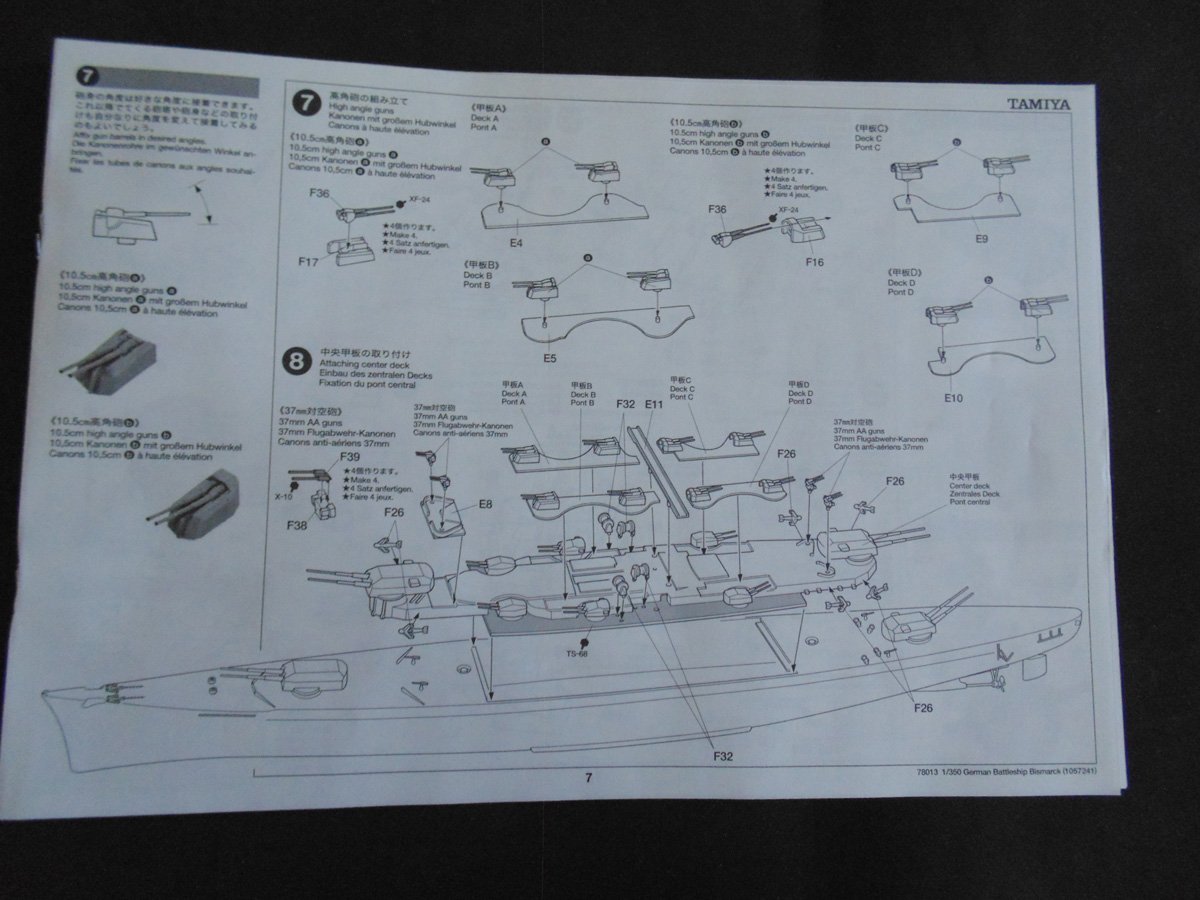
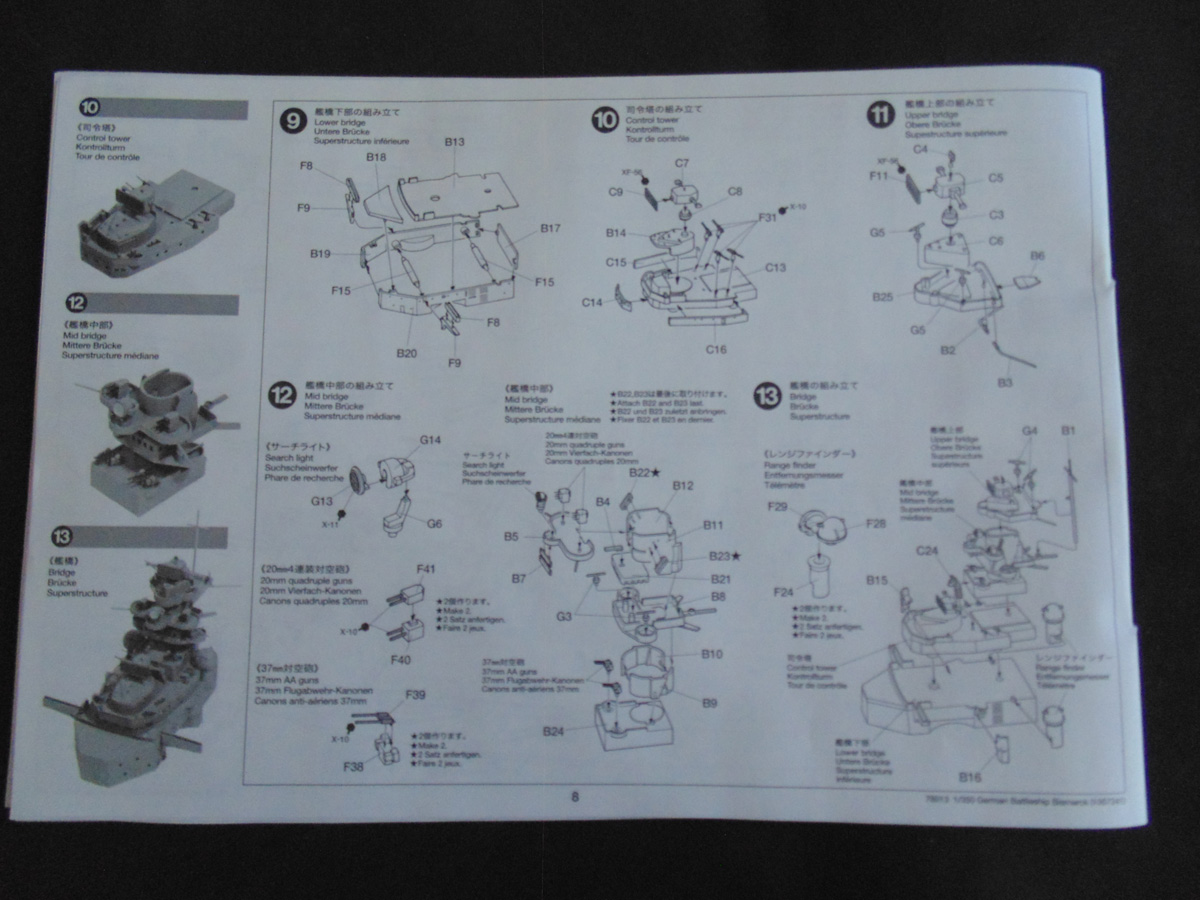
Page 8 guides you through many of the finer details Tamiya are known for splendidly depicting. There’s a lot going on here so consider using a colored sharpy marker on the page after each unit is completed.
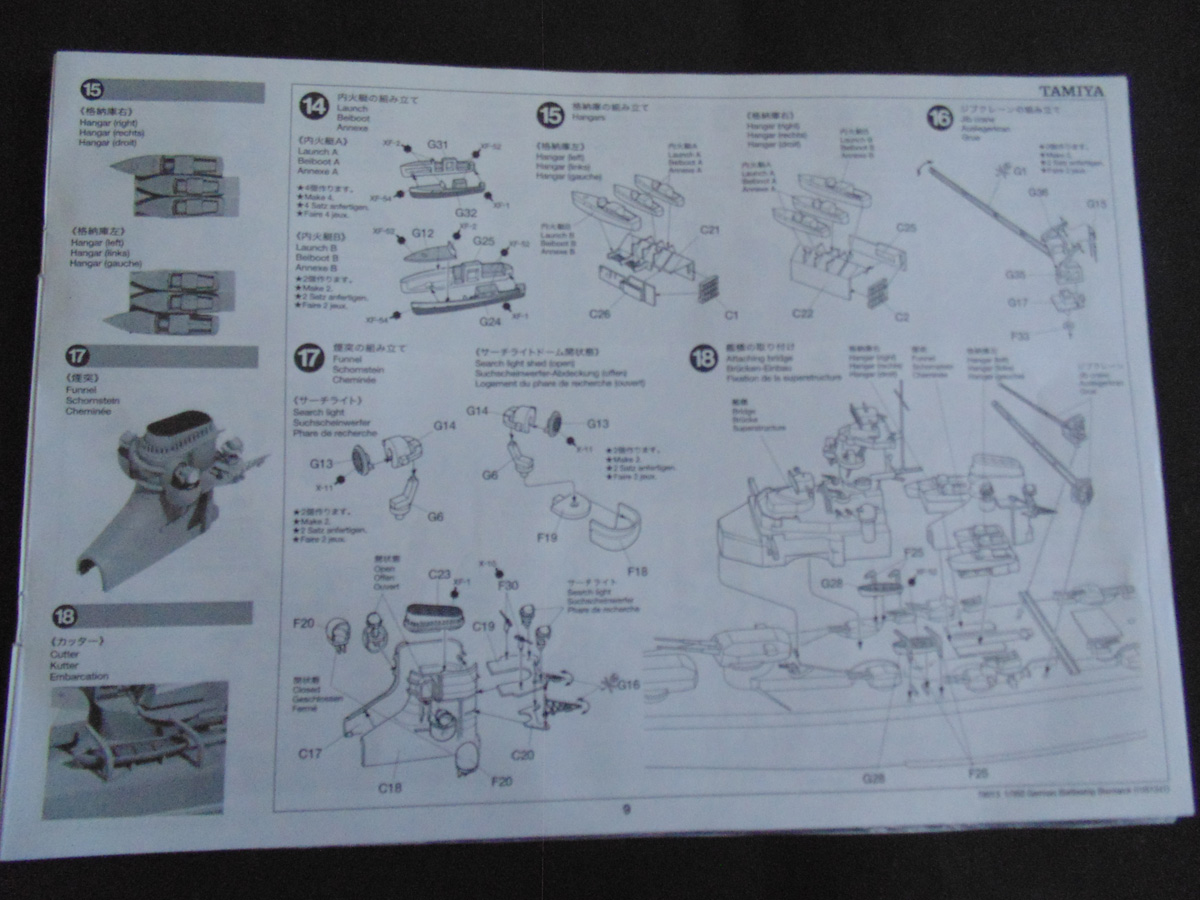
Page 9 gives you more joy with building small boats, Admiral and Captain’s yachts. The cranes are shown to go in the exact location and the exhaust funnel assembly is easy to follow.
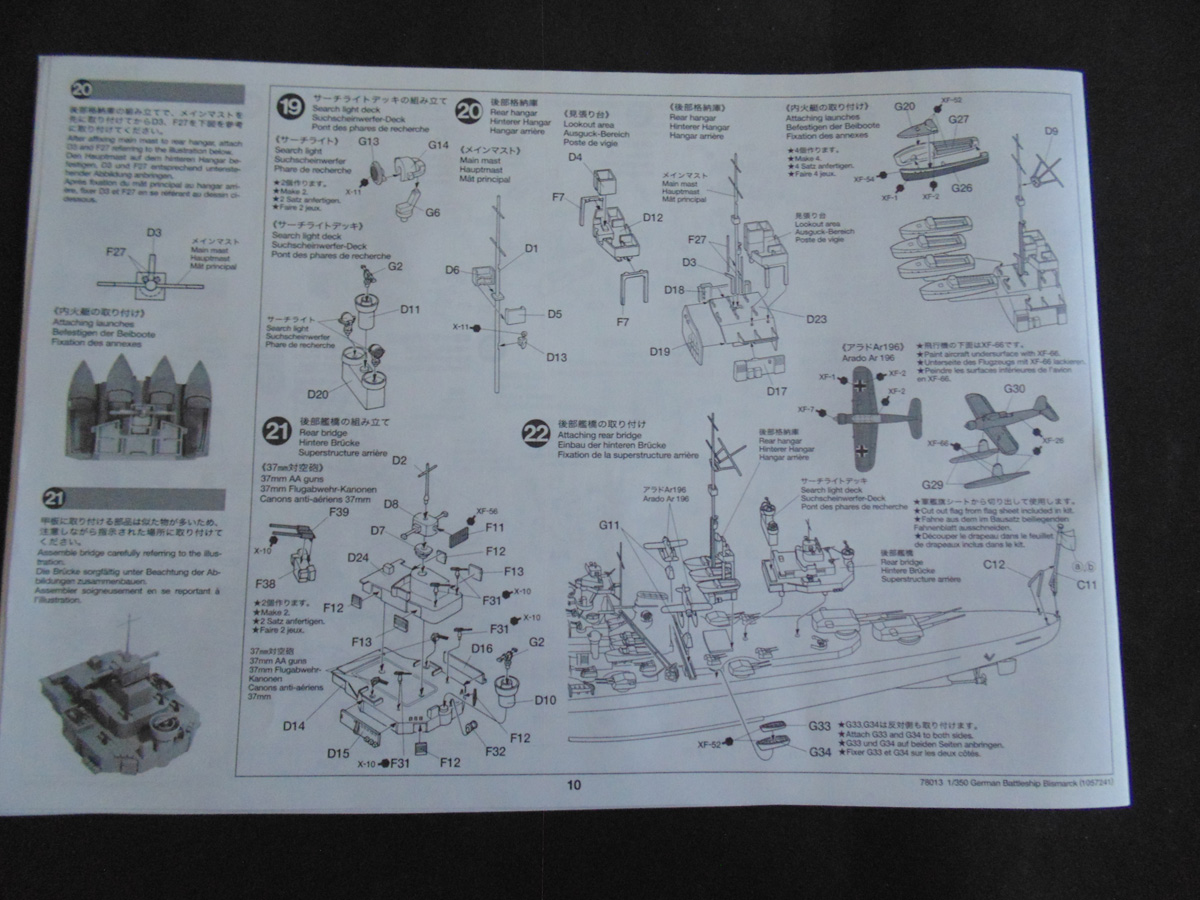
On page 10 you will be making more mini models and where to place them correctly. I really like how the properly built version on the left-hand side of the instructions is depicted.
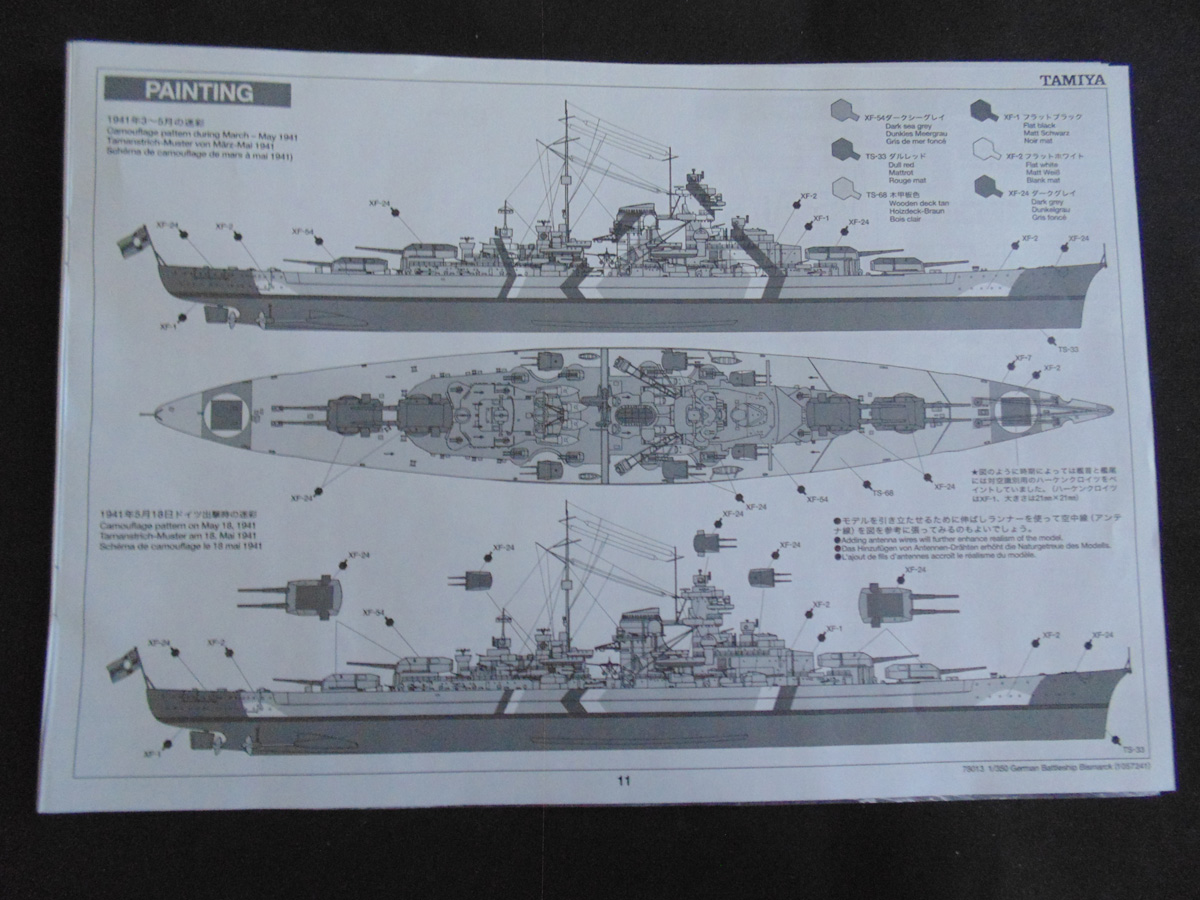
On page 11 you’ll get the painting guide. There are two paint schemes to go by, thus read through this page thoroughly to find the one which you wish to depict.
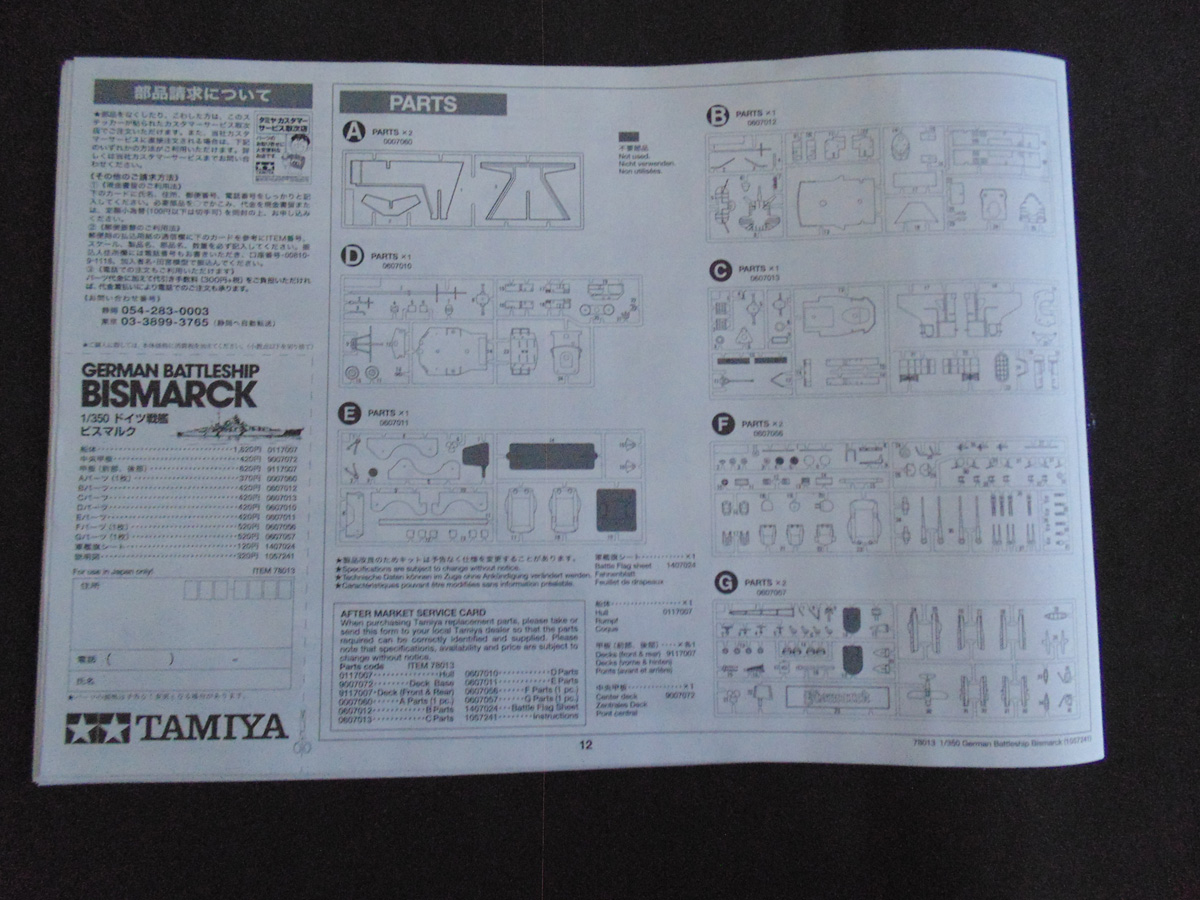
Page 12 has the sprue tree layout. It’s a very helpful reference should you wonder where a part is located. It is something I wish all model manufacturers would include in their instruction pamphlets. Plus, you have a reference to order replacement parts should the need arise.
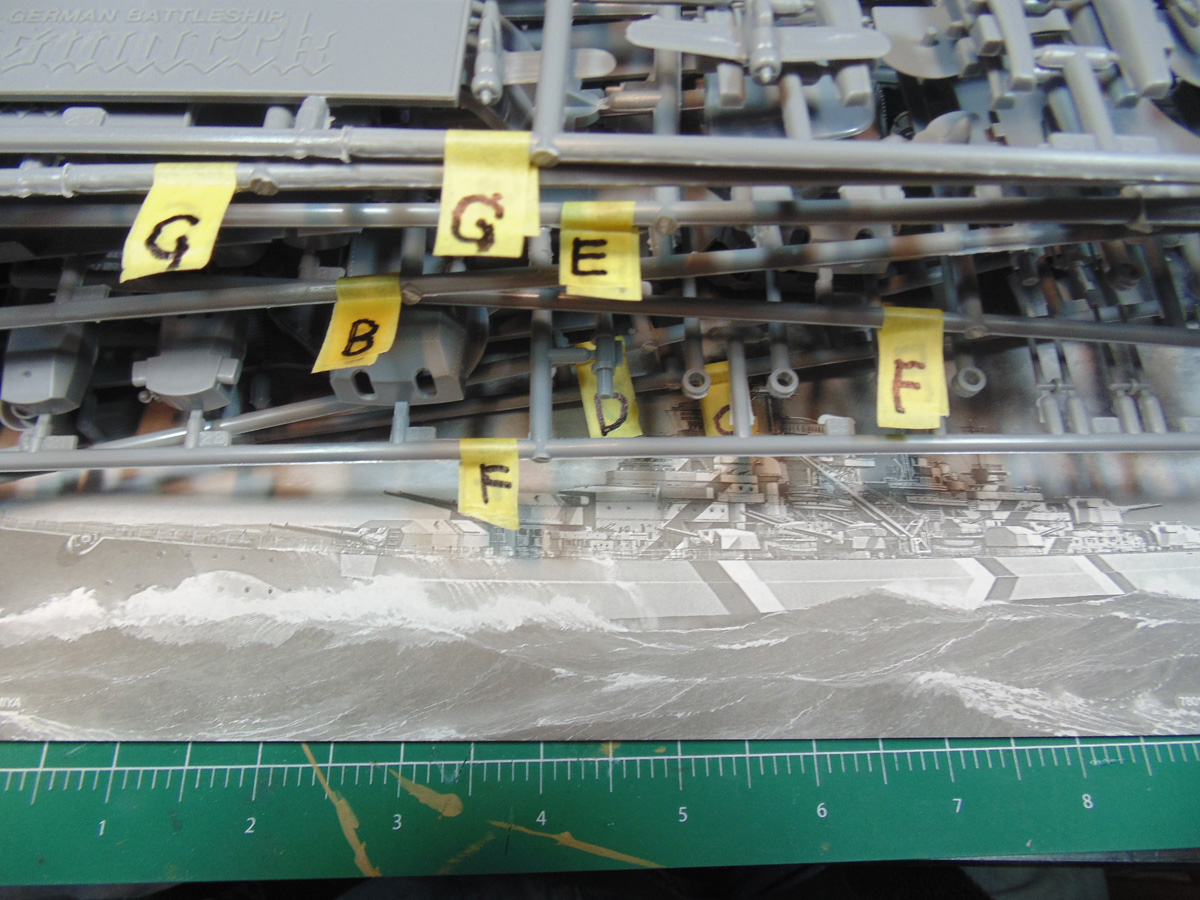
And finally, I’ll show you a way to make your life much easier. Label your sprue trees with some hobby tape and a black marker. This way you won’t have to continually look at each sprue to find the right one when trying to find a part, just a helpful tip.
If you have any questions about the product in this “in-box review” article, please feel free to ask the staff when you pick up or place your next order from Sunward Hobbies.
H.G. Barnes is a former voice-over artist and retired sales and marketing professional. He’s the author of two large volume science fiction adventure romance novels with many more in the works. For well over 40 years he’s been building scale model replicas and now does commission work for clients in Canada and the USA, plus completes projects for companies in Asia and Europe.
Currently H.G. is involved as an Associate Editor with KitMaker Network’s Online Magazine Channels.
Next Post: Part 2