
Tamiya Bismarck Battleship 1/350 Scale Kit 78013 – Part 3
In this Sunward Hobbies article I’ll continue with the build of the Tamiya 1/350 scale model of the German battleship Bismarck (items# 78013).
In Steps four, five, six and seven you’ll see plenty of masking tips along with painting and parts clean-up tips.
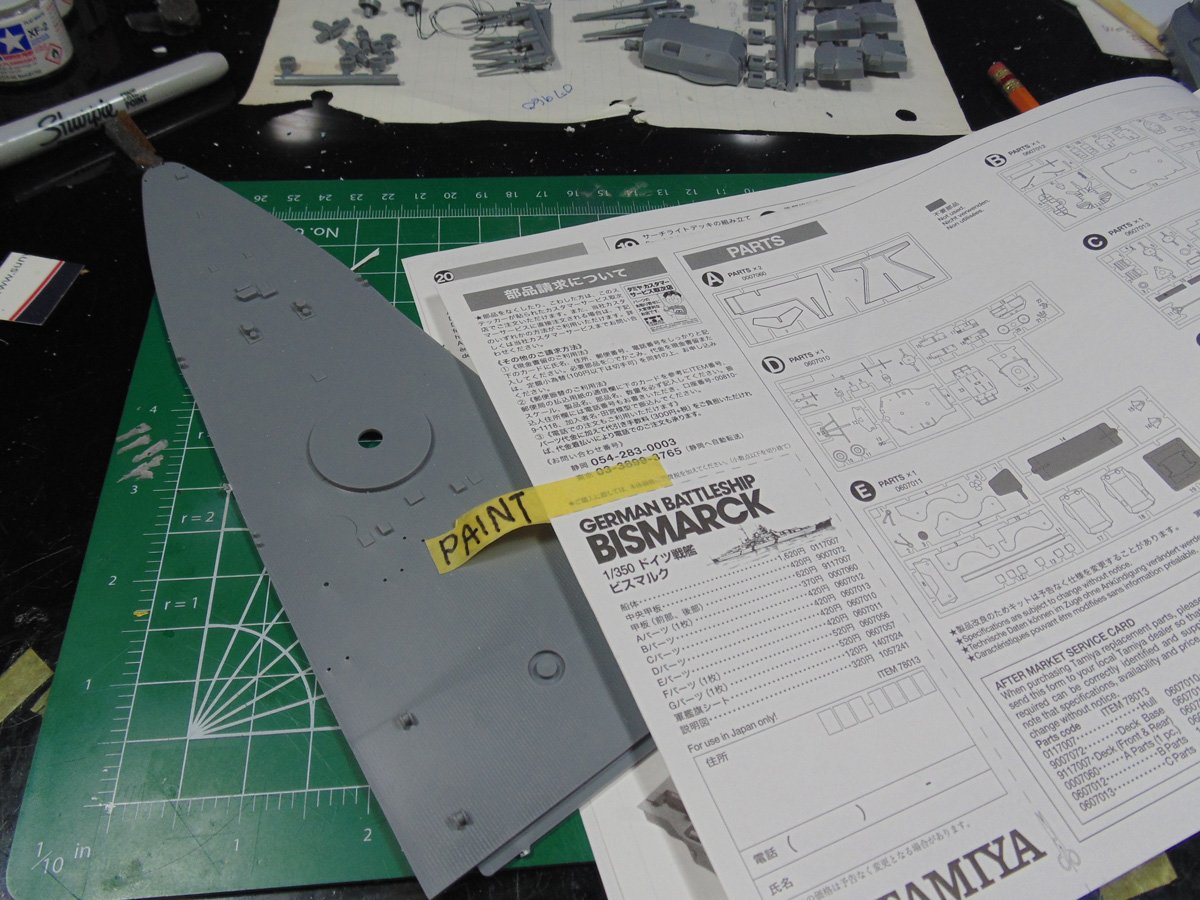
You’re going to be flipping back to the paint scheme page when you begin the model. I strongly recommend labeling this page as you have done with plastic sprue trees. Make sure to lay down two medium wet coats on the deck plates. They are going to get a fair amount of handling so the extra paint will help with chips flying off.
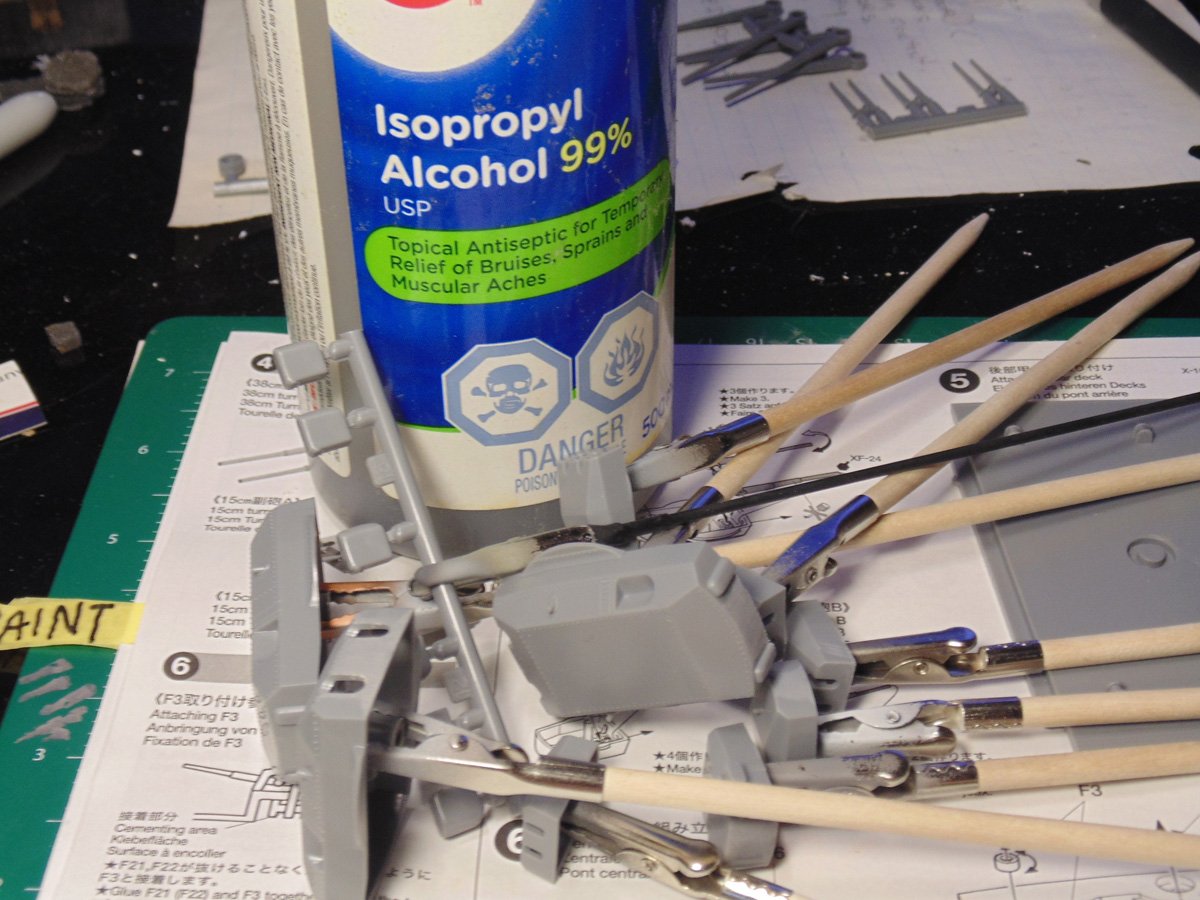
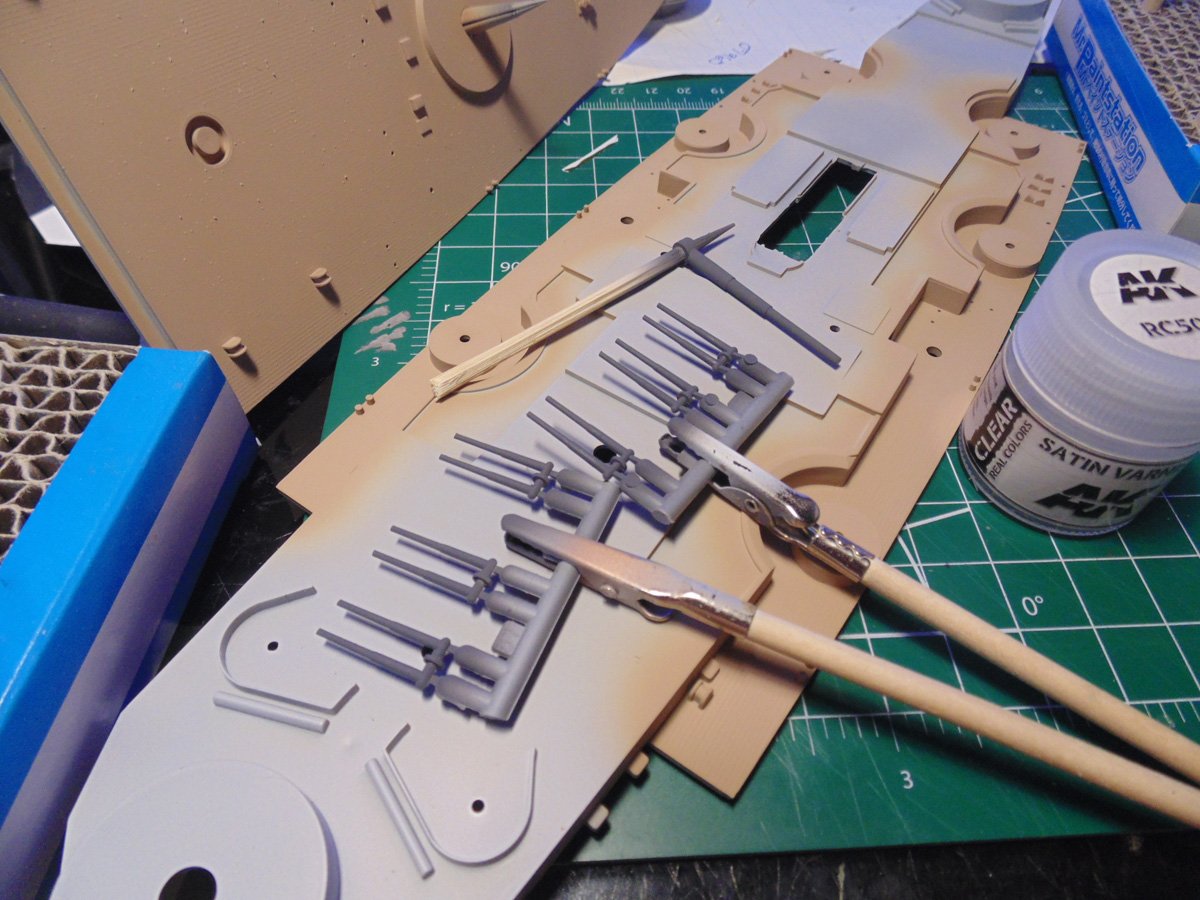
Here’s an option, I wipe down my fine parts with IPA. A gentle rub using a soft cloth will remove finger marks and condition the plastic for primer. Remember, paint loves a clean surface.
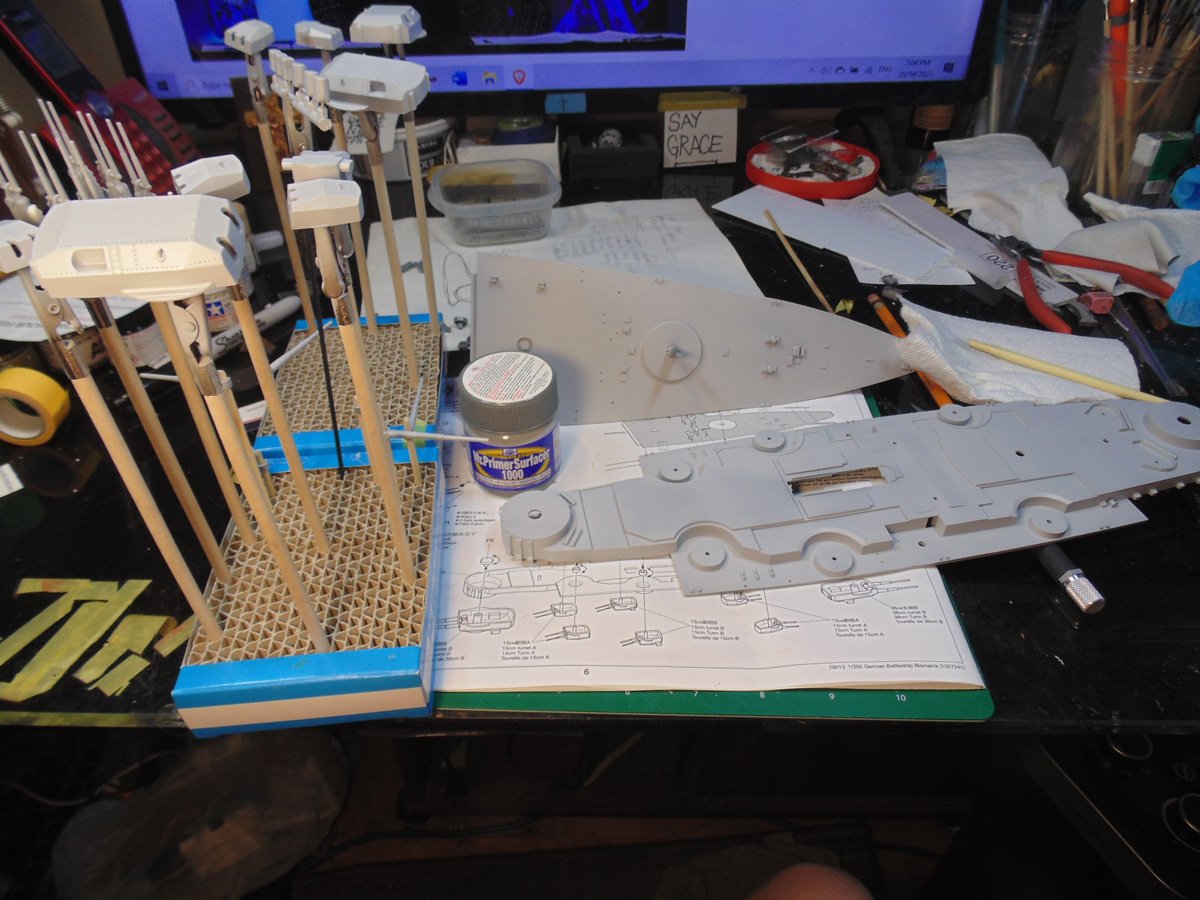
It’s crucial to prime these parts. The paint adheres much better plus it’s far easier to add other colours. Here, I’m setting things up for the mid deck.
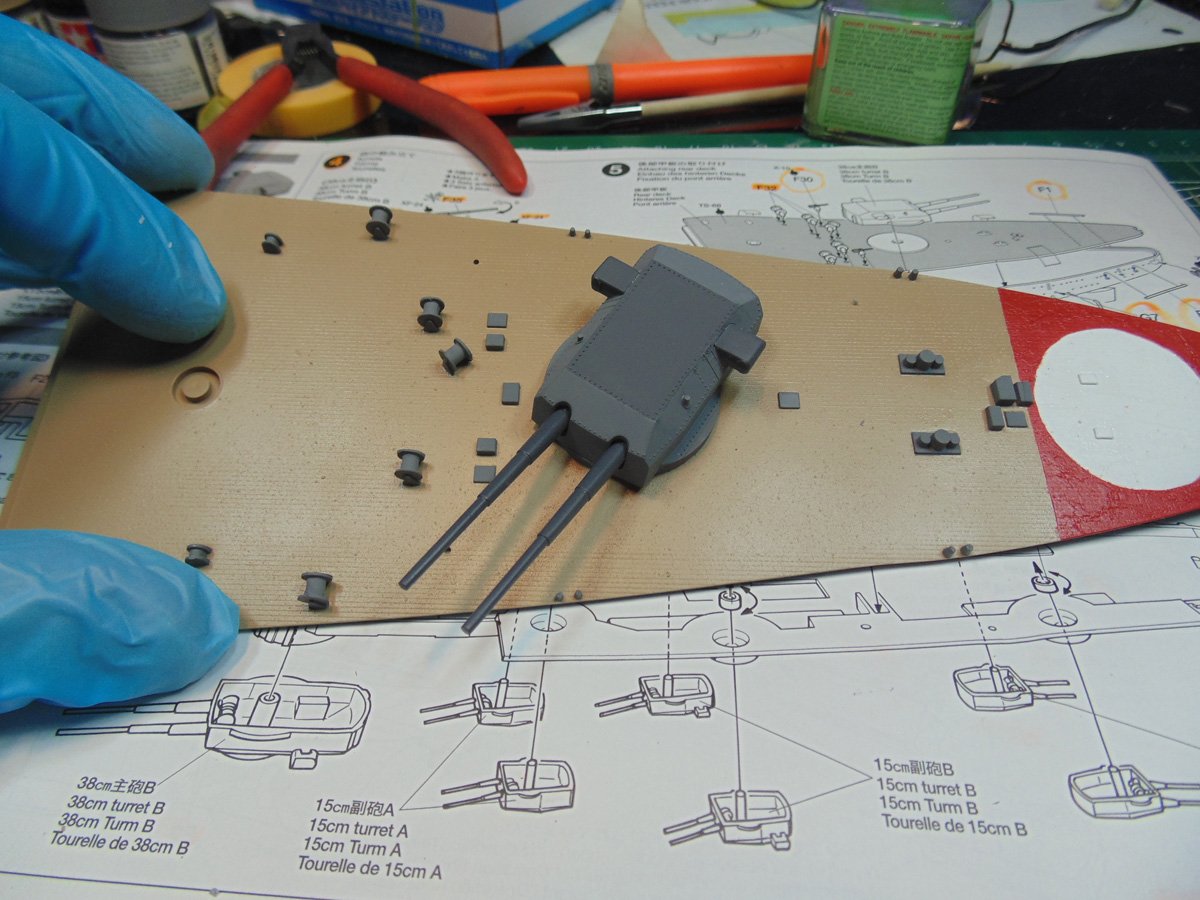
A couple of medium coats of the wooden deck tan will give the effect. Since you’ve primed the area that the tan colour will look great. Please paint or airbrush these components at the same time to maintain a perfect colour match.
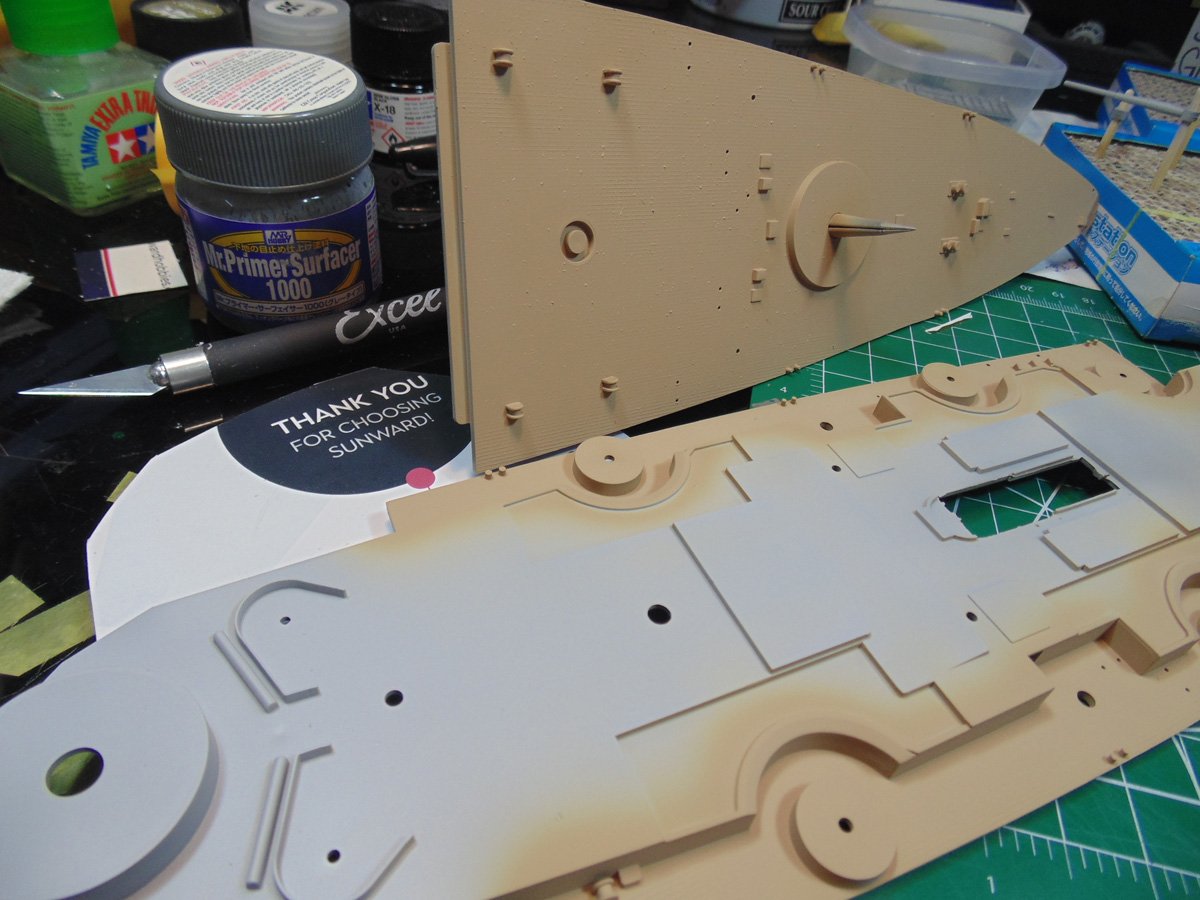
Just after a few hours you can seal up the deck tan along with some of the gun barrels. I like the contrast with a dull look and the semi-gloss of the barrels. Obviously, it’s your choice. Remove the flash before painting.
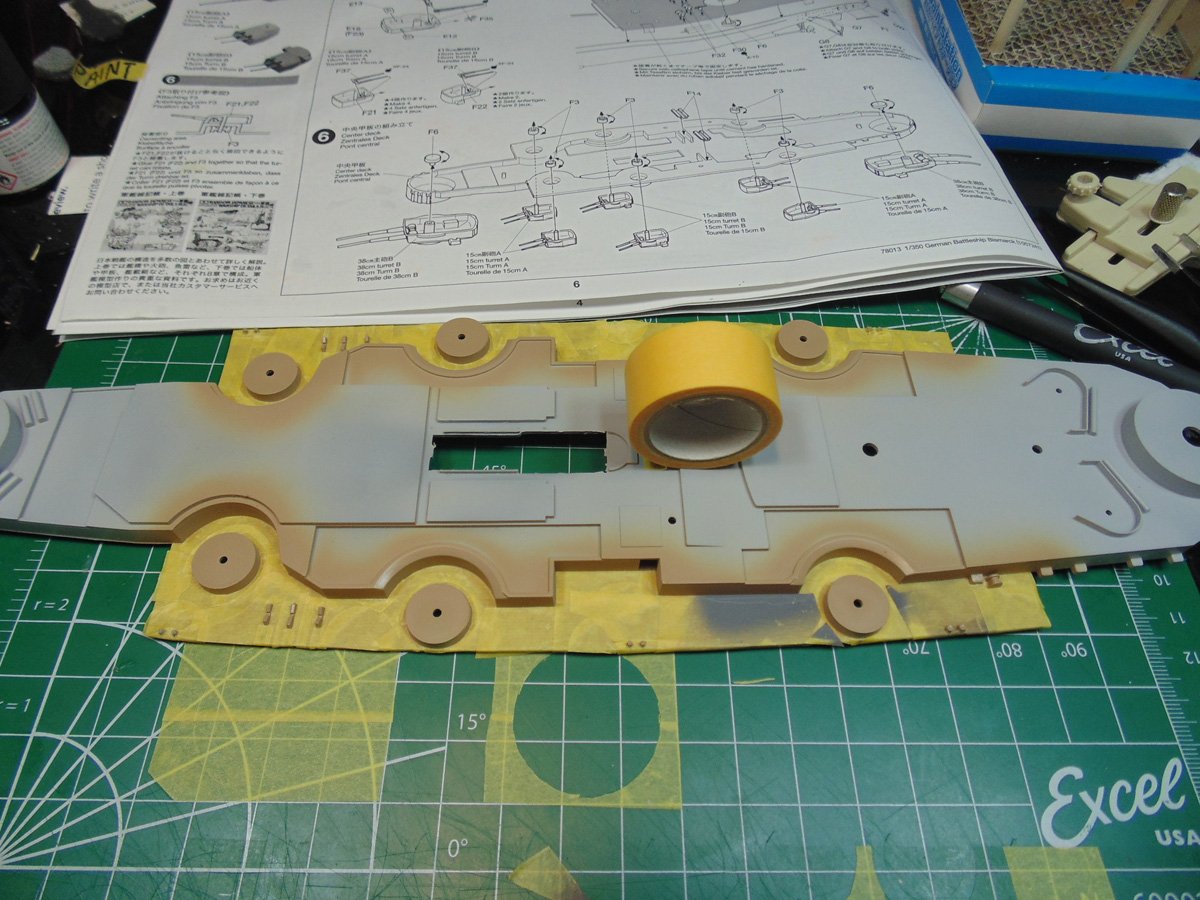
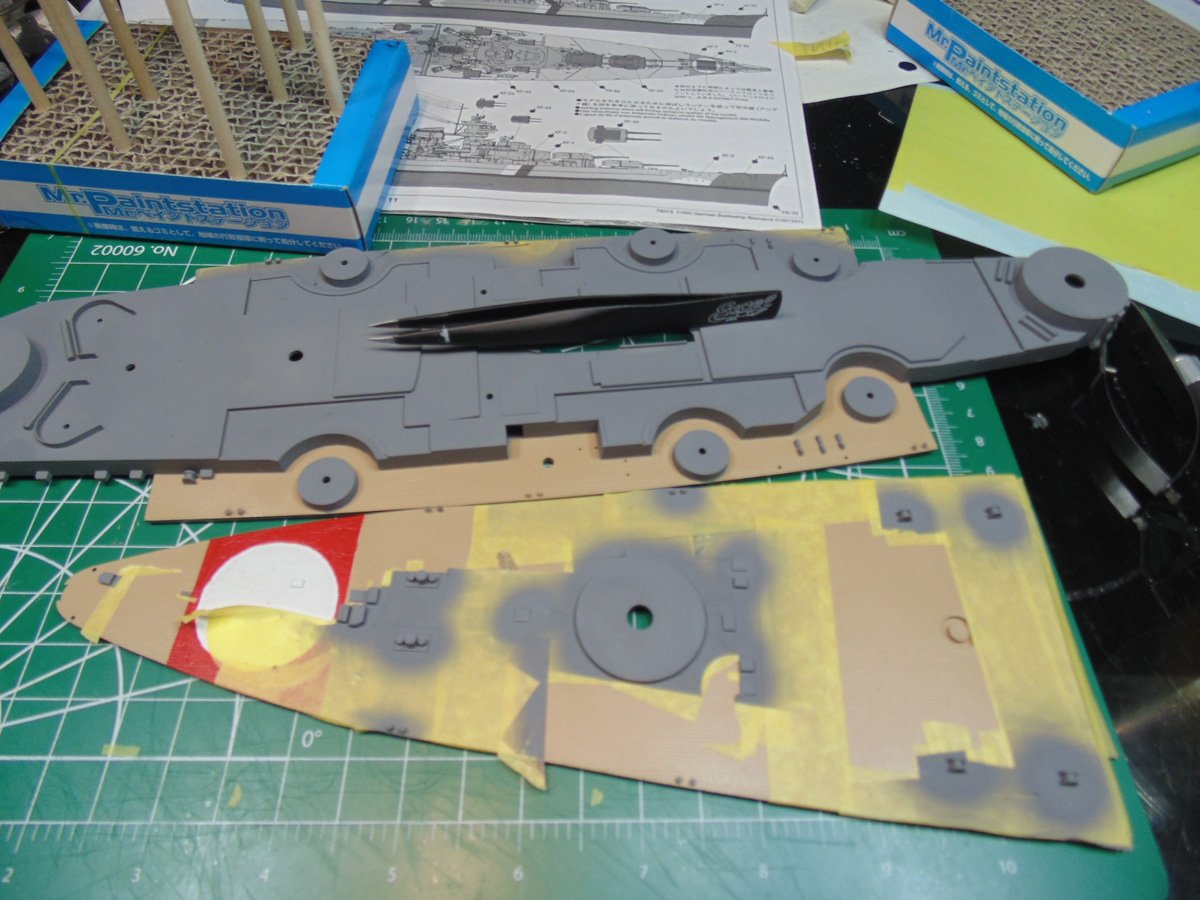
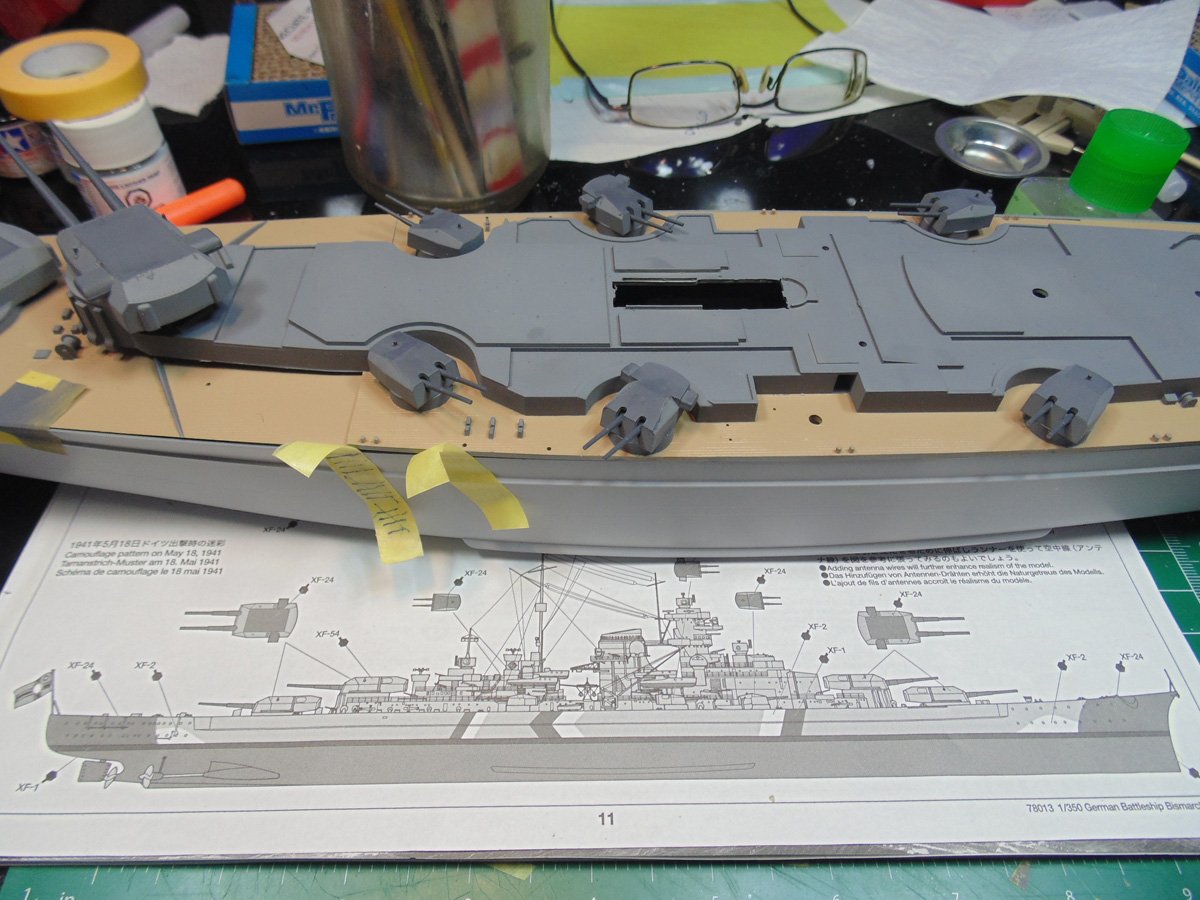
I always mask the entire area to have less spots to touch-up. The aft deck section does not have raised plastic lines, so you’ll have to use the painting guide on page eleven to work out the proper location of the insignia. Again, clear coat this small spot.
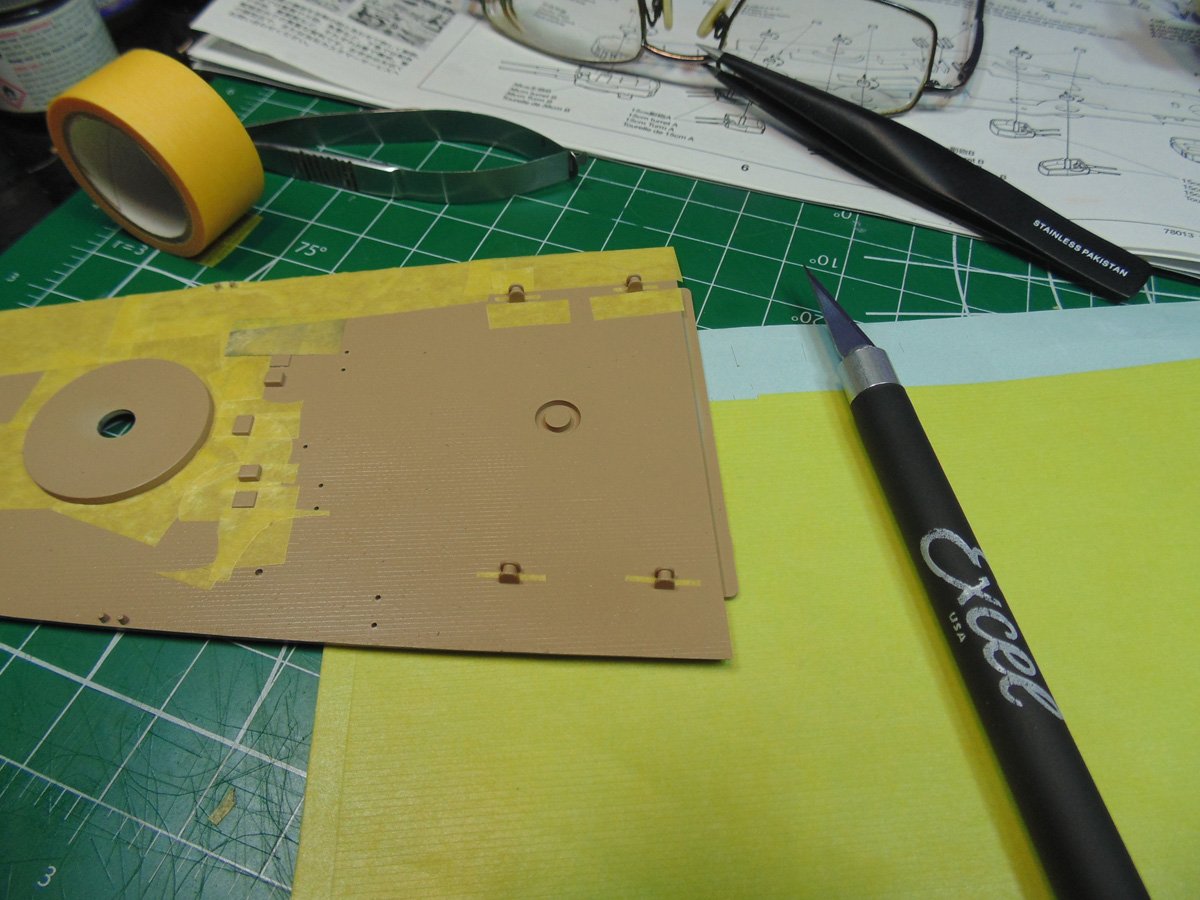
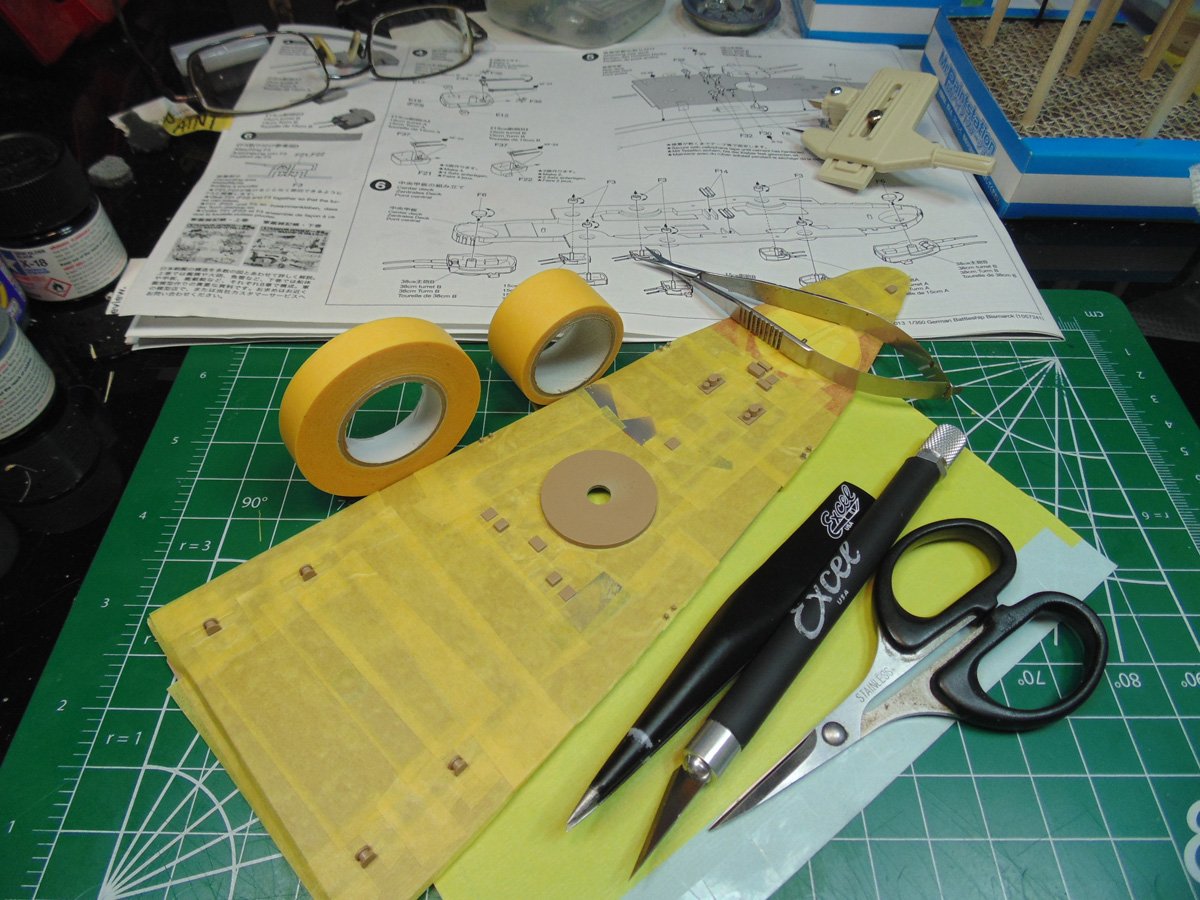
After you’ve clear coated and let that dry for a couple of hours (at least) the masking can begin. A basic circle cutter can be gauged to surround the plinths for the thirty-eight-millimeter guns. You can use the left-over tape to fill in the gaps. Always use a fresh Excel Hobby blade when doing rounded points.

It will take you a solid day to mask this mid deck area off, but the effort is worth it. Sunward Hobbies have many solutions for your taping and masking needs. Consider purchasing wider tape for broader points like the main gun supports.
Use a thin one-millimetre strip to fill in the gaps of these molded in rope holders on the deck. Mr. Hobby tape products are super easy to work with and save you a ton of time. Over-cut the size to make your life easier.
Make sure to overlap the edges so the Tamiya dark grey XF-54 doesn’t leek up on the wooden deck tan colour. I burnished down the tape with my thumbnail. A quarter of an inch is my rule, but you decide.
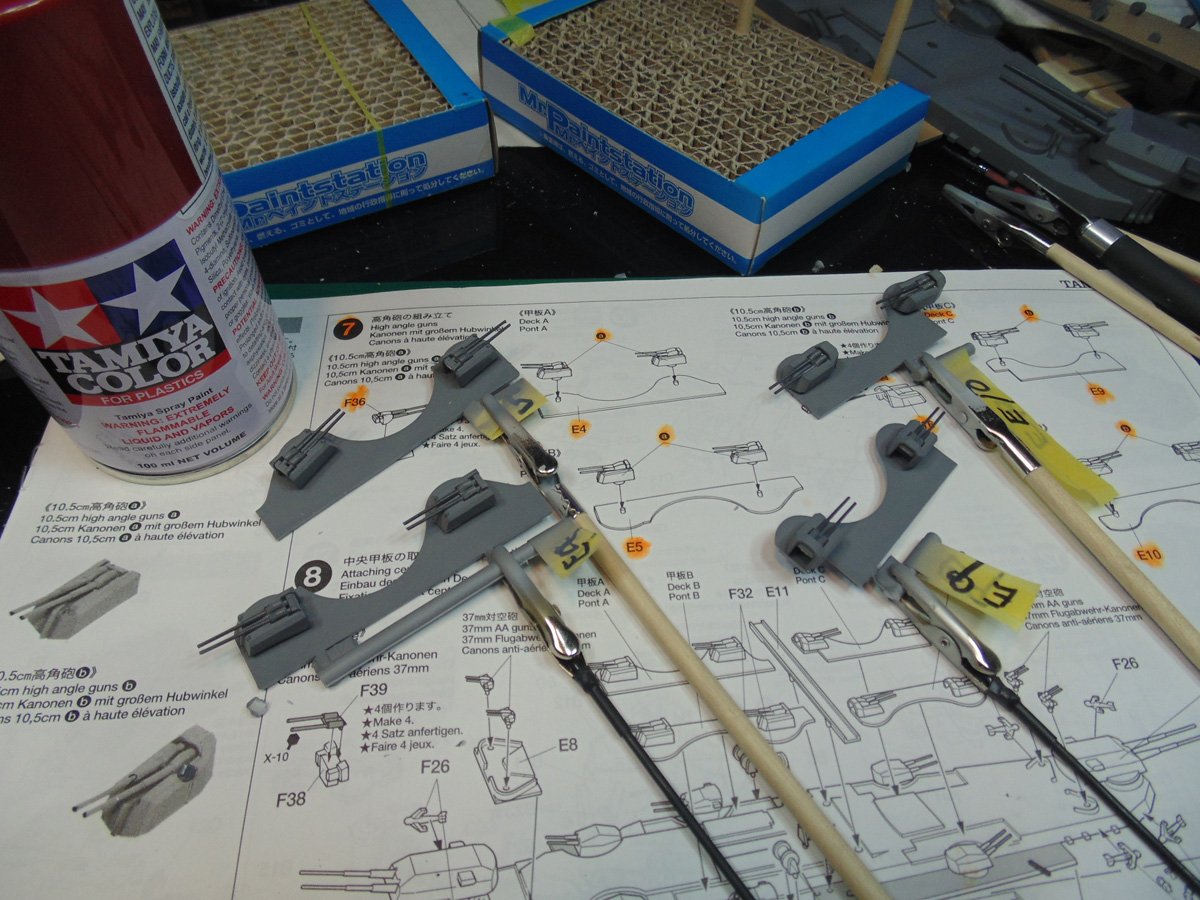
There are many parts to paint in Steps four, five, six and seven. Treat each one with care when painting. Be mindful that everyone needs to be cleaned of flash along with the place they’re going to put.
Please be cautious when lifting your tape free of the surface. Especially at multi coloured spots. As always, I lift my tape as horizontal as possible. You get less curling and it doesn’t stress the paint as much.
Discard the masking tape after two uses. You’ll encounter colour flecking at the edges which are a horror to paint over. Because you’ve clear coated there’s no need to de-tac those small and large lengths.
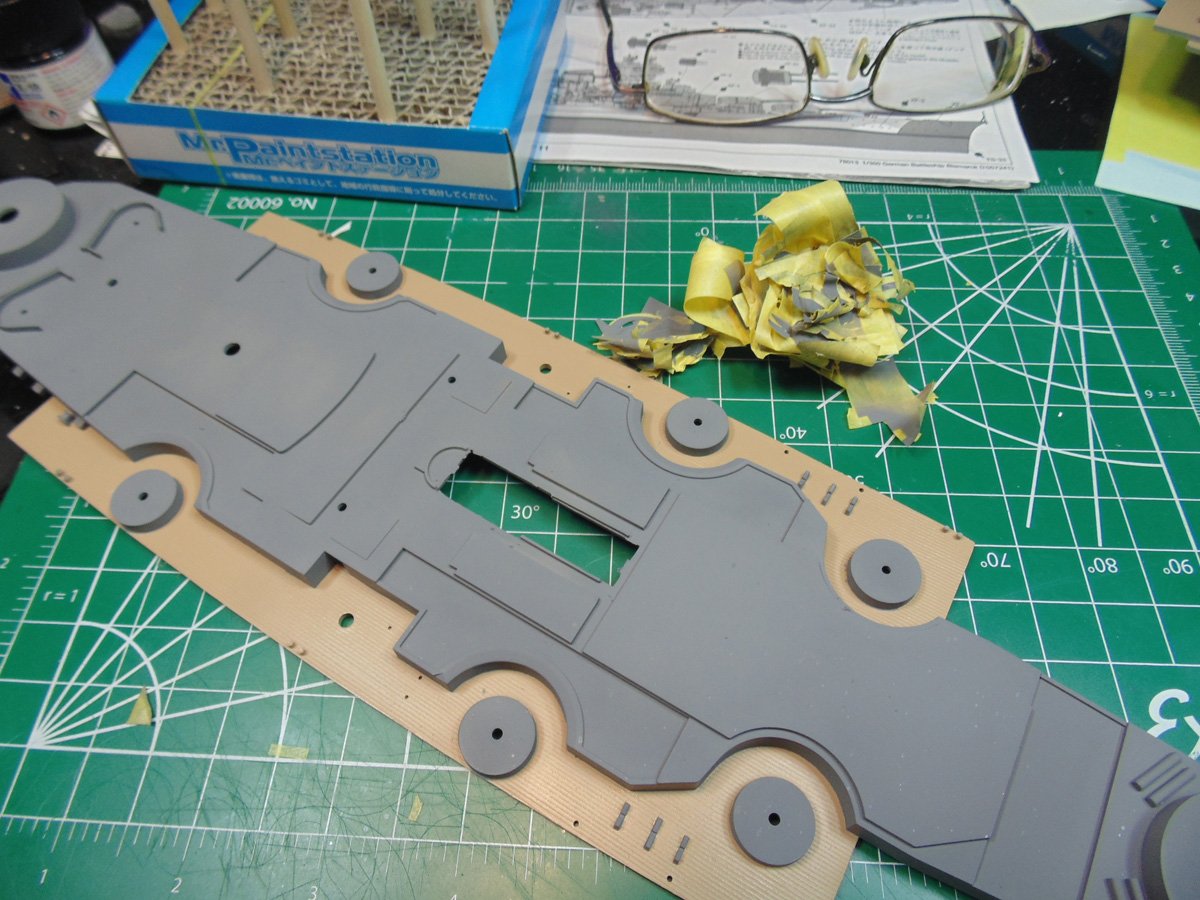
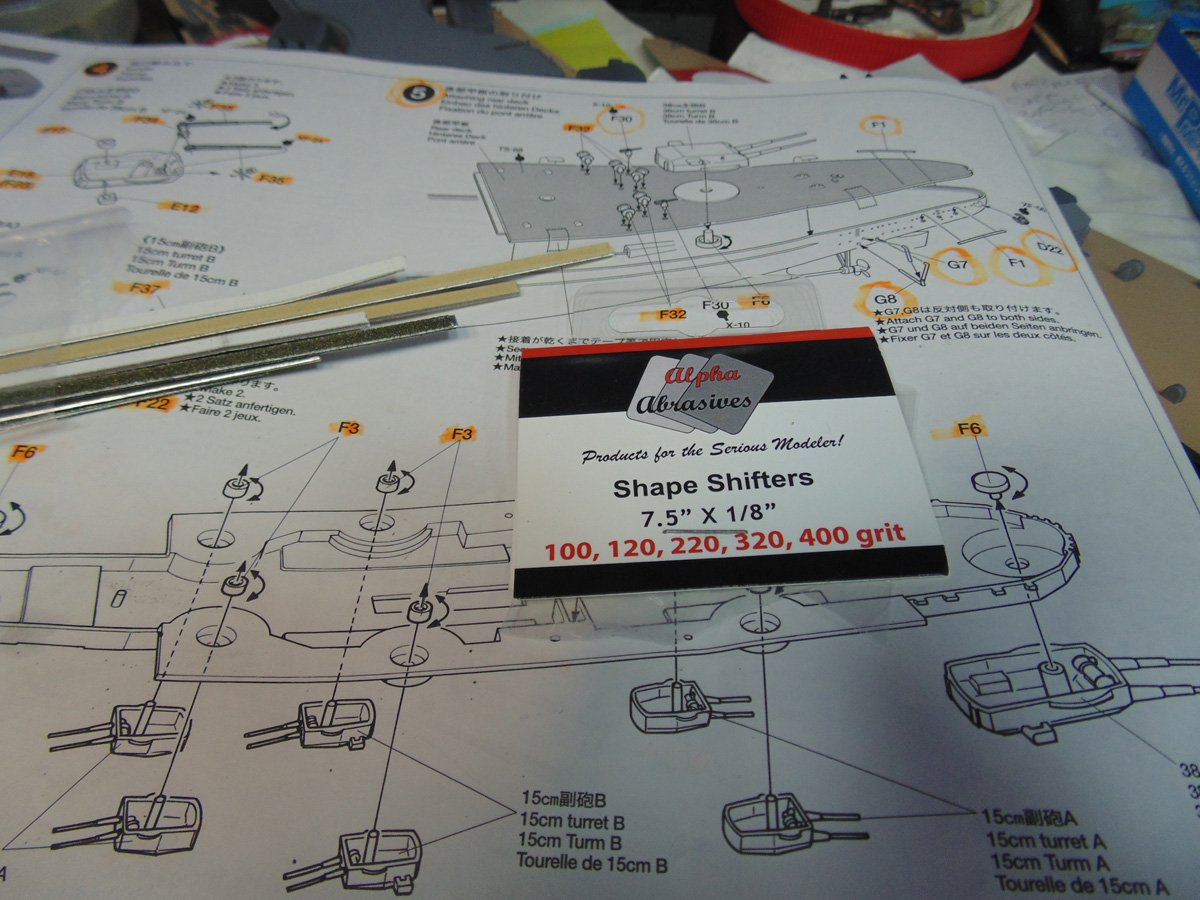
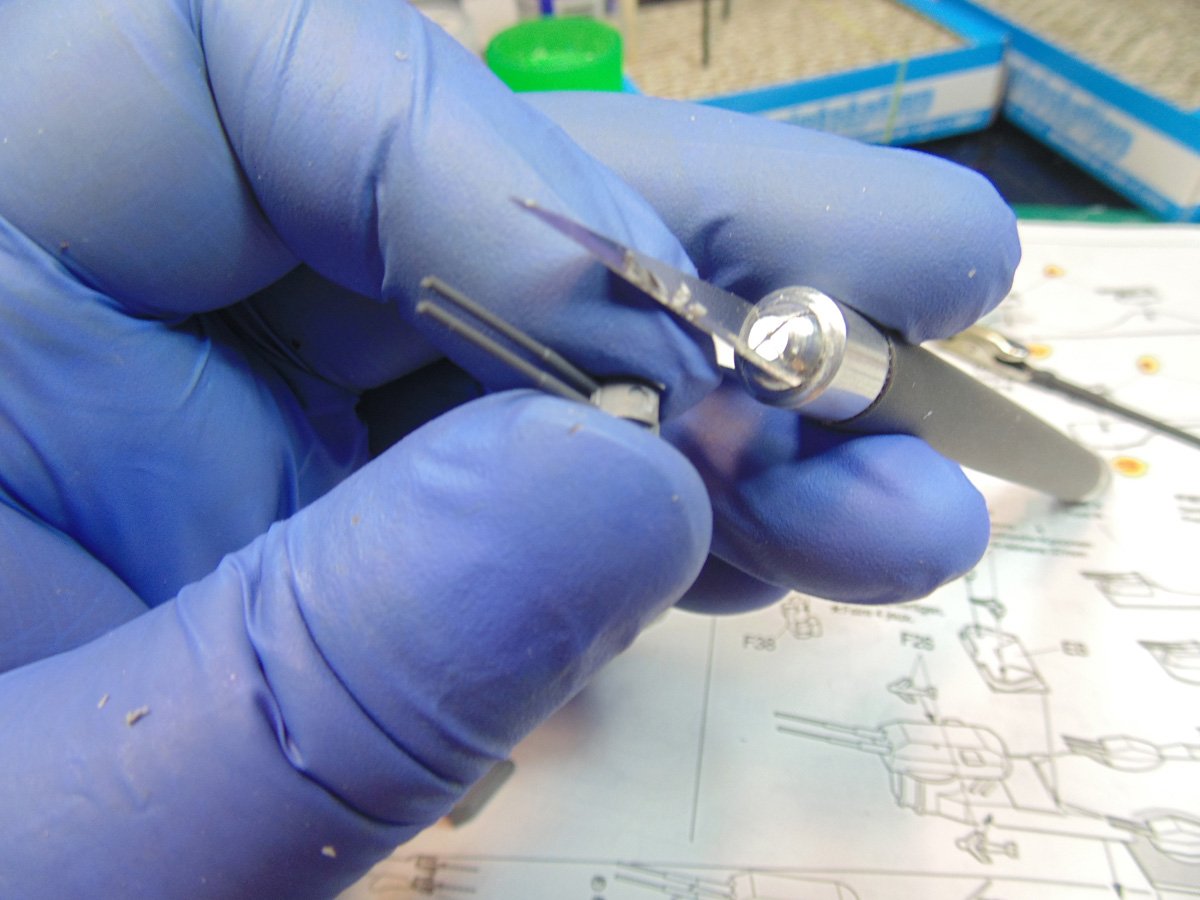
There are some parts to add on the aft deck. All those need to be cleaned up to fit and look right. Do yourself a huge service by buying from the store a package of Alpha Abrasives thin sanding sticks. You can roll them over the part to decrease the flat lines of a blade, just a tip.
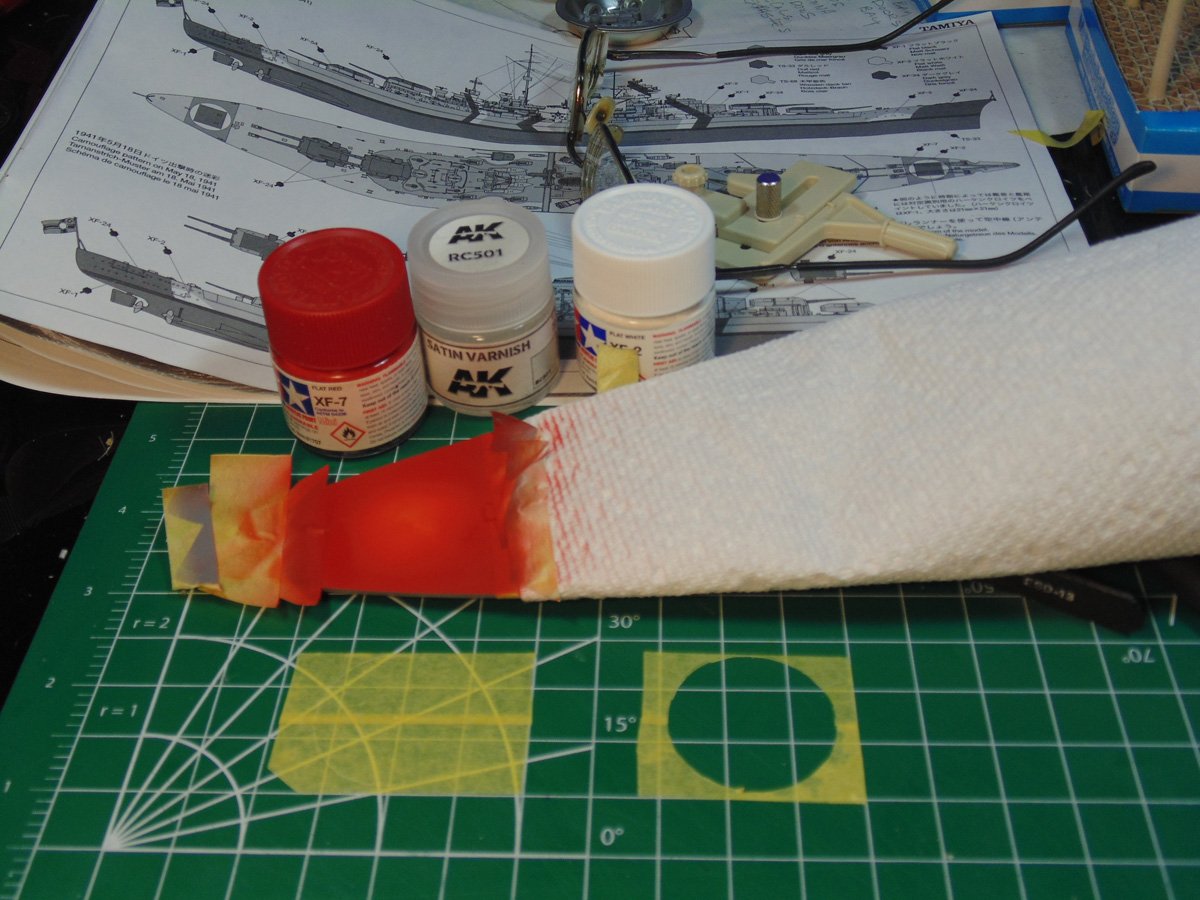
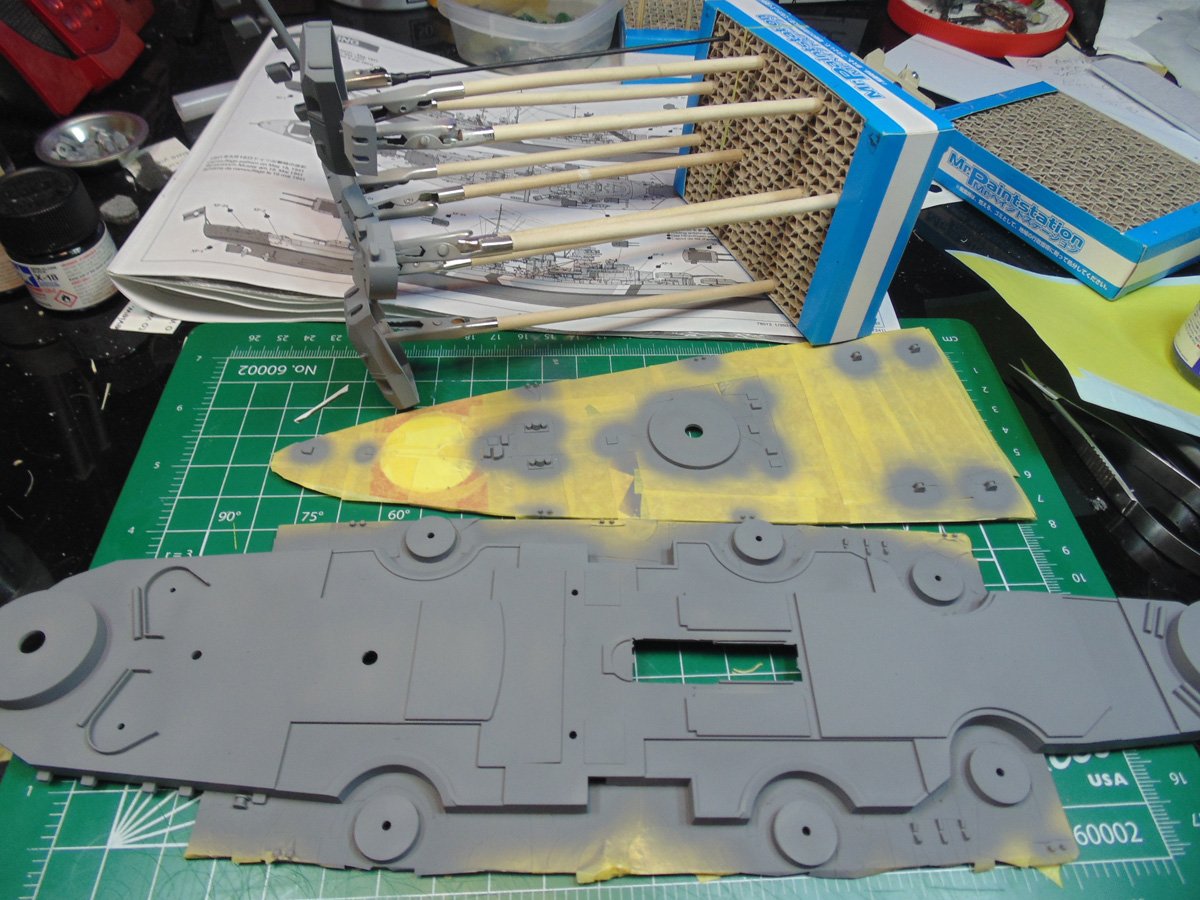
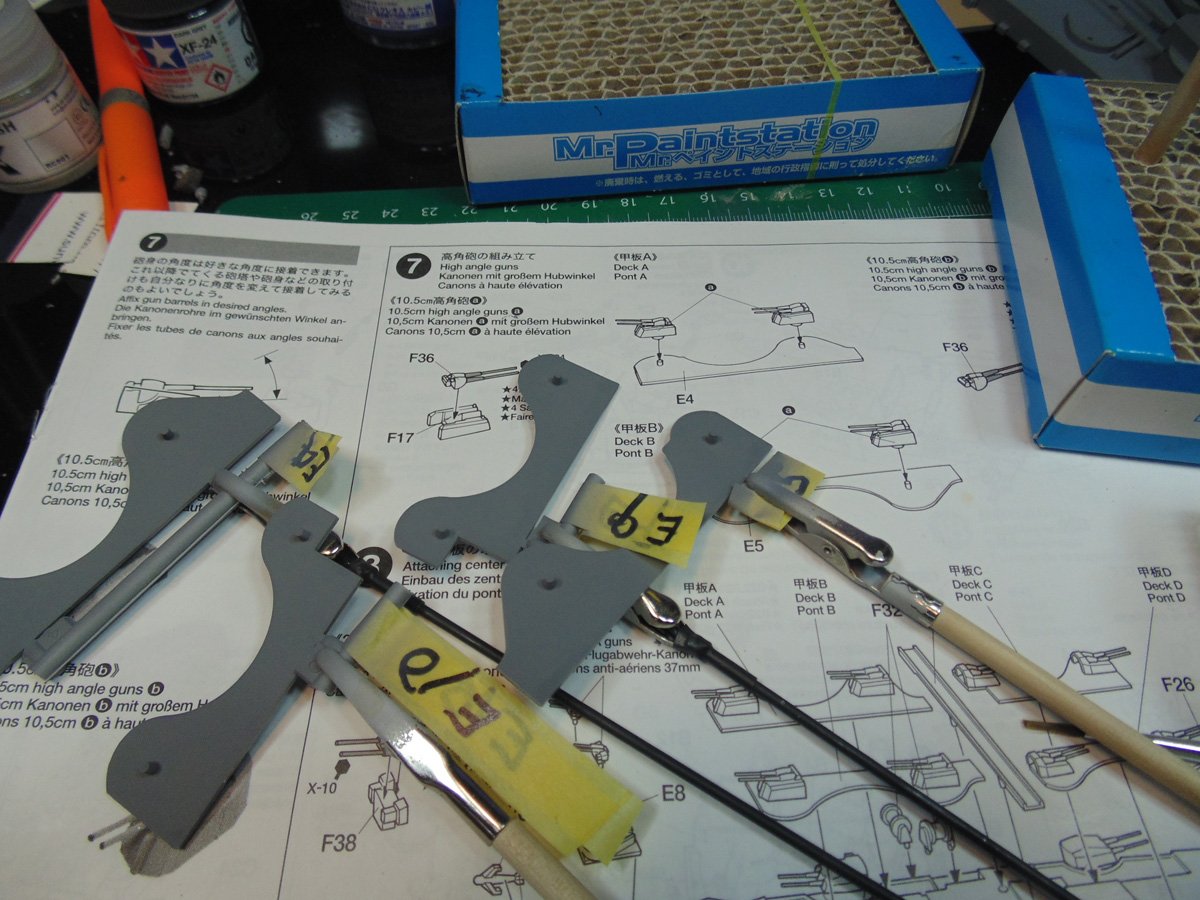
The fifteen-millimeter guns must be masked for the proper look. I wanted this model to look as it went to sail on May 18th, there’s a personal connection who served on the Prince of Wales. The darker tone of the Tamiya XF-24 really shows up in brighter light.

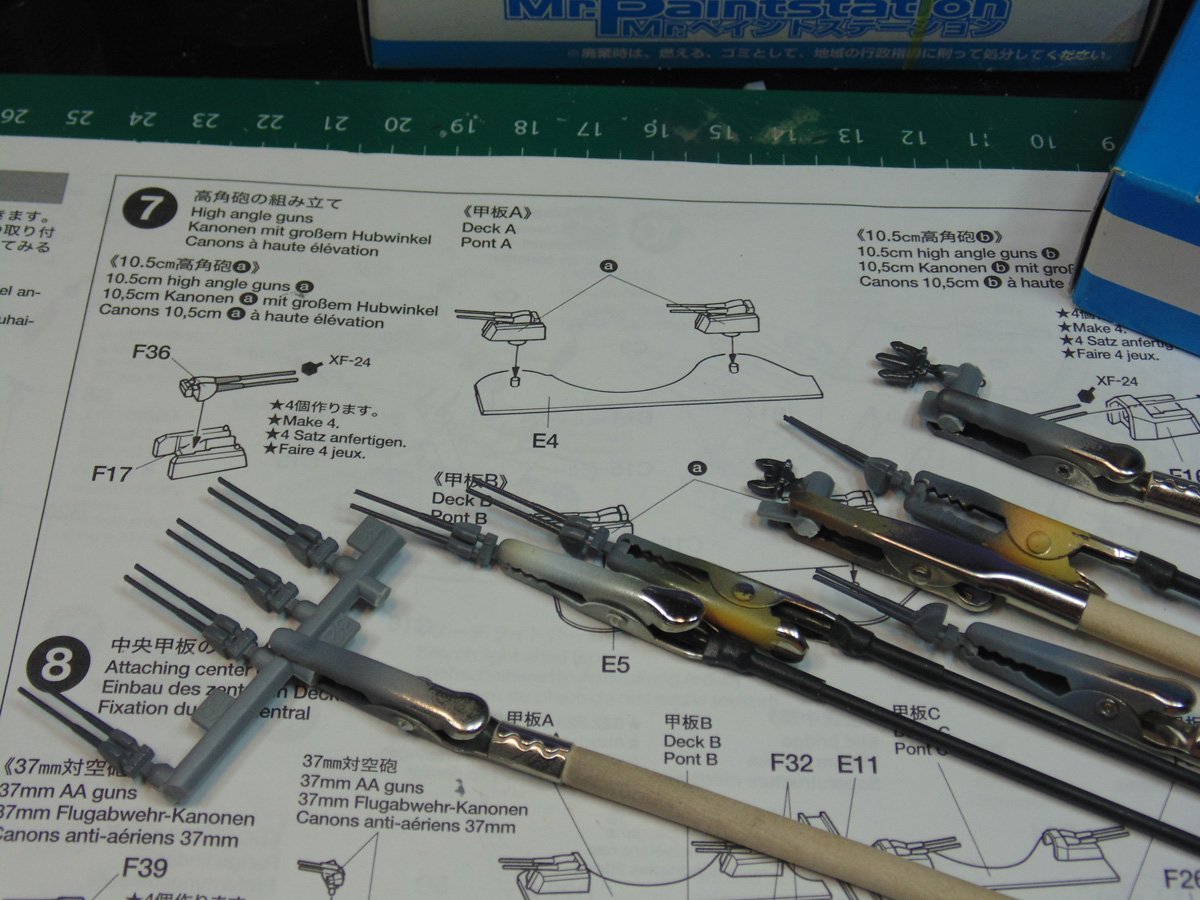
The connection parts are really loose. Holding them will solve this. Sure, it’s a pain, yet it must be done. To level the “angle of attack” just flip the component over on a level surface and press the parts down after a few minutes of the glue drying.
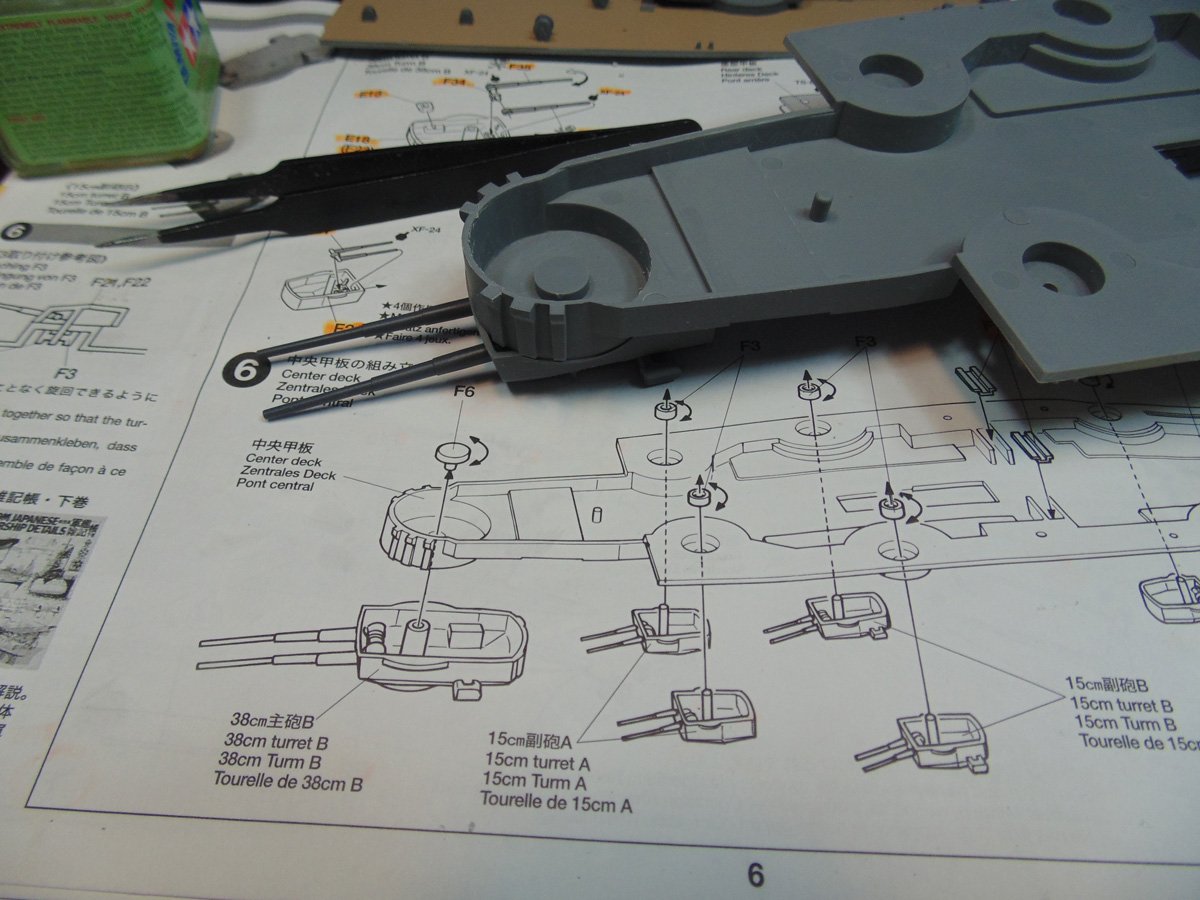
I’m not going to be saccharine, all these points have to be held in place for no less than five minutes. You can’t avoid it because of the age of the mold. Clean the parts of flash and press them in prior to adding a touch of glue.
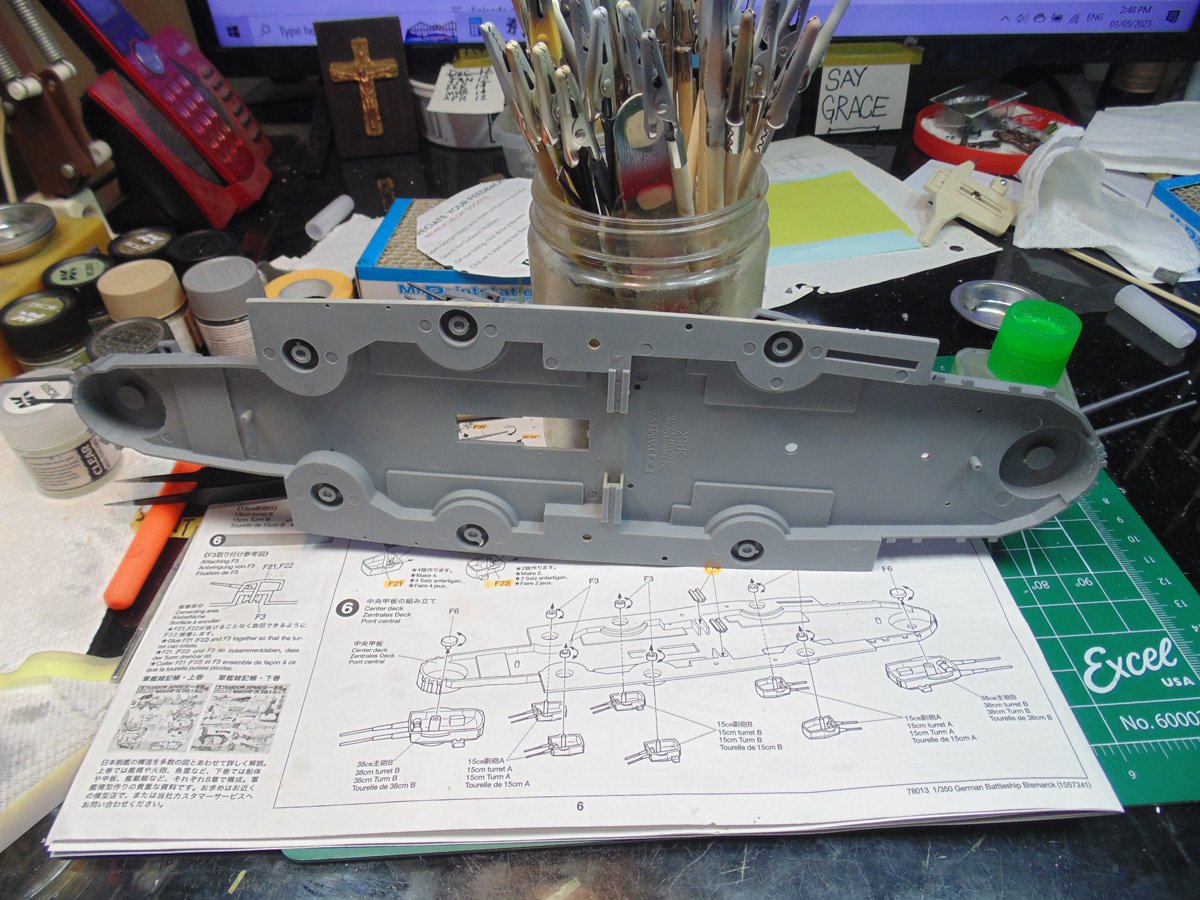
You may wish to (as I’ve mentioned before) test fit the deck components. There’s plenty of painting and parts to go on still. That is going to impact where you place your masking tape of the scheme you desire.
Bath some insignia white/off white for the hull camo. Pure white is too stark. Remember to slightly overspray the area. After all, It will be covered with grey and black.

Be mindful to test fit these deck parts. I labelled them for ease of identity. You can bend them on the sprue to test for a decent fit. Treat each one as a separate mini model. You’ll have to hold or clamp these turrets down.
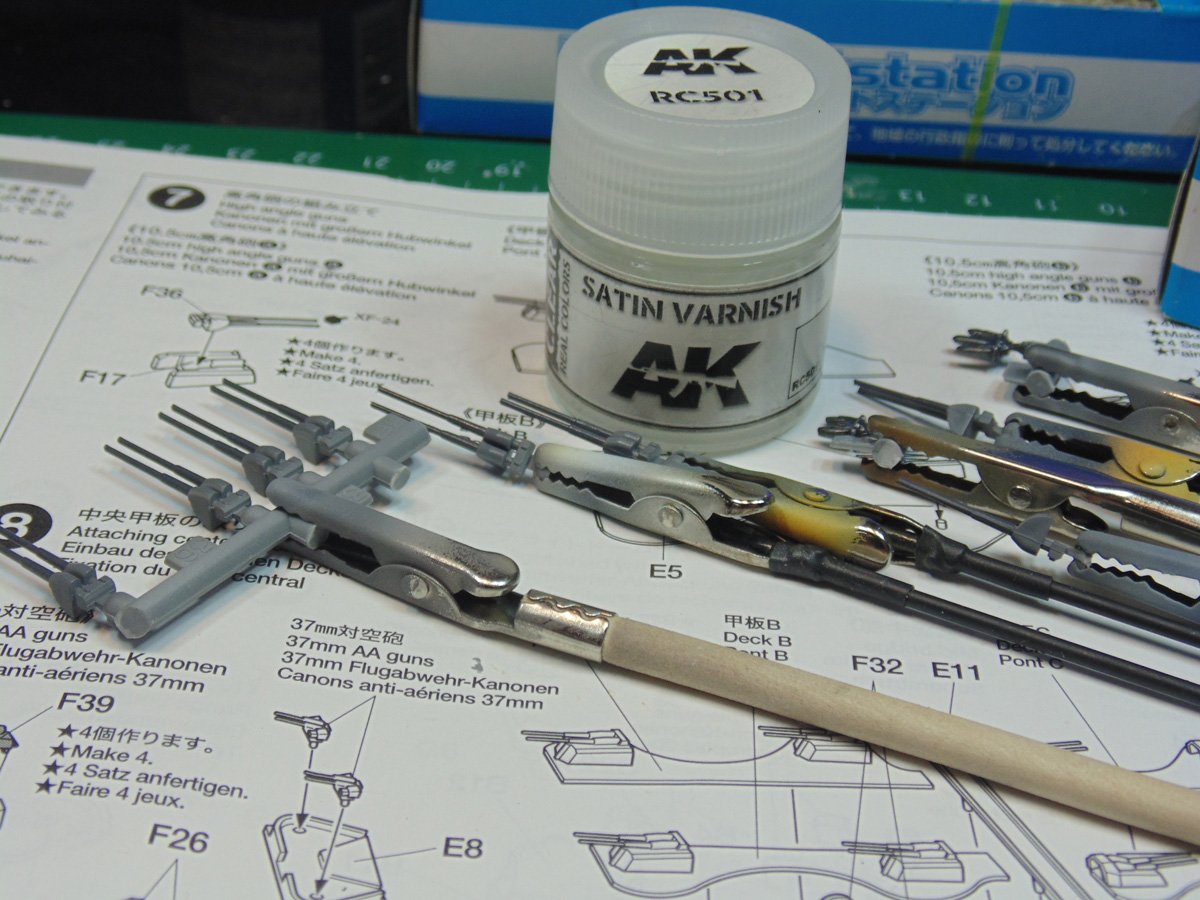
Consider a semi-gloss finish for the guns. It is NOT inaccurate and leaves a cool looking differentiation in a ton of dull looking greys.
Use a high-quality clear coat. Floor finisher is not refined enough for this hobby. Believe me the flaking will drive you nuts. Models were not meant for the feet level. AK Interactive make a nice semi-gloss that goes a long way and Sunward Hobbies have it. In other words, “buy the right tools for the job.”
Sometimes your high-quality sanders will not fit. You get to choose if these small places need to be culled of the molding flash. There are places though which need to be curved off in order to fit. The edge of a new No.11 blade will suffice. Just the connection points being cleaned up will do.
Part seven is a basic “add the parts” and really boring to write anything meaningful about. I do want to give a shout-out to the Sunward Hobbies staff for carefully packaging my last order. These sections will be next to go on. My hope was for you to see the different colour tones.
If you have any questions about the products or methods used in this article, please feel free to ask the staff when you pick up or place your next order from Sunward Hobbies.
H.G. Barnes is a former voice-over artist and retired sales and marketing professional. He’s the author of two large volume science fiction adventure romance novels with many more in the works. For well over 40 years he’s been building scale model replicas and now does commission work for clients in Canada and the USA, plus completes projects for companies in Asia and Europe.
Currently H.G. is involved as an Associate Editor with KitMaker Network’s Online Magazine Channels.