
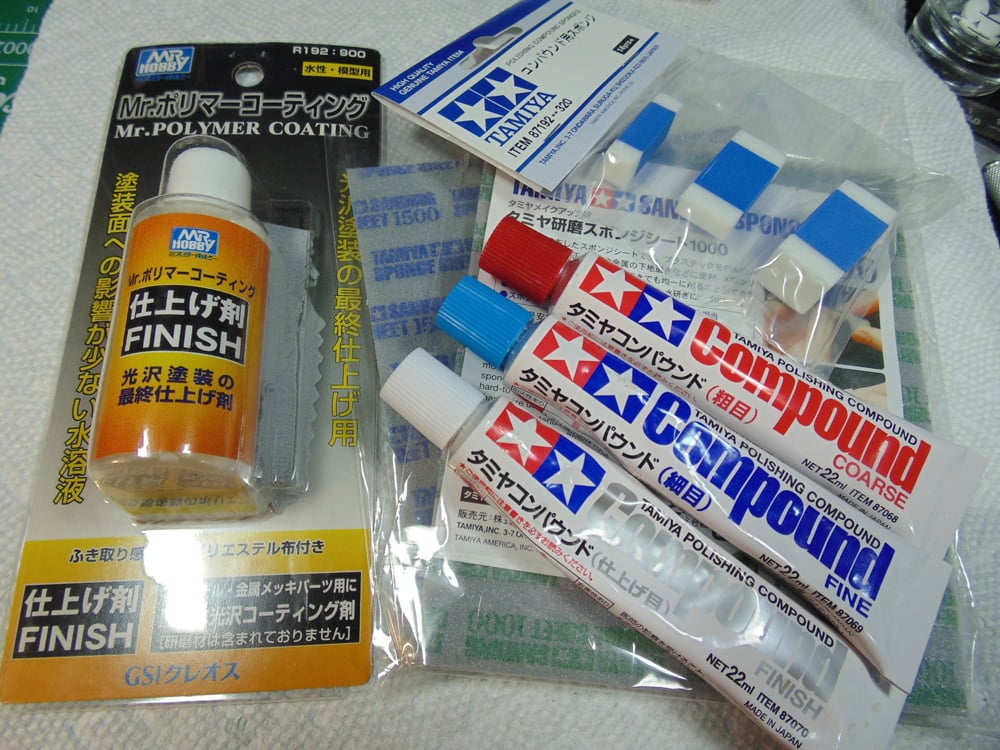
How to Use Tamiya Polishing Compounds
In this Sunward Hobbies Tutorial, you’ll be seeing how polishing your model with Tamiya Polishing Compound can make a huge difference. Also, I’ll throw in some items which will make your life easier, give an even better finish and possibly save you some money.
All the products used in this article came from Sunward Hobbies. I didn’t use any special materials and all the techniques can be easily replicated by most people.
Of all the subjects’ modelers tend to shy away from polishing parts must one of them. Be it the effort or the fear of making things worse, the task prevents some hobbyists from buying a particular kit. Yes, it does take some time and effort, but if you follow a certain procedure it takes no more time than doing tank tracks or adding 100 decals to a modern aircraft.
This article will focus on Tamiya Polishing Compounds and how we get to that point, so let’s grab a bunch of items from the store and have some fun.
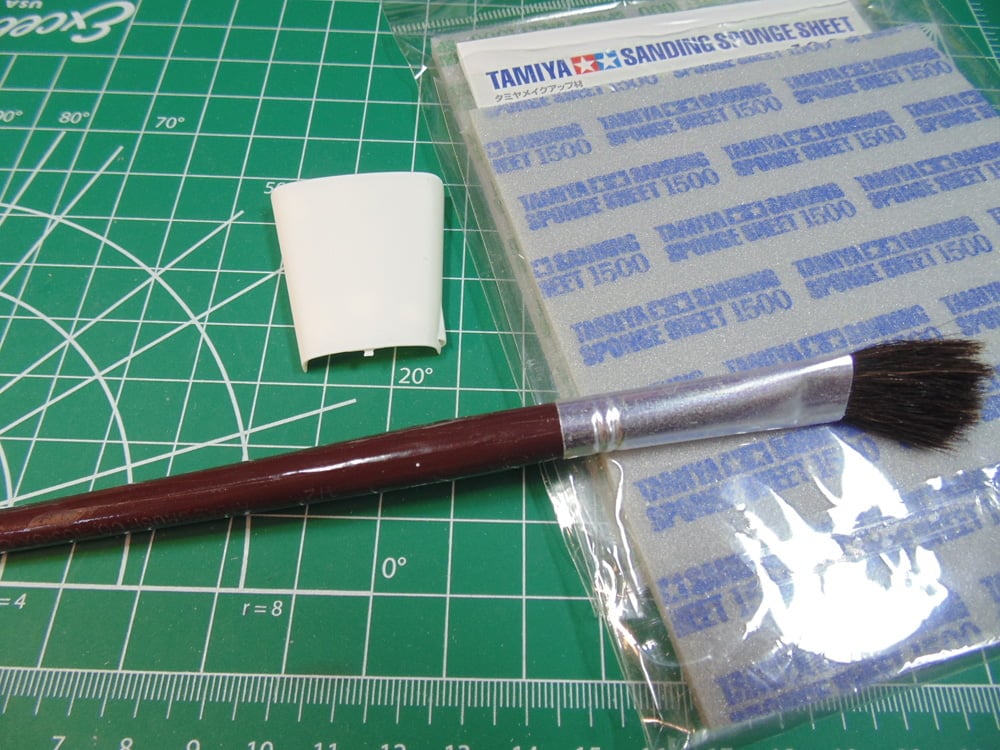
Just as in the automotive industry the key to a good finish is in the preparation. A shiny surface will show many flaws, thus to begin I’m going to make certain that the surface of my plastic is as even and smooth as possible. In this example I’m using the bonnet of my Tamiya Lotus Super 7.
There are some sink areas from the ejector pin spot on the underside which need to be addressed. I’ll start with a Tamiya 1000-grit sponge 87149 in one direction until the surface feels smooth and without those bumps. Then in the other direction use 1500-grit to further smooth the finish. Sunward Hobbies have many brands of sanders and polishers, many are in even higher grits, and would recommend working your way up to 3500 or higher such as the Alpha Abrasives Micro finishing cloths. Regardless, use a brush to clean your parts often.
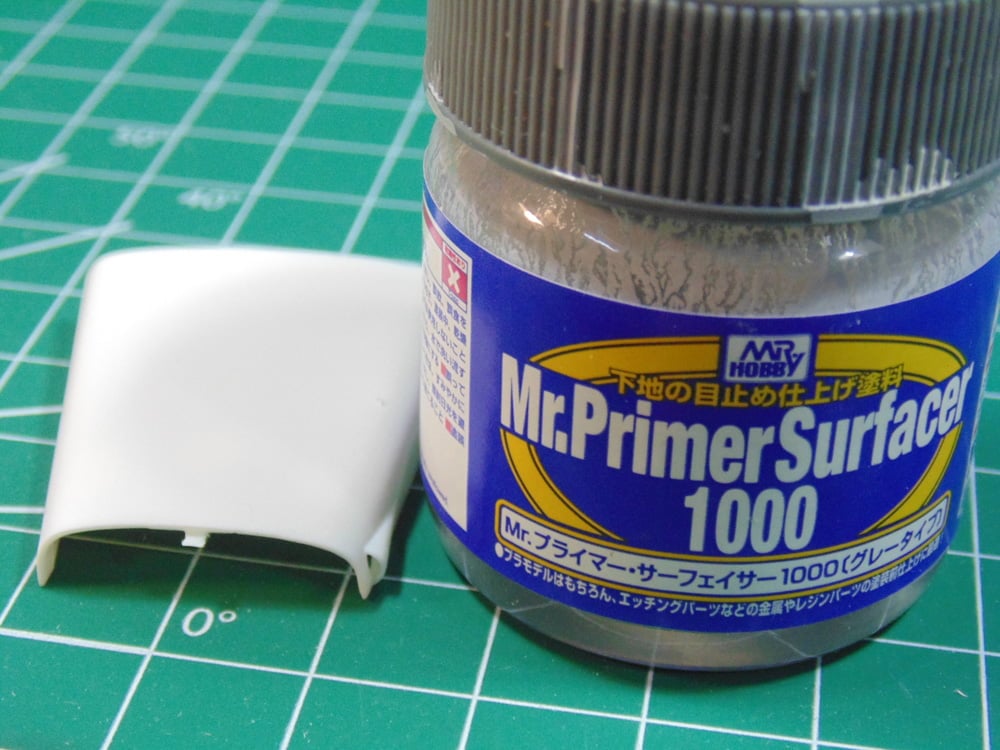
It goes without saying that the smoother the previous layer the smoother the next will be. Here, I’ve primed with Mr Primer 1000 because it gives me the desired result. It’s clean, yet all the flaws show up in the semi gloss reflection. In this case it was a few bits of lint.
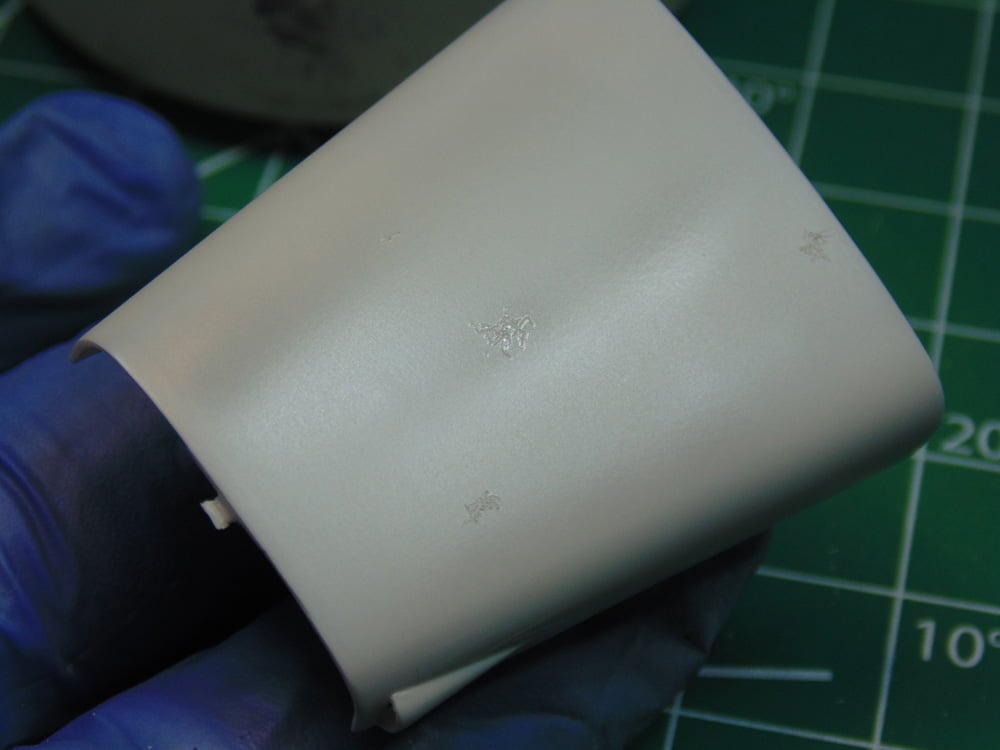
For demonstration I’m hoping for flaws to show you. Now these spots can be sanded smooth again. I’m going to reduce my second primer with Mr Leveling Thinner 400 because it self levels. Here’s a tip, find a cover for your part to prevent unwanted dust or lint from gathering on it.

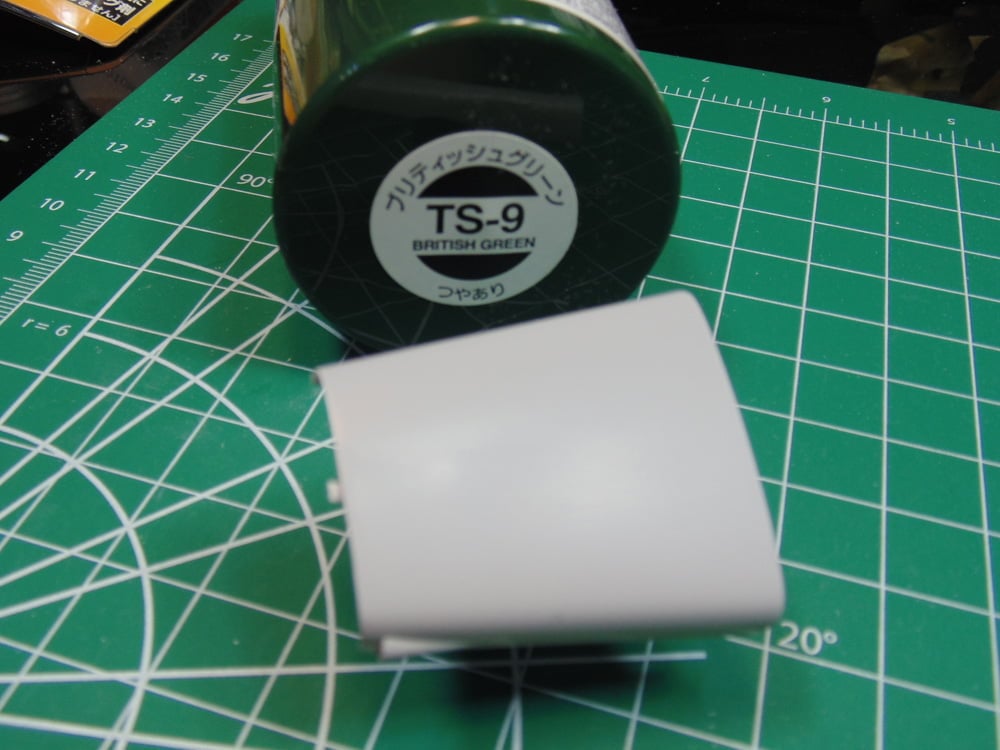
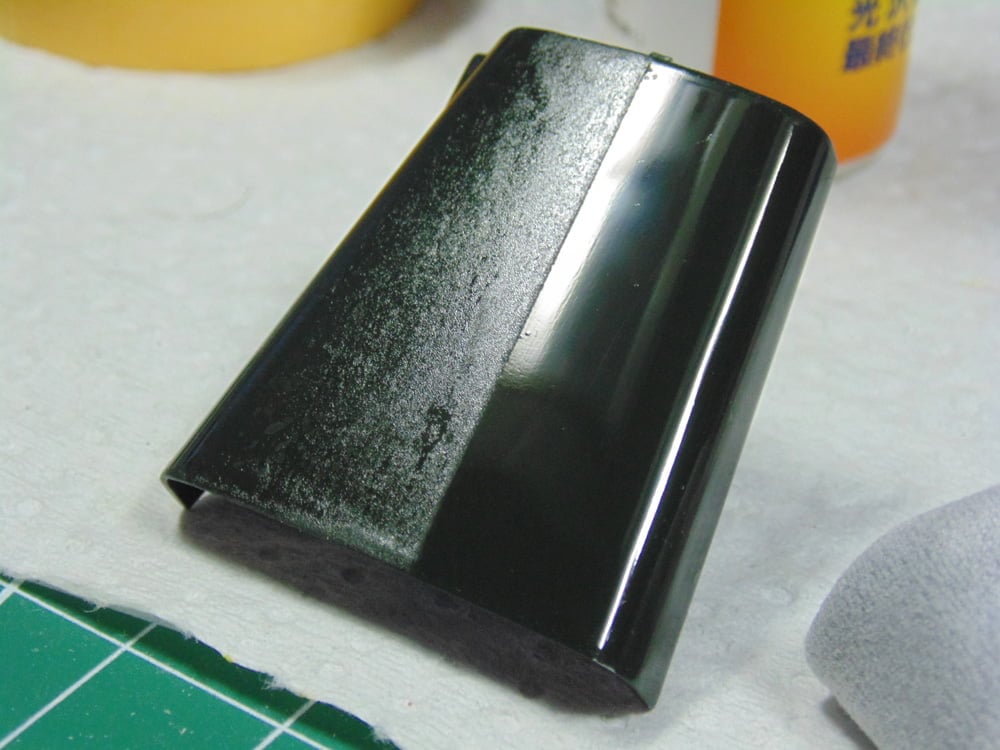
Sorry about the slightly out of focus shot, but you see the marks have been erased and another coat of primer added. I bought a can of Tamiya TS-9 British Green for the model and because dark colors show flaws.
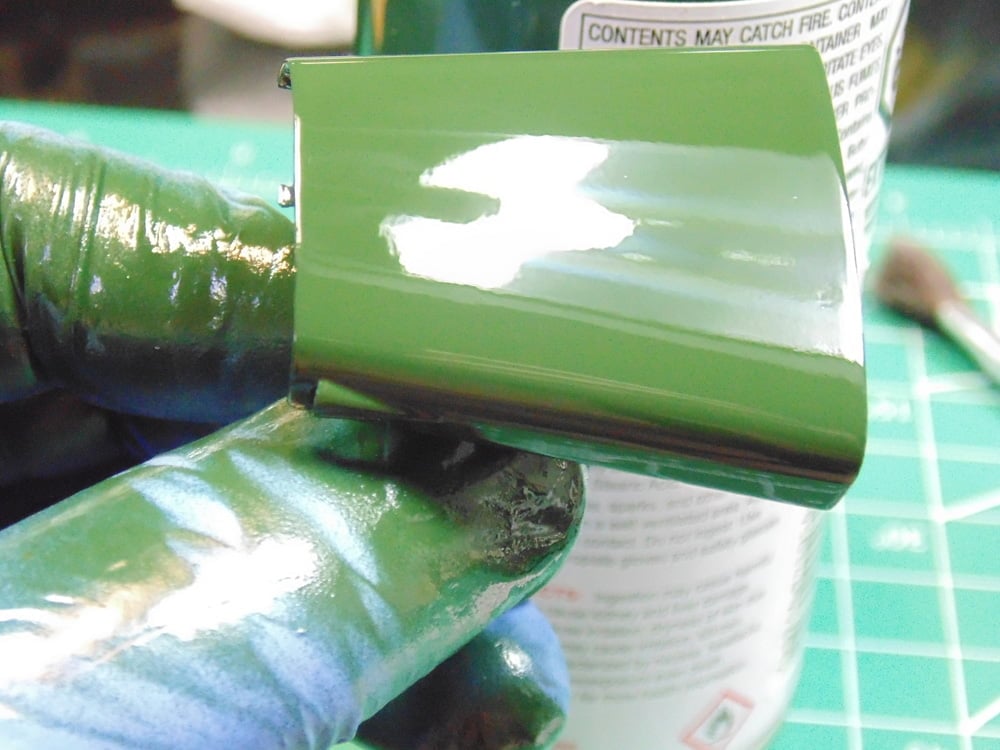
I sure hope your eyes aren’t needing sunglasses for this shot, but it was necessary to show how things look. The strange looking blemish at the back is a reflection from something. The overall finish looks great.
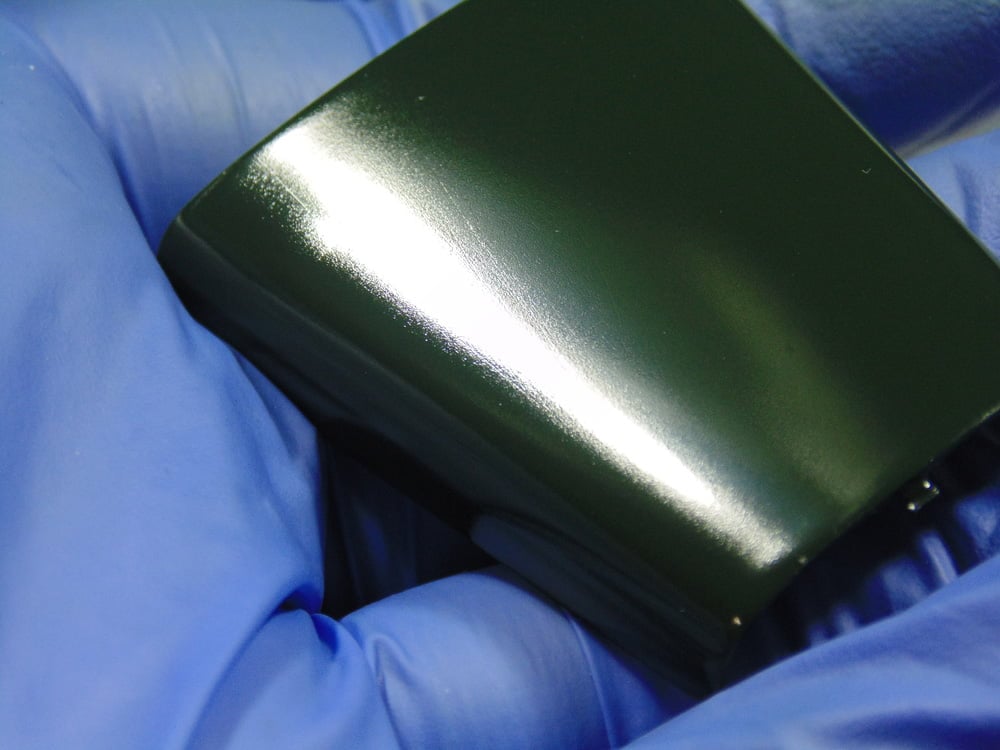
Now let’s have a look at the part after drying for 48 hours. It’s vital to let your painted parts cure for no less than 2 days, yet I’d strongly recommend a week or two even. You can see the glossy shine is gone and many micro scratches came through. There are 3 coats of paint on this bonnet so you have a choice. You can polish now, and hope to reach the level of the valleys, or you can clear coat. Please consider clear coating, it’s far less messy, hence why I did.
Clear coating gives a much better surface to polish your model and you don’t have to worry so much about digging into the colour paint layers. It also will fill in those micro scratches and level out super smooth. There are many clear coat products which Sunward Hobbies offer, in this case it’s Tamiya X-22 Clear, again reduced 50/50 with Mr Leveling Thinner 400.

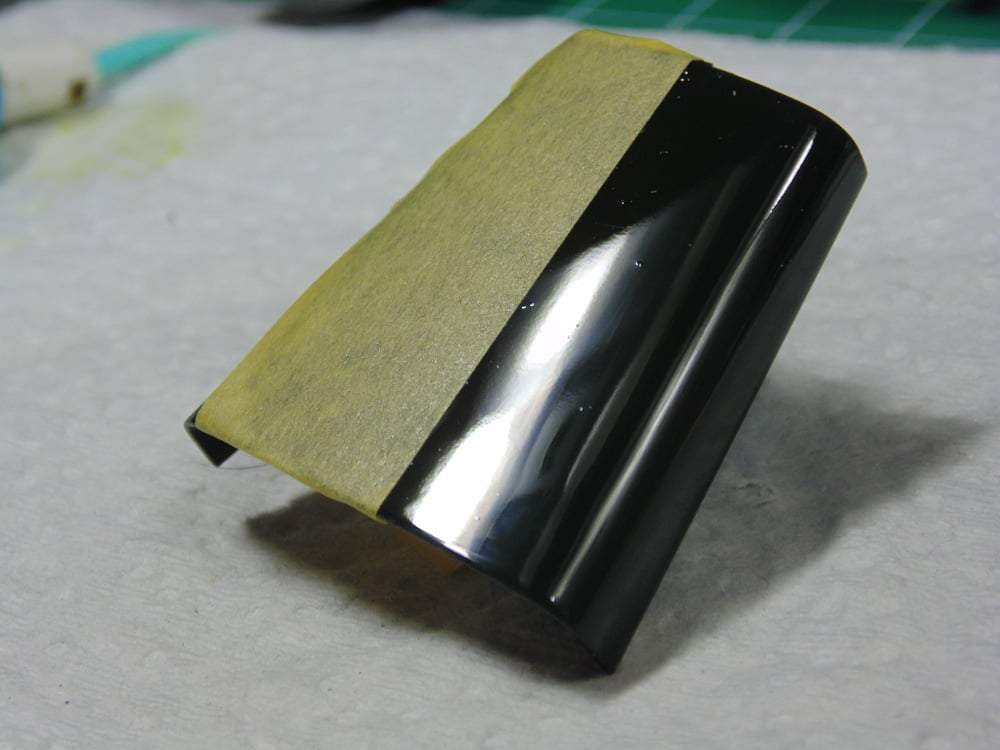
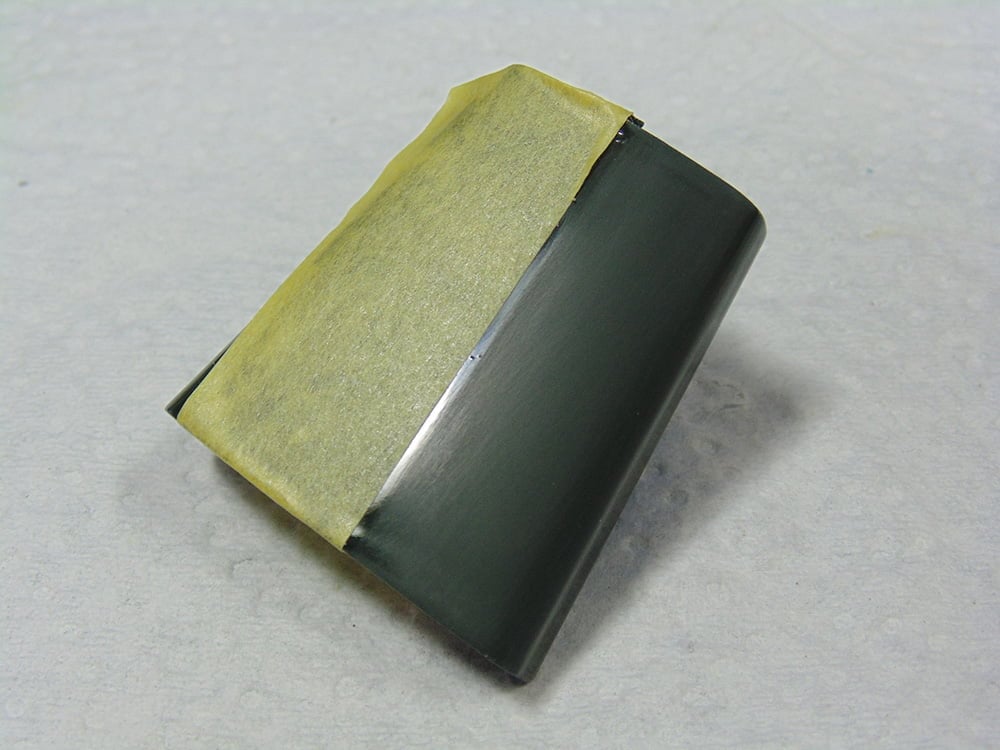
Full disclosure, I hosed this part down with clear coat and did not cover it. I wanted both the dust particles and the relaxed gloss look which was going to happen anyway. To get back to that mirror finish and remove the imperfections is when we’ll begin polishing. I’ll explain the tape later.
First, begin with one of the higher grits of polishing sander or polishing cloth that will “cut” a layer of coating to take the top off the lint and dust. I use a swirl motion and gently rest my Alpha Abrasives 3000-grit polisher at each spot, do not push or add force. Use your finger to feel the result and when you’re happy gently polish the entire area in one direction with a higher grit count. It sounds like a lot of work, but even 20 or so swirls and passes will make a huge difference. Being long winded is for explanation.
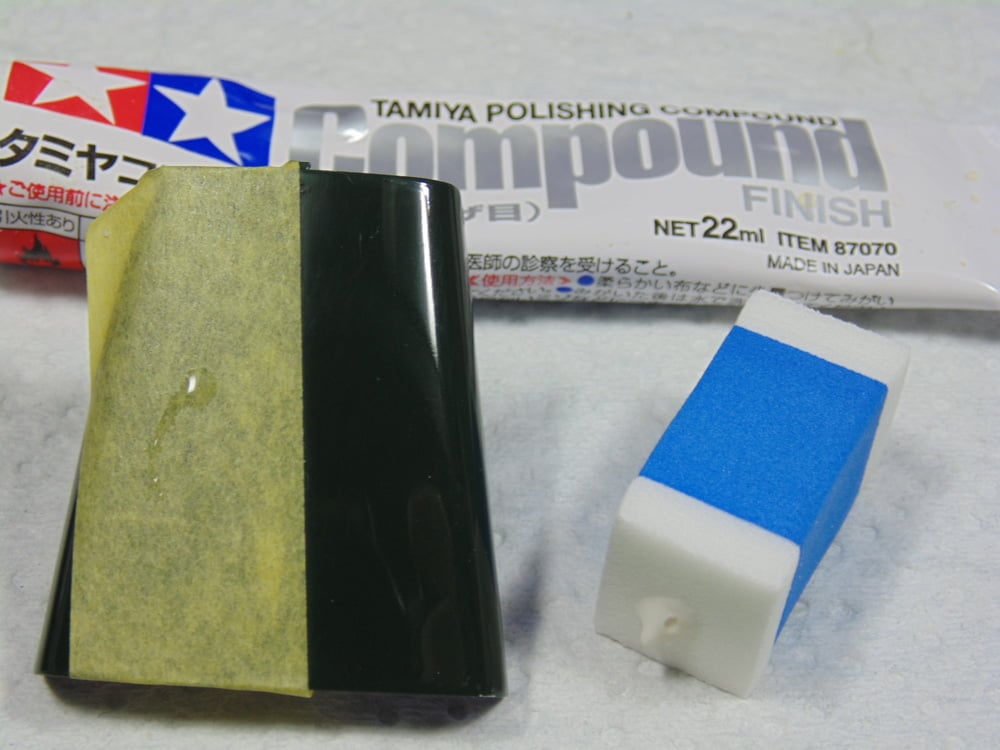
Naturally, we’ll use the Tamiya course to make the next “cut”, but if I can give you a product recommendation it’s this set of Tamiya sponge polishing applicators. Wow, did they ever make the job go quick and give a better result than my finger wrapped in a cloth. There are 3 sizes too for most tight spots, certainly recommended.
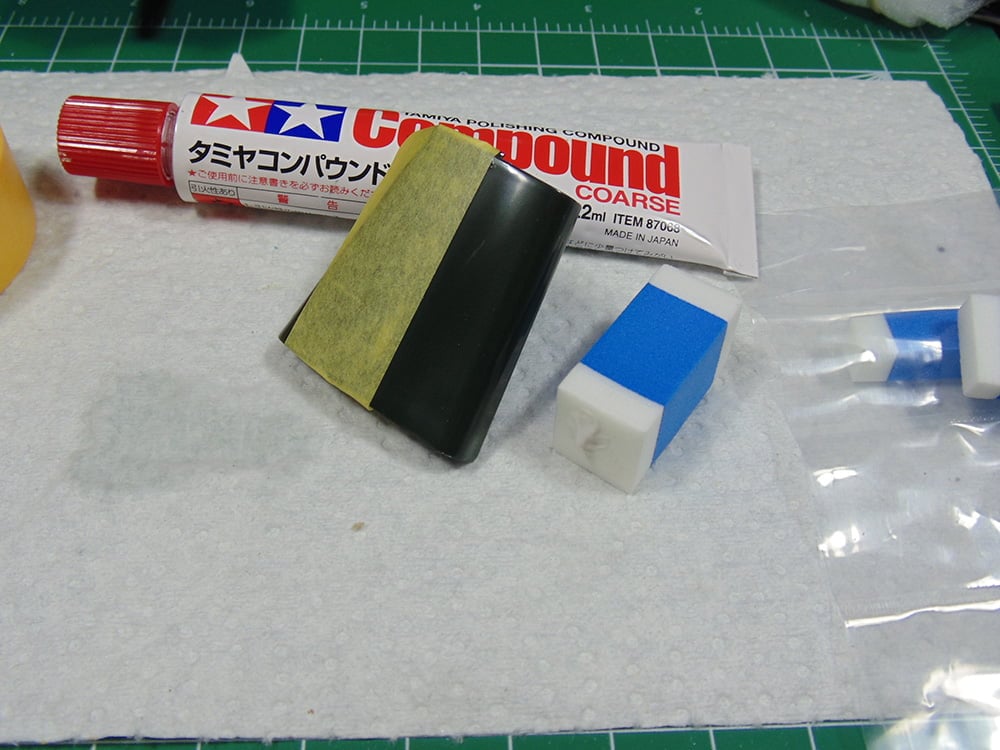
As you can see by the spot on the applicator that it doesn’t take much compound to cover the work area.
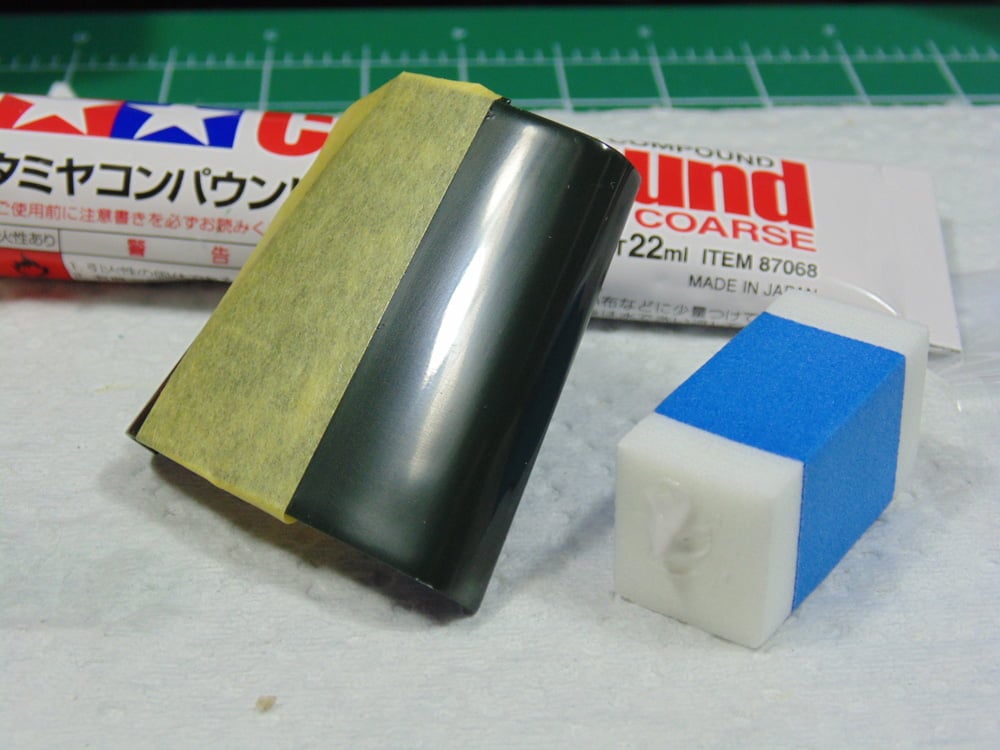
For the course compound I went against the scratch grain to cut down the hills. It took less than 5 minutes of this motion to see a difference then I swirled for another few minutes. The course compound usually has had enough when it begins to cake, as in the picture. Don’t fret, we’ll look after that in a jiffy.)
Whenever you move from any grit of sander or compound it’s vital to get rid of the rougher effort. When sanding you blow off the heavy dust or in this case the heavier compound. I use warm filtered water and an Atlas Ox hair brush. In a minute or so the caked compound and re-hydrated lubricant wash away.
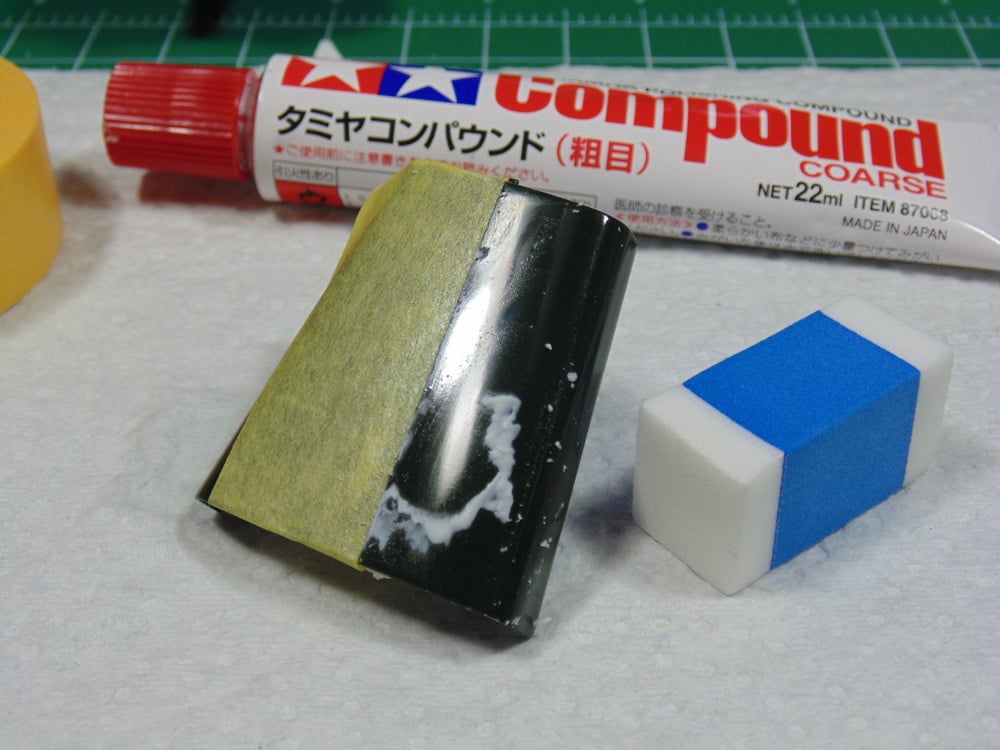
At this point you can choose to reapply the course compound or move on. It depends on your theme and desired look. Make certain, though, you wash your applicator in the warm water. Takes but a few seconds and ensures what is put on it next is not contaminated by the previous job.
Now we’ll apply Tamiya Polishing Compound “Fine”. With this product using a swirling motion is all that’s needed. Spend a few more minutes here to make sure you’ve got any micro scratches left behind from the previous “cut”. Again, it takes very little compound to do an area.
For some modelers this would be enough shine, but there are a few more steps left to get better results, so hang with me till the end. As you can see there is a drastic improvement and with just one application. Also note, I’ve washed the part and applicator.
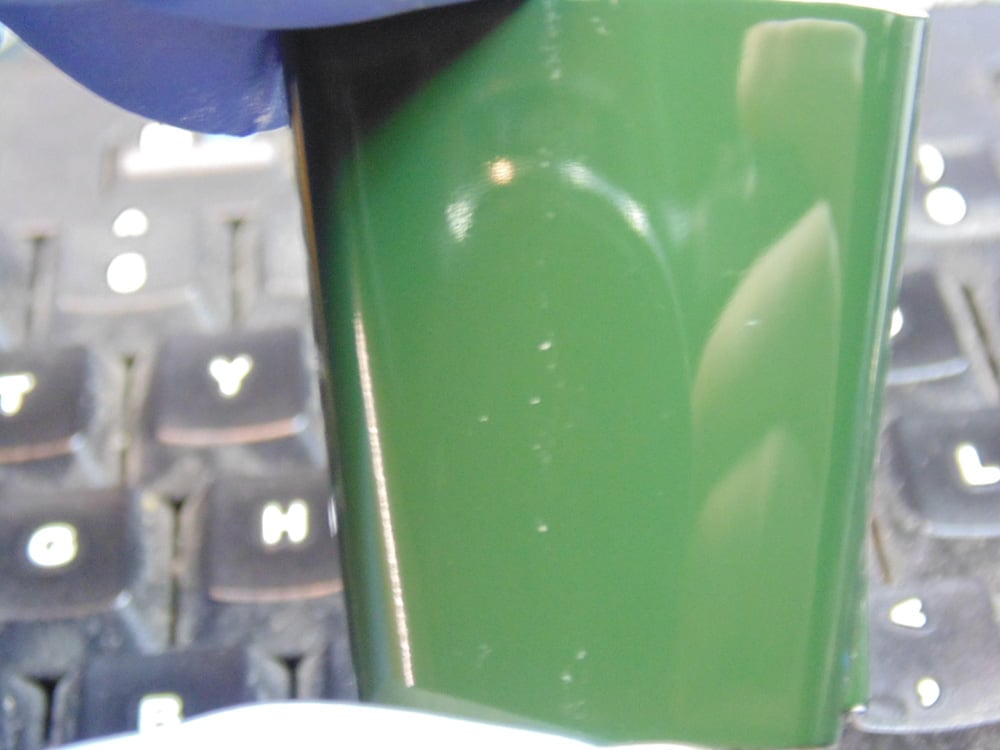
The final Tamiya application was with their Finishing compound. Here I did 2 or 3 applications to get a mirror finish. If you look closely, you see the reflection of my glasses and finger at the bottom of the polished part. It’s quite remarkable the look you achieve with not much effort. The great thing about Tamiya’s Finishing Compound 87070 is that it can be used for any general polishing, such as removing fingerprints or getting rid of water marks around decals.
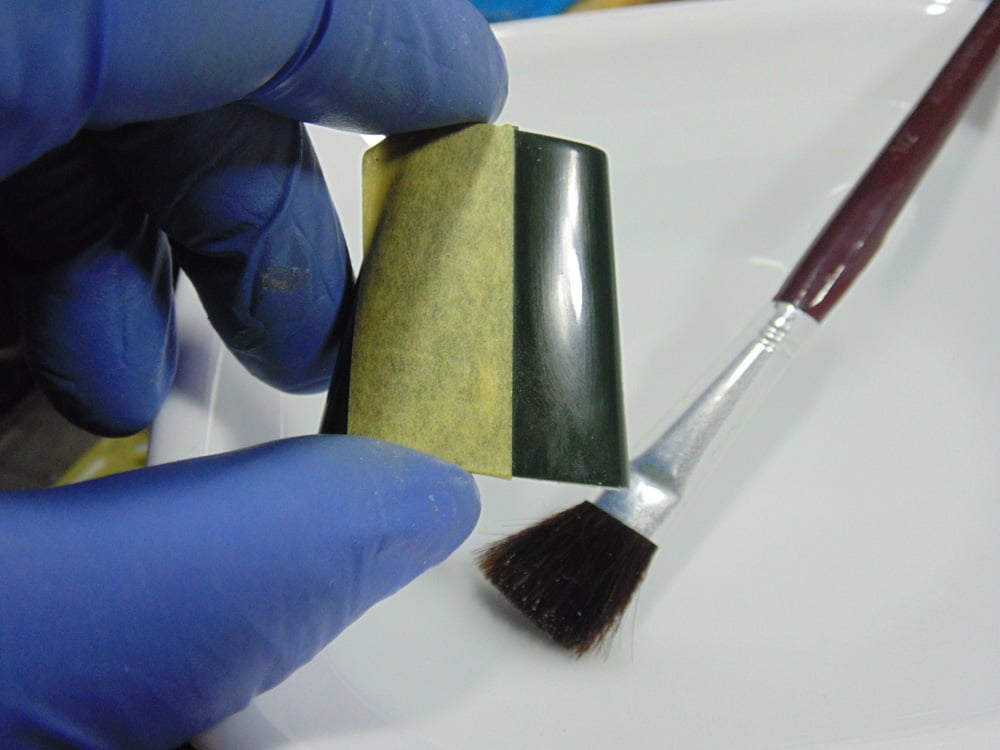
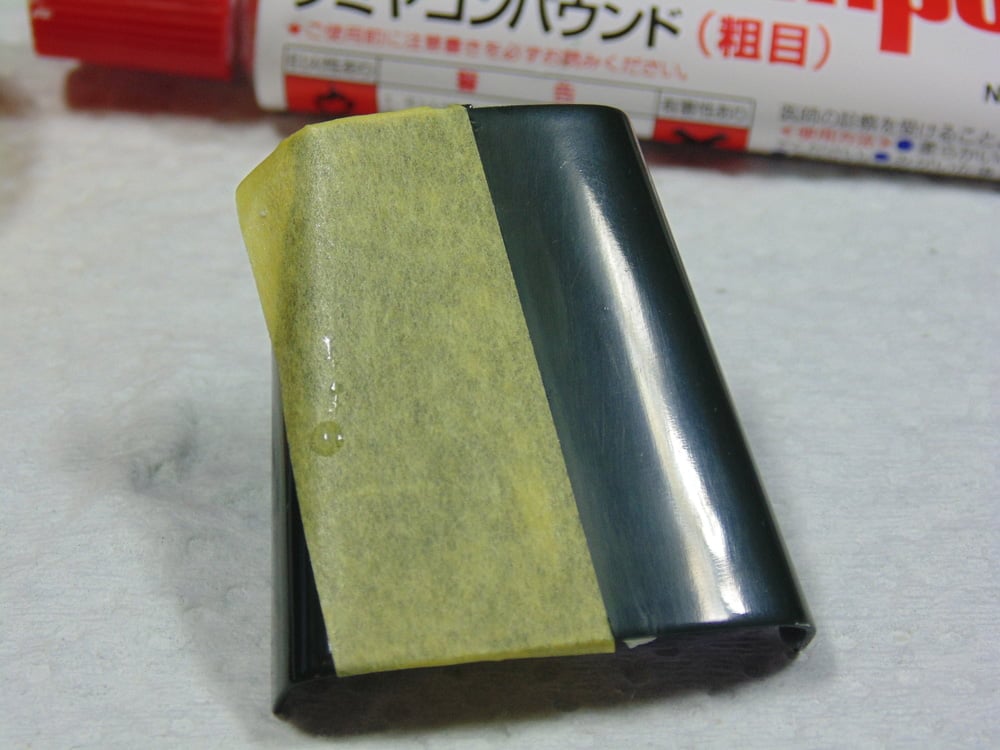
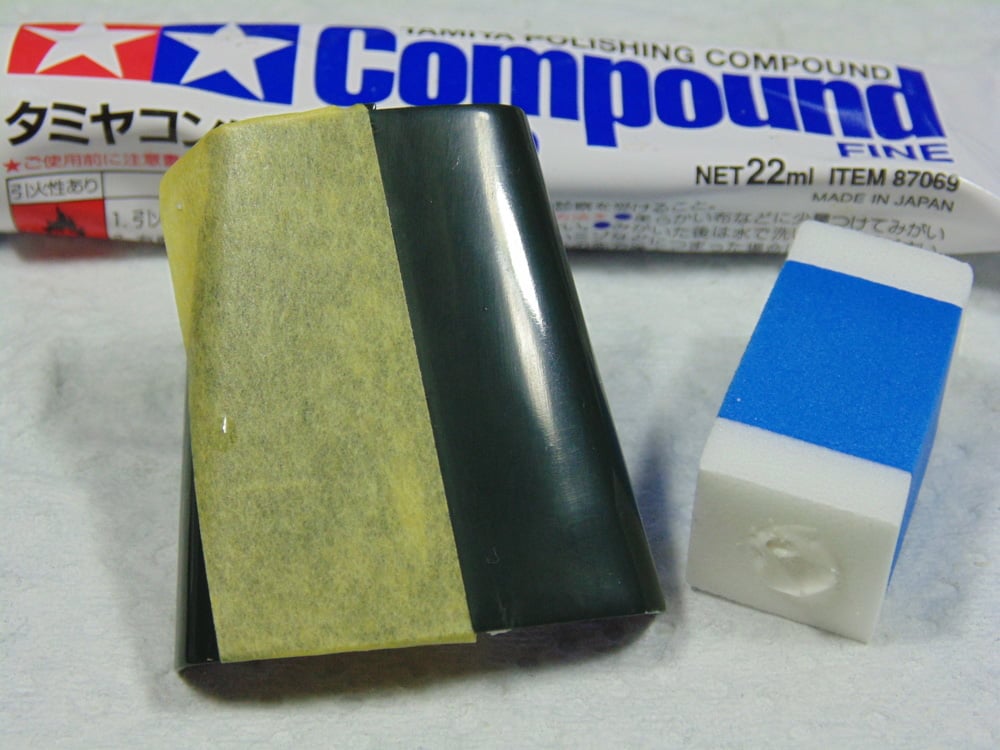
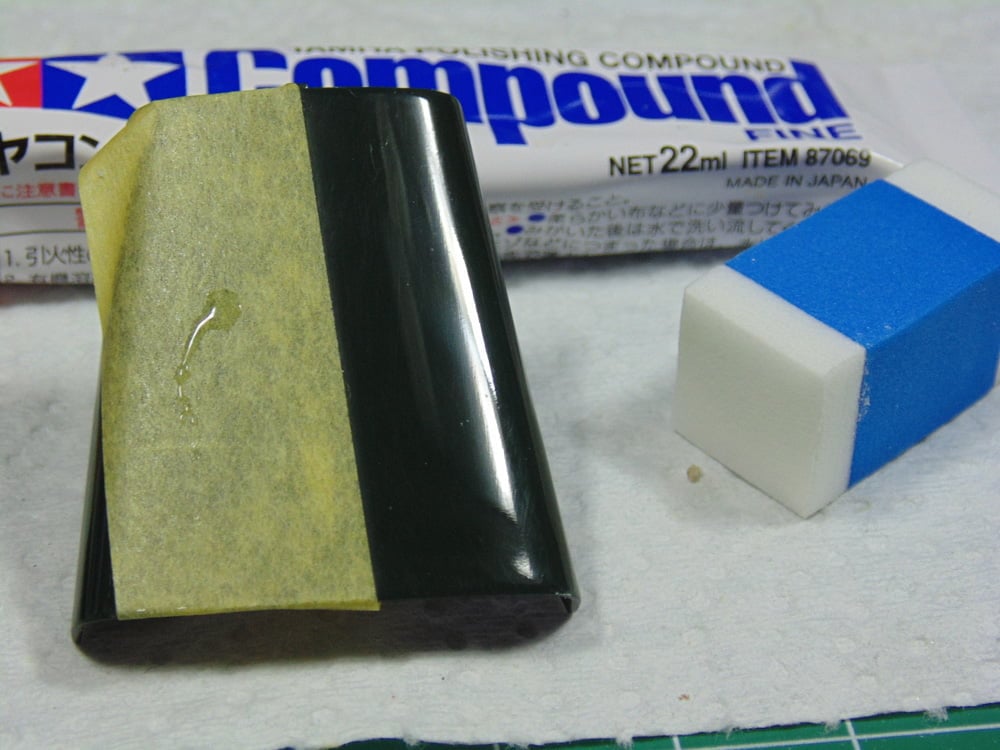
Now, why the tape you’re still asking? We’re getting there. I went over the part one more time with Tamiya’s Fine Polishing Compound 87069 to show you a product that is not going to last long before I order more. Mr Hobby Polymer Coating R192 is simply amazing.
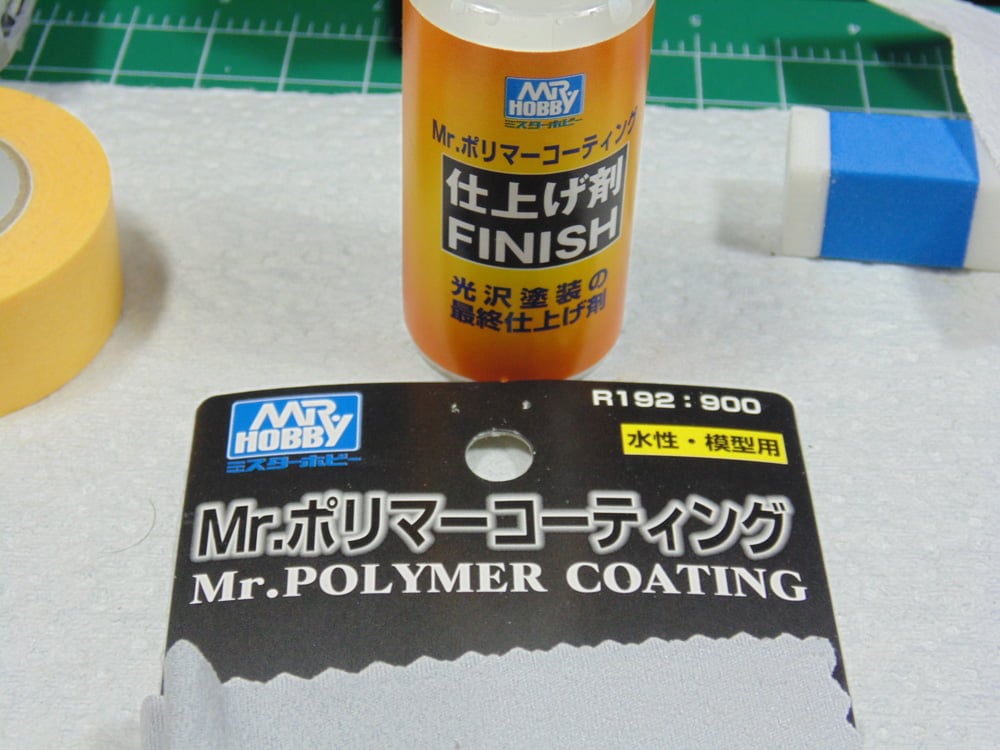
It took only a few drops and two applications to get the result you see in this shot. Very simply, you rub it on, wait a few minutes for it to dry, gently polish then rinse and repeat. The results are stunning.
I could not just leave it there; more experimentation was needed and was I shocked. The part was sprayed with clear coat until it dripped, a definite “no no” in painting. Having made this mistake a few decades ago I knew what to expect. Even after 72 hours in a well-ventilated area the clear was nowhere near dry enough. The masking tape’s adhesive, even after de-tacking, got impregnated into the surface. Not to fret here either.
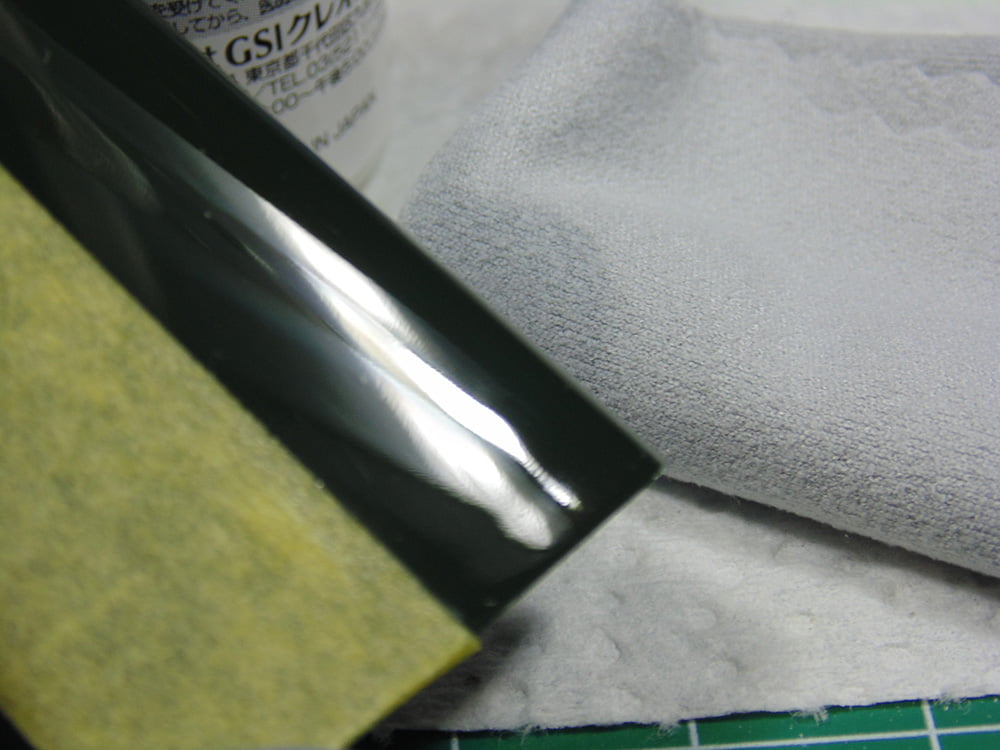
The left side was corrected with a rotary tool and jeweller’s rouge. The right side is Mr Hobby Polymer Finish and the “clear” winner! You can easily see my fingers and the reflection from the camera lens while the left side is far more distorted. I highly recommend this product and can’t wait to use it again.
Getting a mirror finish takes a bit of effort, yet when you see the results I’ve shown it’s more than worth the minimal amount of elbow grease. Talk about gratification.
If you have any questions about the products presented or the techniques used in this article, please feel free to ask when you pick up or place your next order of polishing items available at Sunward Hobbies.
Thanks for following along and best of health Everyone.
About the Author:
H.G. Barnes is a former voice-over artist and retired sales and marketing professional. He’s the author of two large volume science fiction adventure romance novels with many more in the works. For well over 40 years he’s been building scale model replicas and now does commission work for clients in Canada and the USA, plus completes projects for companies in Asia and Europe.
Currently H.G. is involved as an Associate Editor with KitMaker Network’s Online Magazine Channels.