
A Step by Step Guide on Home Made Decal Making
by Thomas Ricci
If you share the same modelling practice to complete the model with the proper decals, including identification marks, the national symbols, squadron markings, etc. to be as historical correct as I do, then we also share the dilemma of the decals that the kit does not include as historical as we need them to be.
I have seen and purchased pre-printed sheets of decals from several decals publishing/printing houses and then, post purchase, I tried to match the fonts to the font that the model under construction, only to be disappointed. So, what to do. I can reach out to my modelling friends, and ask for the decal characters I need, or I can go high and low to stores and online sellers, and sometimes I can come close and then hope that some other modeller that is up on the identifications marking doesn’t remark on the “close enough” and say something to belittle my efforts. Well, that eventually happened to me.
One day, I had enough of it in just knowing that the ID markings were wrong, or the font was wrong, or the size was too big or too small, just everything wasn’t right. So, I reached to a set of skills that I developed from my previous career (I’m retired now) and using the internet, I started and developed a list of search engines and sites where the symbols, characters, fonts, and other characters I was looking for became my base lot. I got myself a new inkjet printer and dedicated one of my laptops for that storage purpose and built my own database library.
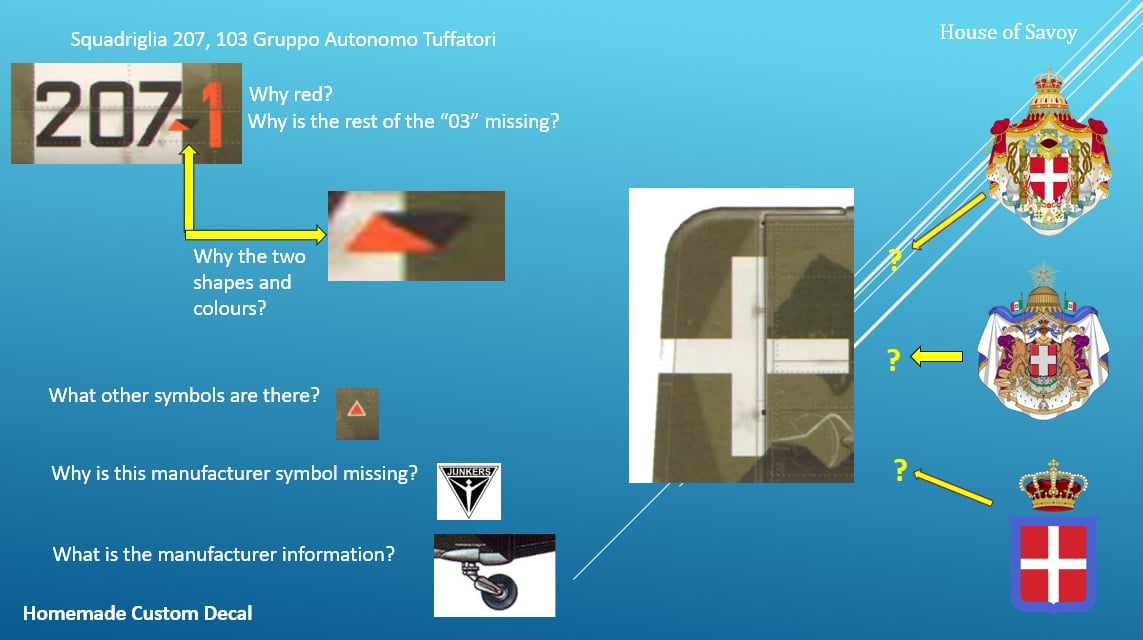
I then referred to some colleagues domestic and overseas with the intent to augment my font database and markings above and beyond what my books offered, and magazines and other reference material collected over the years. Over the last few years, I have built a database and a decal making method to which I want to share with you. The following picture represent one of my successful efforts in making my homemade decal as the kit and other sources did not offer.
For all my projects I use a combination of the following pre-installed programs: Photo Editor, Microsoft Word or Excel, MS Publisher, Pixillion, and MS Paint; sometimes as needed good old Photoshop. Now, I am sure that there are other applications MS or non-MS, I just haven’t found another one yet.
After some time spent on the historical research, and images and finally identifying the ID markings, and all other aircraft markings of the aircraft, I go through the following steps:
Step one:
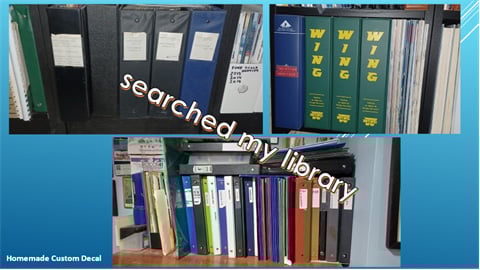
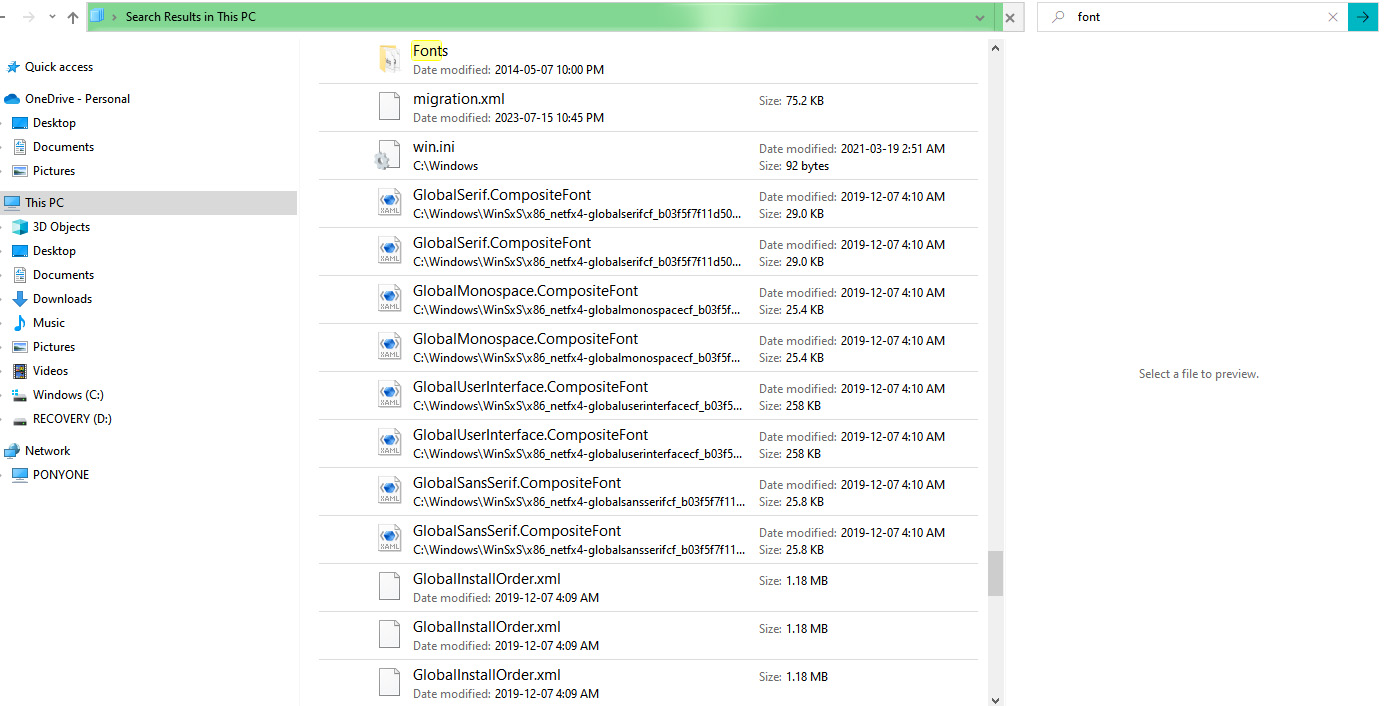
In my laptop and explorer directory, I set up a folder with the project name; and in the assigned project named folder I open a new sub folder and give it the appropriate decal name. I will manually search through my collection of decals in each binder, each portfolio, each duotang, and stacks of collectible decal sheets, etc. If that manual search fails, then I search my laptop library database for the images and font I’m looking for. If the proper images and font are not within my database, then the search continues …….internet, other platforms and contacts, etc.
Step two:
Failing the search of a suitable decal from my database and binders library, a call or email to Sunward Hobbies is made to see if the decal I am looking for may be in stock is made.
Otherwise, I will through many search engines including Google / Yahoo / Bing / Yandex / MetaBot / and others search for images of the subject, being the font of the characters on the aircraft, or the squadron/group/unit logo, the rudder markings, the manufacturer details, and anything else it deemed to be essential in the model.

Step three:
This is the part that can take some more time. Once I have found the images, be JPEG (or JPG), HEIF, TIFF, RAW, DNG, PNG, GIF or BMP of the subject, I will download, and save it locally, then I return to my search settings, and usually refine the search of the images to see if there are any others out there that may offer a better profile image, which is then downloaded and saved in its original properties.
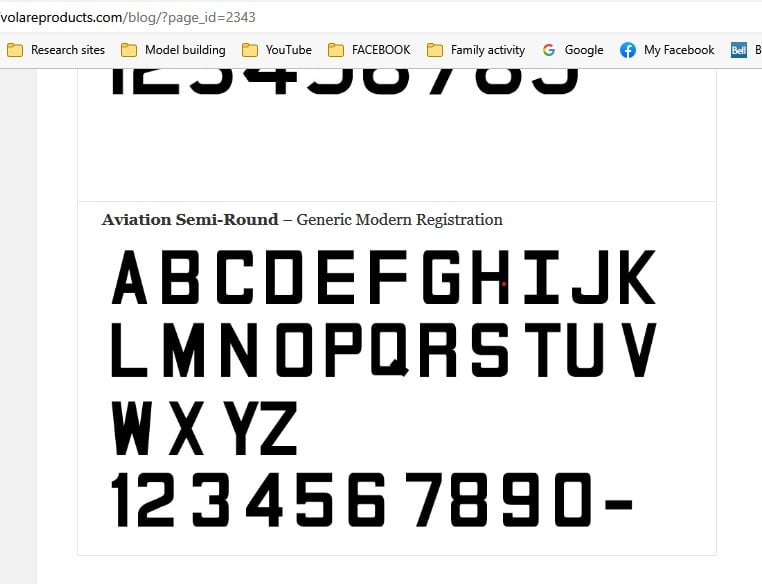
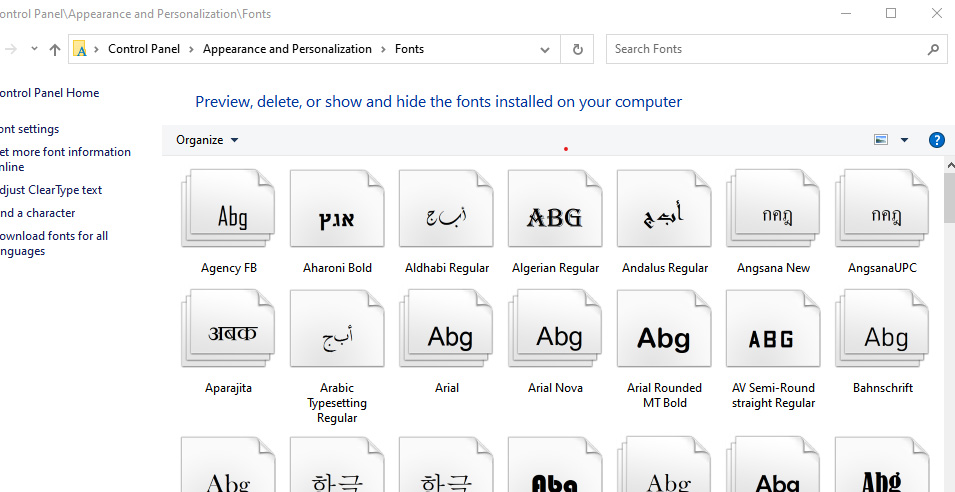
The font, not necessarily, can be found through one of many free font sites, which is then downloaded to use in the appropriate application, otherwise I need to manipulate the design of the character to achieve my final letter or number as I need. In the following images, the font is identified in a free font web site, then downloaded and directly installed in the font depository via Control Panel.
Step four:
I open my image file in MS Paint to edit out any unwanted parts of the image and enhance others. Following that clean up, I save the changes. In the case of a rudder or need of an opposite like left and right image decal I then re-open the file in Microsoft Photo Editor and create a mirror image and save that as i.e.: “tail image left” or the appropriate naming convention, thus getting both sides of the subject. If only one side or one image is required, then following any further editing, such as resizing, colouring, enhancing, line work, cropping, brightness, flipping, filters, whatever is needed…… I save as.
I can then work with MS Word; I open a Microsoft Word new document and import (or copy & paste) the edited complete profile images of the tail (left and right sides) there the image is measured, colour is checked, font finish is double checked and the sign off process takes place. A short cut is sometimes used to draft print directly from the directory and assess the work prior to determining the final stage to prepare for final print.
The final print is the loading of the decal paper into the printer and printing it.
I prefer to use MS Word, or MS Publisher to start my decal with the lettering or numbering needed; I will work from the size needed to the coloring and all other details …. till I get what I want.
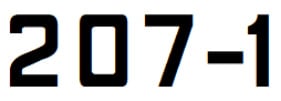
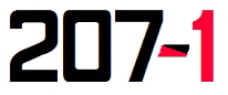
Eventually the size of the decal I am finilizing to print, I usually print in pairs and most times multiply by another 3 or 4 for future character use. Future use may not be the whole 207dash1, but it could be just the dash, or the red 1 or parts of the 207.
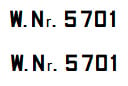
Other bits of characters that can be used to personalize the model

The paper:
I have been using Bare Metal Foil Inkjet /Clear or Transparent or White decal paper as needed available at Sunward Hobbies. (Testors brand is no longer available)
I do find that a successful and wow finish to the homemade decal it’s always on what the printer’s condition is. I recommend to practice keeping the heads clean, good alignment, and most of all dedicated printing time.
I use an HP OfficeJet 8020 series printer. My practice is to keep the heads clean and always aligned. I try to coordinate my printing when I load new cartridges, this will ensure clean and new cartridges heads, and a solid colour spread.
I also check for software upgrades and looking for methods to ensure micro spotting or small printing to esure that even with my 1/72 scale decals the decals offer clarity when viewed by a modelling judge or just a visitor to my house and gawk at my collection.
Following manufacturer’s instruction after the printing you then spray it with a decal bonder spray. Dry it for a couple of hours with two fans, cross ventilation to each other to ensure proper drying, I then leave it alone for 8 sometimes 12 hours. Why? I always did it that-a-way.
From here, cut the decal image you wish to bond on the model, following the decal solutions manufacturer instruction or your own well experienced methods on how to decal your models.
All the best, I hope my method is of some interest.
Thomas Ricci has been building model airplanes since the age of 12. When I reached the age of 14, he formed a club with the Royal Canadian Air Cadets Squadron in Toronto, and helped build plastic model airplanes for general displays.
Over the years, Thomas has continued to build aircraft and joined local modelling clubs within the Greater Toronto Area (GTA).
His skills are now focused on building Italian aircraft, and aircraft flown by Italian pilots and or engineered by Italian engineers. The main goal is to build the aircraft as historical accurate as possible with a story line.
A list of past and ongoing modelling participation by Thomas include:
-Peel Scale Modelers, Aerobuffs, IPMS Italy, IPMS Toronto
– Founder and President of the Club Frecce Tricolori of North America No117
– Participated in the MB339 aircraft model building and display representing the Frecce Tricolori PAN in Oderzo and Rivolto (UD) Italy (2012)
– Founder and Supporter of the Checkertails di Lesina, a monument dedicated to the U.S.A.A.F. 325th Fighter Group, Checkertails; Lesina (FG) Italy (2011 – present)