
Tamiya Bismarck Battleship 1/350 Scale Kit 78013 – Part 4
In this Sunward Hobbies article I’ll continue with the build of the Tamiya 1/350 scale model of the German battleship Bismarck (items# 78013).
This is a basic build, meant for parents and kids to have some fun together. You’ll get to see some fun “how-to” tips along with dealing with the challenges of constructing an older kit.
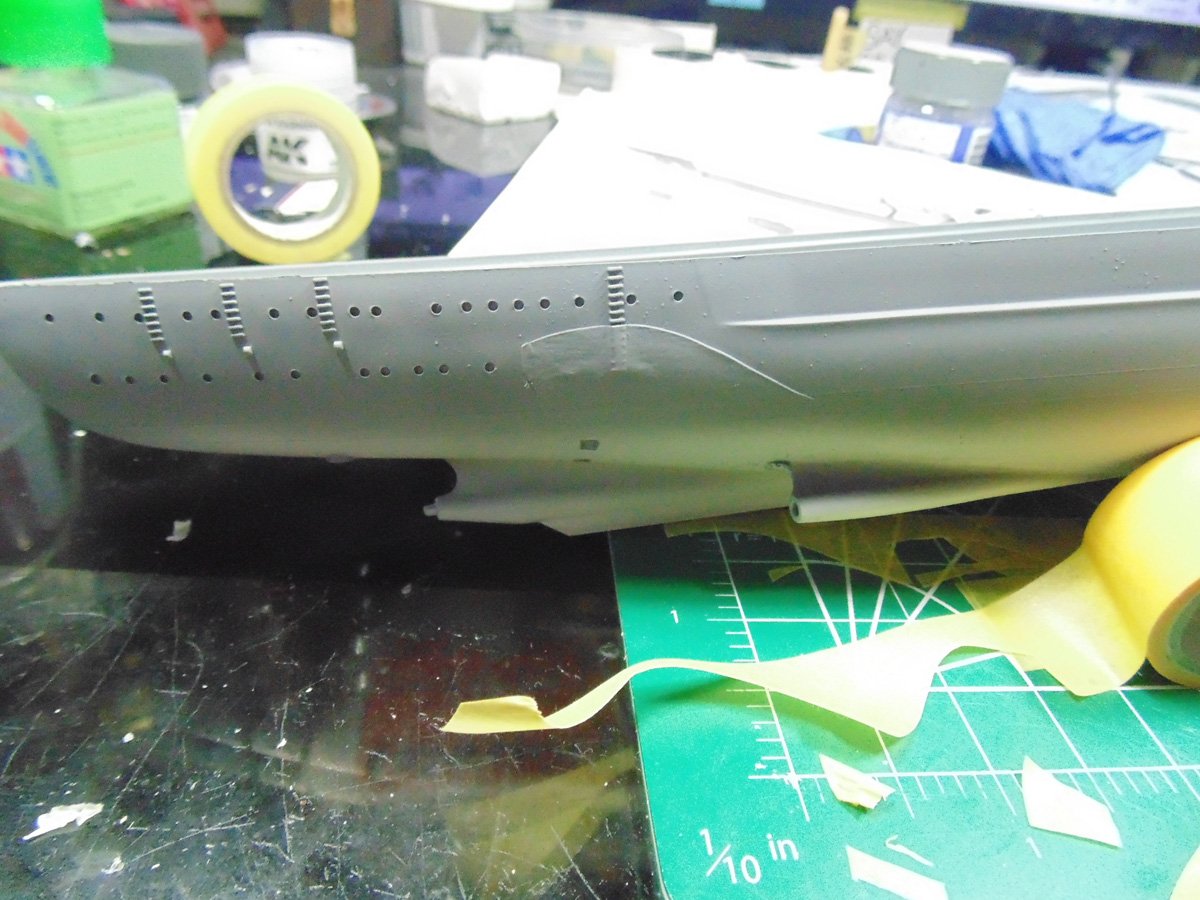
Now that the hull colour has arrived the painting and masking prep work can begin. Masking should never intimidate you. Yes, it’s time consuming, yet enormously rewarding in the end result. Here is the grey upper colour. Use what you have on hand to prop up the hull so there’s no paint bleeding/running.
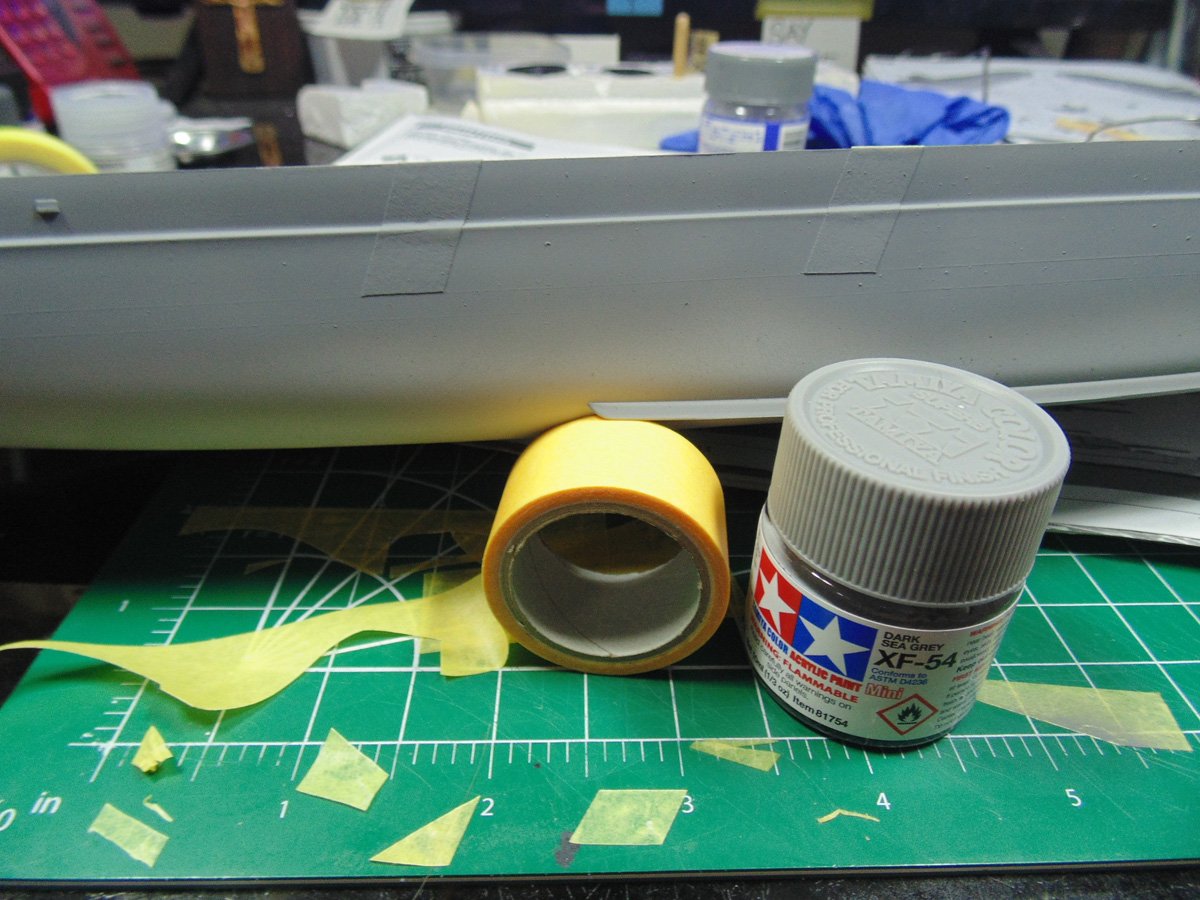
As always, lay down the lightest colour first. Here, I’ve masked off the insignia white portion of the hull camouflage. Please don’t scrimp on the tape. A high-quality hobby brand will burnish down so much better than what you get at a hardware store. Sunward Hobbies have these items in stock in multiple widths to suite the task.
Cleaning ejector pin marks away from small parts can be frustrating. Here’s a tip, use some glue to melt the plastic dust debris. This will save you countless hours cleaning it up. Later this will get a dull coat of varnish, so don’t fret the glossy look.
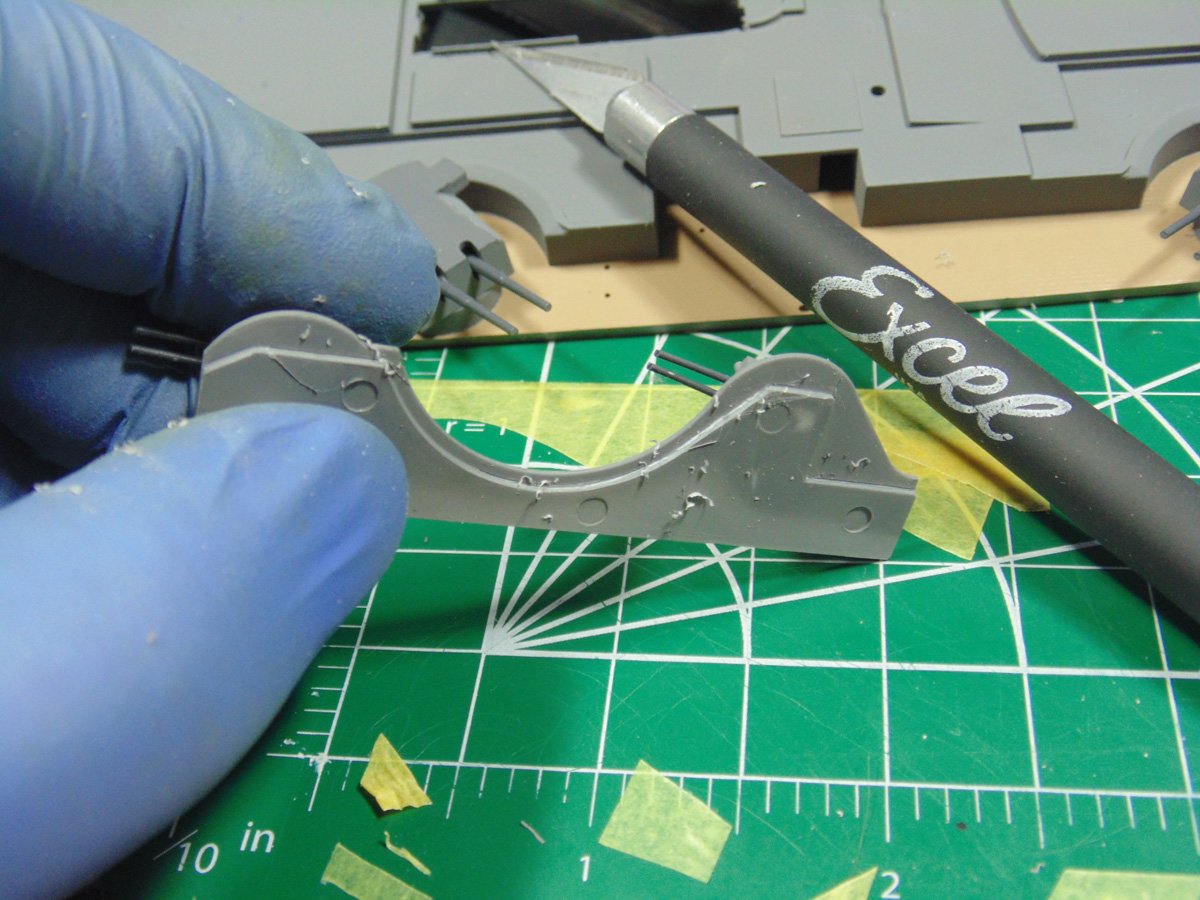
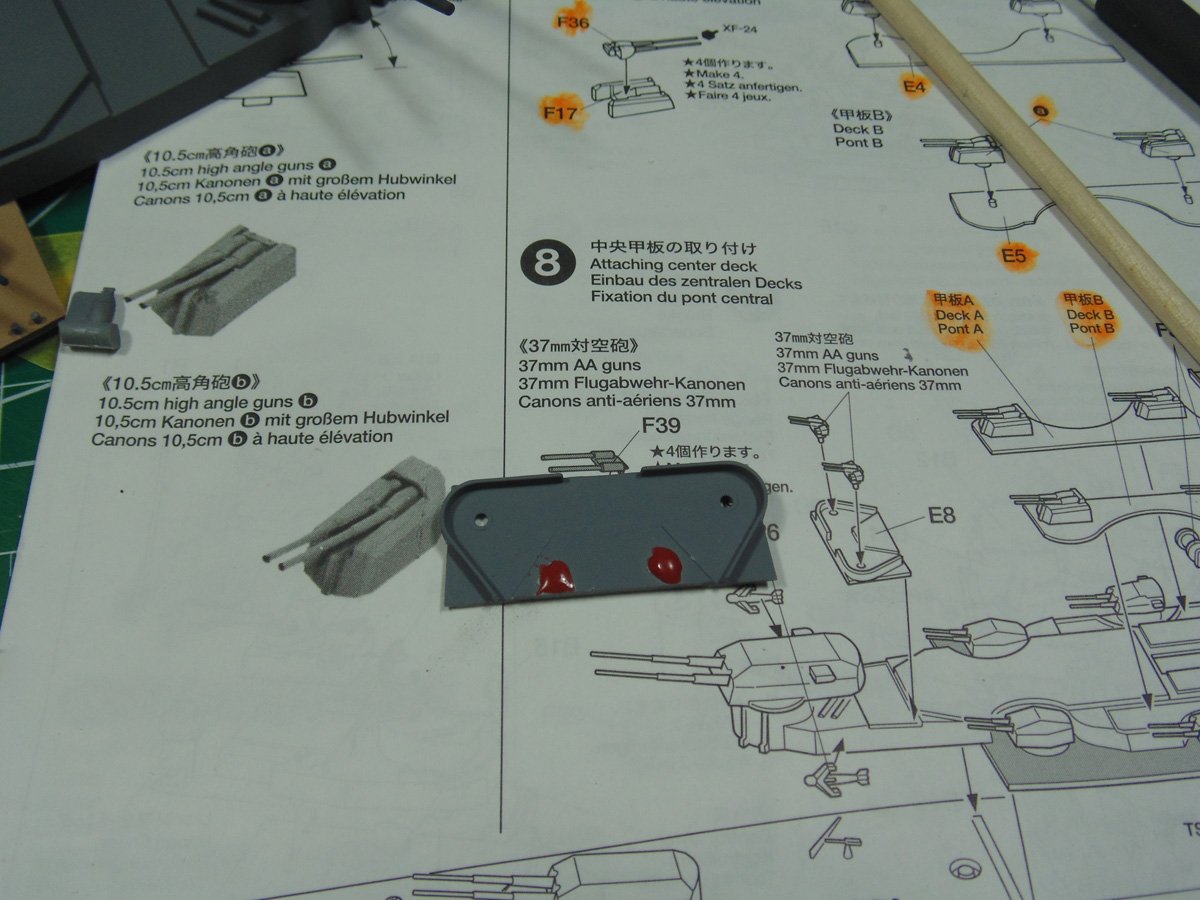
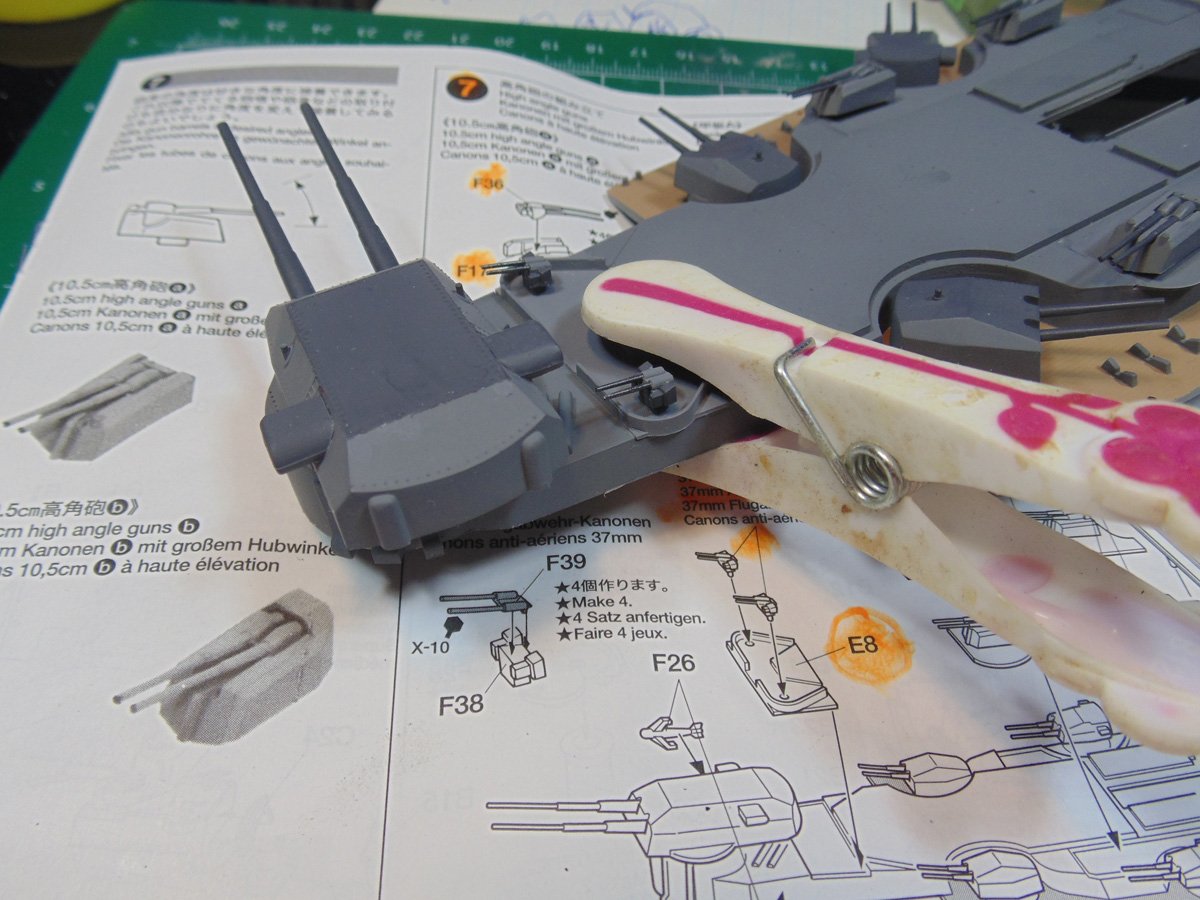
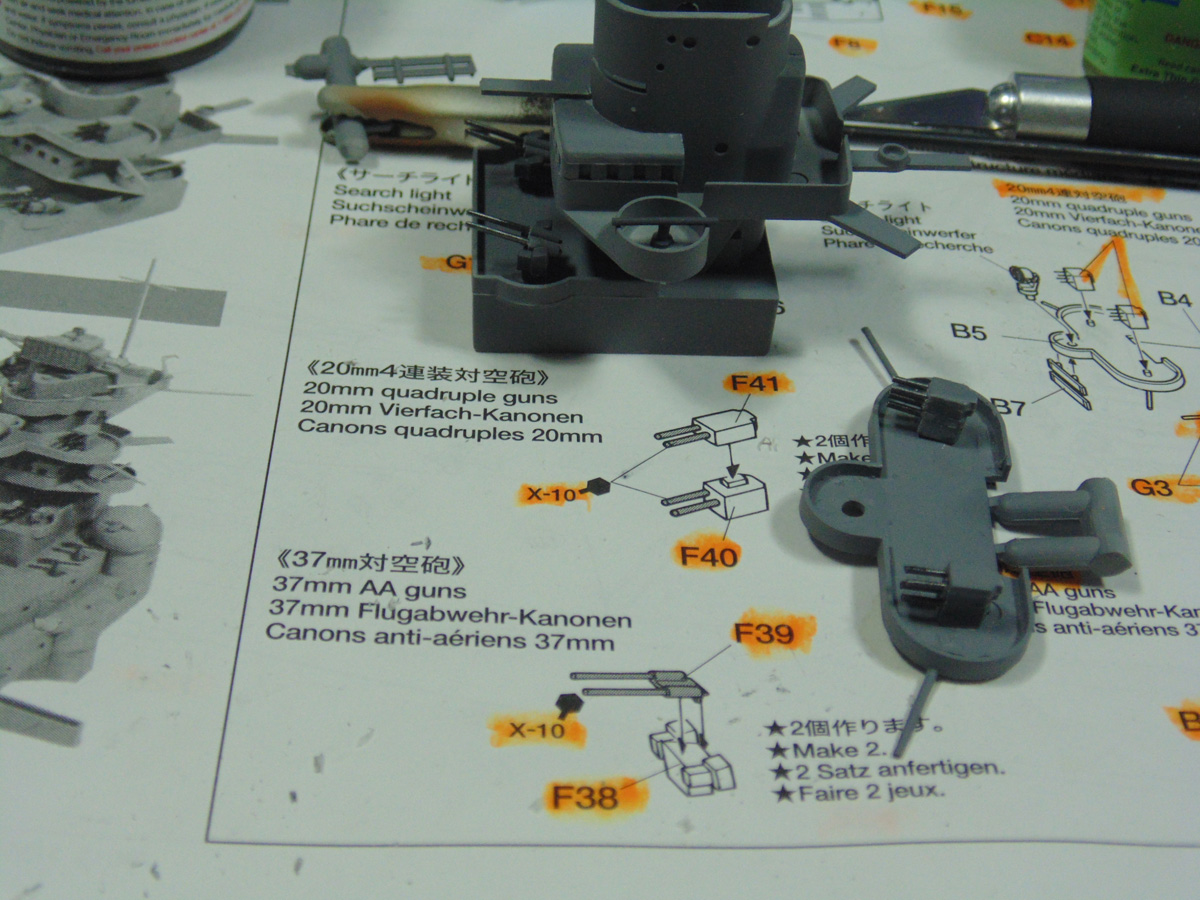
Step 8 has some small parts which need to be cleaned of flash. Be sure to remove this prior to priming and painting. The blunt end of your No.11 Excel Hobby blade will make quick work of the plastic flash. Then finish the area with micro sanders.
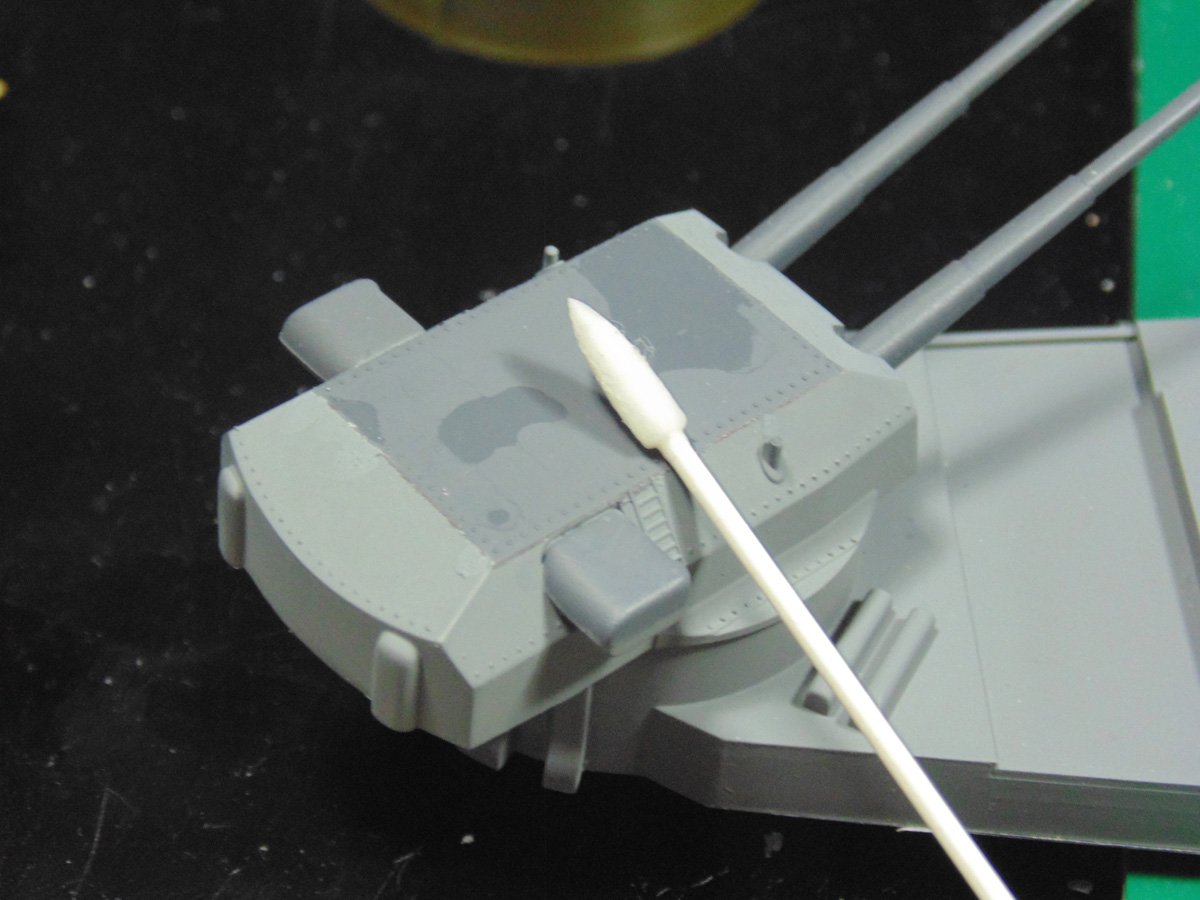
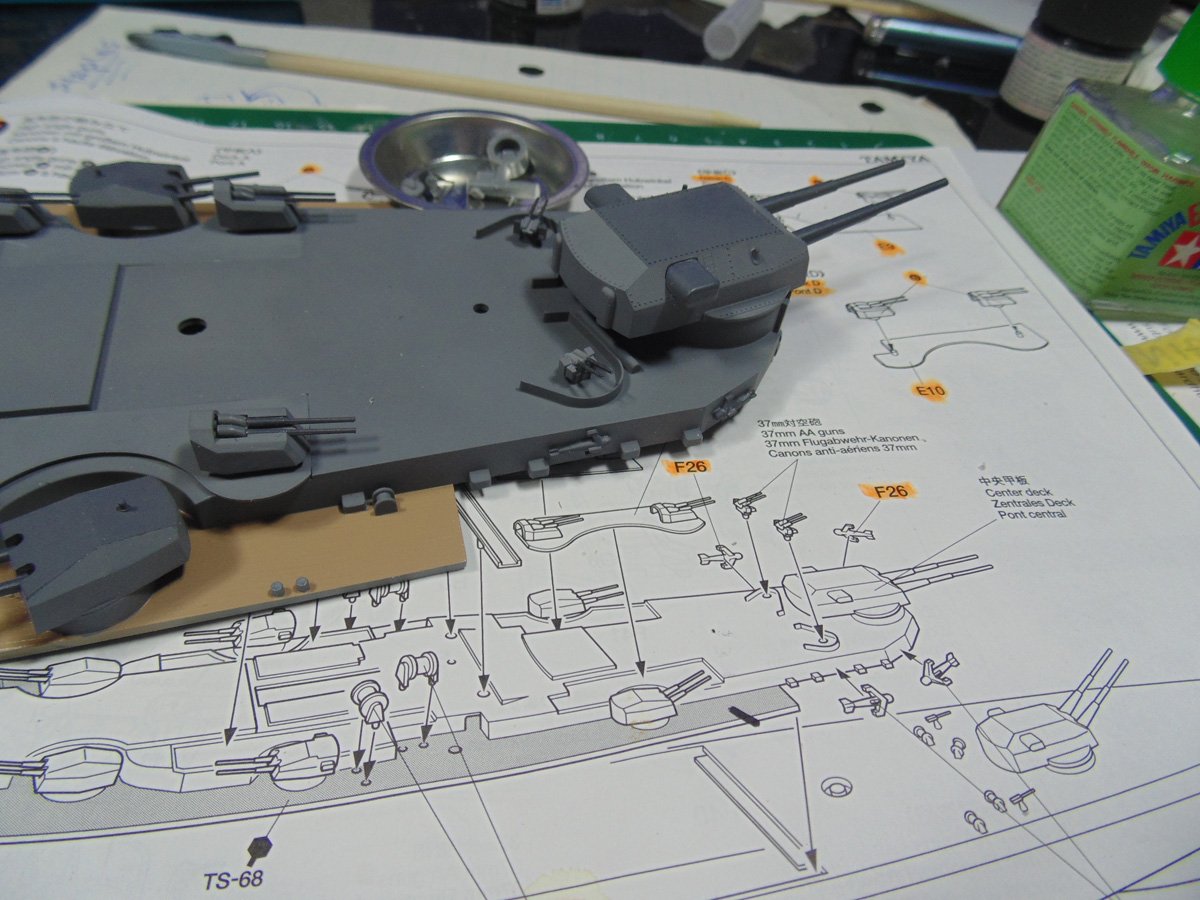
After cleaning, priming and painting the smaller gun turrets have to be brushed. It’s totally your call what dark colour to use, but it makes a difference. This way the dark barrels don’t fade into the grey colour behind.

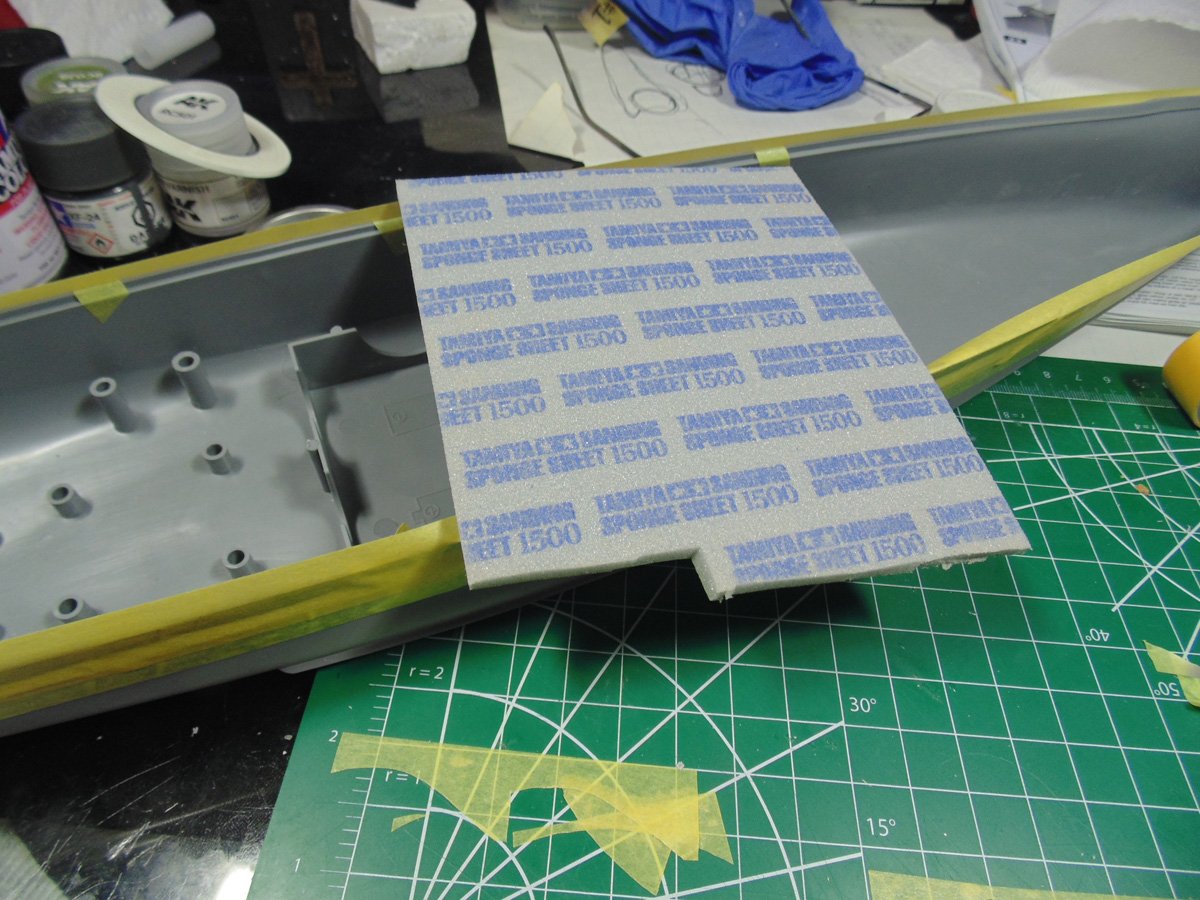
Prep your hull with some high grit sanding sponge. It conforms to rounded surfaces and because it’s so malleable it cleans up super easy on pant leg. Mostly what you need to remove is the dusting effect of the primer and grey colour.
Both the hull and superstructure will be man-handled quite a bit. Pick up some sharp ended cotton swabs from the store and drench them in filtered water. This will easily remove finger marks and not disturb the paint. These swabs do a great job cleaning your airbrush as well.
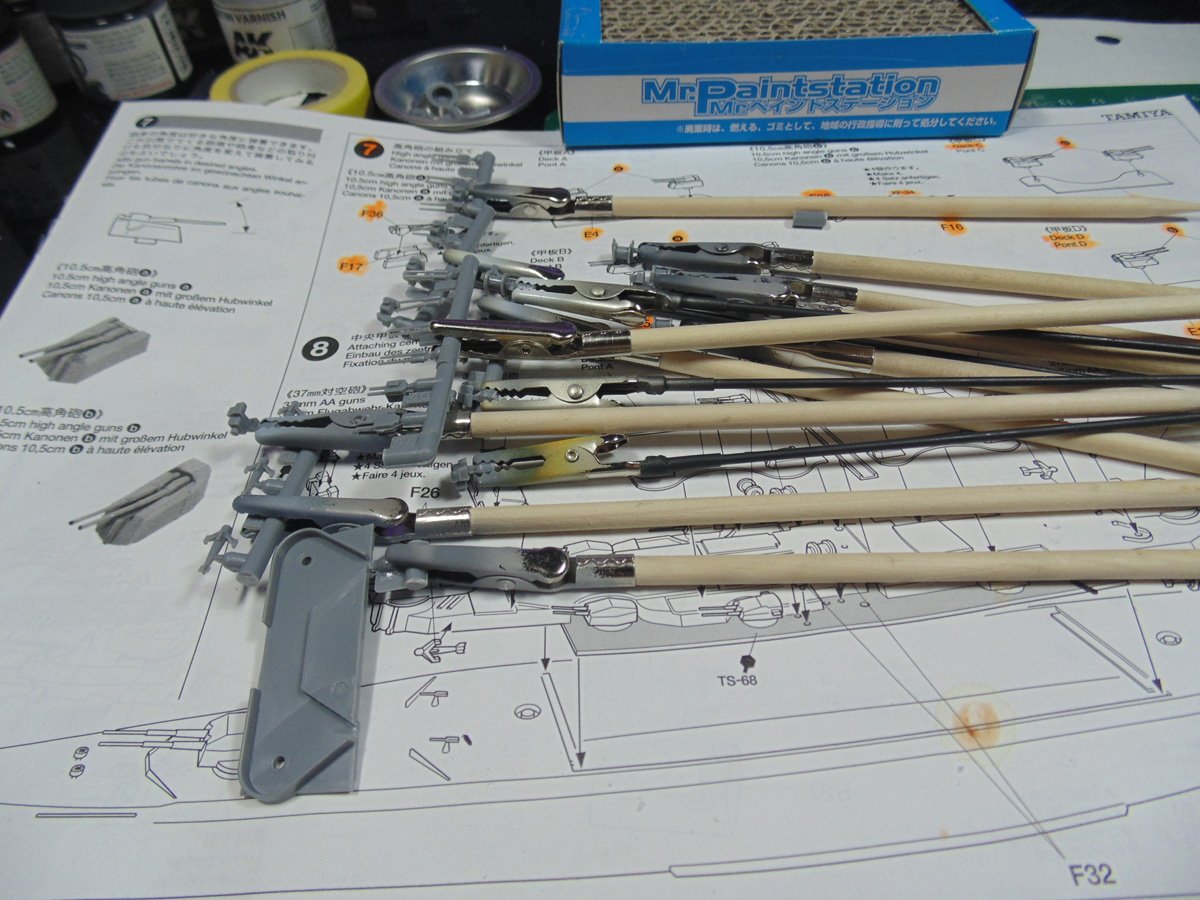
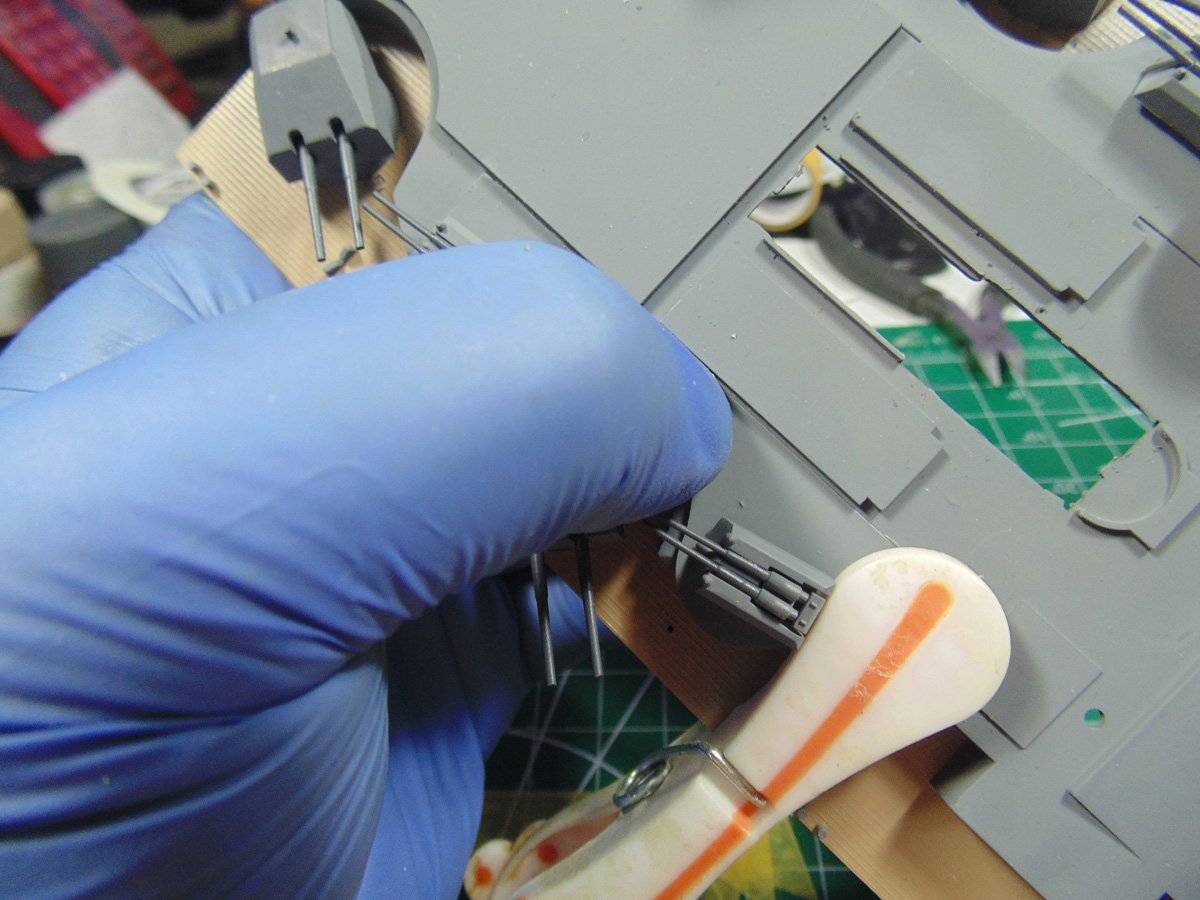
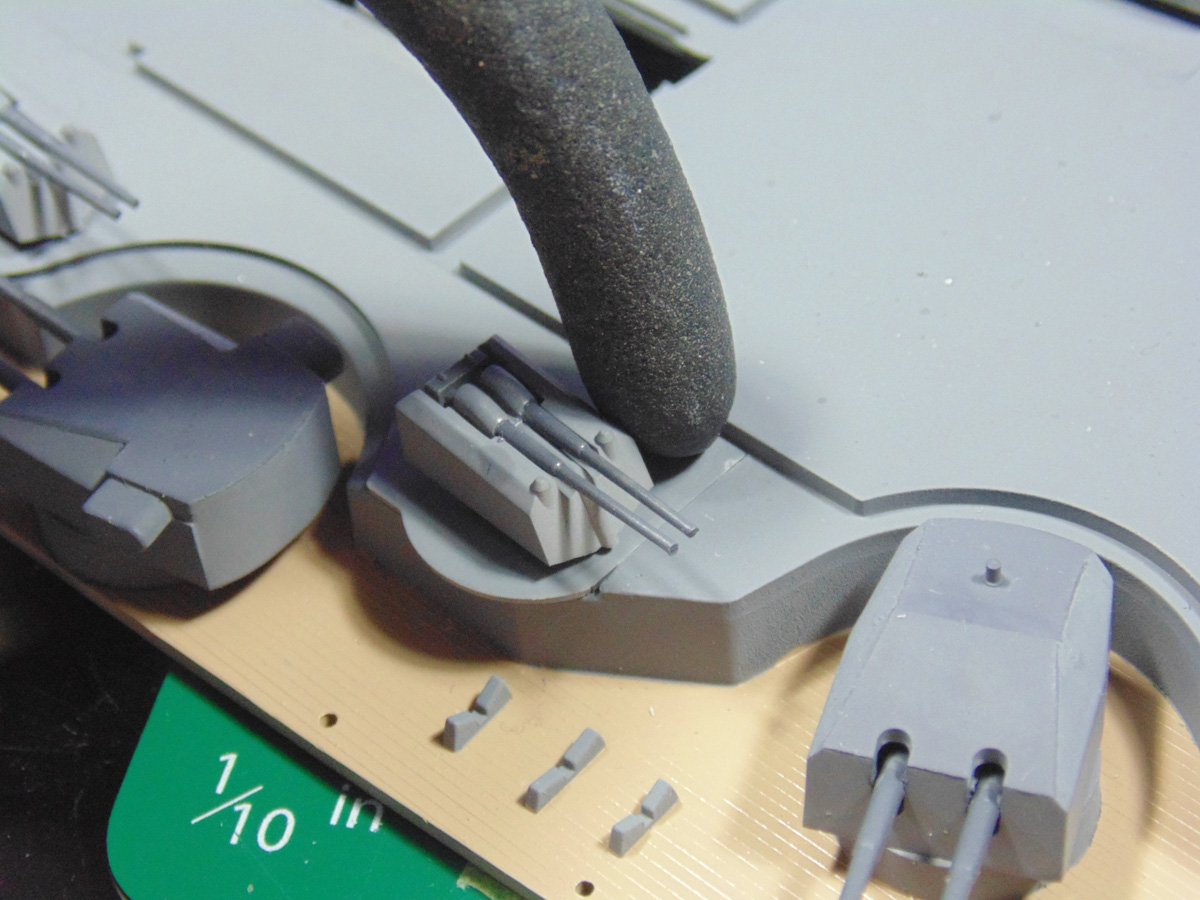
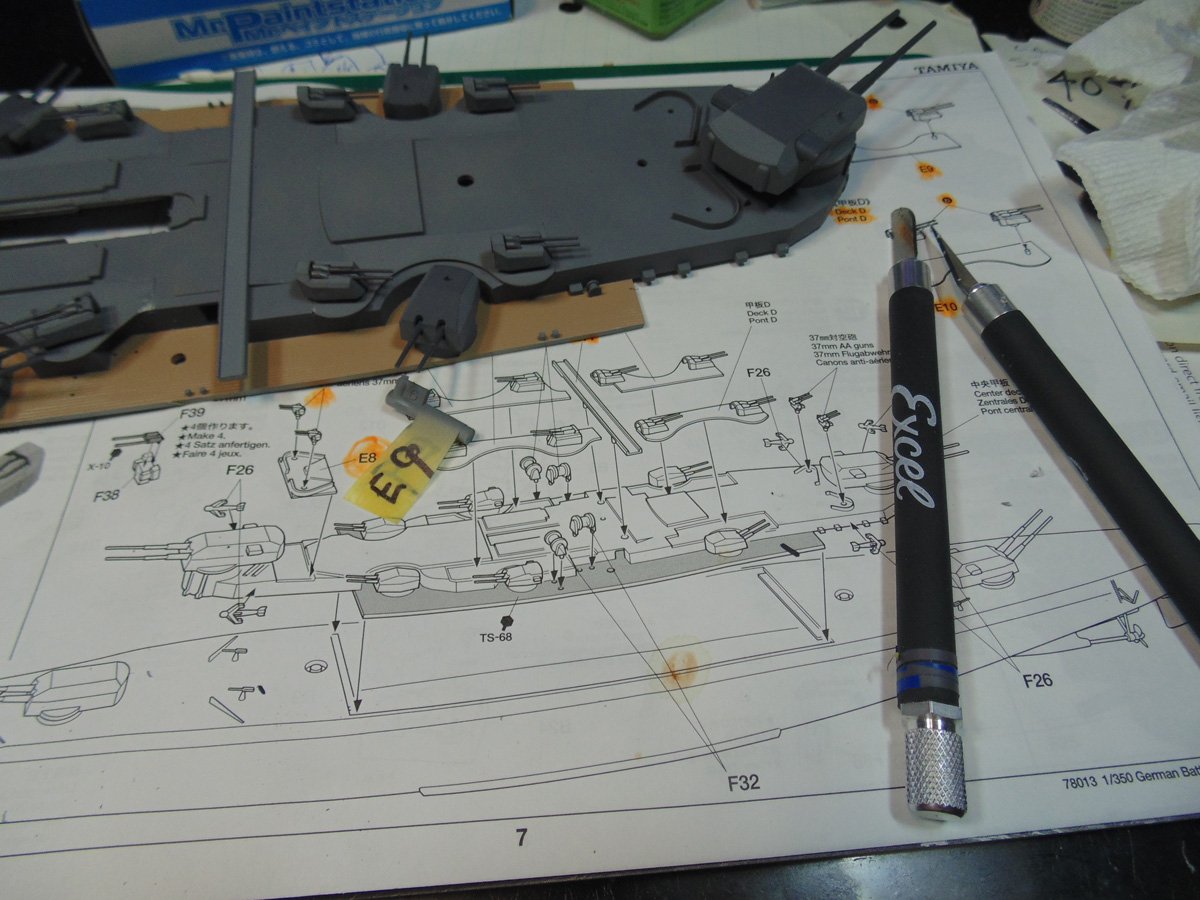
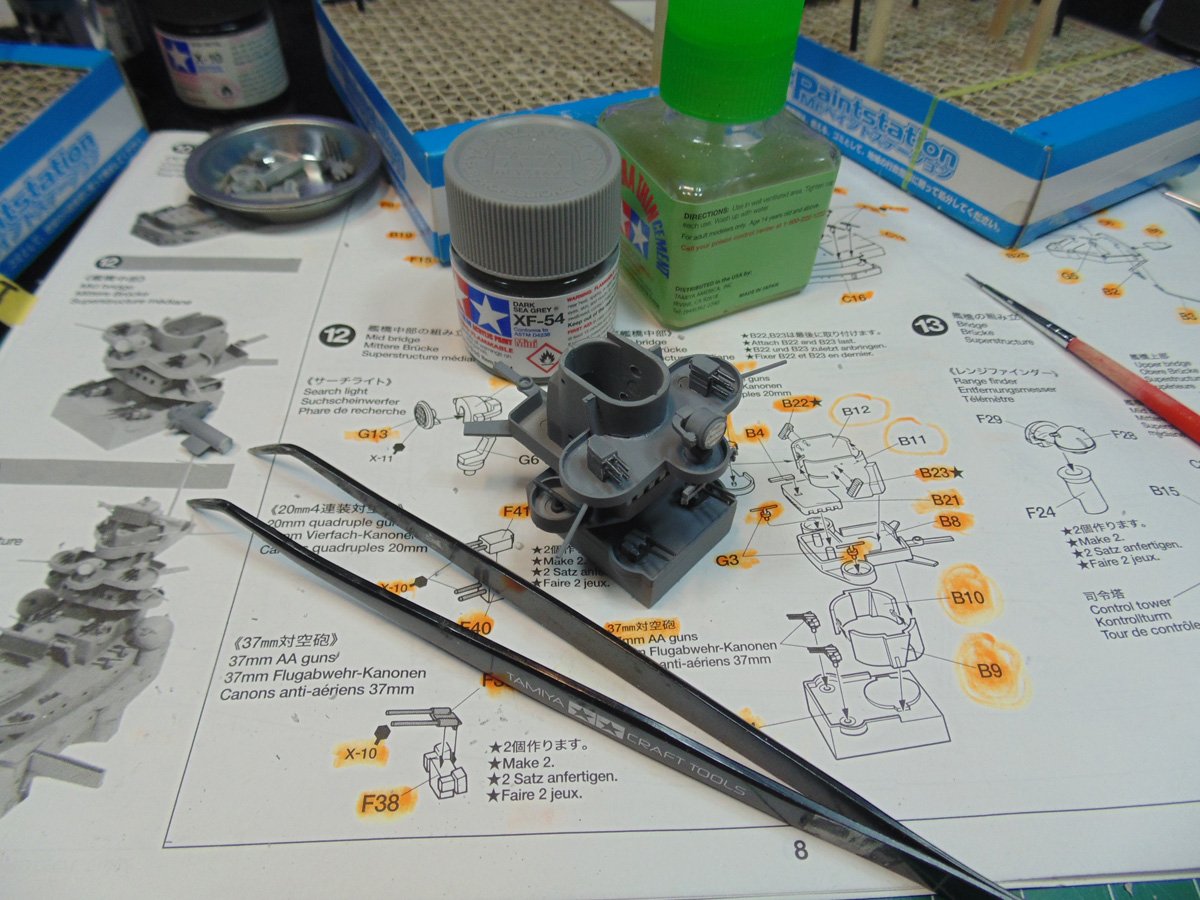
There isn’t any way to avoid bouncing around between several steps. Sure, it sucks but it’s the process. A couple of steps ahead I had the chance to build up the AA guns while previous parts were drying. To get the best fit for the bottom plates, use a file. It removes, along the edges, the plastic flash, primer and paint you’ve added. Just be gentle and test-fit a few times.
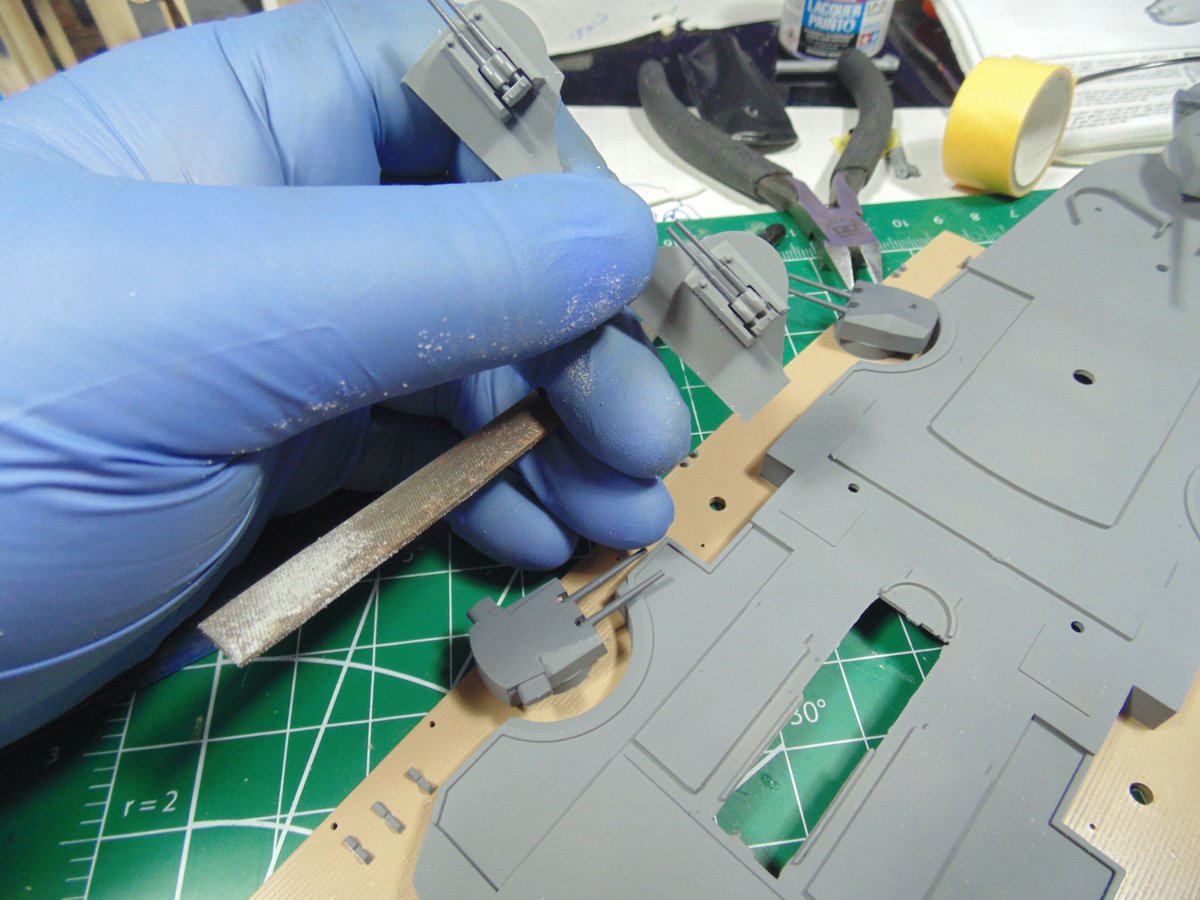
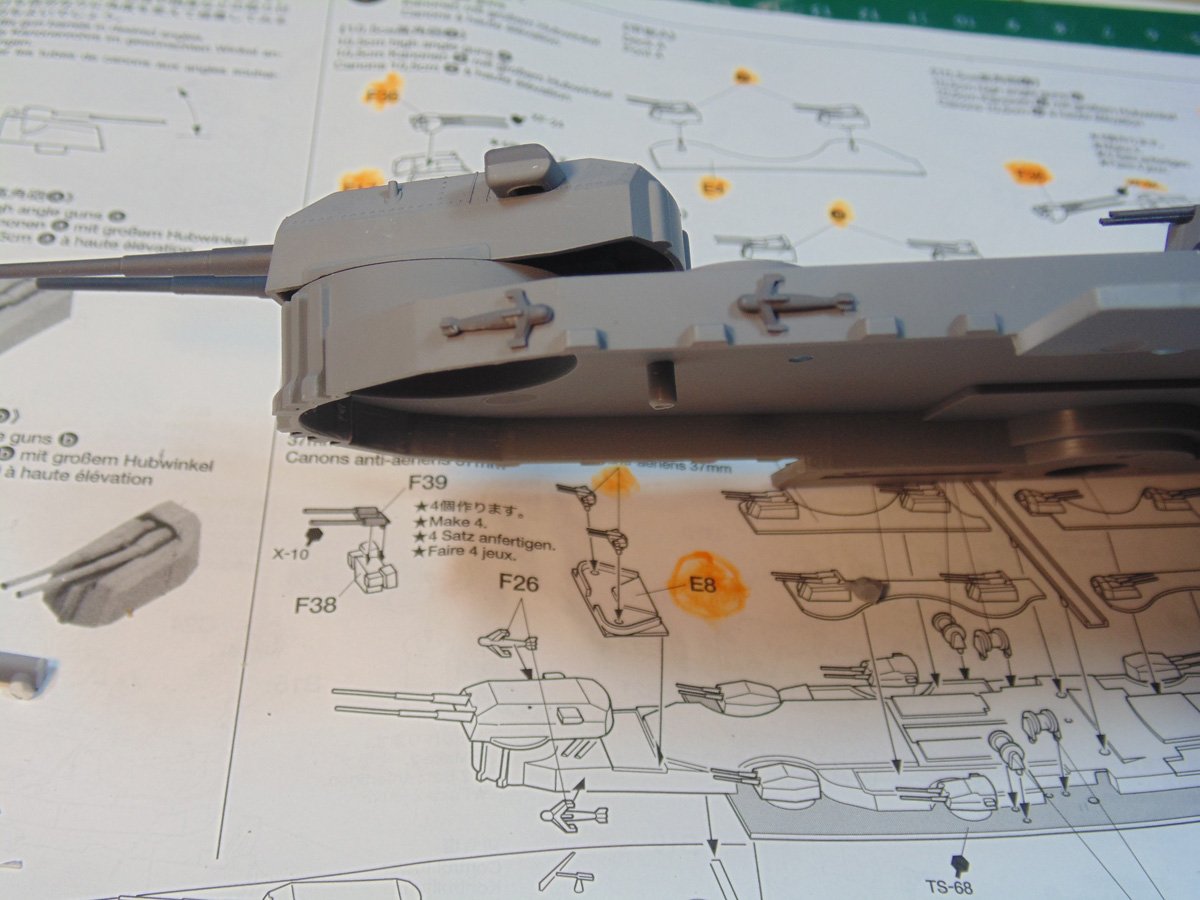
Make certain to clamp these parts in place for an hour or so. Four would be better, but it depends on your build schedule. Regardless, these AA plates must be flush to look right. Spend a bit of time working this out, otherwise they appear awful.
Scrape the plastic from the edges of the mating points. It’s a well molded model and fun to work with but does have its quirks in some places. Use a rounded edge for this task. I used a NO.11 then switched to a different blade. See, you get to learn from my muk-ups HA HA.
You may have to pinch down in a few places like I had to. These parts slip in nicely, yet have a rise. Press the parts firmly so they conform to the deck. Use whatever means you have and consult a Sunward Hobbies Staff member for advice.
You can also use the tip of your sprue cutters. It’s a rubberised edge and will not harm the plastic below. This also applies to many other tasks in modeling because sometimes you just don’t have the correctly shaped clamp.
Remember, sometimes you’ll have to fill in sink or ejector release marks on every. Tamiya did a great job with hiding them, but unfortunately, they do show up. I suggest using a lacquer-based filler. It impregnates the styrene plastic and after 24 hours sands super smooth for primer.
To get to the Island parts to fit snug and flat (without seam lines) clamp them down. Rubberised clothes pins work well here. Sunward Hobbies have all the stuff you need for this task. Modify the tools as you need after buying them.
The sub deck is going to be a yellowish colour which means a few minor touch-ups. No big deal, super simple to knock off. Consider picking-up some fine brushes from the store. I do.
You can choose to alter the color of the add-ons. I went with a slightly darker colour simply for contrast. You decide what works for your eye.
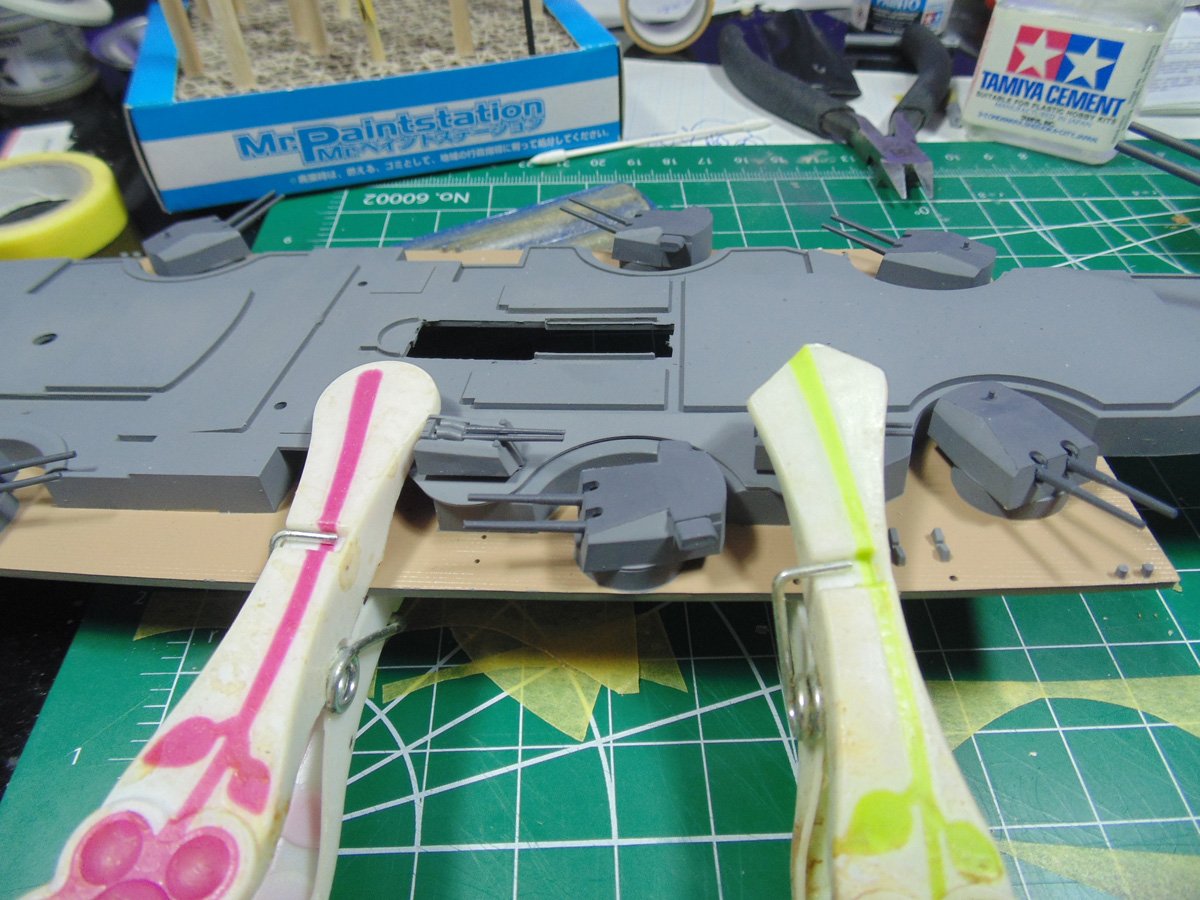
Attaching the gun emplacements is not a big deal. You just have to slide them into place then add glue. I know, it looks like a monumental task but easy to manage. Propping up an end will help.
Obviously, there are going to be some paint touch-ups. Ovoid these with careful tape masking. Rub your finger nail tips along the edges to push down corners when needed.
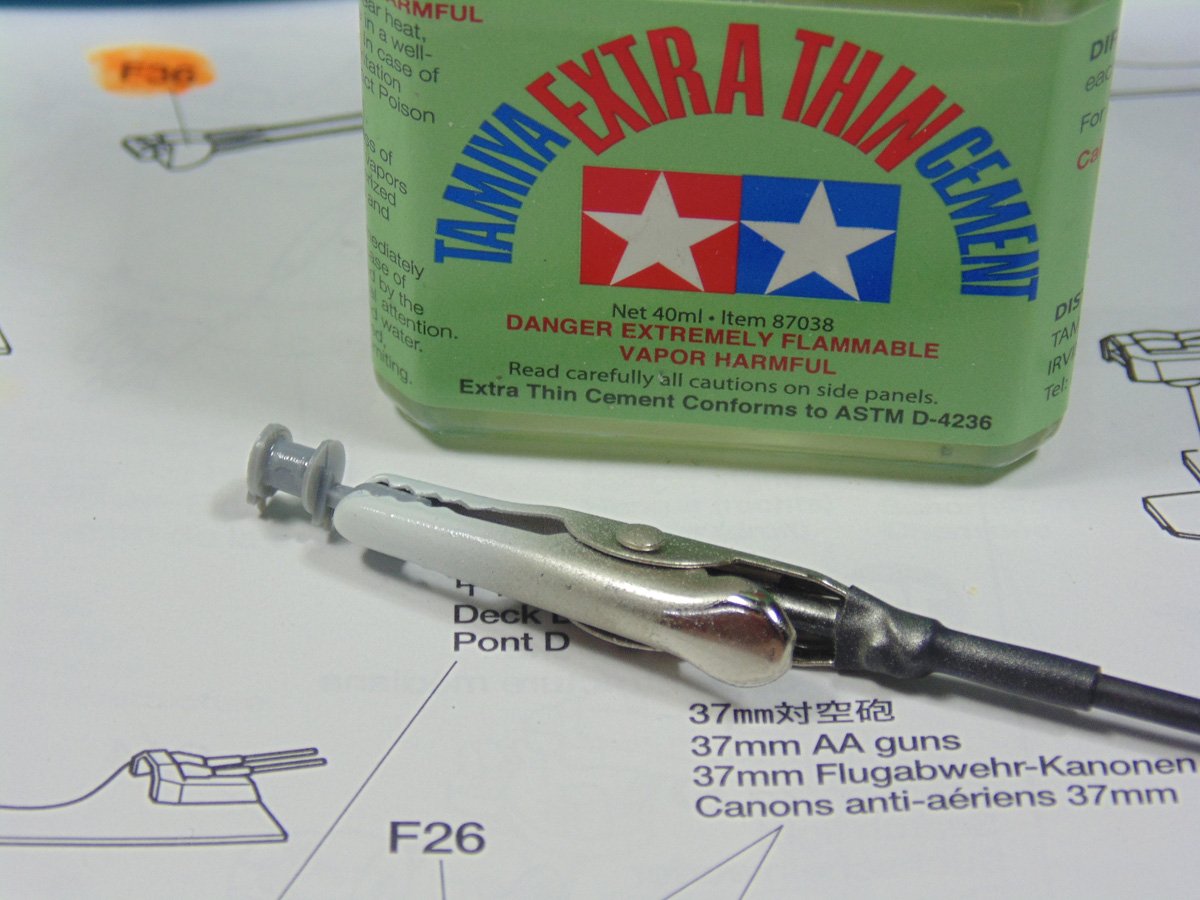
You must be mindful of small bits you’ve added. Find a spot to grasp and make that a point to hold your model and use for painting or airbrushing. These gun barrels are extremely delicate, thus go with caution when moving to the next step.
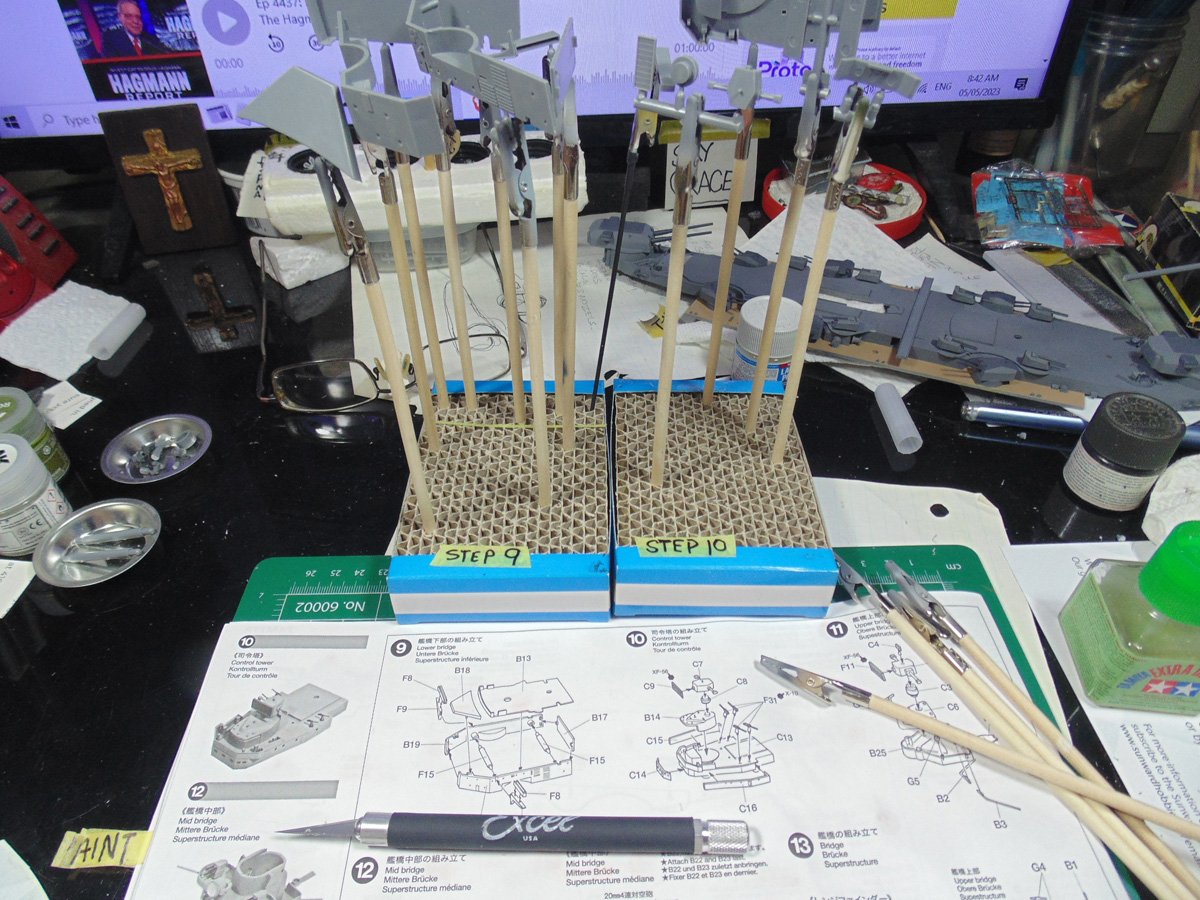
I’ve said this before, yet I’m going to reiterate! Always, always, always mark/label the steps you are doing. Be it with a hobby or life. Here, I’m getting ready for multiple steps.
Tamiya parts are really nice, yet even they can’t be that accurate. The “plastic flash” must be removed in order for these parts to fit.
Here, I’ve clamped down the sidewalls. Fun for kids!

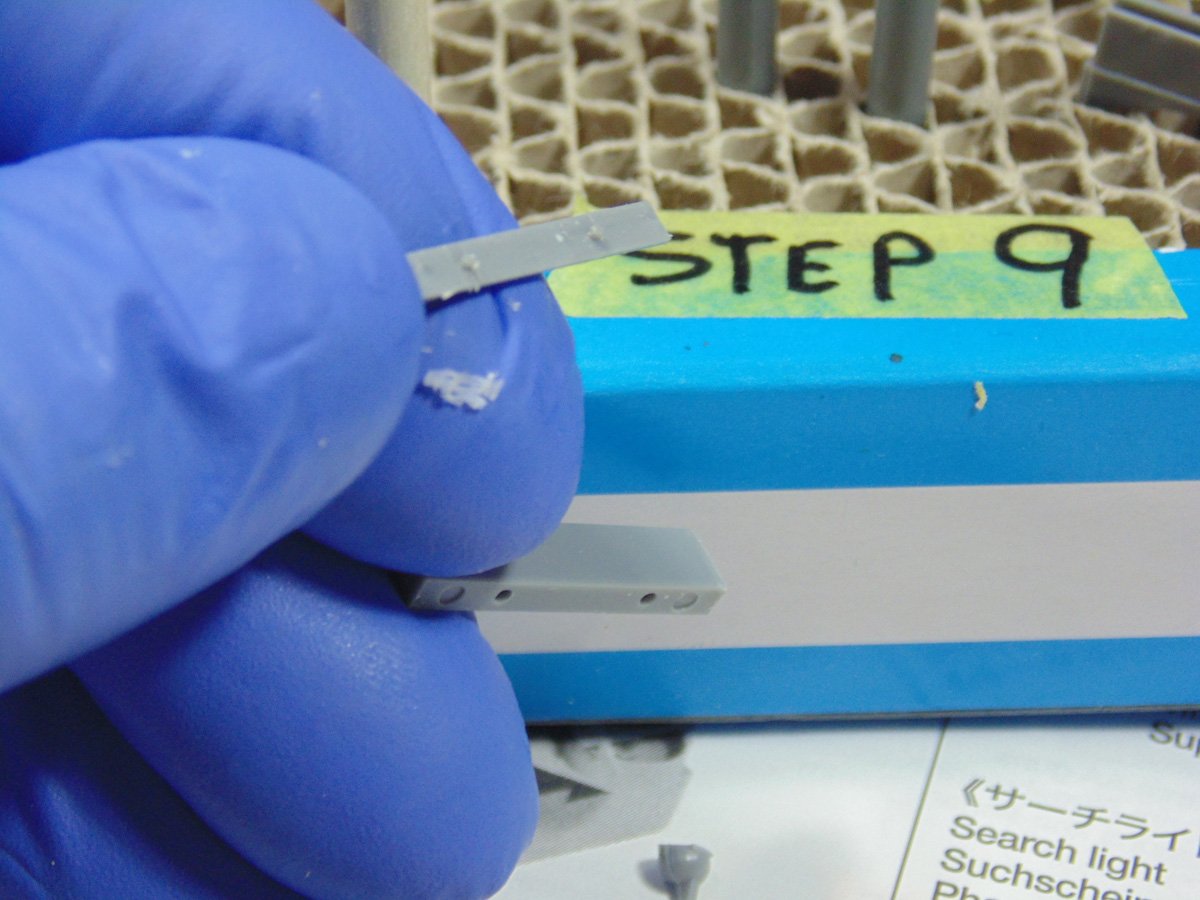
These injection marks have to be wormed out. It’s a simple bit of work that anyone can do.

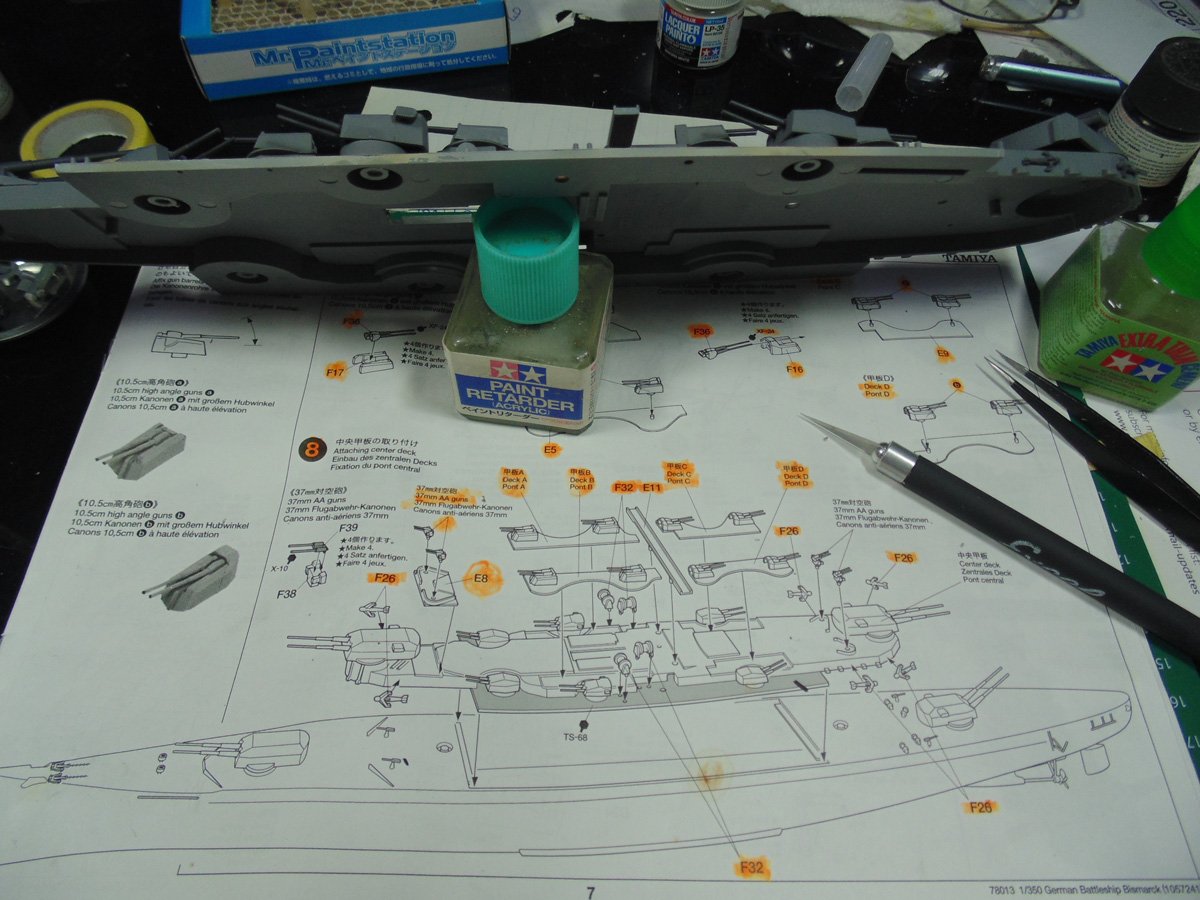
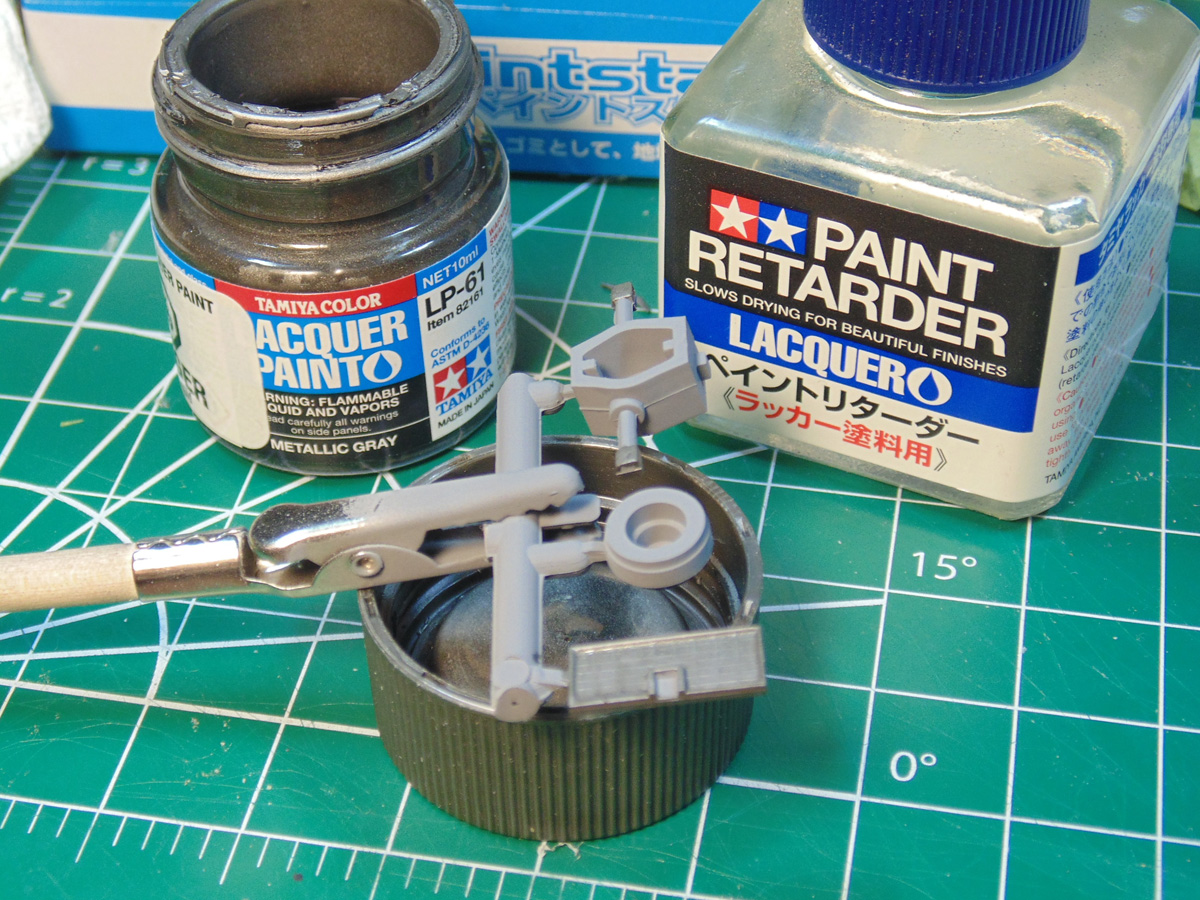
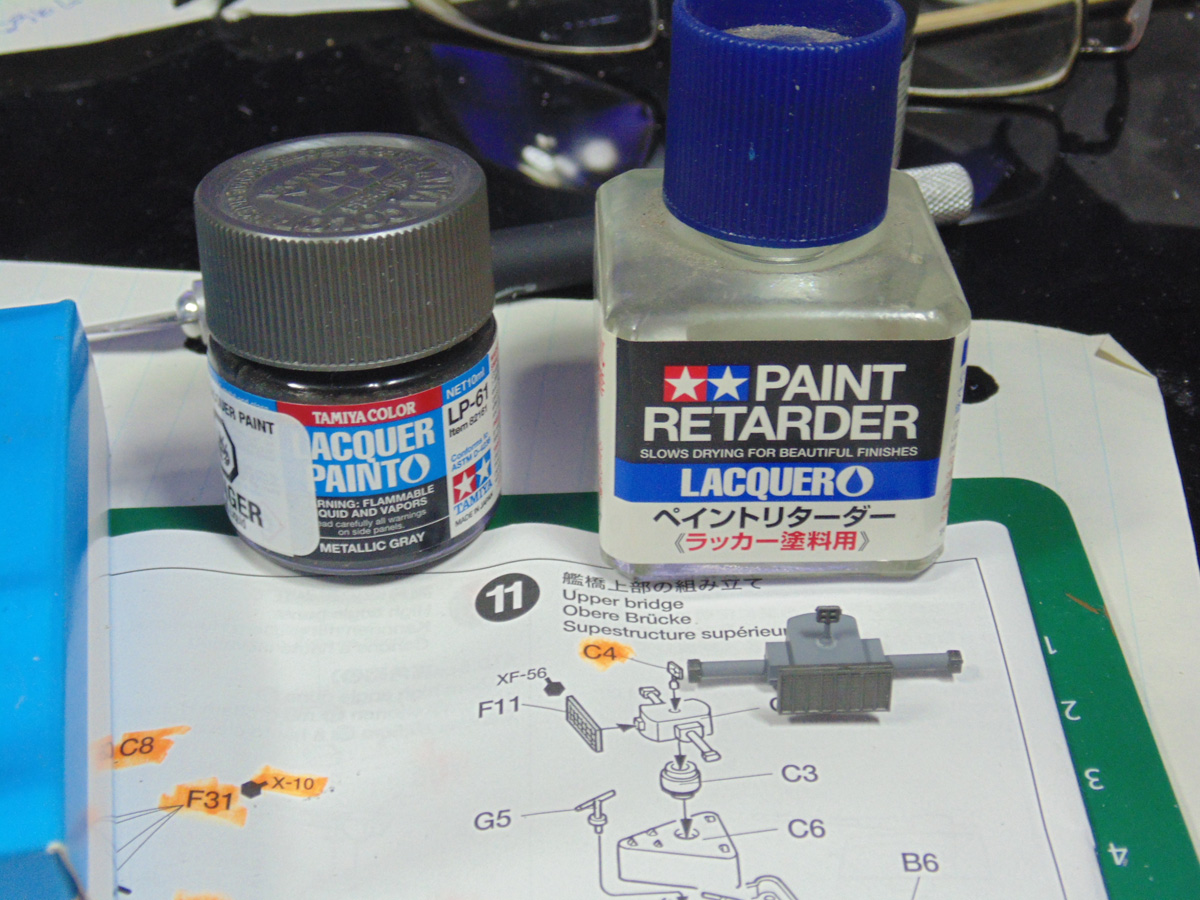
Make sure to reduce or thin any paint you are going to hand brush. In this example lacquer did the trick for the radar parts. Leaving the lines was intentional to add more detail. The retarder thins and smooths the surface, giving you a nice finish.
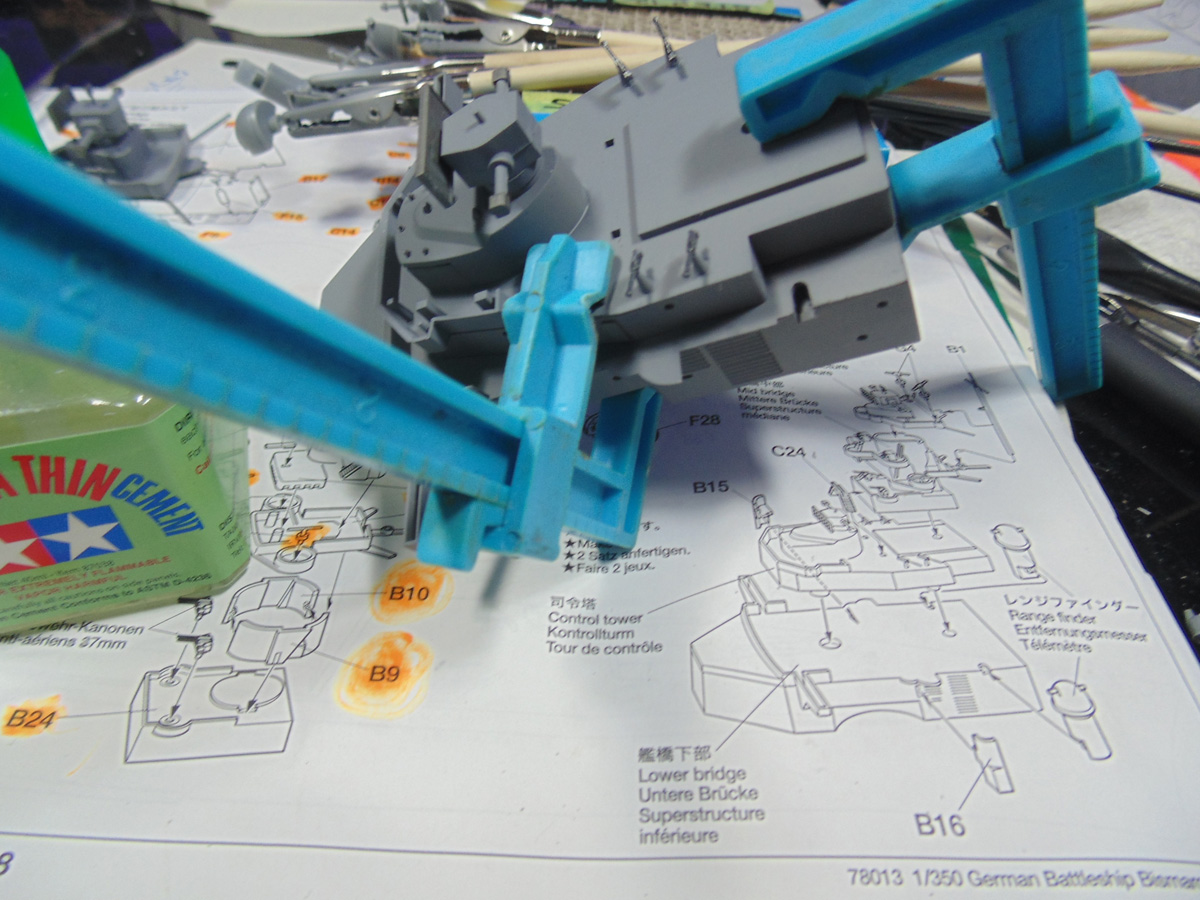
The super structure in step 9 is well designed yet needs a little help to look seamless. Clamp it down as much as you can along the deck lines due to the slight gap.
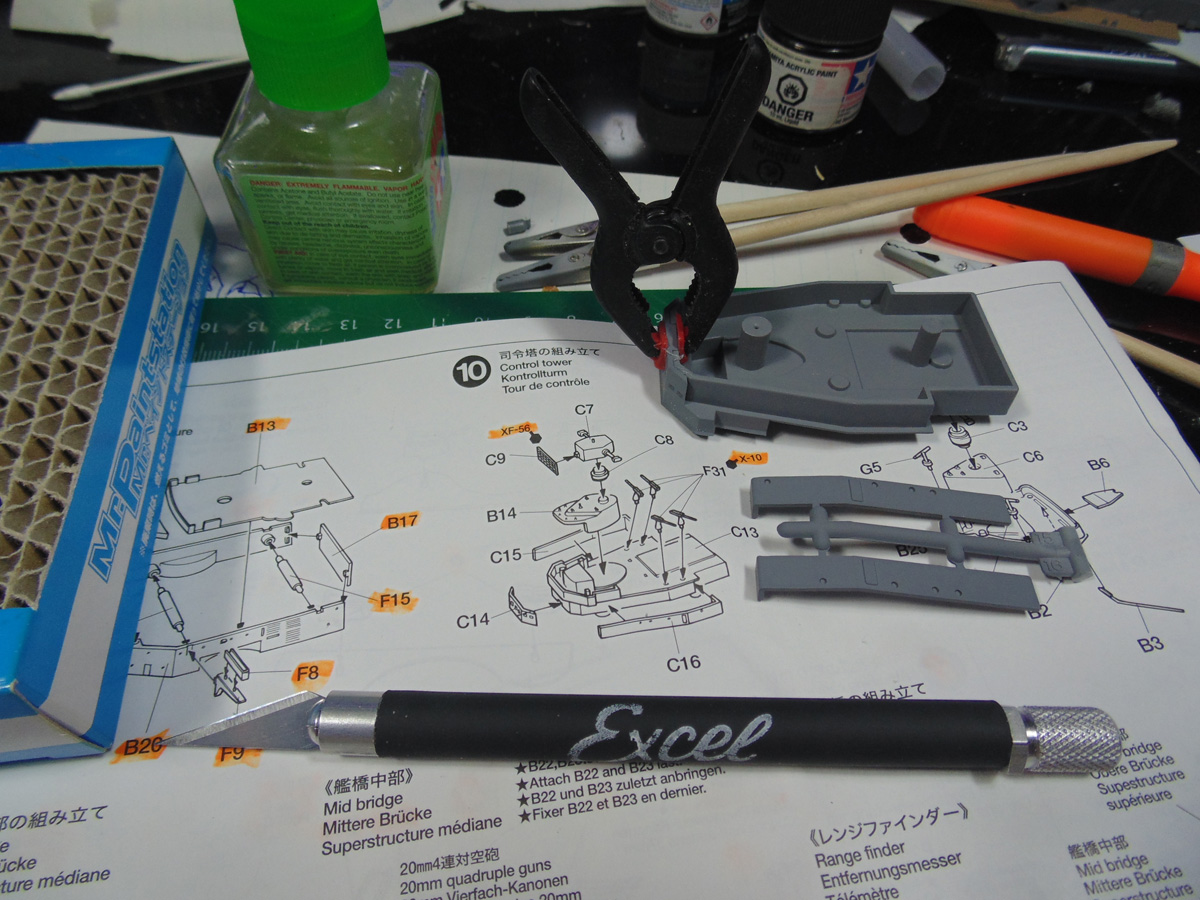
The control deck is another well engineered section of the model. After test fitting I found the best fit was to attach the forward C14 piece then follow that up with the side parts. The other bits just fell into place like a dream.
As mentioned, label the sections you are working on and definitely prime all parts as was done in steps 10 and 11. The paint sticks so much better on primer as opposed to plain plastic. They handle better as well.

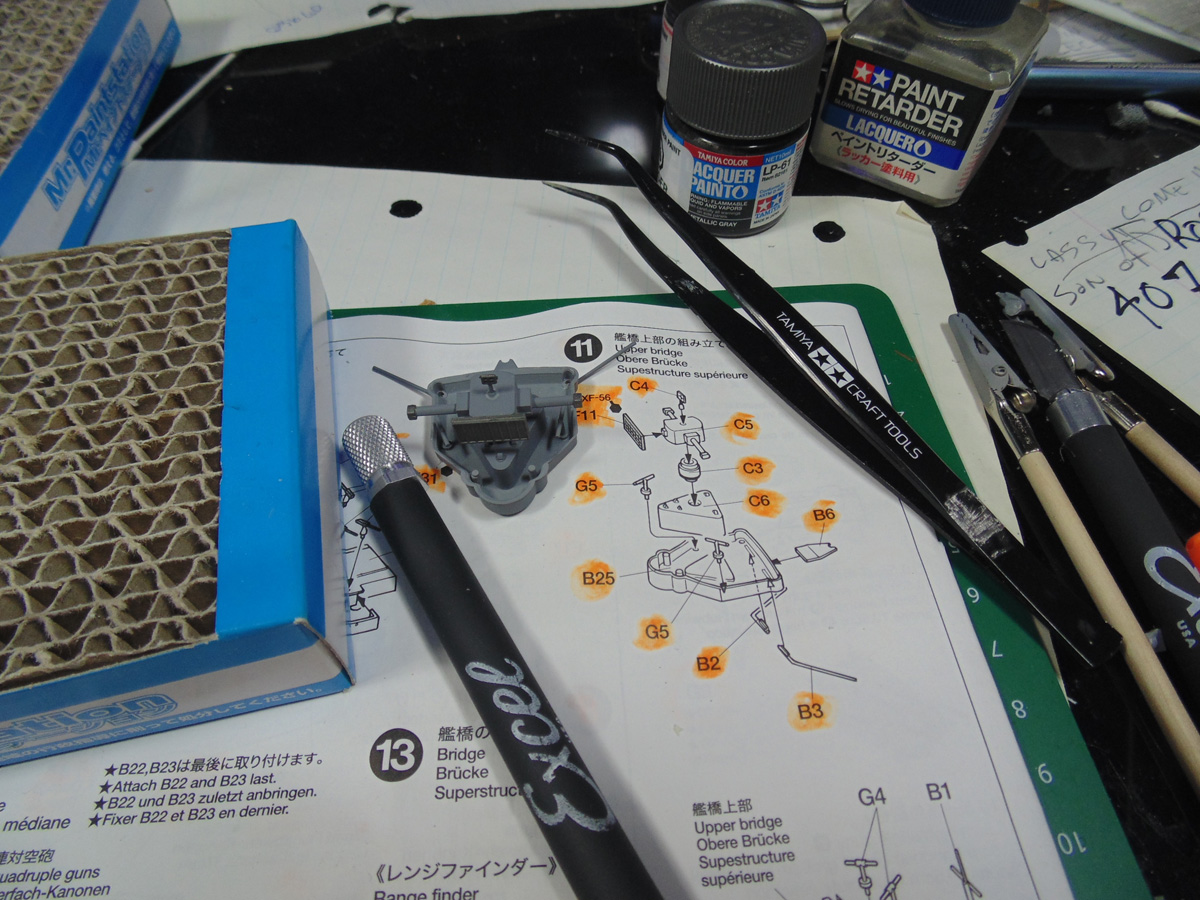
In step 10 you can opt to remove the parting lines of the radar or not. Normally I would, but in this case, it added more detail. Make sure to leave this subsection off to one side for those tiny guns to firm up overnight. The plastic is super fragile and may snap off if handled many times.

In step 11 you can decide to remove the parting lines because in this model they were too heavy. Again, use Tamiya’s retarder to thin any hand painted parts. These radar parts need a decent couple of hours to affix prior to painting.
There’s a bunch of stuff to look out for when attaching the smaller bits in step 11. Be mindful of the slots for parts B2 and B3 when connecting them under the deck. Remove the primer and paint from both areas and they’ll join up nicely.
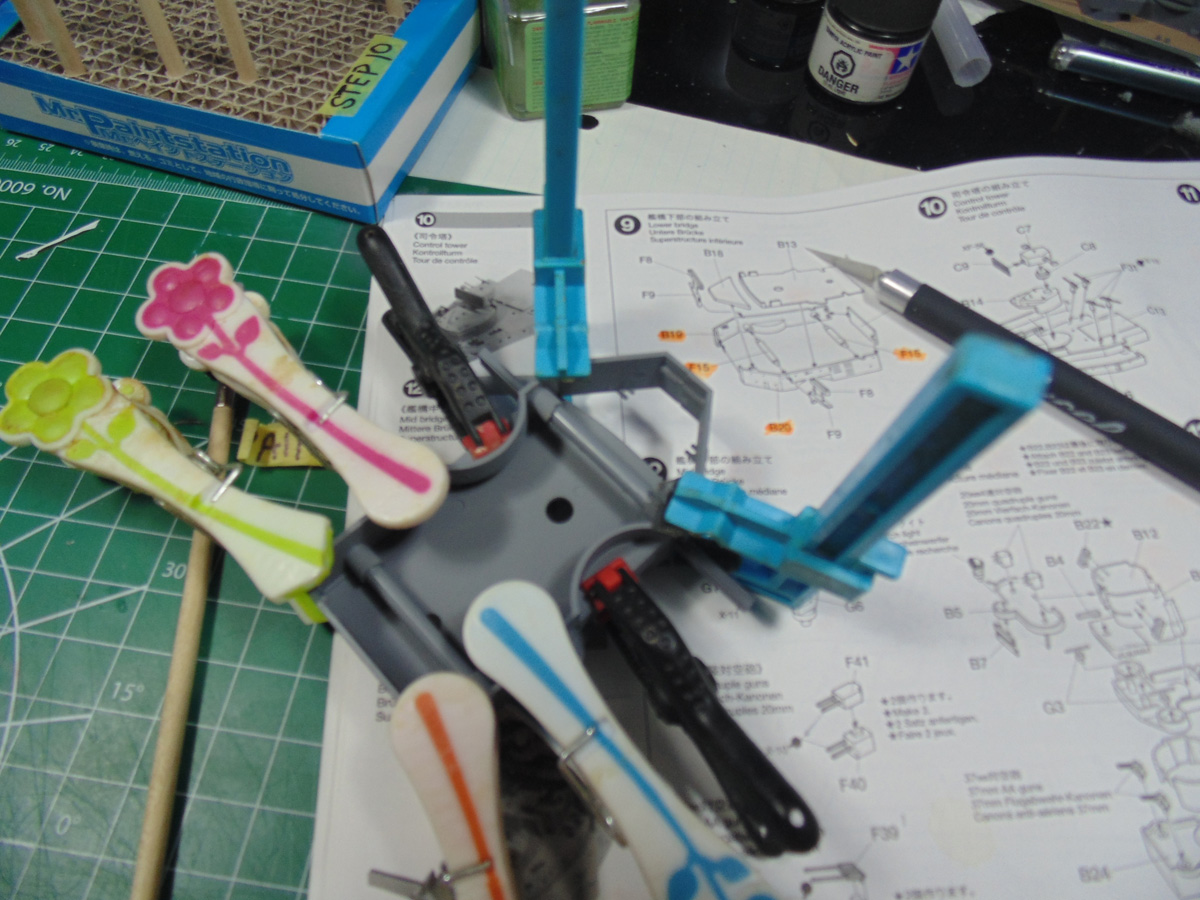
The subsections of the mid-bridge need to be clamped in order to go together properly. Use a milder force here though. Common clothes pins will be fine. Allow the glue to set for five hours to ensure a proper bond then carefully remove the clamps.
These parting seam lines of the subsections have to be (if you wish) filled.
After filling the parting lines these small subsections should be re-primed and painted. Run a flat file over top and bottom to get connecting surfaces even.
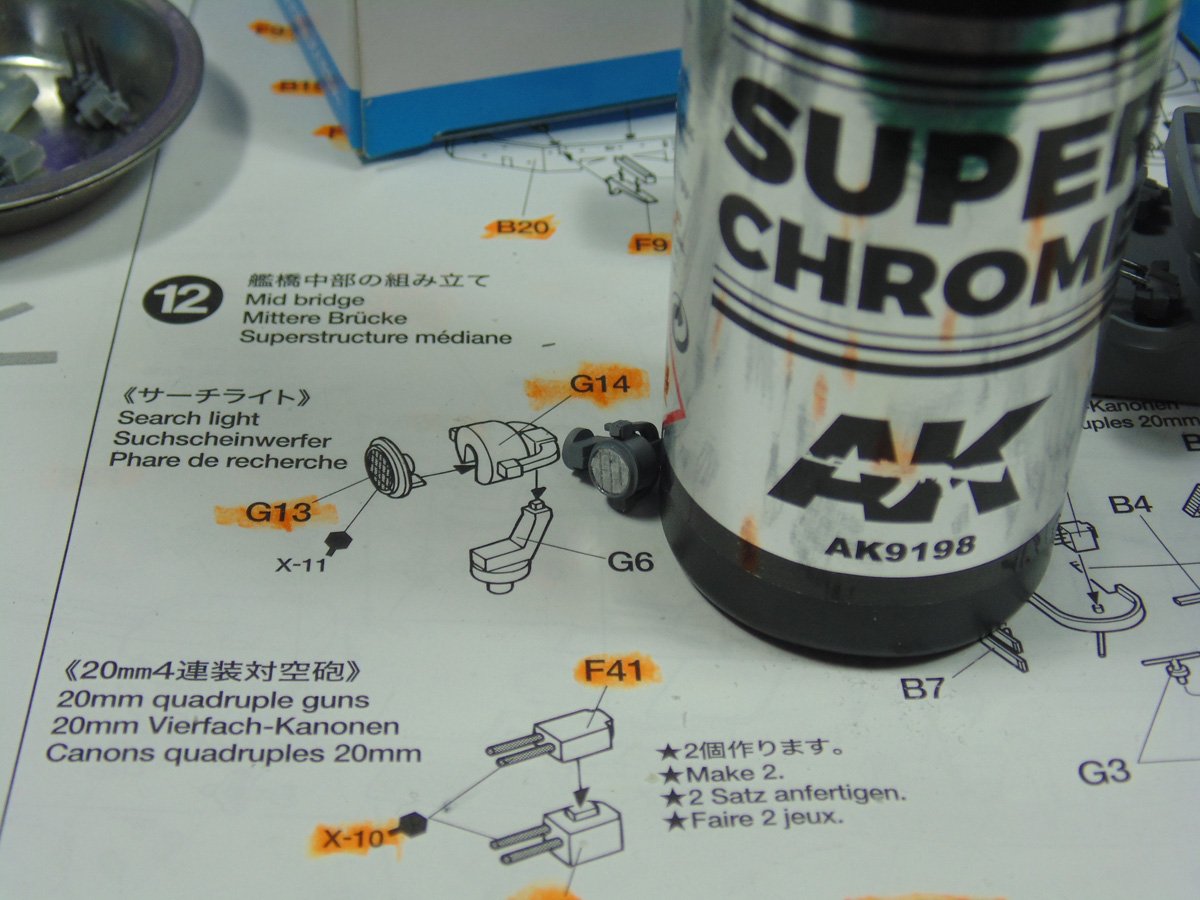
My choice of chromium paint is this AK Interactive brand, Super Chrome 9198. Mostly because it is so easy to hand-paint and cleans up super quick with just a drop or two of AK thinner. Let this paint dry for no less than an hour before handling it.
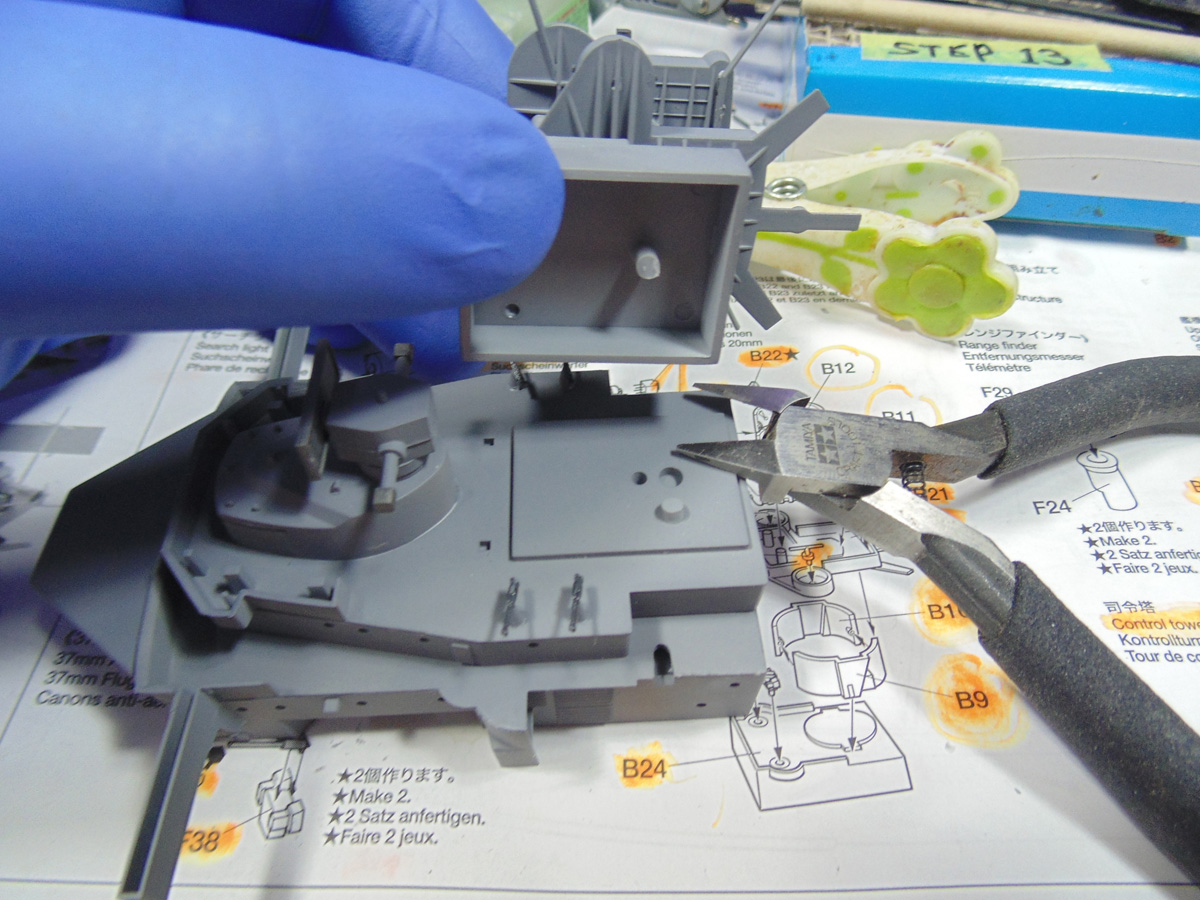
Use your teasers to affix these smaller guns and antenna parts. Attempting this with fingers is a problem. The edge of a blade will help force the part into place. Build up the guns, prime and paint them before being attached.
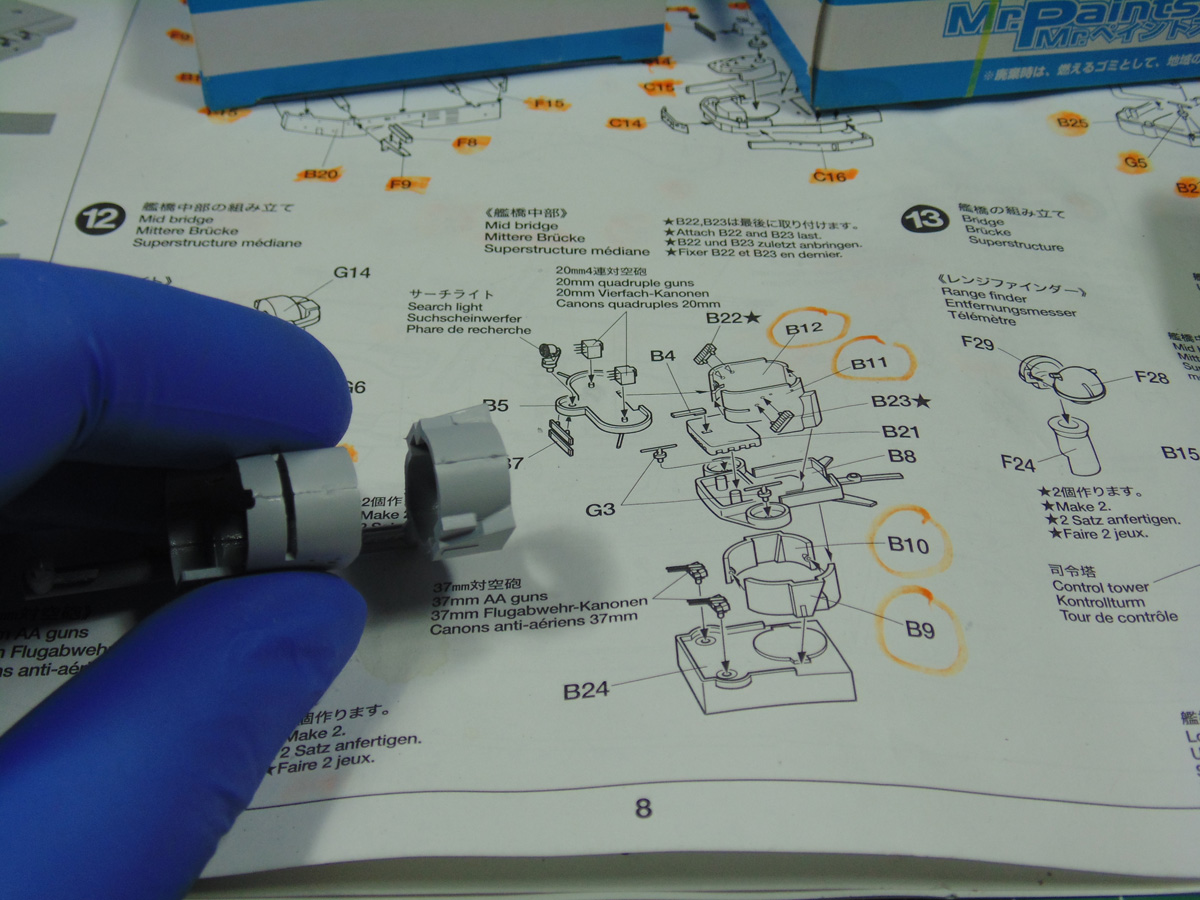
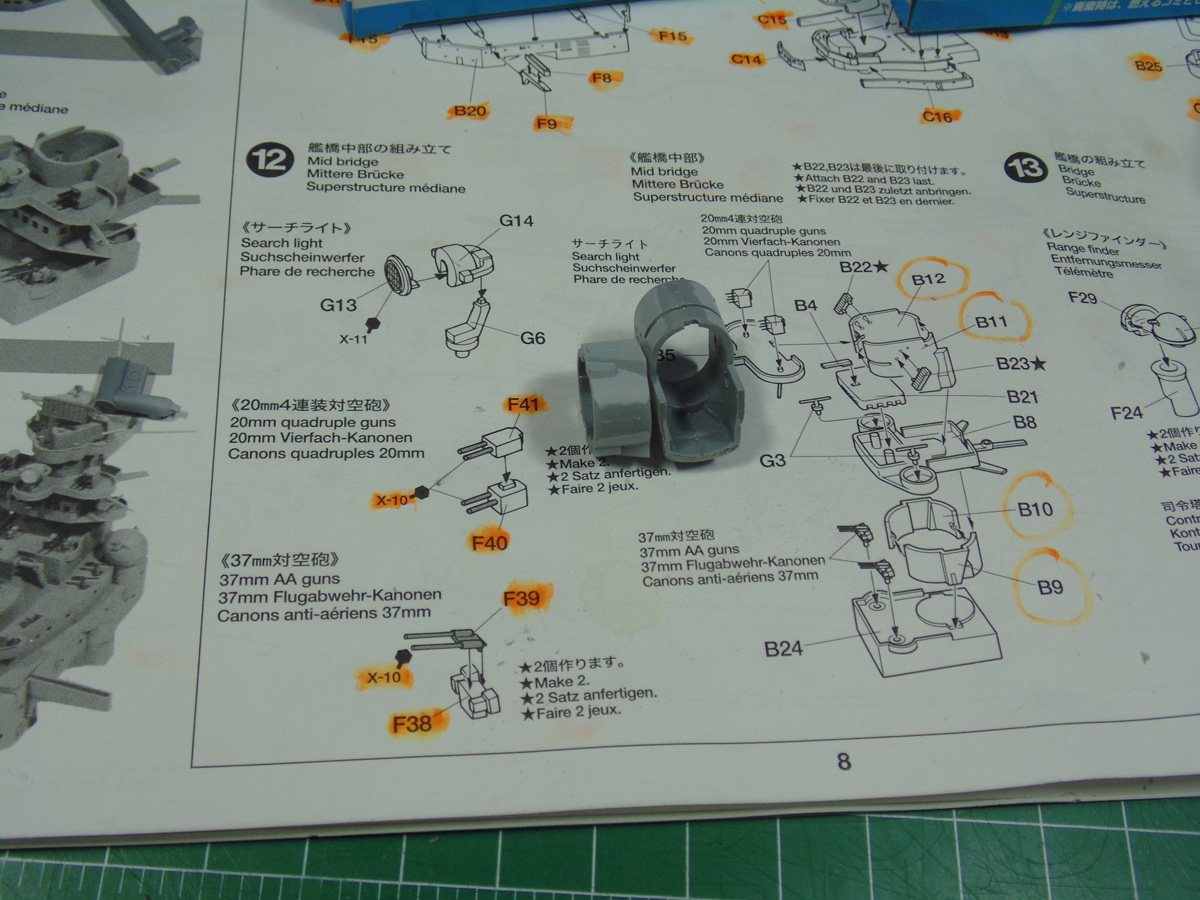
After the upper quads are put in their spots you can assemble the entire mid bridge. You have to remove the plastic flash for this step. When parts slip into one another make sure all mating surfaces are level. Use fine tweezer tools to put these parts in place.
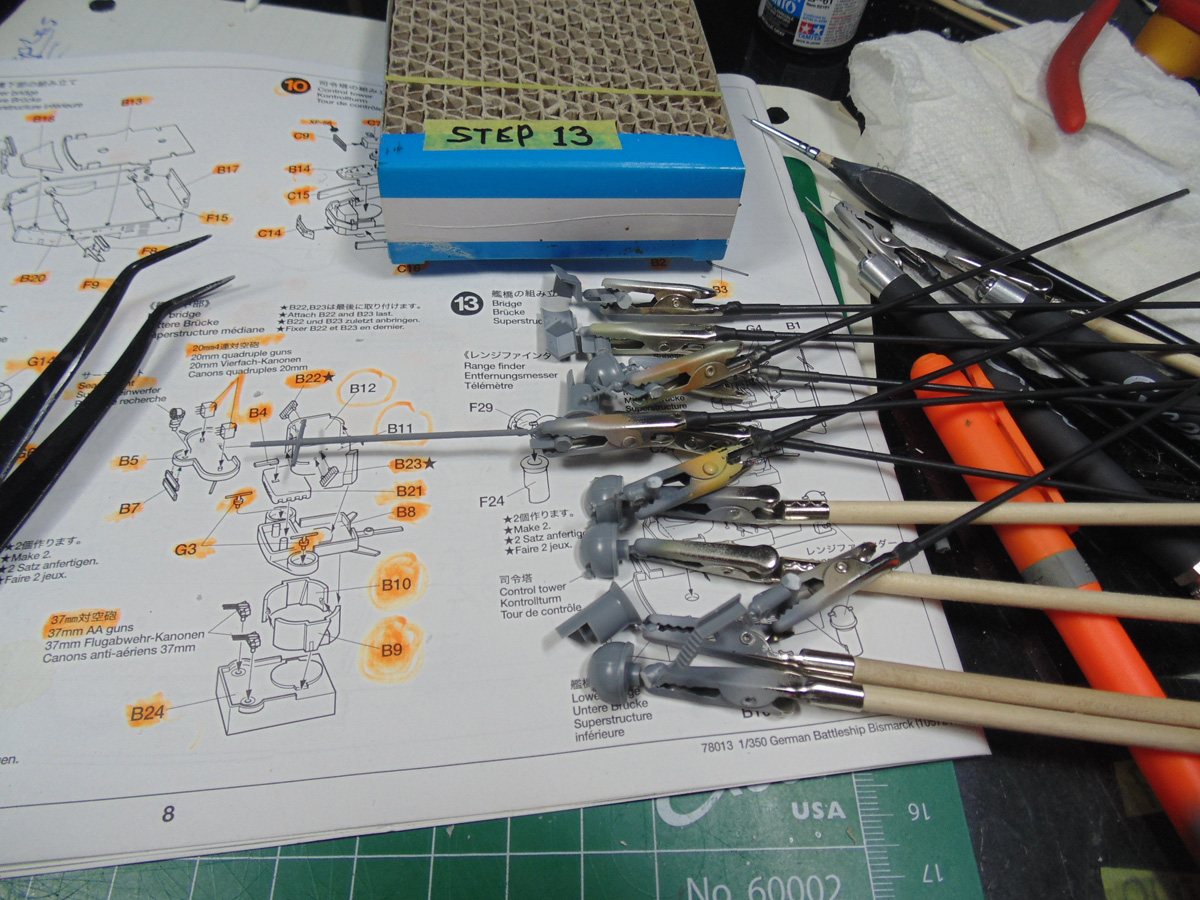
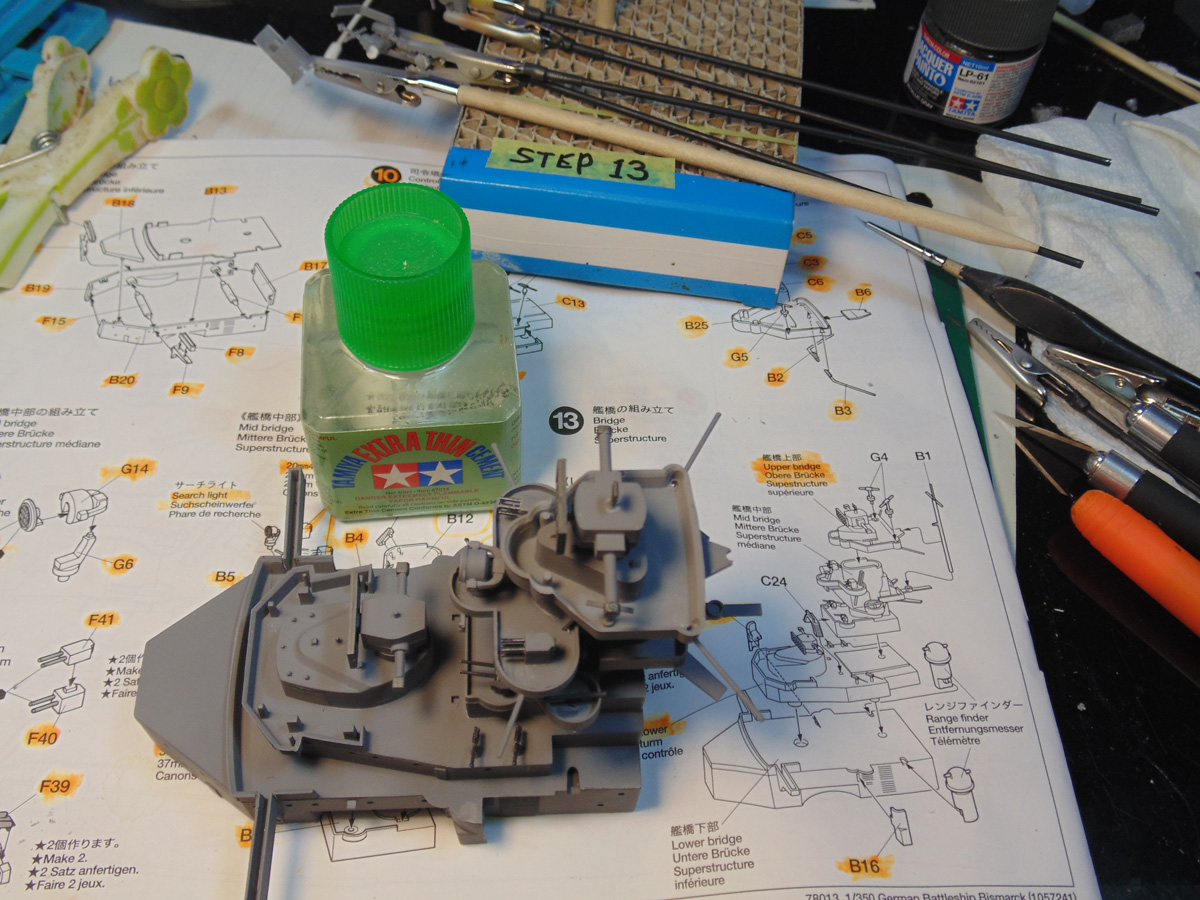
In step 13 there is some great fun, yet you’ll have to prep some parts. Do not sand these items until the glue has hardened. I learned that decades ago.
Select, if you want to, reduce the gaps in deck parts. Here, I’m using some Excel clamps. They fit into small reliefs and are easily tightened with your thumb. Also, you can use them around the house for other small tasks.
Cement/glue the underside large pins first.
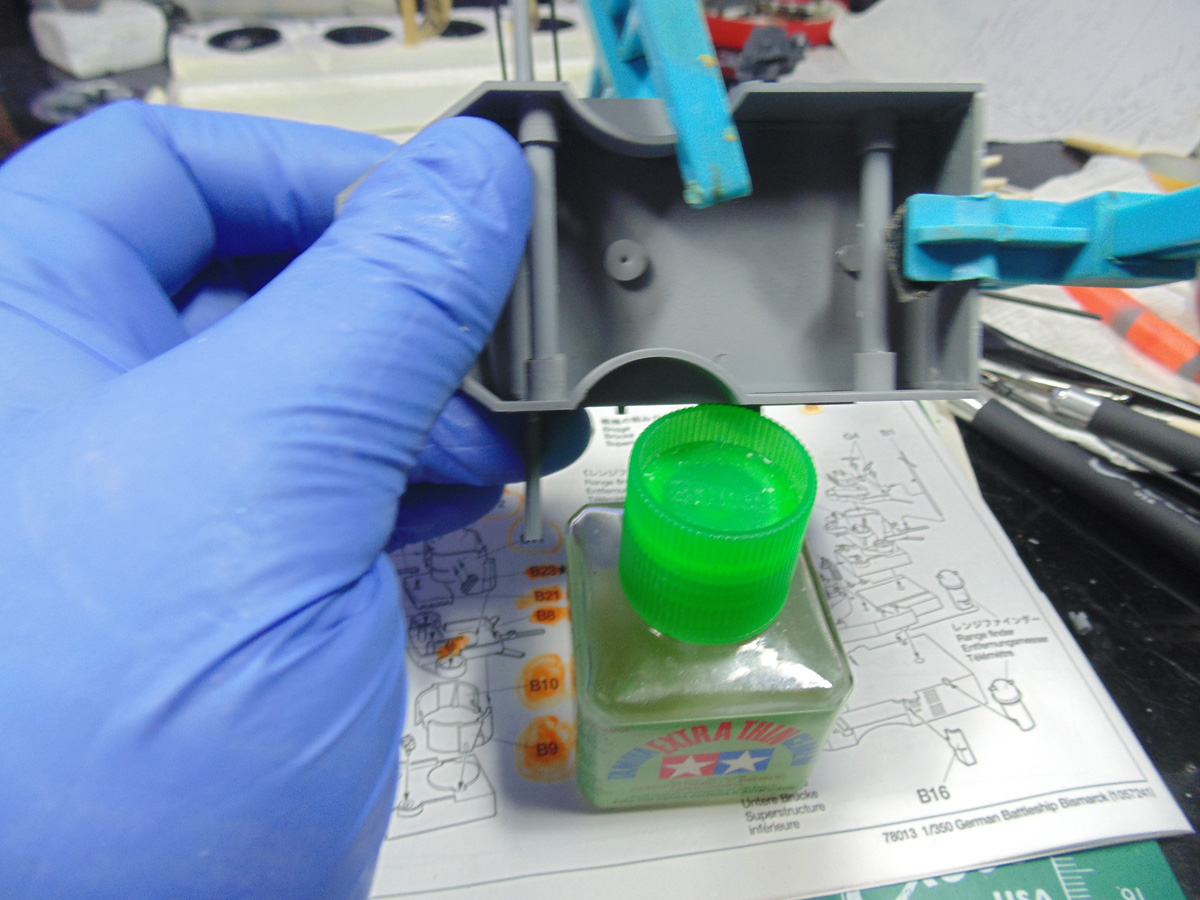
All the range finders need some special attention. Please allow these parts to dry for several hours prior to knocking down the parting lines then the priming and painting stages.
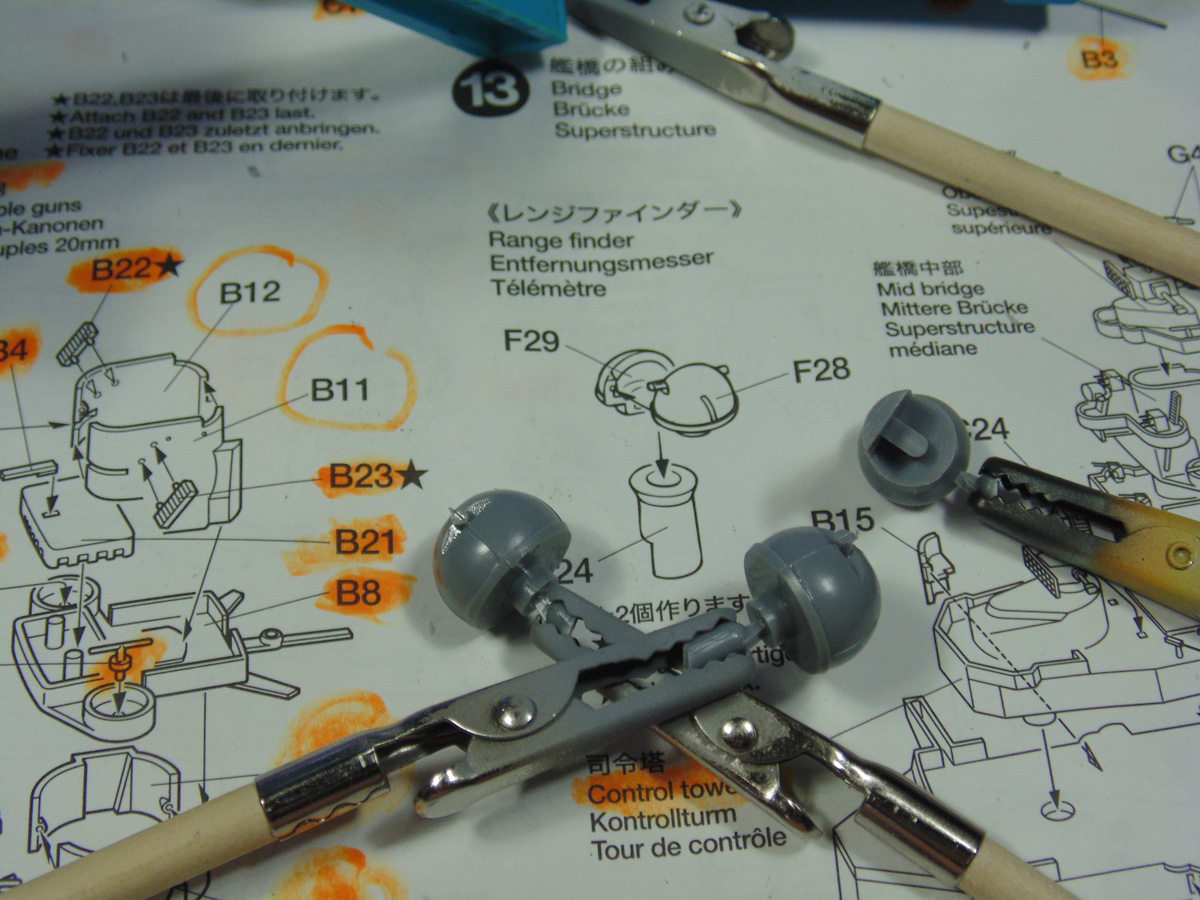
Some parts are pivotal to the, yet not the inside look. You decide whether to remove sink marks or not. Regardless, the connection points of B-15 and B-16 need to have all the paint and primer removed along with a few microns shaved away from the part itself to fit correctly.

Use a high-quality set of side cutters you can buy at the store. The inward pin has to be cut a few millimeters, no more than two. Otherwise, the upper deck will rock back and forth and make gluing a hassle. Also, you’ll have to file down the connecting edges.
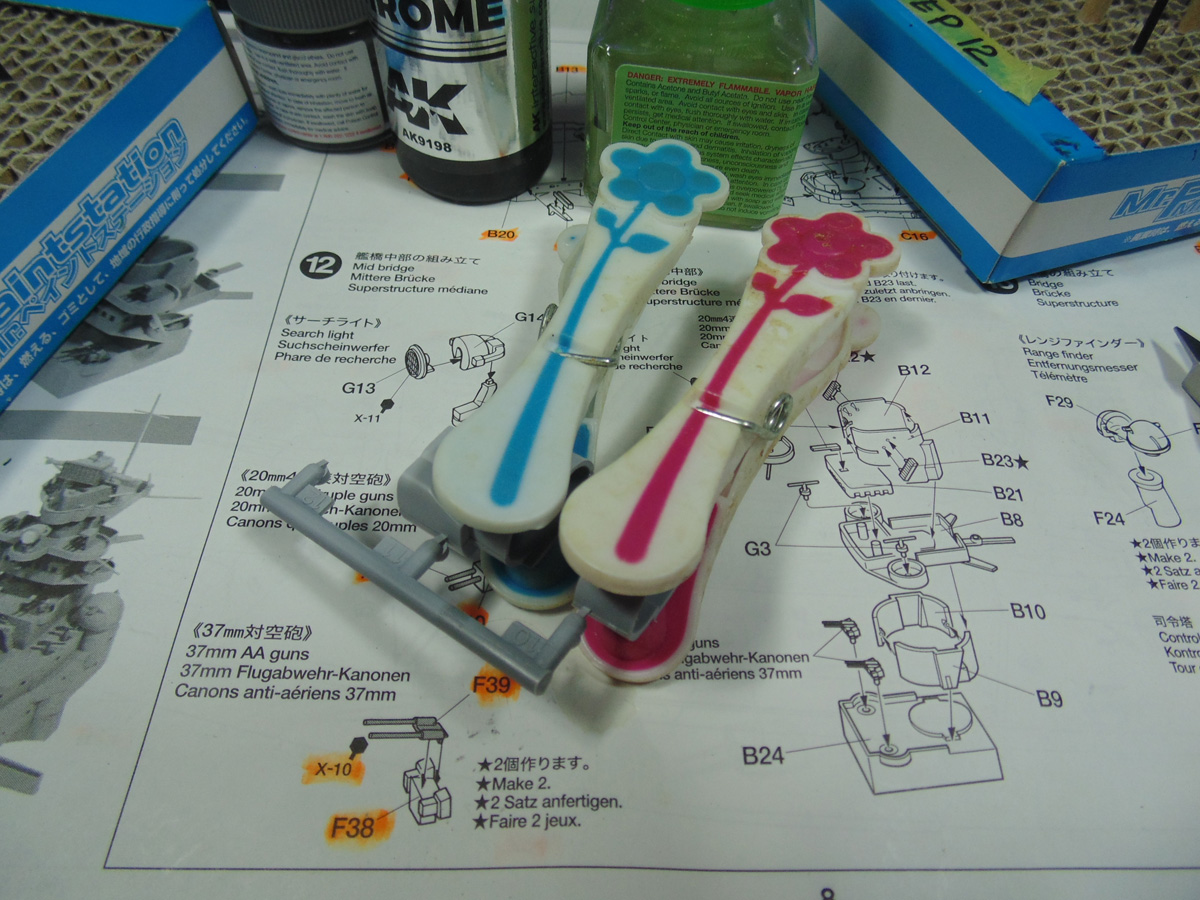
It’s a neat looking subassembly that took many hours/days to bring together. Here’s a few shots to show you.
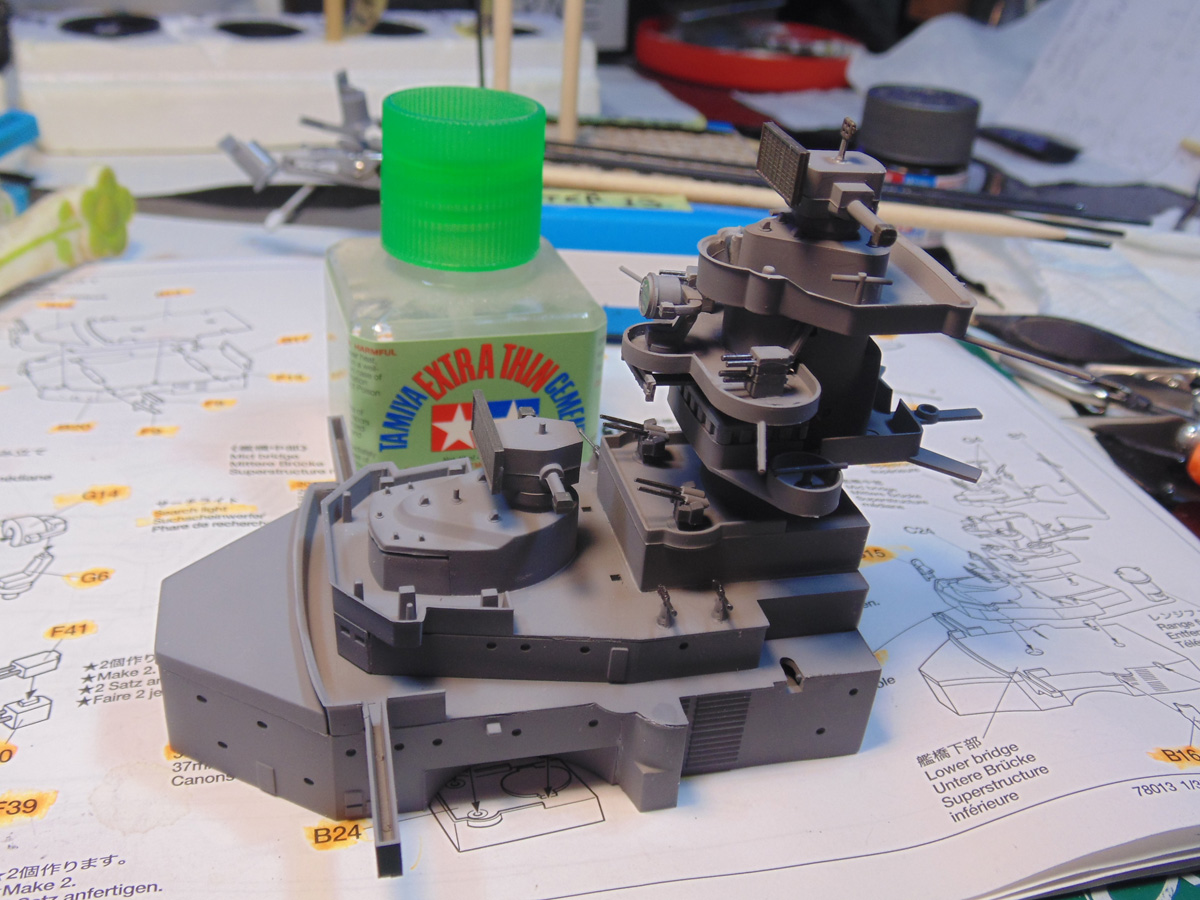
Now for a quick insight as to what’s to come.
If you have any questions about the products or methods used in this article, please feel free to ask the staff when you pick up or place your next order from Sunward Hobbies.
H.G. Barnes is a former voice-over artist and retired sales and marketing professional. He’s the author of two large volume science fiction adventure romance novels with many more in the works. For well over 40 years he’s been building scale model replicas and now does commission work for clients in Canada and the USA, plus completes projects for companies in Asia and Europe.
Currently H.G. is involved as an Associate Editor with KitMaker Network’s Online Magazine Channels.