
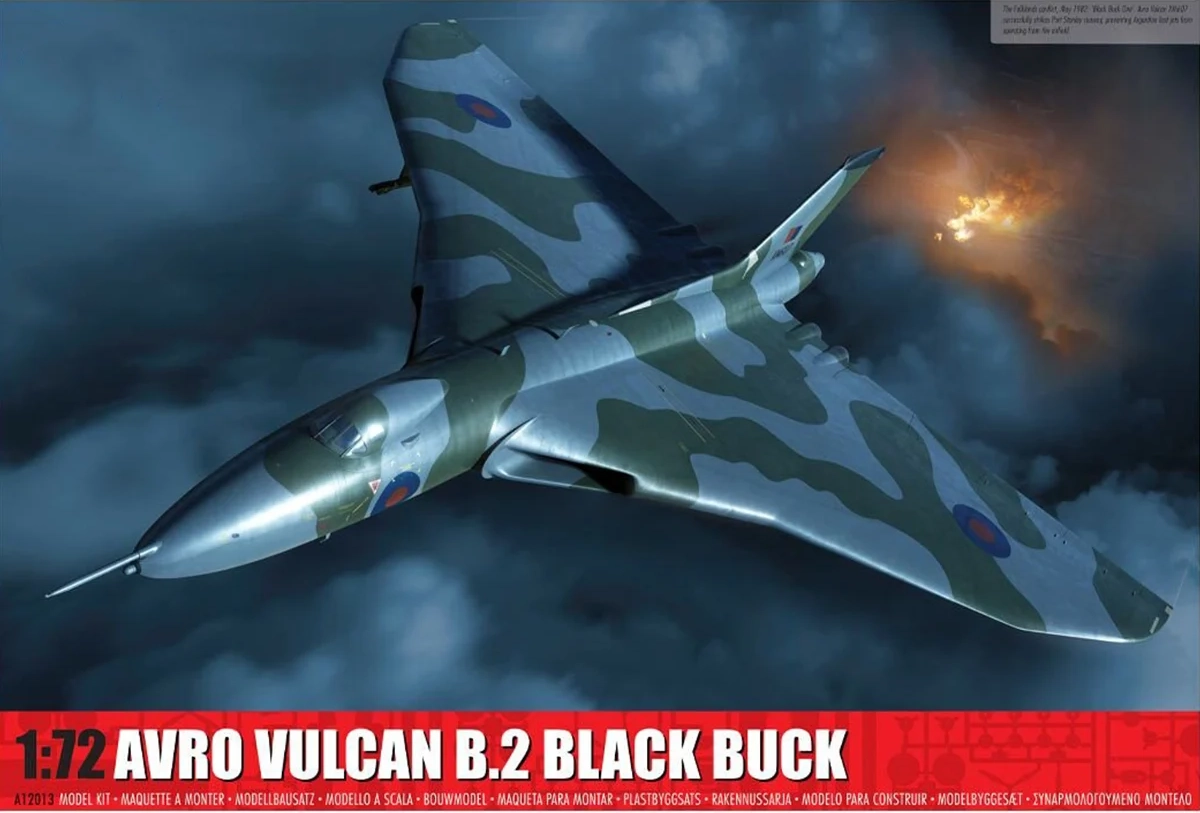
Airfix Avro Vulcan B.2 Black Buck
This is the first part of the Airfix Avro Vulcan B.2 Black Buck 1/72 Scale A12013 build and review.
Of the many Cold War era aircraft the Avro Vulcan with its beautiful delta wing shape certainly stands out from the rest. I was first introduced to the Vulcan in the 007 film Thunderball, where a Vulcan bomber was stolen and retrieving its missing payload was critical to saving the world.
I was young at the time, but I was very surprised to learn that such an aircraft existed and that it wasn’t something created just for a movie. And I don’t think you can totally fault my ignorance, as the Avro Vulcan is something that to this day looks like it’s from the future. With its infamous howling engines and large wingspan, the Vulcan is a very adored aircraft, and now thanks to Airfix we’ve got an all newly tooled Vulcan to enjoy.
There were three big bombers from Britain during the Cold War, the Handley Page Victor, the Vickers Valiant, and the Avro Vulcan. Airfix had built a Vulcan years ago in the early 80s, and as good as that kit was it really was showing its age, especially with the difficult to sand intakes.
Close to 15 years ago Airfix released a 1:72nd Vickers Valiant, which many modelers were excited about. And then Airfix released a 1:72nd Handley Page Victor, which caused a lot of us to ask “Is the Vulcan next”?
And in 2020 we got our answer with a stunning new Vulcan. Finally, braille scale modelers could complete their collection of the infamous V Bombers.
Operation Black Buck.
During the invasion of the Falklands in 1982 a large runway on the main island needed to be destroyed to prevent Argentinean forces from using their aircraft. This was the largest runway and was very critical in deciding the part the war would take.
The problem was how to take out this runway in the Falklands on a 14 hour flight starting from the Ascension Island
The solution was complicated but incredibly clever. Two Vulcans (Black Buck One, and Black Buck Six) would take off being escorted by 11 Handley Page Victors. The Victors would keep fueling the Vulcans in the air through the night in sort of a relay until the Vulcans were able to reach their bombing target.
April 30th, 1982 Operation Black Buck was put into motion. It was a mission that the Vulcan crews saw as a one-way ticket, especially since the Vulcan at that time was becoming an obsolete aircraft. Black Buck One was airborne and carrying an ALQ-101 Jamming Pod which was necessary to disrupt the anti-air defences on the ground.
Black Buck Six took off and shortly had to return to base as the cabin failed to pressurize. So Black Buck One journeyed alone with the Victors.
Black Buck One Arrived at Port Stanley dropping its bombs and damaging the runway. Though it didn’t completely destroy the runway it did prove to be a successful mission and further Black Buck missions were implemented.

Airfix includes 2 options with this kit, Black Buck One and Six. For this project, I’ve decided to build Black Buck One.
The paint guide is somewhat misleading with the colors. The underside color is shown as a medium blue, but in reality, it’s more of a smoky grey color. There are accurate paint numbers just below the color squares of the paint guide.

A very pretty decal sheet is included with lots of stencils to add. I wish that the paper was a bit bigger as the decals are very close together which might make cutting out the decals a bit more difficult.

I can’t recall when exactly Airfix started highlighting their instructions in red, it wasn’t too long ago, but I think that it really helps the modeler to understand the building process easier. I also like that in step 17 Airfix includes the exact weight required to keep the model on its nose.
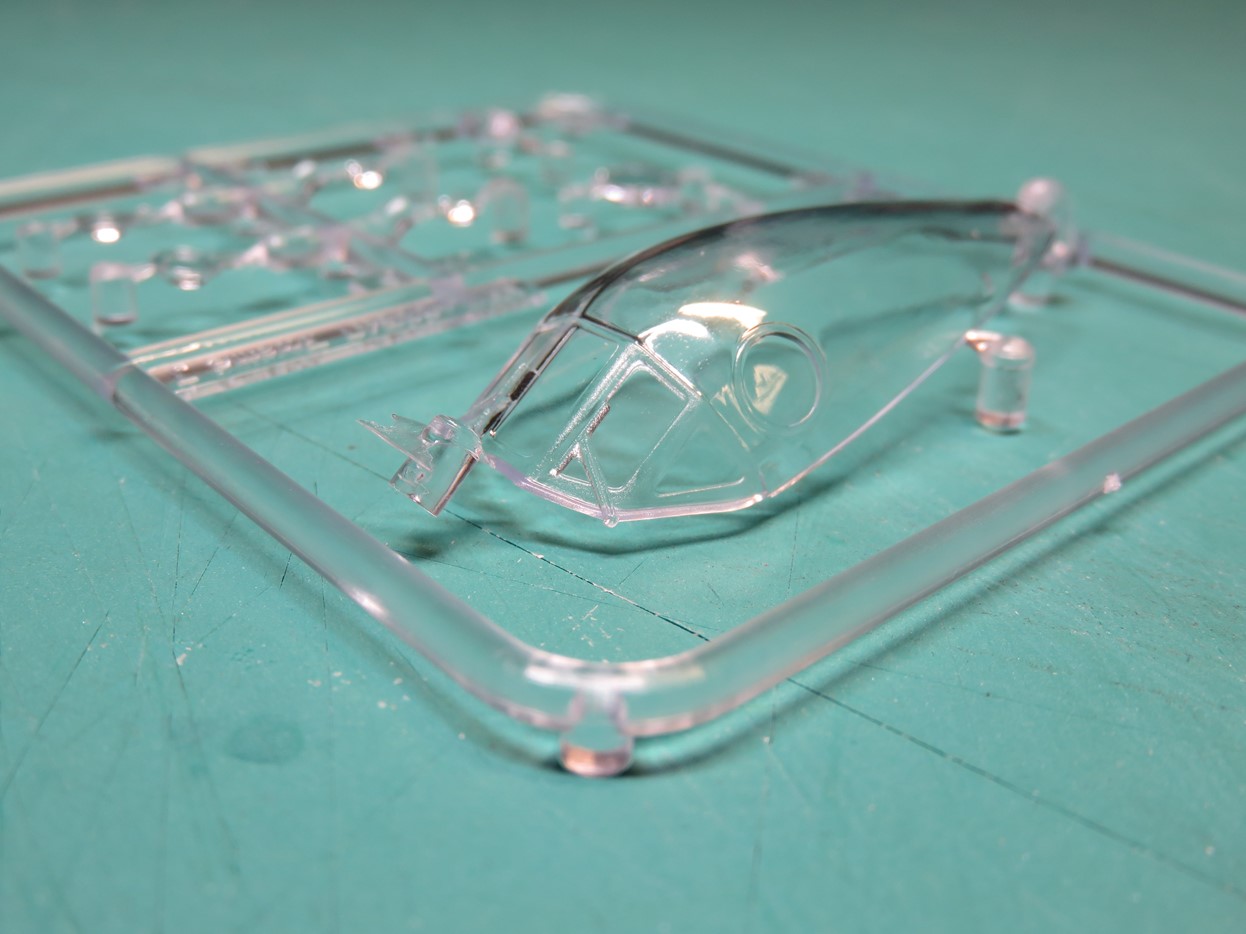
A small sprue contains all of the clear parts for the model. I really appreciate the attention to the small details Airfix added with this kit, these tiny wipers on the windows add a very nice bit of extra realism to the model.

One big surprise was seeing this newer grey styrene. I’m more familiar with the Airfix blue-grey styrene. I did like that older styrene to an extent, it could be very oily and it was softer which could cause the landing gear to buckle. But it fused together incredibly well with Mr. Cement SP.
This is the upper wing section, and it’s BIG! The panel lines and other details are really sharp. There is a bit of a rough texture to the surface, and this might simply vanish once a primer coat is applied.

Here is the underside of the wing closer up so you can appreciate all of the details. I’m really looking forward to the part of the build when I can add a Tamiya Panel Line Wash and see all of these details pop out.

I thought that this was really cool, on the inside of the wings in the bomb bay Airfix has marked out holes for you to drill out to expand the bay section. This alteration won’t be needed with this particular model, but it’s nice to know they have the modeler in mind.

The long intakes that fit into the wing edge are a lot nicer than the Vulcan from the 80s. I’m very interested to see how easy these are going to be to paint, glue and install into the model. And if you aren’t interested in the opened intakes Airfix also includes some covers to place in front.
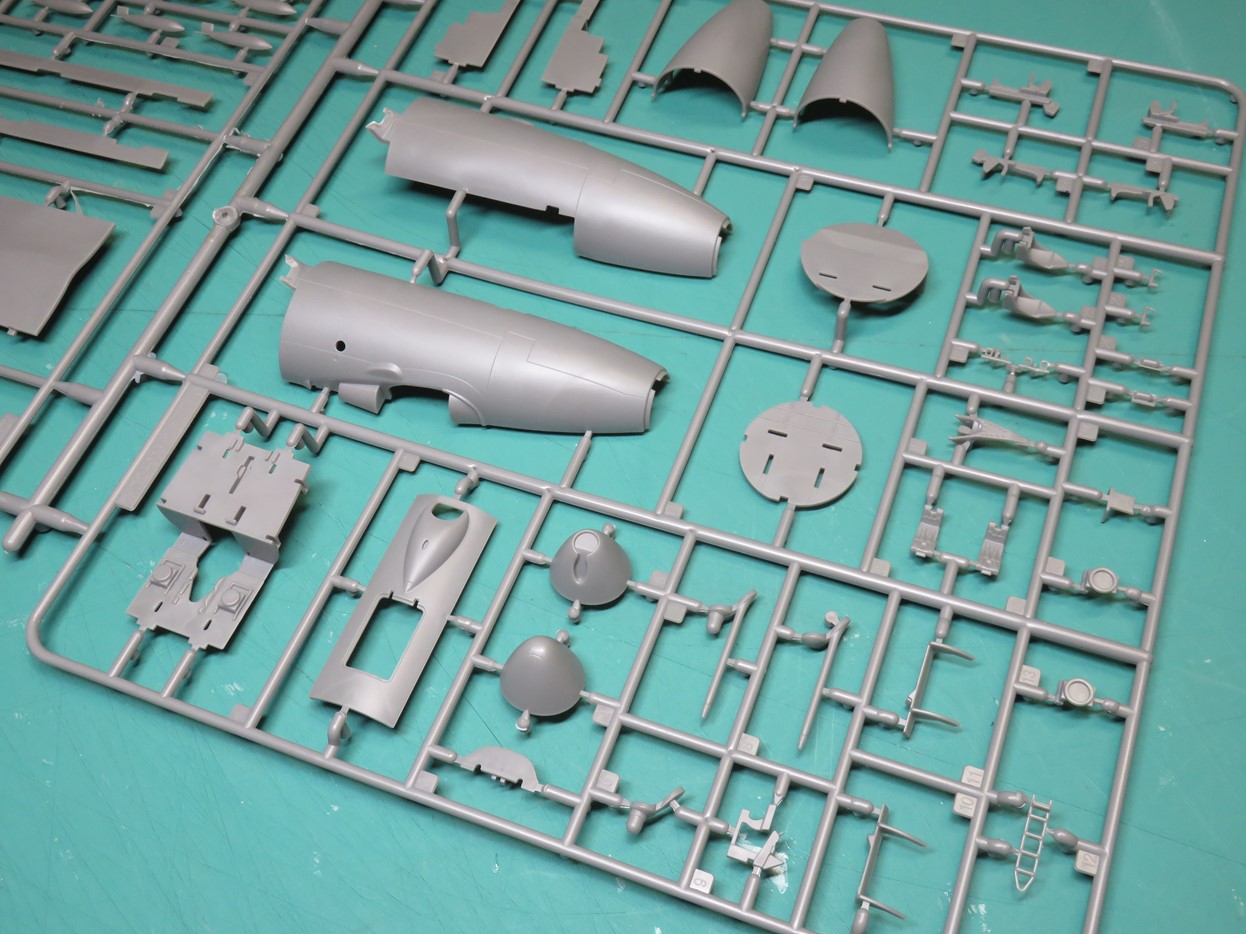
Here is the nose section and many of the cockpit parts. The cockpit on the Vulcan is small and tight, so a lot of these parts and details won’t be that visible. But it looks like Airfix designed the canopy to be removable so you can look inside and see more. As well the crew hatch on the underside can be posed open.

The interior of the wings as well as the bomb bay feature some very impressive spars and ribs for accuracy as well as to strengthen the model overall. I’m going to be building this one with the bomb bay opened so that most of these details can still be appreciated, I think that this is going to look very stunning when it’s completed.
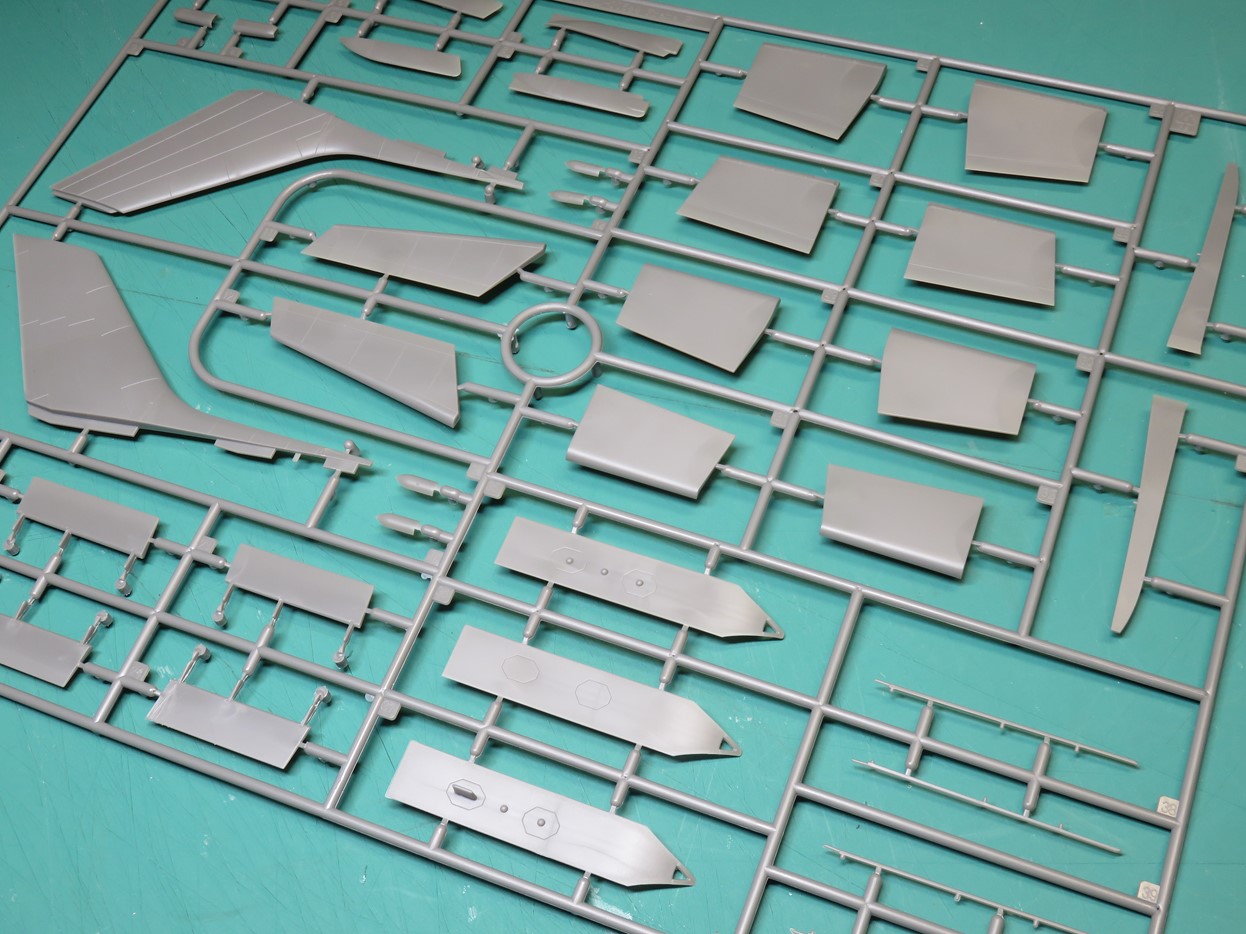
This sprue has all of the control surfaces, all of them are posable, so you can display your Vulcan any way you want.

The infamous ALQ-101 Jamming Pod which got quite the laugh online when this version was announced. Eagle-eyed Vulcan enthusiasts were puzzled by this extra large pylon which Airfix had misinterpreted, was actually the landing gear door. This will have to be fixed later on, but I must admit I’m a bit disappointed in the lack of detail on the pod, I might find a replacement for this part, or find a way to modify it.

I was sad to have missed out on this kit when it was first released. But at that time things had slowed down and Airfix wasn’t really exporting out of the U.K. This is going to be a very fun project, and oddly the first Airfix kit I’ve built since their new B-17G. I’m looking forward to seeing how this new styrene reacts, and painting those large squiggles for the camouflage is going to be a lot of fun.
I’m also impressed with the general engineering of this kit. Airfix took a complicated subject and this Vulcan looks like it will be very strong but easy to assemble.
So let’s get started with this project!
To be continued…
Jared Demes is a modeler from southern Alberta. He has been building models since he was 4 years old when his Dad first introduced him to the hobby. He has written for several magazines including, Fine Scale Modeler, Scale Aircraft Modeling, Phoenix Scale Models, and others. He has an interest in all modeling subjects, with a focus on WWII Japanese aircraft and Science Fiction.
Jared has won several IPMS awards for his modeling, and currently operates his YouTube channel rebelsatcloudnine, where he showcases model builds and product demonstrations.
Next Post: Part 2