
MPC A New Hope Hans Solo Edition
This is the fourth part of the MPC Star Wars A New Hope Hans Solo Millenium Falcon 1/72 Scale MPC953 build and review.
Work progressed slower this past week as I had run into a few issues that needed to be taken care of. I noticed and as you will see later that there are some warping issues with the model. When I was assembling the upper and lower hulls I ran into some fit issues.
Now, I don’t know if these were the results of the hull sections cooling too fast after they were injected at the factory. Or if the warping was caused by the parts moving around in transit, or, if it was my fault for test fitting the parts so often.
Either way, this caused me to work slowly so that I could properly align the sections and avoid unnecessary gaps, and extra clean up.
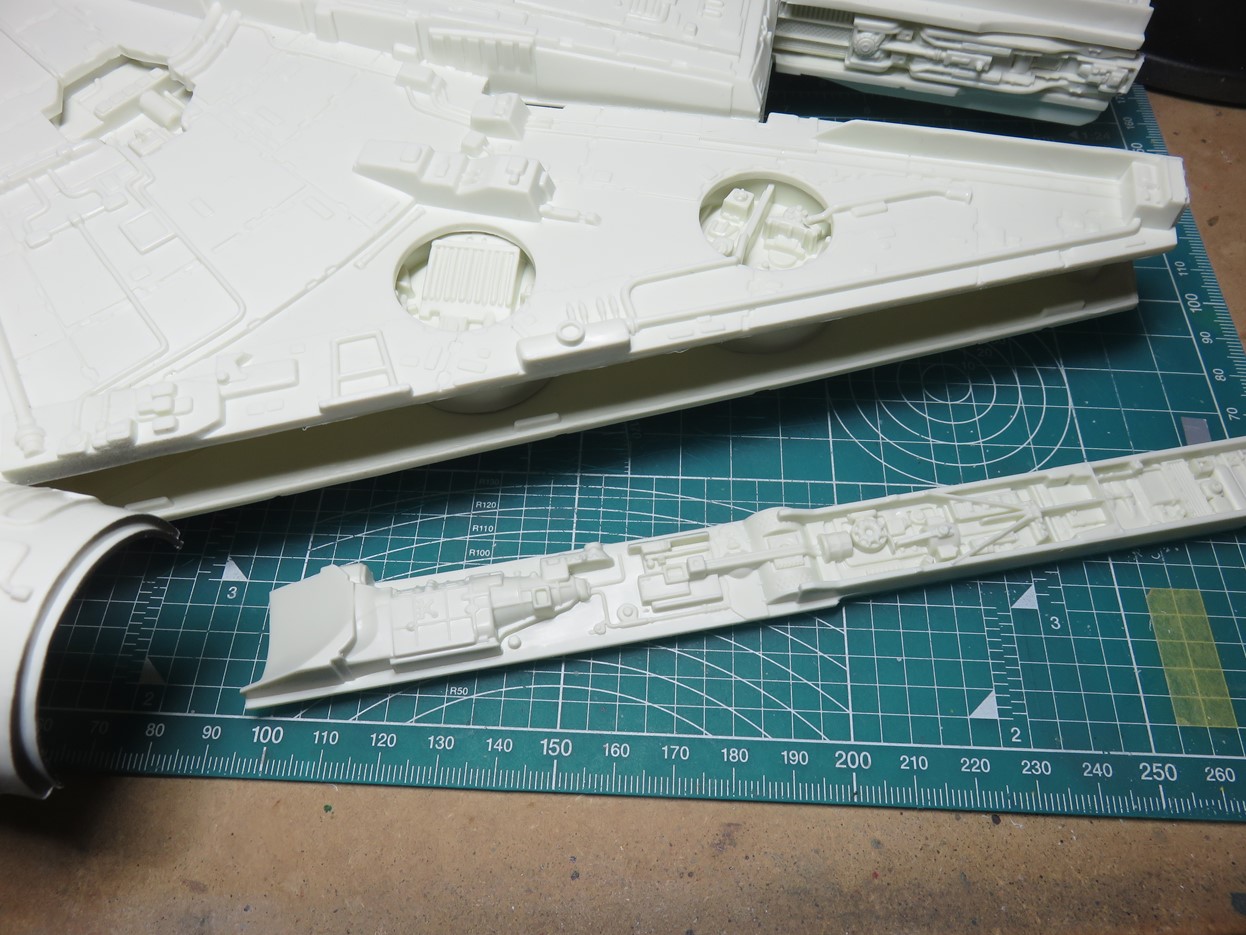
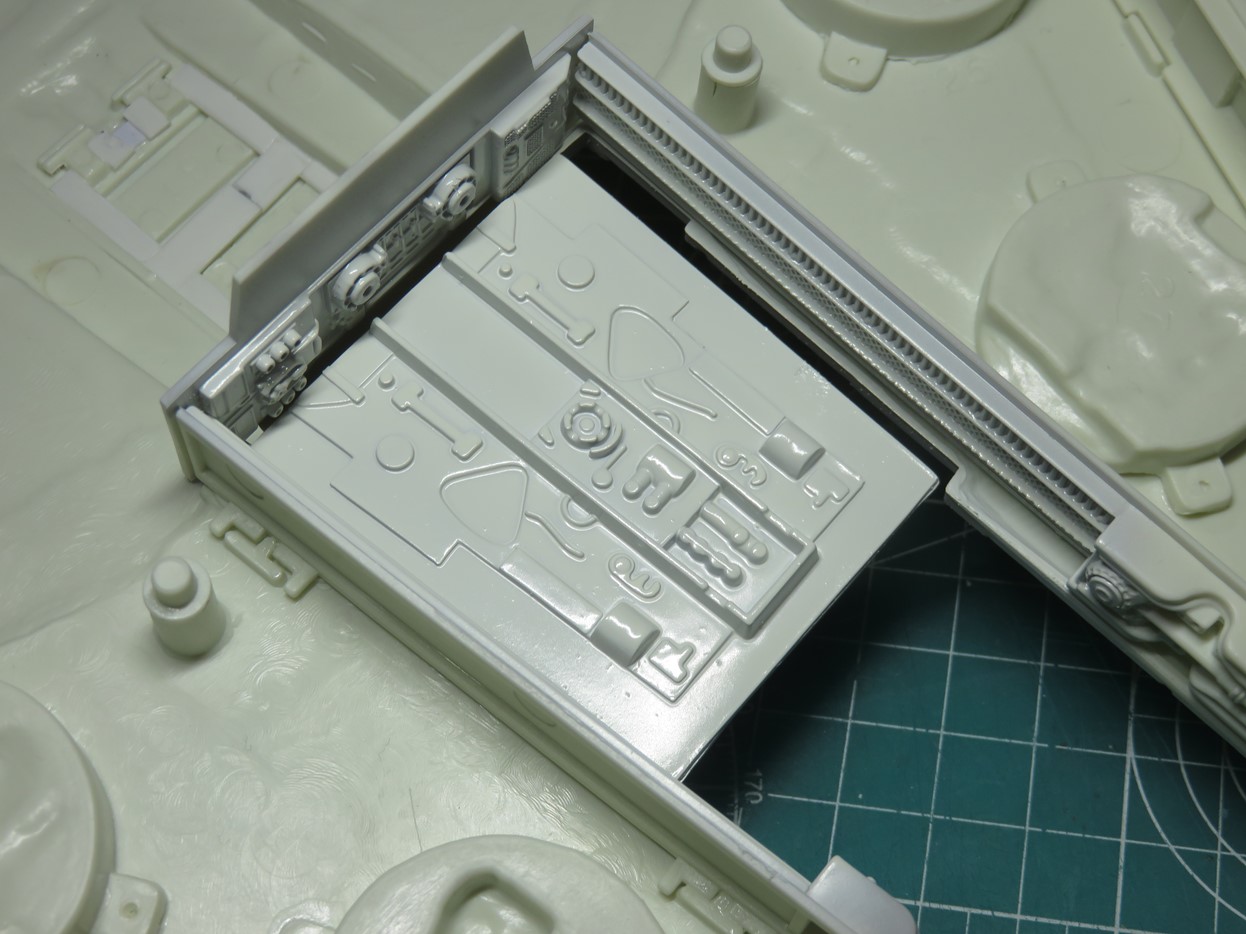
Last time I added the new inner sections to the front mandibles. I’ve temporarily placed the hull sections together so that I can glue the newly tooled side walls to the lower section of the hull.
You can see on the lower section of the hull that there are small location tabs that will help with the alignment of this part.
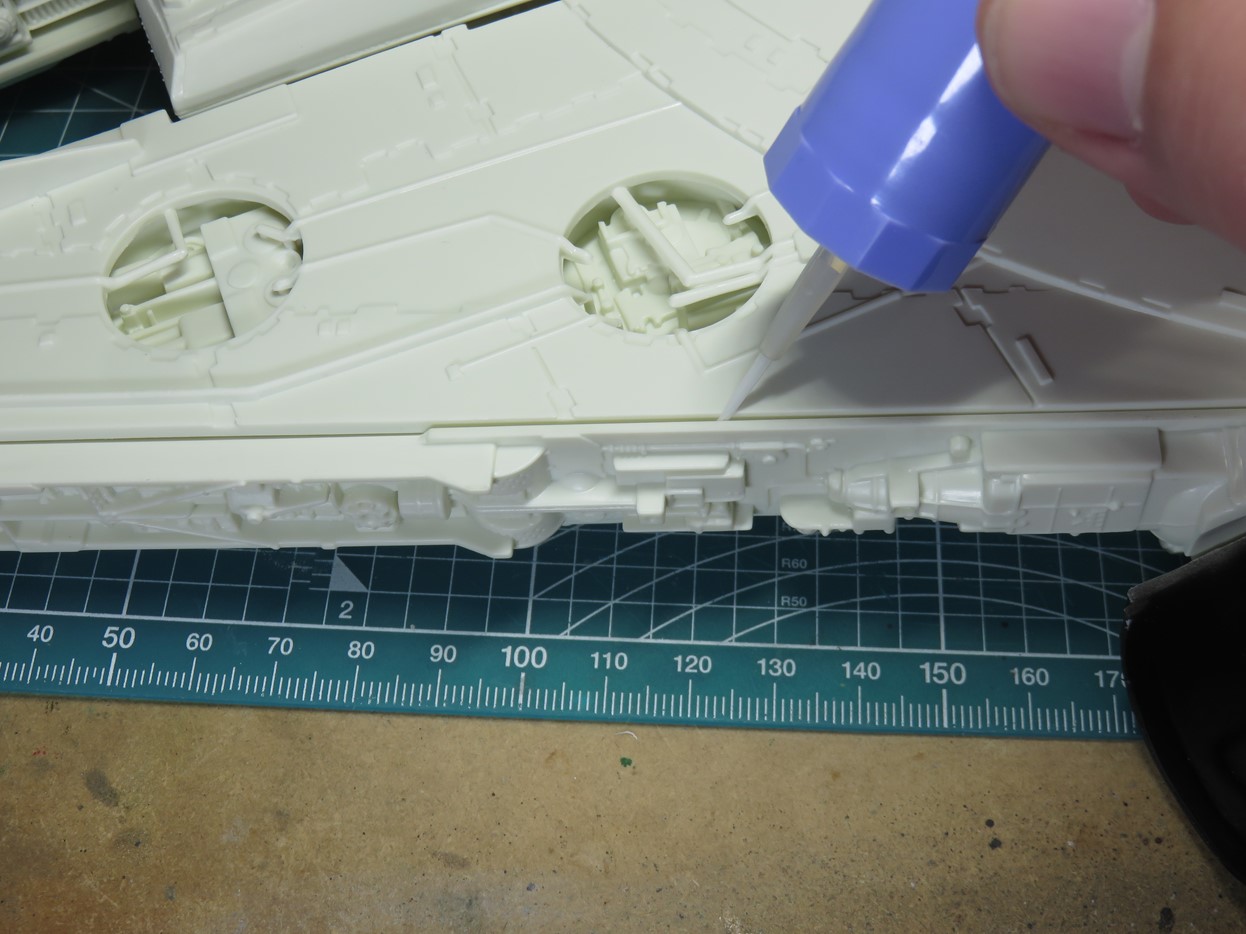
With the sidewall added I flipped the model over and added a good amount of Mr Hobby SP into the open grove. Once I had the length of the part glued I pressed it into place, ensuring a sturdy fit and that the angle of the part is correct.
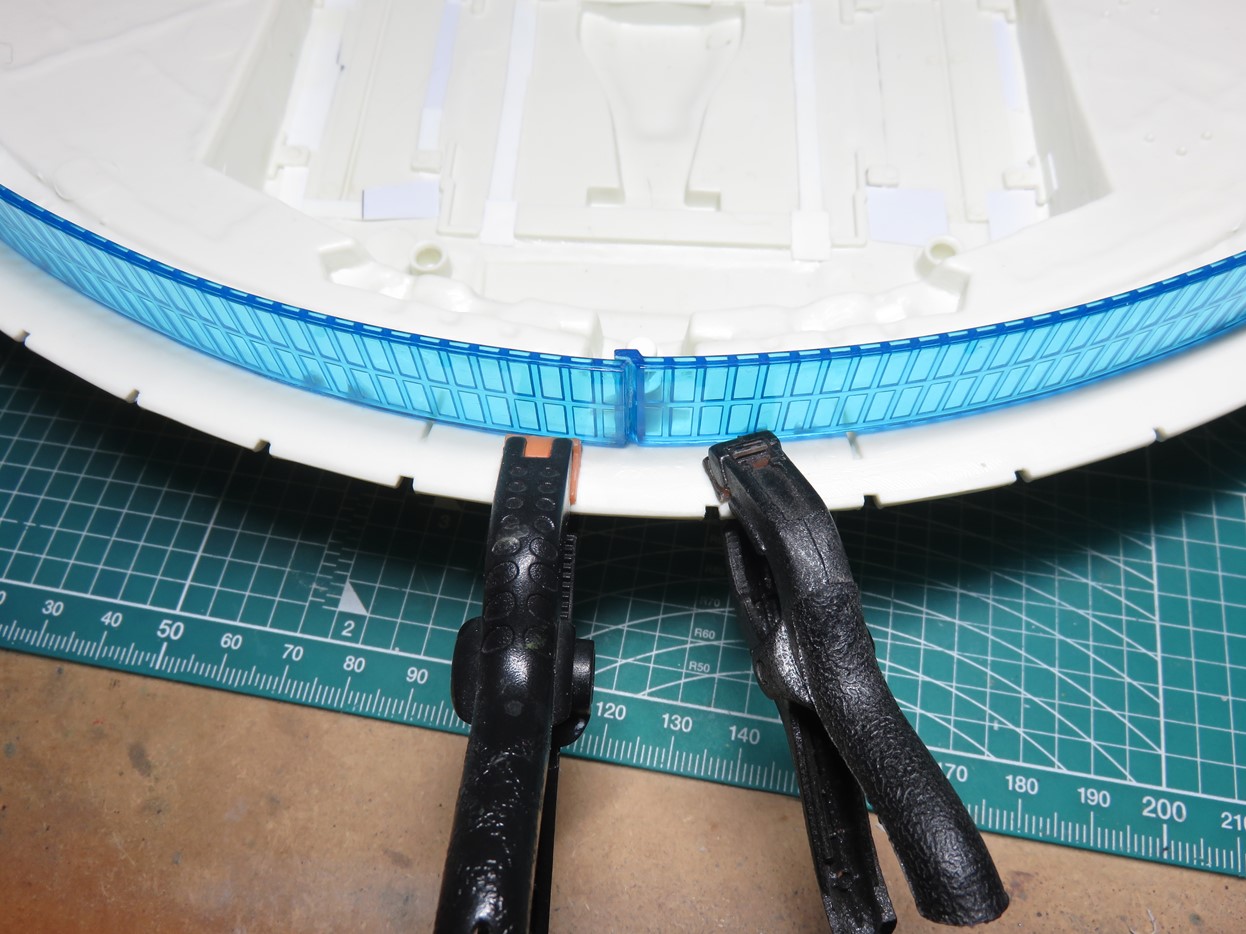
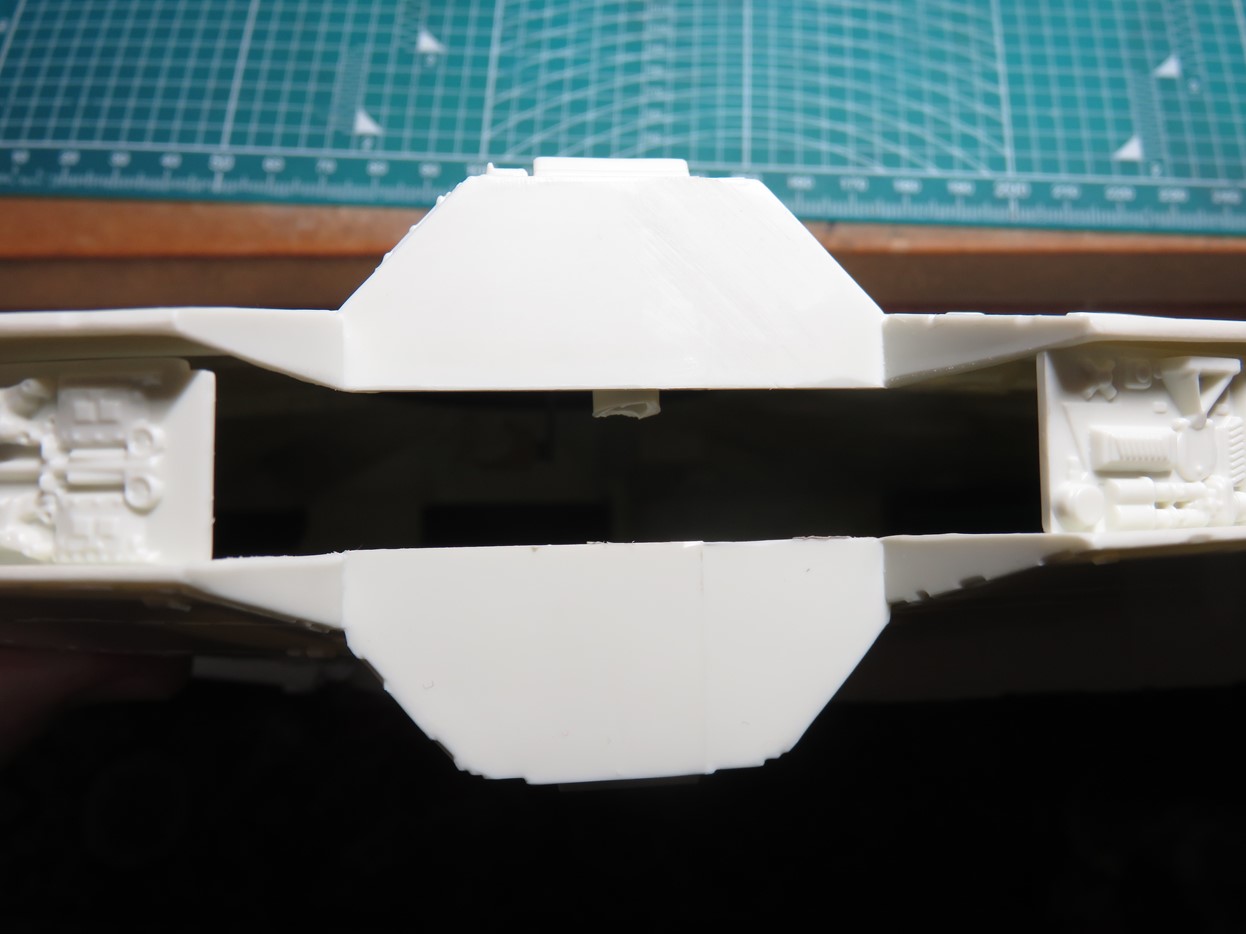
When I glued in the new back engine sections I used two Excel Hobby Clamps to keep the parts in place while they dried. I again used Mr. Cement SP to glue these sections as this glue allows me to work quicker.
Mr. Cement SP (Special Power) is designed as a fast-acting cement. It melts the styrene together quicker and dries quicker so that you can get a lot more work done. As a result, this glue is quite aggressive, and with enough glue added, I can push the parts together to really fuse the plastic. This glue works particularly well with Tamiya, Eduard, Airfix, and MPC styrene.
As I had mentioned in a previous post I wasn’t too excited by the new blue engine sections. I have no doubt that these new parts will look great if you are lighting the model, but it’s a bit more difficult if you want this to be a more static model.
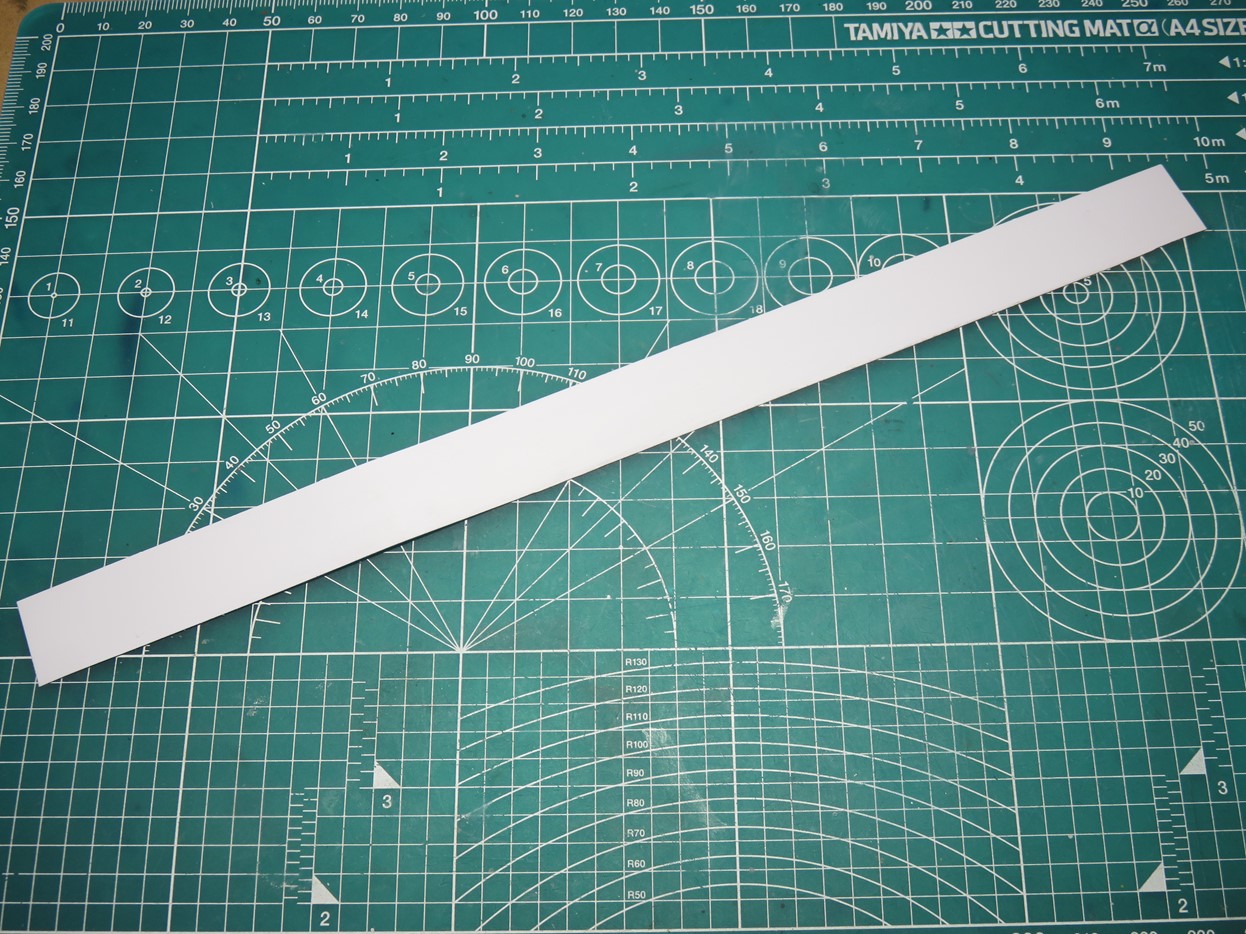
I thought about building a grill section, but instead, I thought that I’d paint some lit engine detail. I started with this long strip of styrene that would be glued to the back of the clear blue.
On the original studio model of the Millennium Falcon, the engines were just a bright white light. Later on with the new Star Wars Special Editions, new scenes of the Falcon were added which slightly changed the all white light to slightly blue.
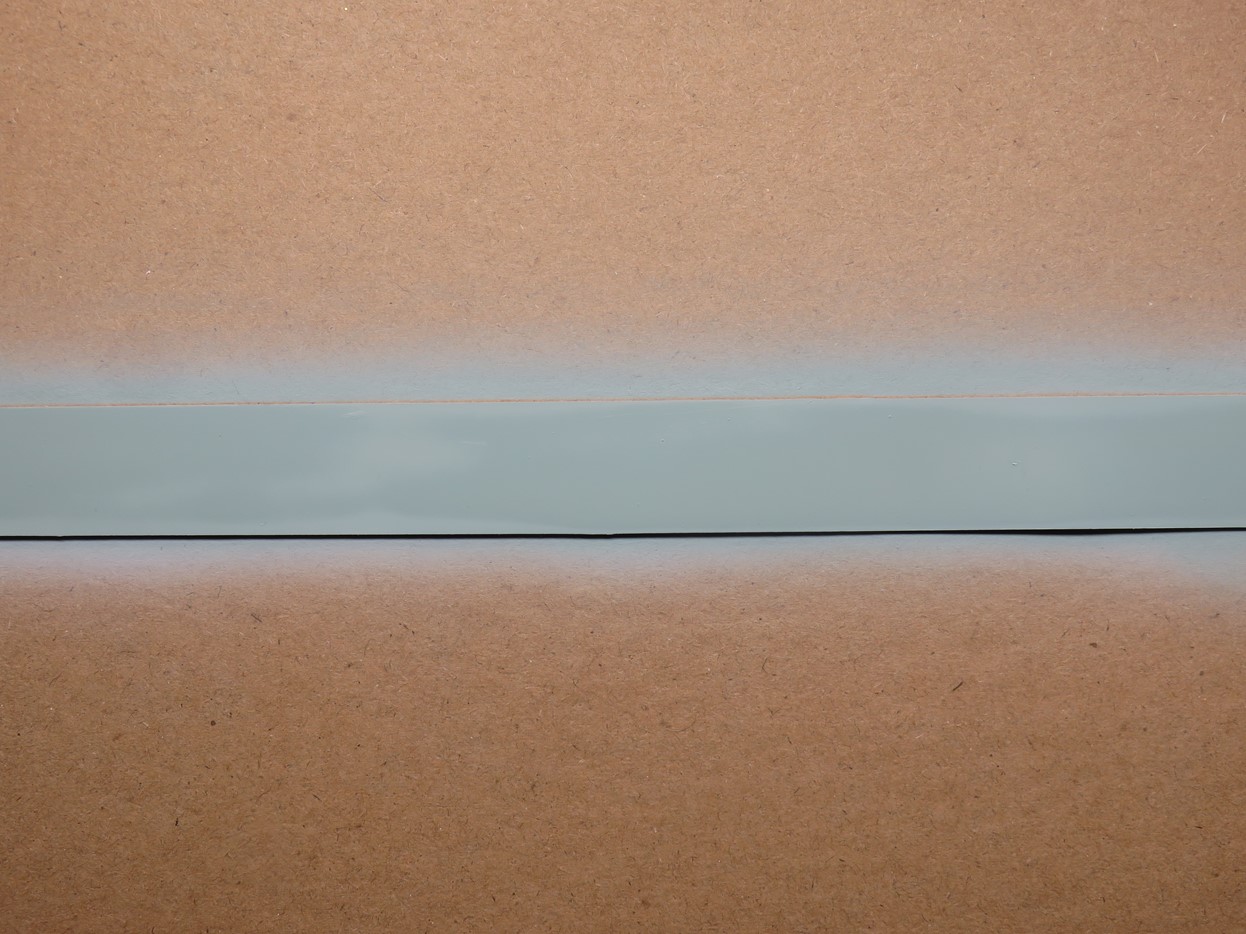
I started sanding the styrene with 600 grit sanding sponge, which would help the primer grip to the styrene better. I then primed the styrene with Tamiya Liquid Surface Primer G. I then painted my first layer of Tamiya XF-23 Sky Blue over the entire strip.
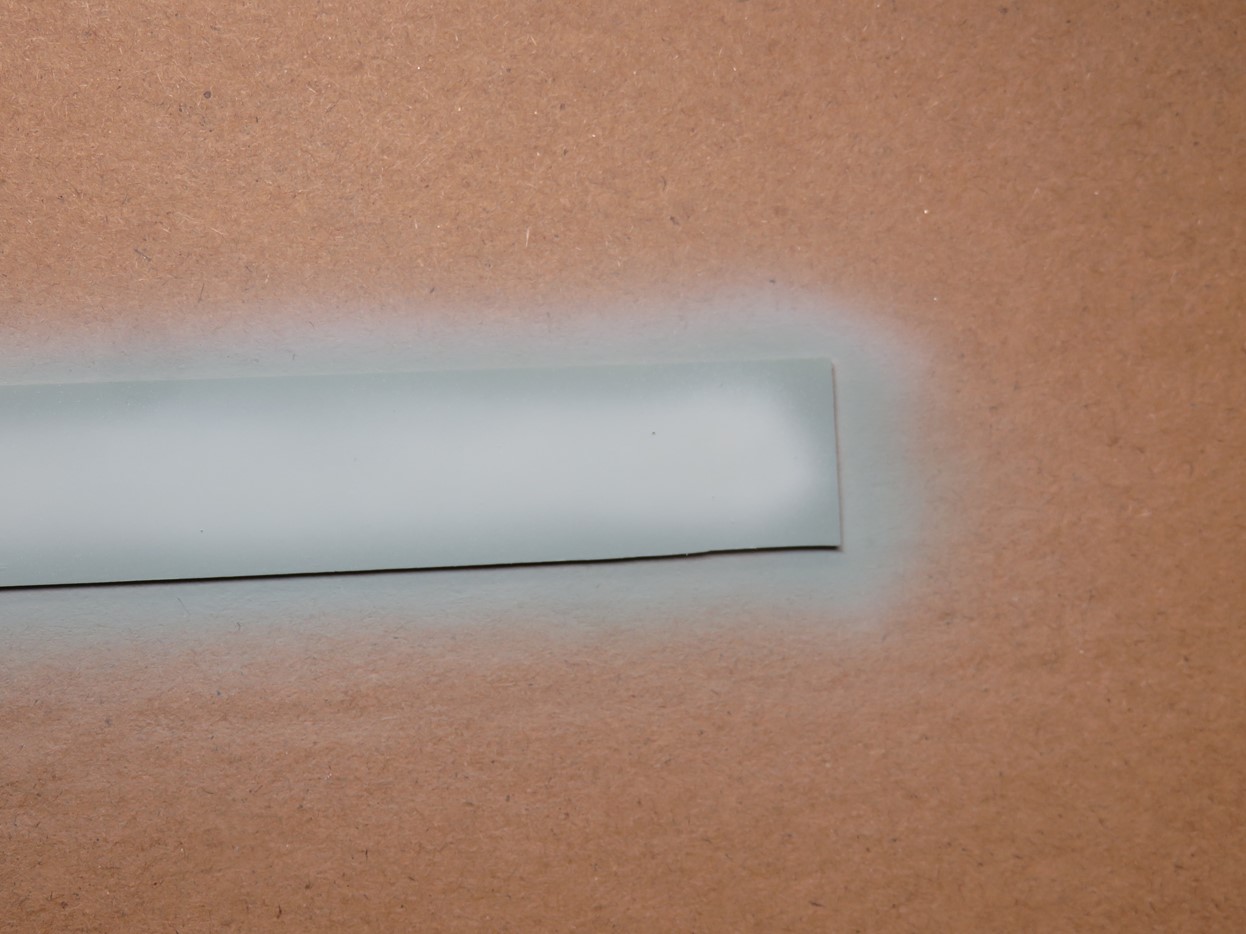
Next, I added some Mr. Hobby Aqueous H-11 Flat White to the X-23 Sky Blue to lighten up the paint a lot, and this was then painted into the center section.
More Flat White was painted on the inner section to create a brighter light for the engine effect.
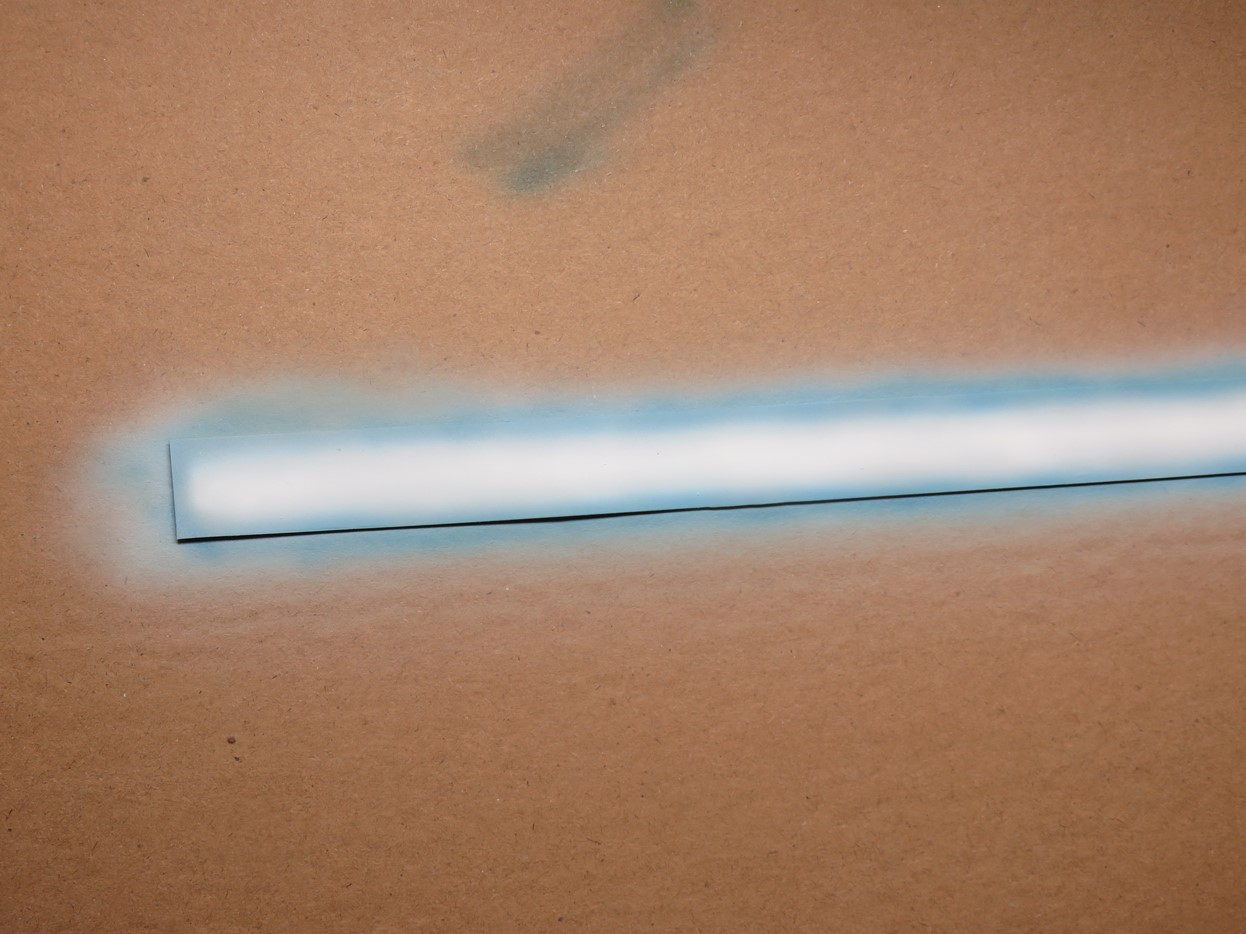
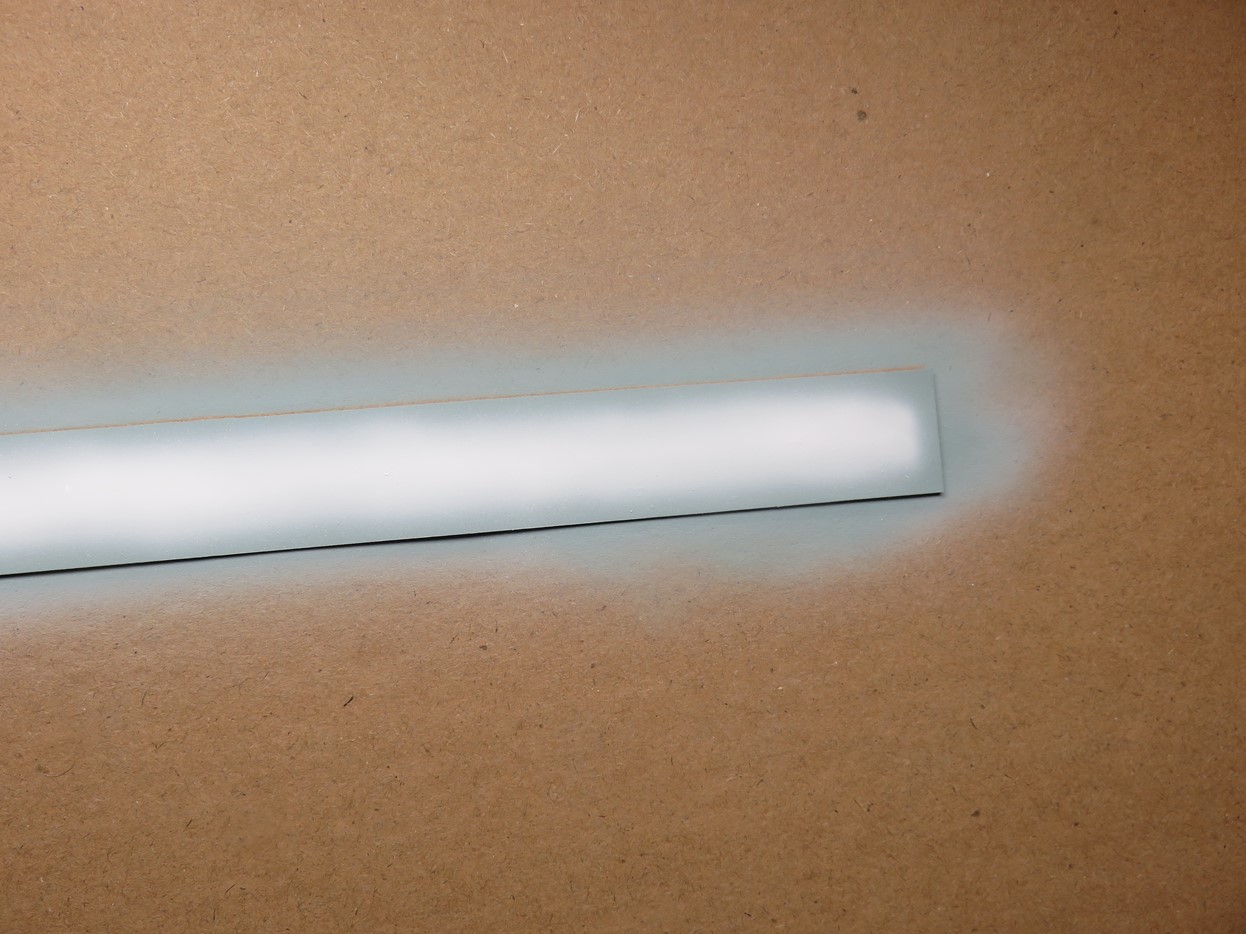
I really like this effect, but I wanted the blue to be a bit bolder. So I took some Tamiya X-23 Clear Blue and I slowly and carefully painted this to the edges of the styrene. This looks a lot nicer than before.

Lastly, I sealed the paint in with some Mr. Hobby Aqueous H-110 Semi-Gloss Clear. I had a lot of fun painting this engine effect, and I think it’s going to look pretty good when it’s fitted onto the model.
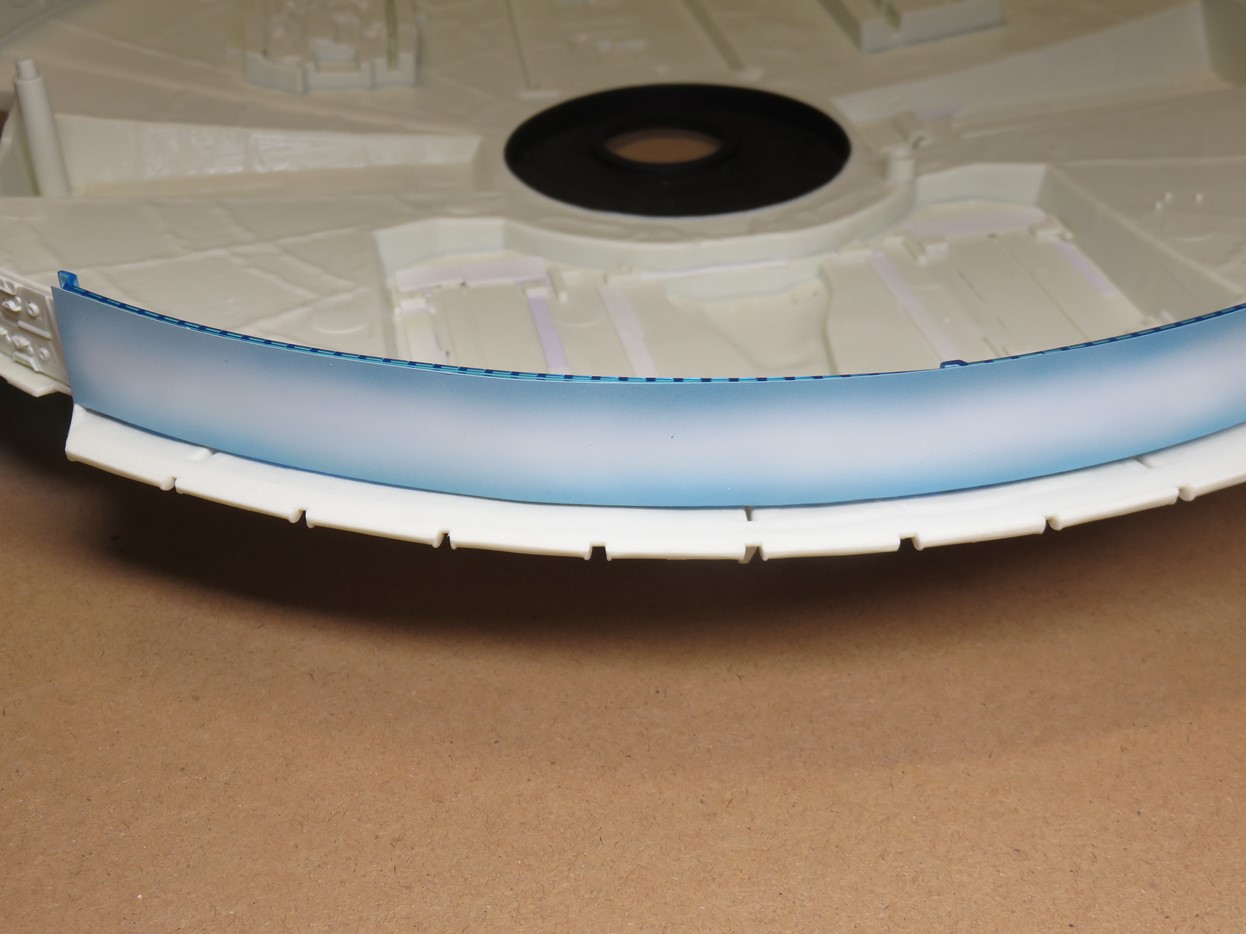
I glued the engine effect with Mr. Just Super Glue. Now that it’s installed I can tape over this section so that I don’t get paint and primer on it. Again, I’m just really pleased with how nice this looks. One day I’ll learn how to use LED’s and maybe then I can create this same effect but with real light, but for now this will do nicely.
I toyed with the idea of gluing down all of the side walls to the lower hull section and leaving the upper hull separate until the model was completed. This would make it easier to paint, weather, and detail. But because of the design of this model I ultimately decided that it would be better to glue everything together.
Before I glued the hull sections together I painted the inner front section of the mandibles. Once the hull sections are added these parts would be nearly impossible to reach with my airbrush. I primed the area once again with Tamiya Liquid Surface Primer, and then painted on the main hull color Mr. Color 316 White FS17875 (Insignia White).
This color was painted with 2 thin layers, and it’s a gloss paint and this will make things easier when I add a wash to the model later on.
On the port side of the model at the section where the docking ring is going to be placed, I ran into a fit issue. When I connected the pin to the upper and lower sections the area was too tall, and this prevented me from connecting the side walls to the upper hull.
I thought that this might be warping as I mentioned earlier, so I decided that the easiest thing to do was to remove the pin from both sections of the hulls. This was easy to do as most of the model had already been glued together and I wasn’t going to lose any alignment with this part missing.
This might have been a one time error with my particular model, or this could have been caused by me somewhere during the assembly process, but if it happens to you just know that it’s an easy fix.
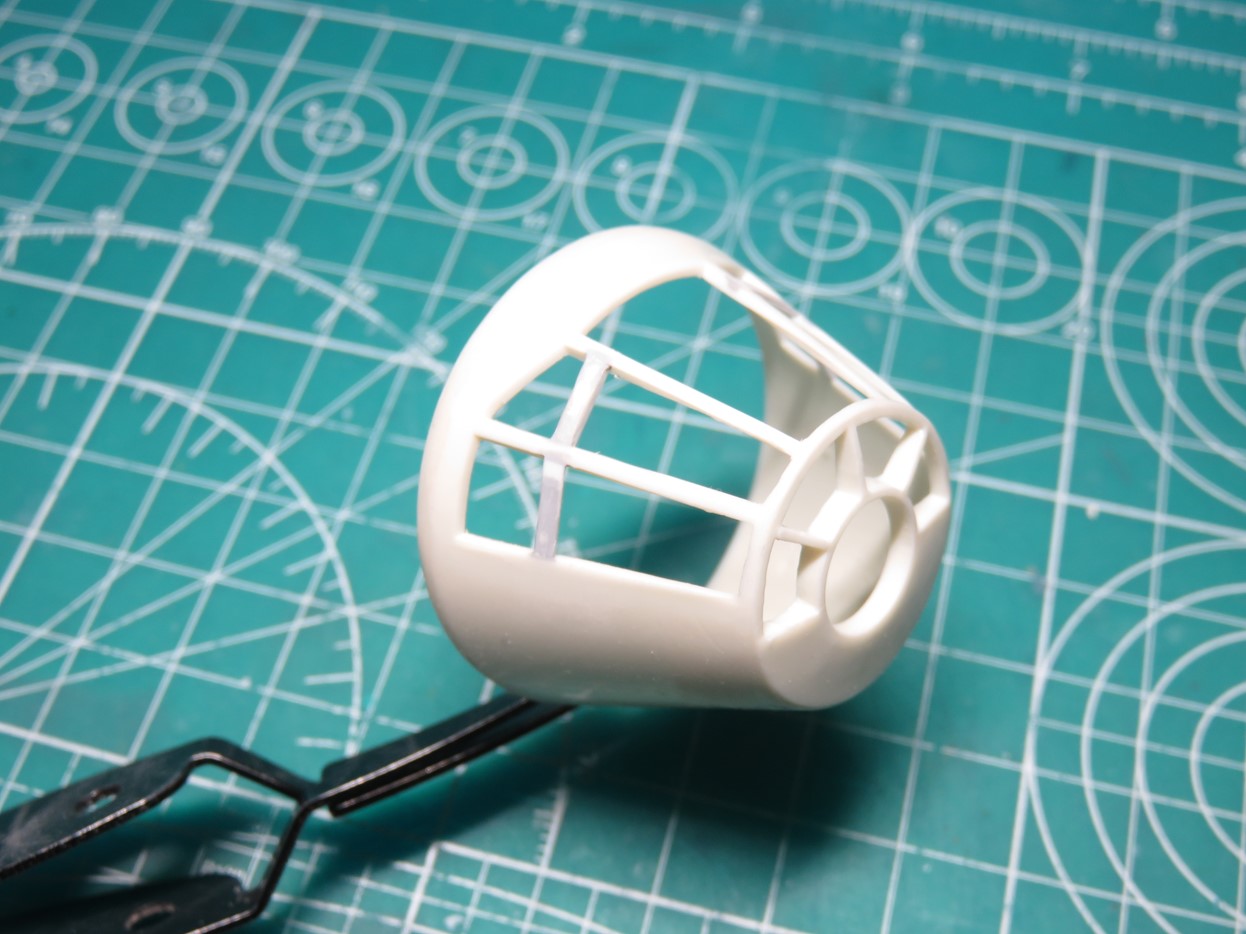
I was also cleaning the canopy section of flash when I noticed that 2 of the frames on either side were missing. I imagine that when MPC was designing this kit back in the 70s it was easier to leave these bars off of the model when they were injecting the plastic into the molds.
This was a simple fix. I cut some thin strips of styrene roughly the same width as the preexisting frames and carefully glued these in place. I then added a generous amount of Mr. Dissolved Putty to the new frames to seal in any gaps. Lastly, the putty was sanded flush with the rest of the plastic.
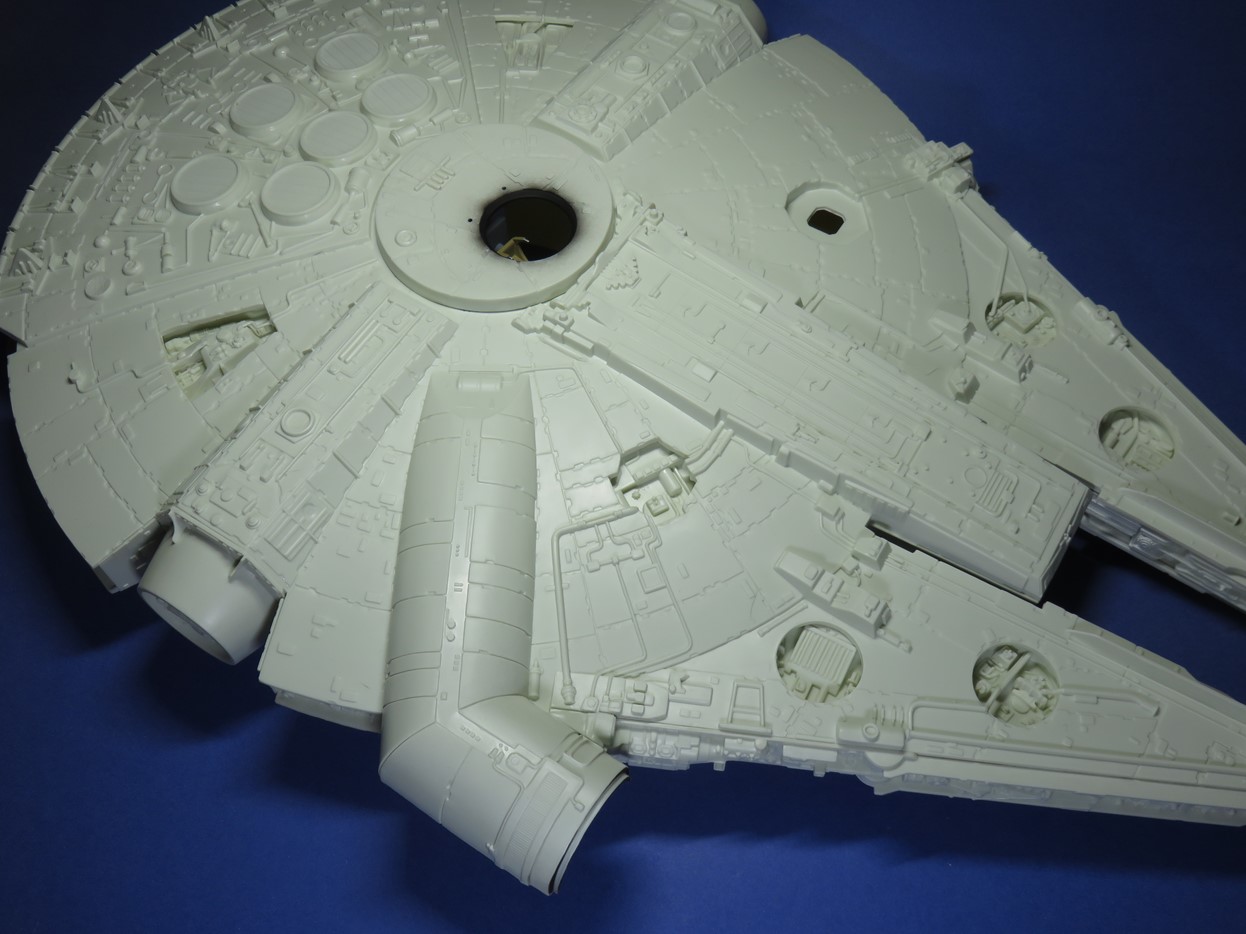
Here the upper hull is glued to the Stellar Envoy, and the side docking rings have also been added.
It’s really coming together now. I thought that at this stage I’d have some primer added, but this kit took a bit longer to put together than I initially had thought. It’s looking good at this stage, and the new lower side walls that Round 2 built for this kit look fantastic!
There are still some smaller assemblies to add to this model before I can begin priming. The most obvious being the lower section of the cockpit tunnel and the new tooled radar dish. But that will have to wait for next week.
To be continued…
Jared Demes is a modeler from southern Alberta. He has been building models since he was 4 years old when his Dad first introduced him to the hobby. He has written for several magazines including, Fine Scale Modeler, Scale Aircraft Modeling, Phoenix Scale Models, and others. He has an interest in all modeling subjects, with a focus on WWII Japanese aircraft and Science Fiction.
Jared has won several IPMS awards for his modeling, and currently operates his YouTube channel rebelsatcloudnine, where he showcases model builds and product demonstrations.