
Adding Clear Wingtip Lights to Model Kits
Adding clear wingtip lights to a model is a pretty simple and satisfying task. Granted, it does take some patience and at times a bit of trial and error to get it right. But once it’s completed it will add a new level of detail to your model that you’ll be smiling at every time you see it.
I’ve used the old Star Trek modelers method many times, apply a silver base coat, and then apply a clear paint, like Tamiya X-23 Clear Blue. This works really well, especially when the lights are difficult to get at, or you are working with a small scale. But with some patience, and some extra time, I think in the end you will be really pleased with these results.
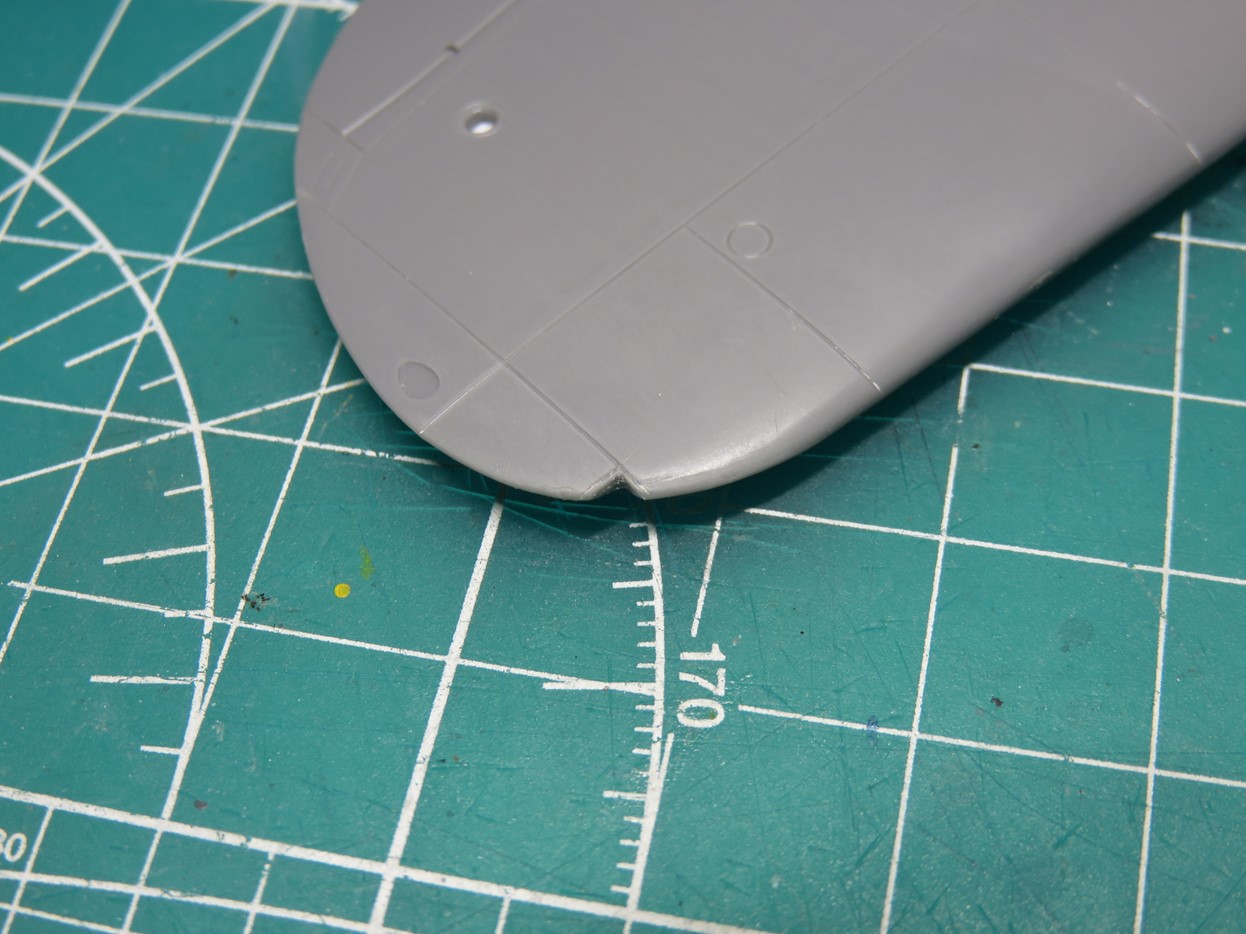
For this demonstration, I’m using the Tamiya 1:48 F4U-1D Corsair. The wingtips are solid plastic and molded with the rest of the model.
I began by cutting out the solid plastic. Then I took a square metal file and sanded away the plastic to create a proper 90-degree angle.
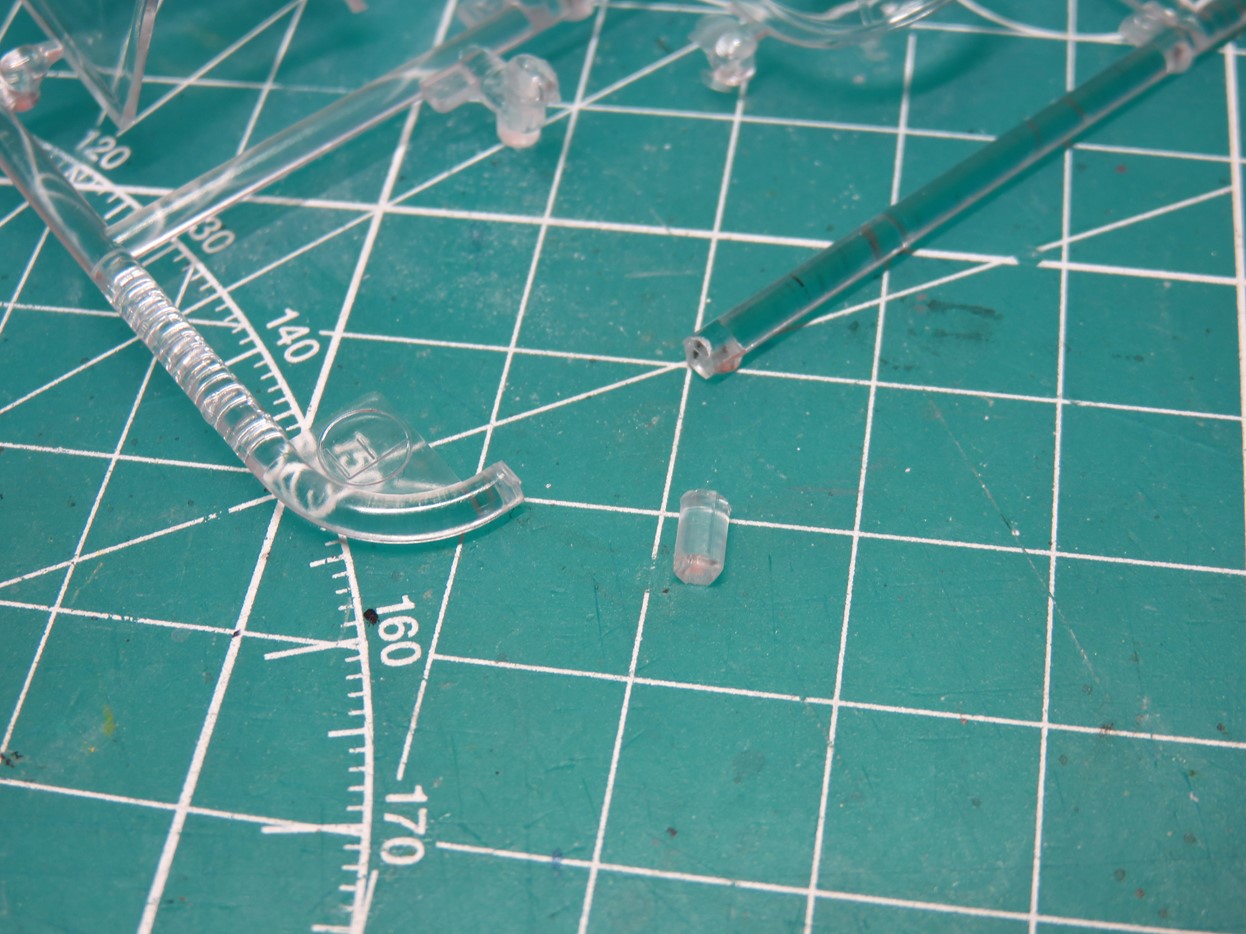
Next, I took the clear parts sprue from the kit, and with my Tamiya cutters, I cut off a small section of the frame. The good thing here is, if you make a mistake or you are not satisfied with the result there is plenty more material on the sprue to use.
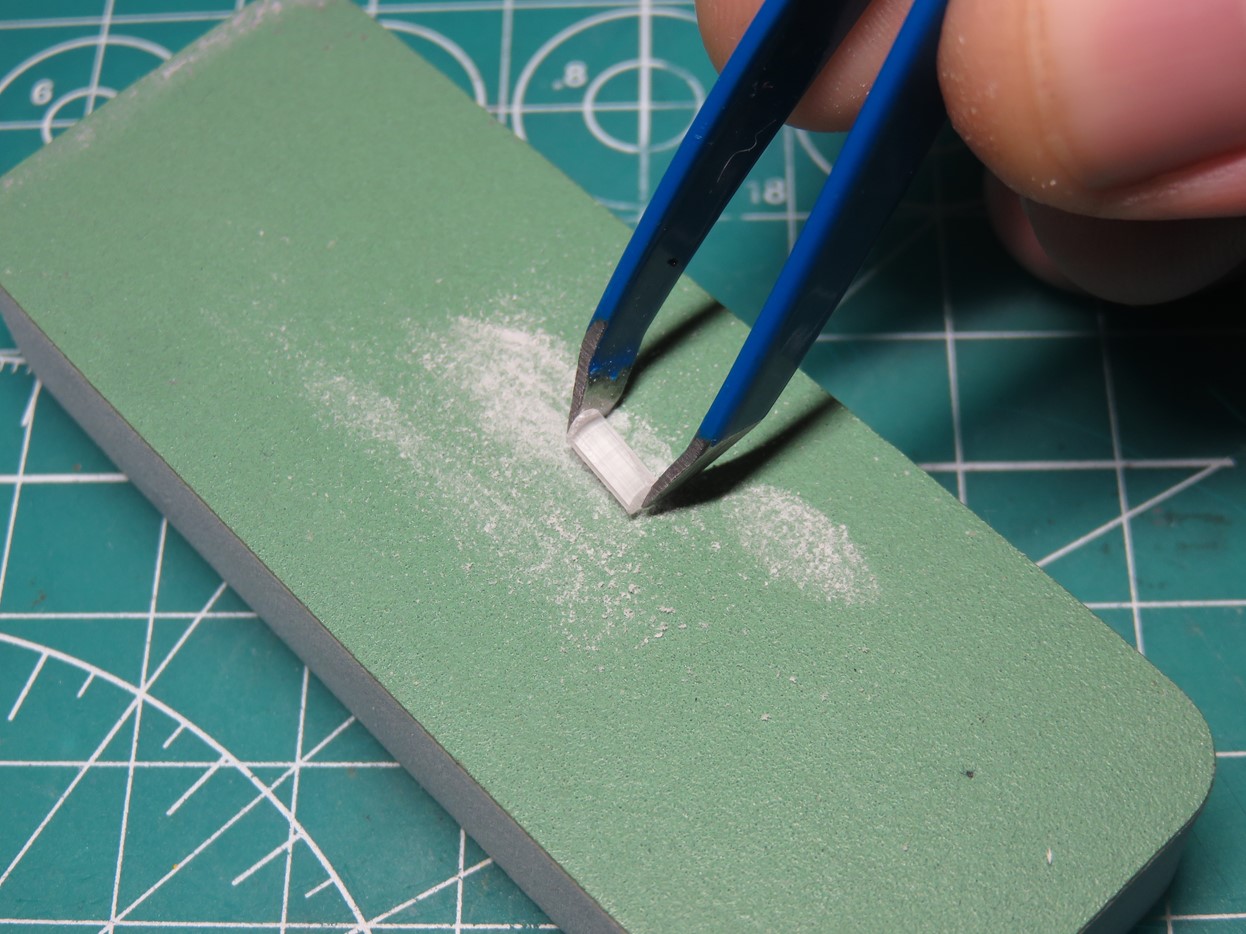
Now I’m sanding down 2 sides of the clear frame, again at a 90-degree angle. This side will fit into the wing tip so it’s important to get this angle as straight as possible. I’m using Vallejo Flexi-Sanders, as they are various grits, and make the work a lot easier. However, any sandpaper will do the job quite well.
Depending on your subject you might want to omit this next step. Some aircraft used colored lenses on the wingtip, or like this Corsair, it was a clear lens with a colored light bulb inside.
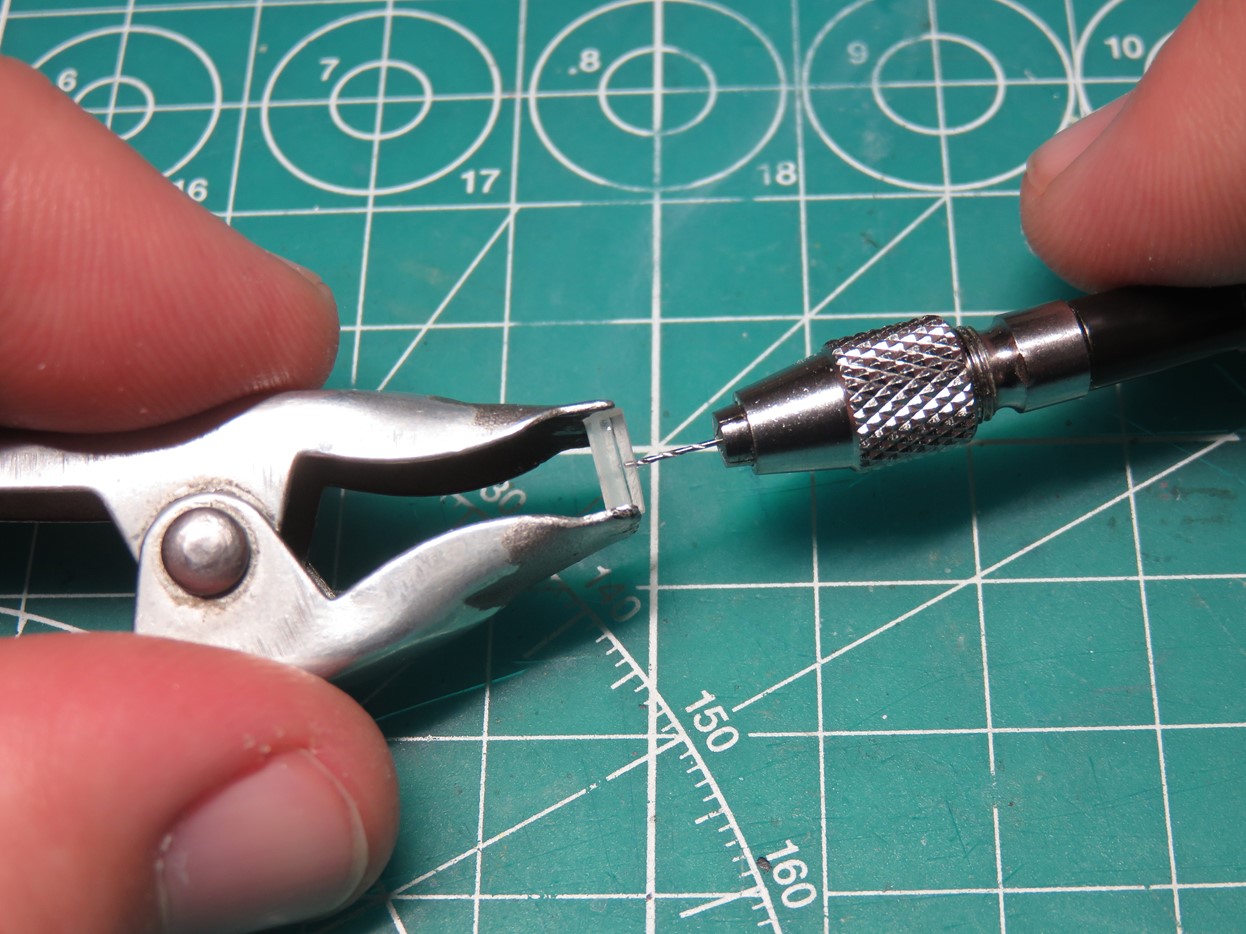
To replicate this light bulb I used my smallest drill bit and drilled out a hole 1-2mm deep. I also drilled the holes as close as I could to the center, too far forward and the hole would be exposed, this will be more apparent when we go further with the demonstration.
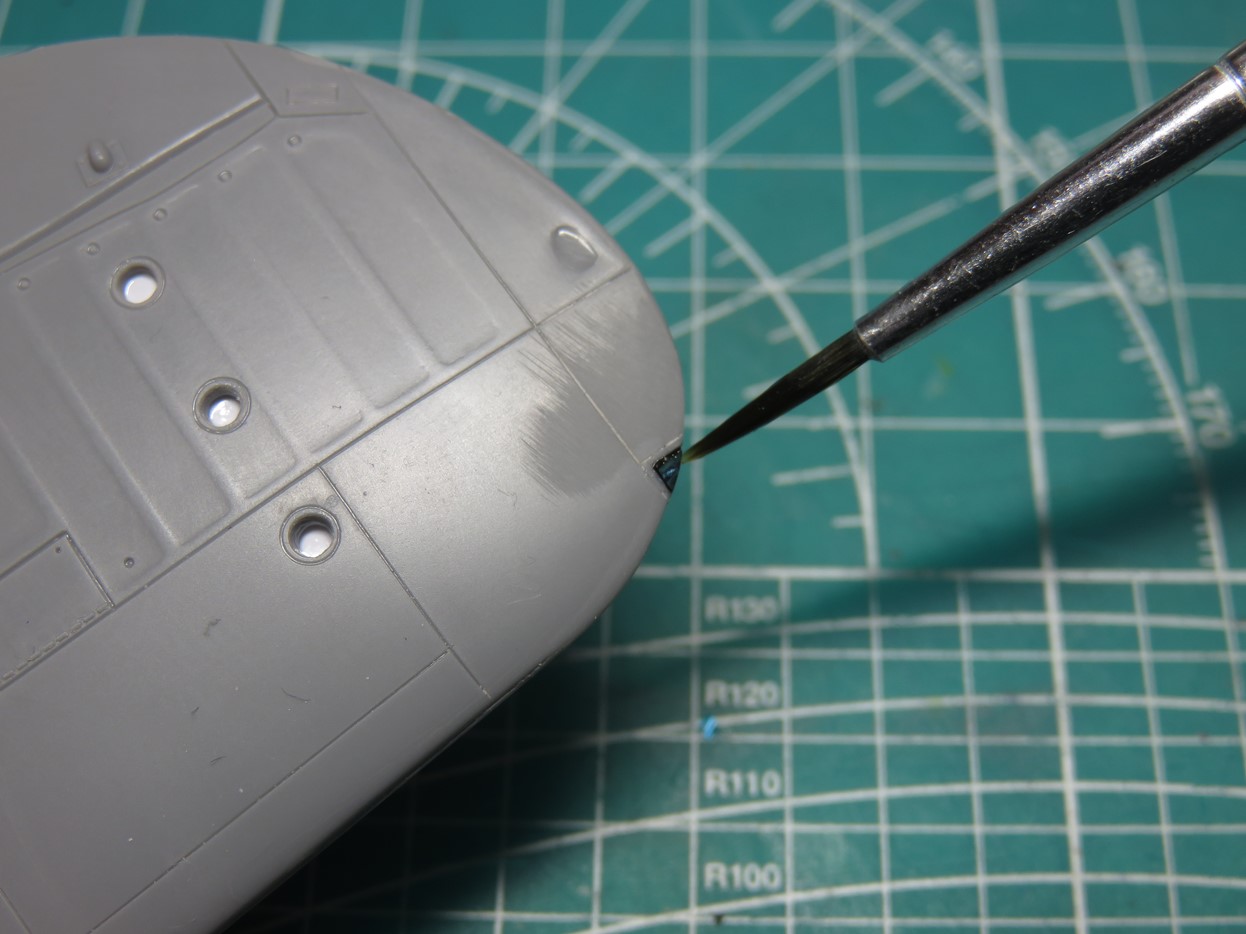
I painted in the hole using Tamiya X-23 Clear Blue, and X-27 Clear Red on the other side. You can use solid colors like Flat Blue, but I think these clear paints stand out a bit more on the completed model.
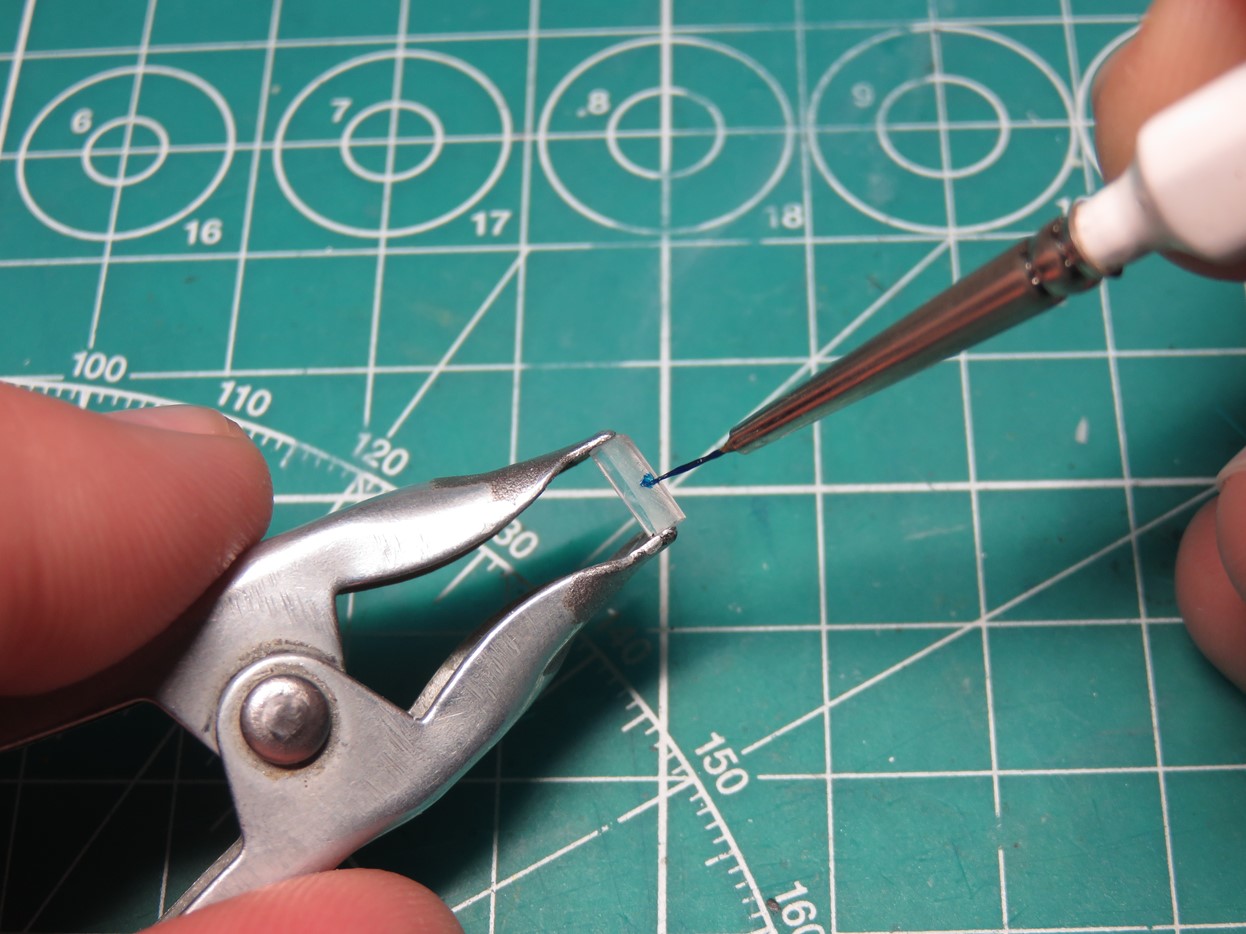
This is also an important step in the build as you need to keep in mind which color light goes on the particular wingtip. Usually, the instructions will indicate what color to use, but a quick search online can usually turn up the proper results.
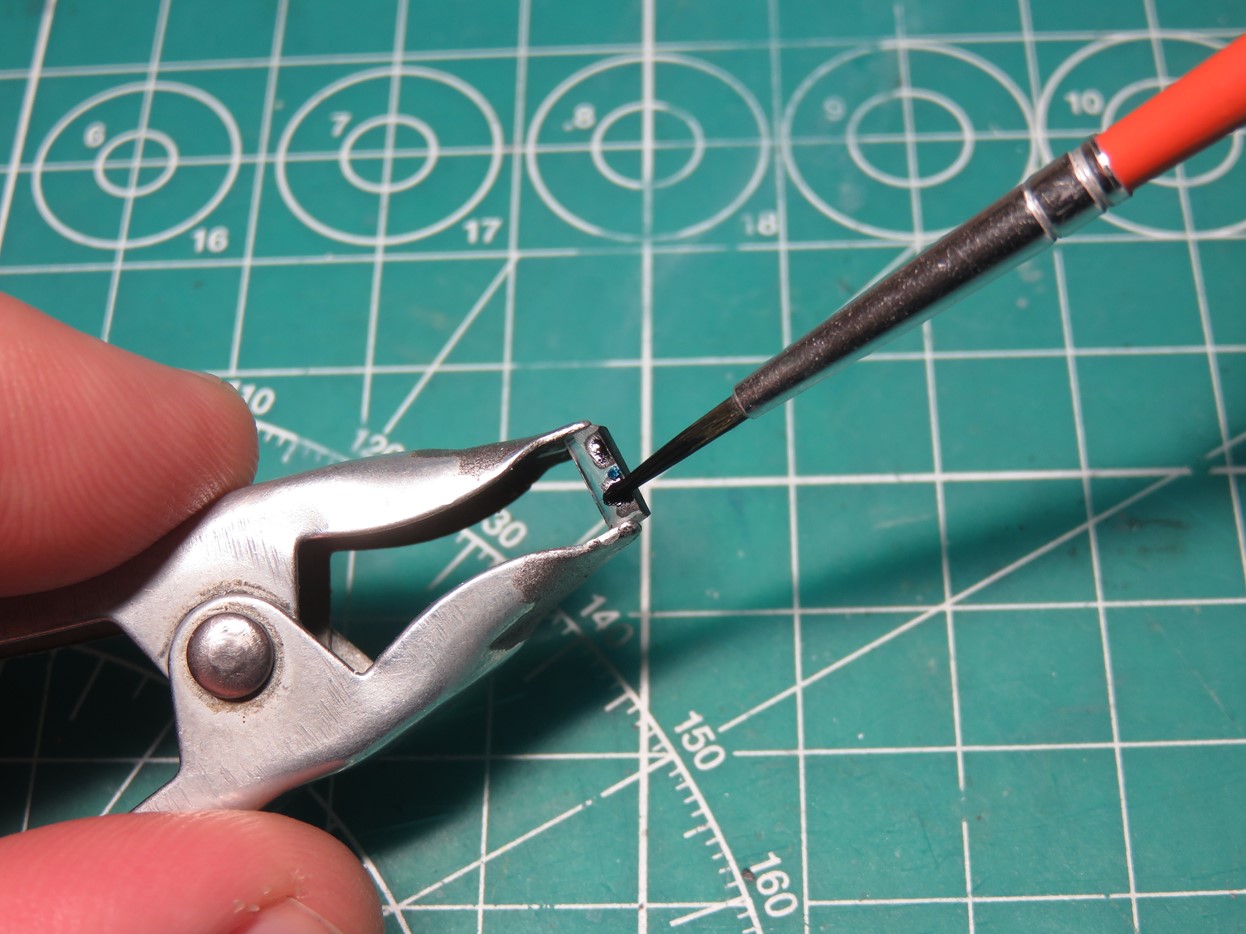
I’ve painted the rest of the inside of the light with Tamiya XF-1 Flat Black, as this matches the wingtip of the Corsair. On other projects, I’ve used silver, and this helps the light bulb stand out a lot more as it’s reflected by the silver. I’ll admit I do regret not using silver on this model as the black kind of hides the light bulbs, but I wanted to keep it accurate to the real aircraft.
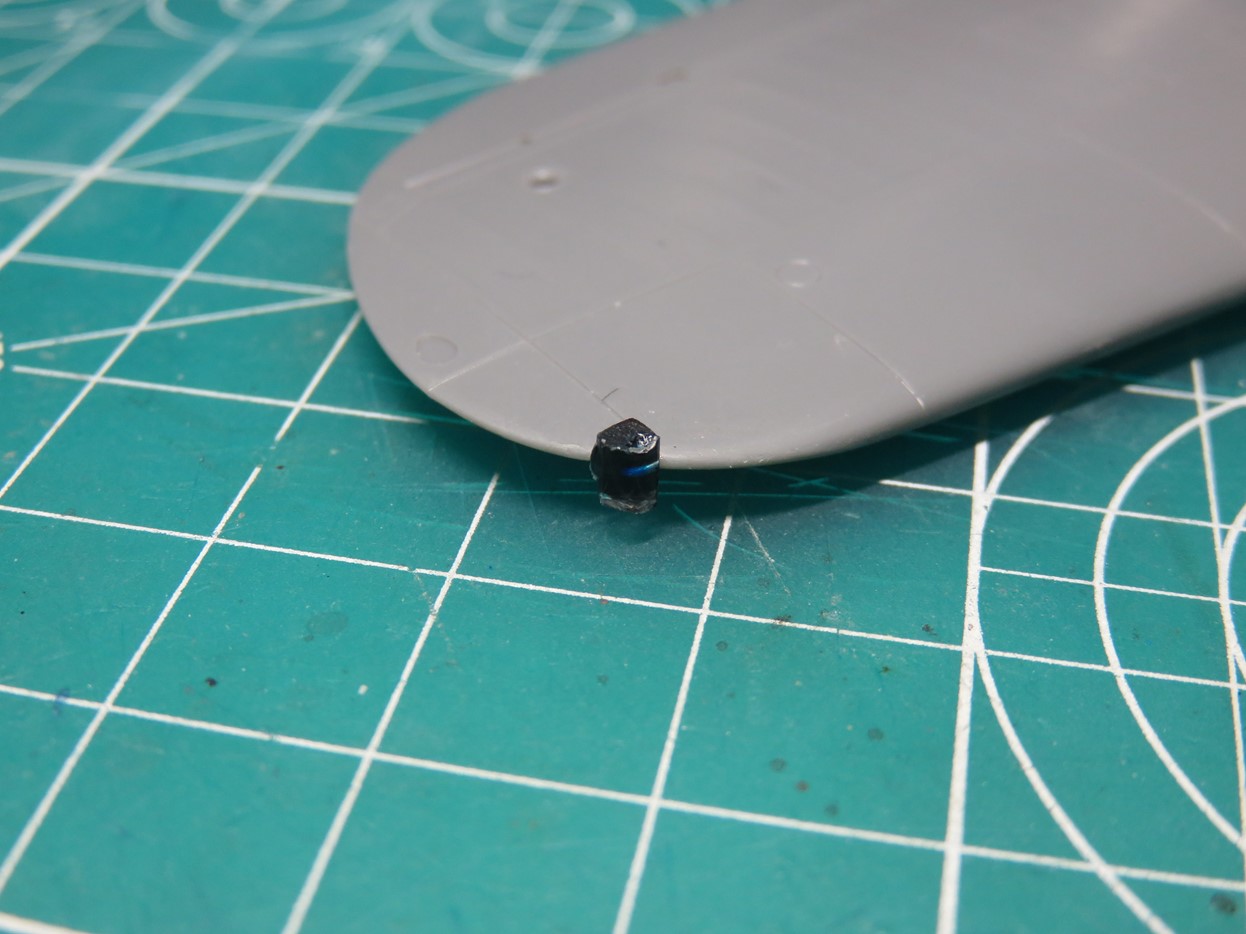
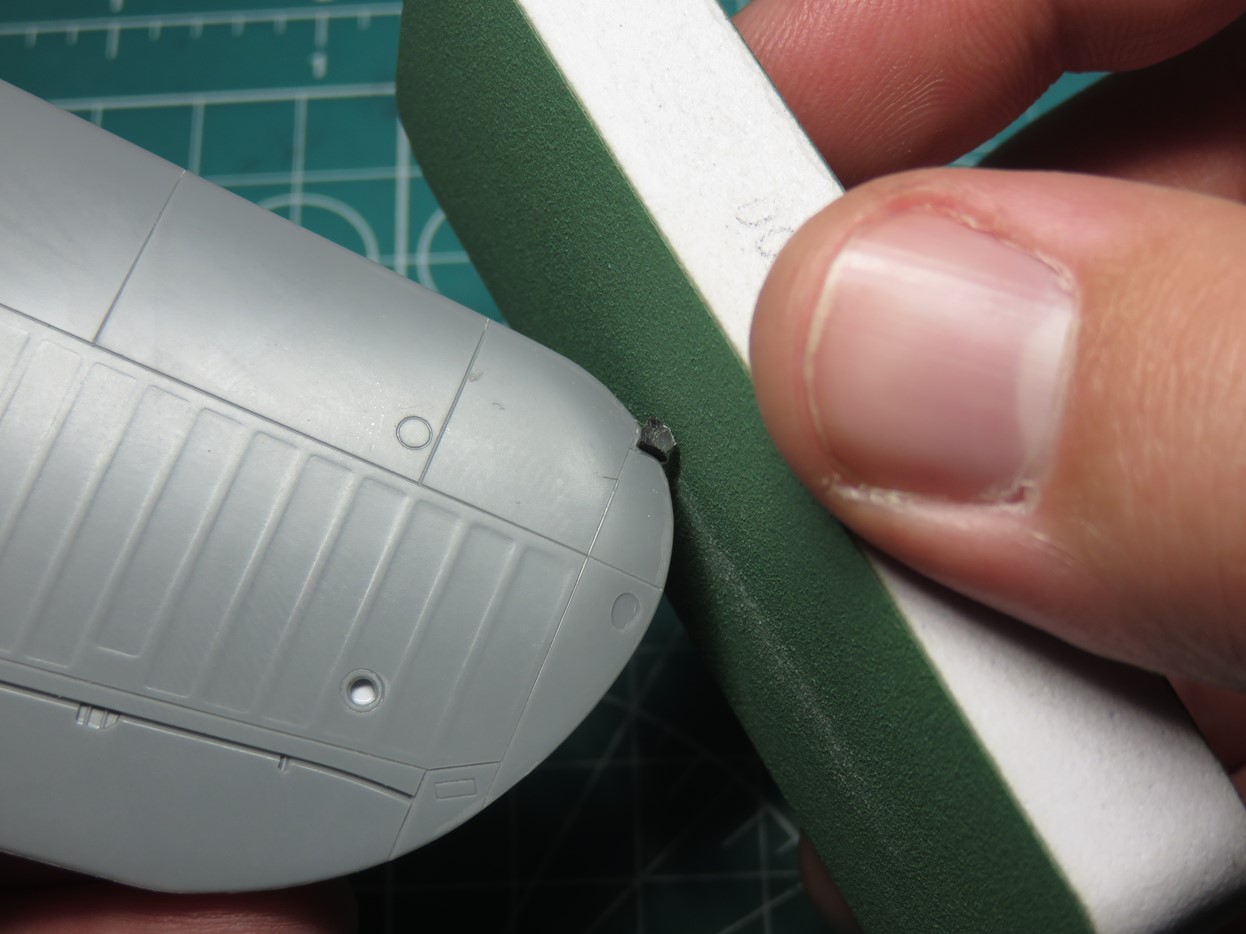
I glued the clear section into the wing using Mr Hobby Mr Just Super Glue or BSI CA Glue. The paint on the back should protect the clear parts from frosting over the plastic. I then left this glue alone for a few hours to properly cure and harden. I like the Mr. Just glue a lot as it’s very strong and dries quite quickly.
Using a 400 grit, I slowly sanded away at the clear plastic gradually shaping to the wing profile. However, at this stage, don’t sand the clear so that it’s flush with the wing. Just sand away enough so that you have a close profile.
Try not to sand too aggressively, as you can still pop the clear part off of the model.
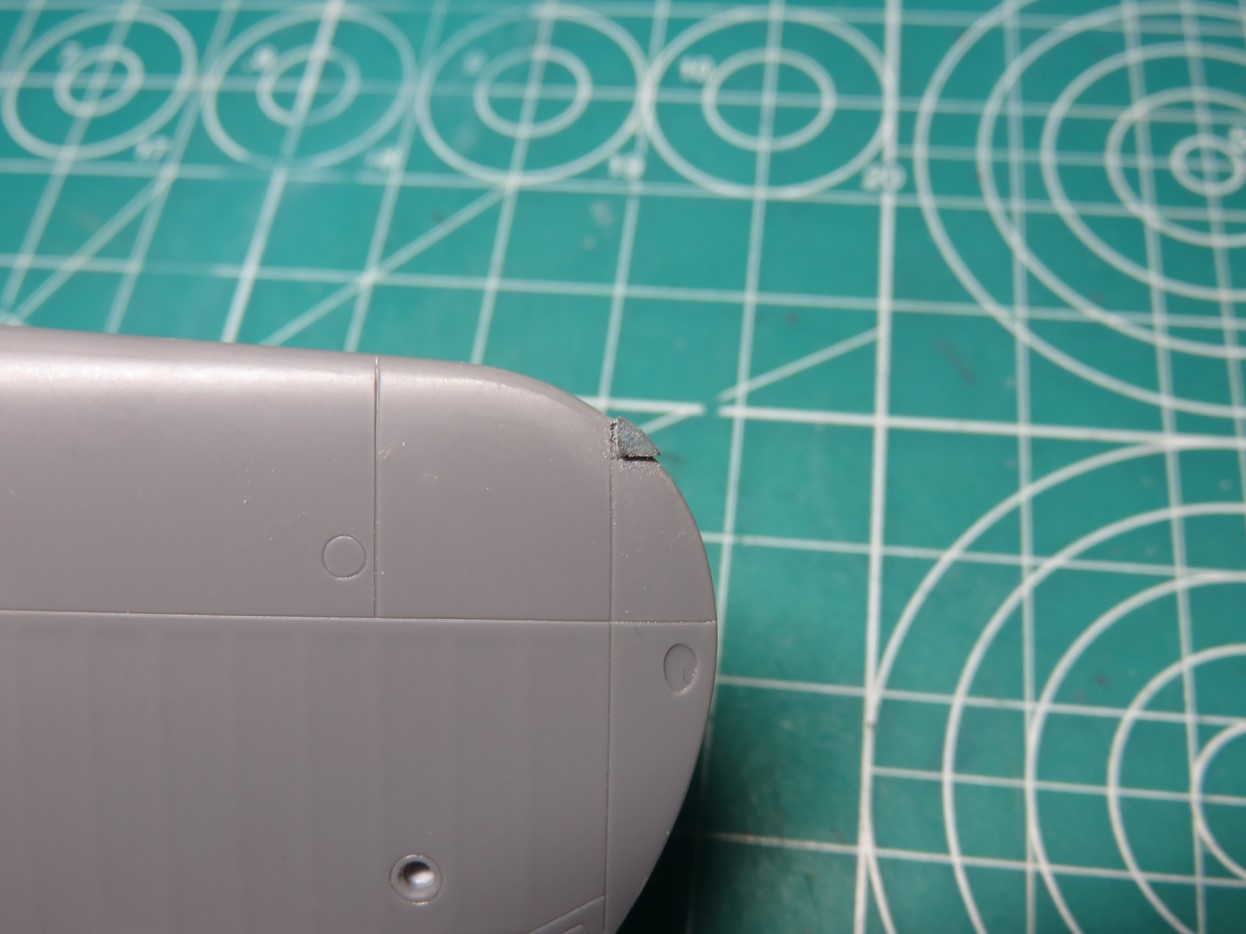
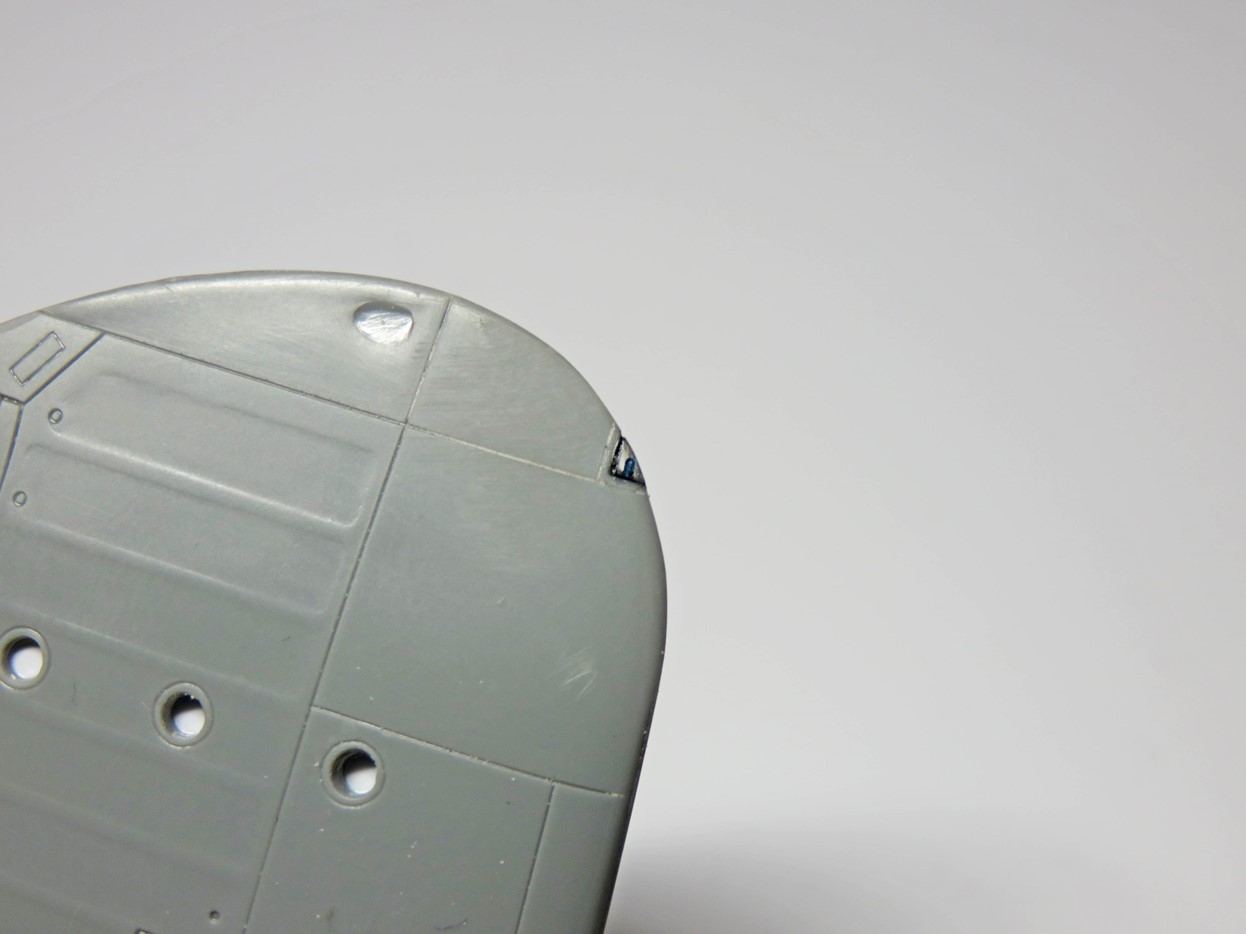
This is what your first sanding should look like. Next, we’ll sand down the profile with a finer grit. This way you don’t have to clear up the sanding scratches on the rest of the model from the 400 grit.
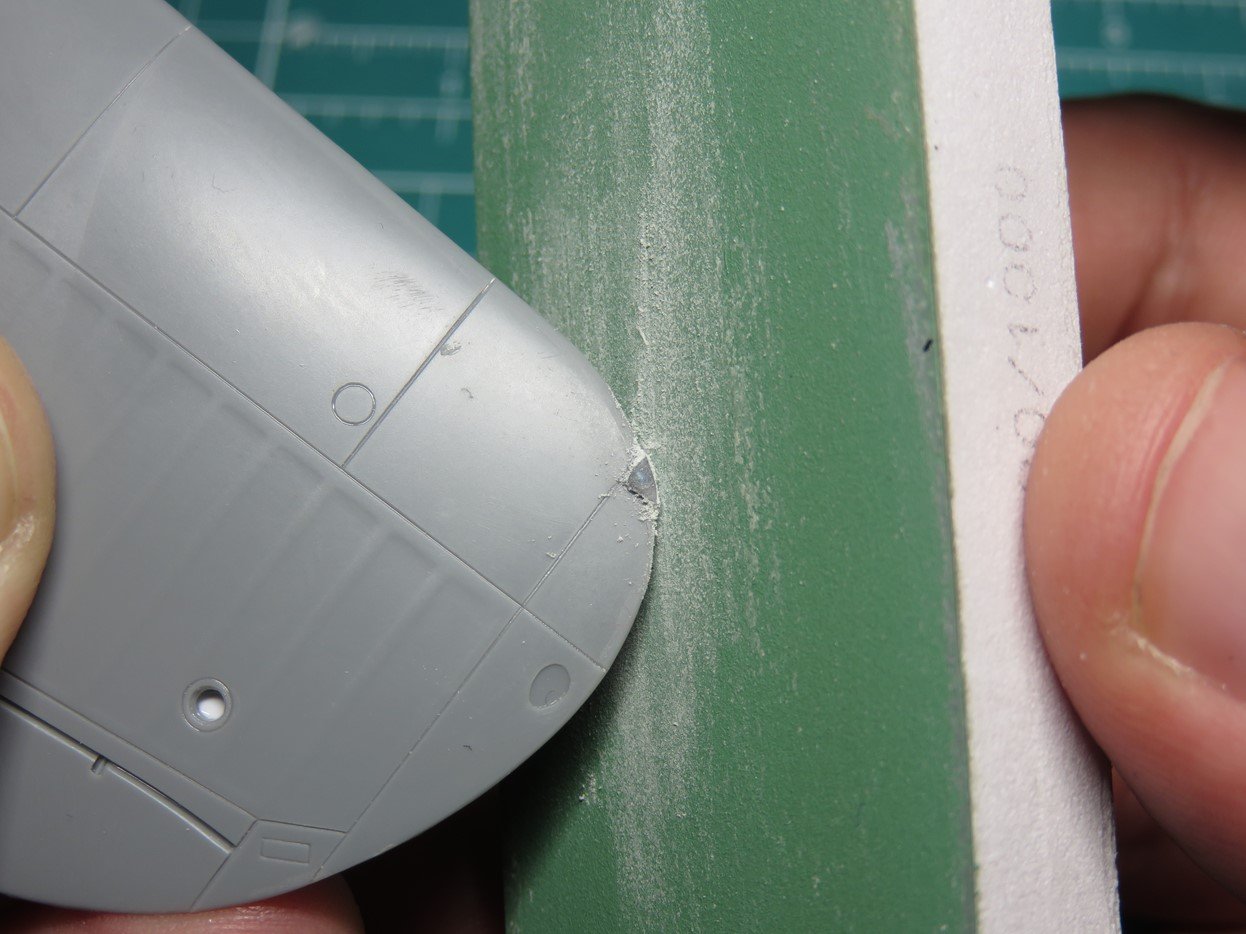
I’ll begin by using 600 grit to sand down and get the profile of the light. Once I’m satisfied with the profile, I’ll move on to 1000 grit to get a nicer polish out of the clear plastic.
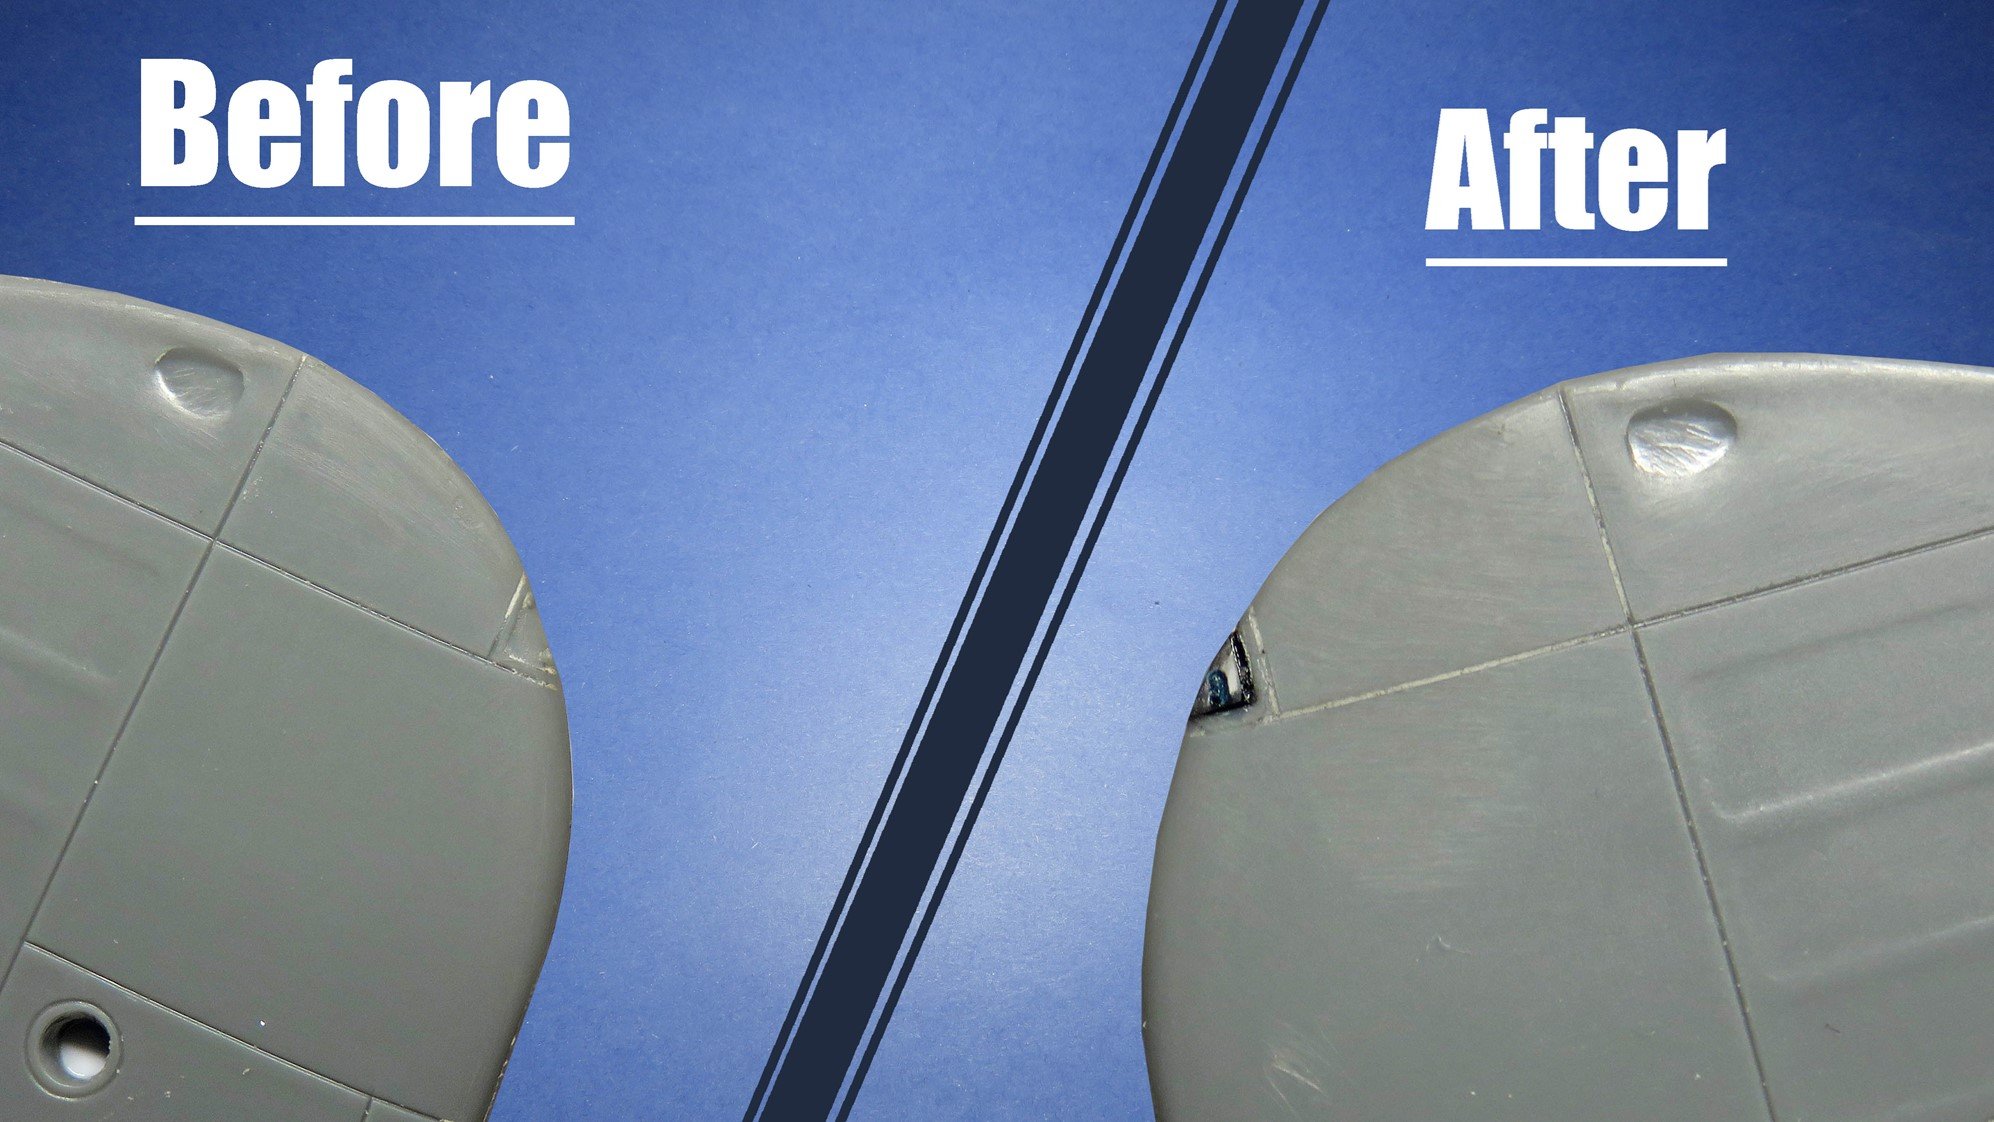
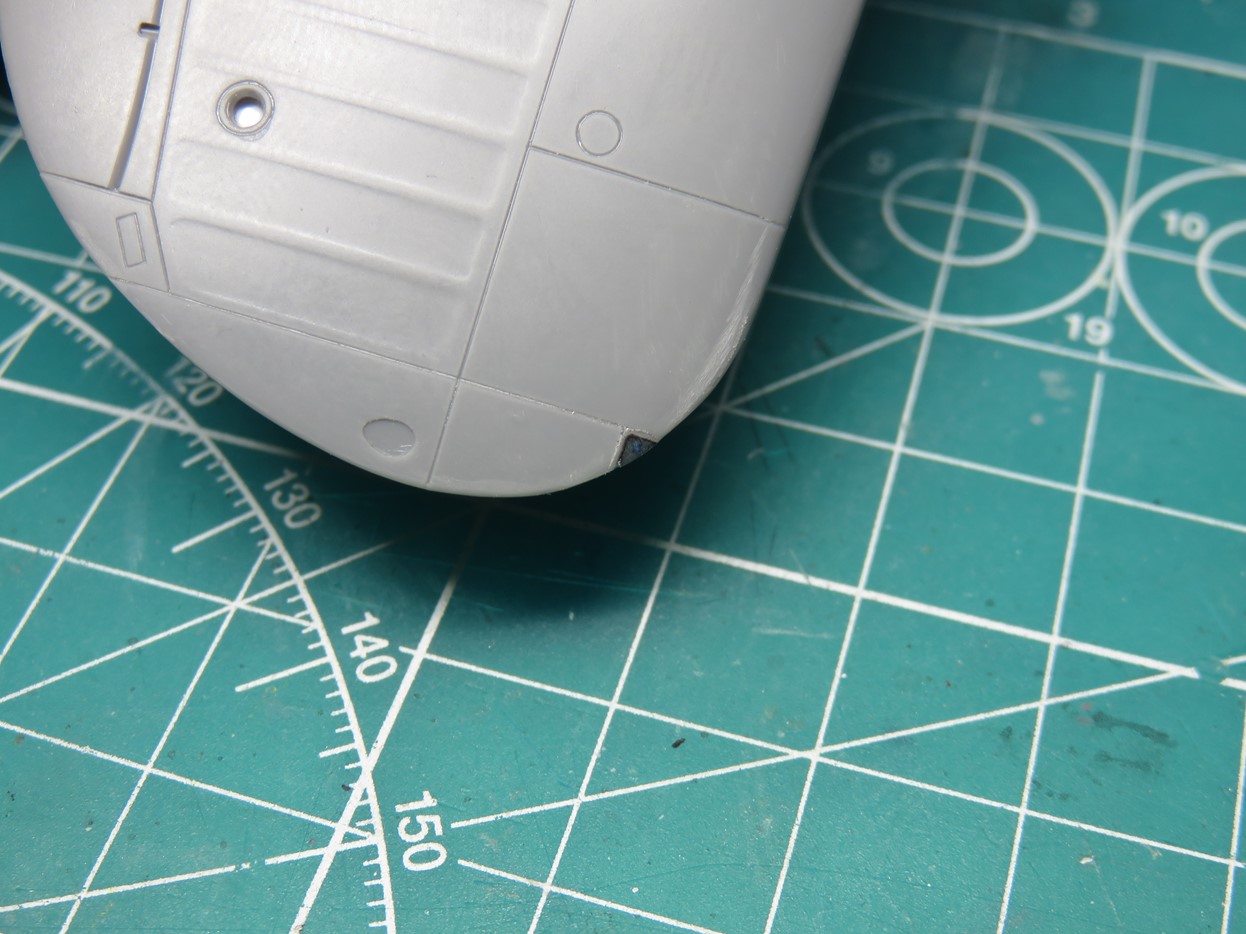
Here is the wingtip with the sanding completed. It looks pretty good right now, and seeing that tiny blue light bulb is really cool. We’re not quite done yet, lastly, we’ll get rid of all of those tiny scratches and greyish plastic.
To restore the clear parts simply take a gloss paint, in this case, I’m using Tamiya X-22 Clear, and paint it over the clear parts. Almost instantly the parts will be restored to a crystal-clear shine. This is also a stage where you might instead want to paint a clear blue, red, or green depending on your subject.
I would also note that this step is one of the last things I do when I’m completing the model usually after I’ve added a final flat coat. I’ll usually cover the wingtip lights with tape or use a masking agent.
And there you have it, nice shiny wingtip lights ready for your next project. A lot of modern kits these days will include clear parts for the wingtips but for other kits, this is a really fun way to add just a bit more detail to your project.
I’ve tried this method on a variety of scales, and it usually depends on the subject, but I find it’s not that noticeable in smaller scales. 1:48, and 1:32nd scale subjects will really stand out.
I’m going to continue with my Corsair build, and I now can’t wait to have it completed and see these clear lights. This process might have been fussy dealing with tiny parts, but I know in the end I’ll appreciate these efforts on the finished model.
Jared Demes is a modeler from southern Alberta. He has been building models since he was 4 years old when his Dad first introduced him to the hobby. He has written for several magazines including, Fine Scale Modeler, Scale Aircraft Modeling, Phoenix Scale Models, and others. He has an interest in all modeling subjects, with a focus on WWII Japanese aircraft and Science Fiction.
Jared has won several IPMS awards for his modeling, and currently operates his YouTube channel rebelsatcloudnine, where he showcases model builds and product demonstrations.