
Transferring Paint from the Can to the Bottle
How to take the paint out of spray cans for use with a brush or airbrushing.
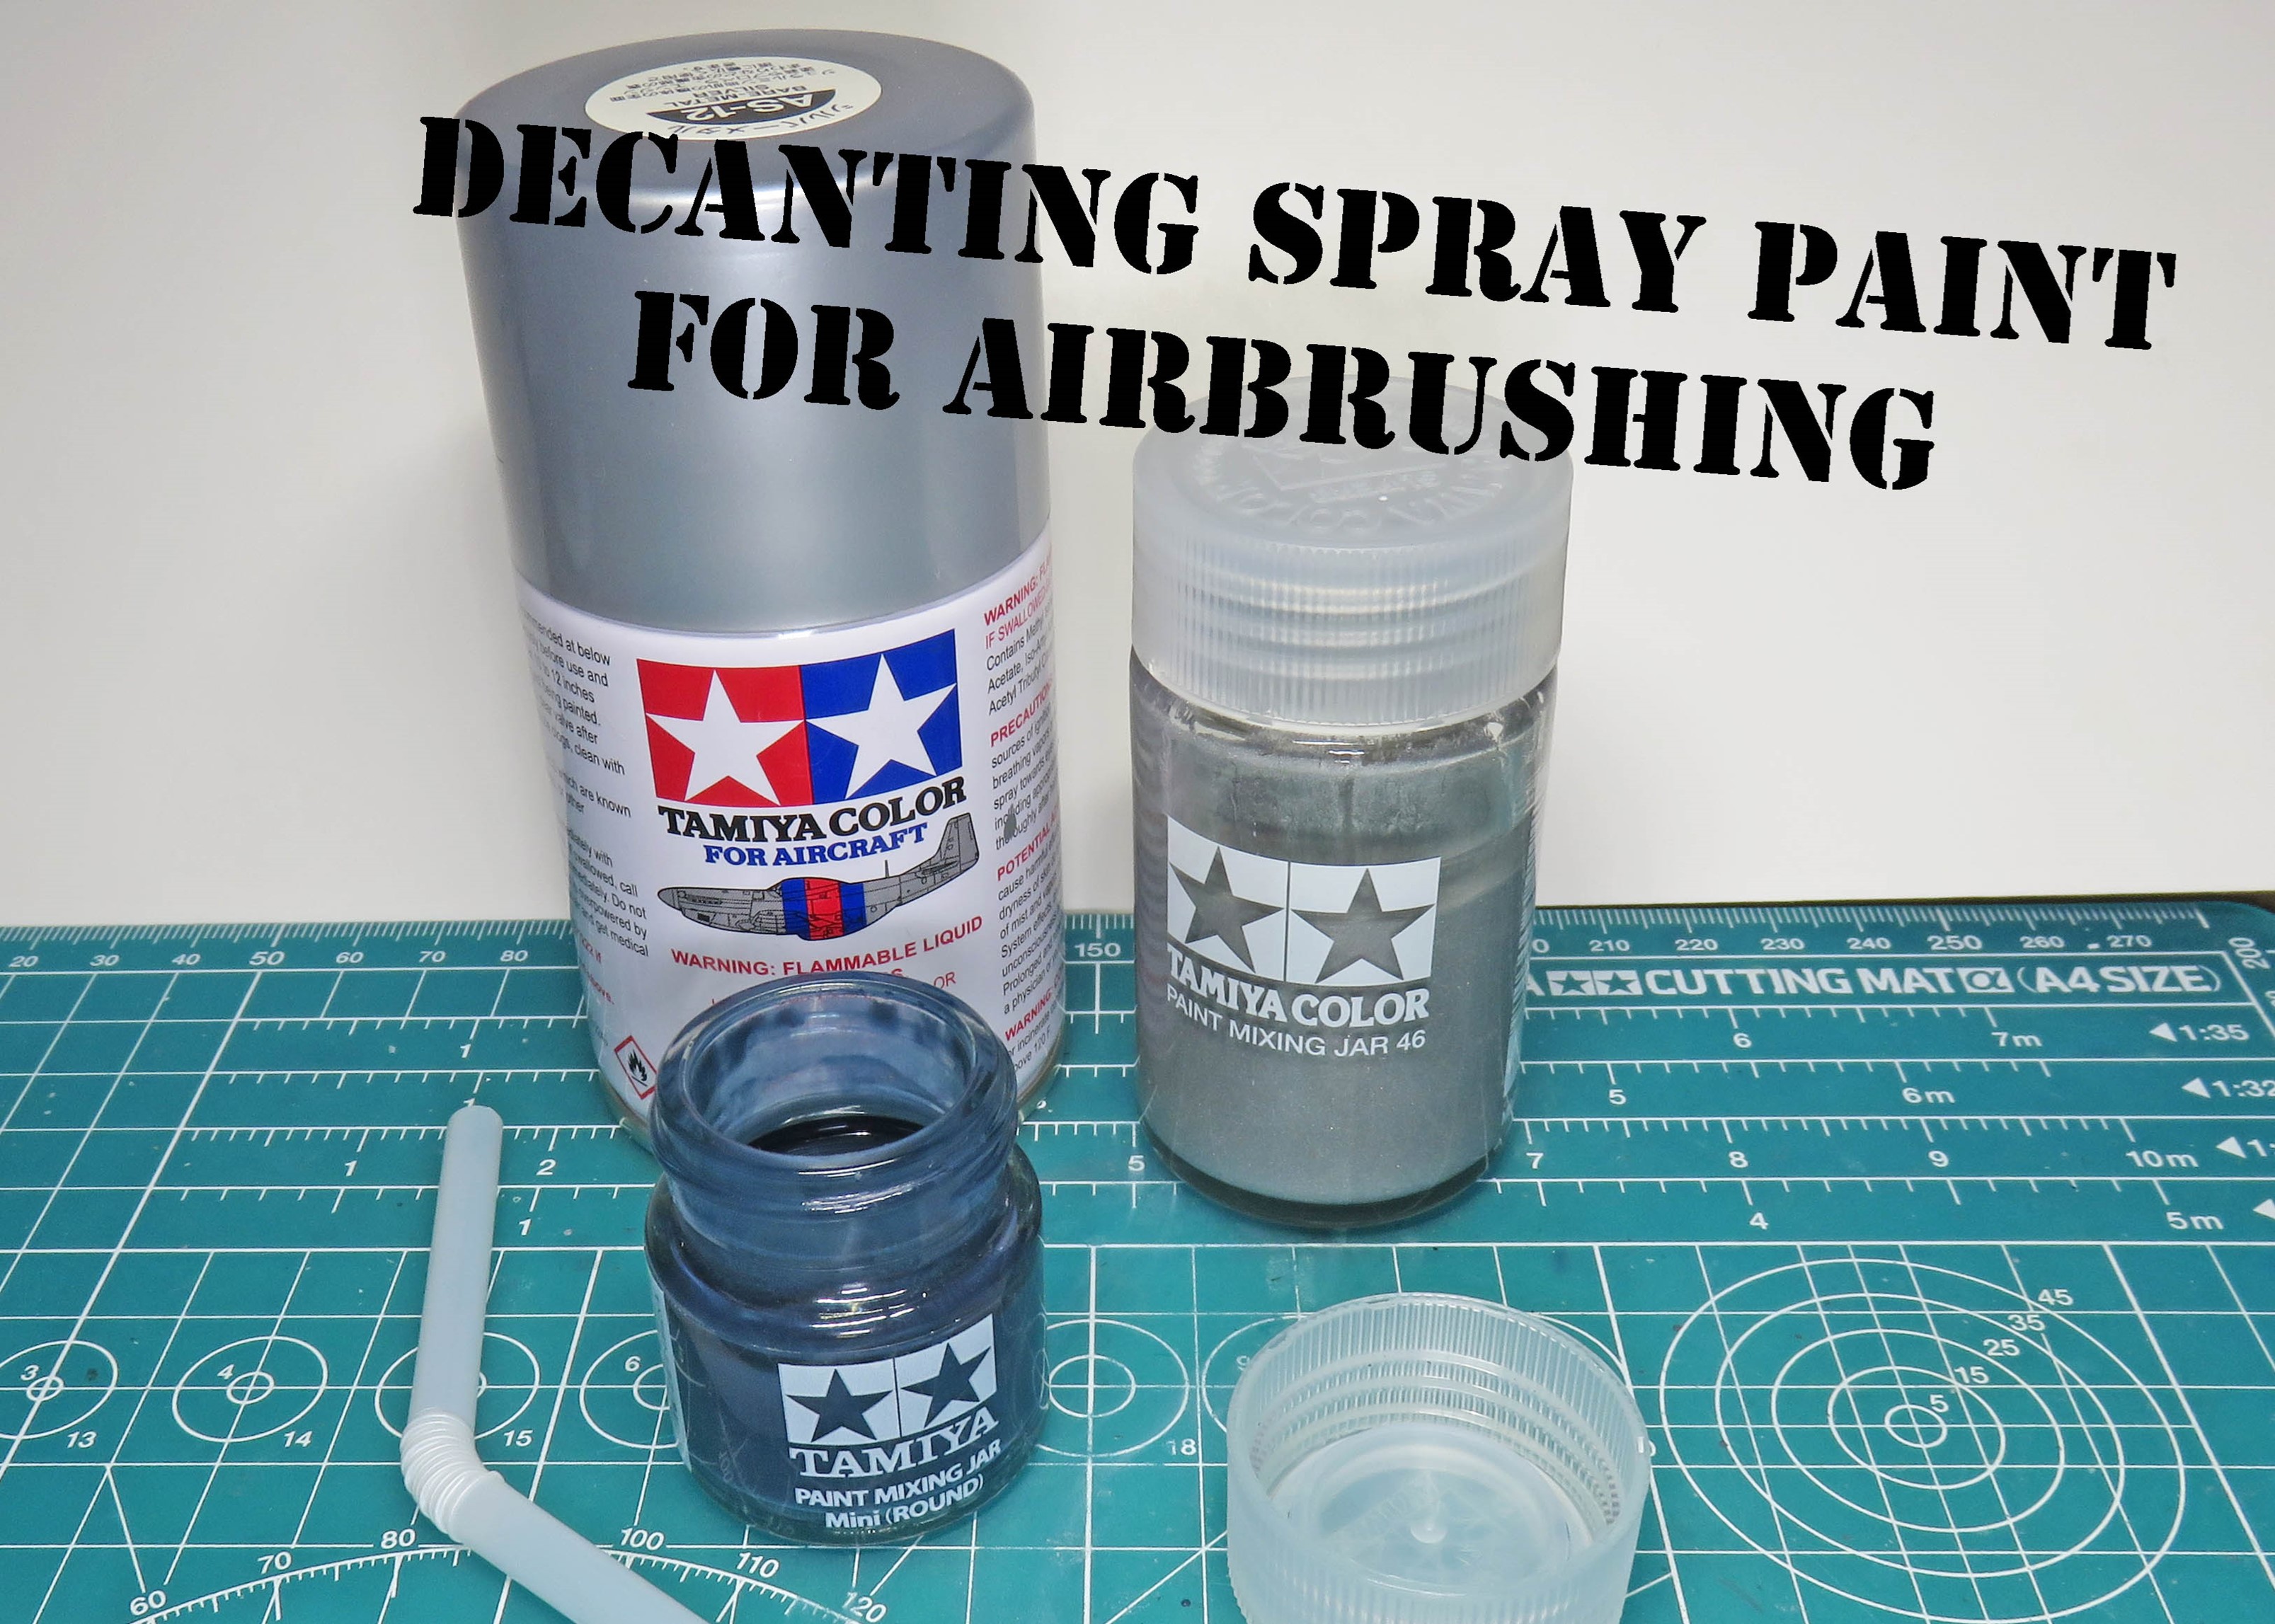
Spray paint is a great and easy way to paint a model. But there are those times when you want to paint lightly or on really small parts, times when you wish that you had the paint to use in an airbrush. Well, I’ll show you how to transfer the paint from the spray can into a new paint jar, and all you really need is an empty paint jar and a bendy straw.
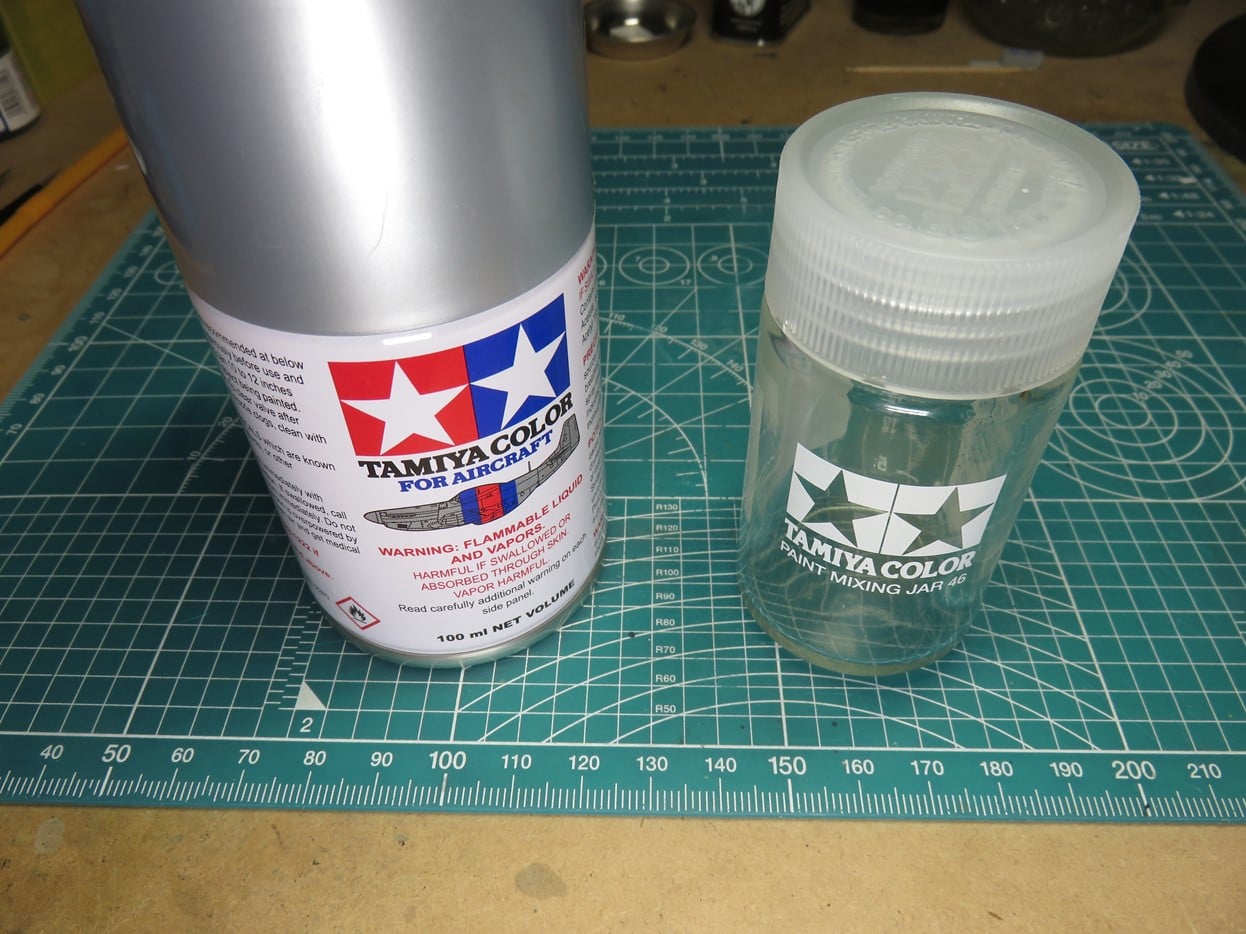
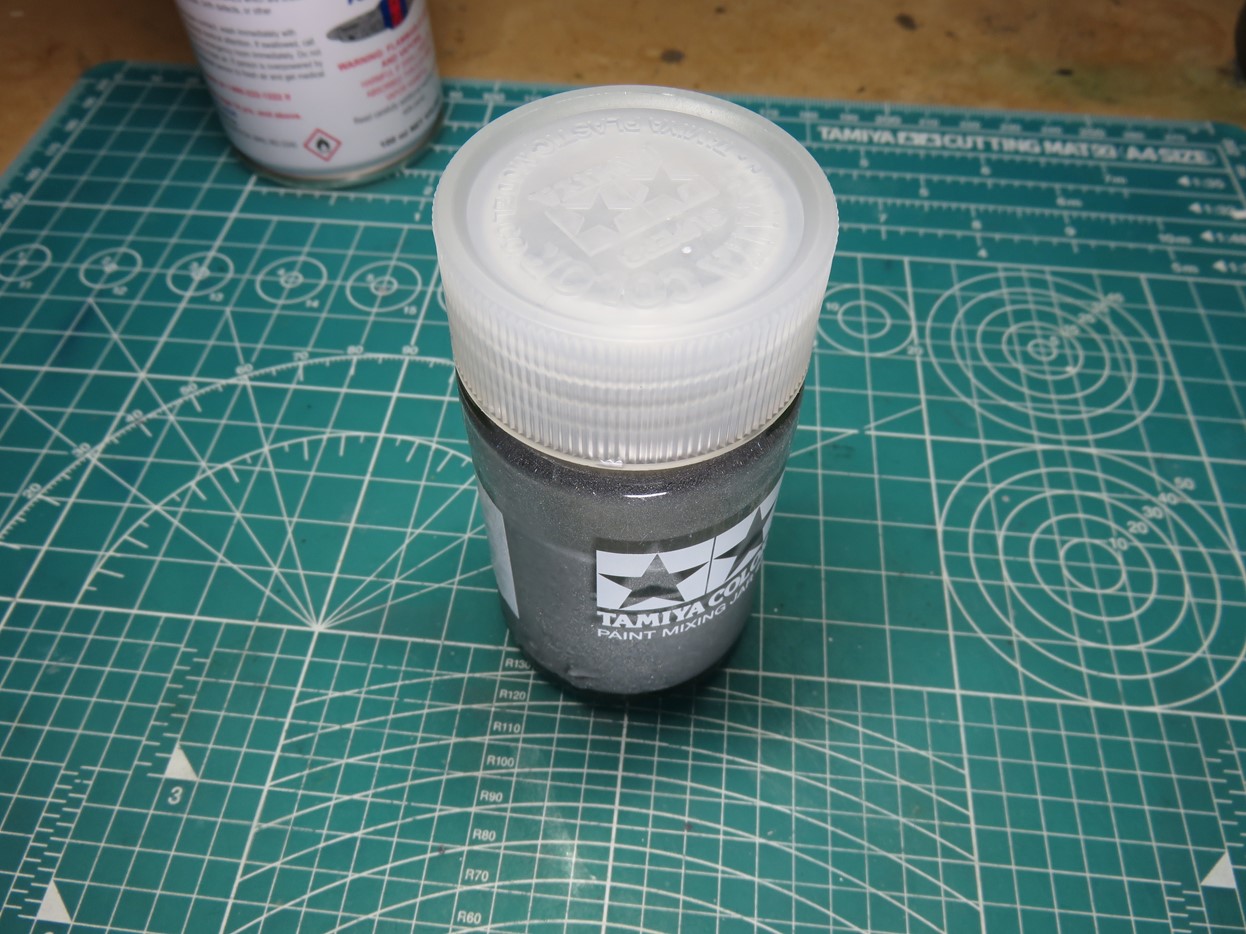
I first purchased a Tamiya 46ml Mixing Jar 81042, as I plan to decant as much of the AS-12 as I can. I’ve also used the 23ml jars for this process.
You will now want to spend some good time shaking the spray paint to really get everything inside mixed well.
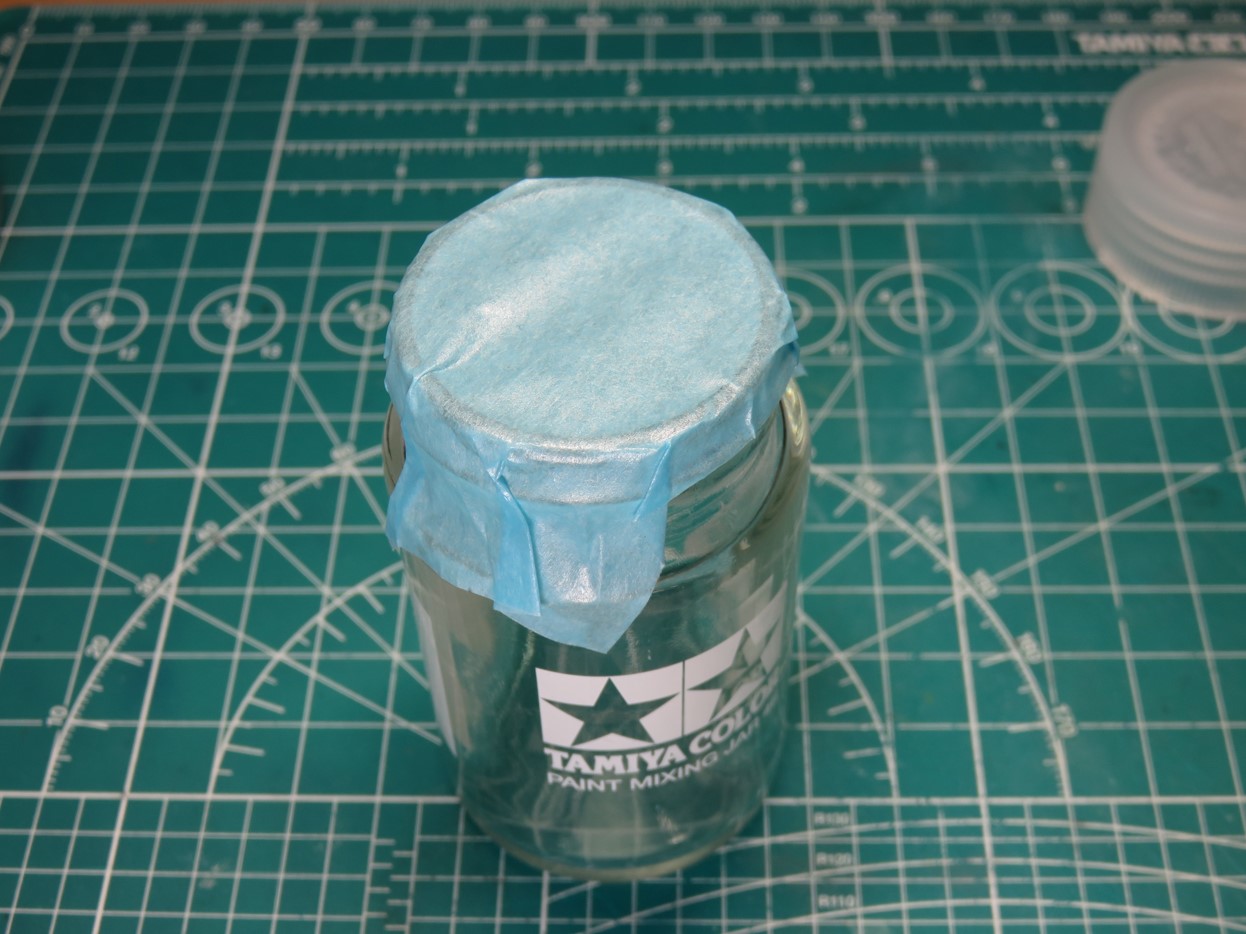
Next, I took some modeling tape and placed it over the opening of the paint jar, pressing firmly around the edges. Tamiya Masking Tape works really well for this process.

Now you will need to cut out 2 openings with a hobby knife. The first needs to be wide enough for the straw to fit into. The second I’ve cut on the opposite side, this one is a lot smaller. It’s a small vent for the excess gasses and propellant to escape from. It doesn’t need to be big, just big enough so that there isn’t any pressure building up under the tape when we spray the paint into the jar.
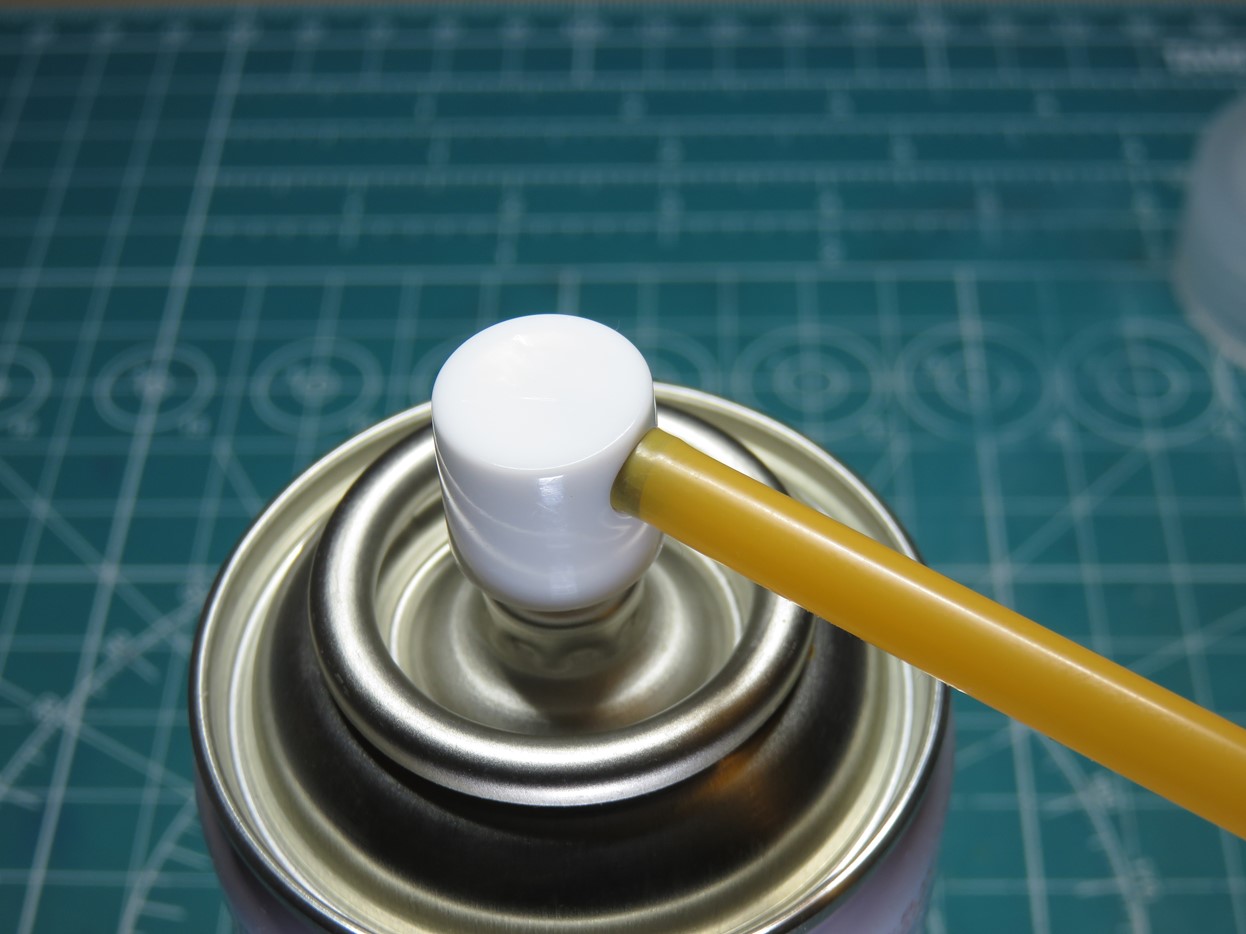
I have a package of straws that just happen to be the exact same size as the blue nozzle on the Tamiya Spray paint cans. This is a very secure fitting as I want the paint to only go into the paint jar.
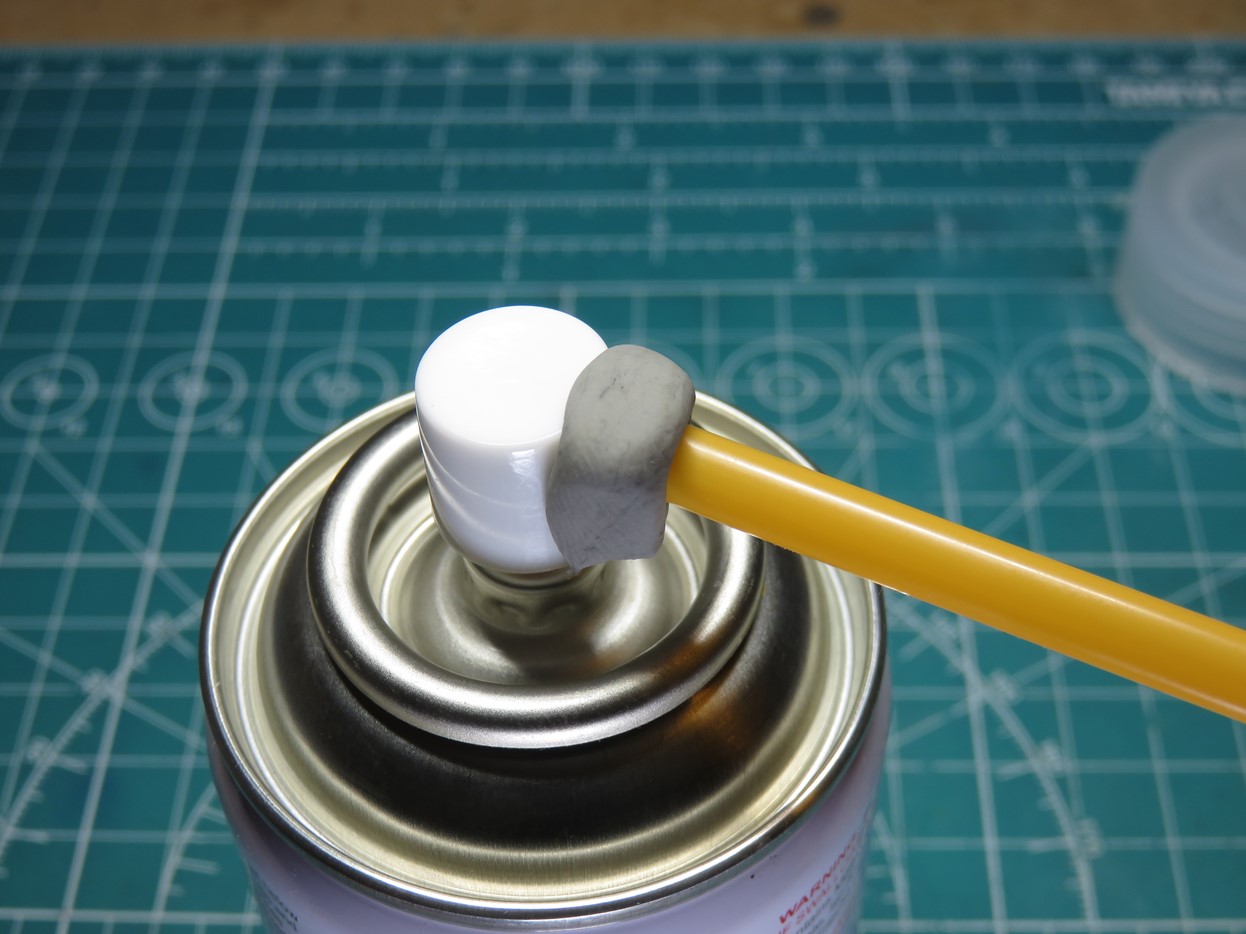
There will be times when the straw won’t fit the nozzle on the spray can. As I’ve shown here pressing tightly around the edges with removable putty does work. I’ve also had success with Silly Putty. However, you might want to create a firm seal using something strong like Woodland Scenic Glue Gun, or BSI CA super glue.
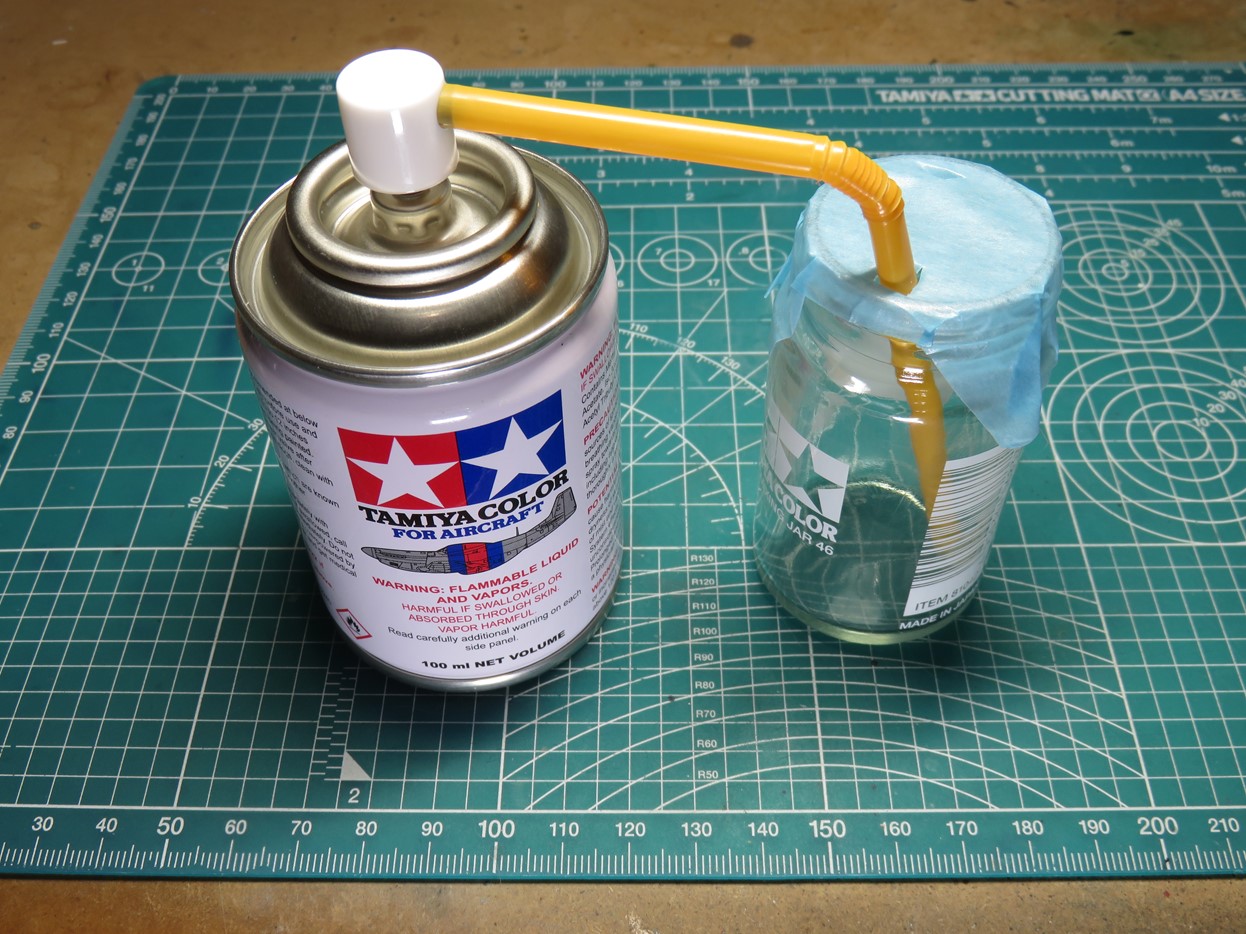
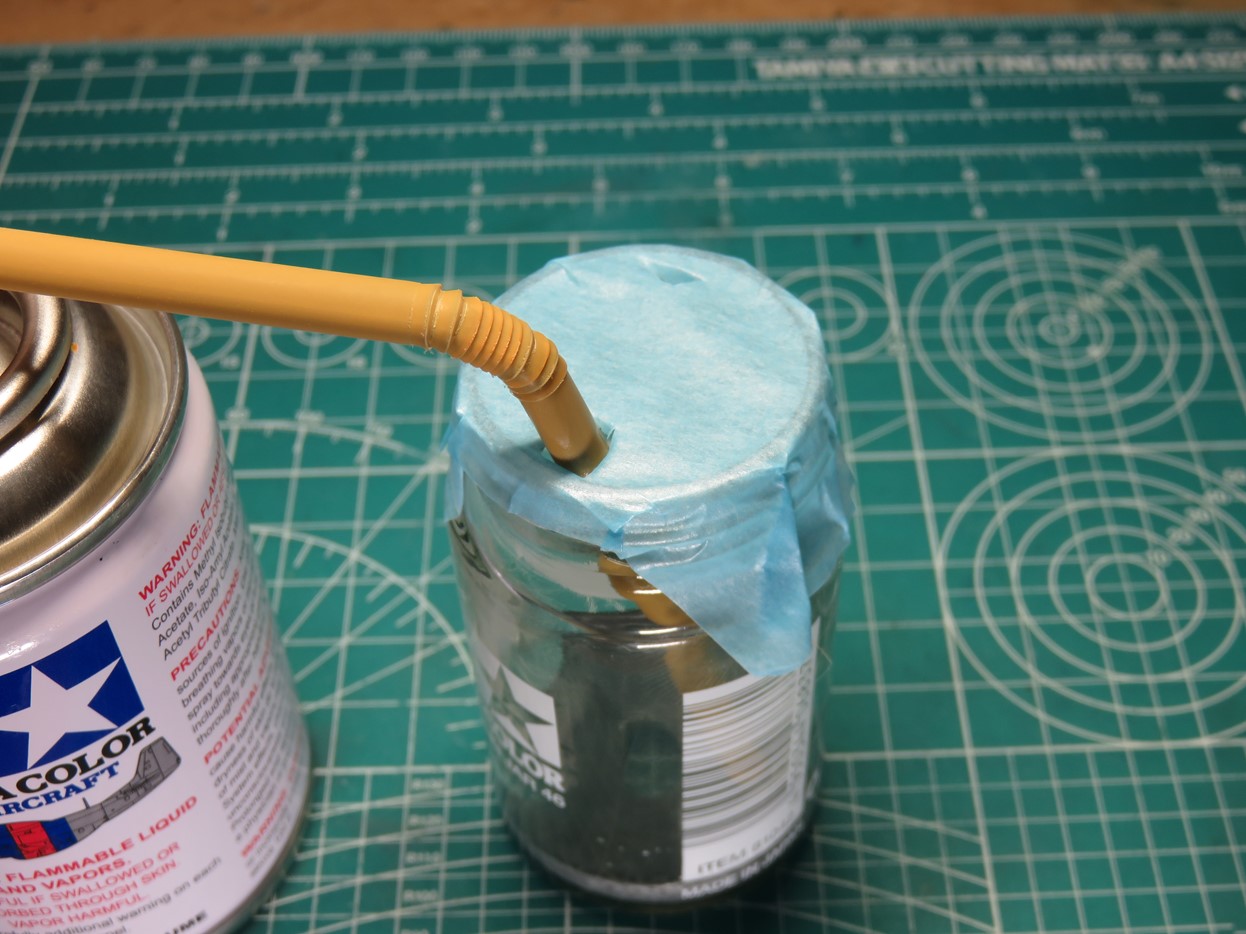
Your final setup should look something like this. I’ve cut the straw down so that the end of the straw rests on the bottom of the jar. I detached the straw from the nozzle and gave the spray paint one last shake for good measure.
Gently press down on the nozzle and slowly release the paint. You might also want to do this outside as your hobby room can quickly become filled up with the smell of paint and propellant.
This is also where having a bendy straw is most useful. As you release the paint from the can, the paint will shoot forward hitting the curved edge and falling into the jar. This is a much more gentle process than directly shooting the paint straight into the jar.
As you continue to spray you might begin to notice a layer of frost around the outside of the jar. This is just a normal reaction from the propellant.
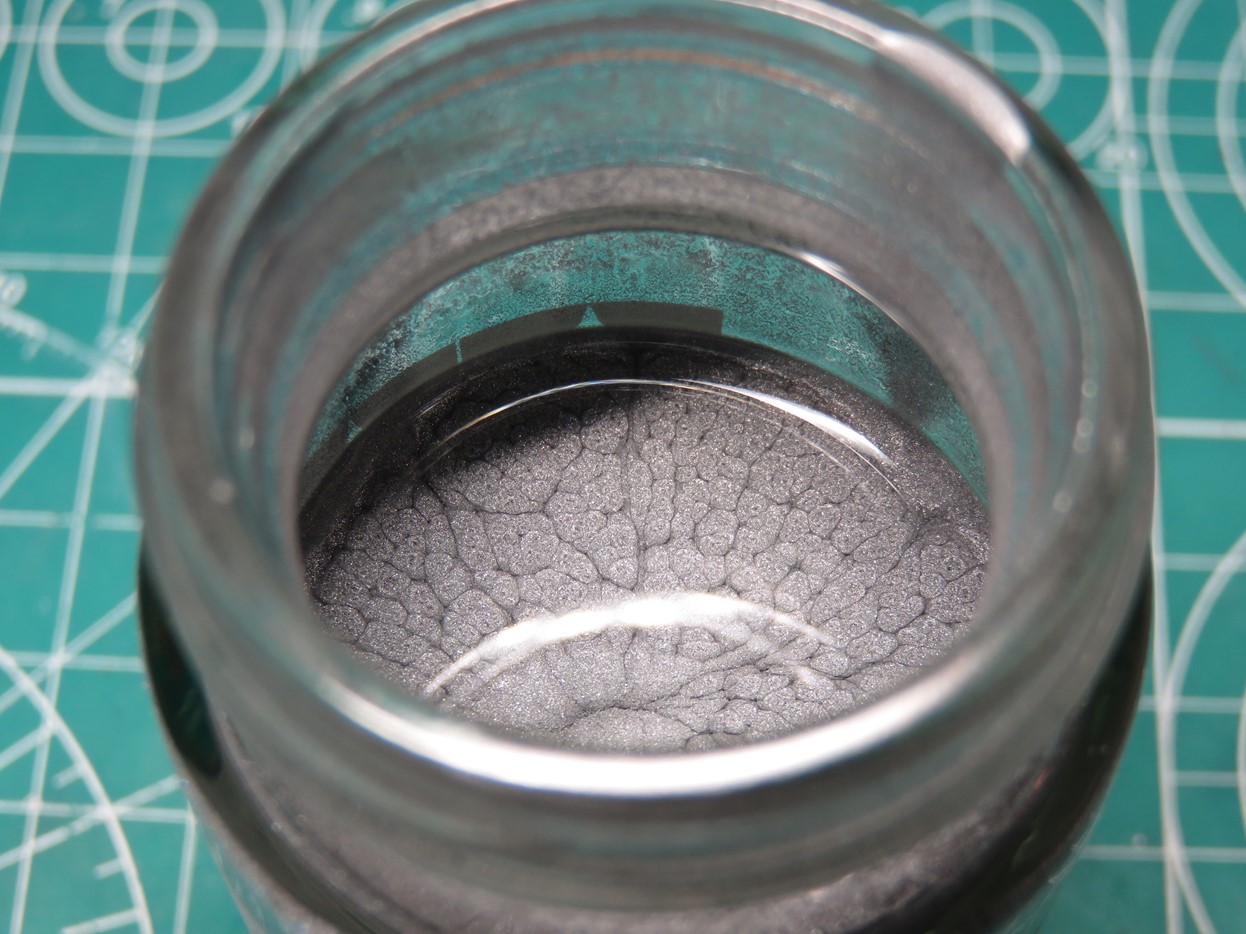
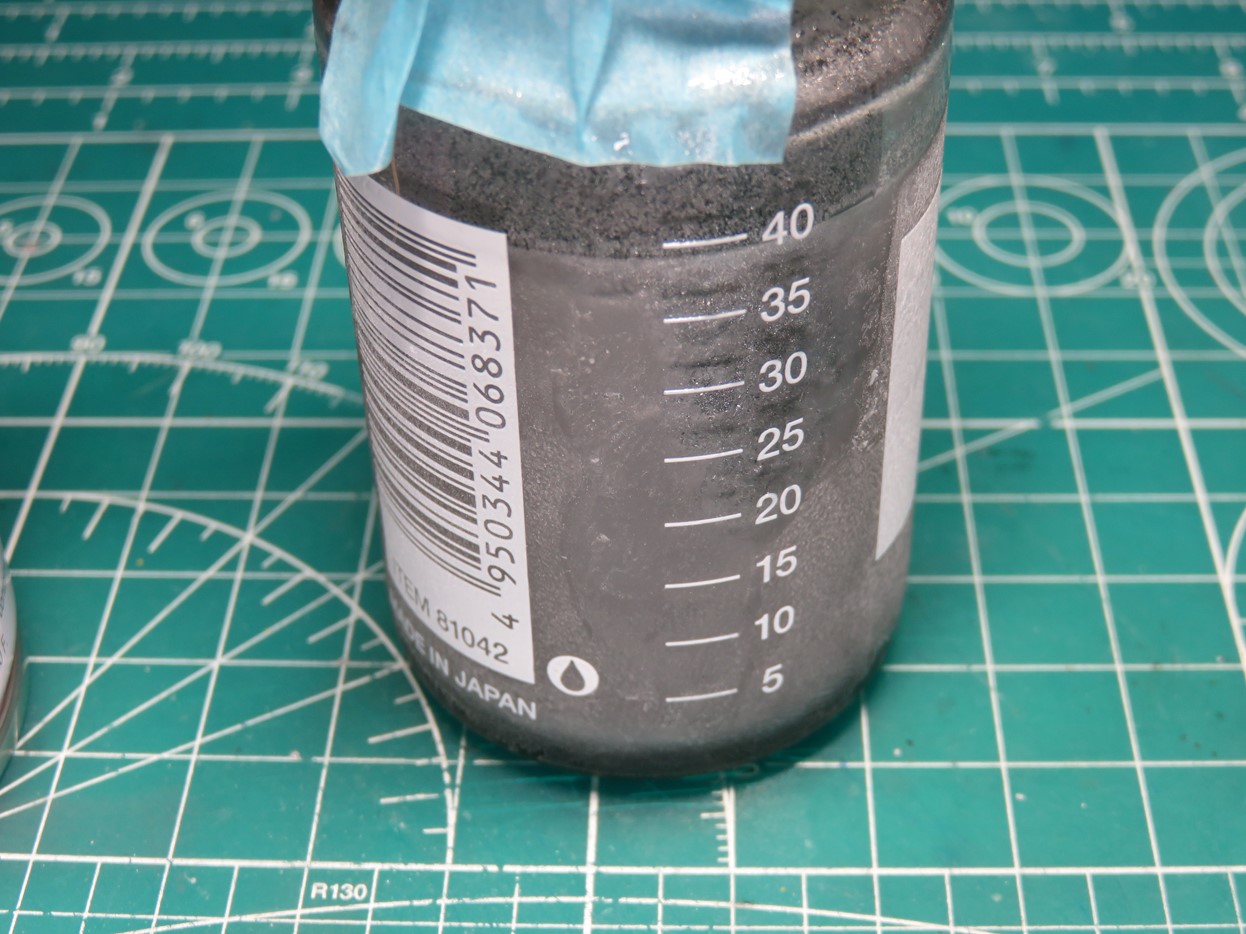
It took a while but I managed to completely empty the spray can. If you look inside at the paint you will see many tiny bubbles that are escaping. It’s important to leave the jar open so that all of these gasses can properly escape and won’t interfere with your painting.
I put the cap back on just a bit to protect the paint, but I left it loose enough so that all of the gasses could escape. Every hour or so I’d open up the jar and stir the paint around helping get out all of those bubbles.
I’ve heard of some modelers who will decant directly into an airbrush, and begin to paint right away. From my own personal experience, I’ve had negative results where the newly laid paint formed a lot of tiny bubbles on the model that I had to sand away. You can give this a try of course, but for me personally, I’d rather wait a bit for the bubbles to vent from the paint before I’d spray it onto my model.
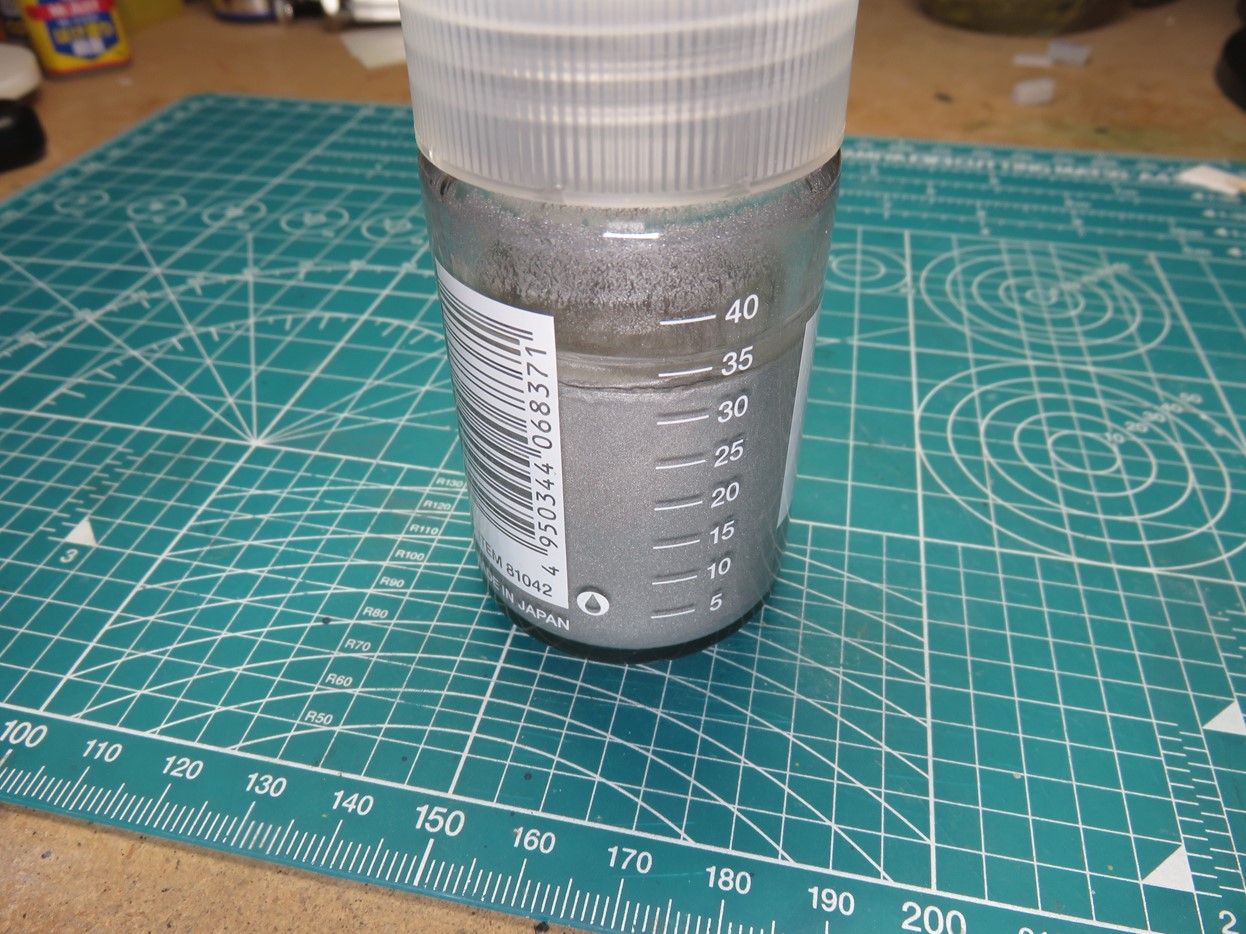
Here is the jar filled up with AS-12 and ready for airbrushing. From my own experiences, I’ve found that these paints still need to be thinned down for airbrushing. I’ll typically use Mr. Hobby Levelling Thinner, or Tamiya Lacquer Thinner with retarder. This paint has the same properties as the usual Lacquer paints, so you should find it very easy to use.
I have a small collection of empty Tamiya paint jars that I’ve filled up with paints from the spray cans. It makes these paints a lot easier to use, and I don’t waste as much paint as I normally would if I were painting with the spray cans.
On a final note, I want to mention that I have a large box of straws that was purchased long before plastic straws in the past. Paper straws will work to an extent, but you can’t really bend them, and because of the aggressive nature of Lacquer paints the paper might not last the entire process without creating a mess.
The straws used are made from PLA, and I decided to test them and see how they would react to the lacquer paint. I sprayed Tamiya AS-8 Navy Blue, and the PLA straws were basically the exact same as normal plastic straws.
Jared Demes is a modeler from southern Alberta. He has been building models since he was 4 years old when his Dad first introduced him to the hobby. He has written for several magazines including, Fine Scale Modeler, Scale Aircraft Modeling, Phoenix Scale Models, and others. He has an interest in all modeling subjects, with a focus on WWII Japanese aircraft and Science Fiction.
Jared has won several IPMS awards for his modeling, and currently operates his YouTube channel rebelsatcloudnine, where he showcases model builds and product demonstrations.