
A Guide on Displaying Your Completed Models
Introduction
Building plastic model airplanes, cars, ships, armour, etc. is your hobby, hopefully not an obsession, but simply time well spent on building and finishing a preferred model kit that you like. So after you’re done, you would want to display your effort; and you value and are proud of the model you have completed and wish to display it somewhere in your home or office or another spot like a clubhouse, community centre and such.
For the seasoned veteran, preserving and sometimes exhibiting your collection is easy enough, given that you have the proper knowledge.
For the beginner, I’ve assembled some of the best tips and from learned experiences on how you can ensure that your completed model will be displayed and kept in excellent condition for years to come.
It only make sense that you plan and find a place and display it as safely as possible.
First thing: Create an inventory!
Having an inventory of your model collection is helpful in a lot of ways:
- For one thing, you get a personal record of all your models and know that they are either on display or stored away.
- Two, you get to determine which are in your storage and waiting for the assembling and to determine if anything is missing to complete it.
- Third is location, you’ll know where all the un-assembled kits are in your inventory list and where the displaying models are located.
Ultimately, doing an inventory of all models serves as an excellent way to collect information on each model and access the information whenever needed; for example, a guest in your home/office wants to know what it is, how you came about or to build it, maybe some historical relevance; so, this is your chance to shine a bit, tell the story! In business sometimes off topic conversation can work to one’s advantage.
Assembling an inventory:
The assembled model: take a picture of each finished model and keep the printed photos in a photo album to protect the image’s quality, if you store the pictures digitally then set up a folder in your device, place the photo in the folder dedicated to the display.
Here is a tip: save each model file/picture with a specific number, and store the information about the models, with a date, location, era, historical fact, cost, just a few suggestions. Another method is to store the information on a spreadsheet with a link to the picture file or download a free/purchase database. An old fashion way and still being used is what some older modelers do, a 3 x 5 card, like the old Rolodex and placed all the information on it, write all the essential details about the model, historical facts, materials used, creation date, and storage or display location.
Un-assembled model: create a spreadsheet or a database of all the pertinent information such as the name of the model, manufacturer, cost, location, date of manufacturing, model or kit number, purchase date; whatever you see as pertinent to you and easy to locate the kit when it’s time to assemble.
Also, don’t forget to update your inventory as your collection continues to grow or lessen or change over time. For some of us, it’s a yearly thing to plan a Physical Inventory and document it all.
Get it ready!
Let’s consider this: if you were to display your model in a museum, the curator would most likely lock it up in a glass case. So, let’s think about your house or office as the museum, so you would, of course, get a glass case, or a cabinet or bookshelf with a glass bottom and front.
Some would recommend that the model be mounted on some type of base, obviously this type of display will not allow the underside to be shown but it may enhance the model itself in a scenery. Another advantage is if the model is mounted it can be handled and moved about with much ease, but now you need to put together a scenery on a base; others would prefer the picture frame as a boundary, as it would serve with nice, finished edges for the display base. The model can either be held in place with some bits of fine wire tied through holes drilled in the mounting base or glued in place with epoxy—just be sure that the model is firmly attached!
Still others would like to make a small diorama, a three-dimensional scenic representation, with details and figures displayed in miniature, on the top of the display base. The surface can be detailed with white glue and dirt to simulate the surface that the real vehicle would normally rest on. Concrete can be simulated with some inked-in gray like putty and paint with lines on cardboard like surface. Photographs from books and magazines may lend you some ideas for a diorama display. Whether for a diorama or a finely finished plaque, the base will enhance the appearance of your model and enable you to handle the model without touching any of its details. Whatever display mode you prefer, go for it!
Display
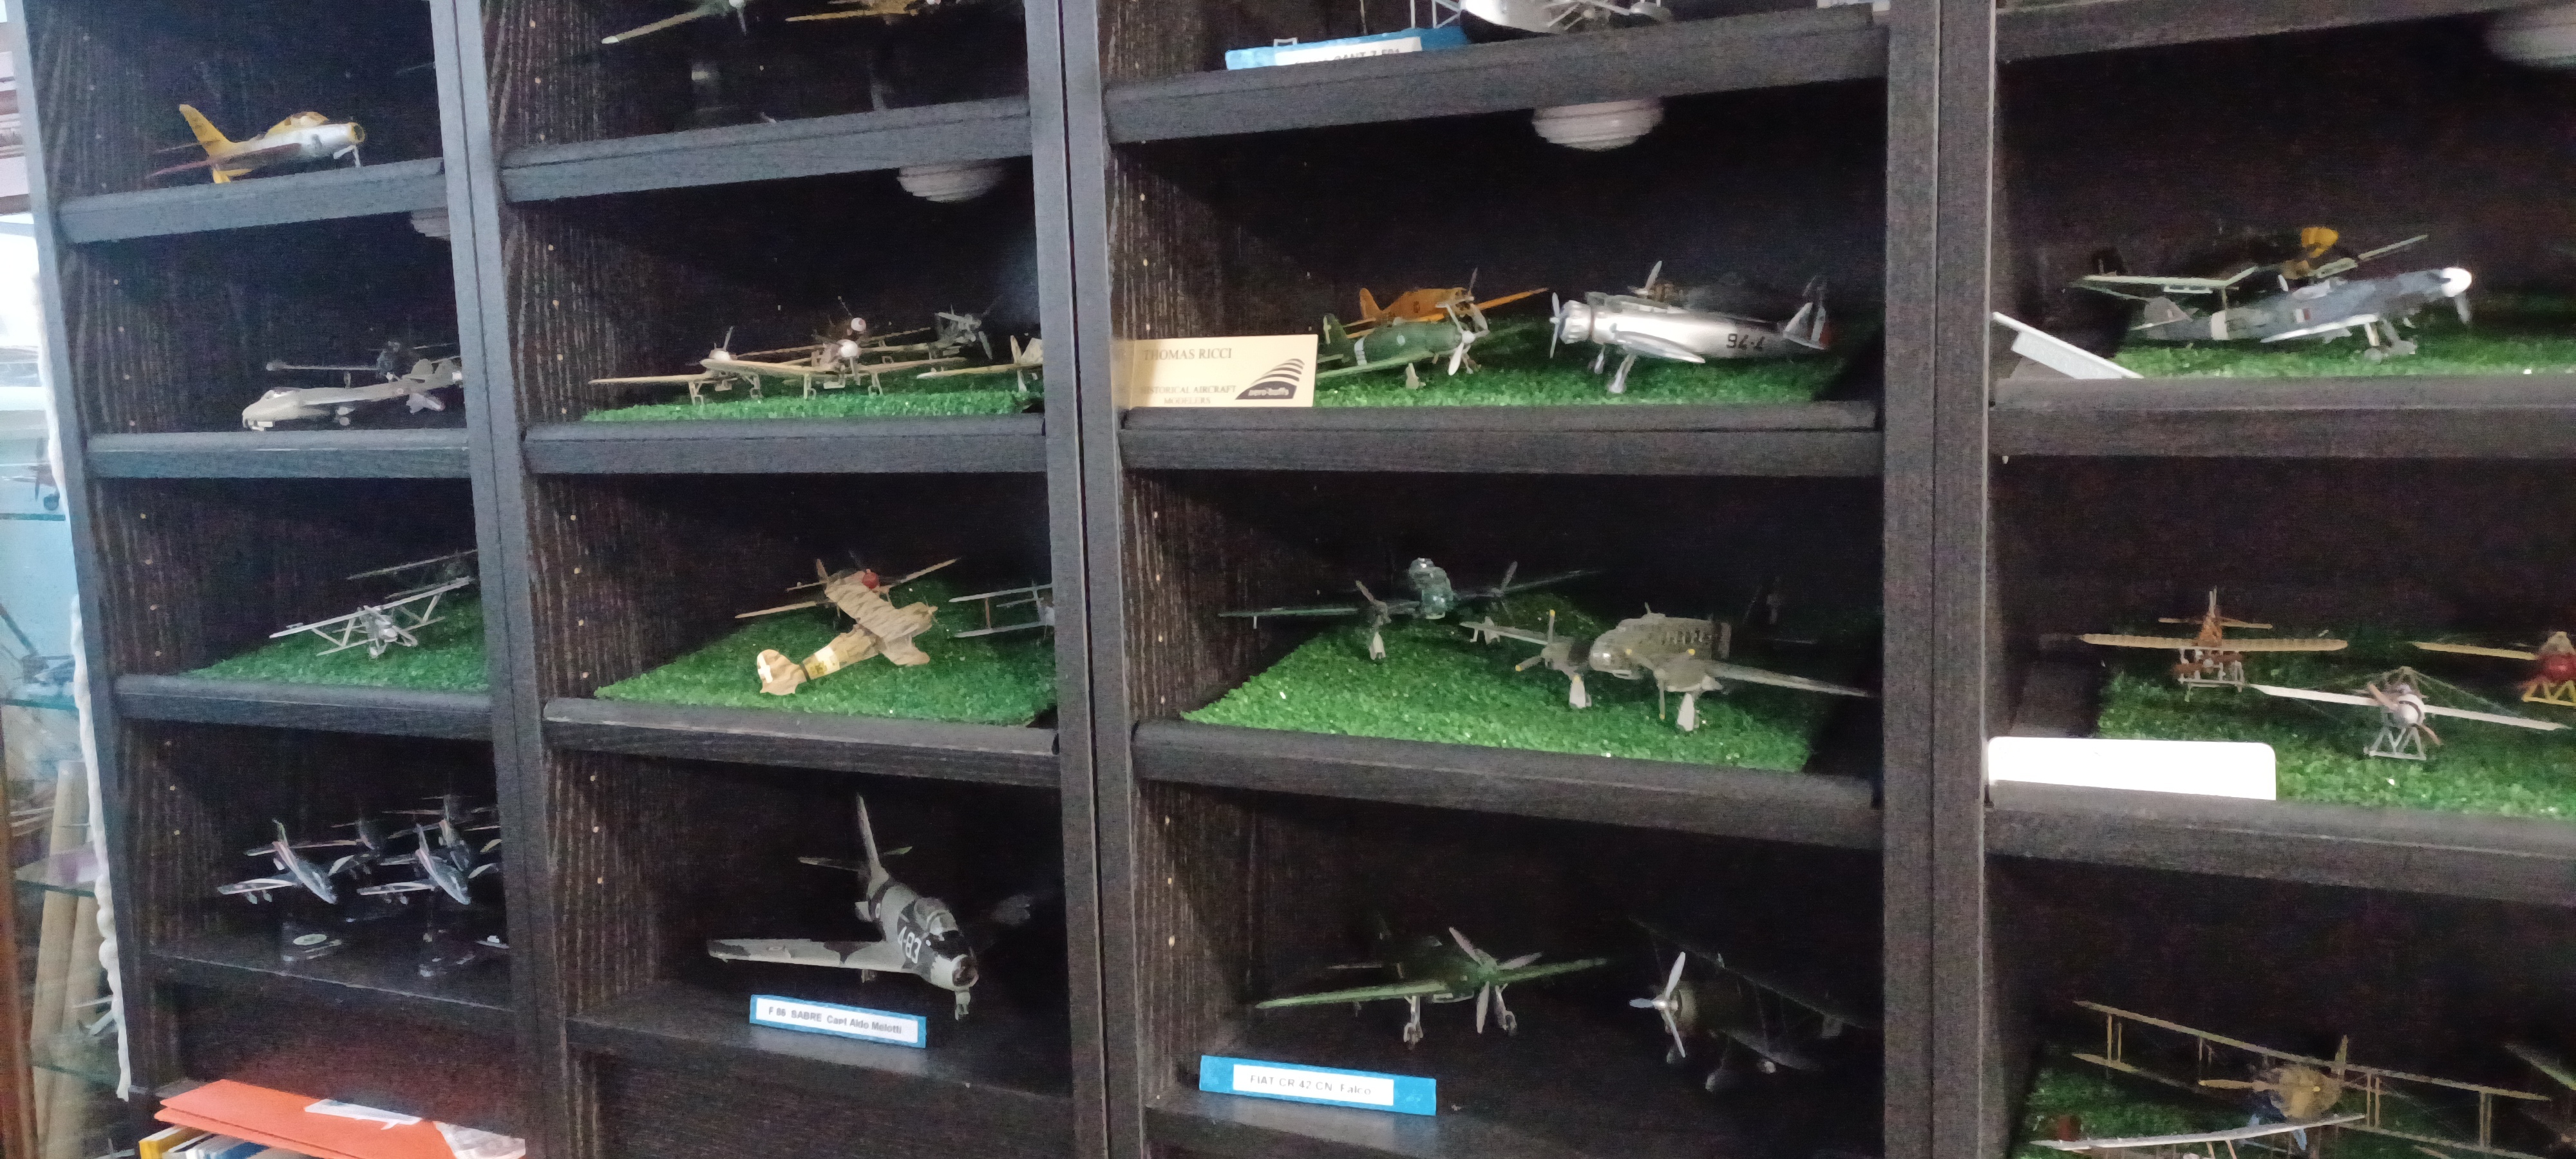
A well-placed spot is in a wall unit, a bookshelf, an all-glass cabinet, a bookcase with glass doors, glass display cases, or a recessed spot in the wall. You’re looking for a dry, hopefully well-ventilated area, and keep in mind you need to have good and unimpaired access to the model for the annual or semiannual cleaning, depending on the location and air circulation.
I have known modelers that used these very rules and have managed the display in excellent locations around their homes and offices and such models lasted decades, and looked perfect as if they were completed the day before.
You can also opt for a glass shelf, which is what I have, as it displays the model from the top, sides, and bottom. We spend a lot of time finishing the model, so why not display the bottom too? I also find it extremely useful that shelves are placed at an angle, place the shelf on a notch or two higher from the rear facing the viewer, this way the viewing effort is minimal, and the whole model can be seen without guessing or moving it. I have my bookshelves and glass shelves from 5 to 10 to 20 degrees depending on the height.
Some models may need lighting, so it is a well worthwhile effort to investigate a lighting system to enhance the experience of the viewer when looking at the model you’re so proudly displaying. I have a rule: look don’t touch!
You now have the finished models that you want to display in your home or office but where exactly should you place them? One solution to go about this is by choosing a room dedicated to displaying the collection. By doing so, you get to control over sunlight that may come in and regulate the temperature inside the room and having a serious discussion with your other half! Good time here is also to mention the little fingers, kids. Do have a serious discussion with the little ones, it would be a shame to catch one in the act!
Remember, some models use resin and other oil-based plastics which react to movements in temperature, affecting your model through time. Moreover, having a room means getting the opportunity to customize it, install shelves, add PVC or metal or wood racks, or mount your models on the wall to further showcase their beauty. After all, they are meant to be adored and appreciated!
Caring
Proper preparation is an important factor when storing models and ensuring that you have made every effort in preserving them to the best and original condition possible.
First, you need to clean the models to free them off from any dust or other minute debris that can damage the finish during the display.
Make sure to vacuum all the dirt and dust off the surface you’re placing the model on, then can use a damp cloth or one with a PH neutral, delicate, synthetic soap for cleaning, care you must place is going to be obvious. If you’re contemplating the cloth approach is too large or cumbersome then you can try a feather like approach, or an eye glass cleaner or cloth or fine long hair paint brush, you get the idea, if you’re still uncertain look into discussing it with a product consultant at Sunward Hobbies.
Never use chemicals, such as solvents, furniture cleaners, any spray cleaners, some soaps can also be extremely harsh, as they can significantly harm your model’s finish. Very often, as with a lot of cleaning products today, ingredients that at first seem harmless, in the long run some products can be very harmful, so there will always be a certain amount of chemicals left on the model surface, look for neutral Ph products.
Prepare the surface and the location where the model is to be displayed. The first rule is it must be out of the sun’s rays, the sun’s rays will certainly damage the finish and most likely alter the shape of the model, especially if it is mostly plastic. Another rule is to place the model way from windows, as the temperature near and about the window, example day vs night, summer vs winter, fall vs spring over time will also alter the shape and the finish of the model. Another location to stay away from are the air vents, as hot air in the winter and air-conditioned air in the summer can not only damage the finish but contribute to the dust and other debris on the model. Another spot is cooking areas, keep it away from cooking areas as steam along with air dust or particles can attribute a buildup of a grimy like coating.
Cleaning
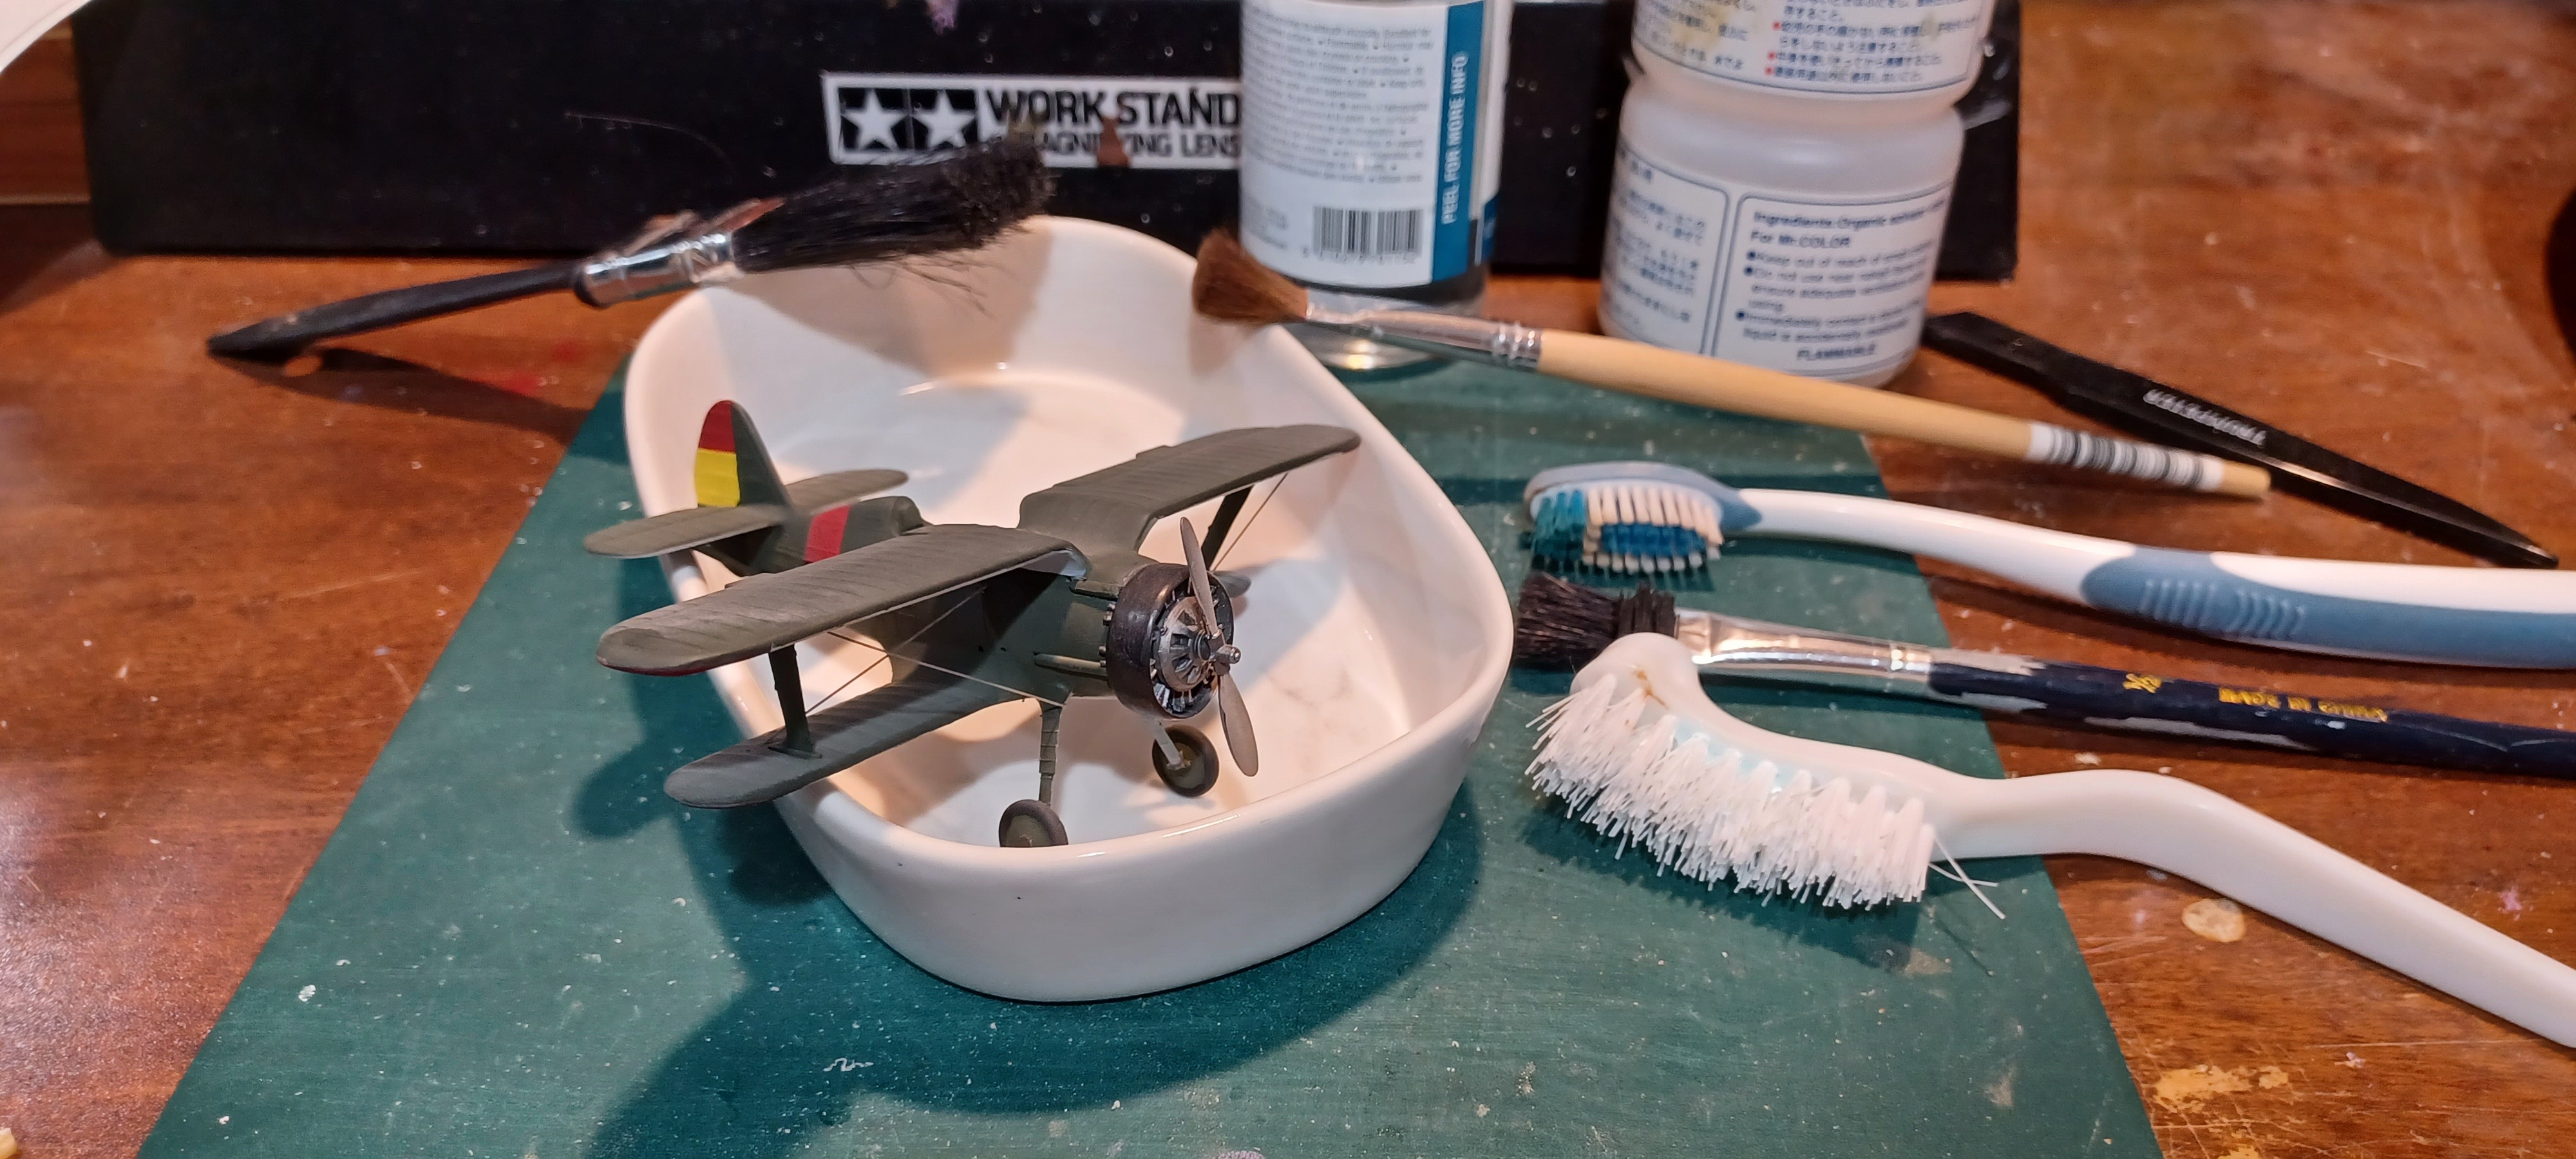
If the model has collected sticky dust, you may be able to remove the dust with a cotton swab sprayed with a dust-catching product. A very mild alcohol soluble with water solution can also be used on a cotton swab to scrub away the sticky residue that can accumulate on a model, particularly one in a home heated by a forced-air gas-fueled furnace. Rinse well with plain water.
It is up to you when to schedule the cleaning, some modelers recommend a semi-annual event, it should keep your model in looking good last for years. Hopefully it never happens, but if the grease, and grit layers may become so thick that you will have to do a complete cleanup. Residue that has set over a period of time may have to be scrubbed away with a brush or cotton swab dipped in lighter fluid. Lighter fluid is a solvent for nearly every type of paint; however, you will have to be careful to wipe only the dust and not the paint. You can also try a bath in a saucer of detergent, that can be enough to wash away most residue and dust. It is recommended that you give all of your models such a cleaning at least every two years. Don’t forget to wash/rinse the detergent off or it will dry to a tacky, dust-catching finish!
Repair any broken parts while the model has your undivided attention. Use quick-setting cyanoacrylates to reattach any parts which may have broken off the model.
A coat of paste wax will help to protect the finish if you dare. You can add a protective coat of flat clear spray to your military models.
Need to store the models off site for a while? Select the proper storage unit.
If you need to wrap them, well, be careful and extremely careful in using the wrap material, it can knock off the airplane and cars and tanks antennas, ship masts and other small details, and other protruding objects.
Now that you’ve wrapped (if you wrapped them) those models up for storage, it is also wise that you put them in acid-free tubs/totes or boxes. If you don’t have one, you can use plastic container as an alternative, but line them with linen muslin fabric. Drying or silica gels are also great additions that can help control moisture from building up and damaging your valued collection.
If you store them in your house, like a closet, arrange that once a month you place a fan and leave it there for a few hours for a couple of days, this helps in moisture control and keep things dry.
How to manage the storage in case of basement high humidity or flooding; a suggestion is to keep the containers some six to twelve inches from the ground to avoid the possibility of your storage unit getting wet.
Last word
These are the best tips I can muster up for you on how you could preserve your model. Just make sure to devote some time and it’ll pay off for years to come.
Thomas Ricci has been building model airplanes since the age of 12. When I reached the age of 14, he formed a club with the Royal Canadian Air Cadets Squadron in Toronto, and helped build plastic model airplanes for general displays.
Over the years, Thomas has continued to build aircraft and joined local modelling clubs within the Greater Toronto Area (GTA).
His skills are now focused on building Italian aircraft, and aircraft flown by Italian pilots and or engineered by Italian engineers. The main goal is to build the aircraft as historical accurate as possible with a story line.
A list of past and ongoing modelling participation by Thomas include:
-Peel Scale Modelers, Aerobuffs, IPMS Italy, IPMS Toronto
– Founder and President of the Club Frecce Tricolori of North America No117
– Participated in the MB339 aircraft model building and display representing the Frecce Tricolori PAN in Oderzo and Rivolto (UD) Italy (2012)
– Founder and Supporter of the Checkertails di Lesina, a monument dedicated to the U.S.A.A.F. 325th Fighter Group, Checkertails; Lesina (FG) Italy (2011 – present)