
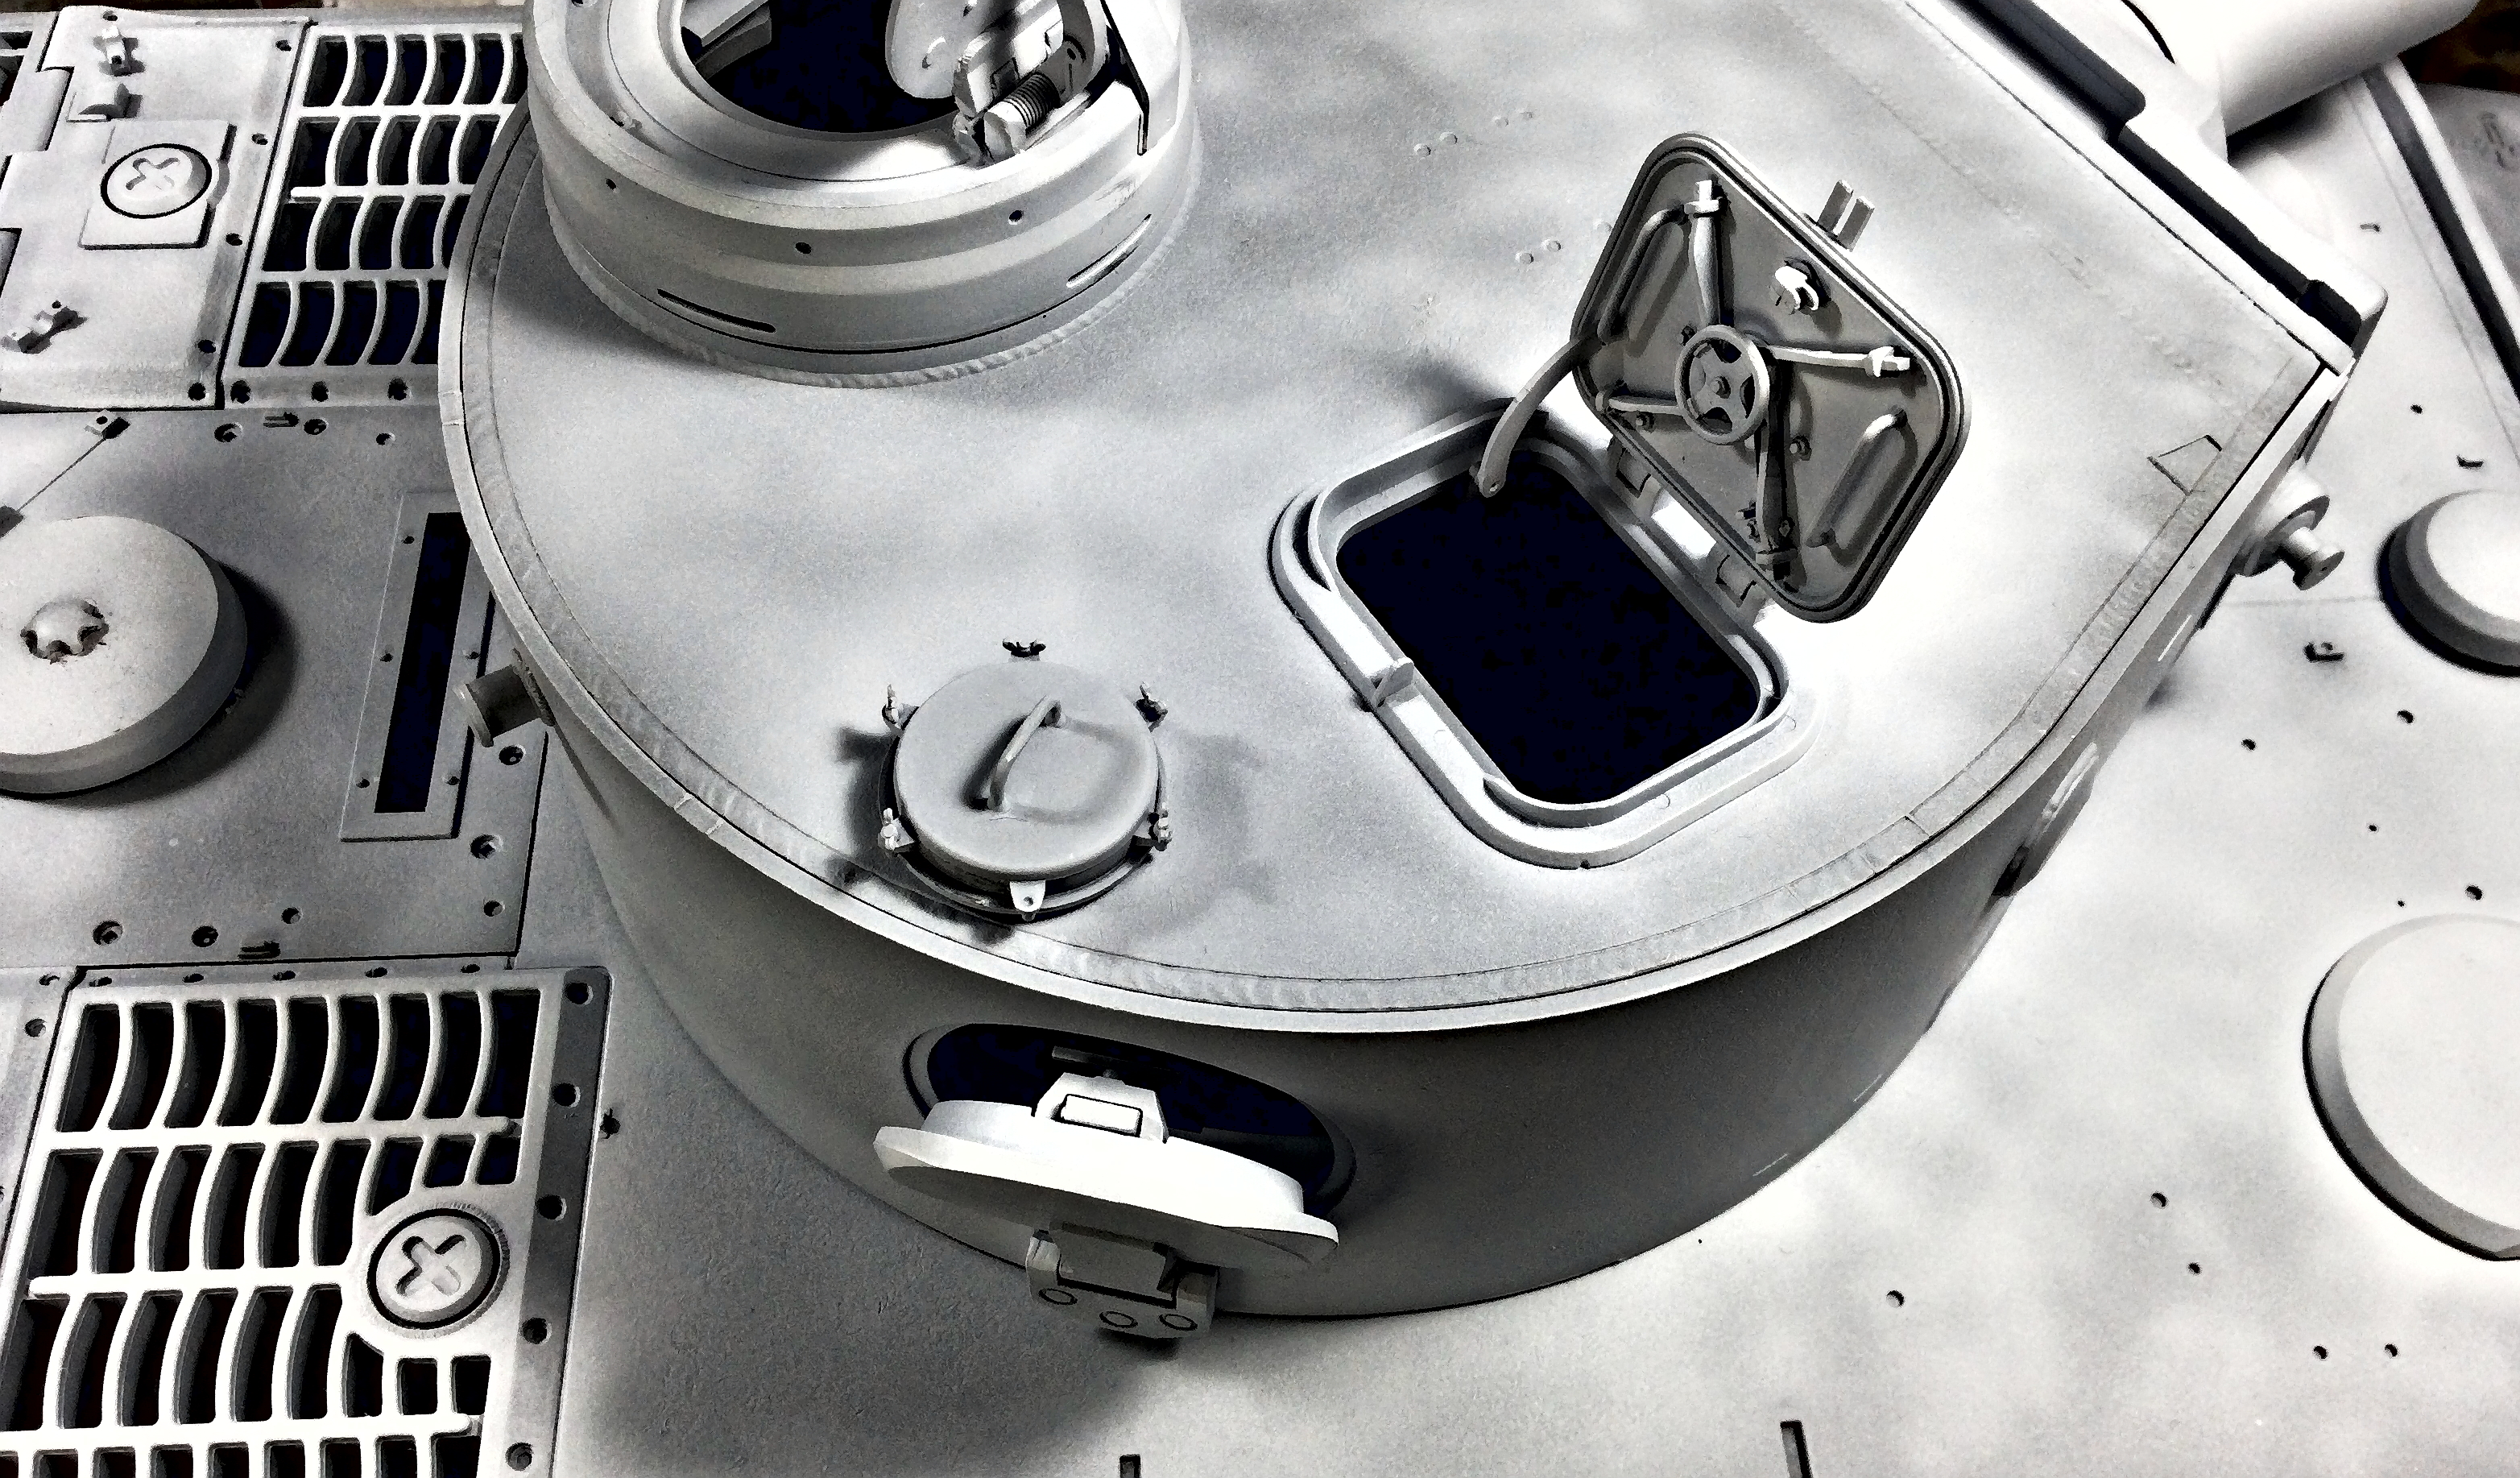
Photos of Your Builds or Figures for Social Media
Taking great photos for social media can be a fun and rewarding experience. Whether you’re an aspiring influencer or want to share your experiences with friends and family, some key tips can help you take better photos with your phone, tablet or camera.
First, consider your lighting. Natural light is always the best option, so try to take photos during the day when the sun is out. If you’re indoors, try to position yourself near a window or other natural light source. Avoid using harsh overhead lights or flash, as this can create unflattering shadows and wash out the colours in your photos.
Next, think about your composition. Try to frame your subject interestingly, such as using the rule of thirds or leading lines to draw the viewer’s eye. Experiment with different angles and perspectives to create a unique and visually appealing photo.
Editing is also key to taking great photos for social media. You don’t need to be a professional photographer to edit your photos – plenty of free apps and tools can help you enhance your images. Adjust brightness, contrast, and saturation to make your photos pop.
Finally, don’t be afraid to add your own personal touch to your photos. Whether through filters, captions, or other creative elements, your unique perspective can help your photos stand out on social media.
Remember, taking great photos for social media is all about having fun and expressing yourself. You can create beautiful, engaging photos that your followers will love with practice and experimentation.
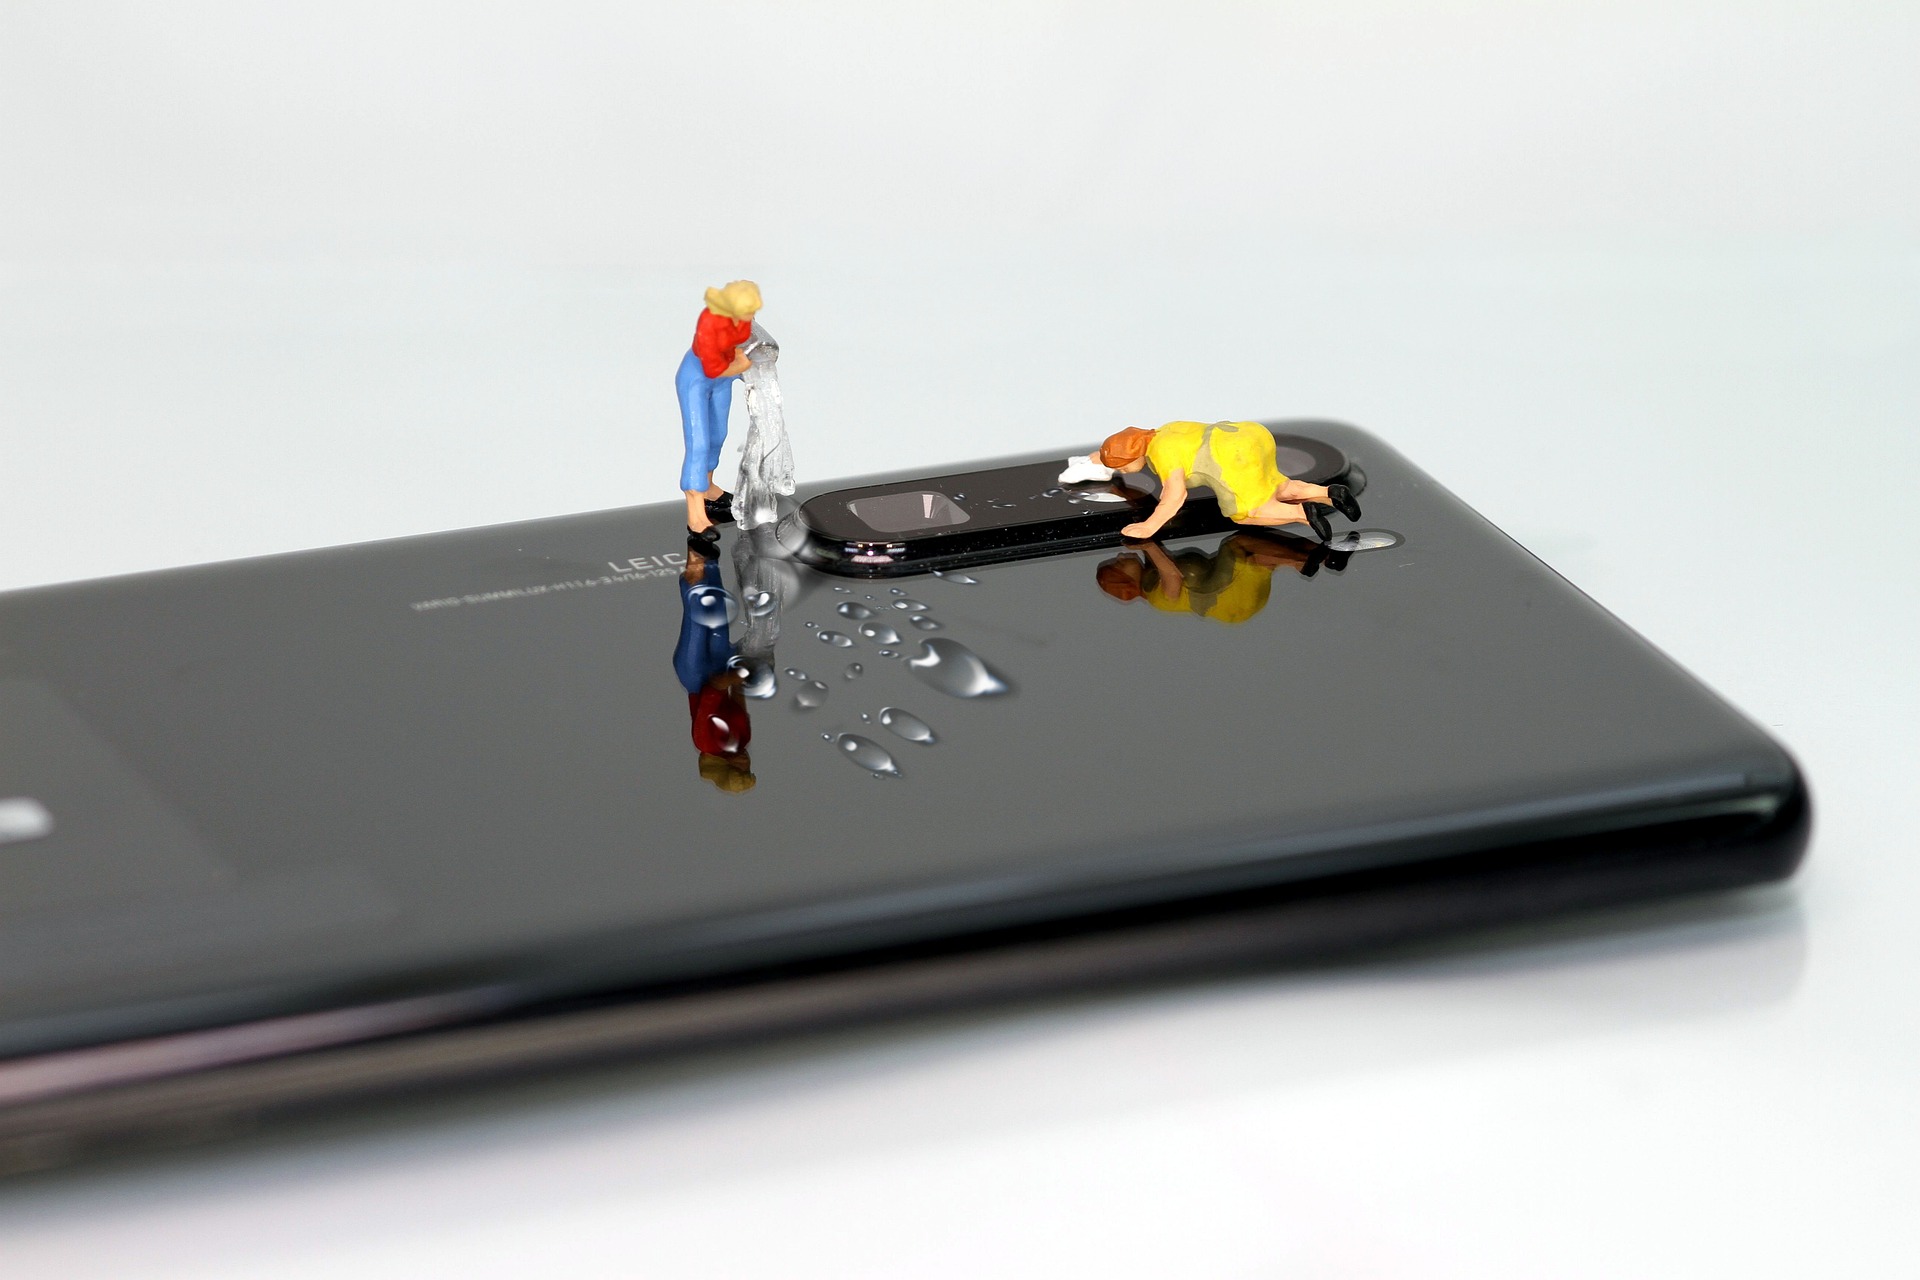
Clean the Camera Lens Before Taking Pictures
Follow the manufacturer’s recommended lens cleaning method to remove fingerprints and oily smears from the lens.
Turn Your Workbench into a Photography Studio: Part 1
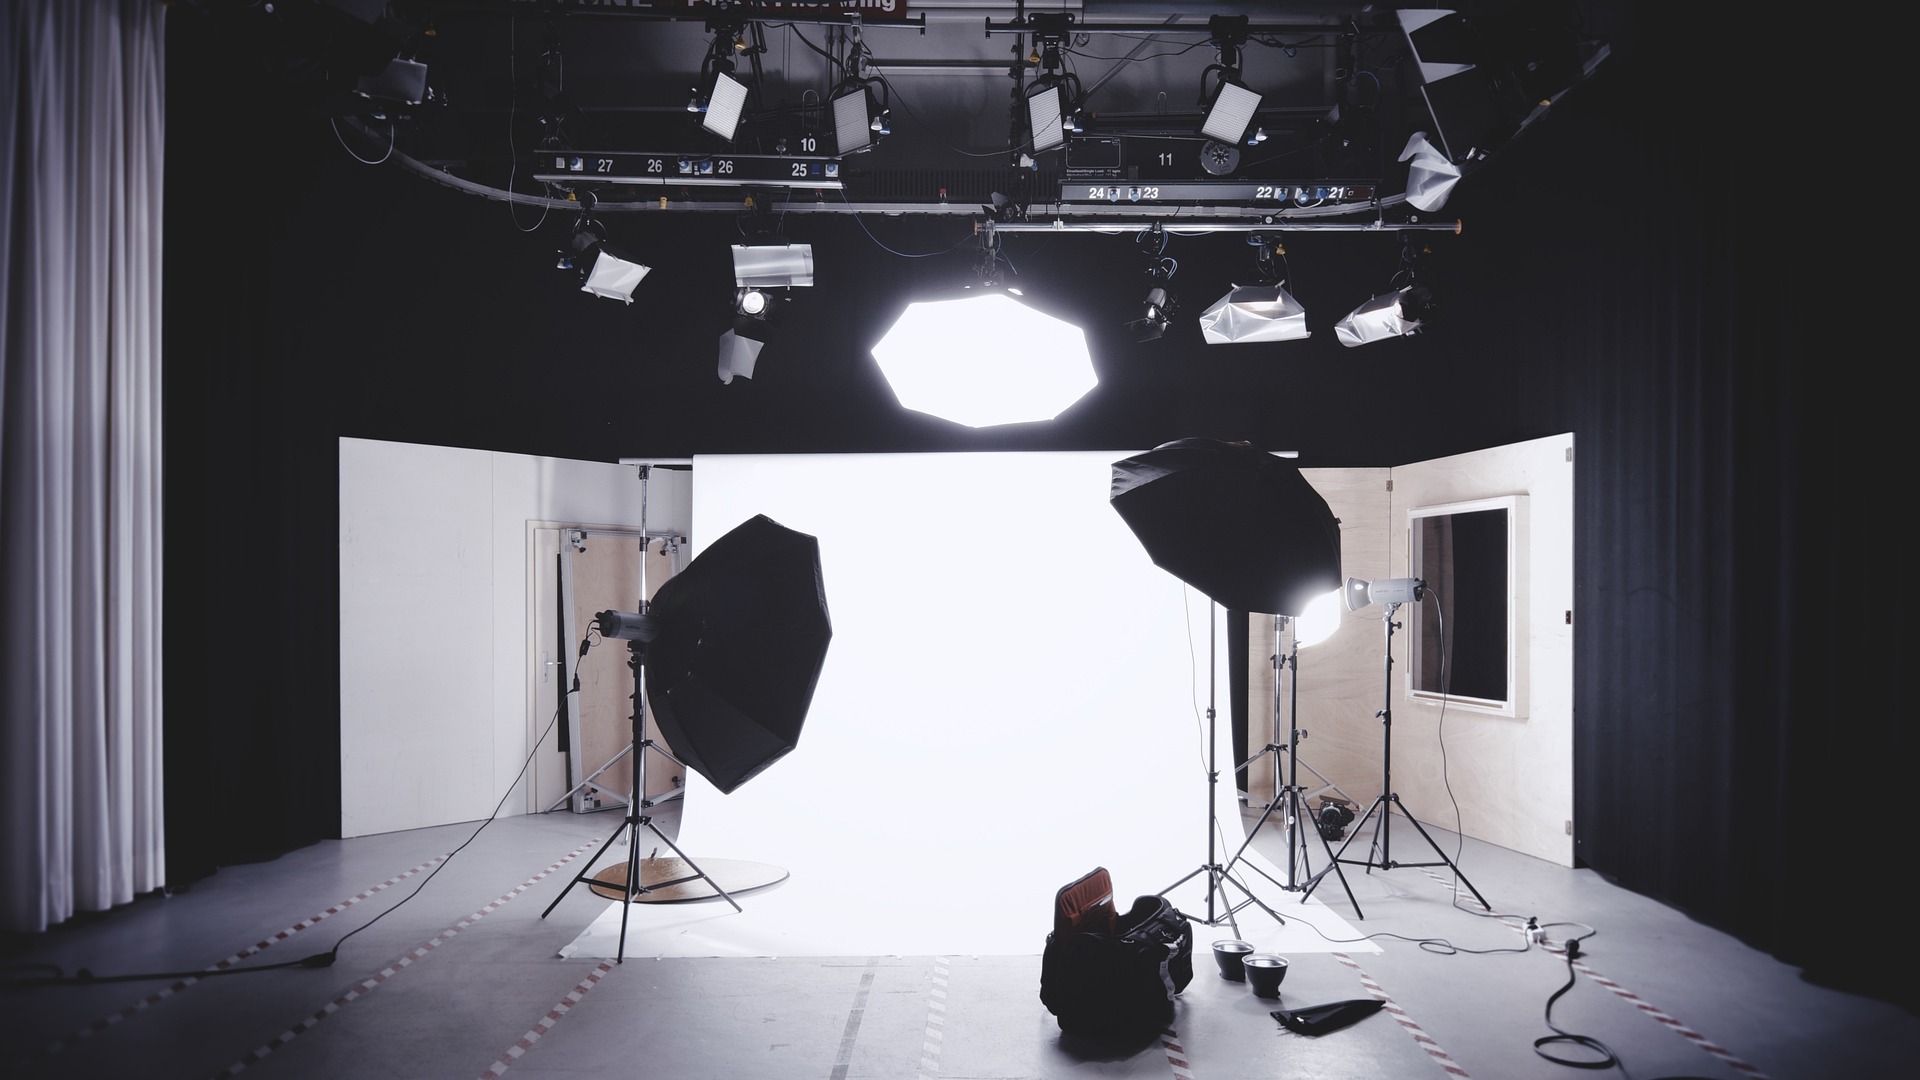
Illumination and Fill Light
Skill Set: Beginner to Advanced
Read Time: 8 minutes
Fill Light and Reflector Boards for Better Model Pictures: Light Reflectors Used in the Movies.
Fill light and white reflector boards are two techniques in photography that work hand-in-hand to create well-lit and balanced images.
Soft fill light involves using additional lighting to reduce shadows and bring out details in a scene, while reflector boards bounce light back onto the subject and fill in any remaining shadows.
To use fill light, you can position a secondary light source, such as a softbox or umbrella, opposite the primary light source to reduce harsh shadows. Alternatively, a reflector board can bounce light back onto the subject. White reflector boards are handy because they reflect a natural, diffused light that does not alter the subject’s colour.
Using fill light and reflector boards together can help you achieve a professional and polished look in your photography. They are especially useful in portrait photography, where the goal is to create flattering and well-lit images of your subject.
In this article, you will learn how to take pictures of your builds or figures, using techniques in movie studios and shooting scenes using fill and reflector boards.
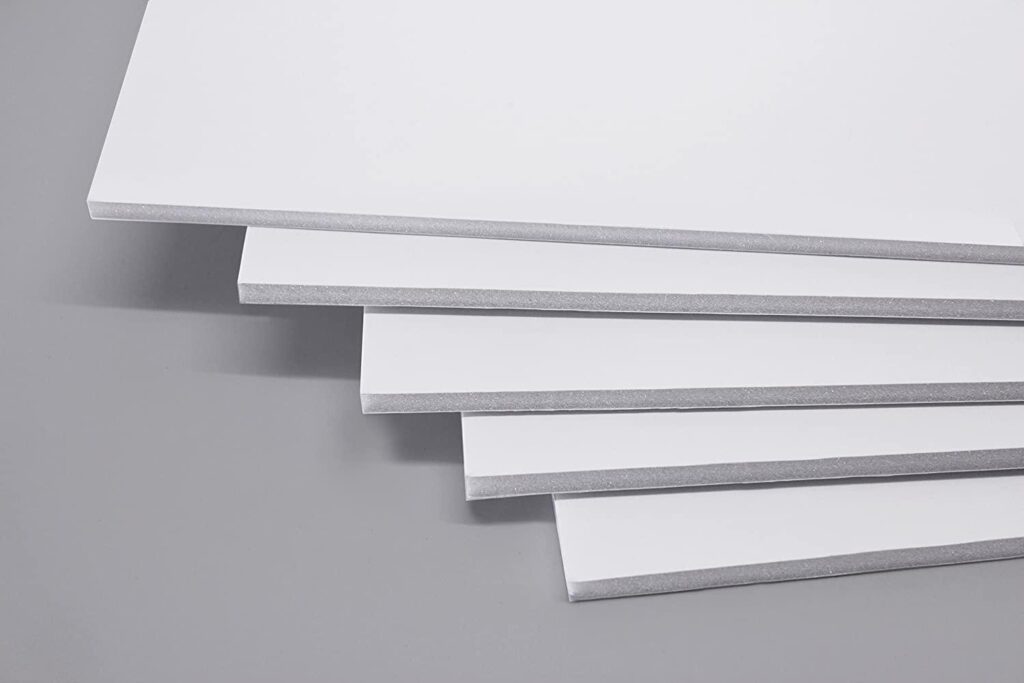
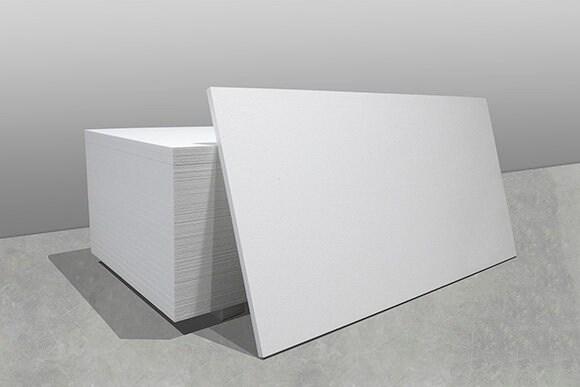
Everyday products are used in movie production
- white bubble-board styrofoam sheets
- white foam core board
Bubble foam board causes light diffraction and softer, diffused scattering of reflected light, whereas white foam board reflects more direct lighting.
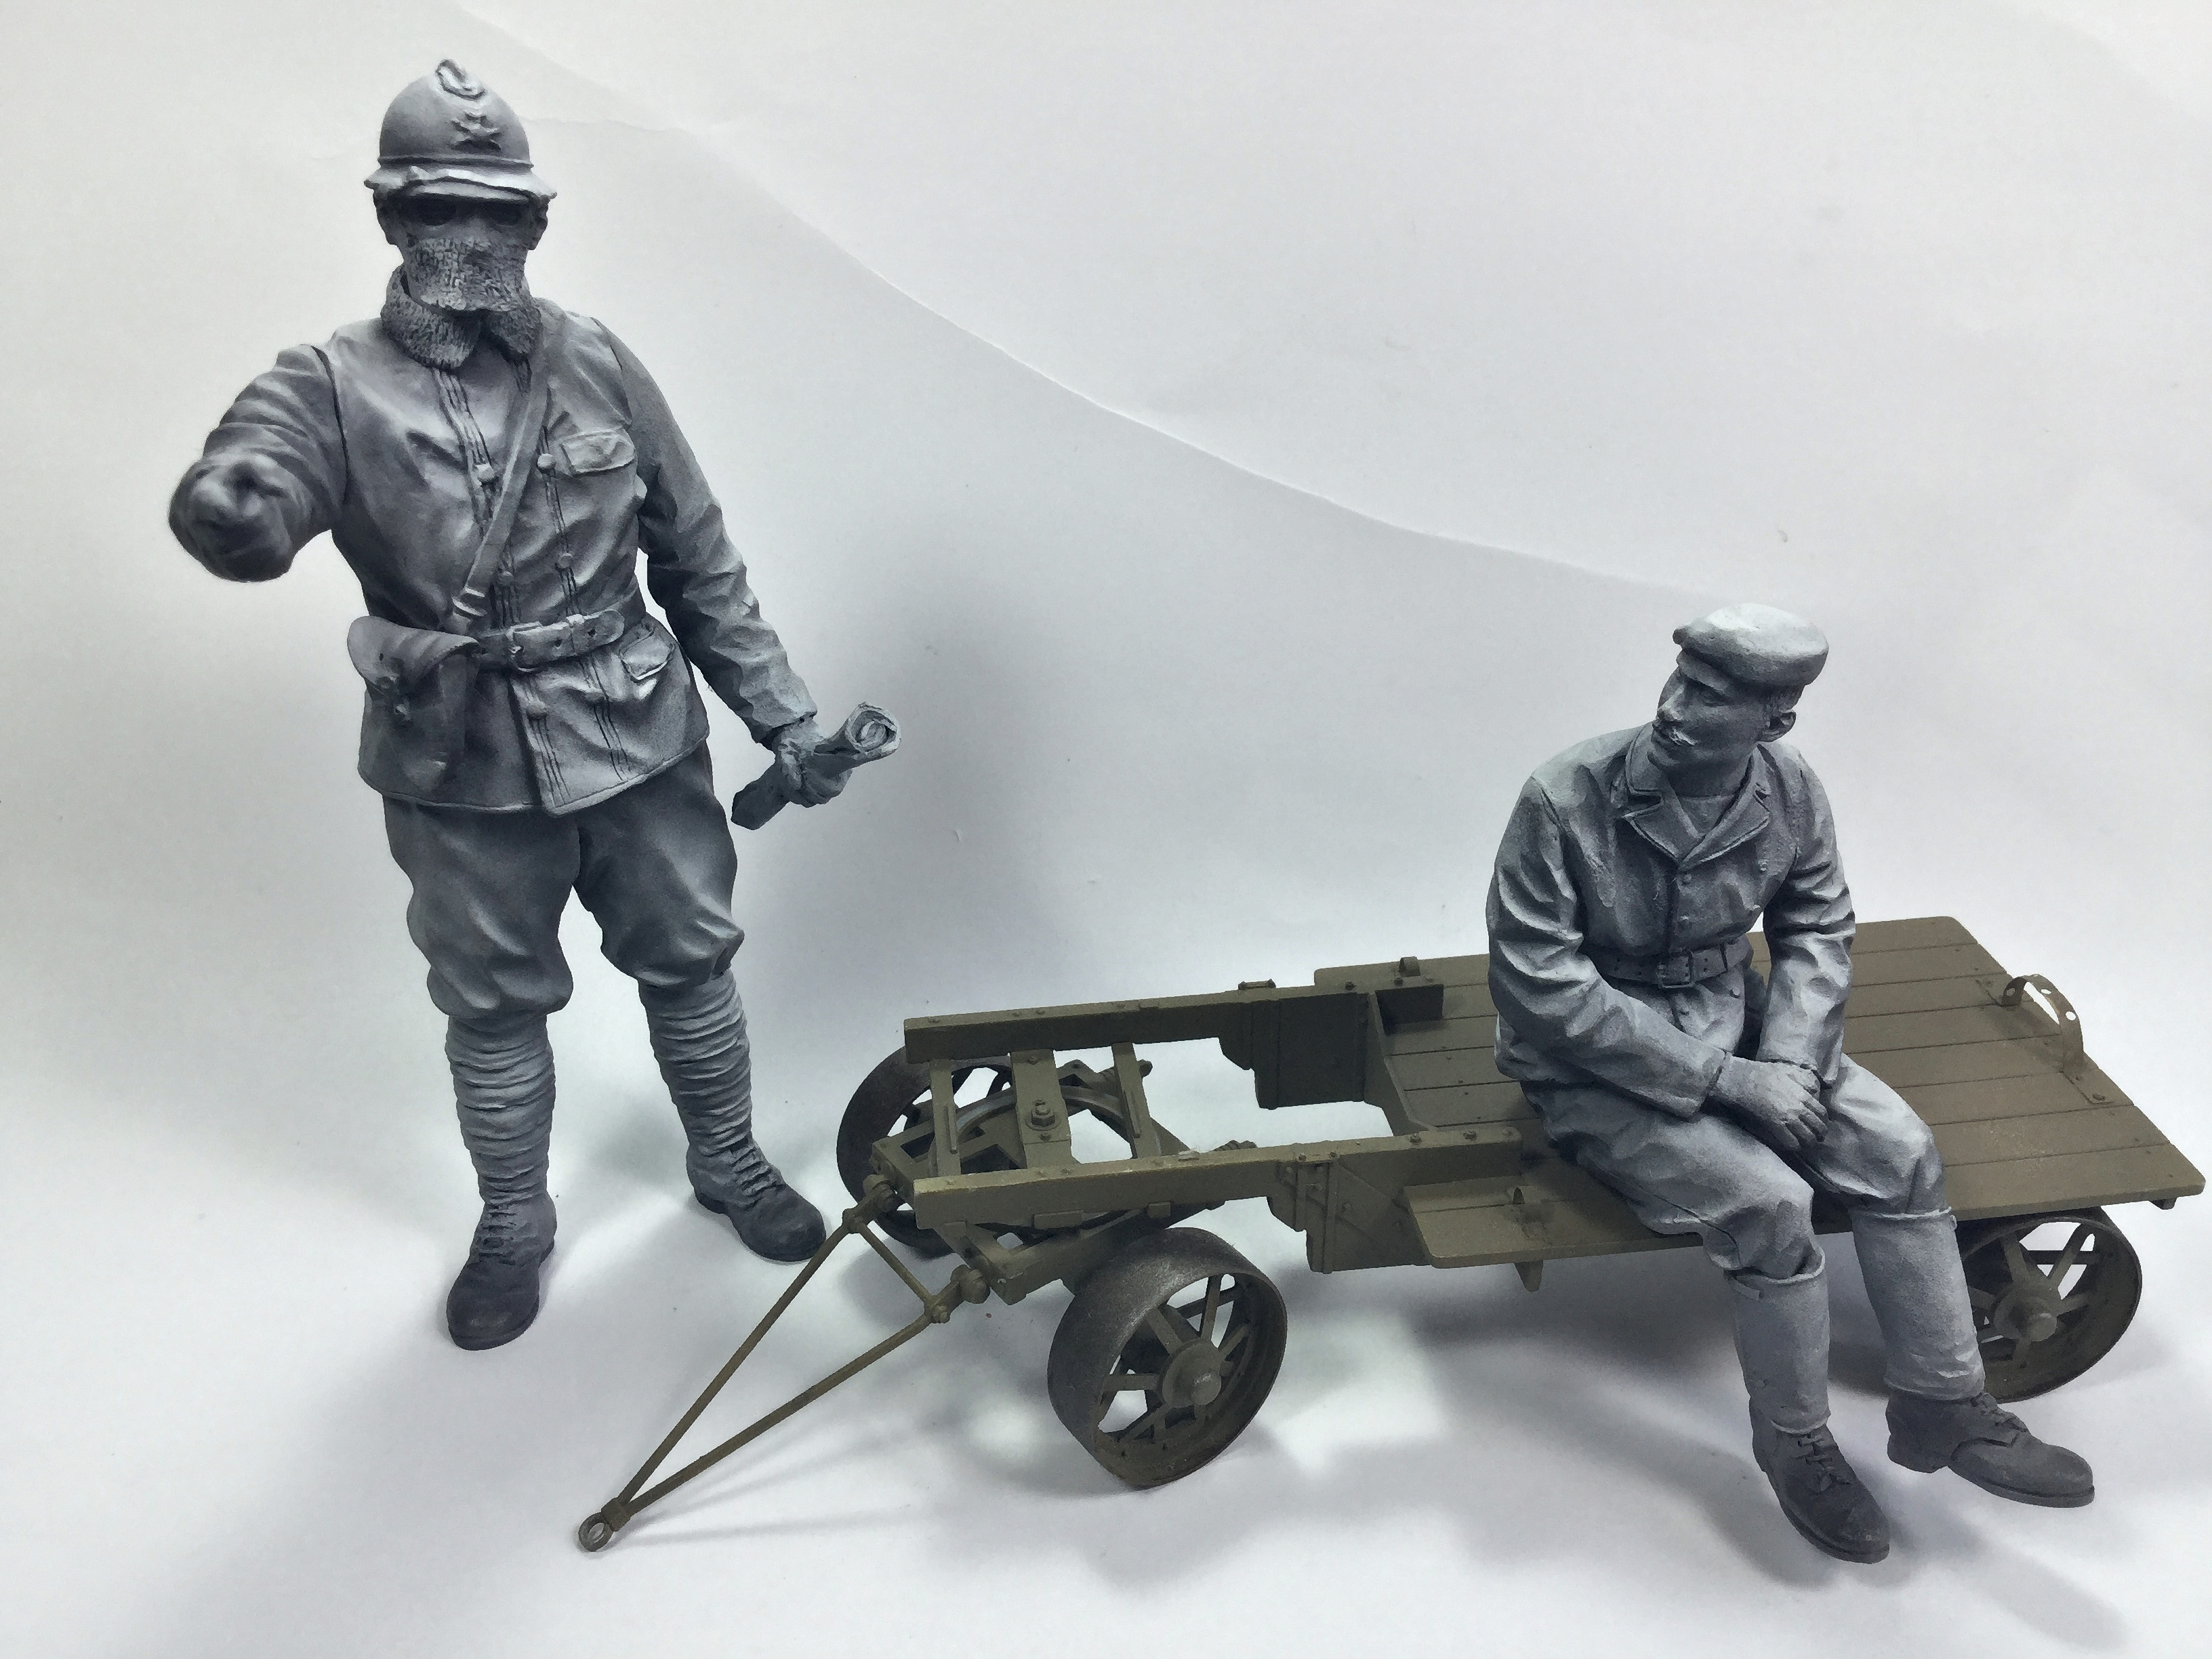
Place your build on a curved white paper backdrop and frame the kit on three sides with either styrofoam or foam core cut to usable size.
The fill light will transform your build pictures. Adjust lighting and reflector boards to create the desired effect. Season to taste. ![]()
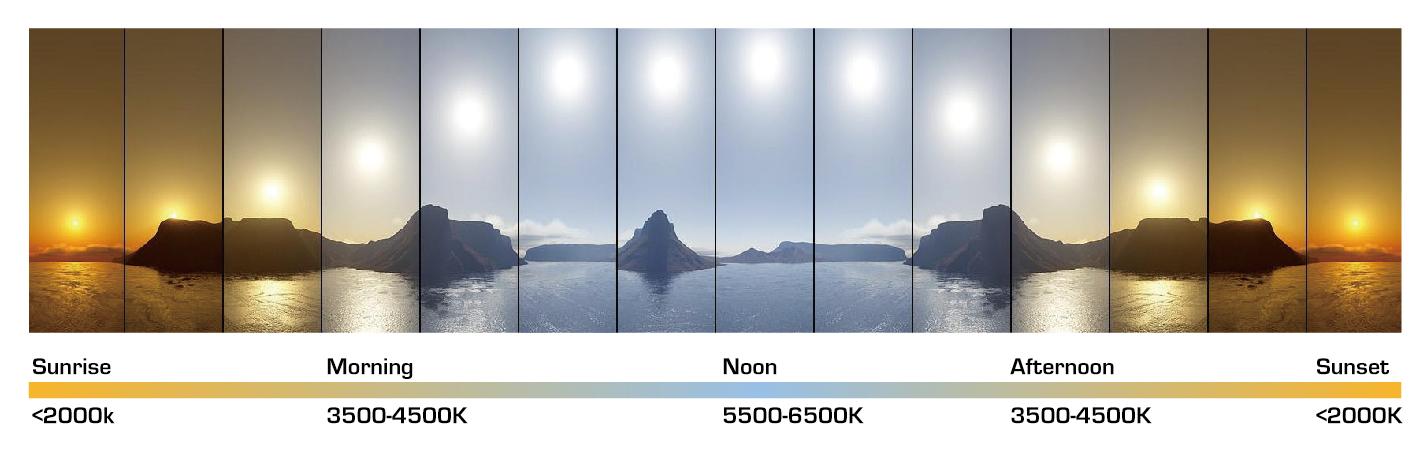
Full Colour-Spectrum Natural Daylight LED Bulbs 5500–6500 Kelvin: CRI 80+
Full-colour spectrum natural daylight LED bulbs are a type of light bulb that can mimic the natural light spectrum and provide a more accurate and balanced representation of colours. They are particularly useful for photographers or artists who need to see colours in their true form.
These LED bulbs emit light across the entire visible spectrum, including all colours of the rainbow, which makes them an excellent choice for use in settings where natural light is limited or unavailable, such as in a studio or office setting. These LED bulbs are energy-efficient and have a longer lifespan than traditional incandescent bulbs, making them cost-effective and eco-friendly.
A daylight LED bulb is a type of light bulb that is designed to mimic natural daylight and provide a more accurate representation of colours. These bulbs emit light across the entire visible spectrum, including all colours of the rainbow, and are particularly useful for photographers or artists who need to see colours in their true form. Daylight LED bulbs are energy-efficient and have a longer lifespan than traditional incandescent bulbs, making them a cost-effective and eco-friendly option for any lighting need.
Select LED bulbs that give out high CRI 80+ (colour rendering index) light close to the sun’s value, making colours appear richer, truer, and natural.
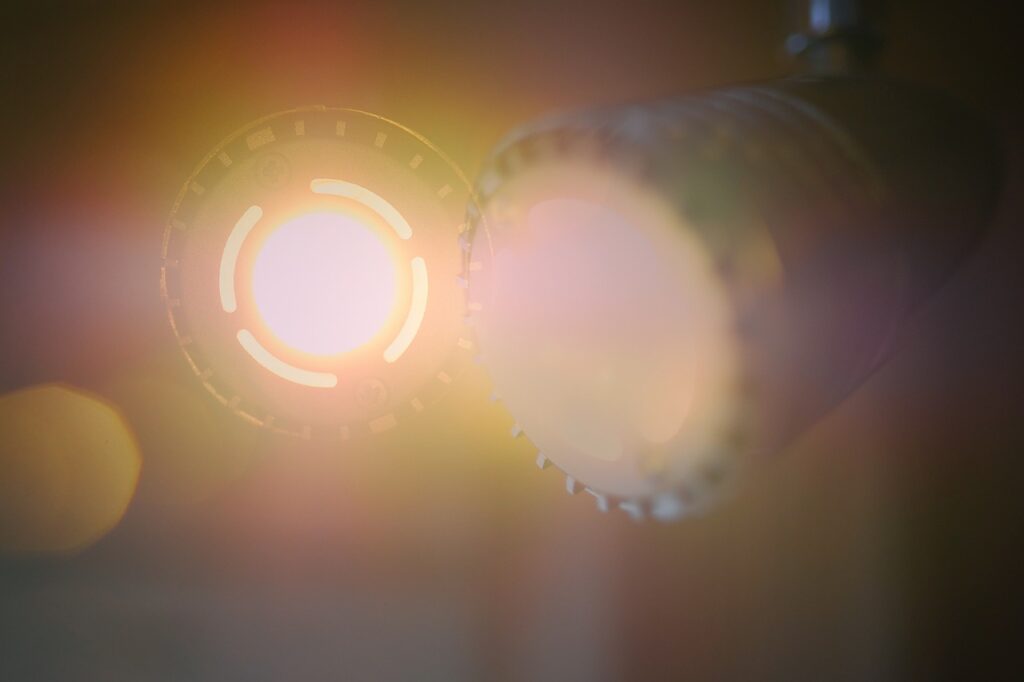
Diffusing a Light Source
Diffusing a light bulb can be a great way to create a softer, more even light that’s ideal for photography or creating a cozy atmosphere in your home. Here are some ways to diffuse a light bulb:
- Use a lampshade: A lampshade is a simple and effective way to diffuse a light bulb. Choose a shade made of a translucent material, such as paper or fabric, to create a soft, diffused light.
- Use a diffuser: A diffuser is a device that attaches to the front of a light bulb and scatters the light in different directions. These can be purchased at most photography stores or online.
- Use a frosted bulb: Frosted bulbs are designed to diffuse light and create a softer, more even glow. These can be purchased at most home improvement stores and online.
- Use a sheer fabric: You can create your own diffuser by attaching a sheer fabric to the front of your light bulb. This can be done using clips or by wrapping the fabric around the bulb and securing it with tape.
- Use a reflector: A reflector can be used to direct the light from a bulb in a specific direction. This can be useful when you want to create a more focused and directional light. You can purchase reflectors at most photography stores or online.
⚠️ Always follow safety guidelines when handling light bulbs, and never leave a light bulb unattended or touching flammable materials.
How to Use Fill Light and White Reflector Boards
Using fill light and white reflector boards can dramatically improve your photography by reducing harsh shadows and creating a more even exposure. Here are some tips for using these tools effectively:
- Identify the lighting conditions: Determine whether you shoot in harsh or soft light. If the light is too harsh, use a white reflector board to bounce light onto the subject and reduce harsh shadows. If the light is too soft, use a fill light to add more detail and contrast to the photo.
- Choose the right reflector board: Depending on the size of the subject you’re shooting, you may need a larger or smaller reflector board. Foam core or white cardboard are great options for smaller objects, while larger reflector boards or a white sheet can be used for larger subjects.
- Position the reflector board: Place the reflector board opposite the main light source to bounce light back onto the subject. This will help fill in shadows and create a more even exposure. Experiment with different angles and distances to achieve the desired effect.
- Use a fill light: If you’re shooting in high-contrast lighting conditions, a fill light can be used to brighten up the shadows and provide more detail. This can be achieved with a flash or even natural light.
- Practice: Using fill light and reflector boards can take some practice, but you can create more polished and professional-looking images with time and experimentation.
White Backdrop
A white backdrop is a popular choice for photography, as it provides a clean and simple background to make your subject stand out. Here are some tips on how to use a white backdrop for photography:
- Choose the right material: White backdrops can be made from various materials, such as paper, fabric, or vinyl. Each material has advantages and disadvantages, so choosing one that suits your needs is important. One simple solution is using a large Bristol poster board or printer paper sheet.
- Set up your backdrop: Position your backdrop behind your subject and make sure it is evenly lit. You can use natural light or artificial lighting to achieve this.
- Adjust your camera settings: Use a low ISO and narrow aperture to create a sharper image. You may also need to adjust your shutter speed to compensate for the brightness of the white backdrop.
- Position your subject: Make sure your subject is positioned in front of the white backdrop and is well-lit. You can use additional lighting, such as a fill light, to create a more even exposure.
- Edit your photos: You can use photo editing software to adjust the brightness and contrast of your photos to achieve the desired effect.
Overall, using a white backdrop can be a simple and effective way to create stunning photos. With some practice and experimentation, you can create professional-looking images that showcase your subject in the best possible light.
James Wooldridge is An enthusiastic scale modeller, researcher, amateur historian, and contributor to scale modelling sites, including Scalemates. He is an active and progressive Facebook Group Expert, Presenter, and Scale Modelling Club Video Host. James is also the Executive founding member and KSM Group Expert – Kawartha Lakes Scale Modellers
Setting up the Workbench Photography Studio: Part 2
Part 2 will cover setting up your workbench studio to take great photos.